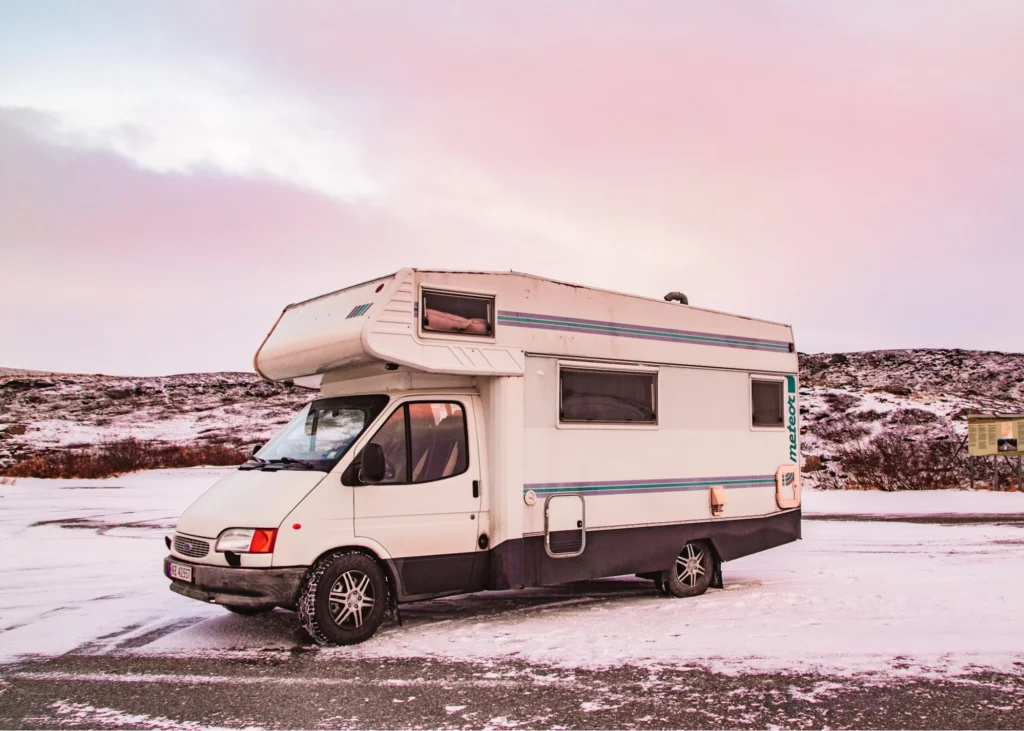
Ever wondered why so many RV owners dread winter? It’s because RVs can become ice boxes, especially in sub-zero weather.
But that doesn’t mean you have to fear winter! Winterizing your RV can actually be straightforward and stress-free. Here’s a step-by-step guide to help you get your RV ready for the cold months ahead.
1. Draining Water Systems: Avoid Frozen Pipes
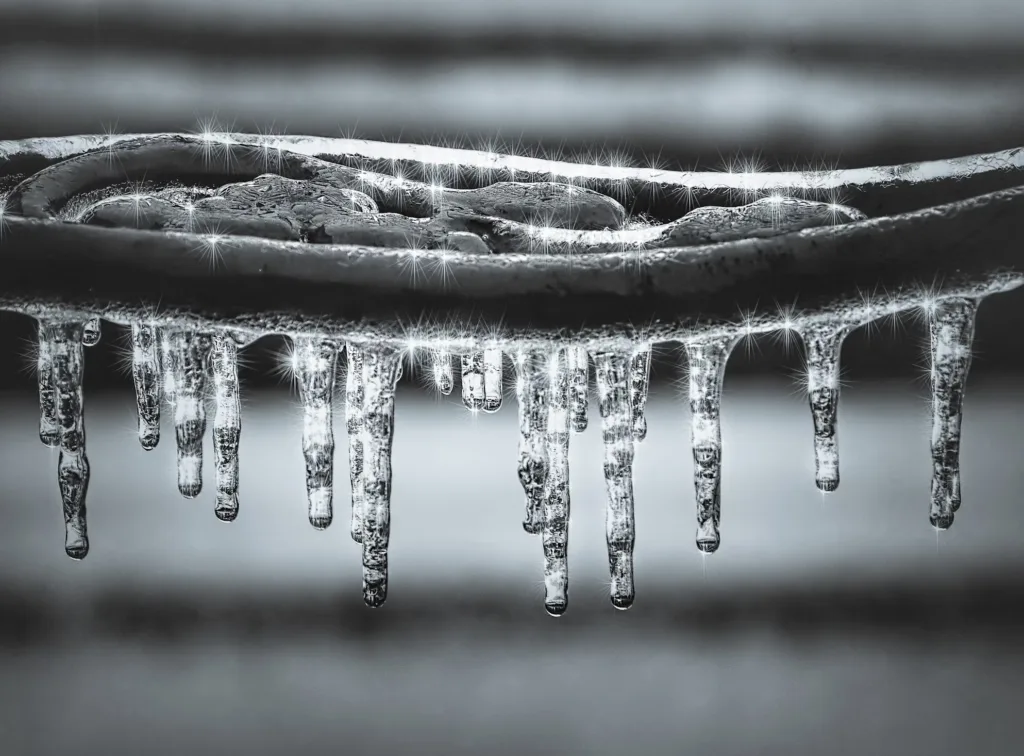
Start by draining all the water from your RV’s systems. Empty the fresh water tank, grey and black water tanks, and the water heater. Open all faucets to make sure no water is left in the lines.
Use a water pump to push out any remaining water from the lines. This thorough approach helps prevent frozen pipes, which can burst and cause significant damage.
Don’t forget to drain the water heater separately. Once everything is empty, close all faucets and valves. This simple step can save you a lot of hassle and repair costs down the road.
2. Adding Antifreeze: Extra Protection

Pour non-toxic RV antifreeze into all your drains, including the sink, shower, and toilet. This ensures that any remaining water in the P-traps doesn’t freeze and cause damage.
Don’t forget to run the antifreeze through your water pump and lines. Turn on each faucet until you see the antifreeze coming out, ensuring that every part of your system is protected.
This extra step gives you peace of mind, knowing your water system is safe from freezing temperatures. It’s a small effort that can prevent major problems later on.
3. Protecting Pipes: Insulate for Peace of Mind
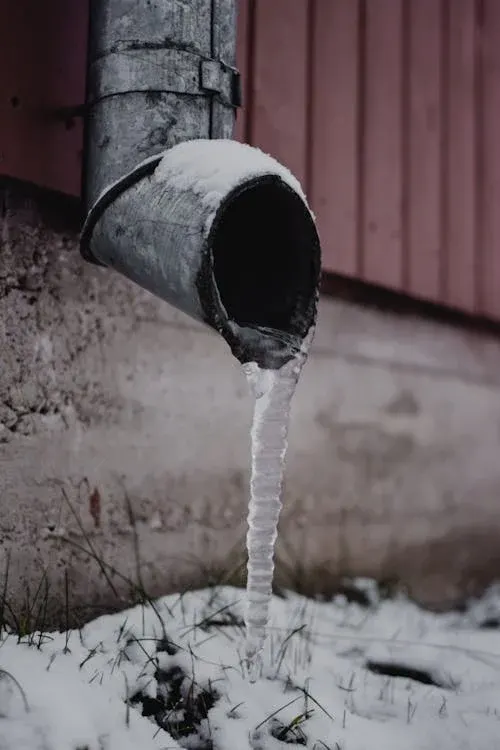
Wrap any exposed pipes with insulation foam or heat tape. This simple step helps keep the pipes warm and prevents freezing. Focus on pipes in unheated areas, like under the RV.
Check all areas where pipes run through unheated spaces. Adding extra insulation in these spots provides additional protection. It’s an easy way to ensure your pipes stay safe in cold weather.
Consider using pipe covers or blankets for added protection. These items are designed to keep your pipes insulated and freeze-free during the winter months.
4. Sealing Windows and Doors: Keep the Cold Out
Stop drafts by sealing your RV’s windows and doors. Use weatherstripping around the edges to prevent cold air from sneaking in. This helps keep your interior warm and cozy.
Check for cracks or gaps in the RV’s exterior. Use caulk to seal these areas, ensuring your RV is airtight and energy-efficient. This simple step makes a big difference in maintaining a comfortable temperature.
Don’t forget to inspect your roof vents and skylights. Sealing these openings with appropriate materials ensures that the cold stays outside, making your RV more energy-efficient and comfortable.
5. Battery Maintenance: Keep the Power On
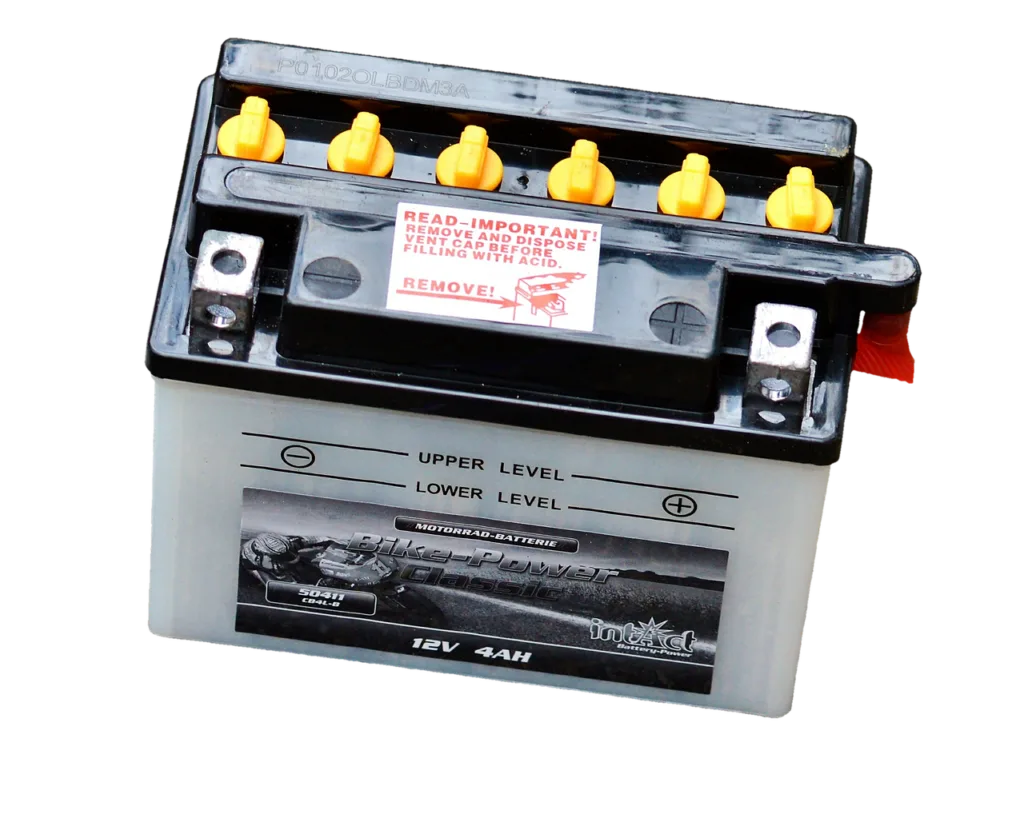
Remove your RV battery and store it in a warm, dry place. Keeping it indoors during winter prevents it from freezing and losing its charge.
Connect the battery to a trickle charger to maintain its power without overcharging. This keeps it ready for use when you’re back on the road.
Check the battery terminals for corrosion and clean them if needed. Proper maintenance ensures your battery stays in good condition and your RV is ready to go when spring arrives.
6. Tire Care: Avoid Flat Spots
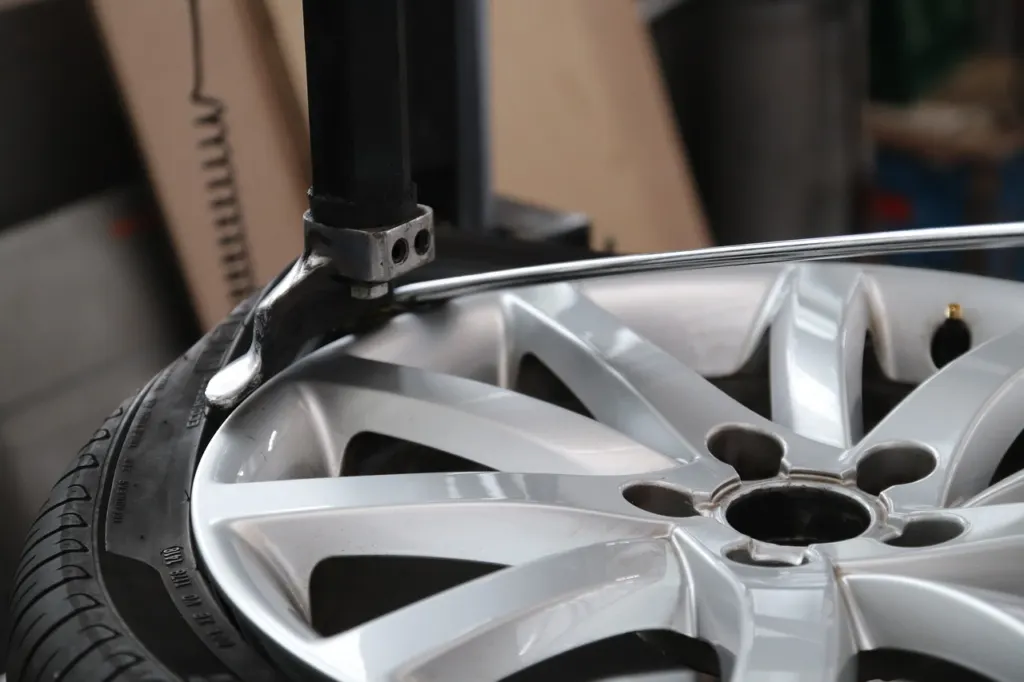
Proper tire care is essential to avoid flat spots during storage. Inflate your RV tires to the recommended pressure before storing your RV. Properly inflated tires help prevent flat spots from developing during long periods of inactivity.
Consider using tire covers to protect your tires from the elements. Covers shield the rubber from UV rays, moisture, and harsh weather, extending the life of your tires. Additionally, park your RV on a surface that is free of sharp objects and debris to prevent damage to the tires.
If possible, move your RV slightly every few weeks to change the tires’ resting position. This simple action helps maintain the shape and integrity of your tires. Alternatively, you can use tire cradles or blocks designed to evenly distribute the weight and prevent flat spots.
7. Storing Electronics: Protect Your Gadgets
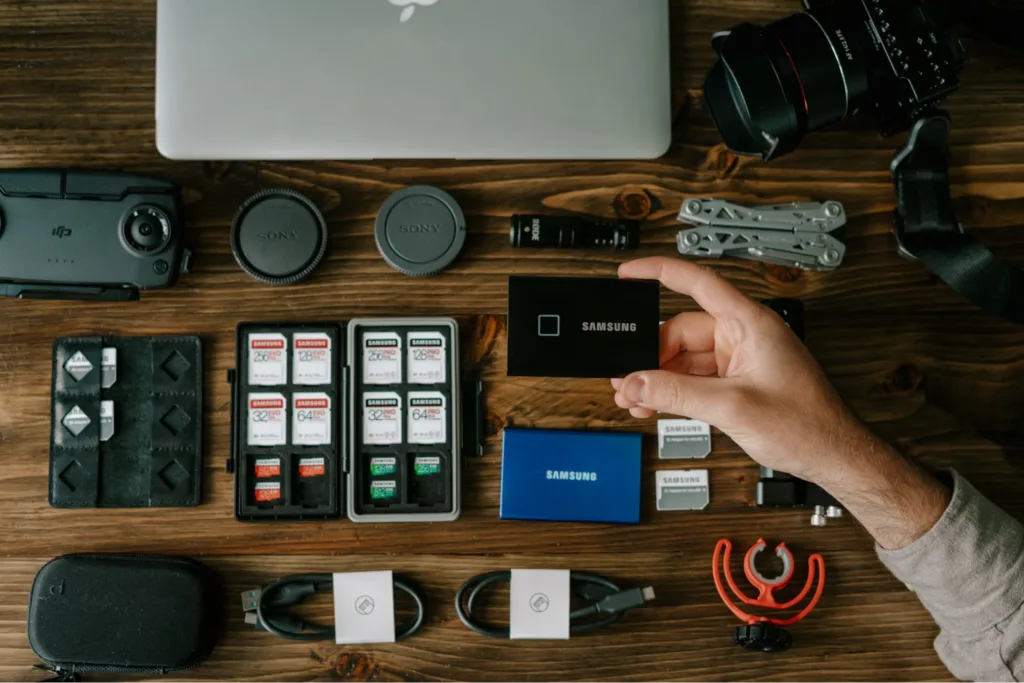
Cold temperatures can damage your electronics, so remove any portable devices and store them indoors. Keeping them in a warm place prevents battery damage and internal component issues.
For built-in electronics, disconnect and store the batteries separately. This prevents any potential damage from freezing temperatures and keeps your devices in good working order.
Consider using moisture-absorbing packets or silica gel in storage areas. These help reduce humidity and protect your electronics from moisture damage. Taking these steps ensures your gadgets stay safe and functional throughout the winter.
8. Cleaning Thoroughly: A Fresh Start

Before storing your RV for the winter, give it a thorough cleaning. Clean the interior, including floors, countertops, and all surfaces, to prevent mold and mildew. Empty all cabinets and wipe them down to keep pests away.
Don’t forget to clean the exterior as well. Wash and wax the RV to protect the paint and finish from winter weather. This helps keep your RV looking great and prevents damage from dirt and grime.
Empty and clean the refrigerator, then leave the doors open to prevent odors and mold growth. A spotless RV ensures a fresh start when you’re ready to hit the road again in the spring.
9. Covering the RV: Shield from the Elements

Protect your RV from harsh winter weather by using a high-quality cover. This shields the exterior from snow, ice, and UV damage. Make sure the cover is breathable to prevent moisture buildup underneath. Cover your vents and roof openings as well. Using vent covers ensures that snow and ice don’t accumulate and cause leaks.
Use tire covers to protect your tires from the elements. This prevents cracking and extends the life of your tires. A well-covered RV stays in better condition and is ready to hit the road when better weather comes.
10. Checking Regularly: Stay on Top of It
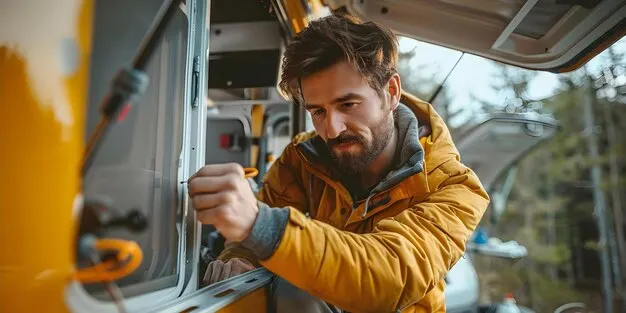
Make a habit of checking on your RV regularly throughout the winter. Look for any signs of leaks, pests, or other issues that might arise. Early detection helps prevent minor problems from becoming major repairs.
Start your RV’s engine and generator every few weeks. This keeps them in good working condition and prevents issues with starting when you’re ready to travel again. Check tire pressure and ensure covers are secure. Regular visits ensure that your RV stays in top shape and is ready for your next adventure when the warm weather returns.
Ready for Winter?
Winterizing your RV doesn’t have to be a daunting task. By following these steps, you can protect your RV from the harsh winter weather and ensure it’s ready to go when the warm months return.
So, what are you waiting for? Start winterizing your RV today and enjoy a worry-free winter. Stay warm and happy travels!
