
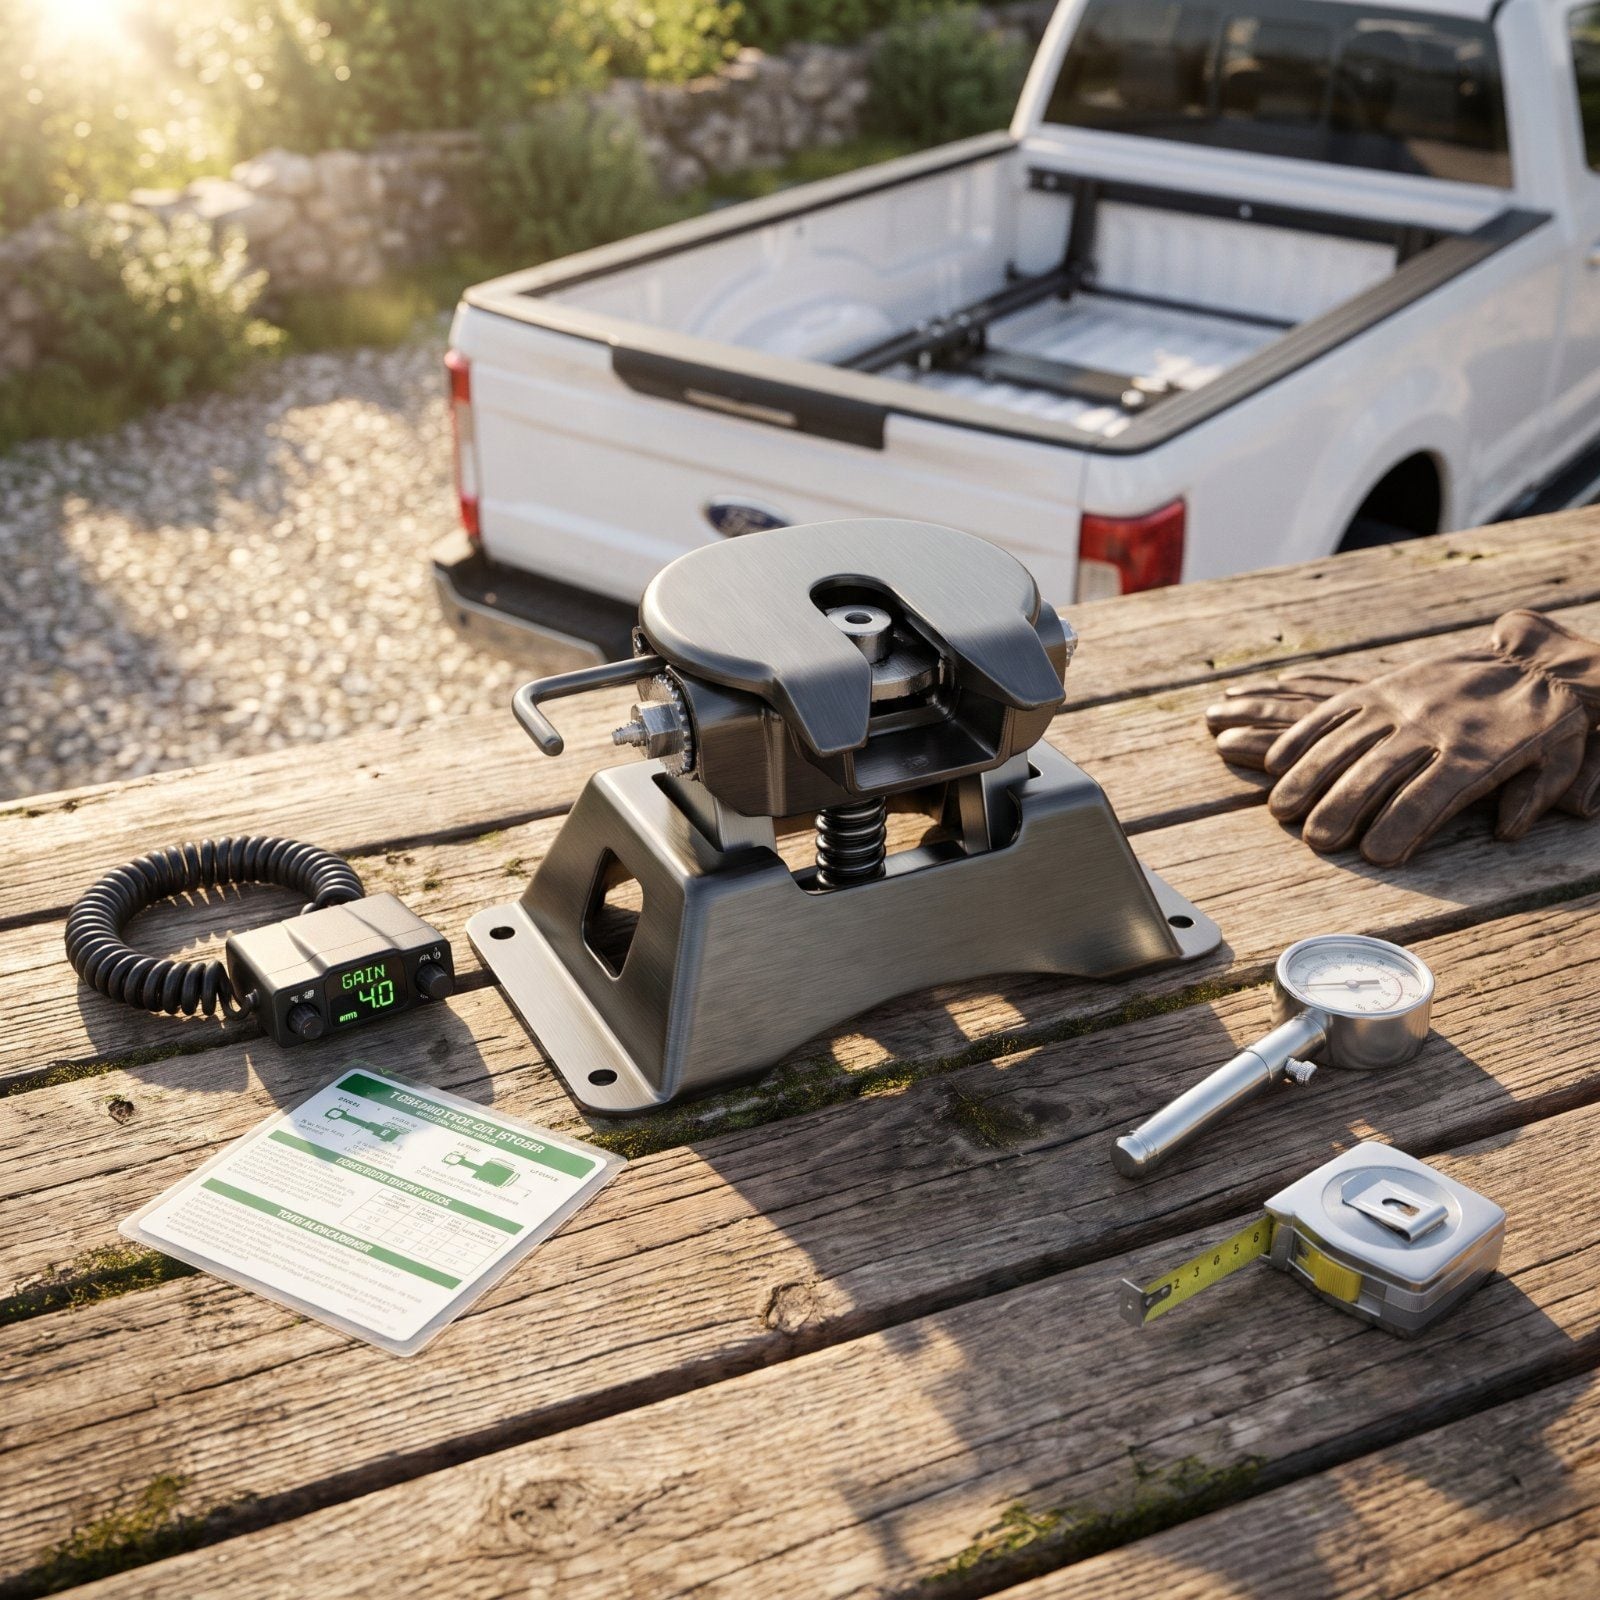
The dream dies in the dealership parking lot more often than on the highway. You fall for the floorplan, sign the papers, and only later do the math on whether your truck can actually pull the thing. Most fifth-wheel regrets trace back to a handful of decisions made out of order, or made in the dark, and the fixes turn out cheaper and simpler than the mistakes that follow. Here are the ones that bite new owners hardest, with exactly what to do instead before you ever hook up.
Please note that some of the images in this article were created with the assistance of AI.
46. Picking the Fifth Wheel First, Then Hoping the Truck Can Handle It
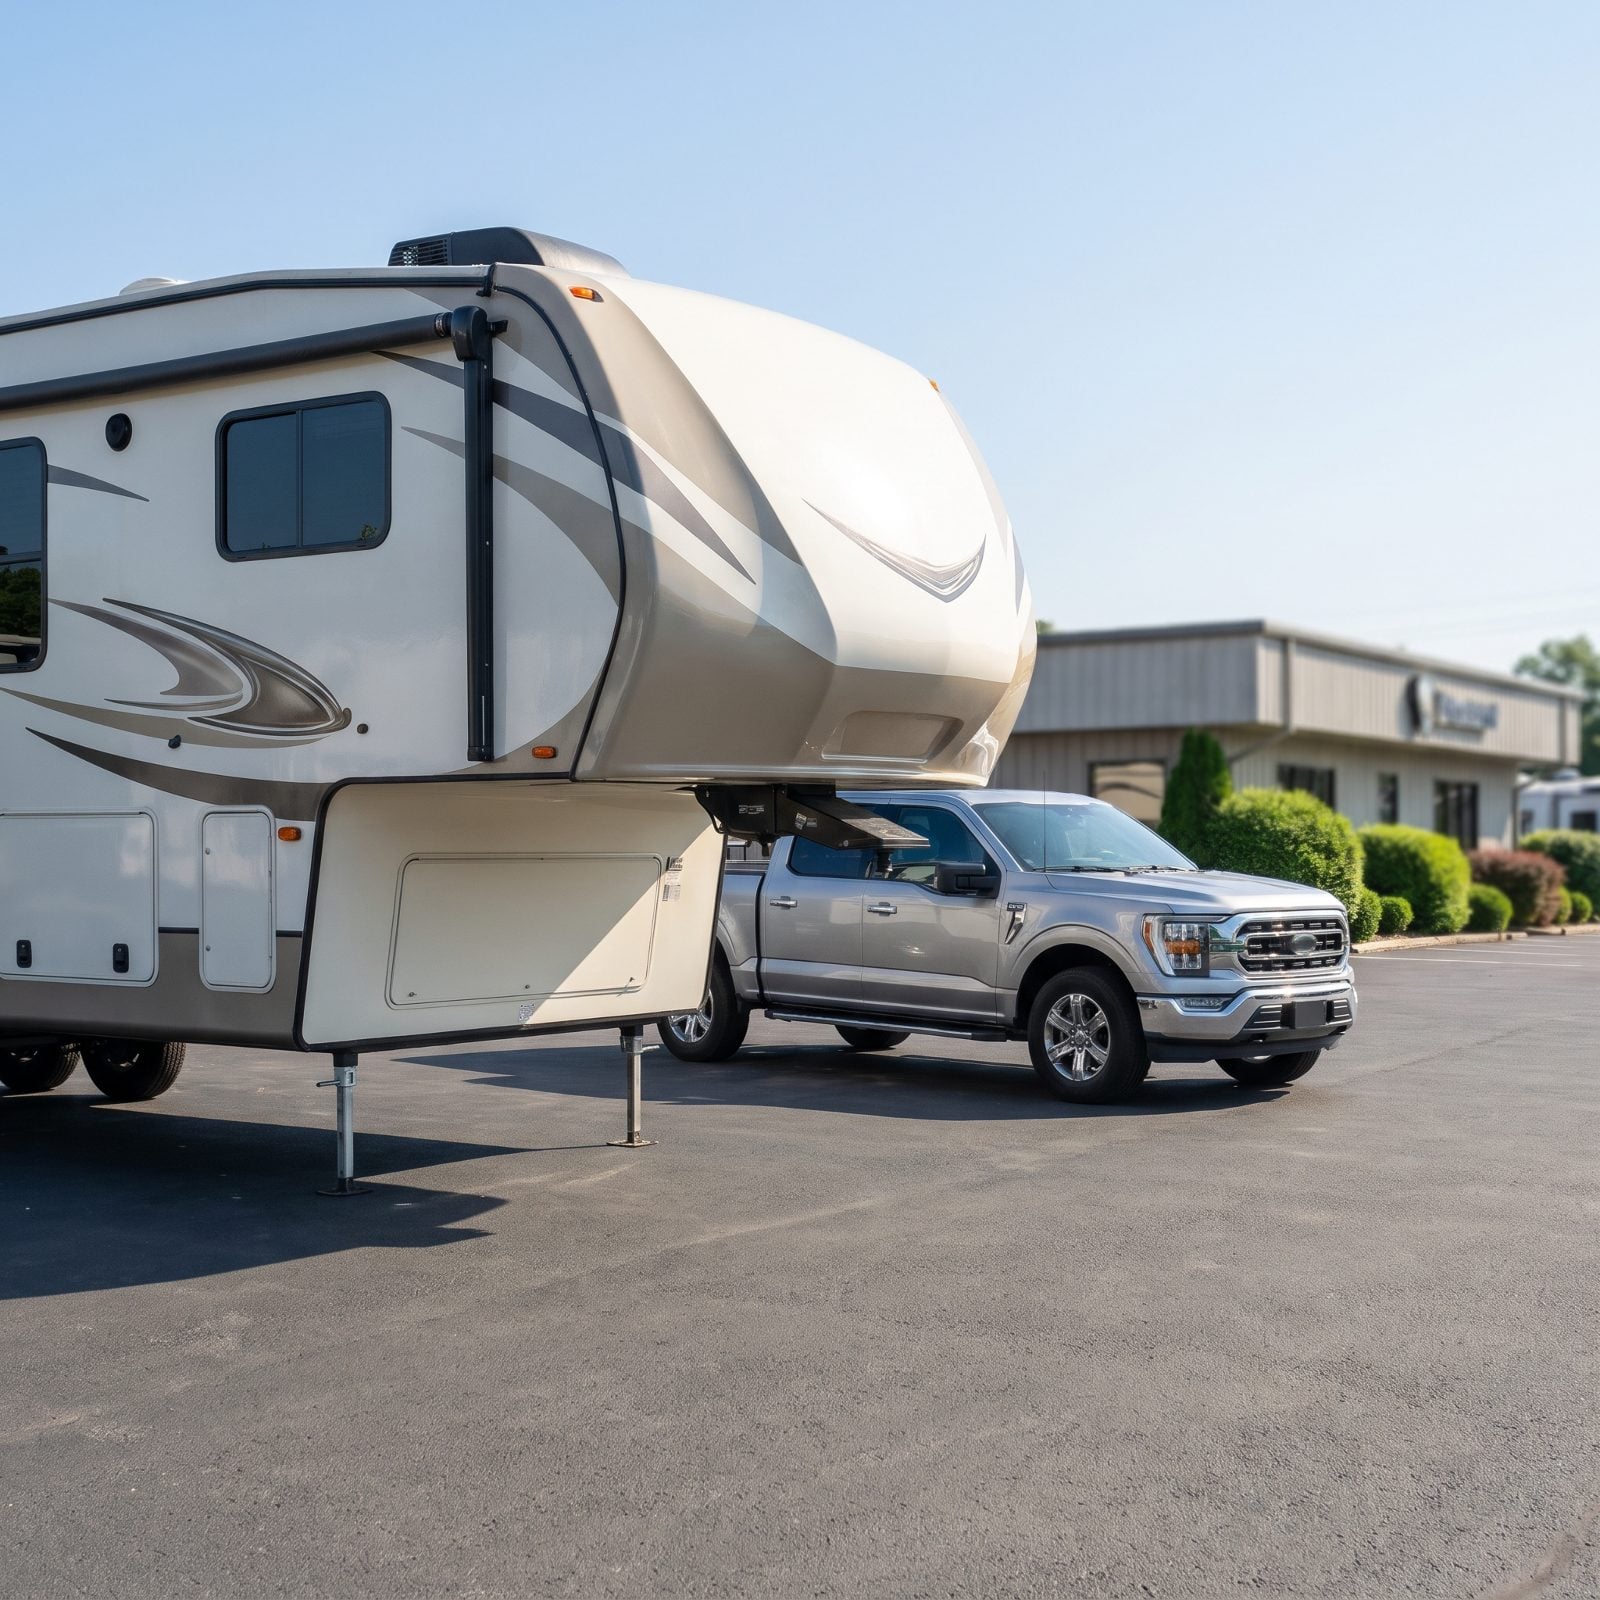
You walk the lot, fall for the kitchen island and the theater seating, and sign before anyone asks what’s in your driveway. The order is backwards.
Your truck is the limiting factor, not your taste. Match a 15,000-pound fifth wheel to a half-ton and you’ve bought a very expensive lawn ornament — or worse, a rig that squats, sways, and chews through brakes on the first mountain grade.
Start with the truck you own or plan to buy. Pull its real numbers first, then shop trailers that fit under them with margin to spare. We’ve seen owners trade trucks twice in one summer chasing a trailer they’d already parked in their yard. Floorplan second. Always.
45. Taking the Window-Sticker Tow Rating as Gospel
That big number in the brochure — the one that sold you on the truck — was measured on a stripped base model with a light driver and nothing else aboard. No cargo. No gear. No family.
Real towing eats into that figure fast, and if you lean on the advertised max, you’ll find yourself overweight without knowing it. The rating assumes a truck that doesn’t exist once you add your gear and your family.
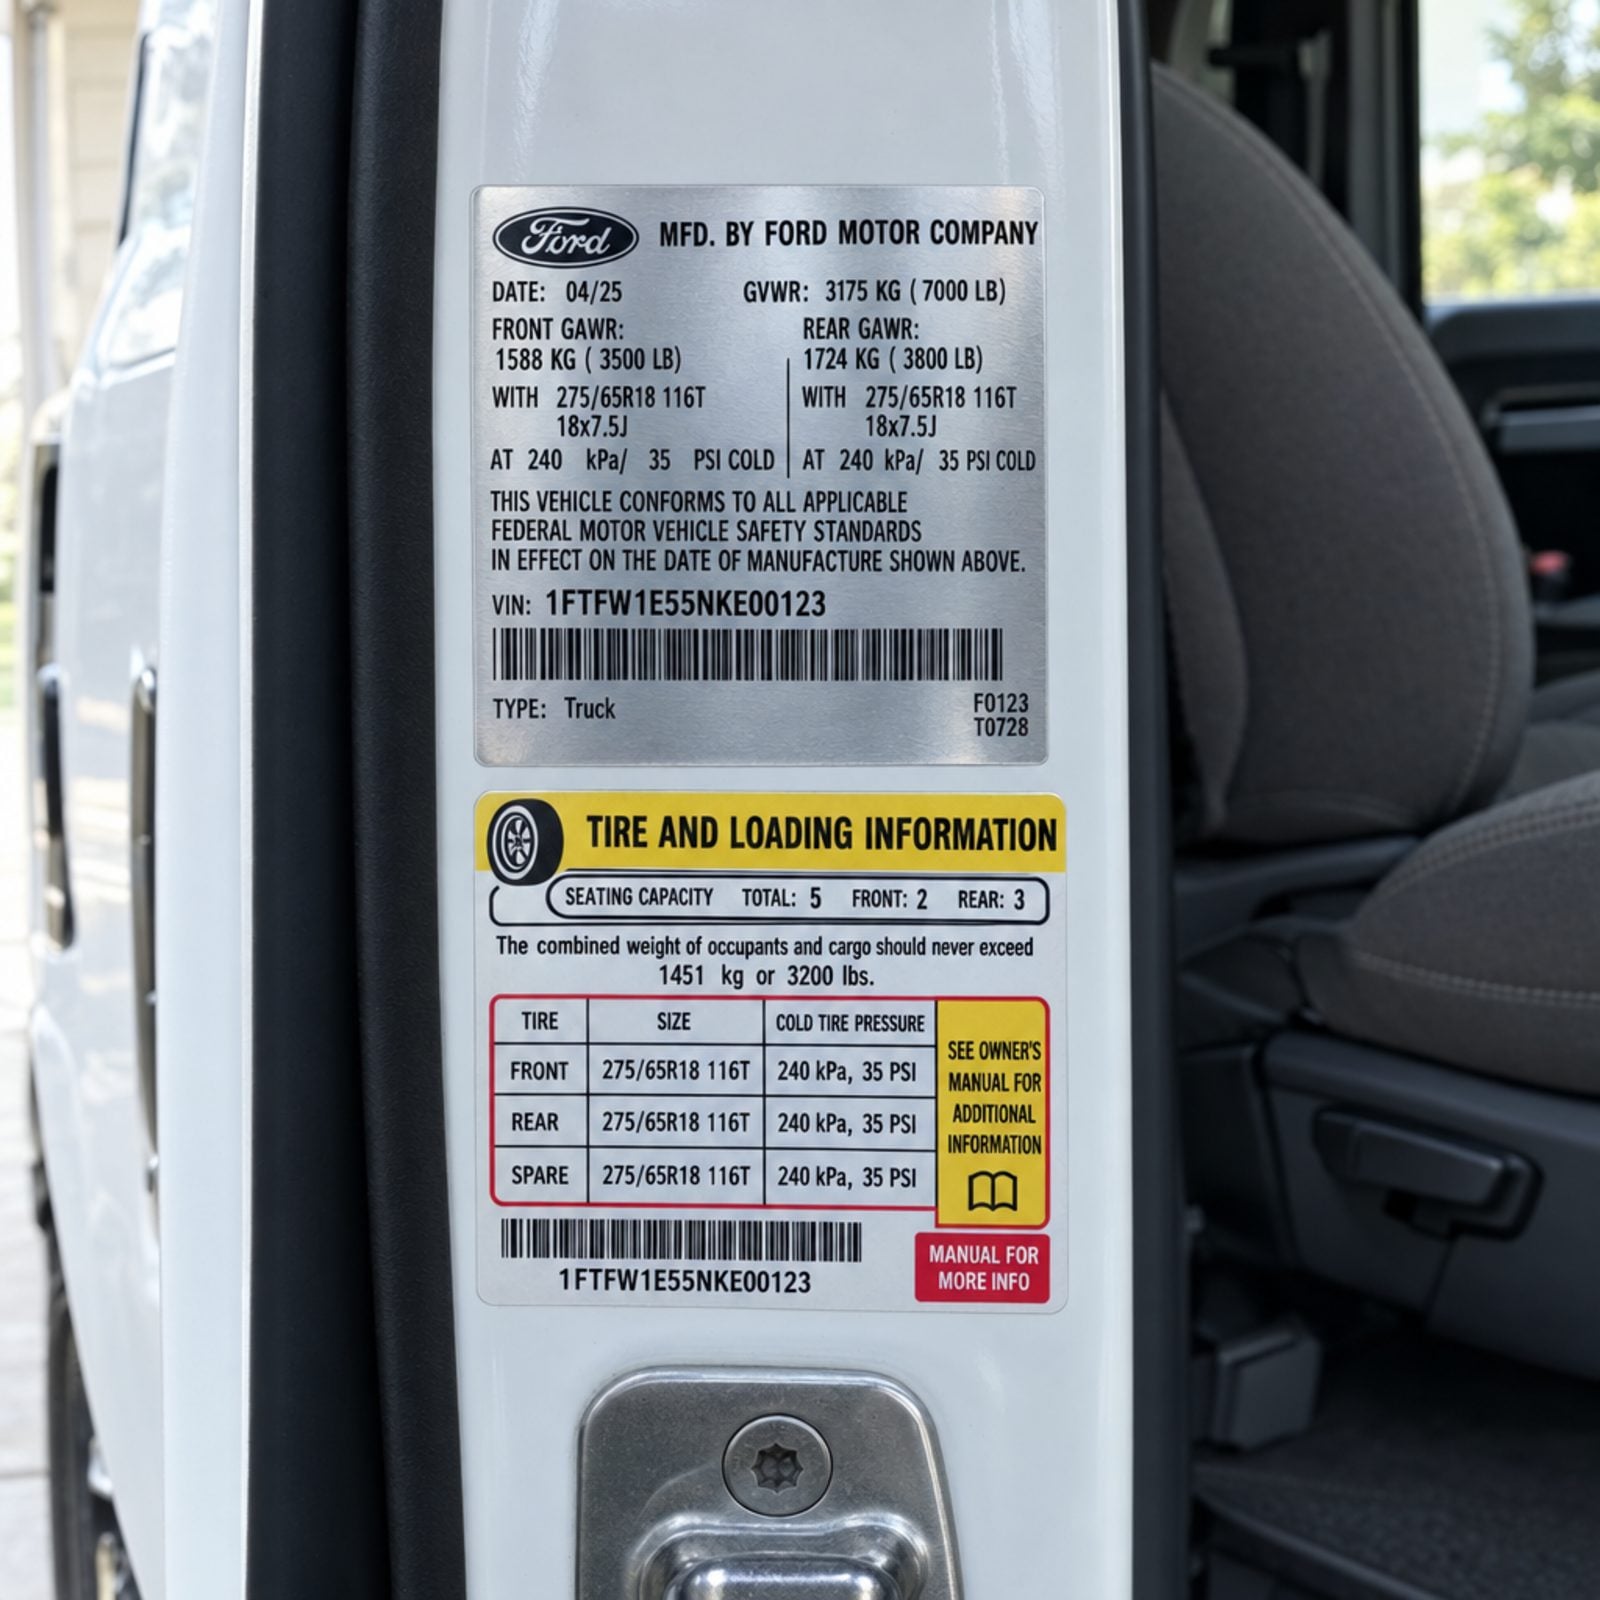
So ignore the ad. Find the yellow payload sticker inside the driver’s door and the GVWR and GCWR in your owner’s manual. Those are your truck, specifically yours, with its options and its engine. Do the subtraction from there.
44. Forgetting That People and Gear Eat Your Payload Alive
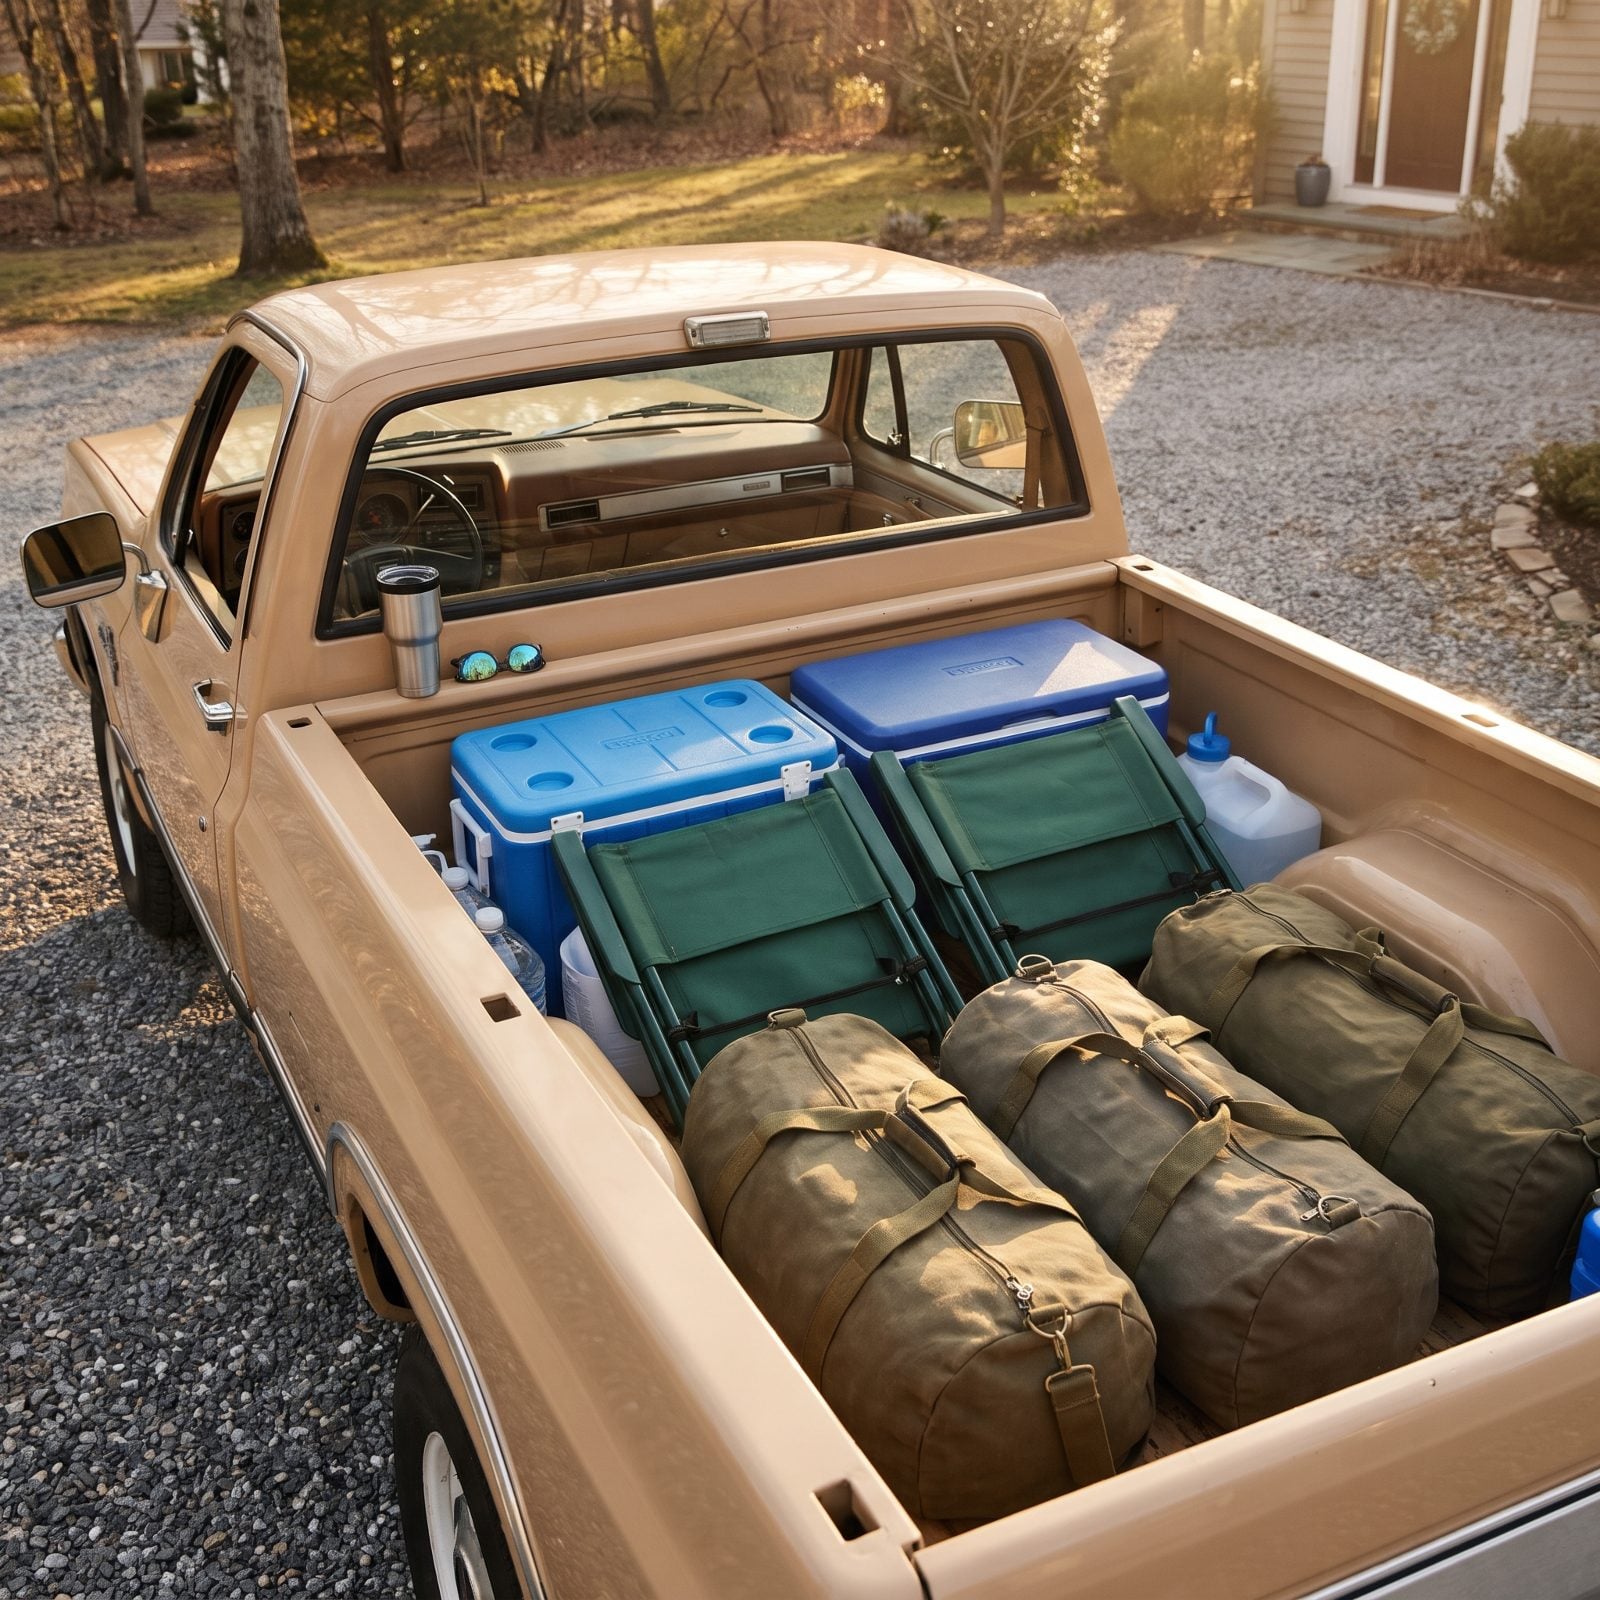
You remembered the trailer. You forgot the four people, the firewood, the generator, the full fresh-water tank, and the dog.
Payload is a budget, and every passenger and cooler draws it down before the hitch ever touches a pound. The pin weight of your fifth wheel lands on that same budget, so once the family piles in, there may be nothing left for the trailer at all.
Weigh your loaded truck — people and cargo included — before you connect anything, then subtract that from your GVWR. Whatever’s left is what you have for pin weight, not a pound more. And remember water runs about eight pounds a gallon, which means a full 60-gallon tank is nearly 500 pounds riding along for the whole trip.
43. Guessing at Pin Weight Instead of Measuring the Loaded Rig
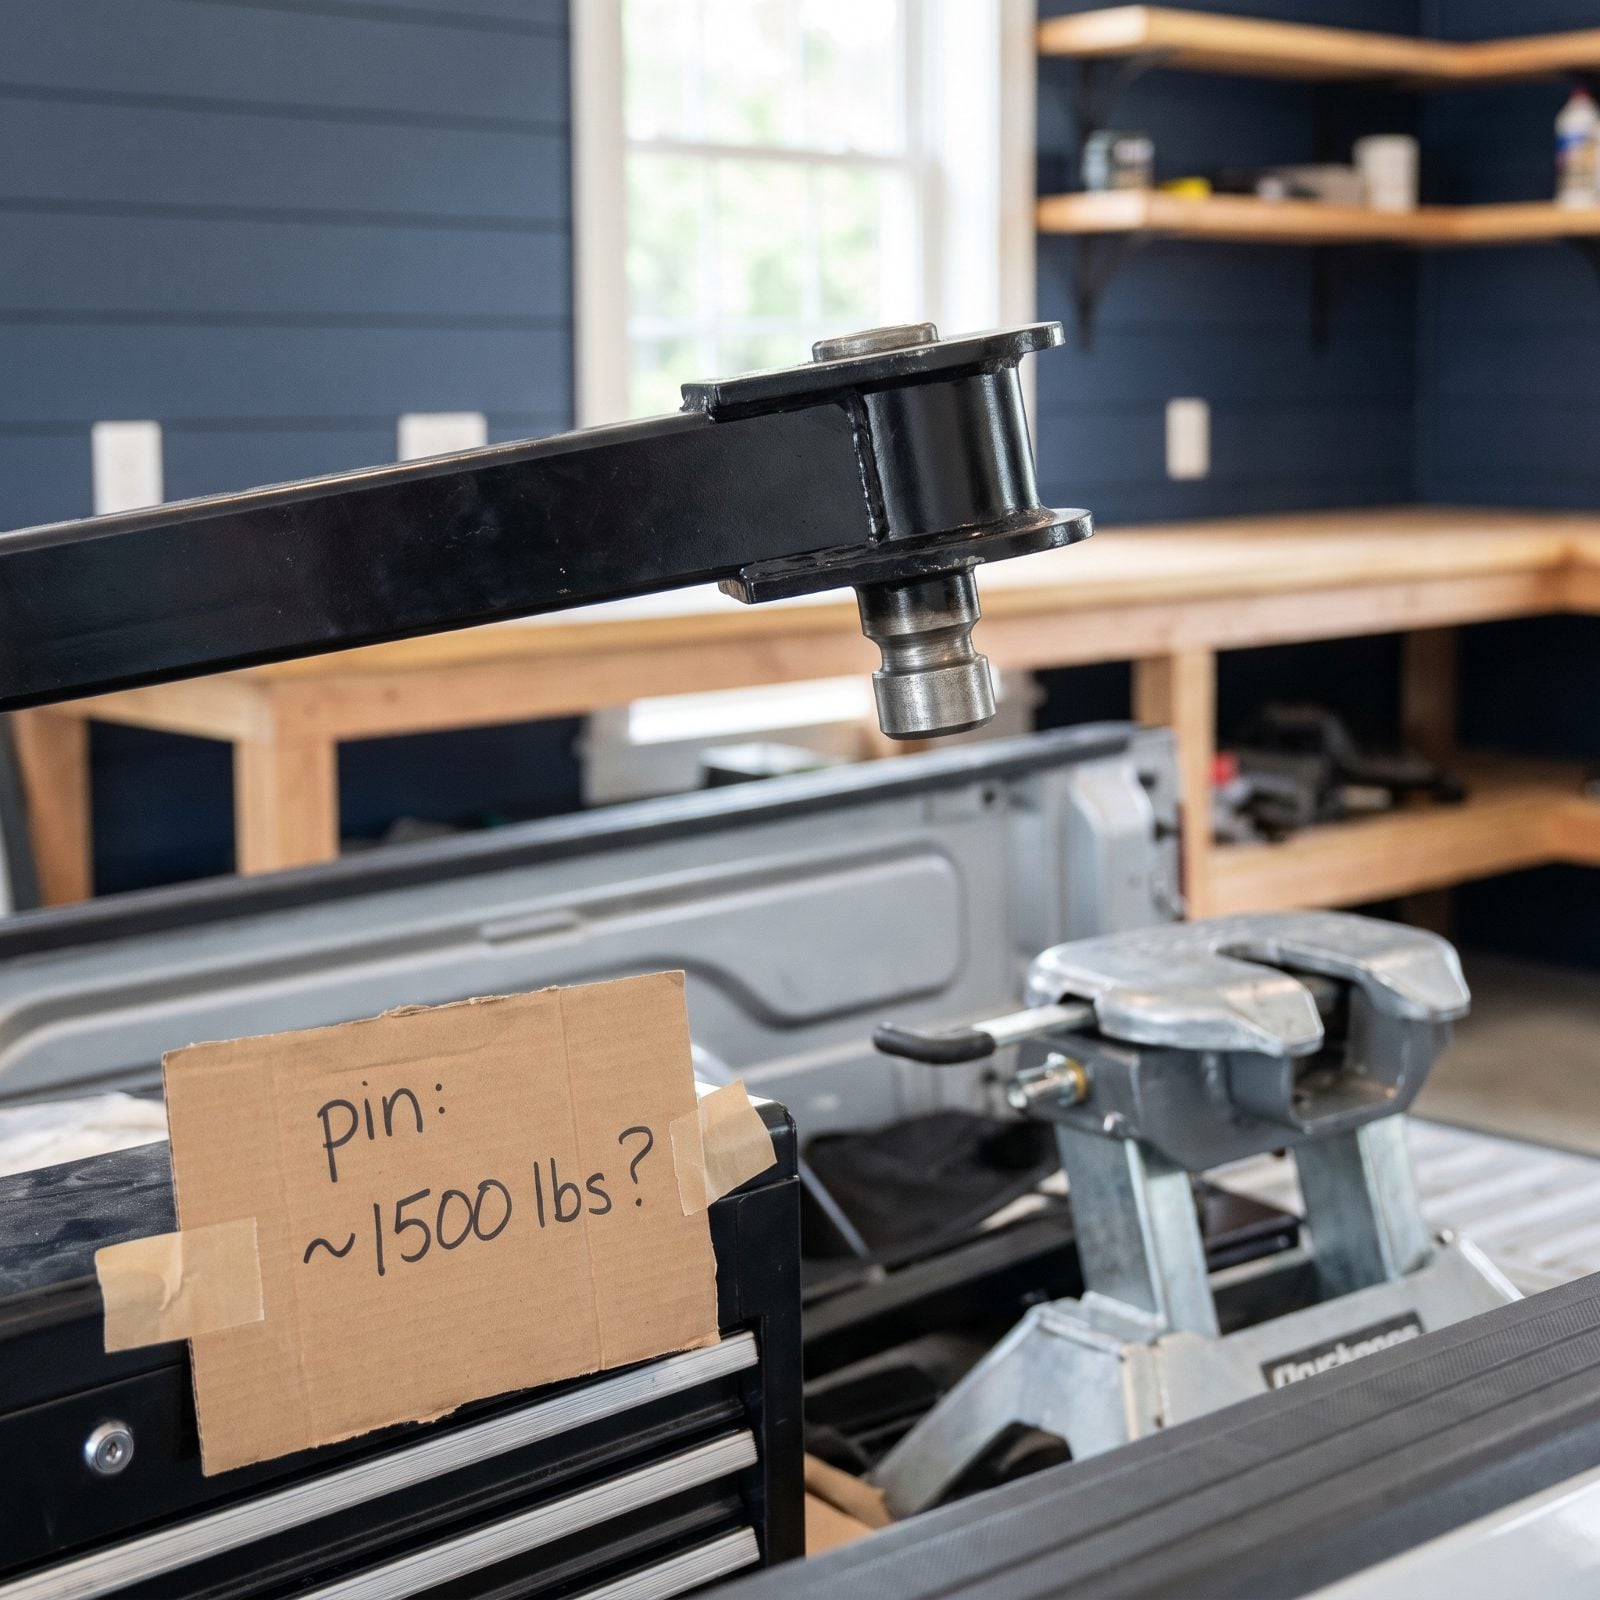
The dry pin weight on the spec sheet is a starting point and nothing more. Load the front storage bay, fill the fresh tank, stack the pantry, and that number climbs — sometimes by several hundred pounds.
A fifth wheel puts roughly 15 to 25 percent of its total weight on the pin. Guess low and you’ll overload the rear axle of your truck while the trailer rides nose-heavy and twitchy.
Don’t estimate. Load the trailer the way you actually camp, then weigh the pin. Many owners use a dedicated pin-weight scale or run the loaded rig across a public truck scale to measure it directly. Numbers you measured beat numbers you hoped for, every single time.
42. Never Rolling the Whole Rig Across a Real Scale
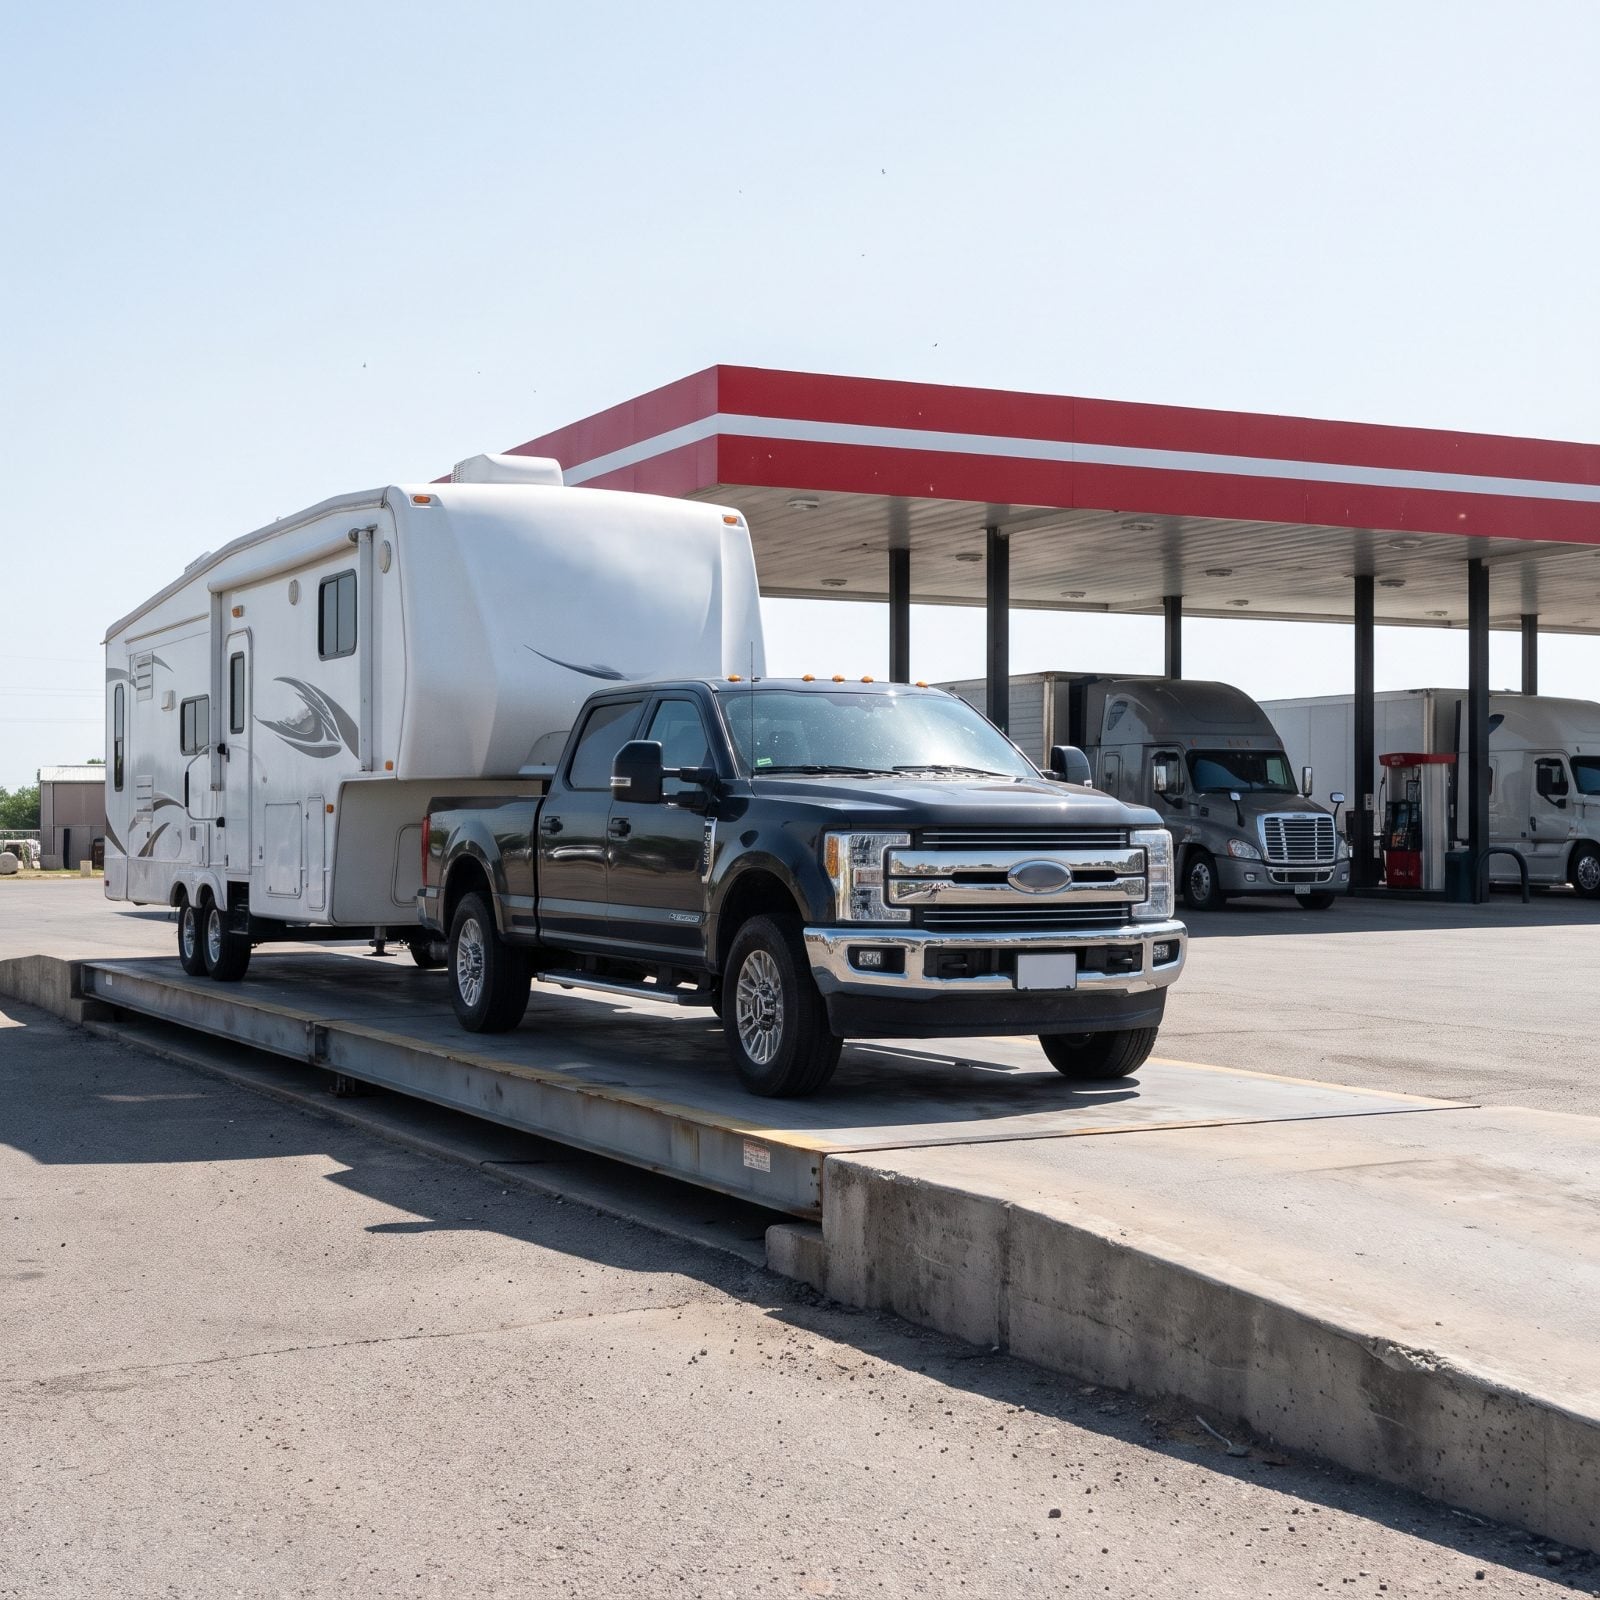
You did the math on paper and called it good. But paper doesn’t know how your gear actually settled, or that you threw in two more bins at the last minute.
A CAT scale at a truck stop costs about the same as a decent lunch and tells you the truth: front axle, rear axle, trailer axles, and total combined weight, each one checked against your limits. Skip it and you’re guessing with your family in the cab.
Weigh the loaded, hitched rig once you’ve packed for real. Then pull forward and weigh again to separate the truck’s axles from the trailer’s. Every number should sit under its rating with room to breathe.
41. Bolting On the Wrong Hitch for Your Truck Bed
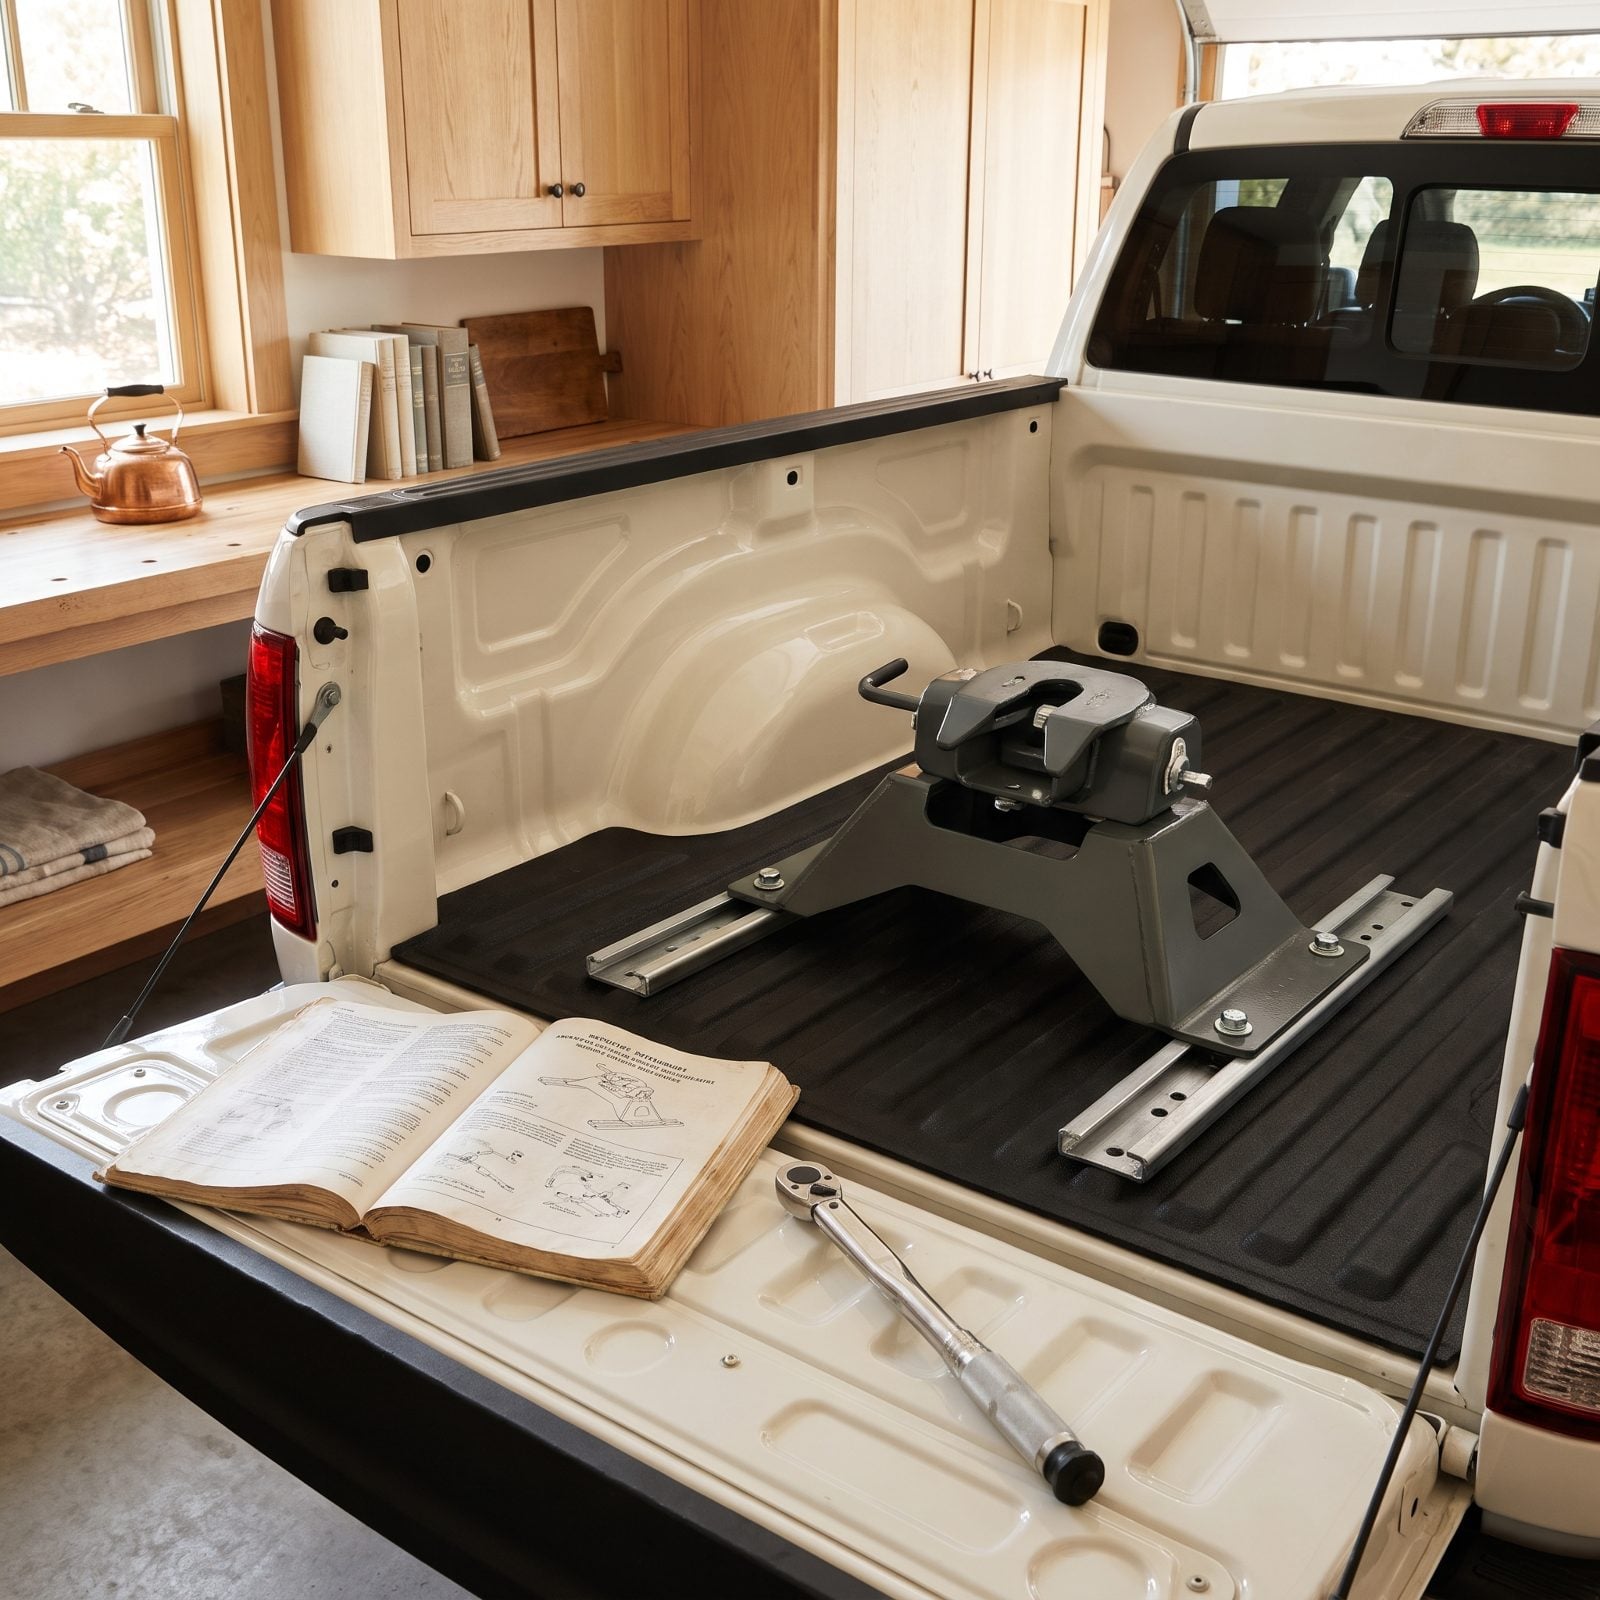
Not every hitch fits every truck, and the cheapest one on the shelf is rarely the one your truck was built to take.
Short-bed trucks, factory puck systems, gooseneck-only setups, air-ride suspensions — each demands a specific hitch, and the wrong choice means wobble, poor weight transfer, or a mounting kit that doesn’t line up with your frame rails at all. A hitch that’s under-rated for your pin weight is a safety problem you installed yourself.
Match the hitch to three things: your truck’s bed length, its mounting system, and your loaded pin weight with margin. Got a factory puck system? Buy a hitch designed for it instead of fighting an aftermarket rail kit into place.
40. Skipping a Slider Hitch on a Short-Bed Without Checking the Turn
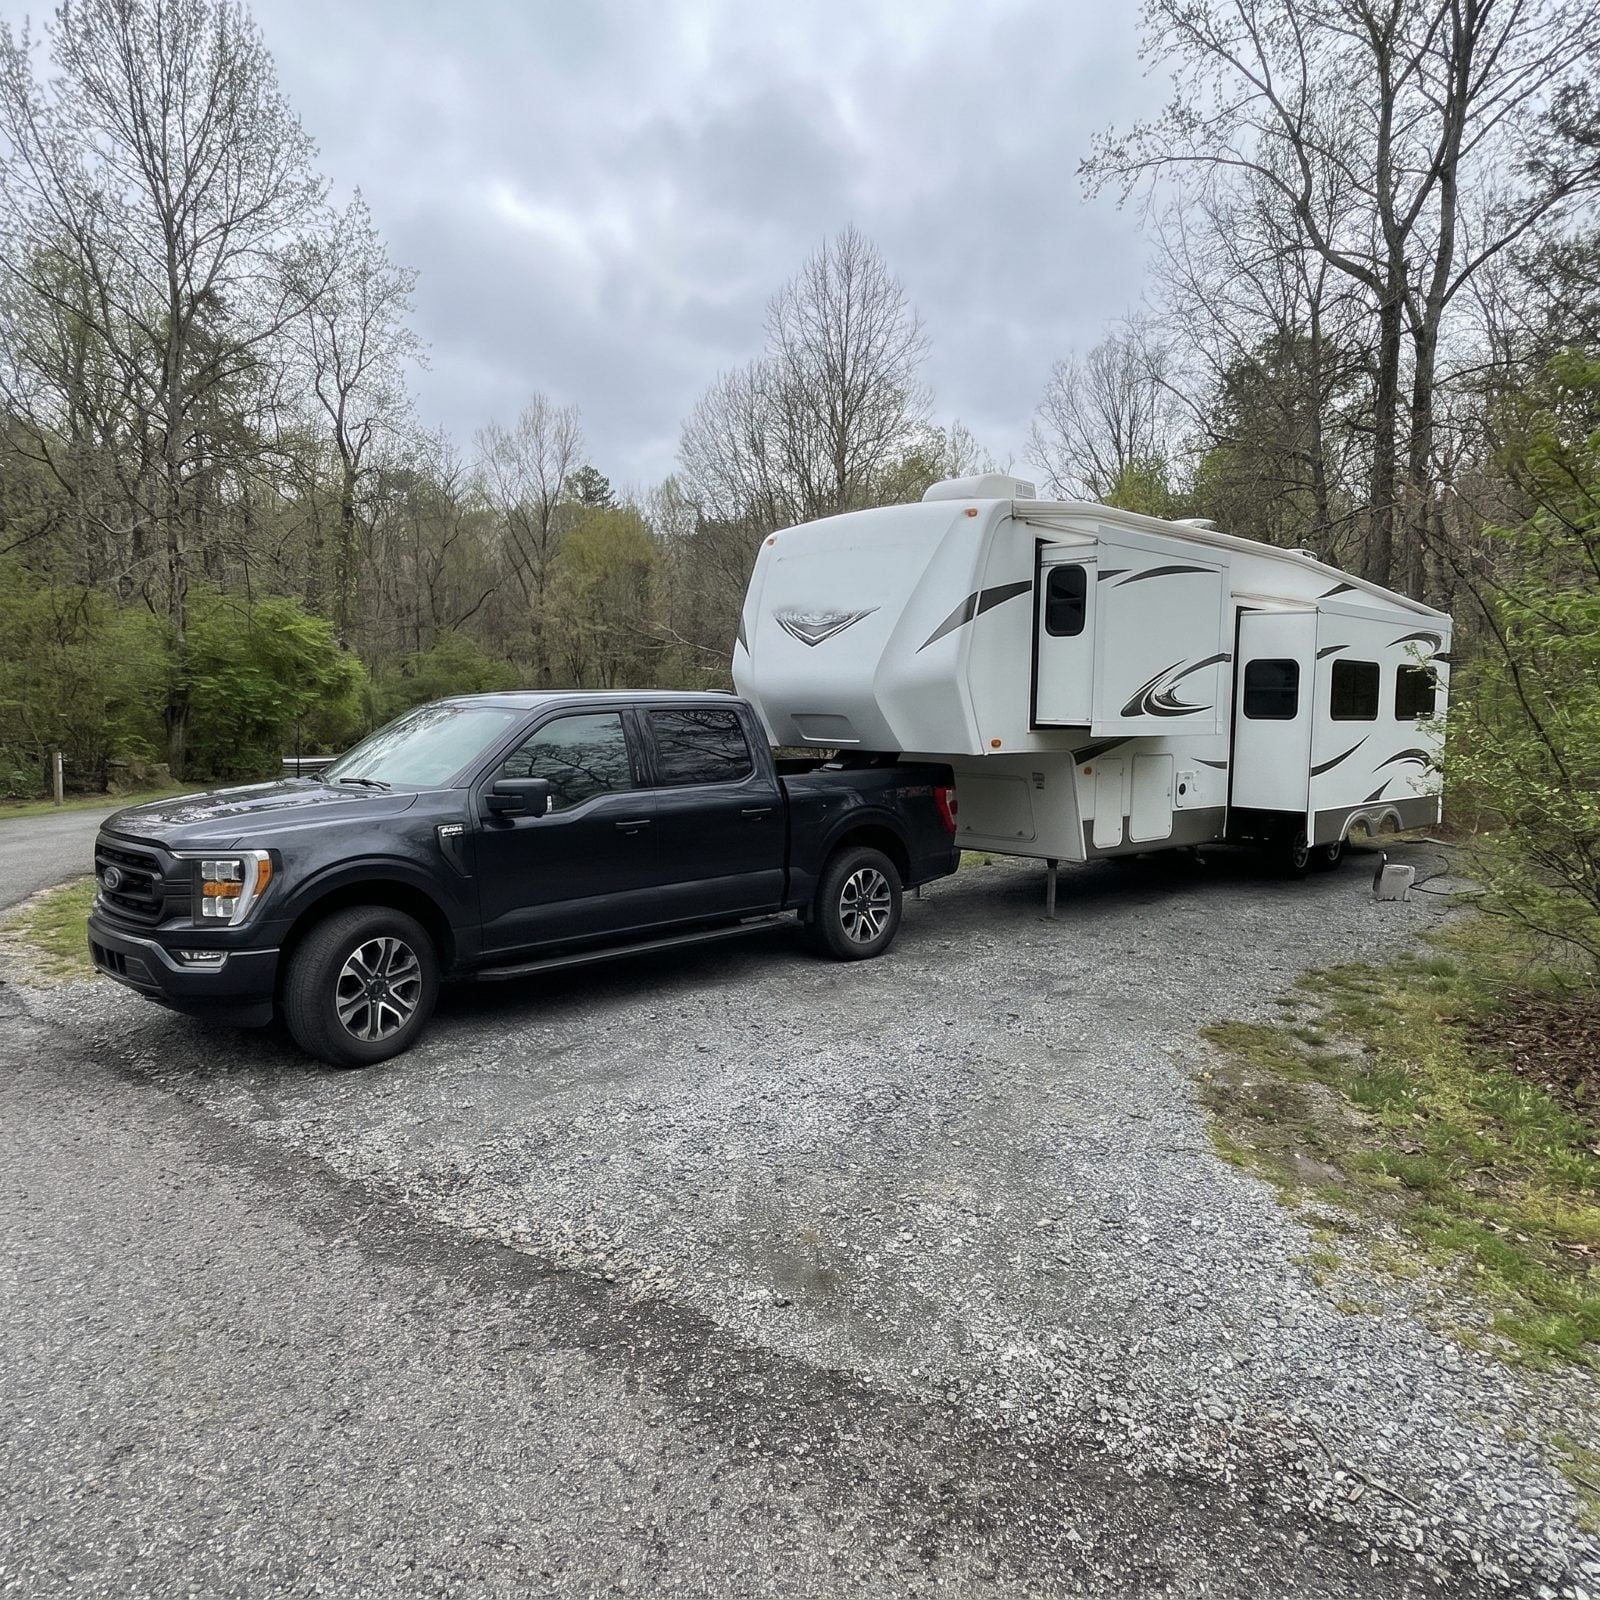
Short-bed trucks and fifth wheels have a geometry problem. Crank the wheel hard at a campsite or a gas station, and the trailer’s front cap swings toward the back of your cab.
With a fixed hitch and not enough bed length, that swing ends with the trailer corner caving in your rear window. It happens slow, at walking speed, and it still ruins your day.
Measure your cab-to-cap clearance before you commit to a fixed hitch. If a 90-degree turn brings the cap within a few inches of the cab, you want a sliding hitch that moves the pivot point back during tight maneuvers. Then practice slow turns in an empty lot before you trust it on a crowded loop.
39. Overlooking the Gap Between Your Bed Rails and the Trailer’s Overhang
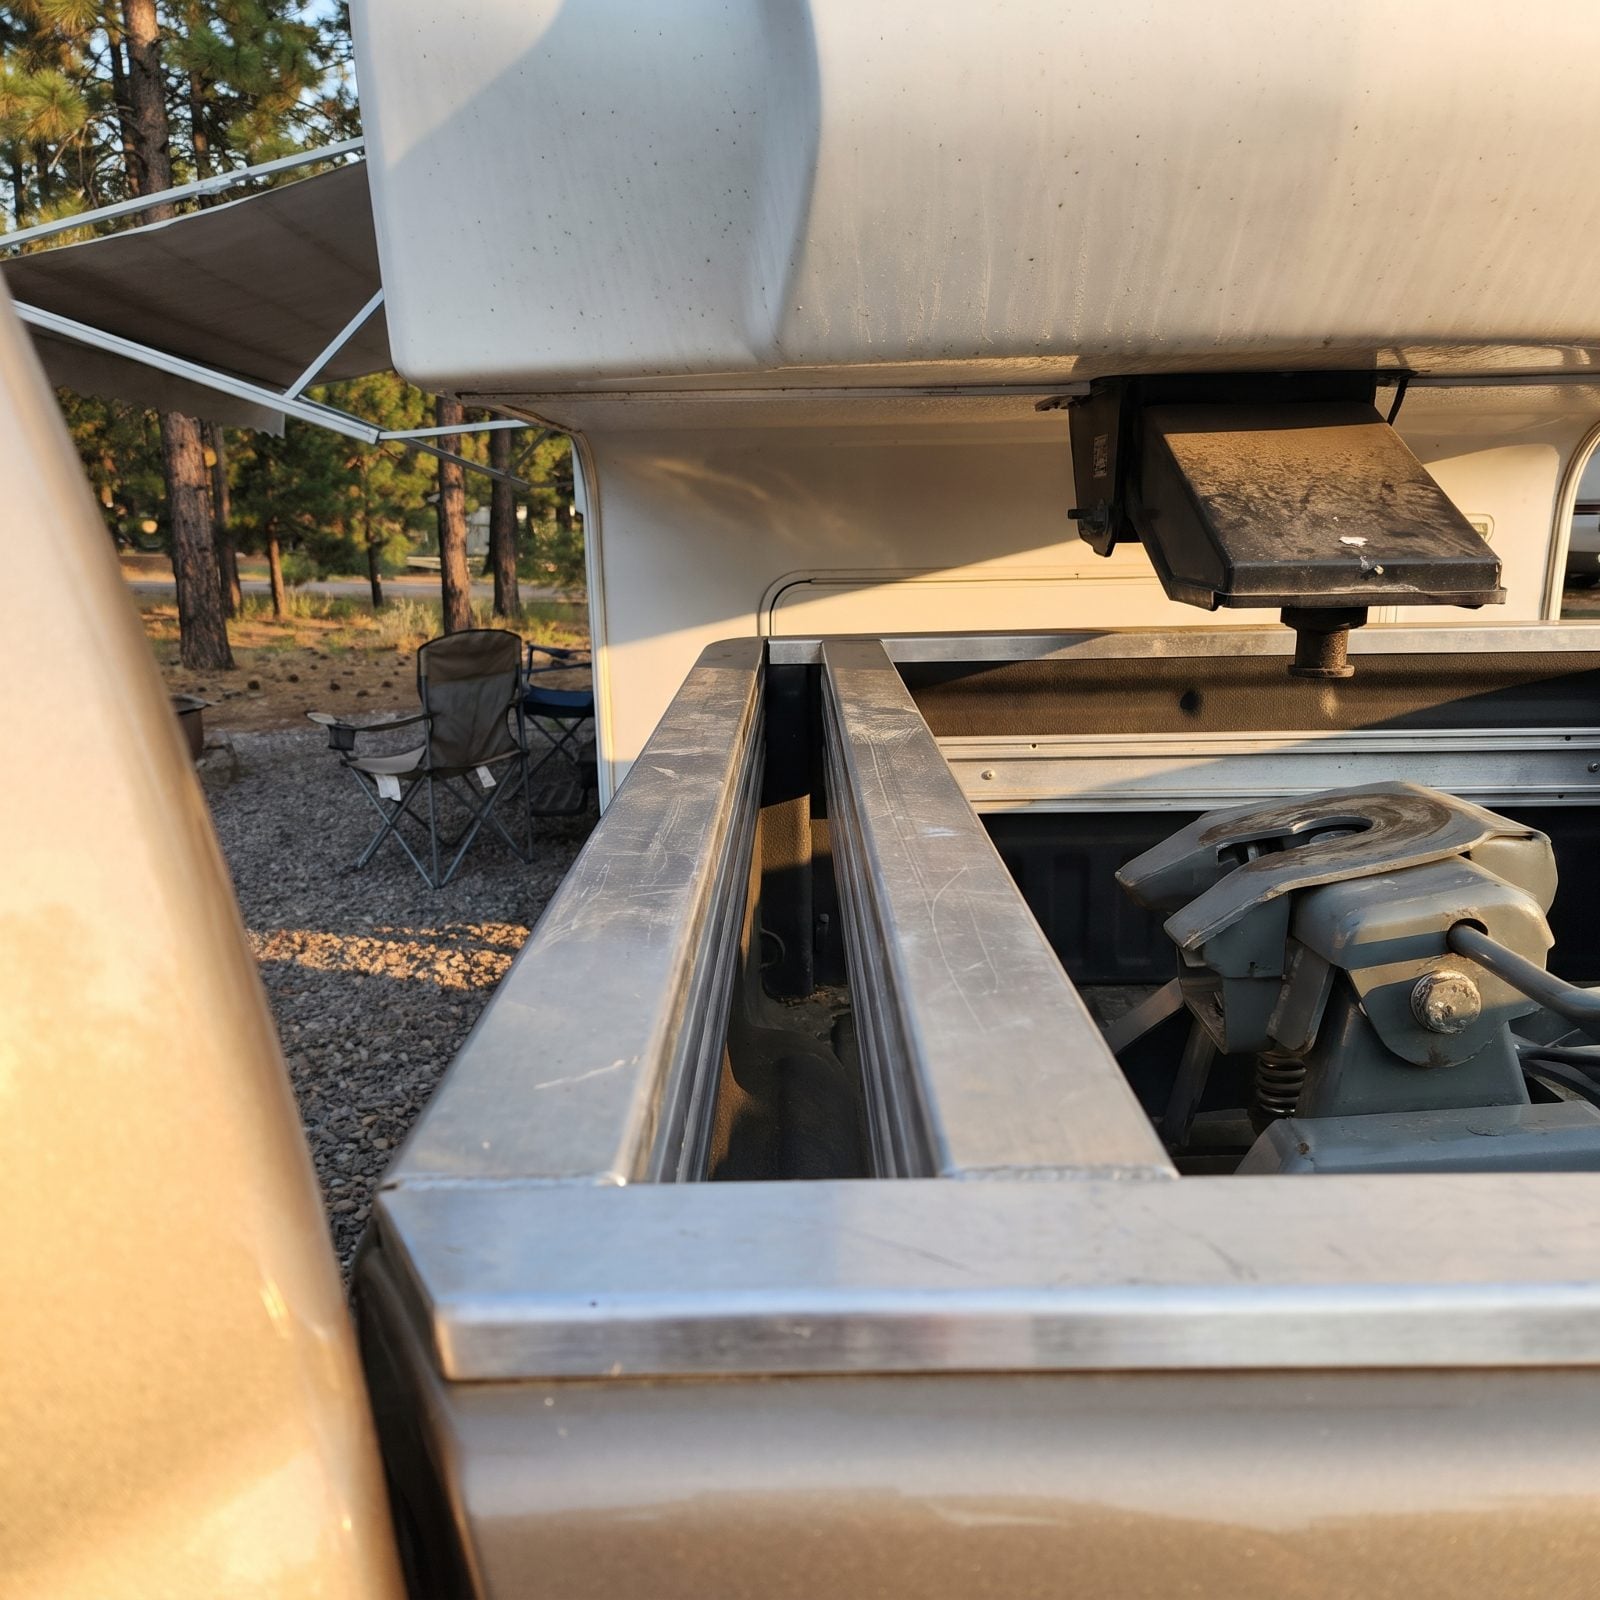
The overhang of the fifth wheel sits above your truck bed, and the distance between the bottom of that overhang and the top of your bed rails is a number most new owners never check.
Hit a dip, a steep driveway, or a sharp grade transition with too little clearance, and the overhang slams down onto the rails. Crushed sheet metal on both the trailer and the truck, right where two roads meet at an angle.
You want roughly six inches of clearance at the bed rails when hooked up and level. Measure it with the rig loaded and the landing gear raised. Too little, and a taller pin box or a hitch adjustment usually fixes it before it becomes a repair bill.
38. Towing With a Brake Controller That’s Never Been Dialed In
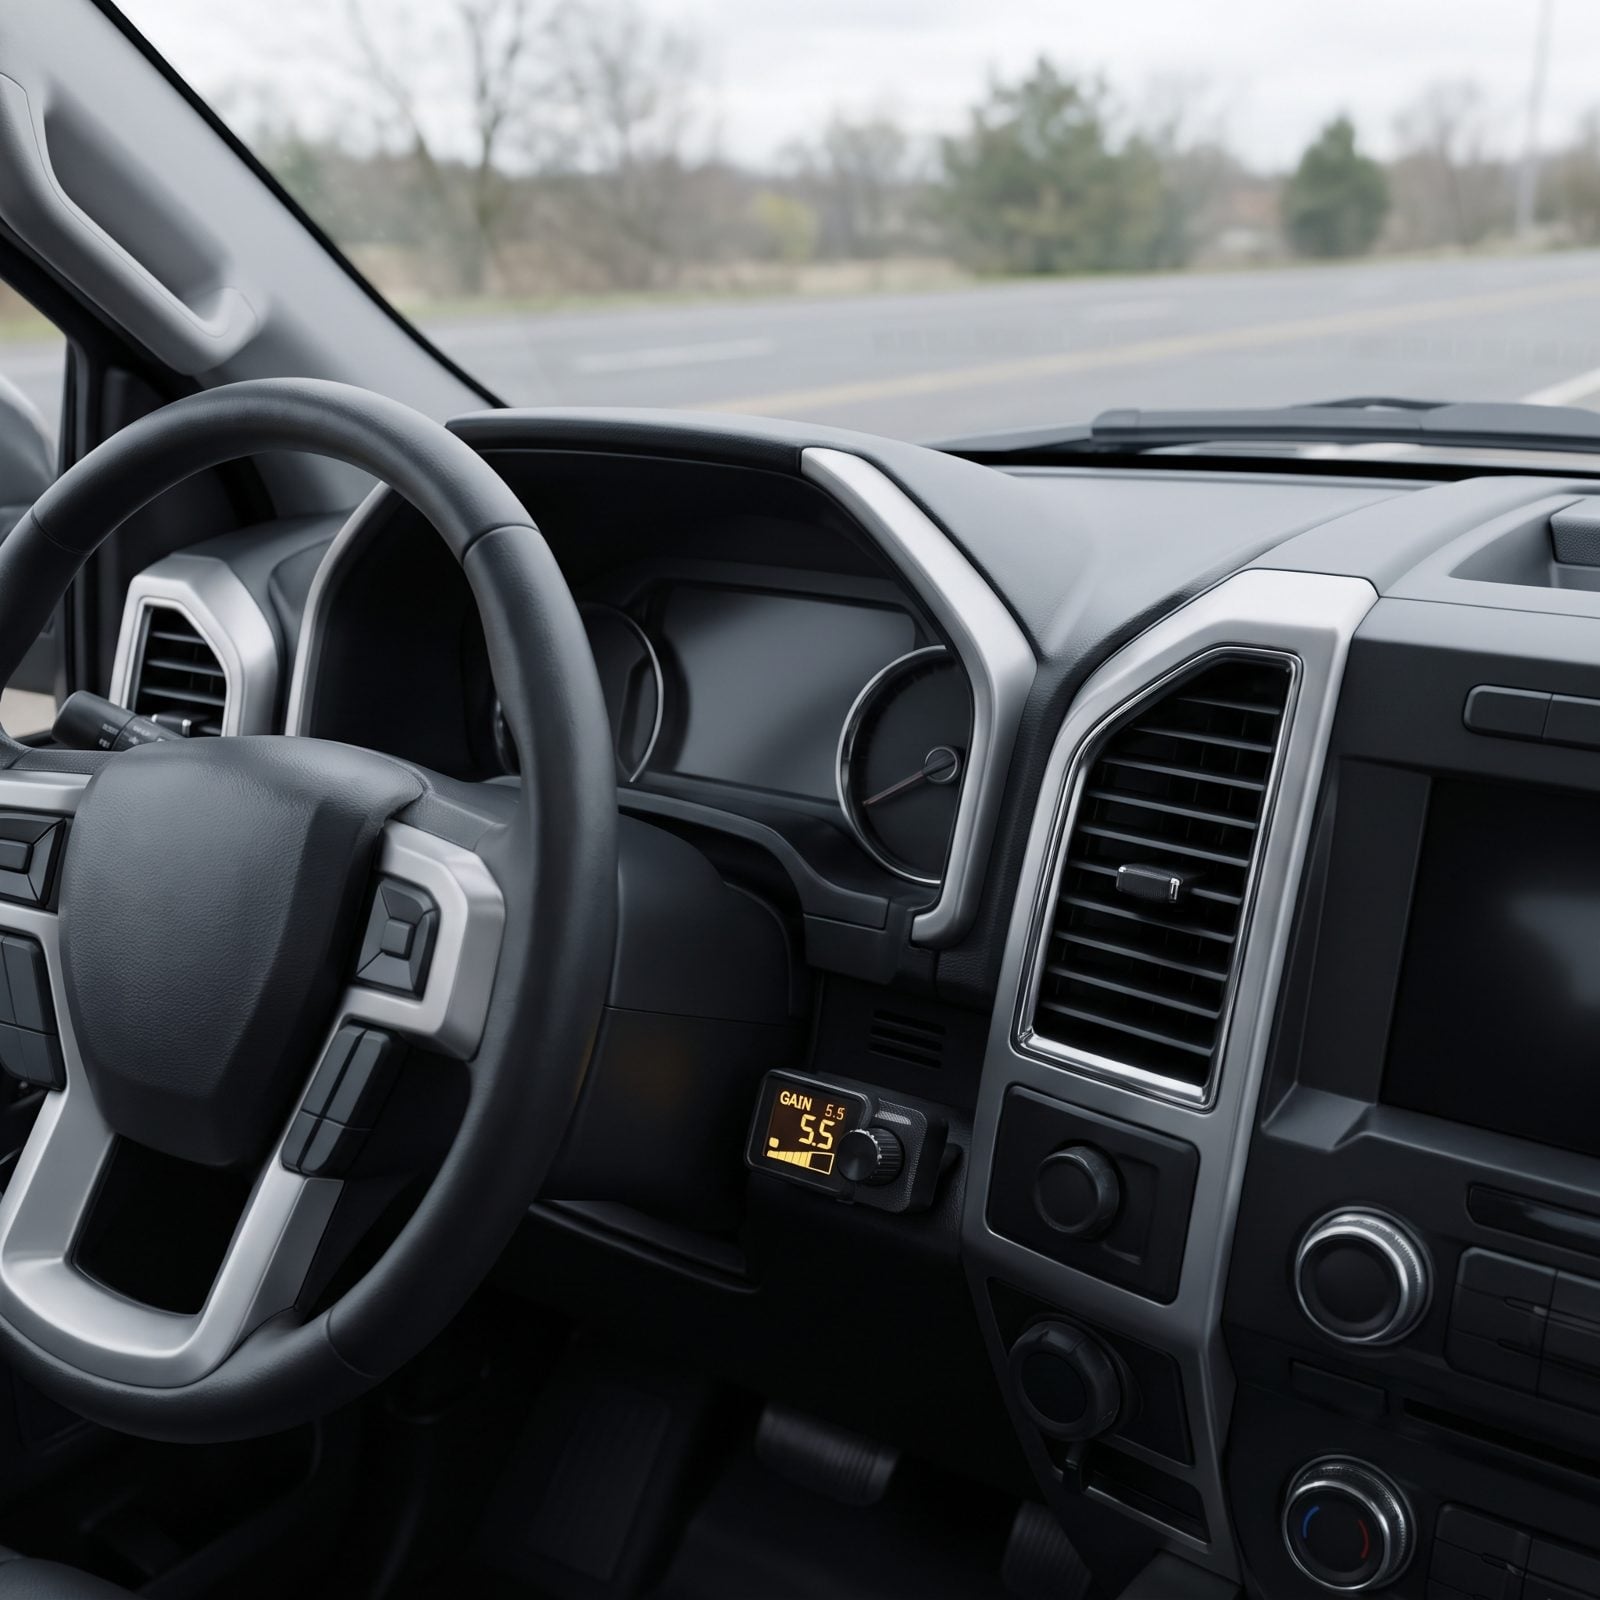
The brake controller came with the truck, you plugged in the trailer, and you assumed it just works. It doesn’t — not until you set the gain for the actual weight behind you.
Set it too low and the trailer pushes your truck through every stop, piling all the braking onto the truck alone. Set it too high and the trailer brakes lock and skid, which is its own kind of scary in the rain.
Dial the gain in on an empty stretch of road. Get up to about 25 miles an hour, use the manual slide or lever to apply only the trailer brakes, and adjust until the trailer slows firmly without grabbing or skidding. Redo it whenever your load changes a lot.
37. Clipping the Breakaway Cable to the Wrong Spot
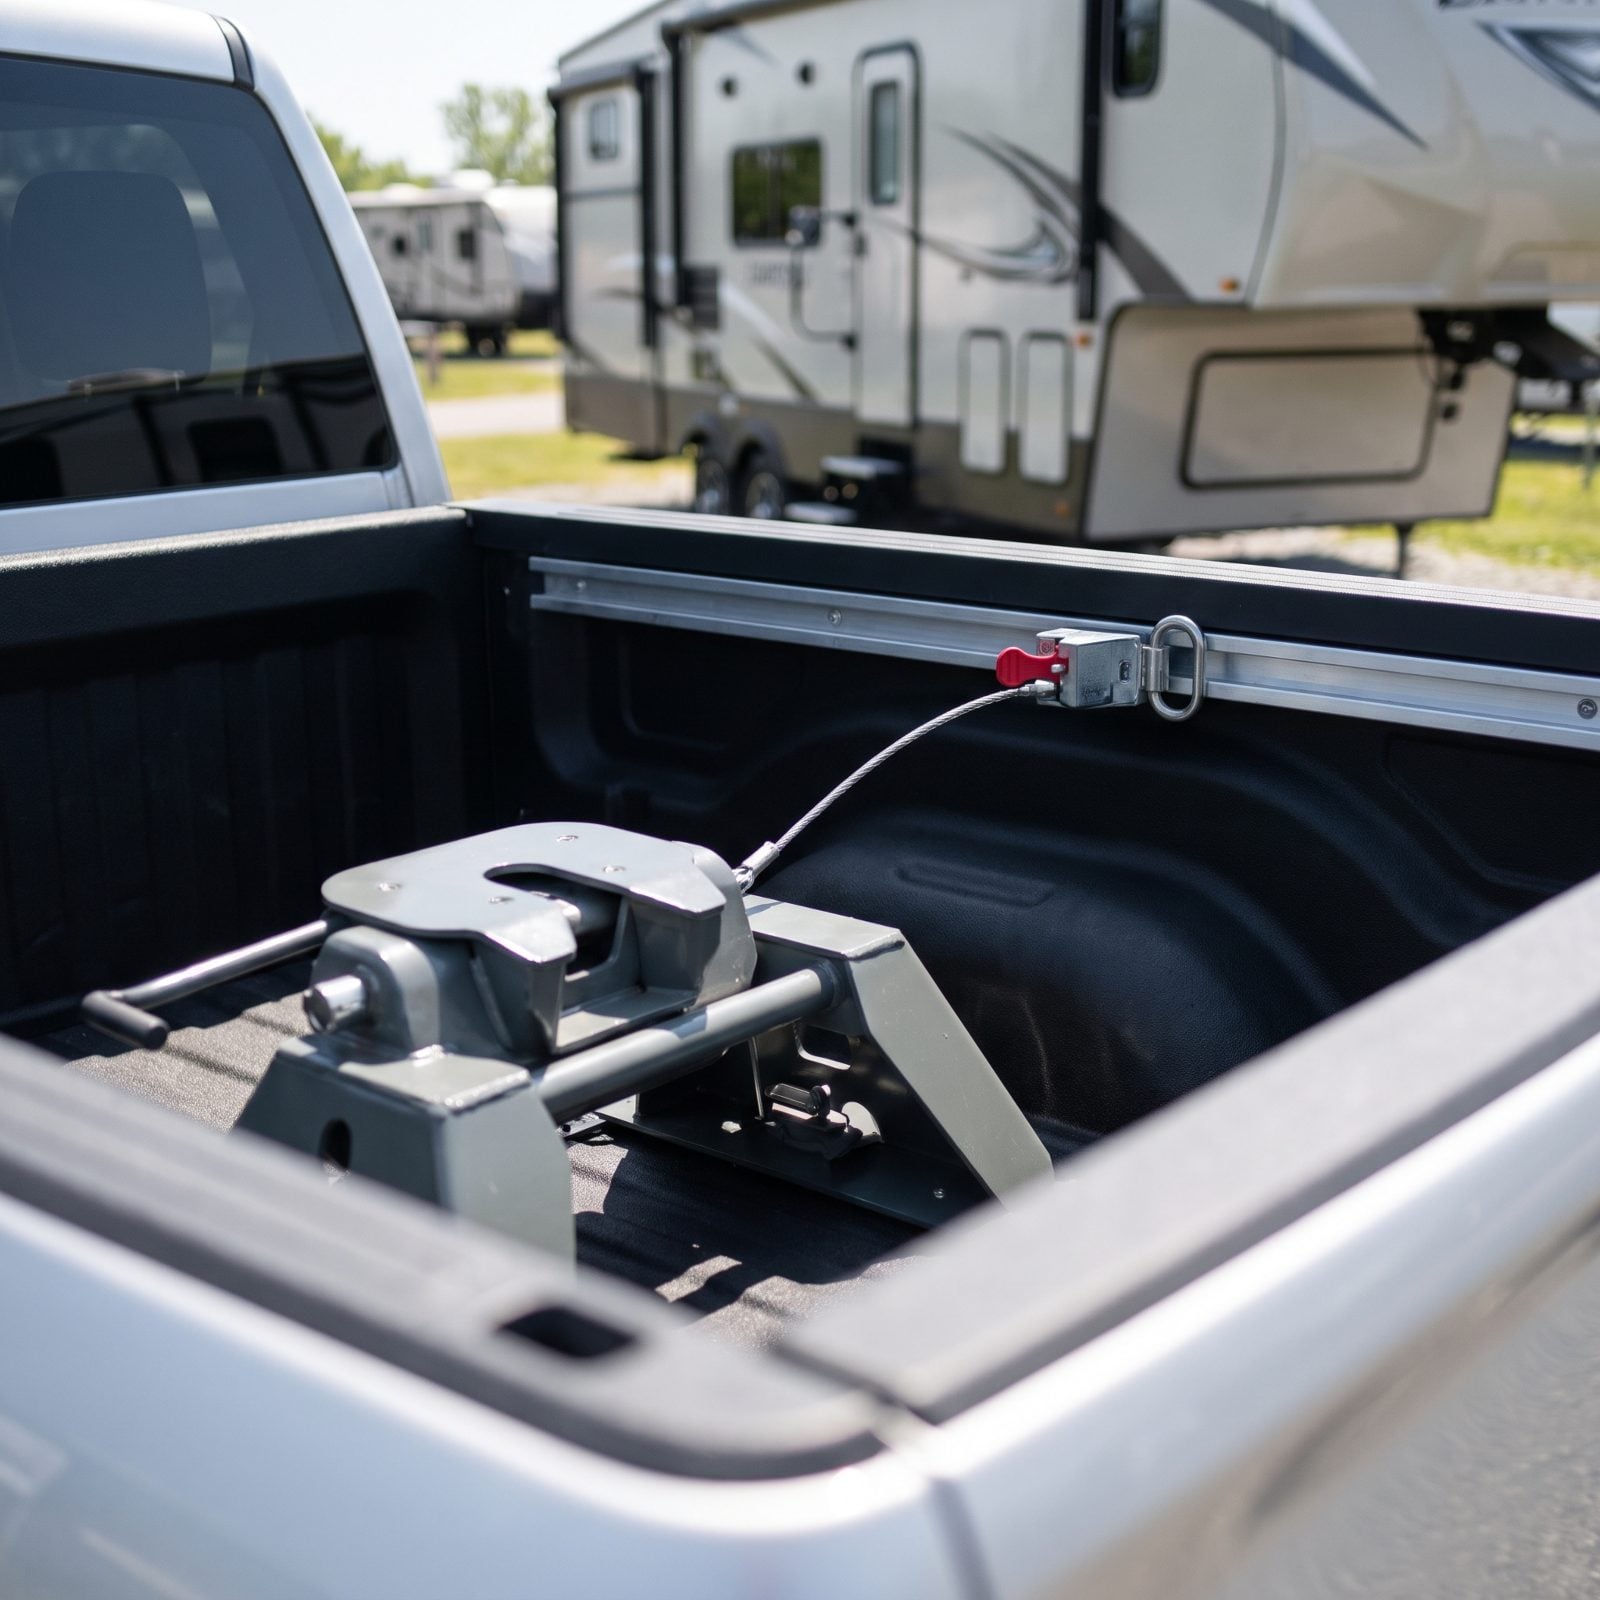
The breakaway cable is the quiet hero of the hitch, and plenty of owners clip it to the easiest thing in reach — often the hitch head itself, with the red switch bolted to the truck’s bed rail instead of the trailer.
Here’s the problem. If the trailer ever separates from the truck, the breakaway is supposed to yank its pin and lock the trailer brakes. Mount the switch on the truck instead, and even if the pin pulls, nothing happens, because the switch isn’t wired to the trailer’s brakes or battery. A runaway trailer with no brakes is the exact thing the cable exists to prevent.
So keep the switch on the trailer and attach the cable to a fixed point on the truck, such as a bed-rail anchor, never to anything that detaches with the trailer. Leave enough slack for tight turns, but not so much that it drags. And check the switch and battery at the start of every season so it actually works when you need it.
36. Skipping a Visual Inspection of the Hitch Jaws
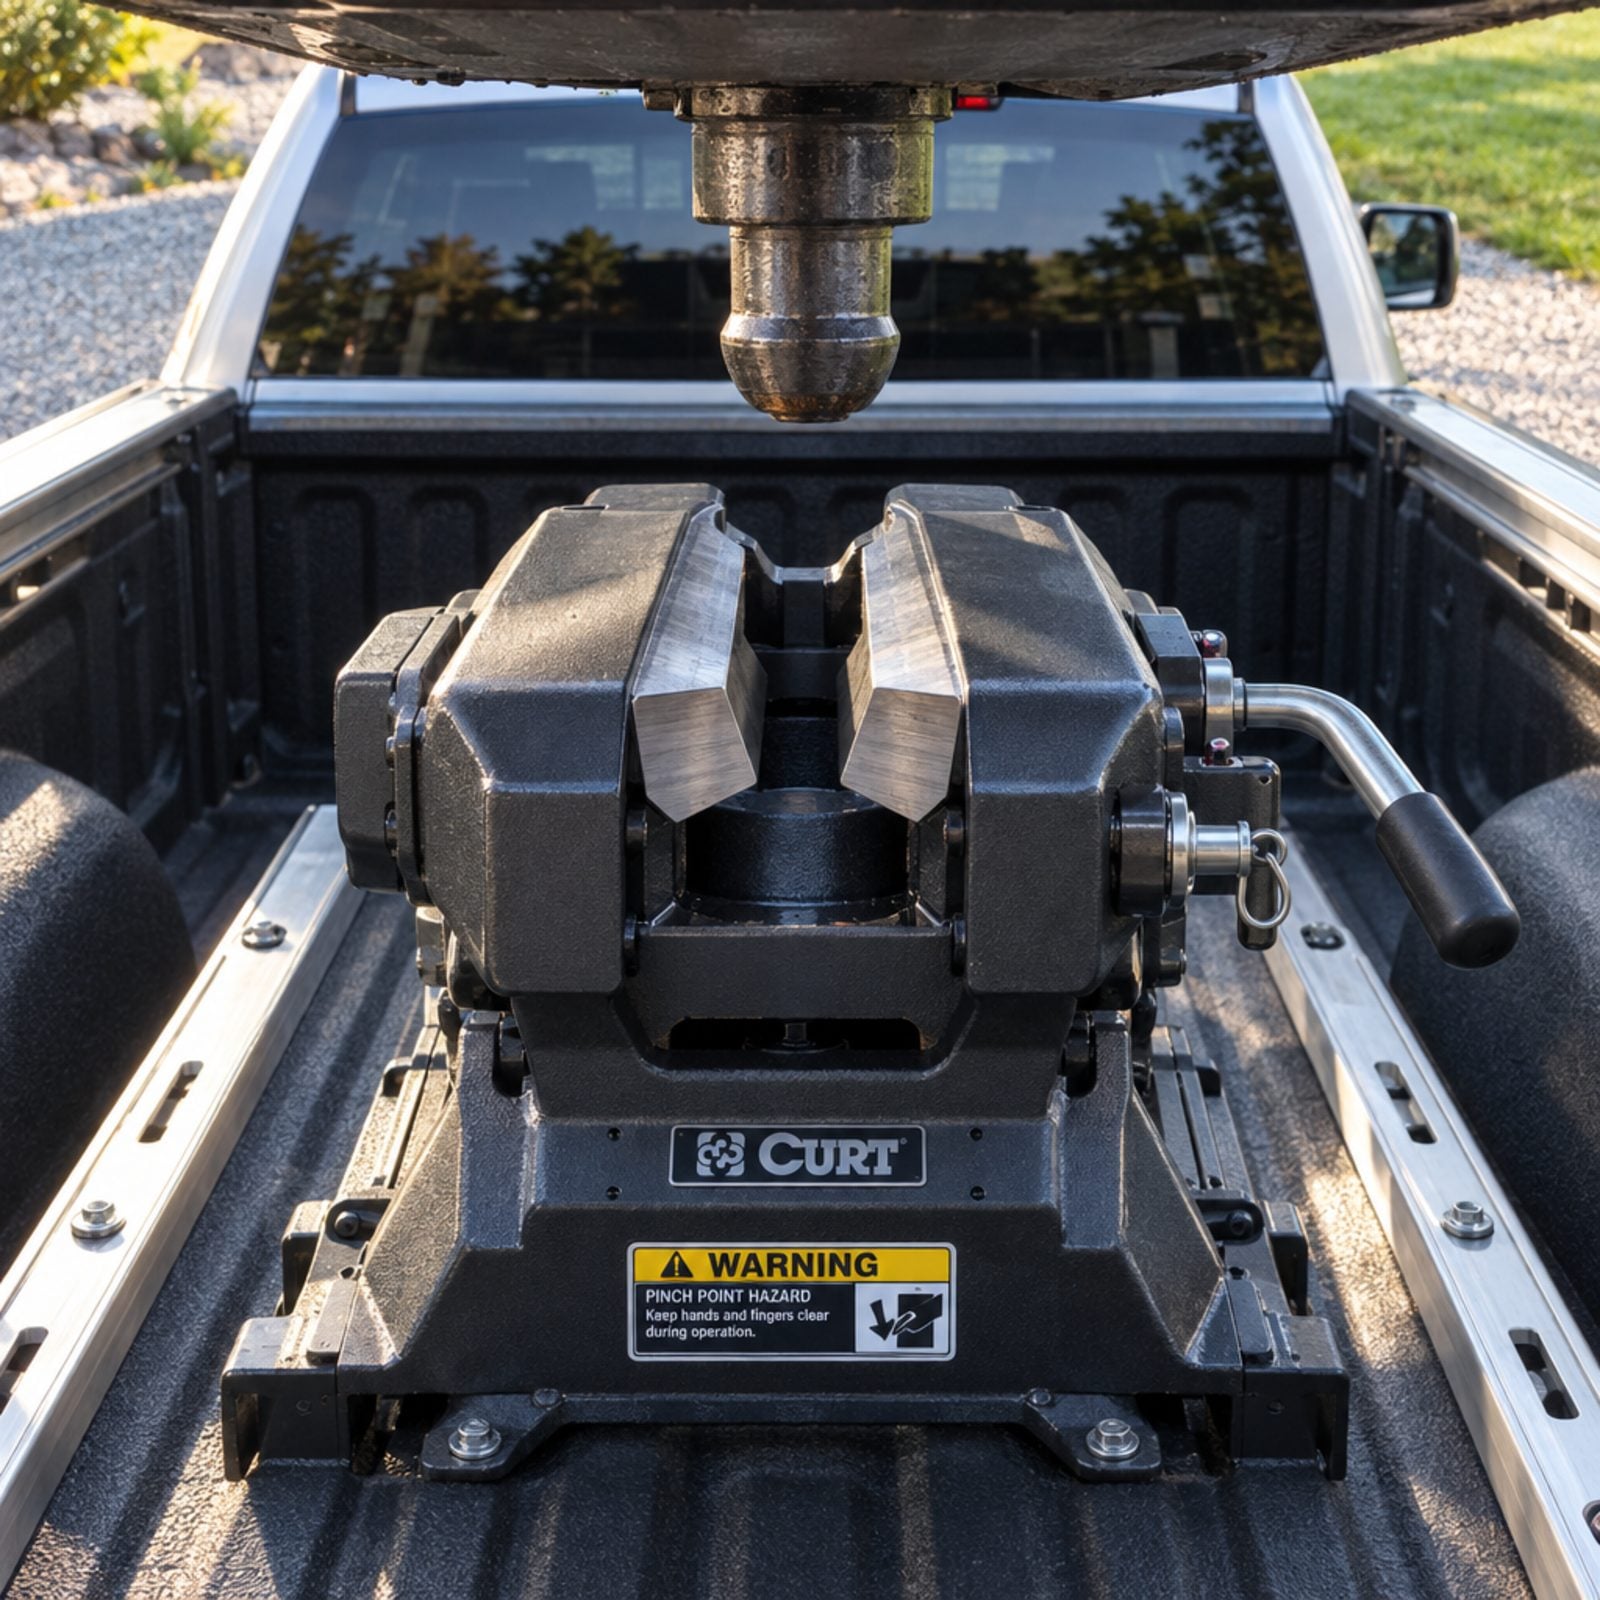
You cannot see a bad connection from the driver’s seat. The jaws can look closed and still be clamped around nothing but air if the kingpin dropped in at a slight angle or the latch hung up on a bit of grit.
That gap between “looks hitched” and “is hitched” is where separated trailers come from. A fifth-wheel that releases on a highway on-ramp is a very bad afternoon.
So get out and look, every single time. The jaws should be fully wrapped around the kingpin shank, the handle seated in its locked position, and the safety pin through the hole. Shine a flashlight in if the light is low. Ten seconds with your own eyes beats any amount of trust in the sound you heard.
35. Forgetting the Fifth-Wheel Tug Test
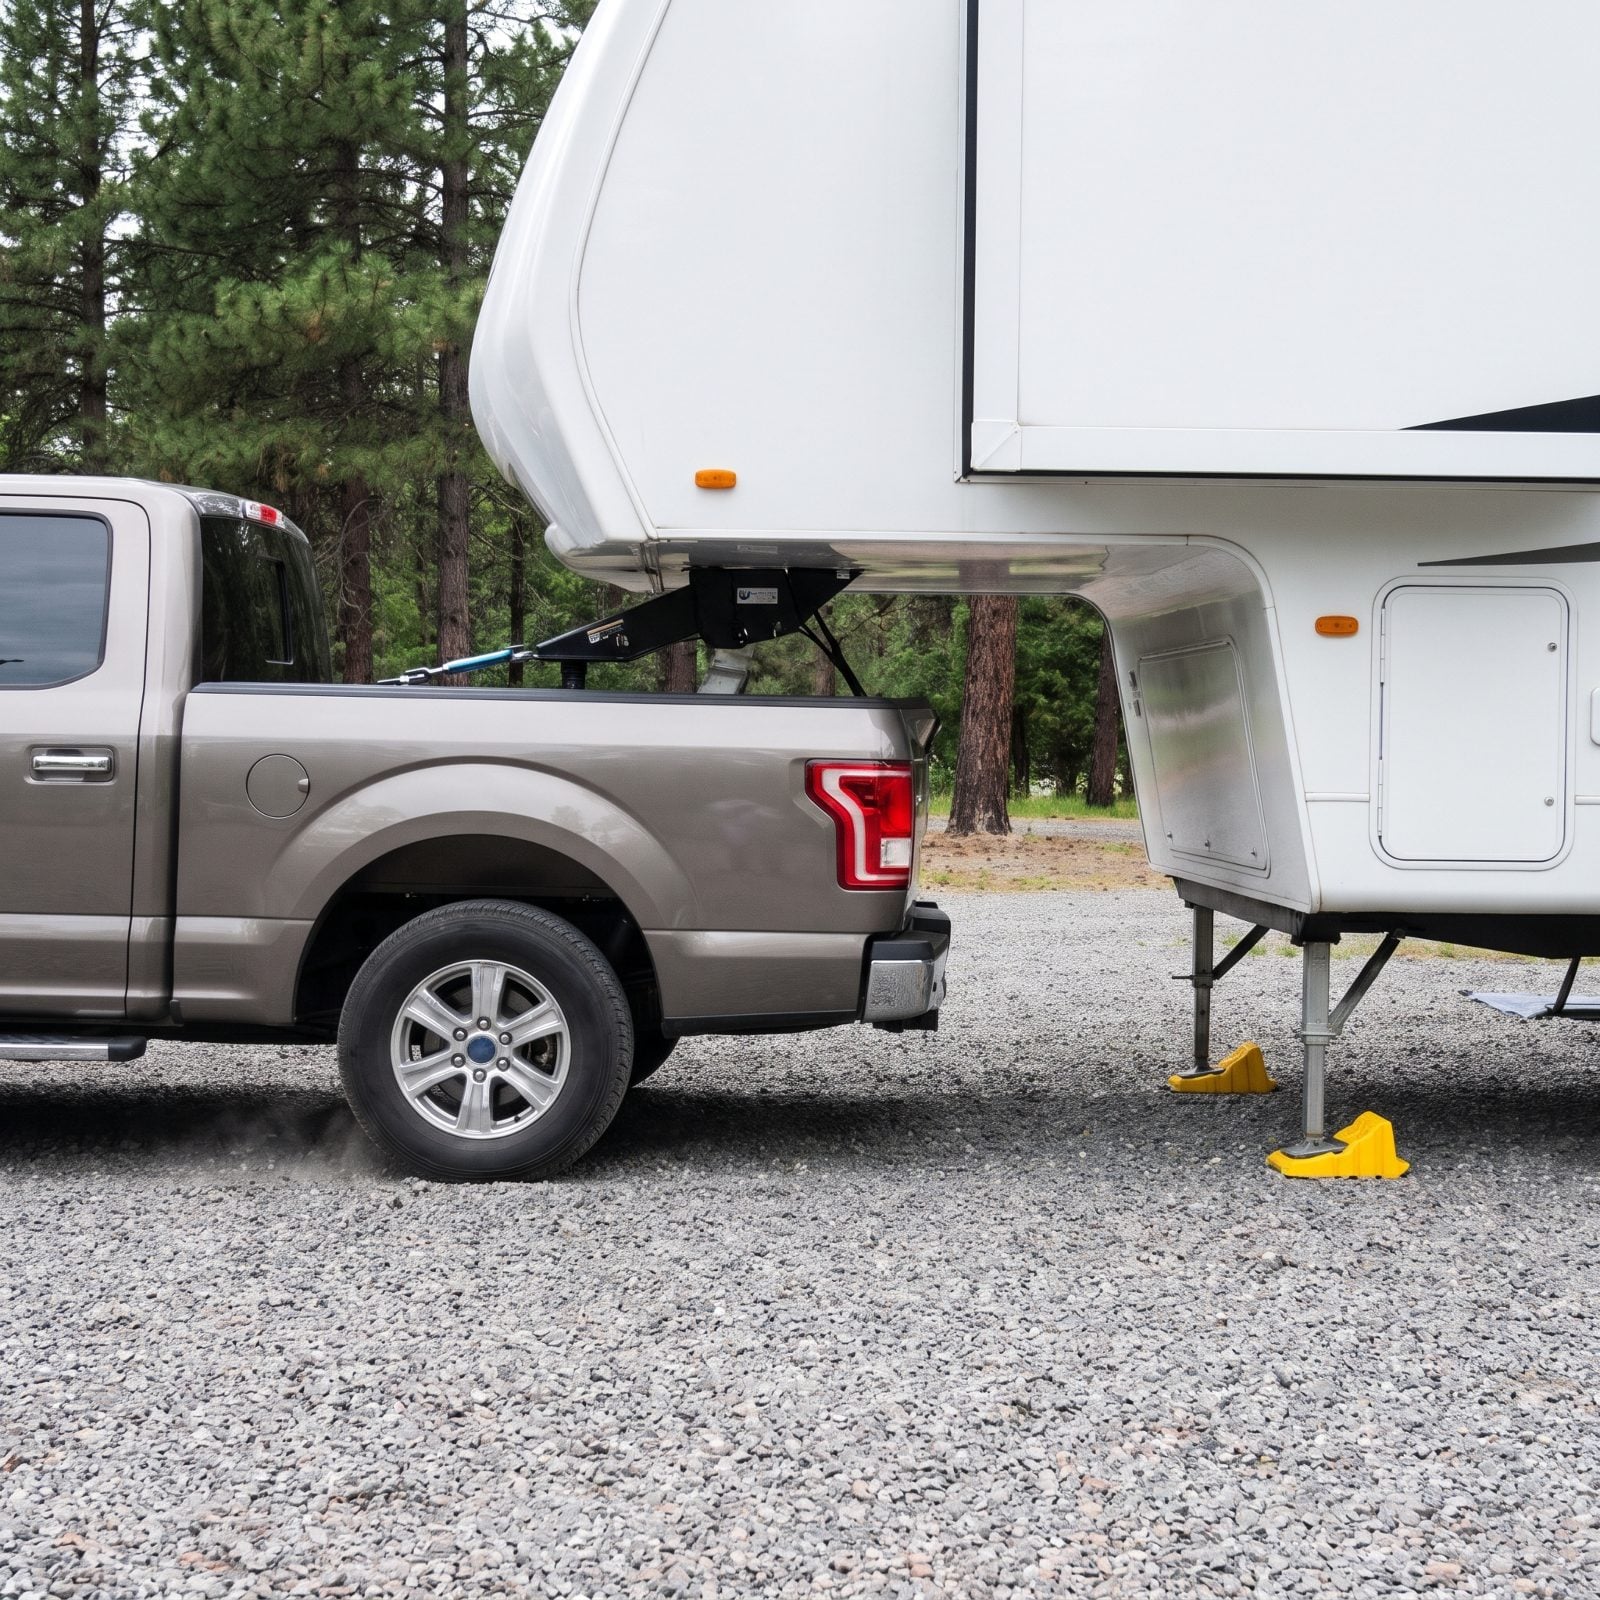
The tug test is a five-second ritual, and it’s the one that separates owners who sleep well from owners who learn the hard way. Yellow chocks still set against the trailer’s tires, you ease the truck forward against the hitch and feel whether the connection holds.
Skip it and you’re betting a pricey trailer on the assumption that the jaws latched. If they didn’t fully engage, the tug test exposes it right there in the lot at two miles an hour, not out on the interstate where it costs you a lane and maybe a lot more.
Chock the wheels. Climb in, release the parking brake, and give it a gentle pull. If the truck strains and the trailer stays put, you’re hitched. Anything shifts or lifts oddly? Stop and re-inspect.
34. Driving Away With the Tailgate Up
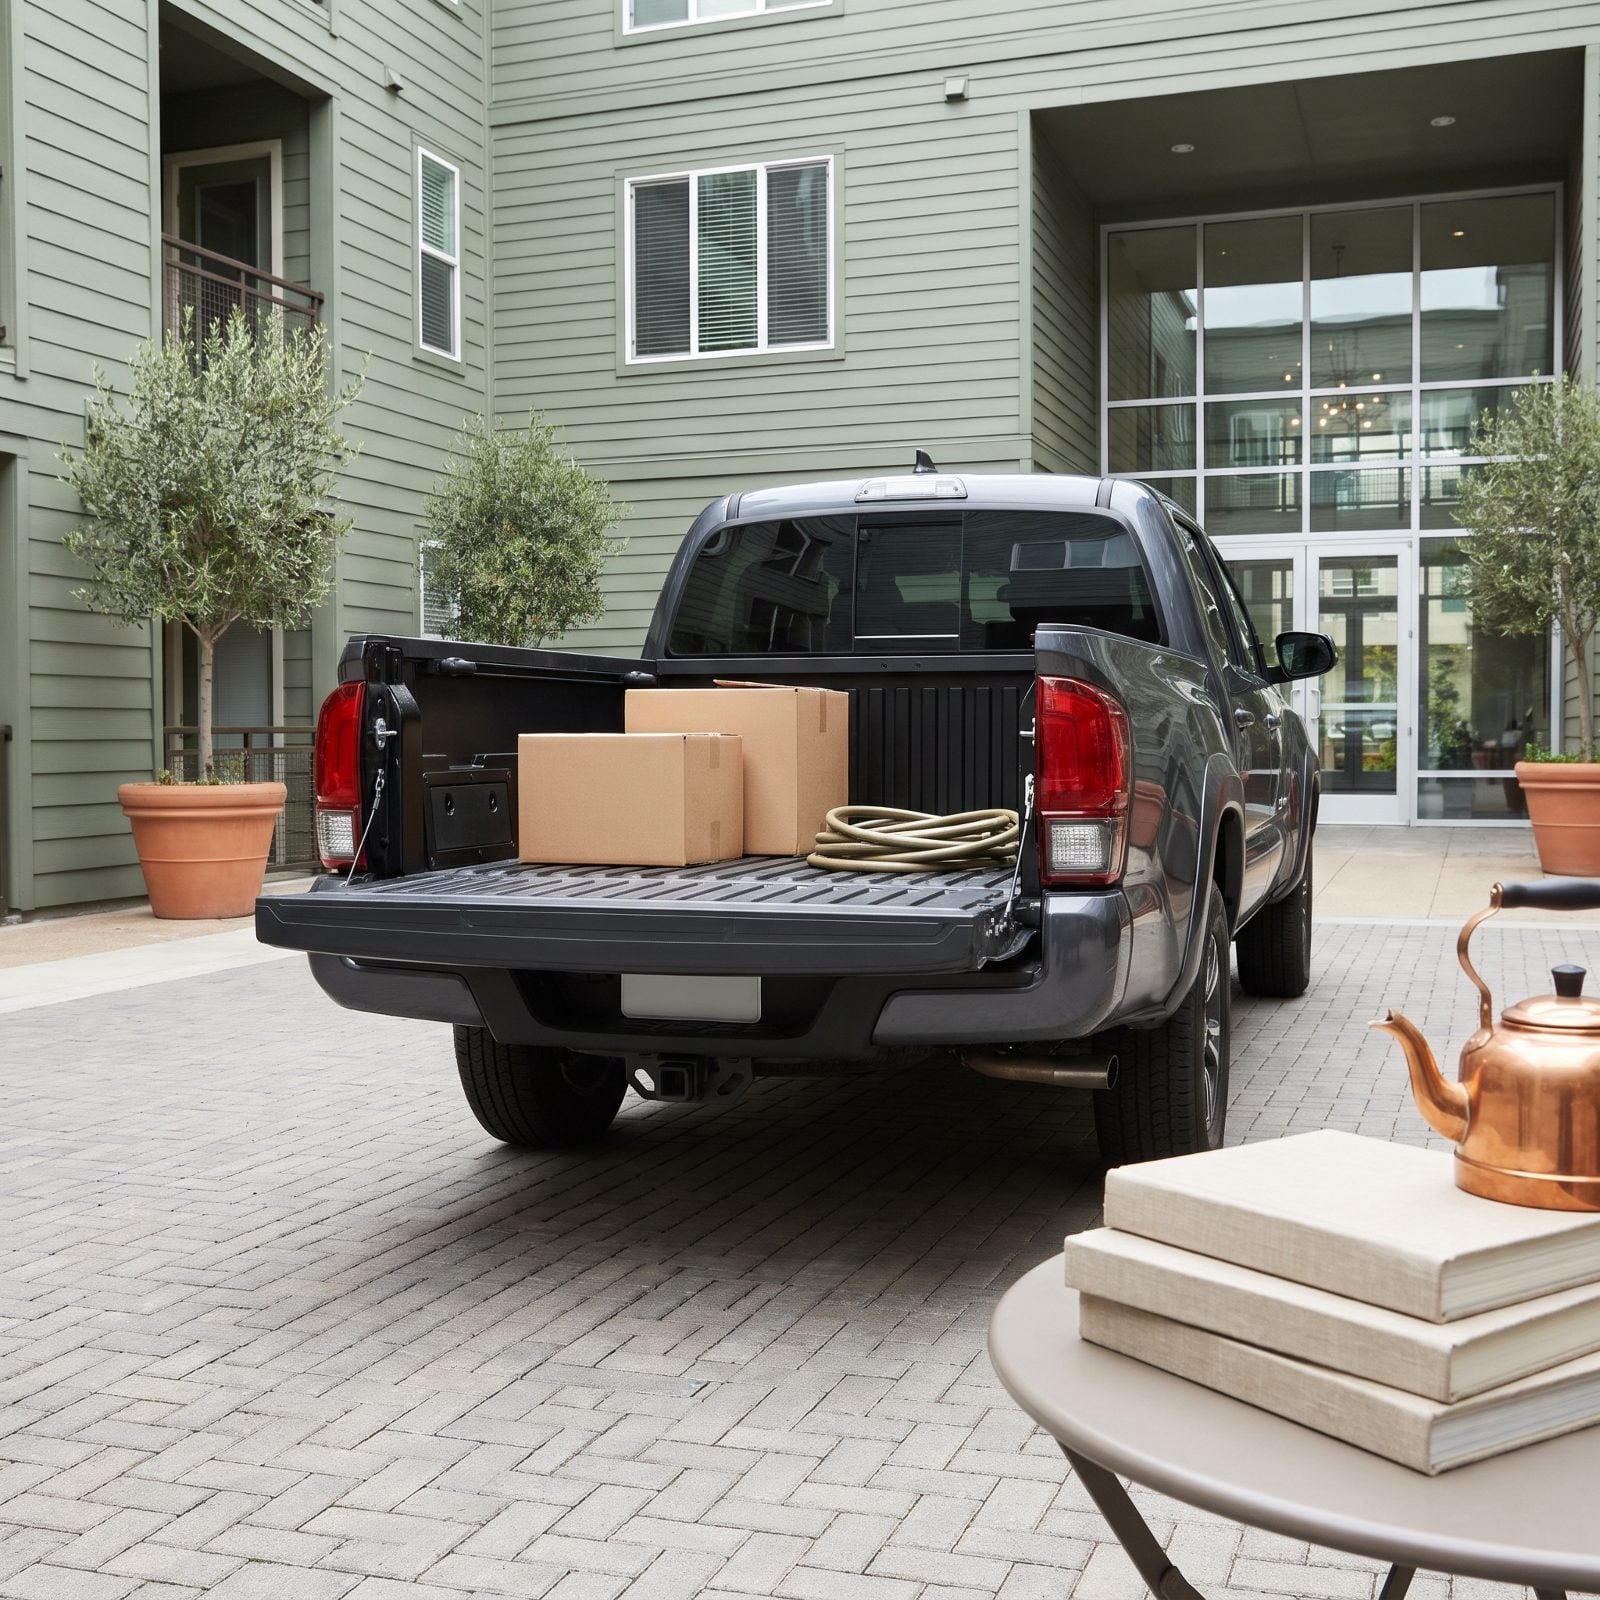
You hitch up with the tailgate down, like everyone does. Then you top off at a gas station, close the tailgate out of habit, and forget it. On the next tight turn the trailer’s overhang swings into your tailgate and crushes it.
It’s one of the most common and most expensive new-owner mistakes, and it happens because closing the tailgate is such an automatic motion that your hands do it without your brain.
Two fixes. First, make “tailgate down” part of your written pre-departure checklist. Second, if your truck bed allows it, install a notched fifth-wheel tailgate so it can close around the hitch without clearance trouble.
33. Leaving the Front Storage Compartment Open
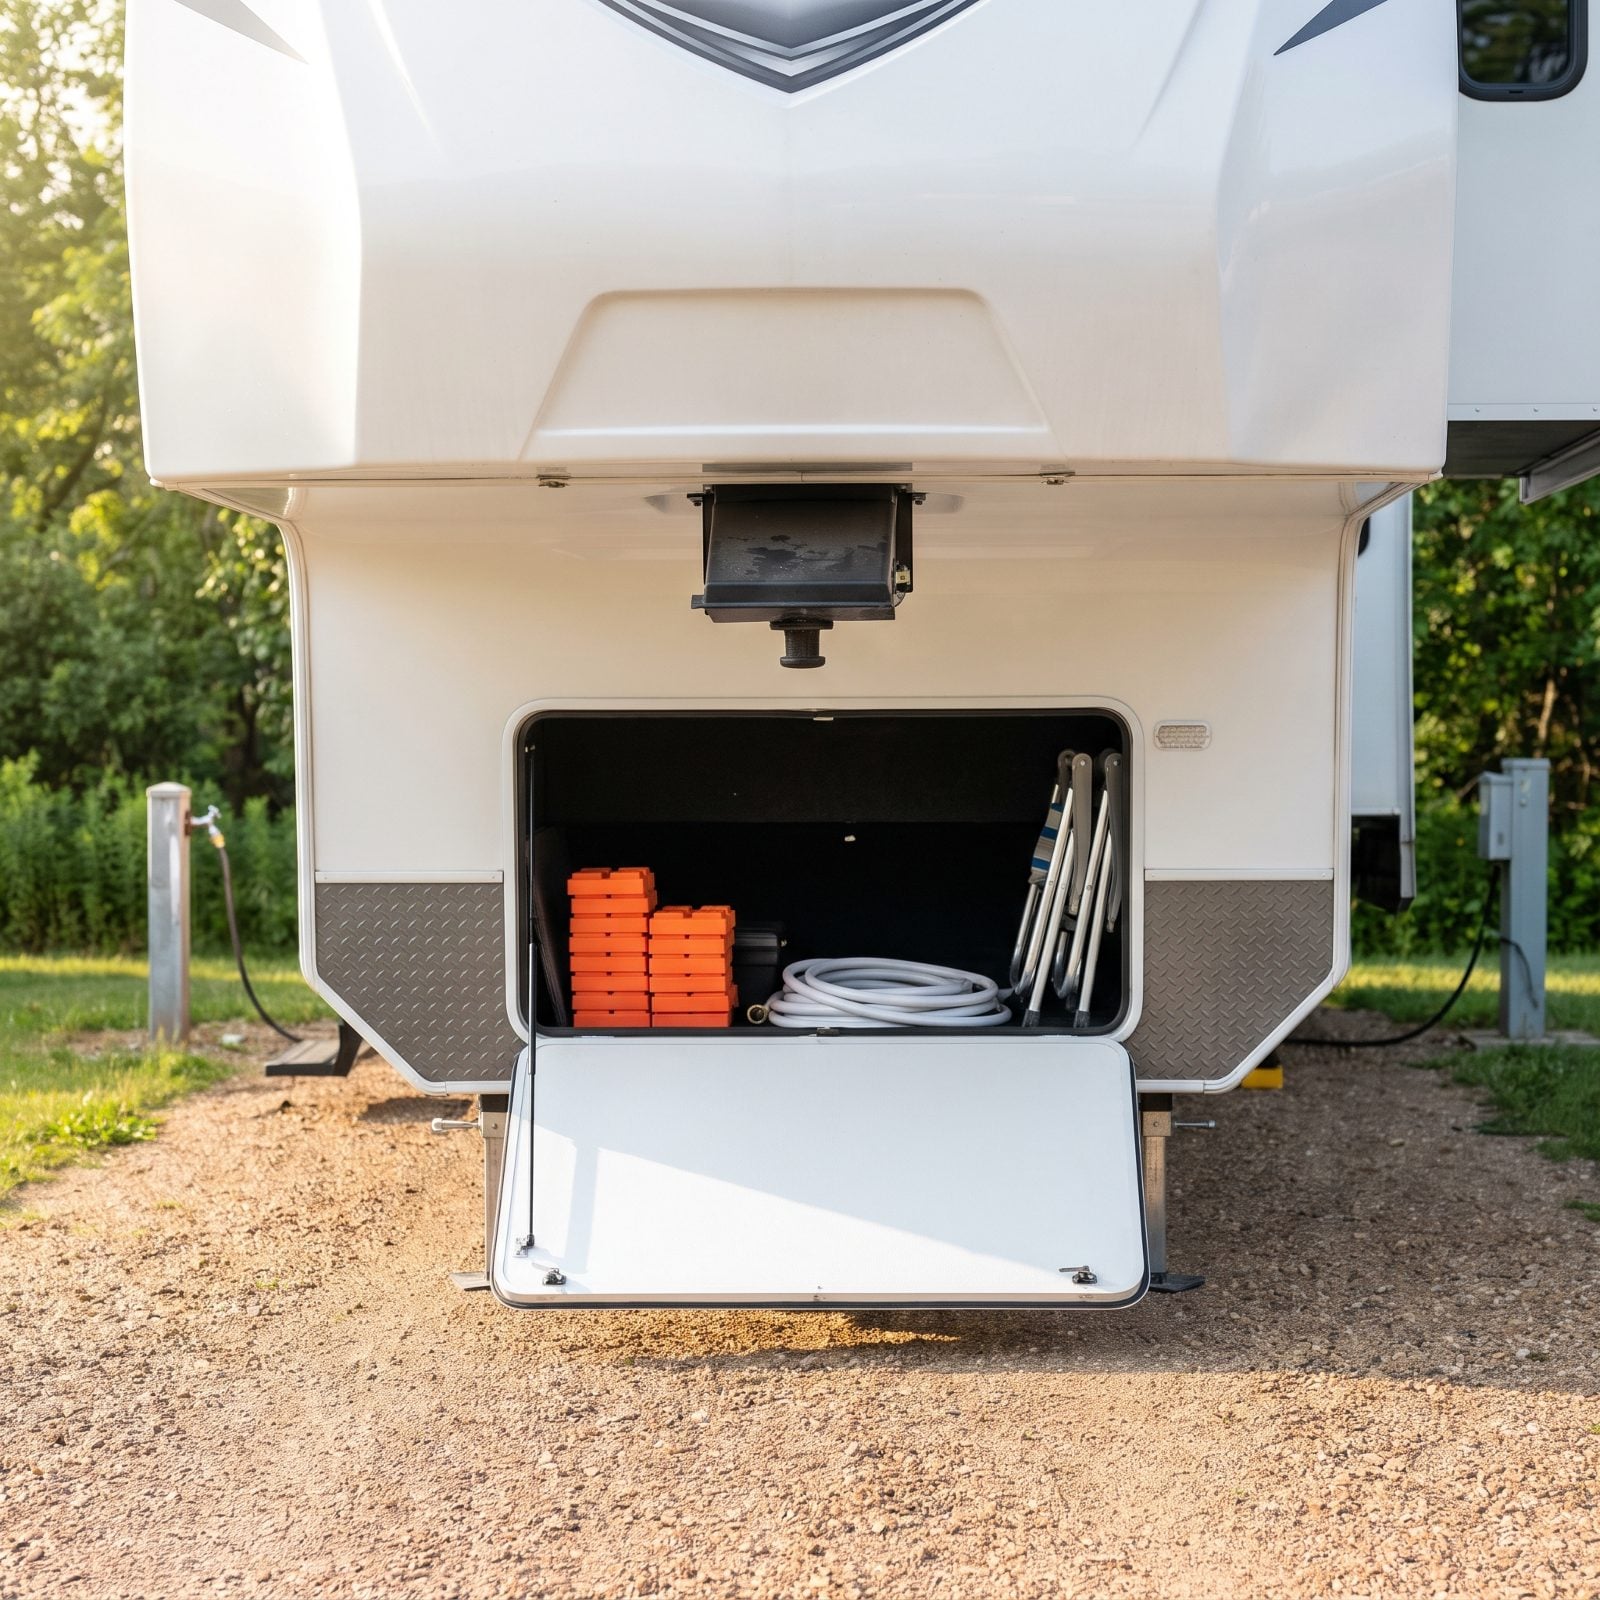
The front pass-through is where you stash the heavy stuff: blocks, hoses, the folding chairs, the leveling kit. It’s also the compartment furthest from your mirrors, right up in the nose of the trailer where you’ll never notice it swinging open at highway speed.
An open bay door dumps your gear across a lane of traffic, and the door itself can catch wind and tear off its hinges.
So walk the full perimeter before you roll. Push every compartment door and feel the latch click. The front bay goes on your checklist last, right before you climb in, because it’s the easiest one to forget.
32. Forgetting to Retract the Landing Gear Fully
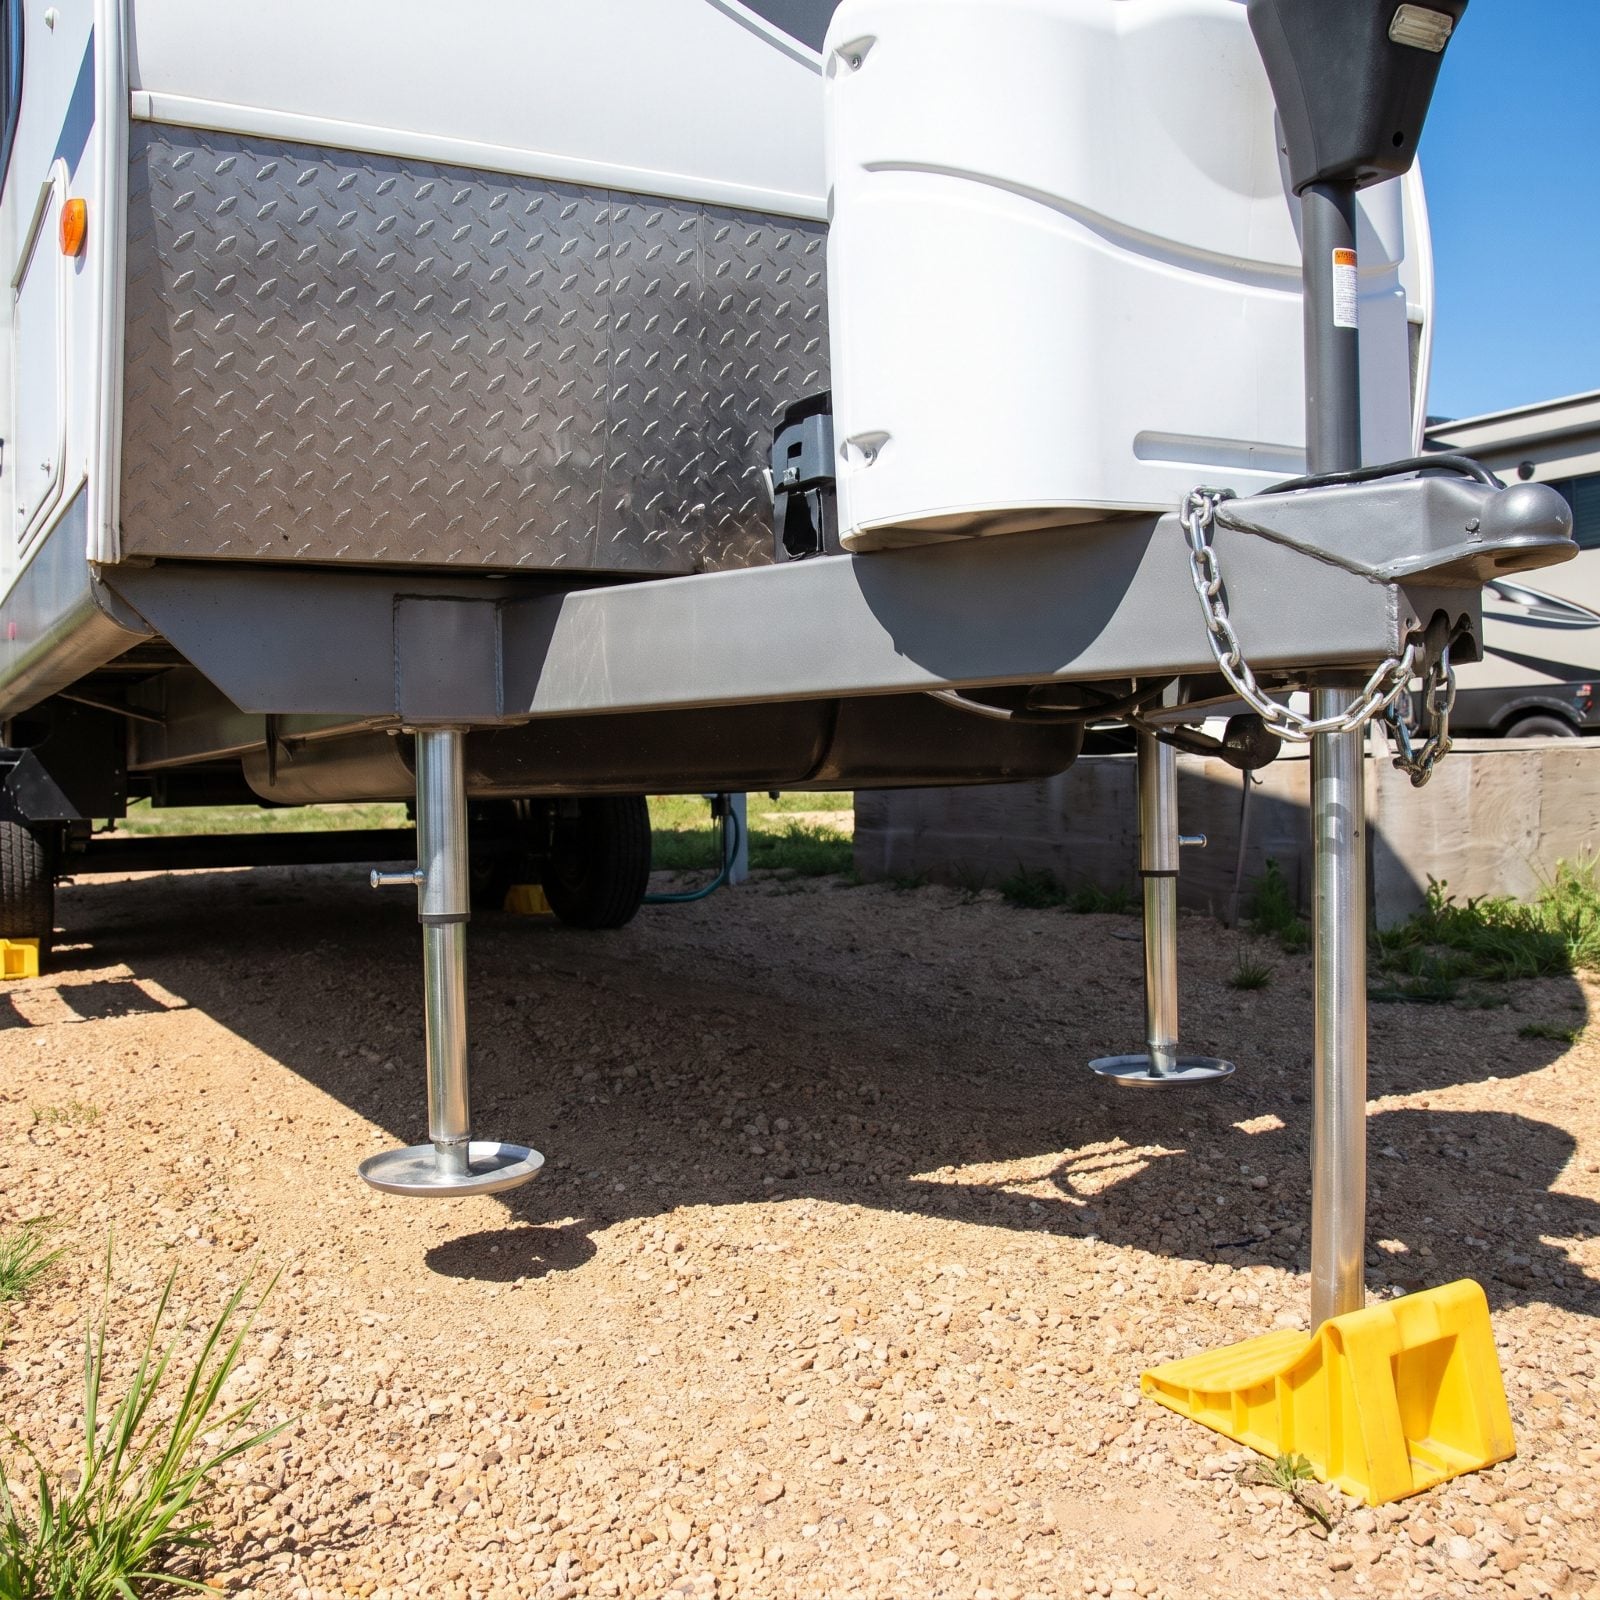
Pin-style landing legs make this one sneaky. You lower the trailer onto the hitch, pull the drop pins, slide the inner legs up, and assume they’re stowed. But pin them a hole too low and the footpads can hang just low enough to catch a dip, a curb, or a steep driveway apron.
Catch a footpad on something at speed and you can bend the legs or rip the whole assembly off the frame. That’s a tow-truck day.
Slide the inner legs all the way up and push the drop pins fully through the top holes so the legs are locked in their stowed position. Then look. Both feet well clear of the ground, daylight under them.
31. Leaving the Stabilizers Down Before Departure
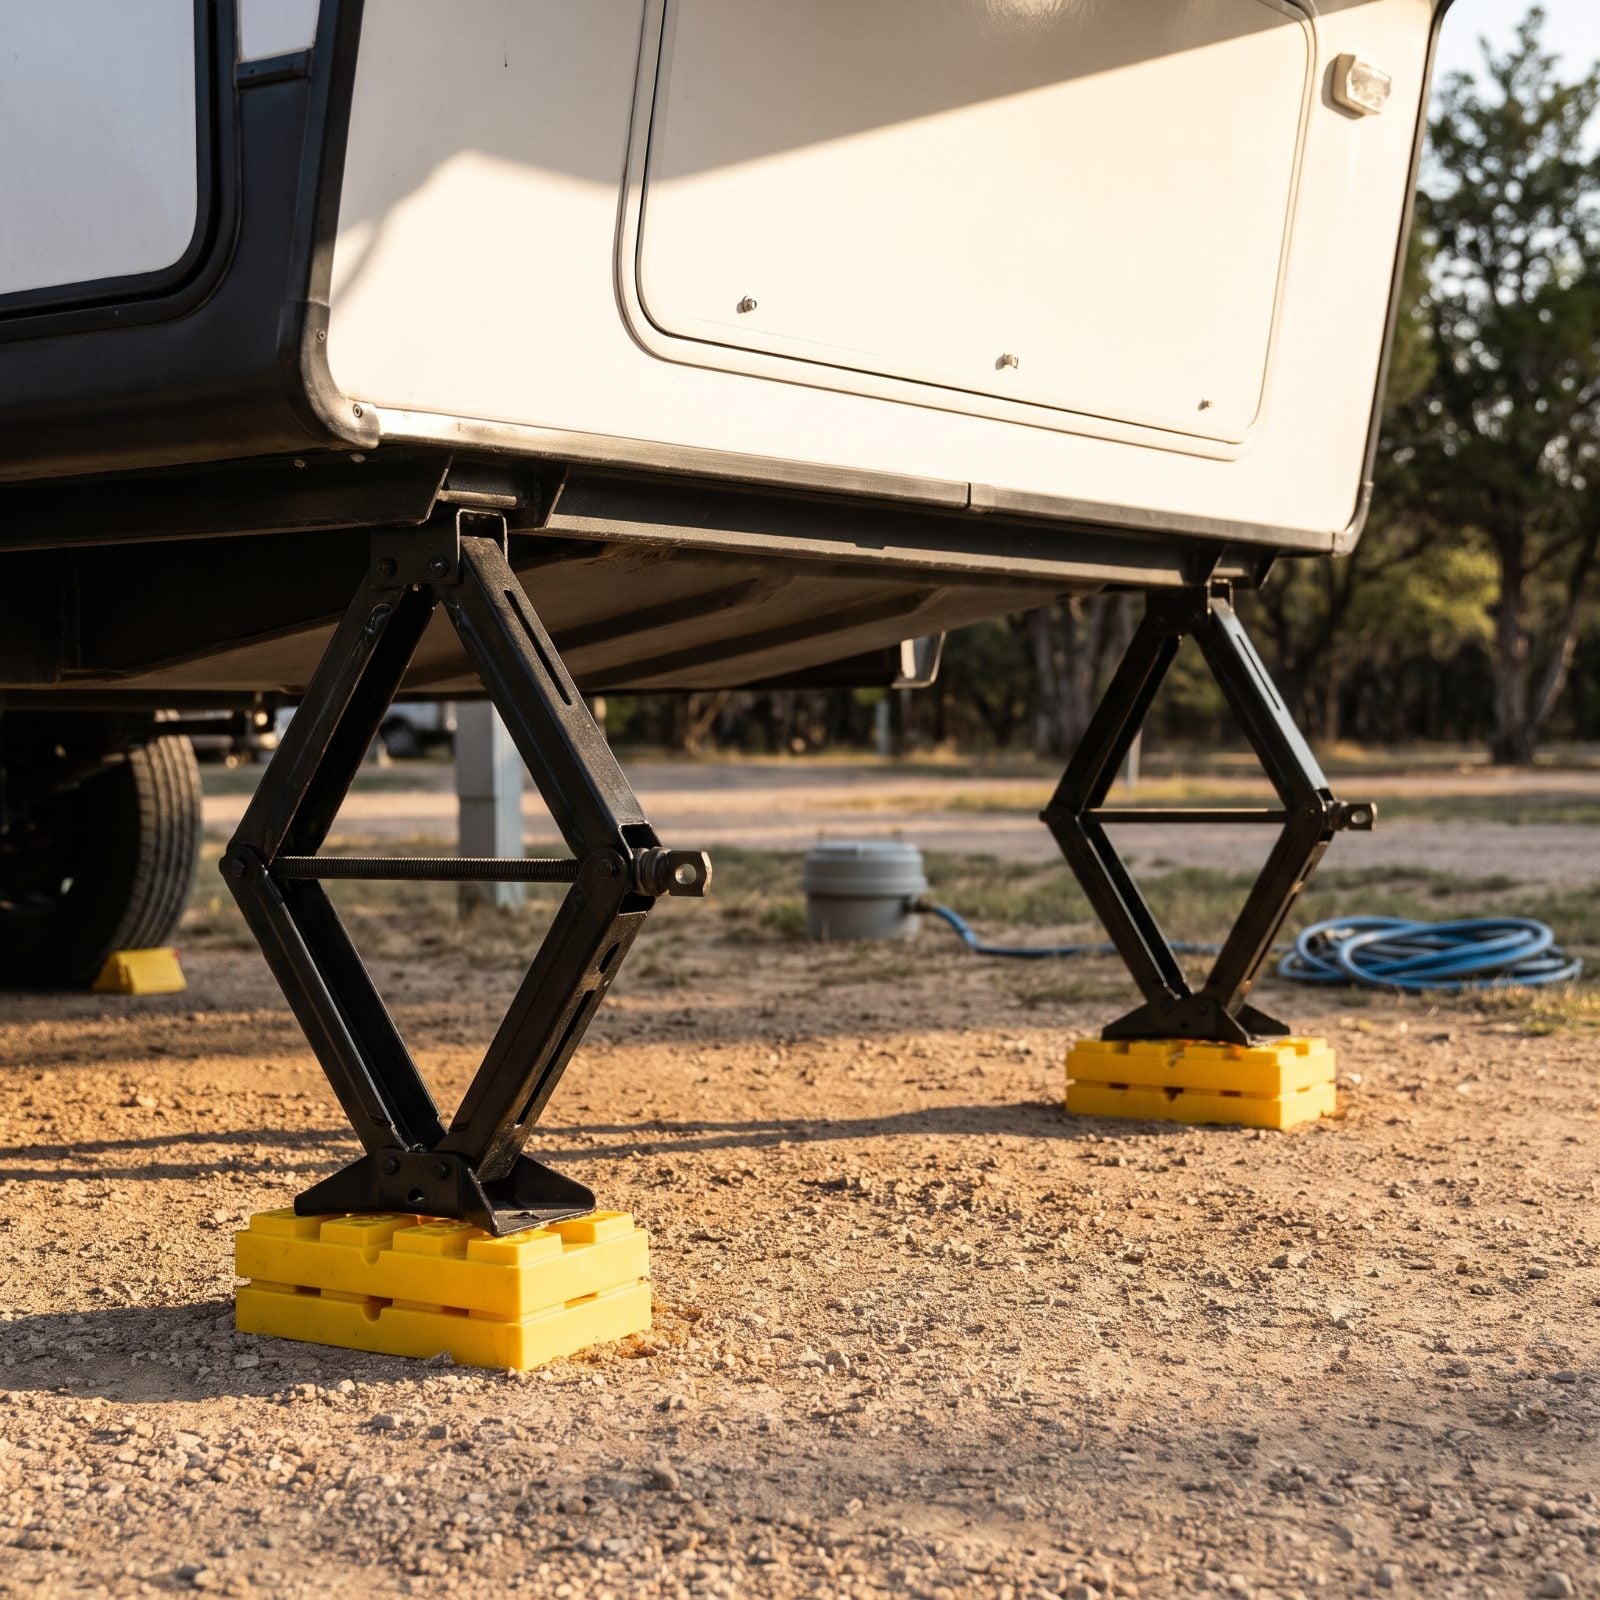
Stabilizer jacks are for holding the rig still while you camp, not for carrying weight on the road. New owners mix them up with the landing gear and leave the scissor jacks planted when they pull out.
Drive off with stabilizers down and you drag steel across the pad, bend the jacks, and can wreck the frame mounts they bolt to. Best case, you leave a gouge in the campground. Worst case, you’re limping to a service bay.
Build the habit of raising every stabilizer, front and rear, as its own checklist line. Walk the four corners and confirm each footpad is up and the arms are folded tight before the truck moves an inch.
Landing gear holds the pin. Stabilizers hold the sway. Both have to be up before you roll, and they are not the same button.
30. Towing With the Slides Partially Extended
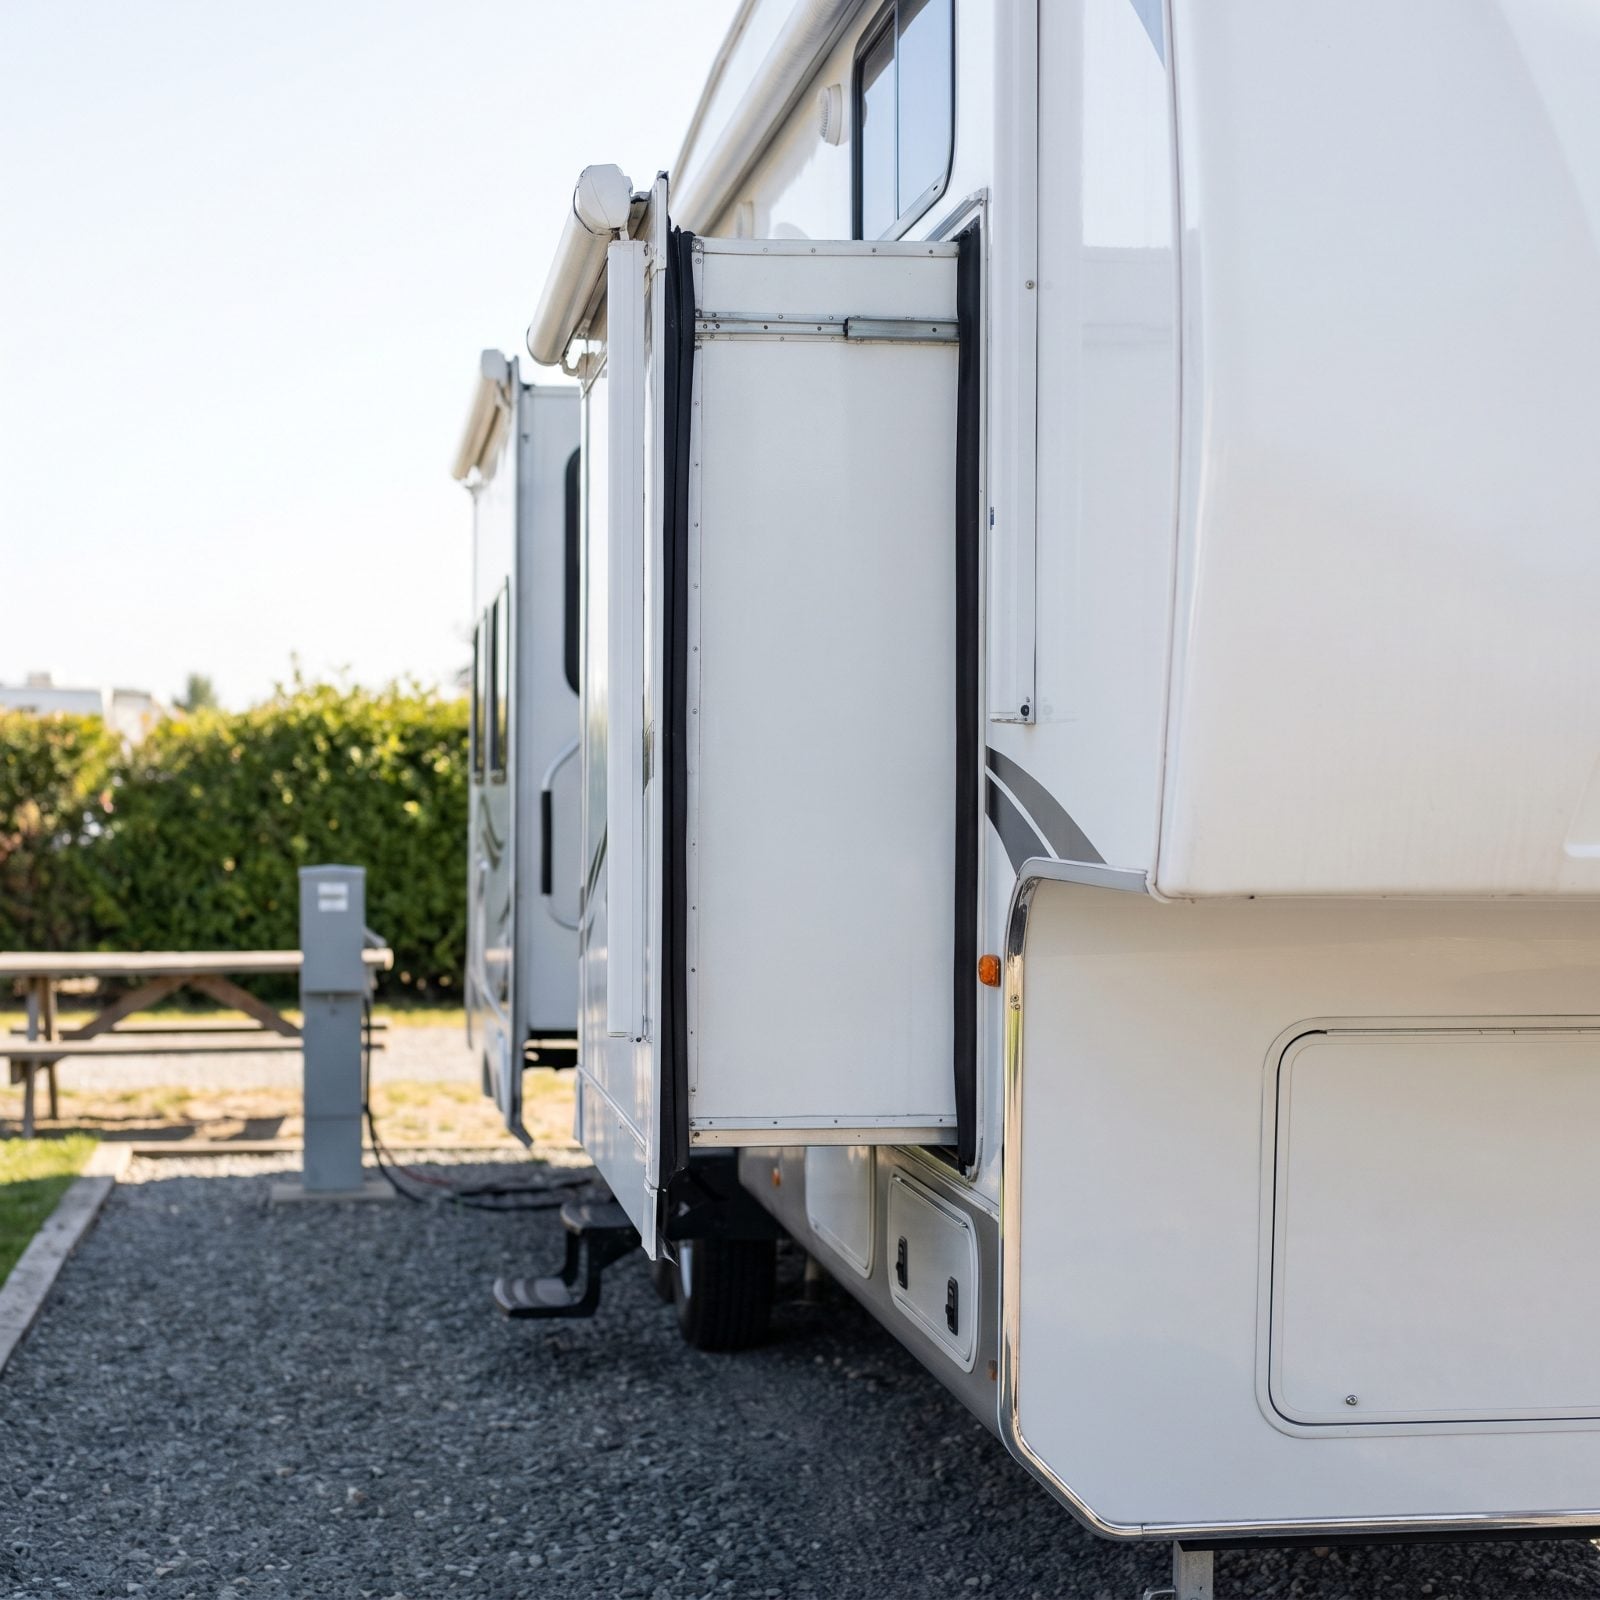
A slide that’s almost in looks close enough to drive. It isn’t. A slide room that isn’t fully retracted and locked can shift on the road, break its seals, grind its gears, or let weather pour straight into the cabin.
Slides are also the single most expensive thing on the trailer to fix when they go wrong, so a half-second habit saves a four-figure repair.
Run each slide all the way in until the motor stops and the inner wall sits flush and tight, then push on it — it should not budge. On rigs with manual slide locks, set them. And count your slides out loud if you have several, because forgetting one in the bedroom is easy when your head’s in the kitchen.
29. Leaving the TV Antenna Raised
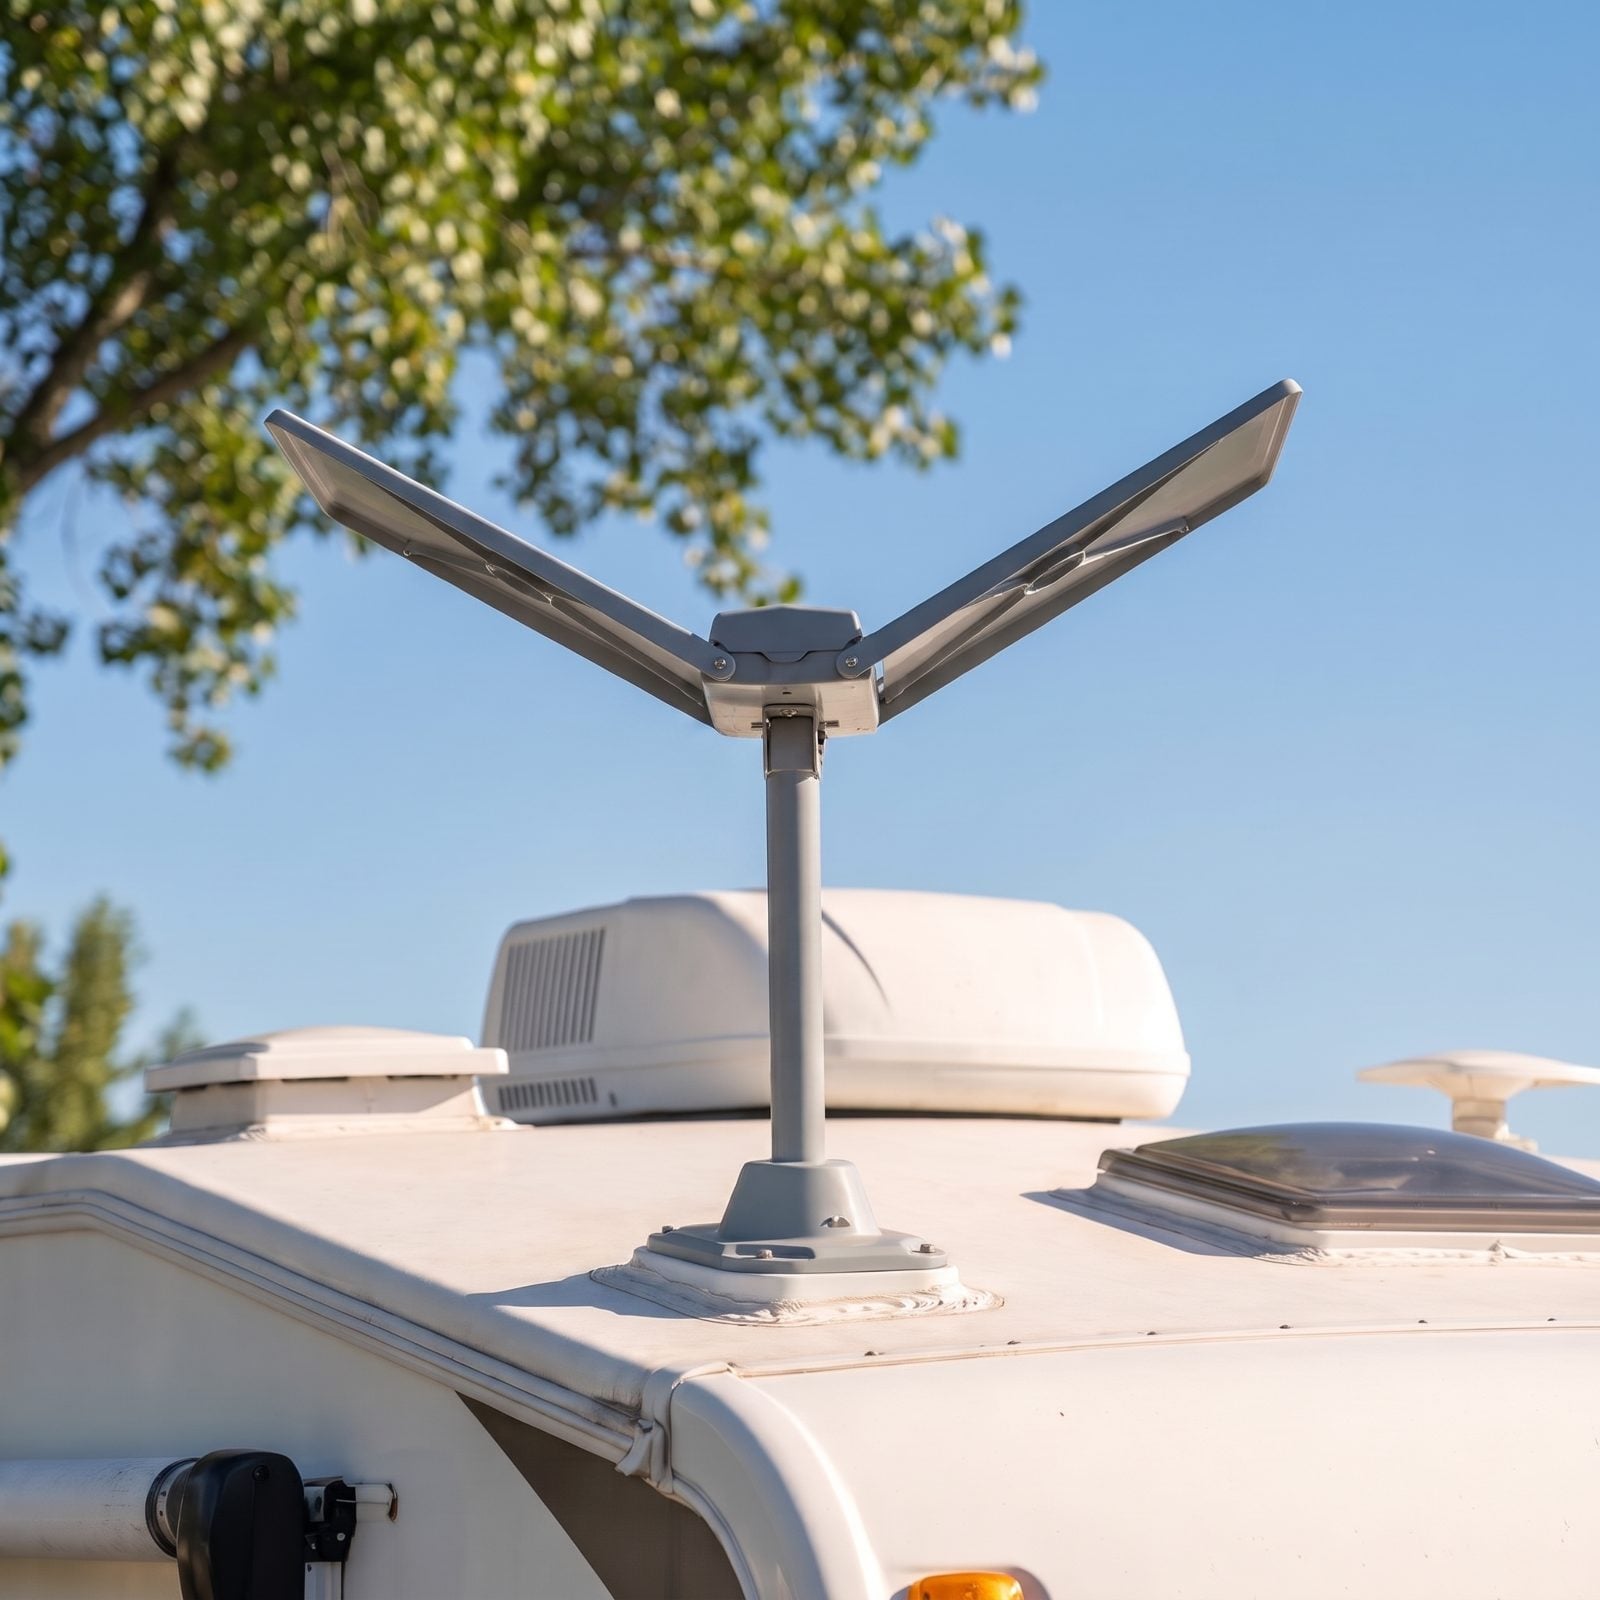
The roof-mounted TV antenna is the quiet killer of an RV roof. It sits up on the roof where you stop noticing it, and forget to crank it down and it becomes a lever that snaps off at the first low bridge or gets bent back by an overhanging branch.
Then you’re hunting for a replacement antenna head. A roof leak waiting to happen.
Make lowering the antenna part of your departure routine, right after the TV. Switch off the TV, turn the hand crank until the antenna folds down, confirm it’s fully lowered and lying flat. If you can’t remember whether you did it, you didn’t. Go look.
28. Trusting a Car GPS Without Knowing the Fifth Wheel’s Actual Height
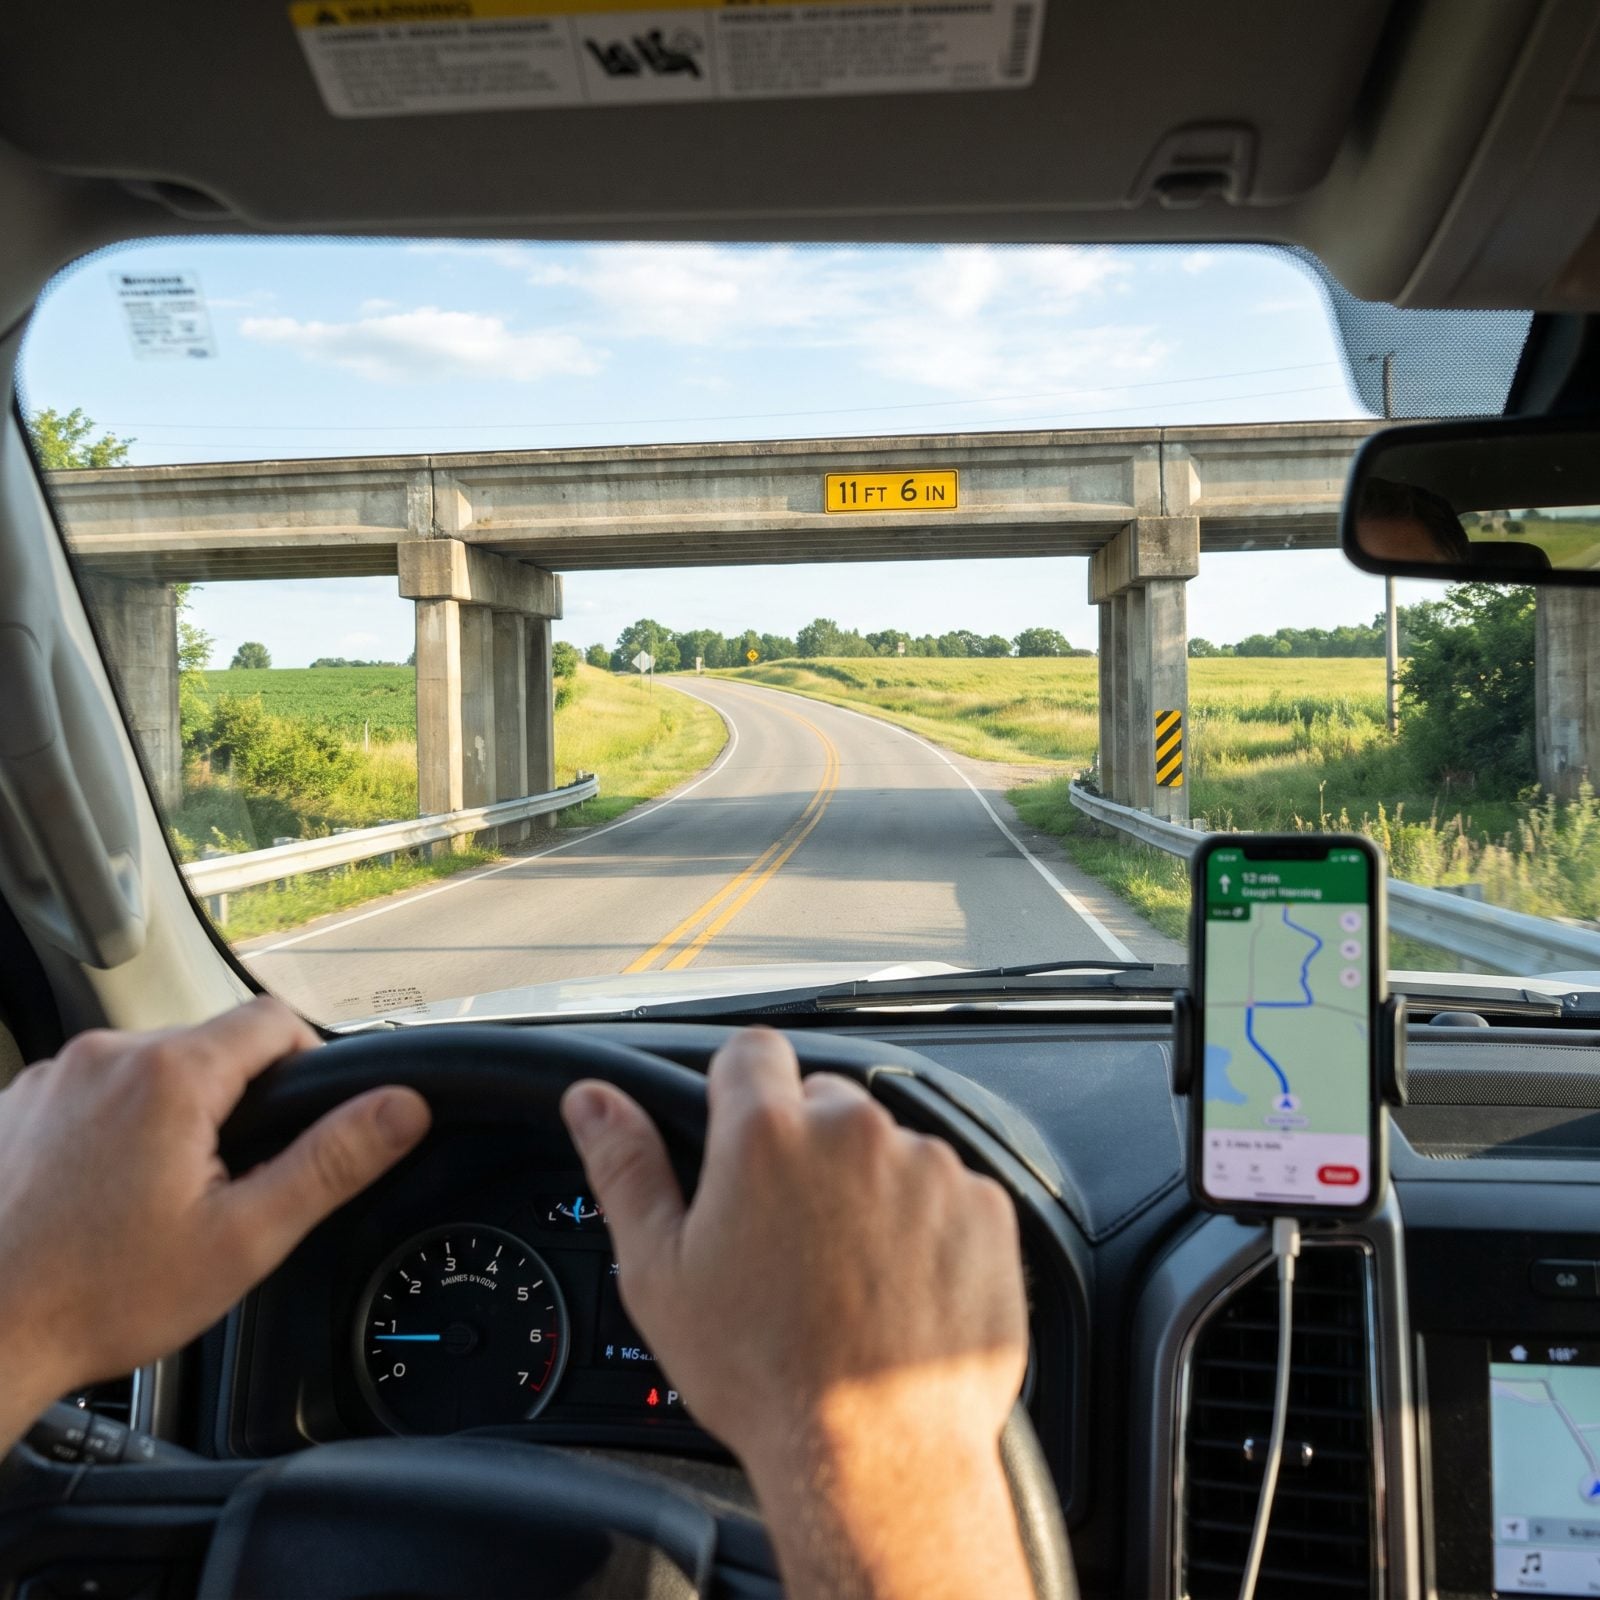
Your phone’s maps app does not know you’re 13 feet 2 inches tall. It’ll route you straight under a low railroad bridge without blinking, and you won’t find out until the air conditioner shroud is scattered across the road behind you.
Height strikes are brutal, expensive, and completely avoidable.
Do two things. Measure your rig’s real height from the ground to the tallest point — usually the A/C or an antenna — and write that number on a card taped to the dash. Then route with a trucker or RV GPS, like a dedicated RV GPS navigation unit, that accounts for height, weight, and bridge clearances.
27. Entering a Fuel Station Without an Exit Plan
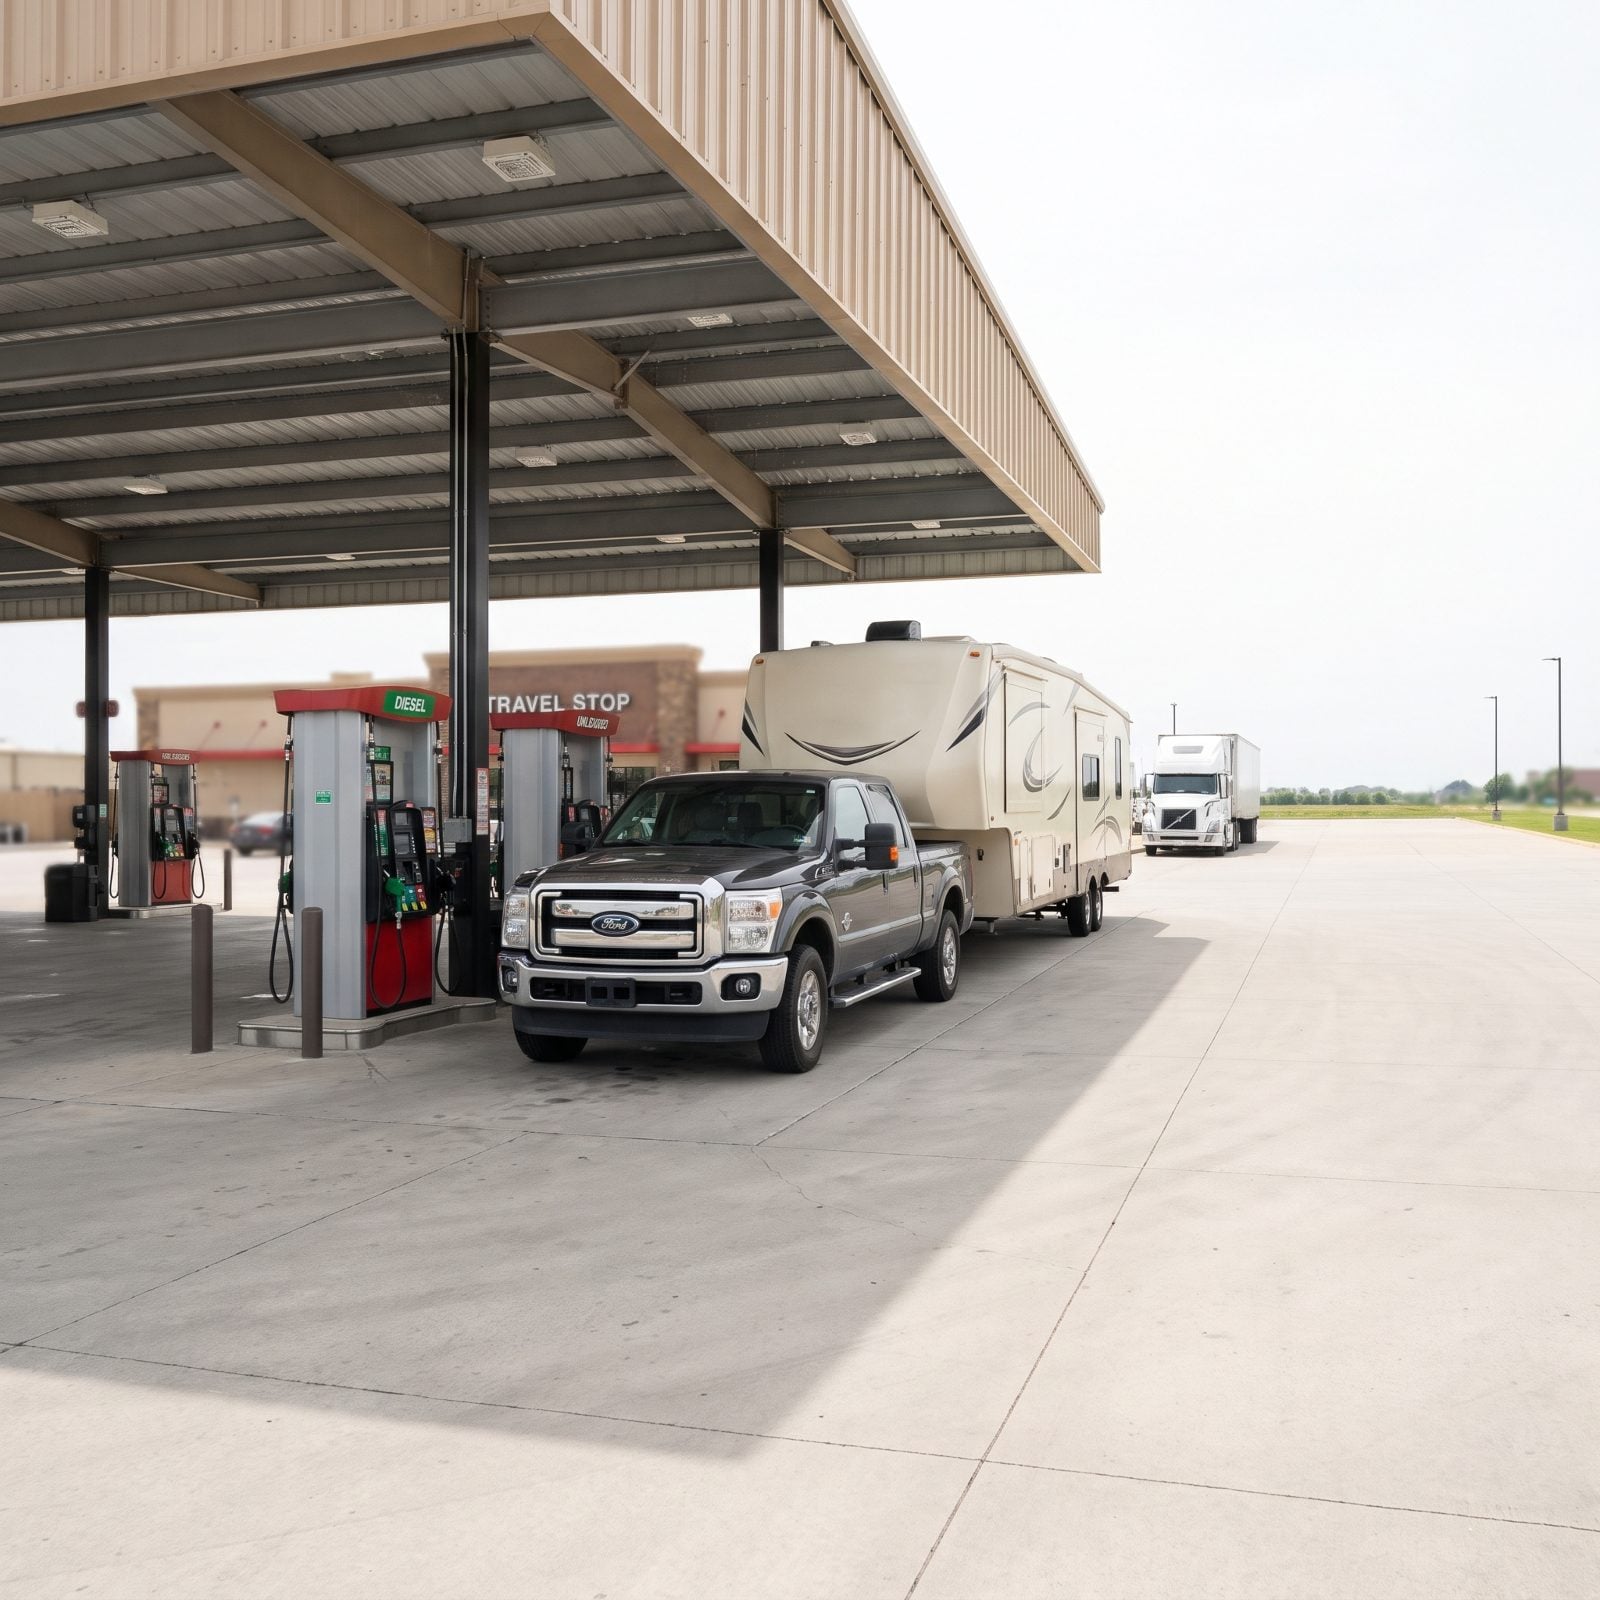
You pull into a gas station nose-first, fill up, and then realize there’s no way out. A pump island on three sides, a low canopy, a tight corner, and a line of cars behind you. Now you’re backing a 35-foot trailer in a crowd, which is the one maneuver you least want an audience for.
Plan the exit before you commit to the entrance. Scout a straight pull-through, fuel at truck stops and travel centers with RV-friendly lanes, and never nose into anything you can’t drive forward out of.
When in doubt, skip the tight station. Another one with room is always a few miles up the road.
26. Cutting the Corner Too Soon
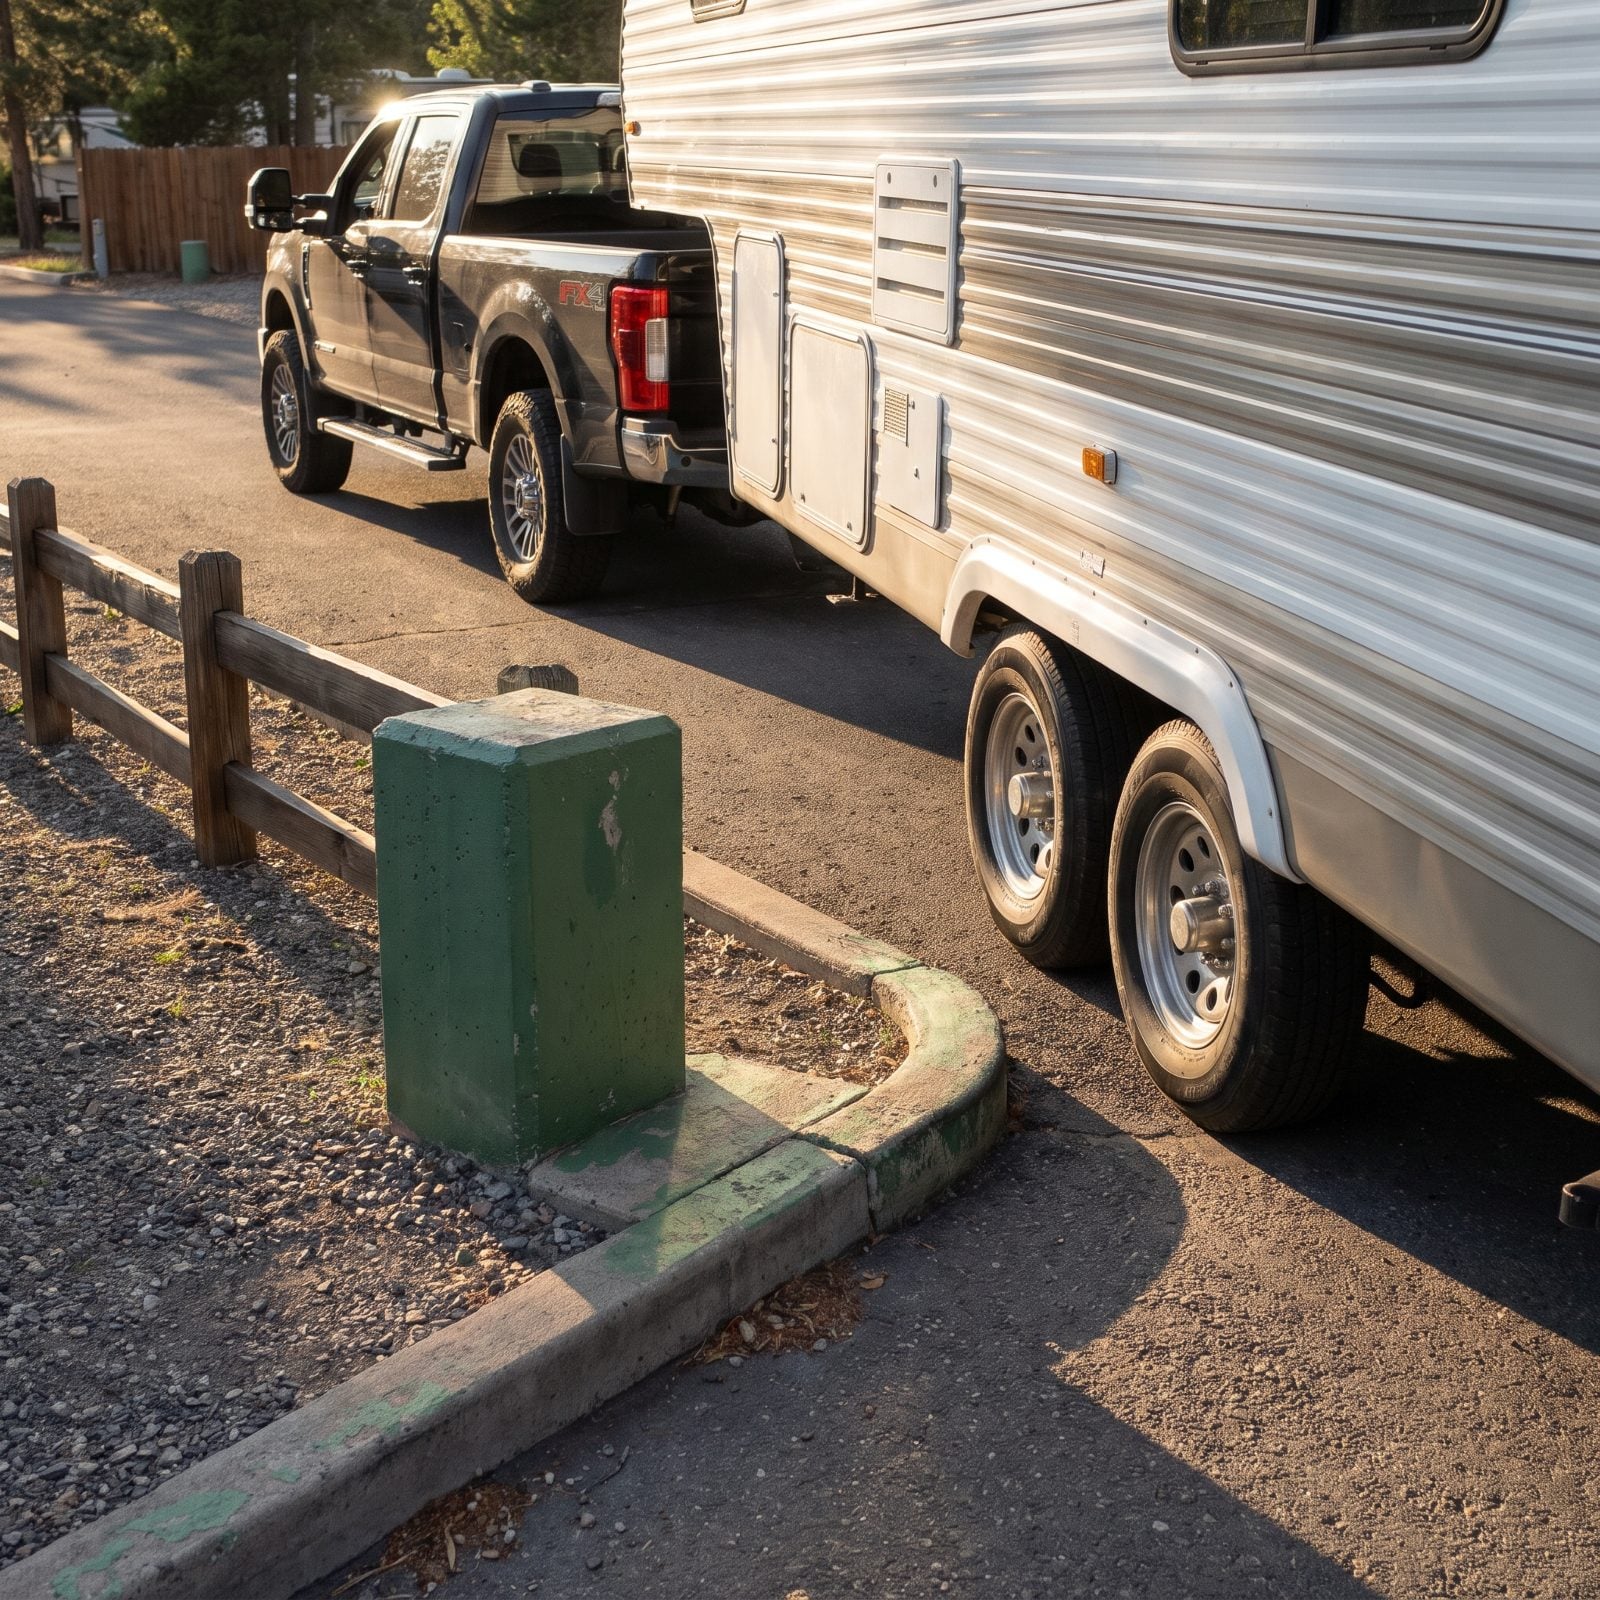
You crank the wheel the second the gap opens, same as you would in your sedan. Then comes the chirp of a tire kissing the curb, and the trailer’s rear axle rolls right over it.
A fifth wheel pivots at the hitch, not the front bumper. Your trailer tires follow a tighter arc than the truck’s, so an early turn drags them straight into curbs, pedestals, and that light pole you swore you cleared.
Drive deep. Pull your truck farther into the turn than feels natural, almost until you’re past the obstacle, then swing. Let the cab go wide so the trailer tracks safely inside. One or two practice runs in an empty lot will teach your hands this faster than any article ever could.
25. Forgetting the Rear End Swings Wide
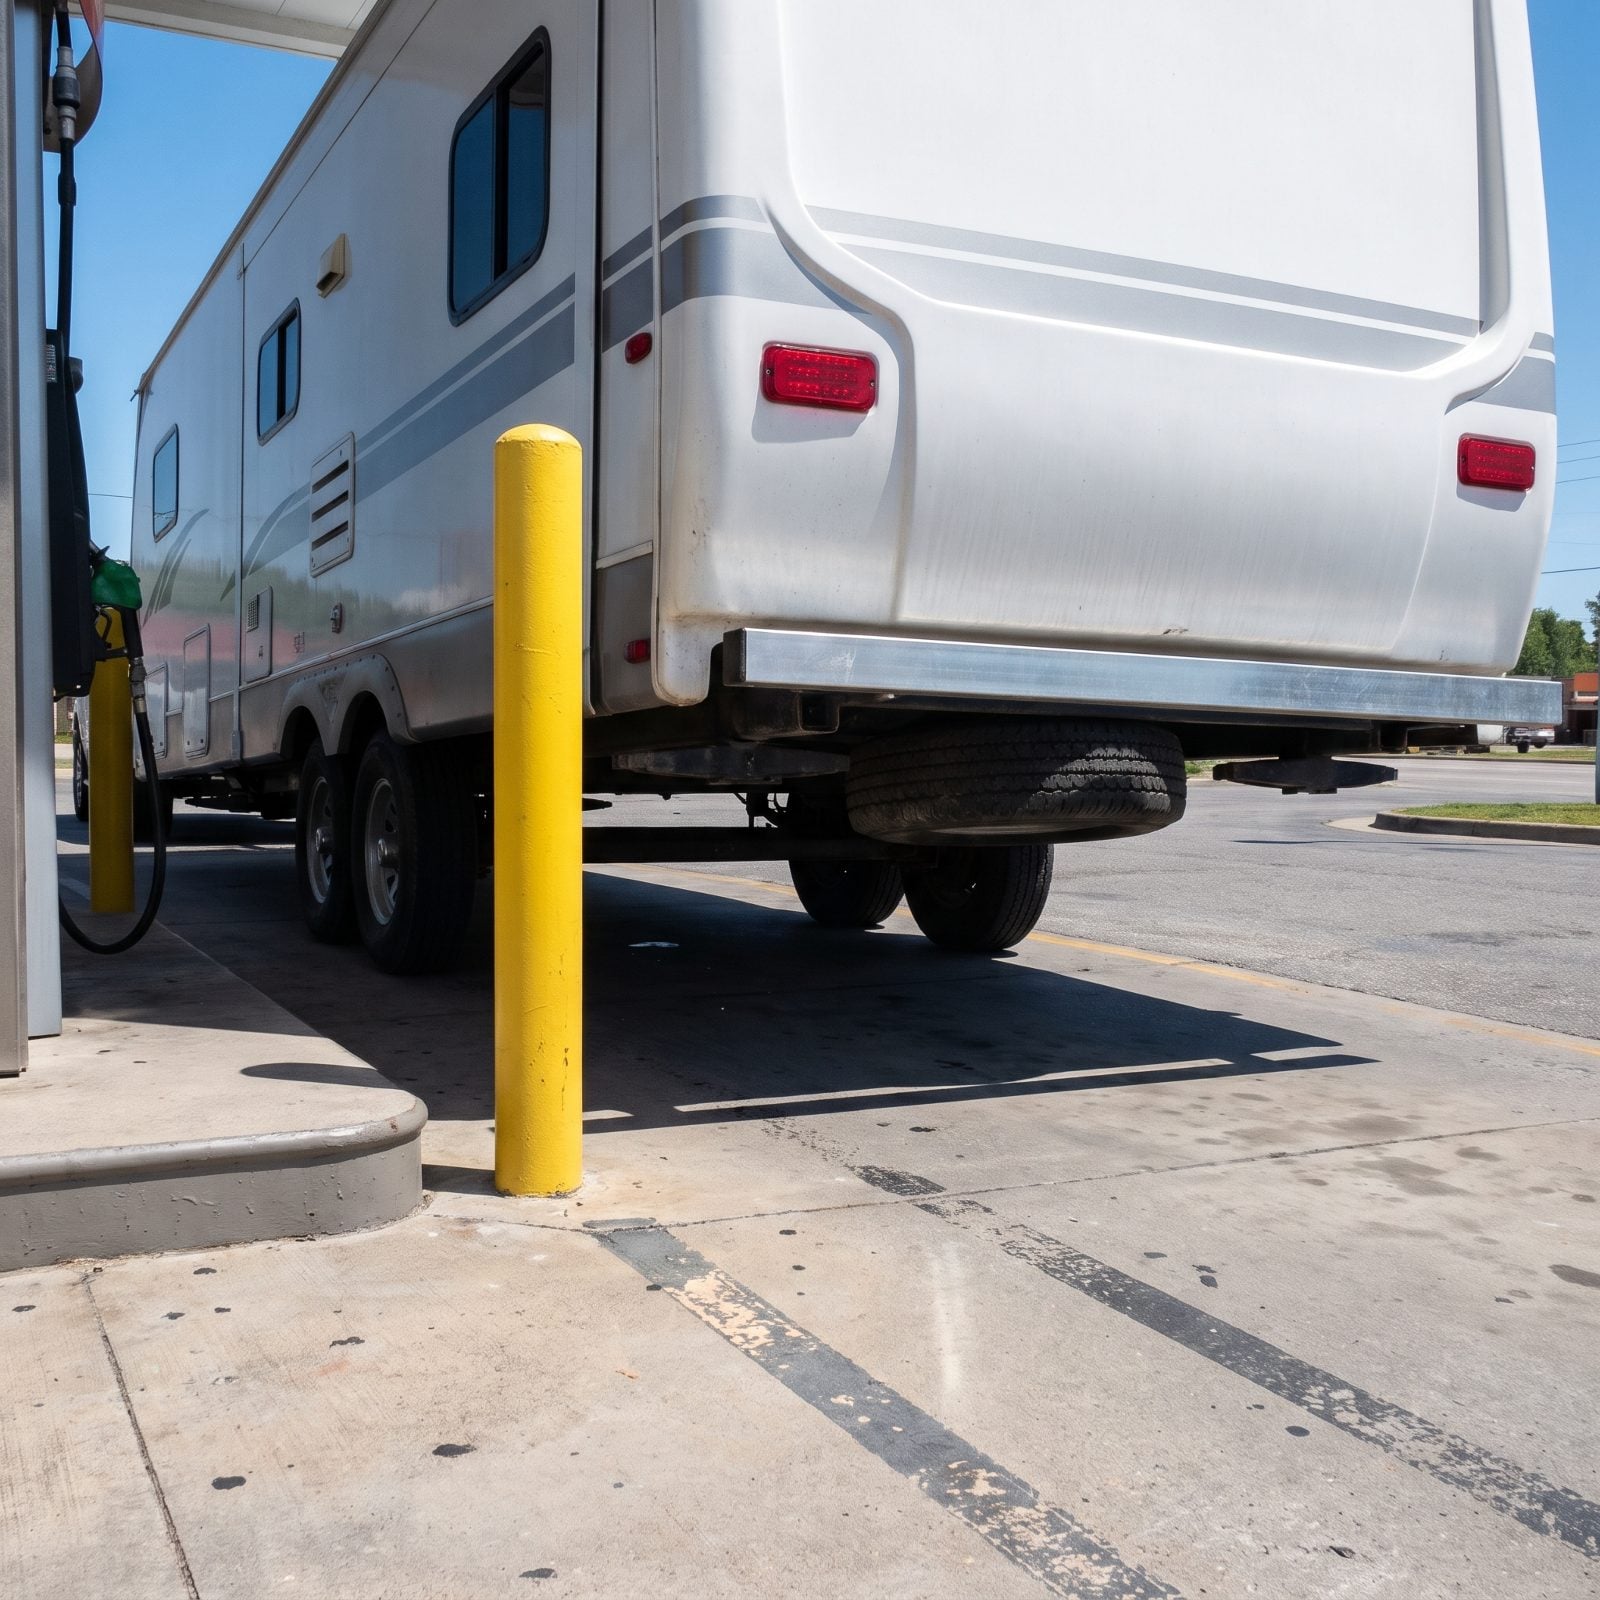
Everyone obsesses over the front of the rig while the back quietly plots against them. Turn the wheel and the rear overhang swings opposite your steering, out toward whatever happens to be parked next to you.
At a tight fuel island or a crowded campground loop, that swing is how you clip a pump, a mirror, or a neighbor’s tow vehicle. Worst part? It happens behind you, where you can’t see a thing.
Before any sharp maneuver, clock what’s within reach of the rear corners and give yourself a buffer on the outside of the turn. A cheap set of convex mirror stick-ons helps you keep that back corner in view when space gets tight.
24. Backing In Blind Without a Spotter
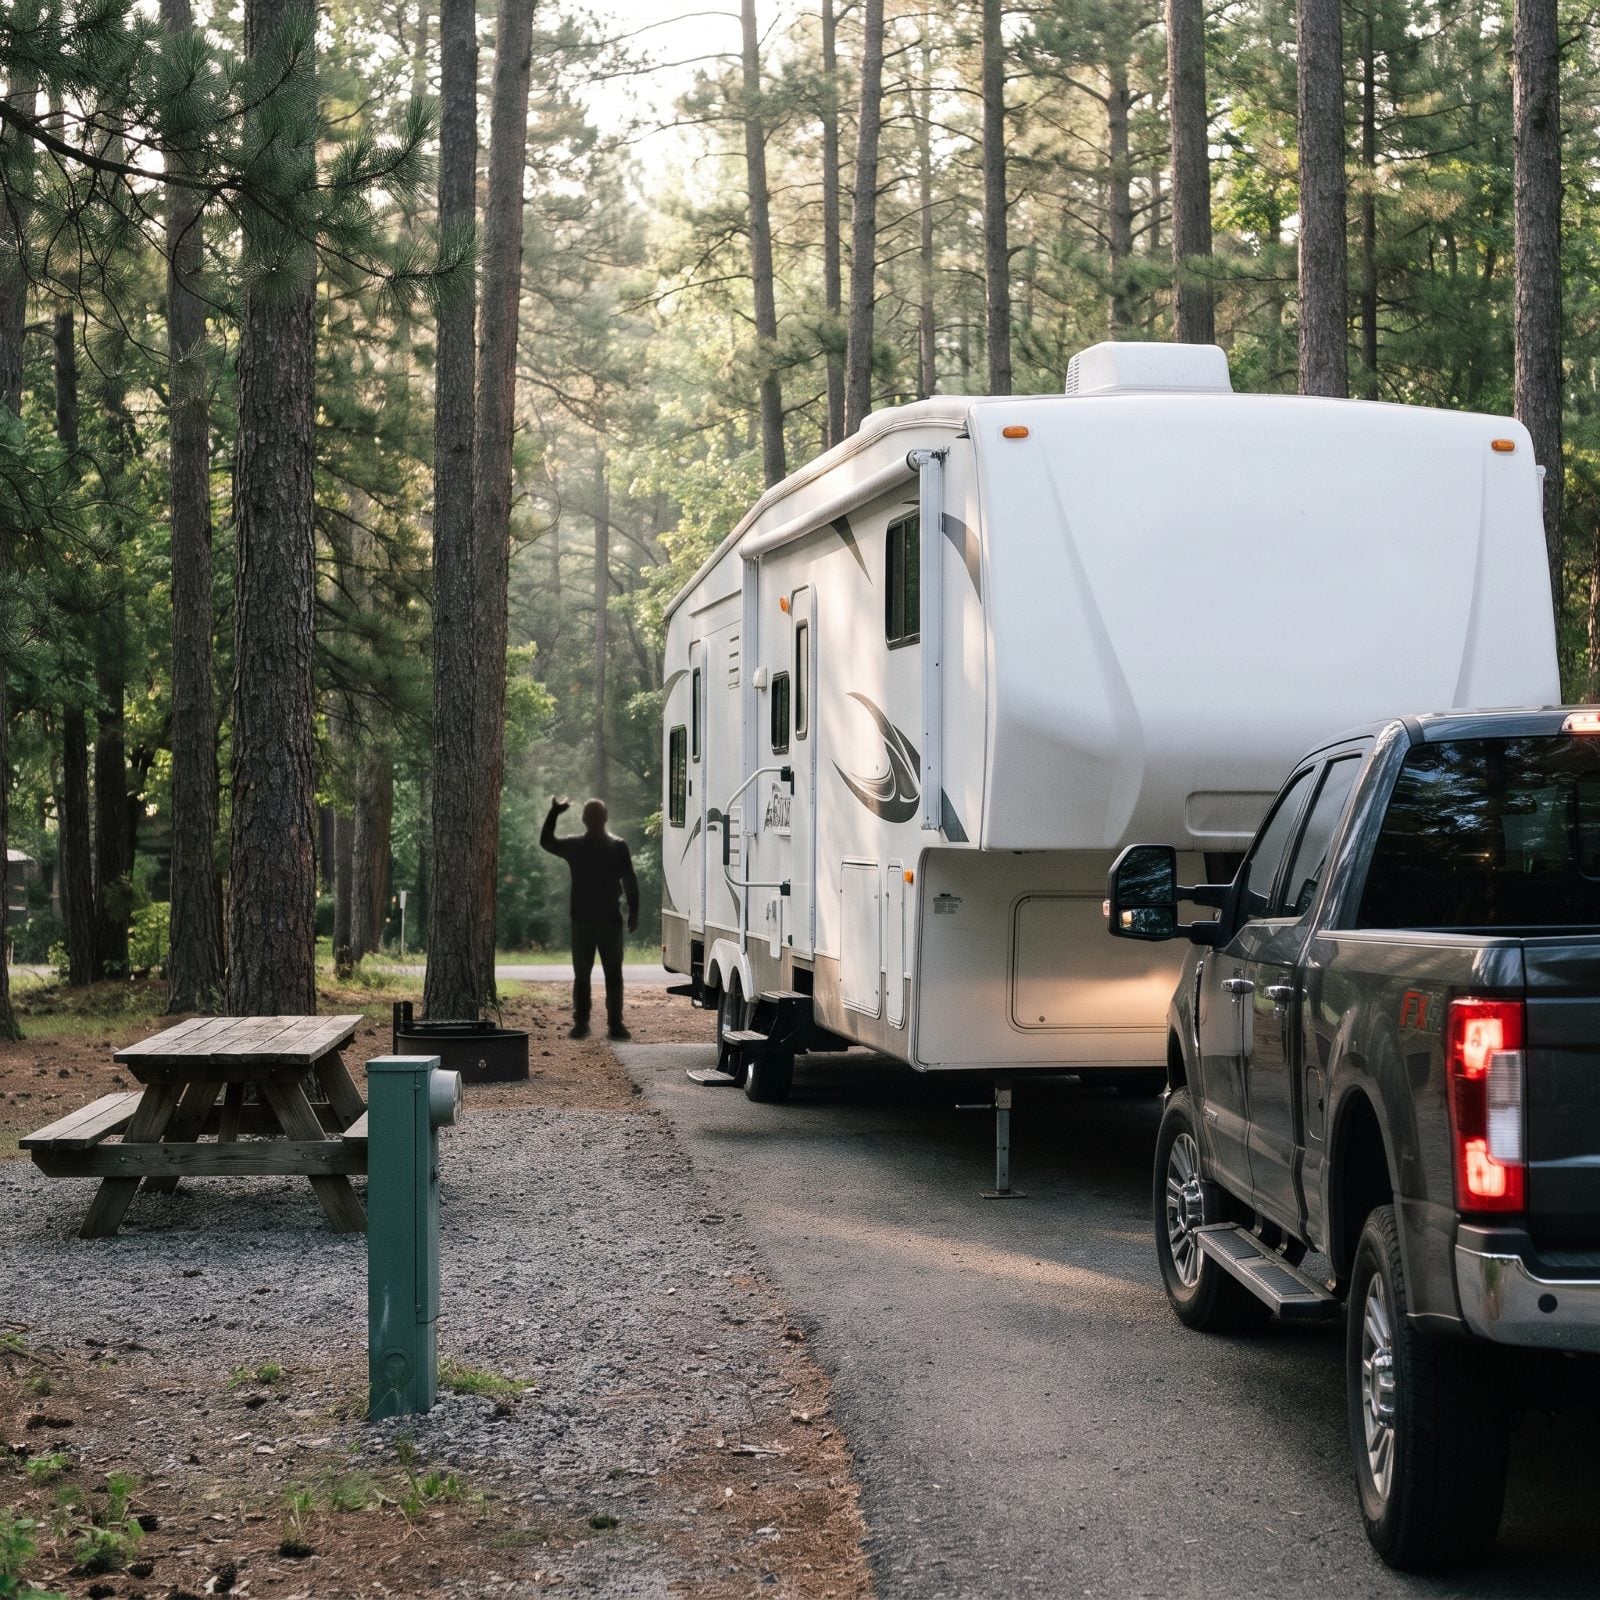
You wave someone to the back and the two of you start improvising hand signals you’ve never agreed on. Three guesses later a tire’s off the pad and tempers are warm.
Backing a fifth wheel is counterintuitive. The trailer goes where you point the truck’s rear, and with a long wheelbase every input is delayed and exaggerated. Skip the clear communication and you’re steering into a blind spot the size of a bus.
Agree on signals before you start: one fist means stop, flat palms show how much room is left in feet. Put your spotter where you can see them in the mirror, never behind the trailer where they vanish. And a pair of cheap two-way radios beats shouting through glass every single time.
23. Booking a Site That Can’t Hold Your Rig
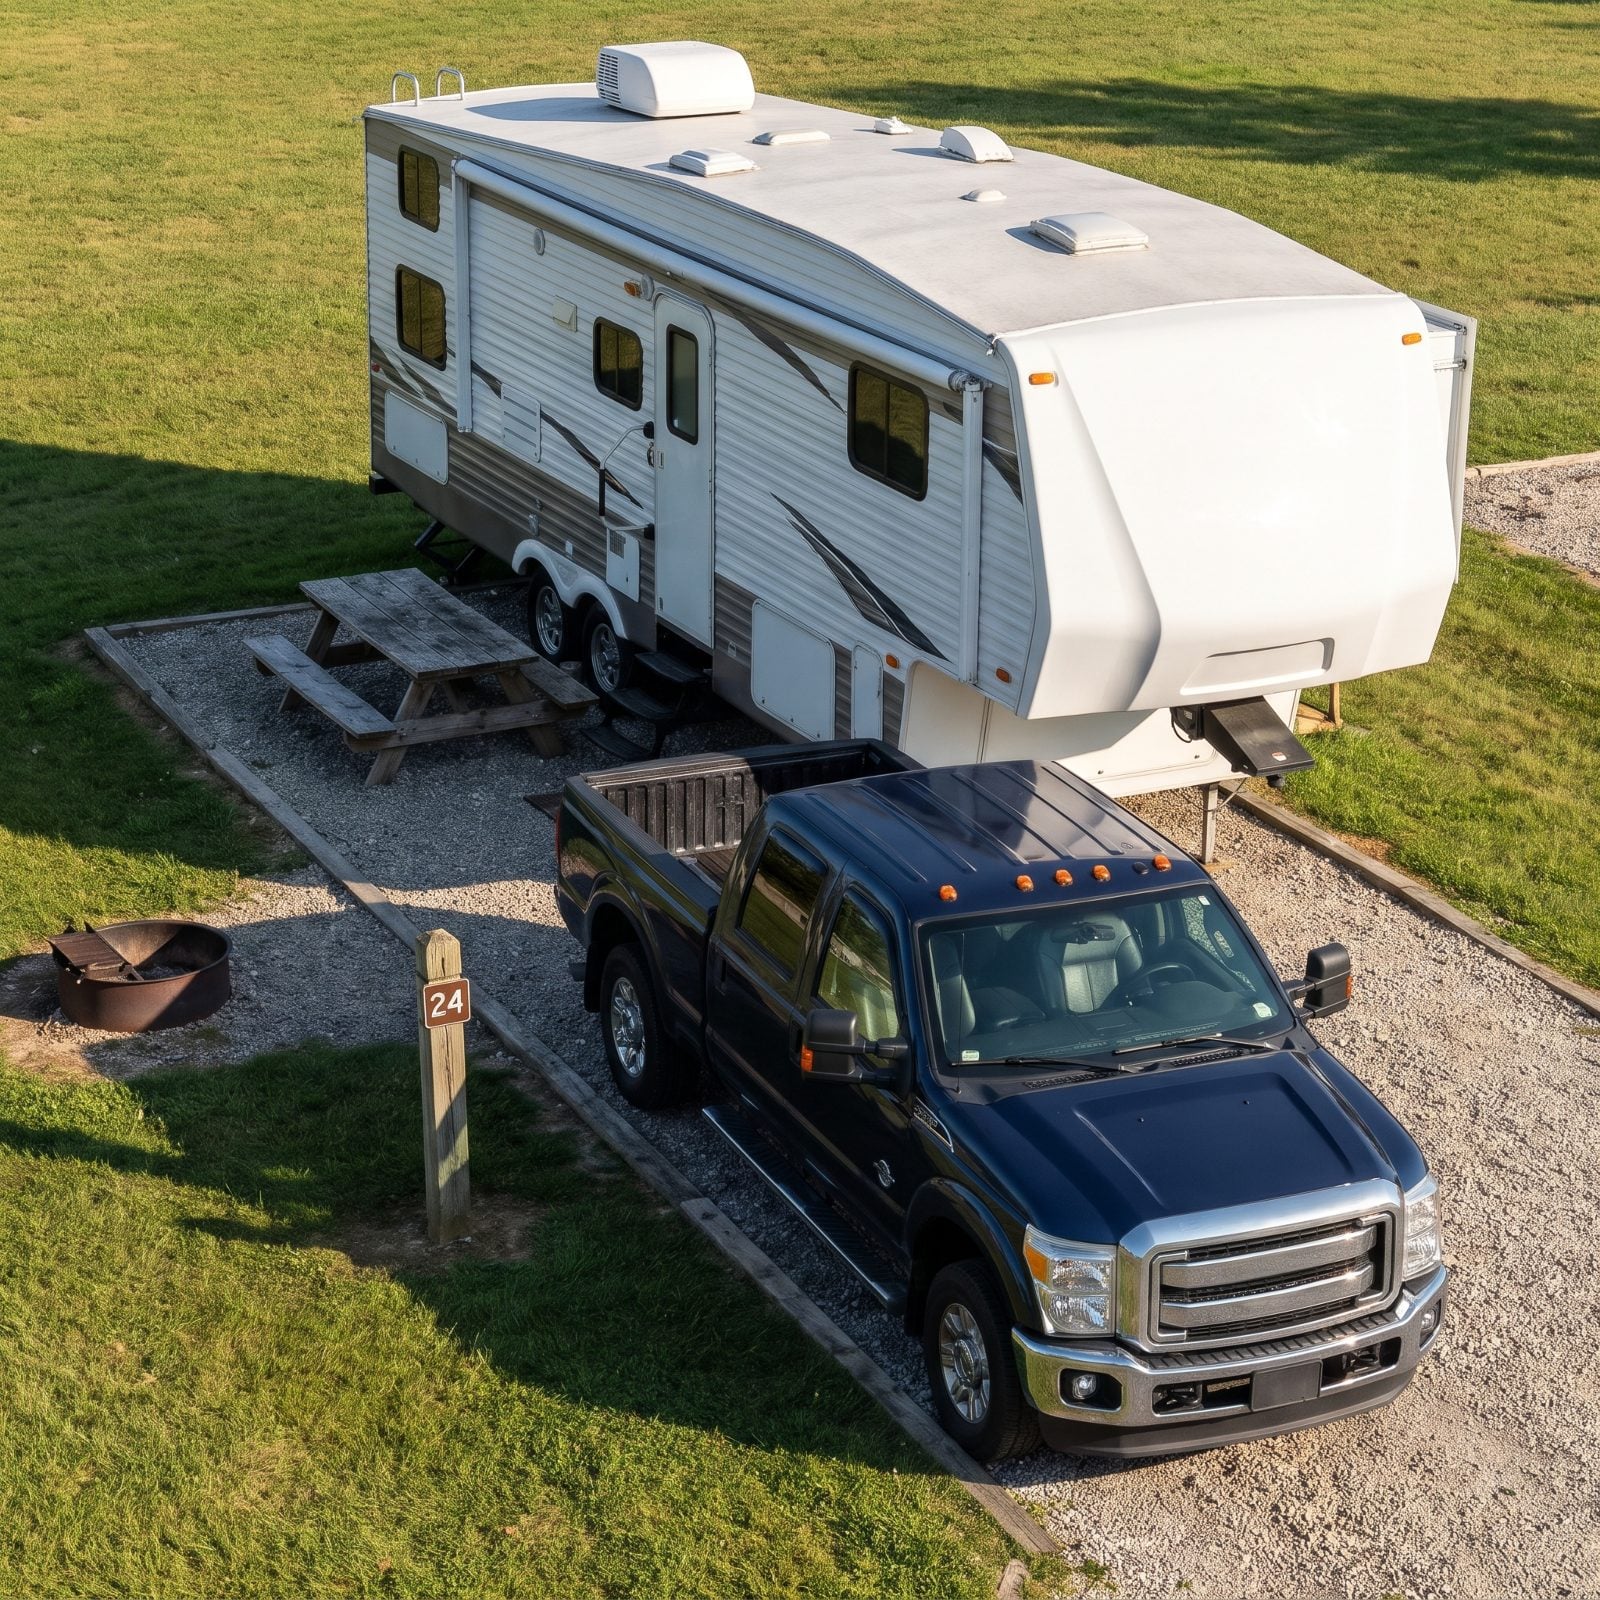
The reservation page says the site is 40 feet. Your trailer is 36. Sounds fine, until you remember your truck is another 20 feet and has to live somewhere too.
A lot of listings measure the pad for the trailer only, not your whole combination. Show up long and you’re either blocking the road or parking the truck in the next site over, which the neighbors notice fast.
Measure your rig fully coupled, bumper of the truck to the back of the trailer, and keep that number in your phone. When you book, call and ask for the pad length and whether the truck has to sit on it. If the answer is fuzzy, request a pull-through and sleep easy.
22. Ignoring the Steep or Awkward Approach
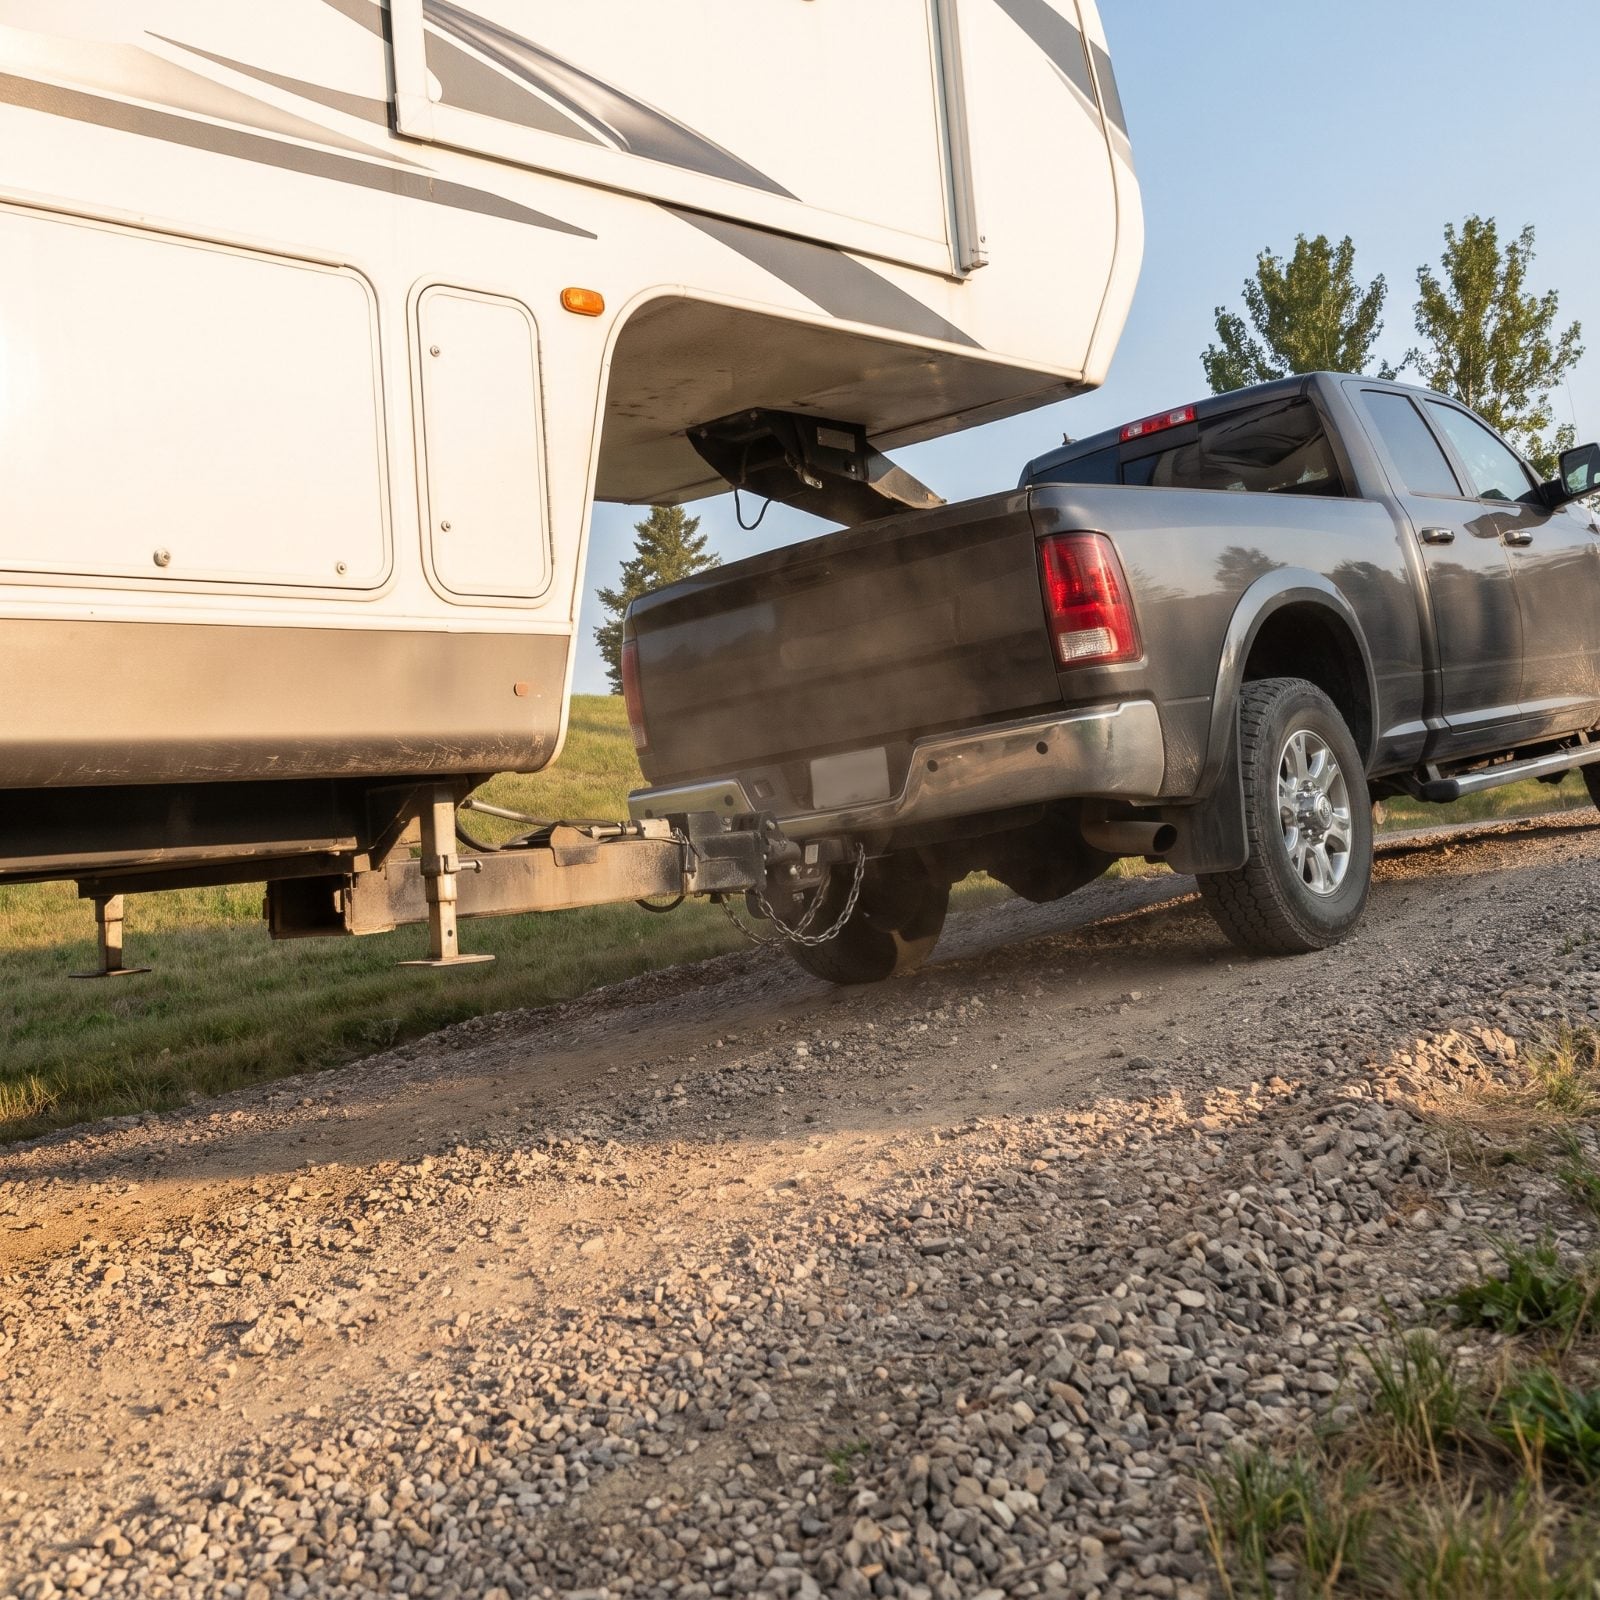
A long fifth wheel doesn’t just need a parking spot. It needs a path to that spot that won’t high-center the rig or drag the rear bumper through the dirt.
Steep driveways, sharp grade changes at a campsite entrance, tight turns off a narrow road — any of them can scrape your underbelly, bottom out your hitch, or pin you in a spot you can’t back out of. I once watched a rig hang up on a lip of pavement that looked like nothing from the truck seat.
Scout the approach before committing, and walk it if you can. Check for the dip where the road meets the pad, overhead branches, any turn too tight for your swing. Thirty seconds on foot saves an hour of red-faced reversing.
21. Positioning So the Slides Hit Something
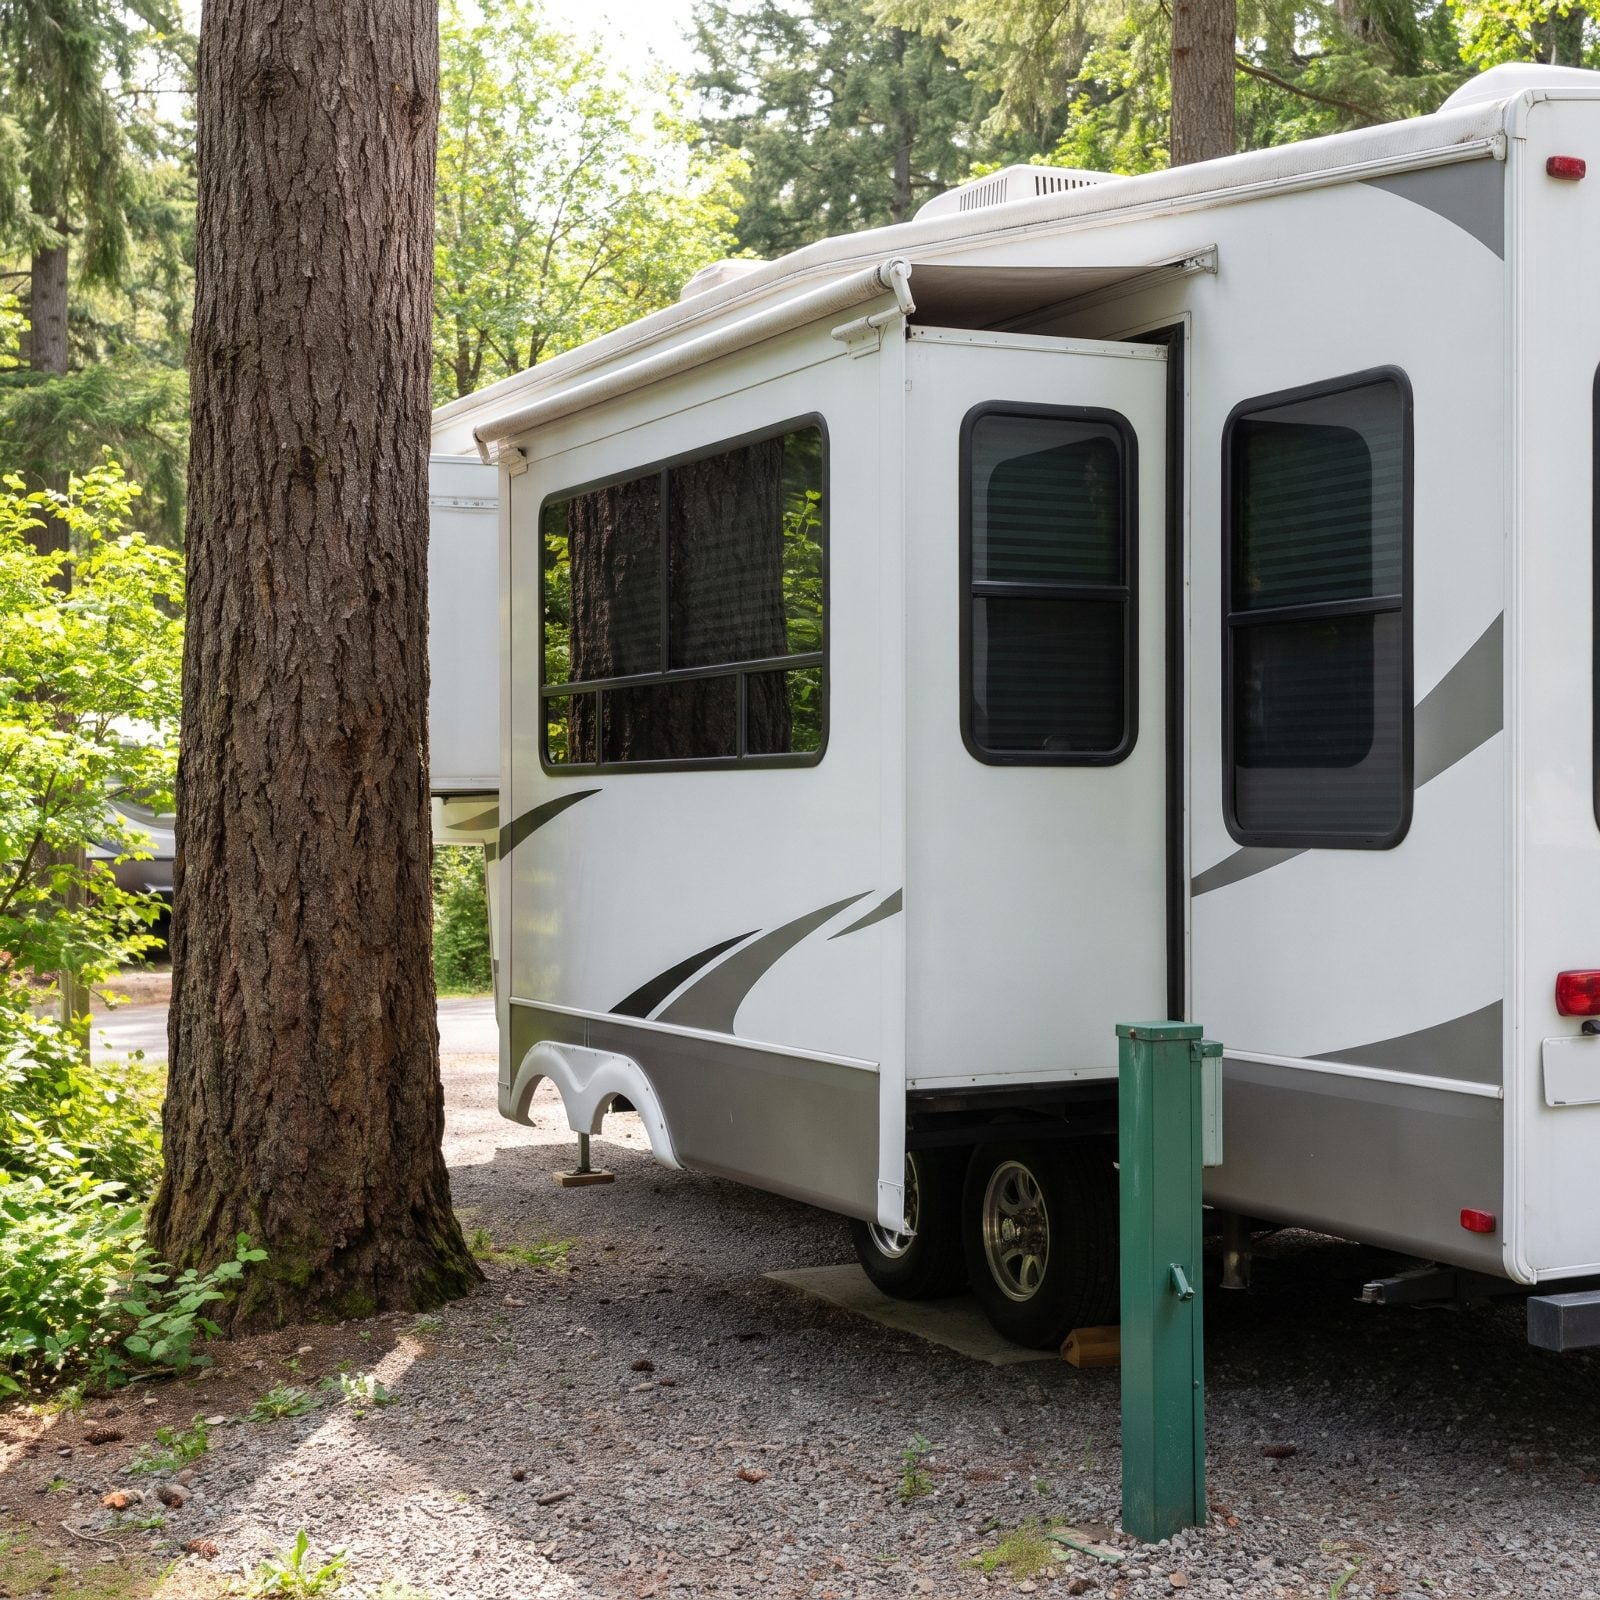
You park, relax, hit the button, and the slide crawls out with mere inches to spare beside the power pedestal, while a big fir trunk crowds the front corner. No damage this time, but it’s a camp chair’s worth of nervous second-guessing.
Slides can push out three feet or more on each side, and most owners only think about where the trailer sits, not where it grows once you’re set up. Trees, picnic tables, power pedestals, your neighbor’s rig — they all live in that zone.
Before you unhitch, picture the slides fully out and walk the perimeter. Nudge the rig forward or back a couple feet if a slide path is blocked. Five minutes of fussing while you’re still hitched beats a repair bill once you’ve committed.
20. Unhitching Before Chocking the Wheels
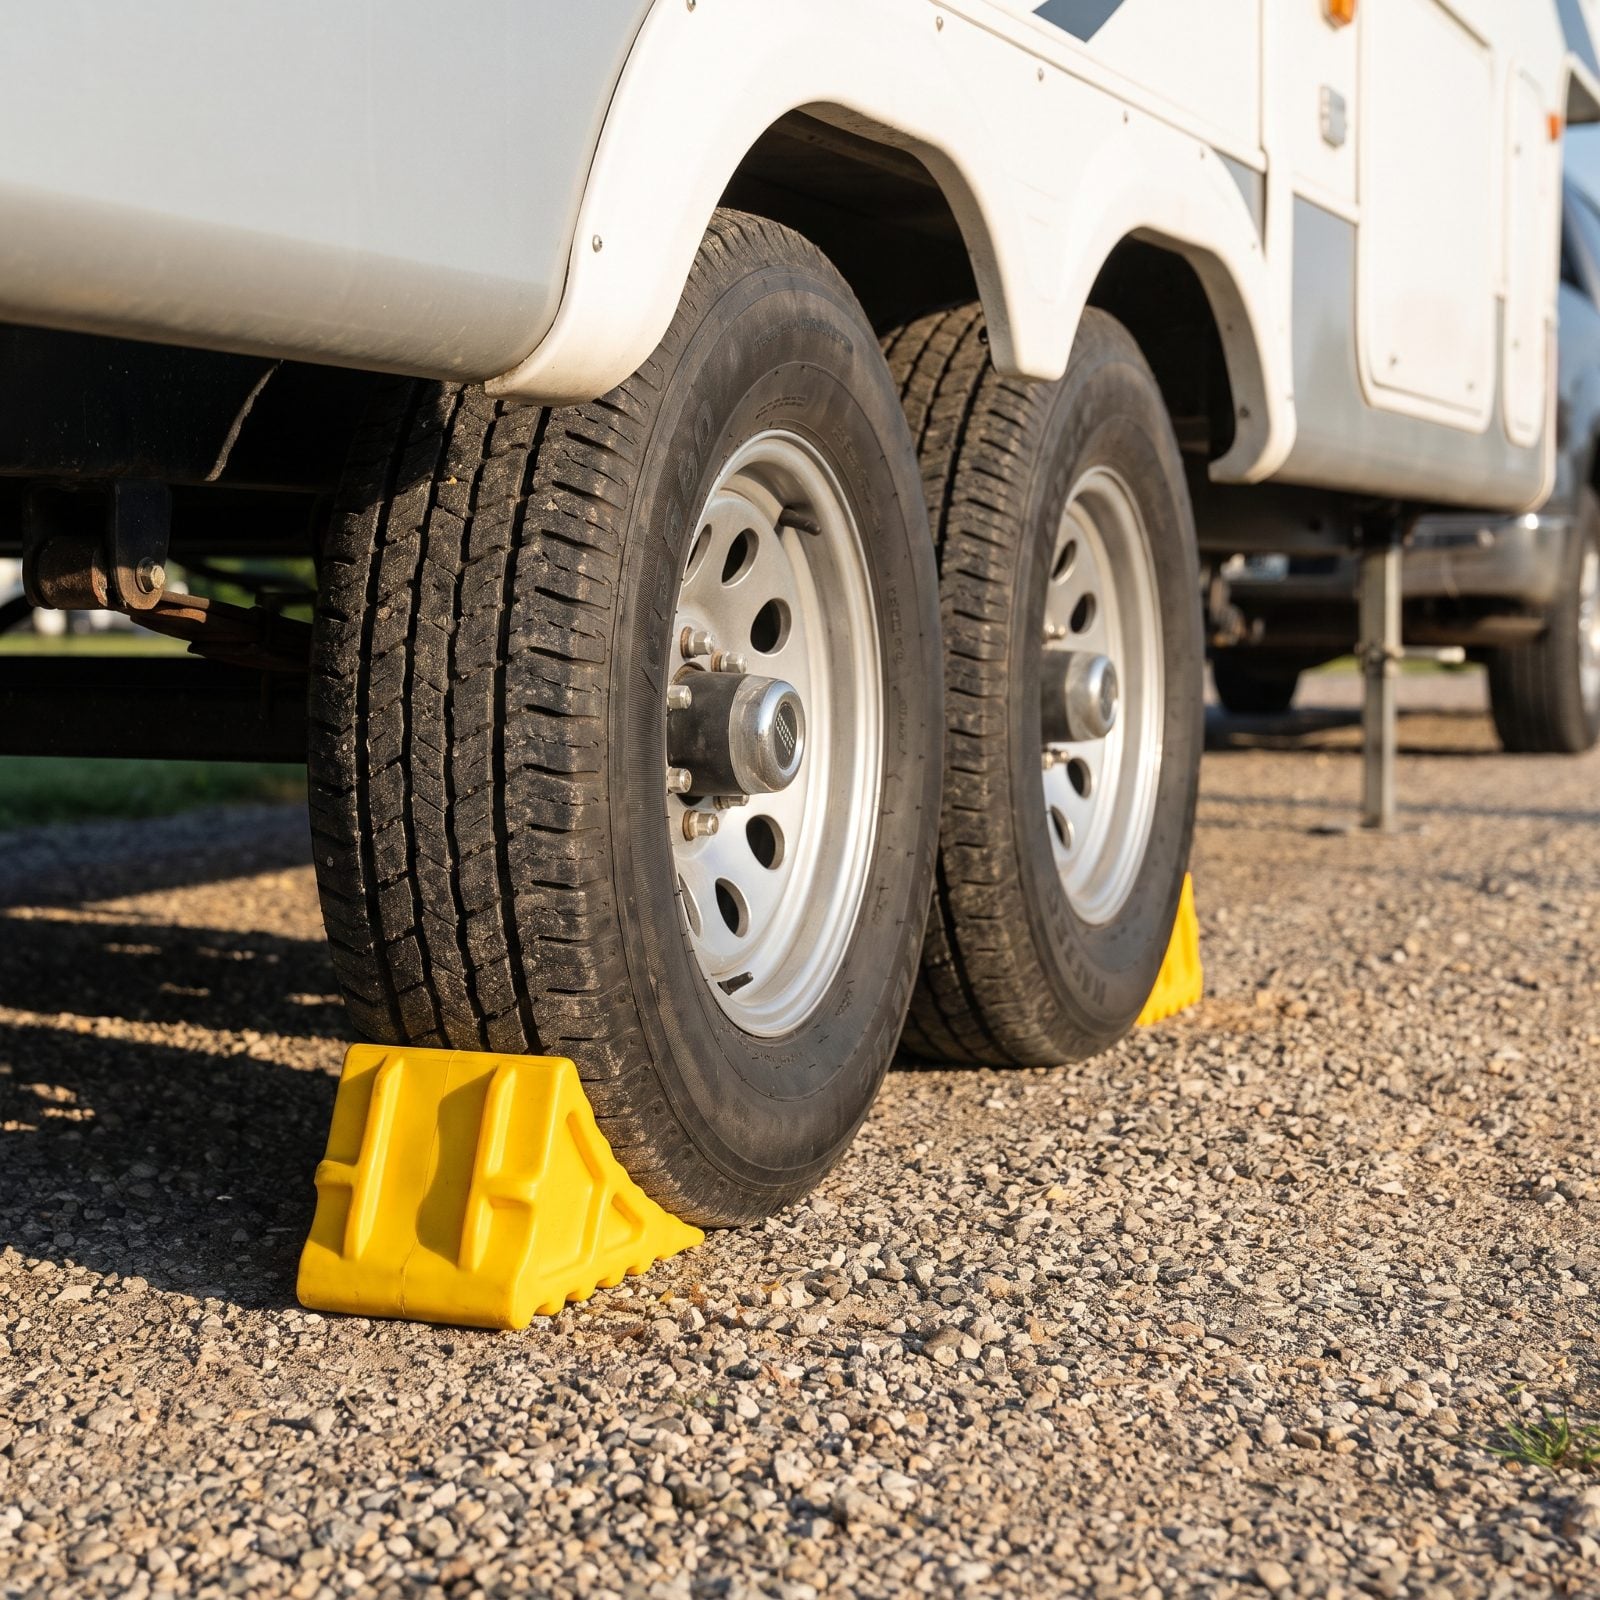
The hitch handle is right there, so you pull it first. The moment the kingpin releases, the trailer decides which way is downhill — and gravity is faster than you are.
Even a slight grade can let an unchocked fifth wheel roll the instant it’s free of the truck. Thousands of pounds moving with nobody at the wheel. It only has to happen once.
Chock the wheels first, every time, before you touch the hitch. Snug yellow rubber wheel chocks against both sides of the tires so the trailer can’t creep in either direction. Make it the opening move of your setup routine until it’s as automatic as buckling a seatbelt.
19. Leveling With the Stabilizer Jacks
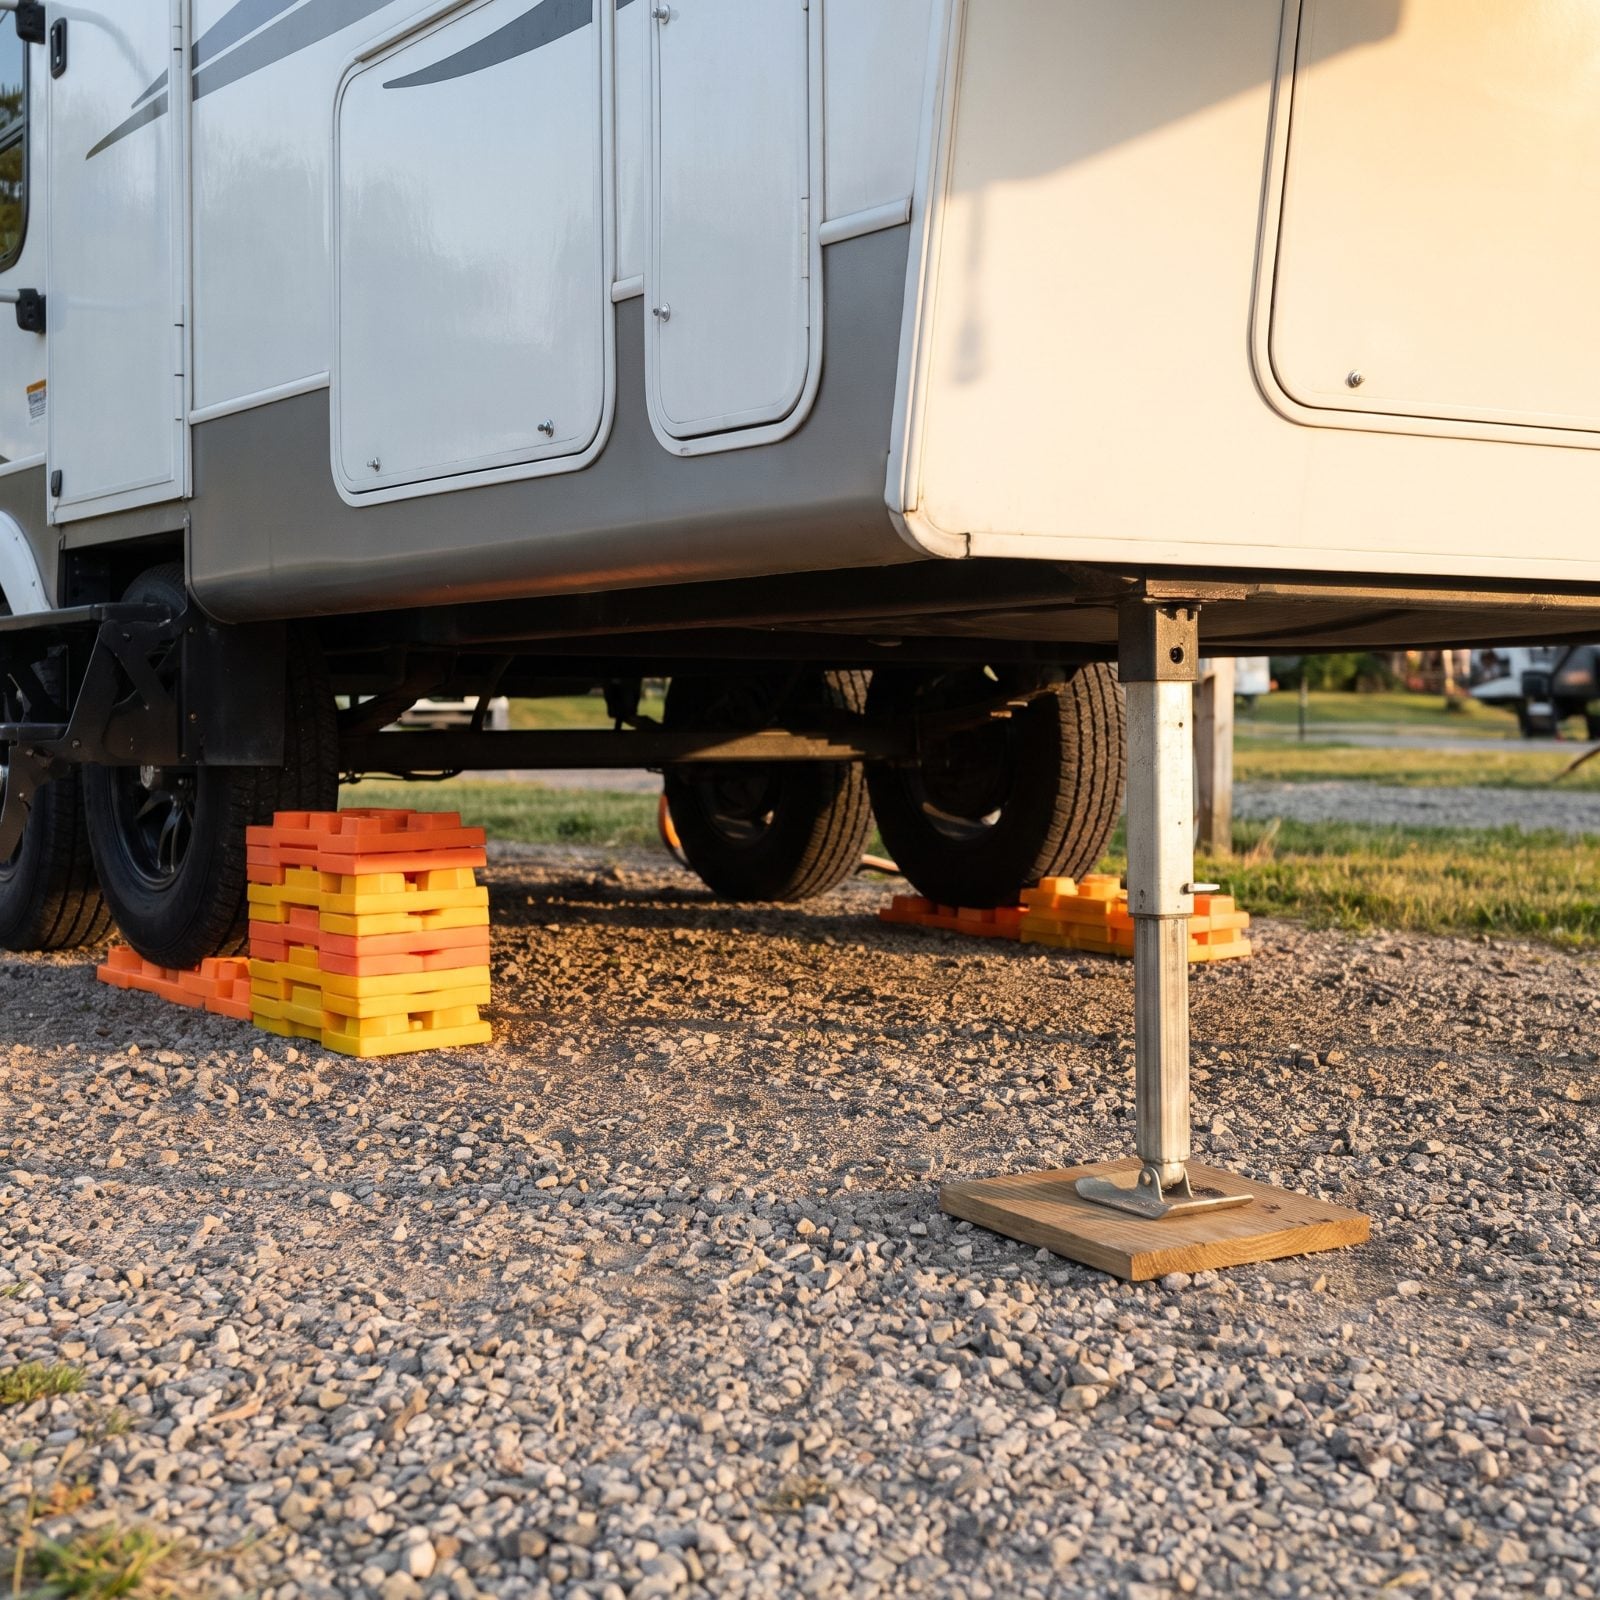
Stabilizer jacks are named exactly what they do. They stabilize. They aren’t built to lift and hold the weight of your rig, and leaning on them to level is how you bend the legs and crack the mounting points.
Do your side-to-side leveling with leveling blocks, before you unhitch. Keep a stack of orange and yellow RV leveling blocks beside the low-side tires and lay low rows in front of them to drive up onto until a bubble level across the floor reads flat. Handle front-to-back with the landing gear. Only then drop the stabilizer jacks, just enough to kill the bounce when you walk inside.
Get the order wrong and your doors swing on their own and your fridge sulks. Get it right and the whole rig feels bolted to the earth.
18. Running the Slides Without Looking Inside

Slides retract for travel by shoving furniture inward, so when you extend them, anything that drifted into the path gets dragged, tipped, or snapped. A recliner left too close. A bar stool that slid. A lamp that toppled somewhere around mile 200.
And the motors are strong enough to keep going even when something’s in the way, right up until something cracks.
Walk the interior before you hit the switch. Move chairs clear, check that nothing fell off a counter during the drive, confirm no cabinet doors swung open into the slide’s travel. Ten seconds of looking saves a torn slide floor or a shredded window blind.
17. Leaving the Awning Out in Wind or When You’re Gone
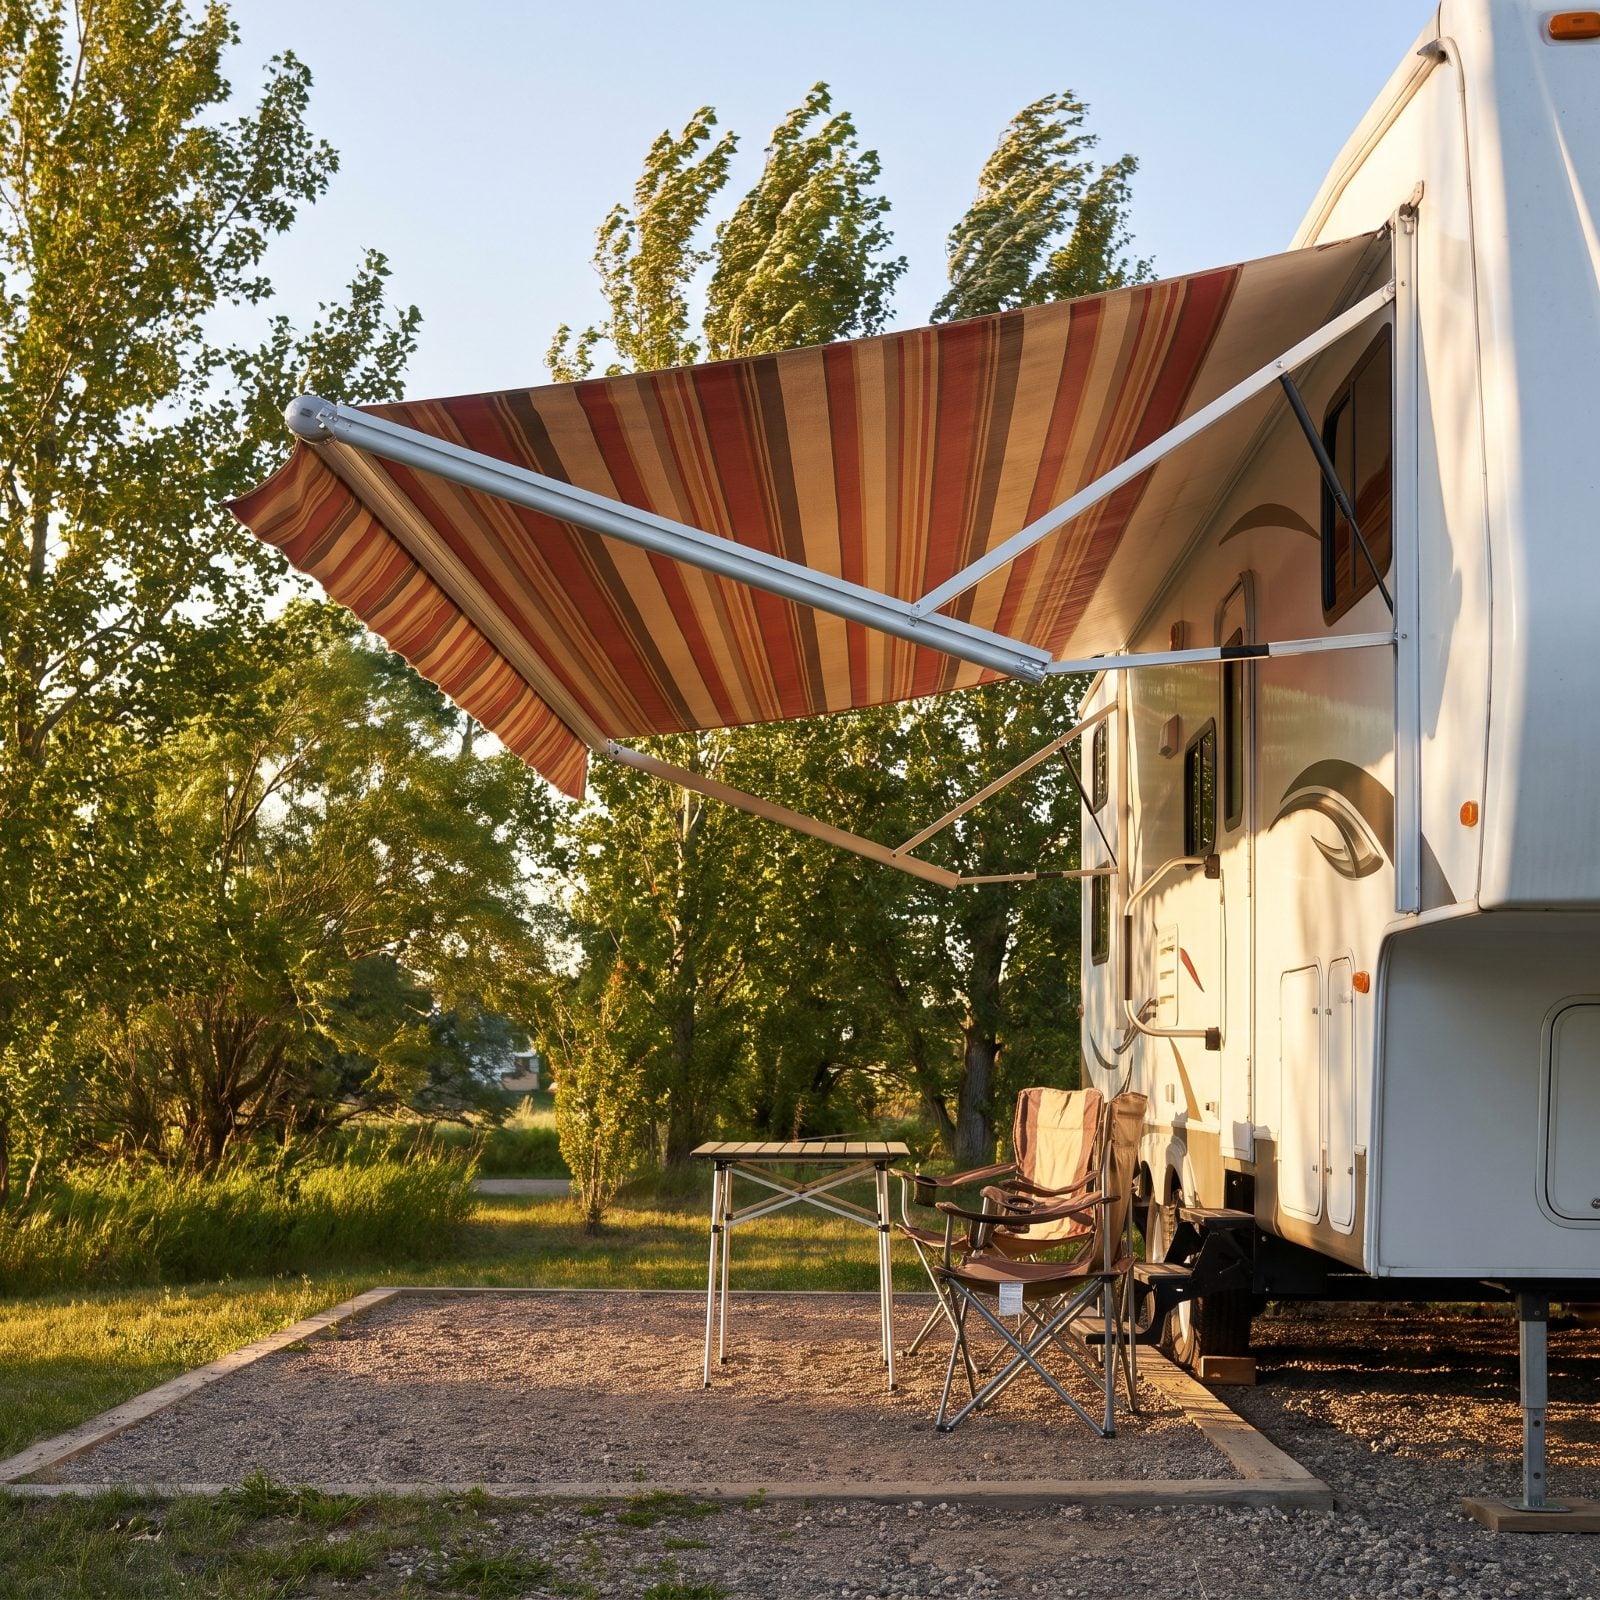
An awning out on a calm evening is one of the quiet joys of this whole thing. An awning out when a gust front rolls through is a sail bolted to the side of your trailer, and it will fight to take the sidewall with it.
Wind is behind a huge share of awning claims, and they get expensive. A sudden gust can fold the arms, rip the fabric, or peel the mounting rail clean off. It almost always happens while everyone’s off at the lake.
Roll it in anytime you leave the site and anytime the forecast mentions wind. Want shade on a breezy afternoon? Extend it partway and drop the awning support legs to the ground. When in doubt, bring it in — the awning is cheap to retract and painful to replace.
16. Plugging Into the Pedestal Before You Know What’s Coming Out of It
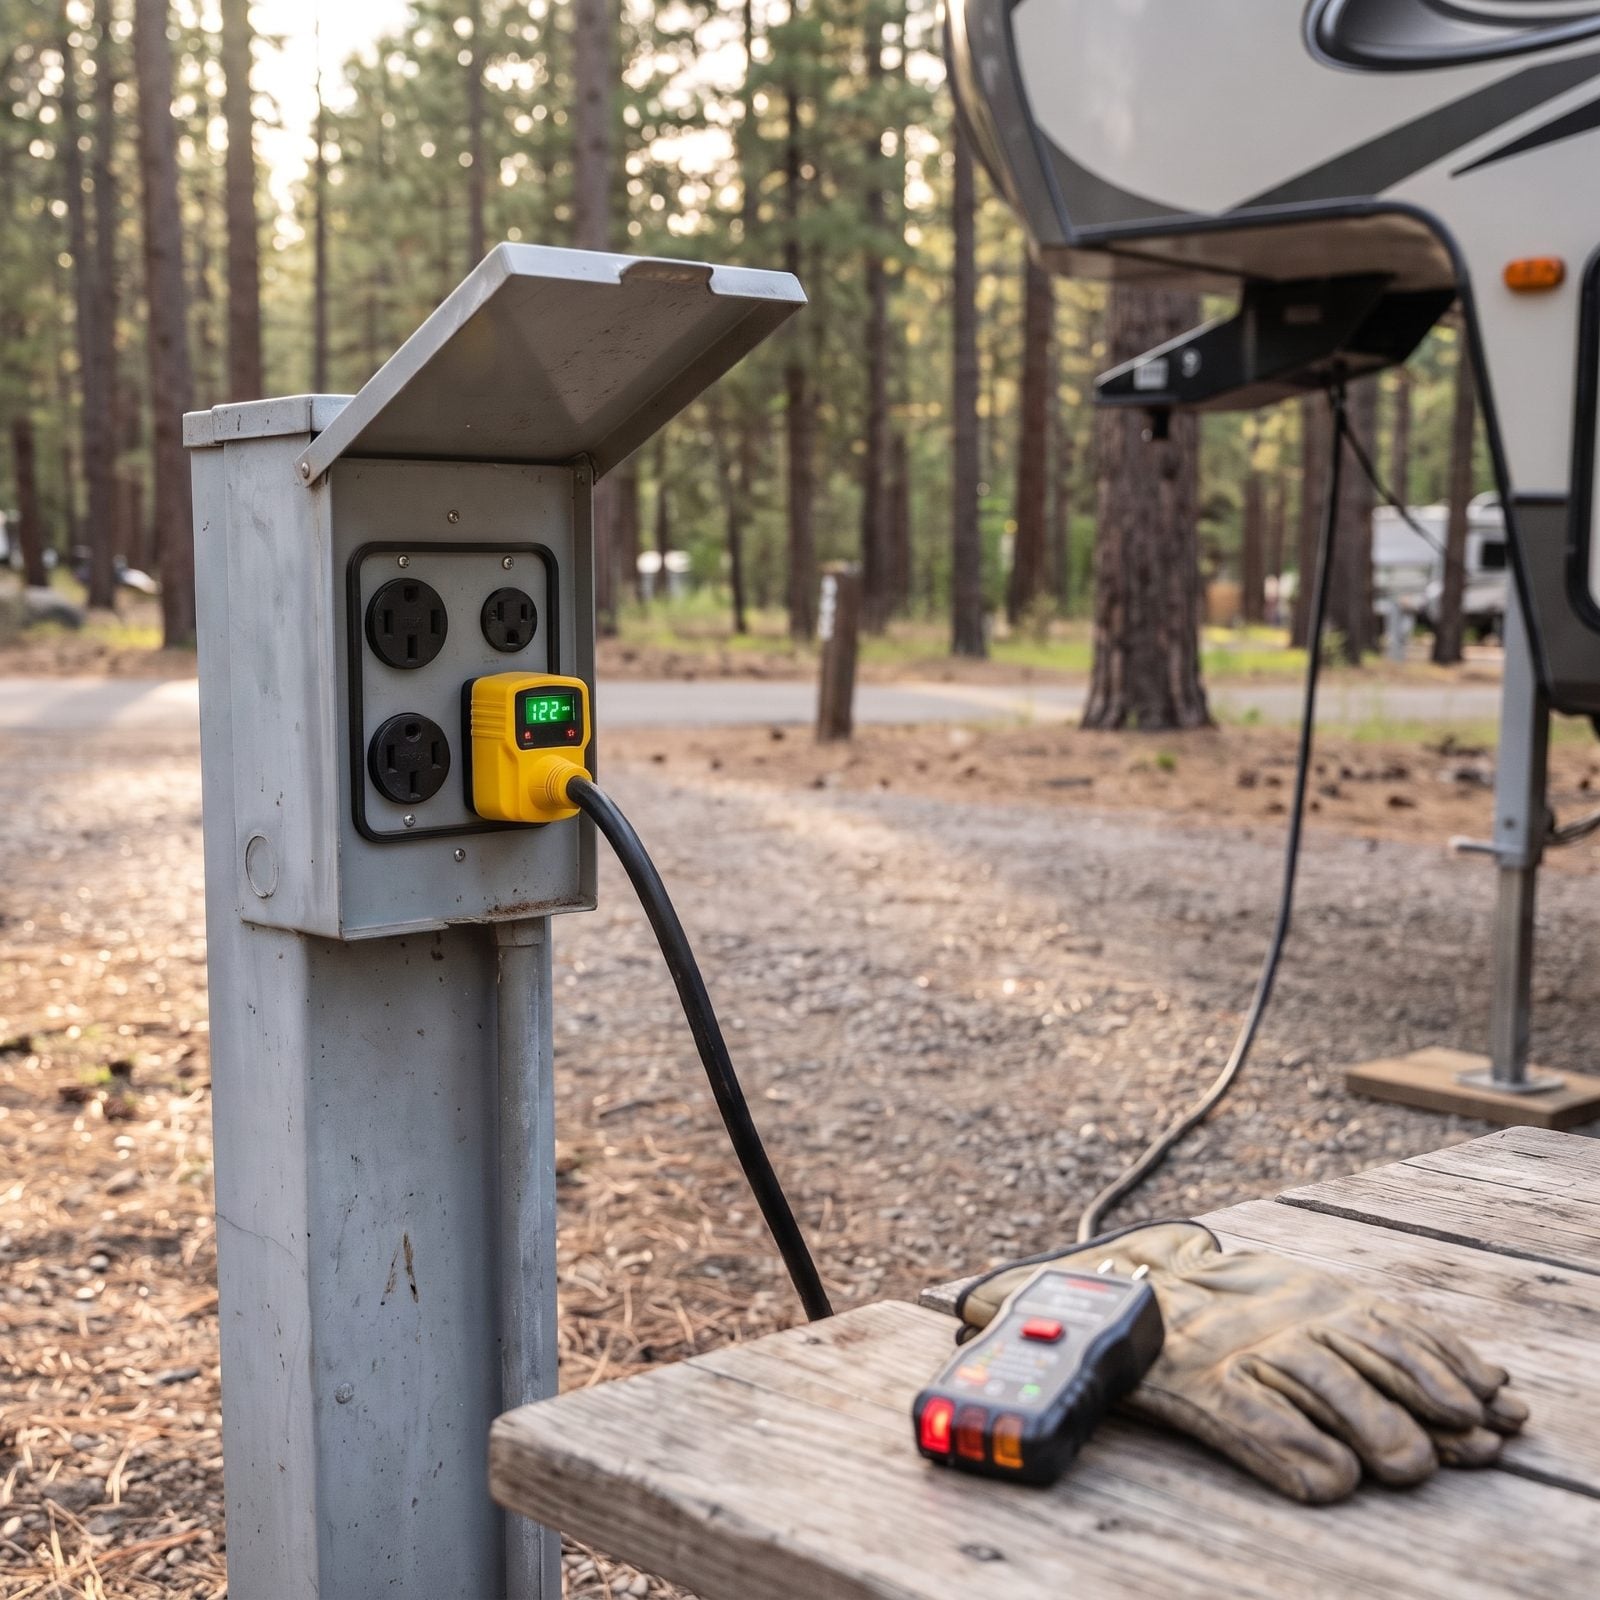
You roll in tired, you want the AC on, so you pop the pedestal cover and plug straight in. That’s the move that fries a converter.
Campground wiring is a mixed bag — miswired pedestals, reversed polarity, open grounds, and voltage that sags on a hot July evening when every site is running two air conditioners. Any one of those can cook the electronics in your fifth-wheel, and the damage doesn’t announce itself until something stops working.
Test first. A cheap plug-in outlet tester gives you a quick read on the outlet in two seconds. Then plug in a real surge protector — not the little power-strip kind, but a full 30-amp RV surge protector that reads voltage and shuts off the line if it drops dangerously low. I watched a neighbor lose a whole control board skipping this. Sixty dollars of protection versus a six-hundred-dollar lesson.
15. Running the Microwave, AC, and Hair Dryer All at Once
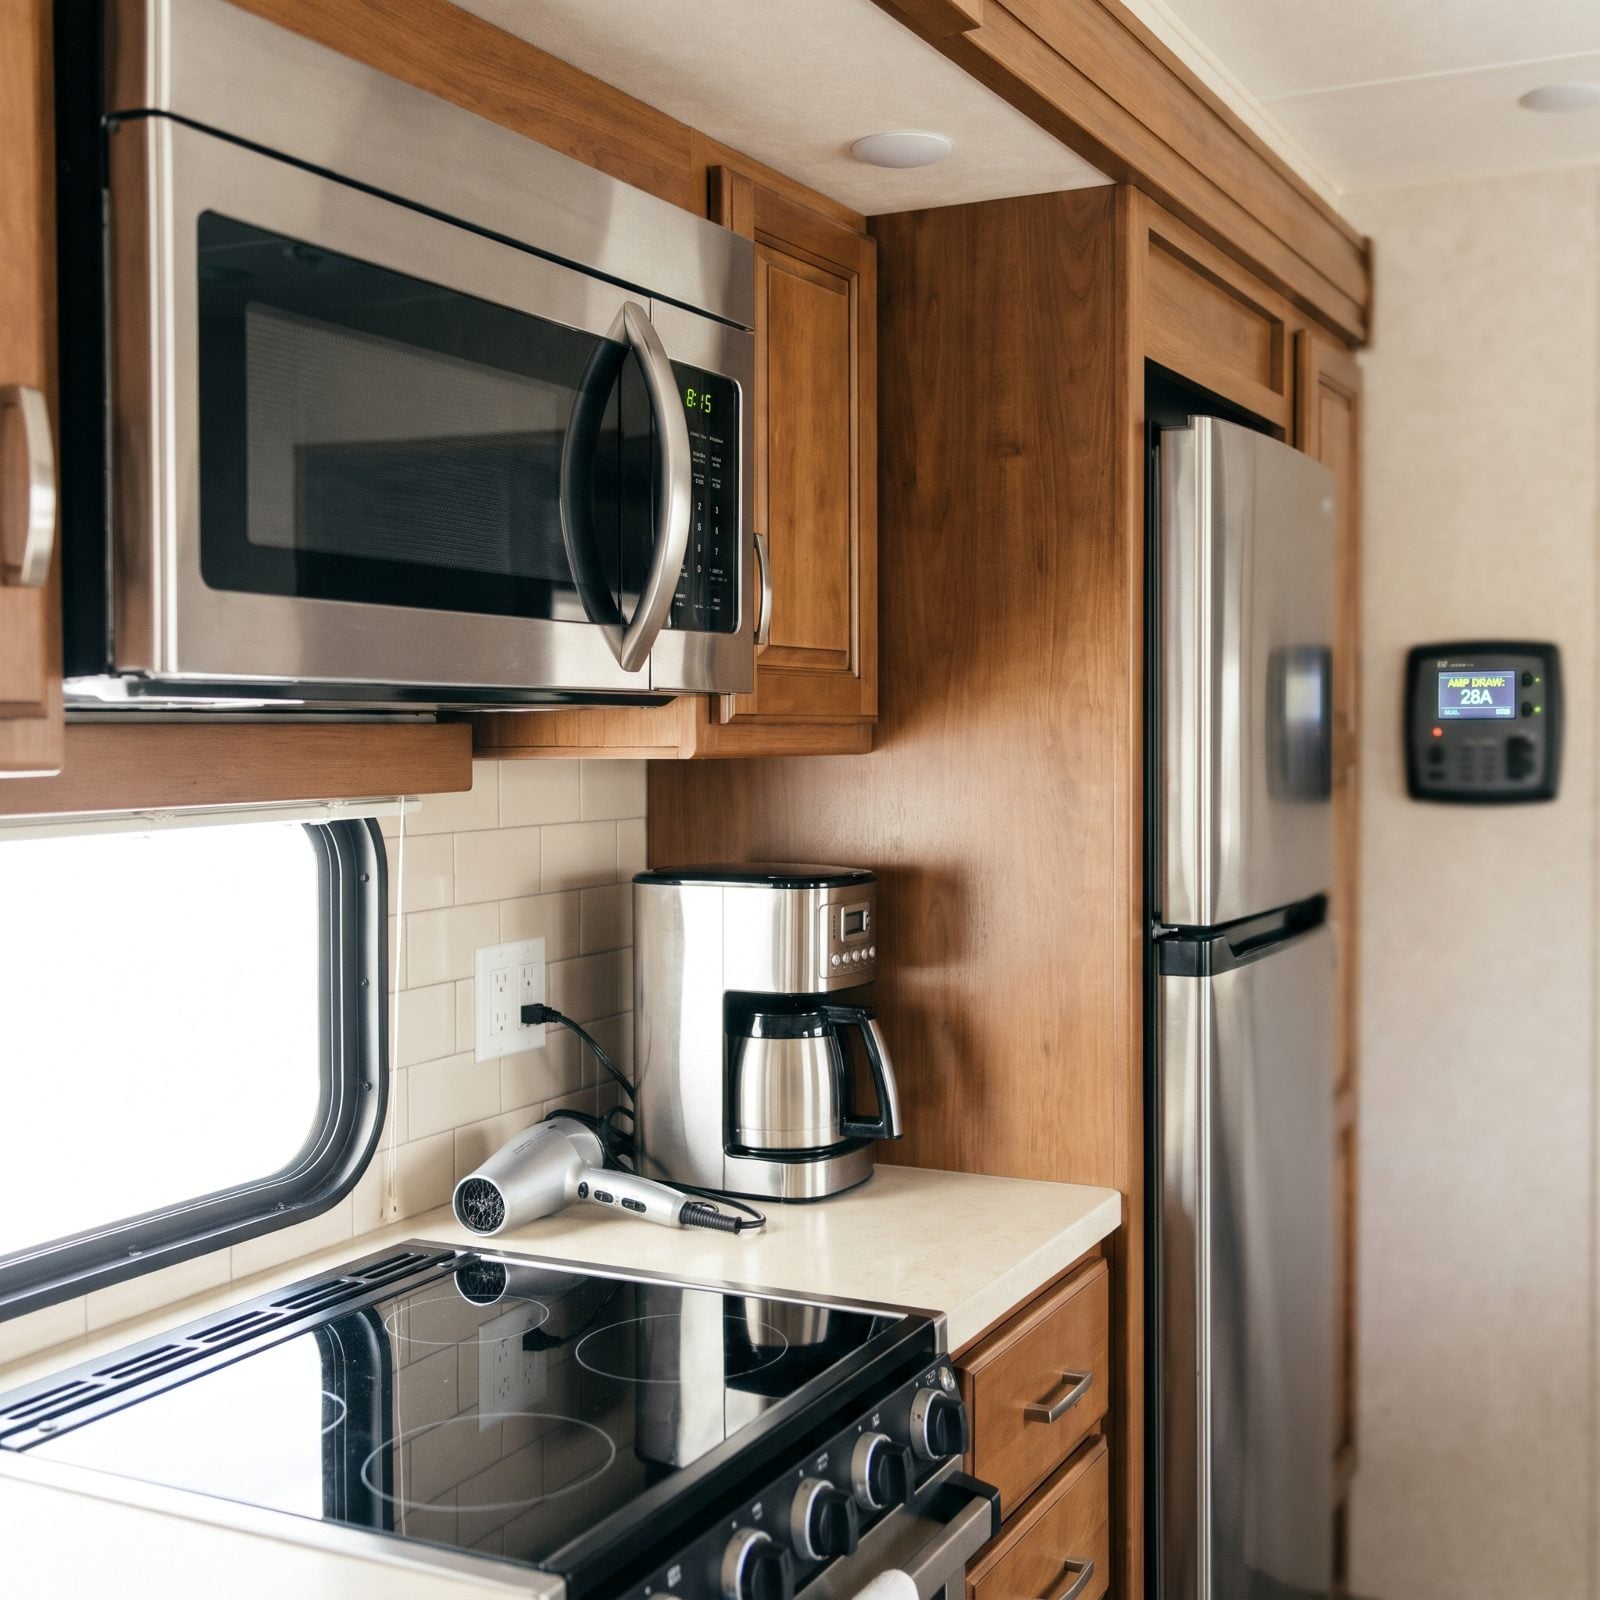
Thirty amps goes fast. A single air conditioner eats a big chunk of them. Add the microwave and you’re near the ceiling. Add a hair dryer on top of that, and the pedestal breaker trips — or worse, nothing trips and the cord quietly overheats.
On a 30-amp rig you’re budgeting electricity whether you like it or not. The AC and the microwave don’t get to run together, and the hair dryer waits until the microwave’s done.
Learn your big draws: air conditioner, electric water heater, microwave, hair dryer, toaster, electric kettle. Run one high-amp thing at a time and you’ll never think about it again. A 50-amp rig gives you more room to play with, but the same habit saves you on a crowded park loop when the whole campground is pulling hard at six o’clock.
14. Powering a Big Rig Through a Skinny Extension Cord
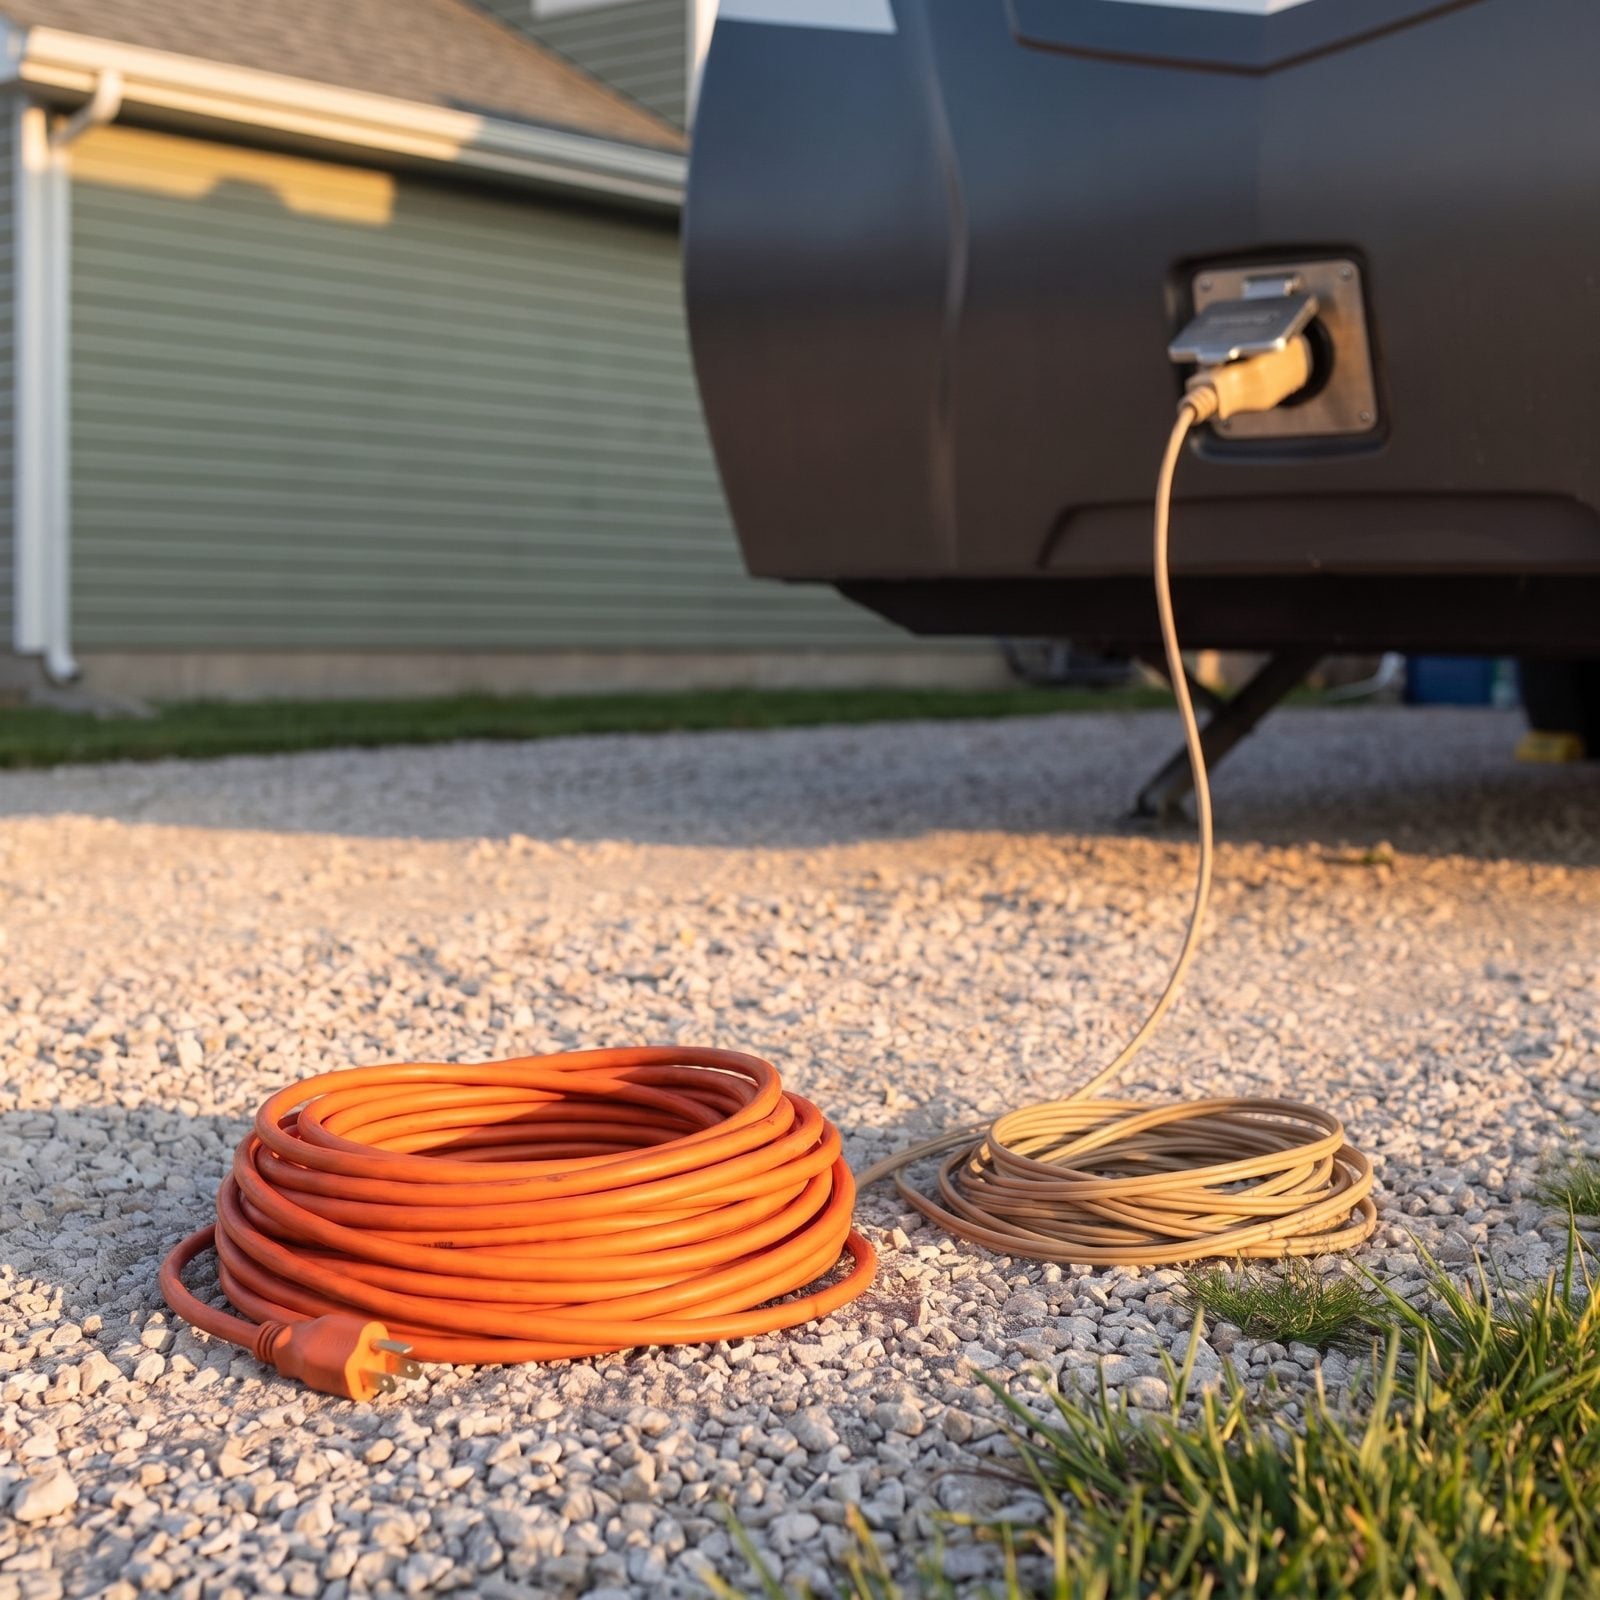
The cord in the garage looks fine. It reaches. It plugs in. And it’s a fire waiting for a warm afternoon.
A thin extension cord can’t carry the current a fifth-wheel pulls, so the wire heats up, the insulation softens, and you get voltage drop that starves your appliances and shortens their life. Those skinny tan household cords from the hardware aisle are sized for a leaf blower, not a travel trailer.
Need to extend your reach? Use a heavy-gauge RV-rated cord. For 30-amp service, 10-gauge minimum. For 50-amp, you want proper dogbone adapters and a real RV extension — never a chain of household cords strung end to end. Keep it short. Every extra foot is more resistance and more heat.
13. Parking the Generator Too Close and Pointing the Exhaust at the Rig
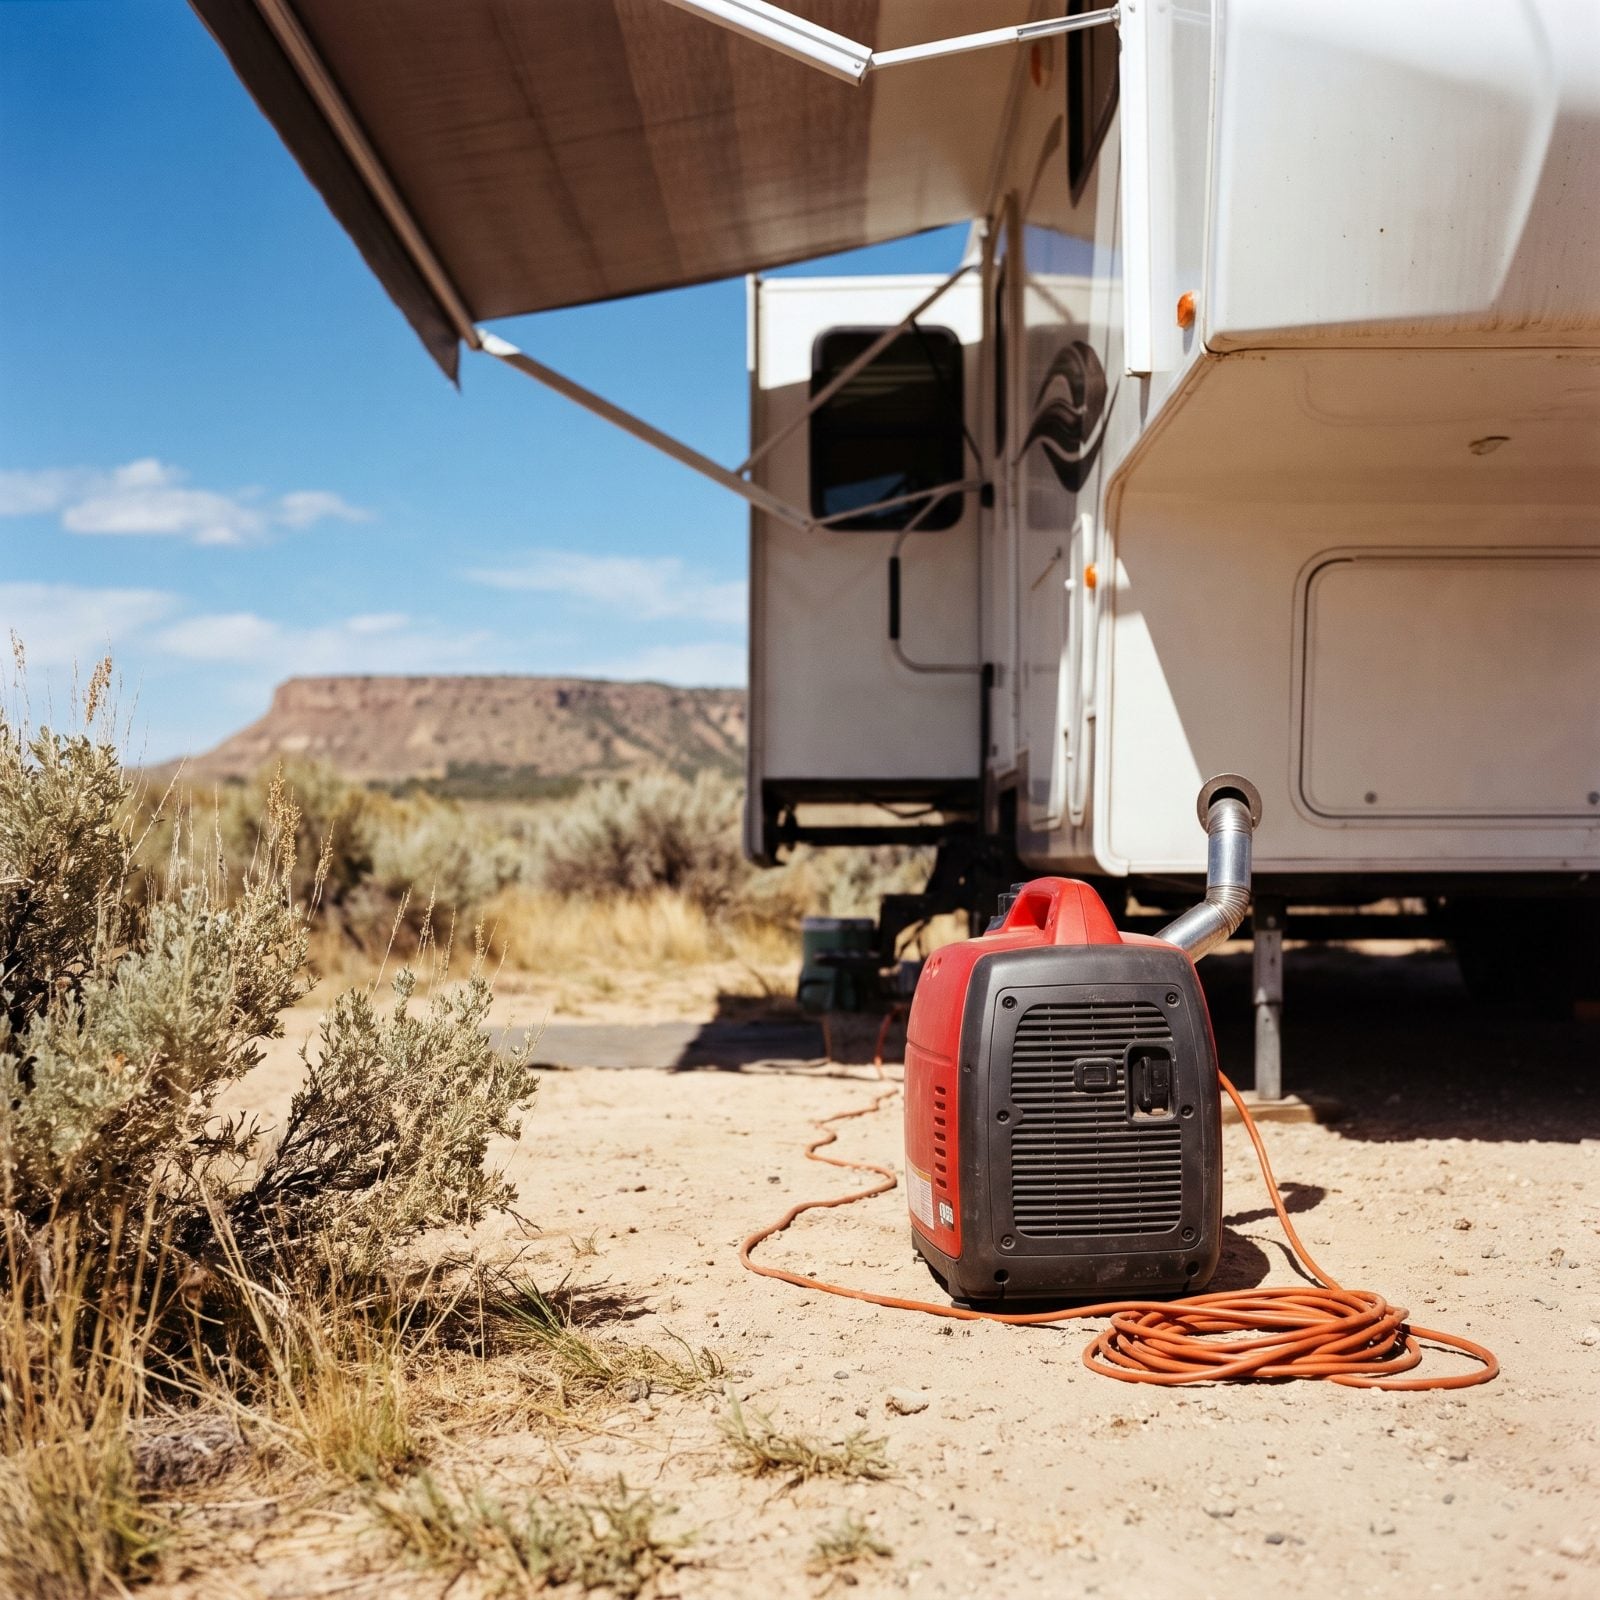
Tucking the generator up against the rig to keep the cord short feels tidy. It’s also how carbon monoxide ends up inside where you sleep.
Generator exhaust is invisible and odorless, and it drifts toward whatever’s nearest. Aim it at the RV, or run it under a slide, and the fumes find the vents. People learn this the hard way every year, and CO gives you no second chance.
Set the generator well away from the trailer — ten to twenty feet, level ground, exhaust pointed at open space downwind. Never run it inside a closed storage bay or an enclosed trailer. And put a working CO detector inside the rig no matter what. A battery carbon monoxide detector
costs almost nothing and does the one job you can’t do yourself while you’re asleep.
12. Hauling Down the Highway With Batteries That Aren’t Tied Down
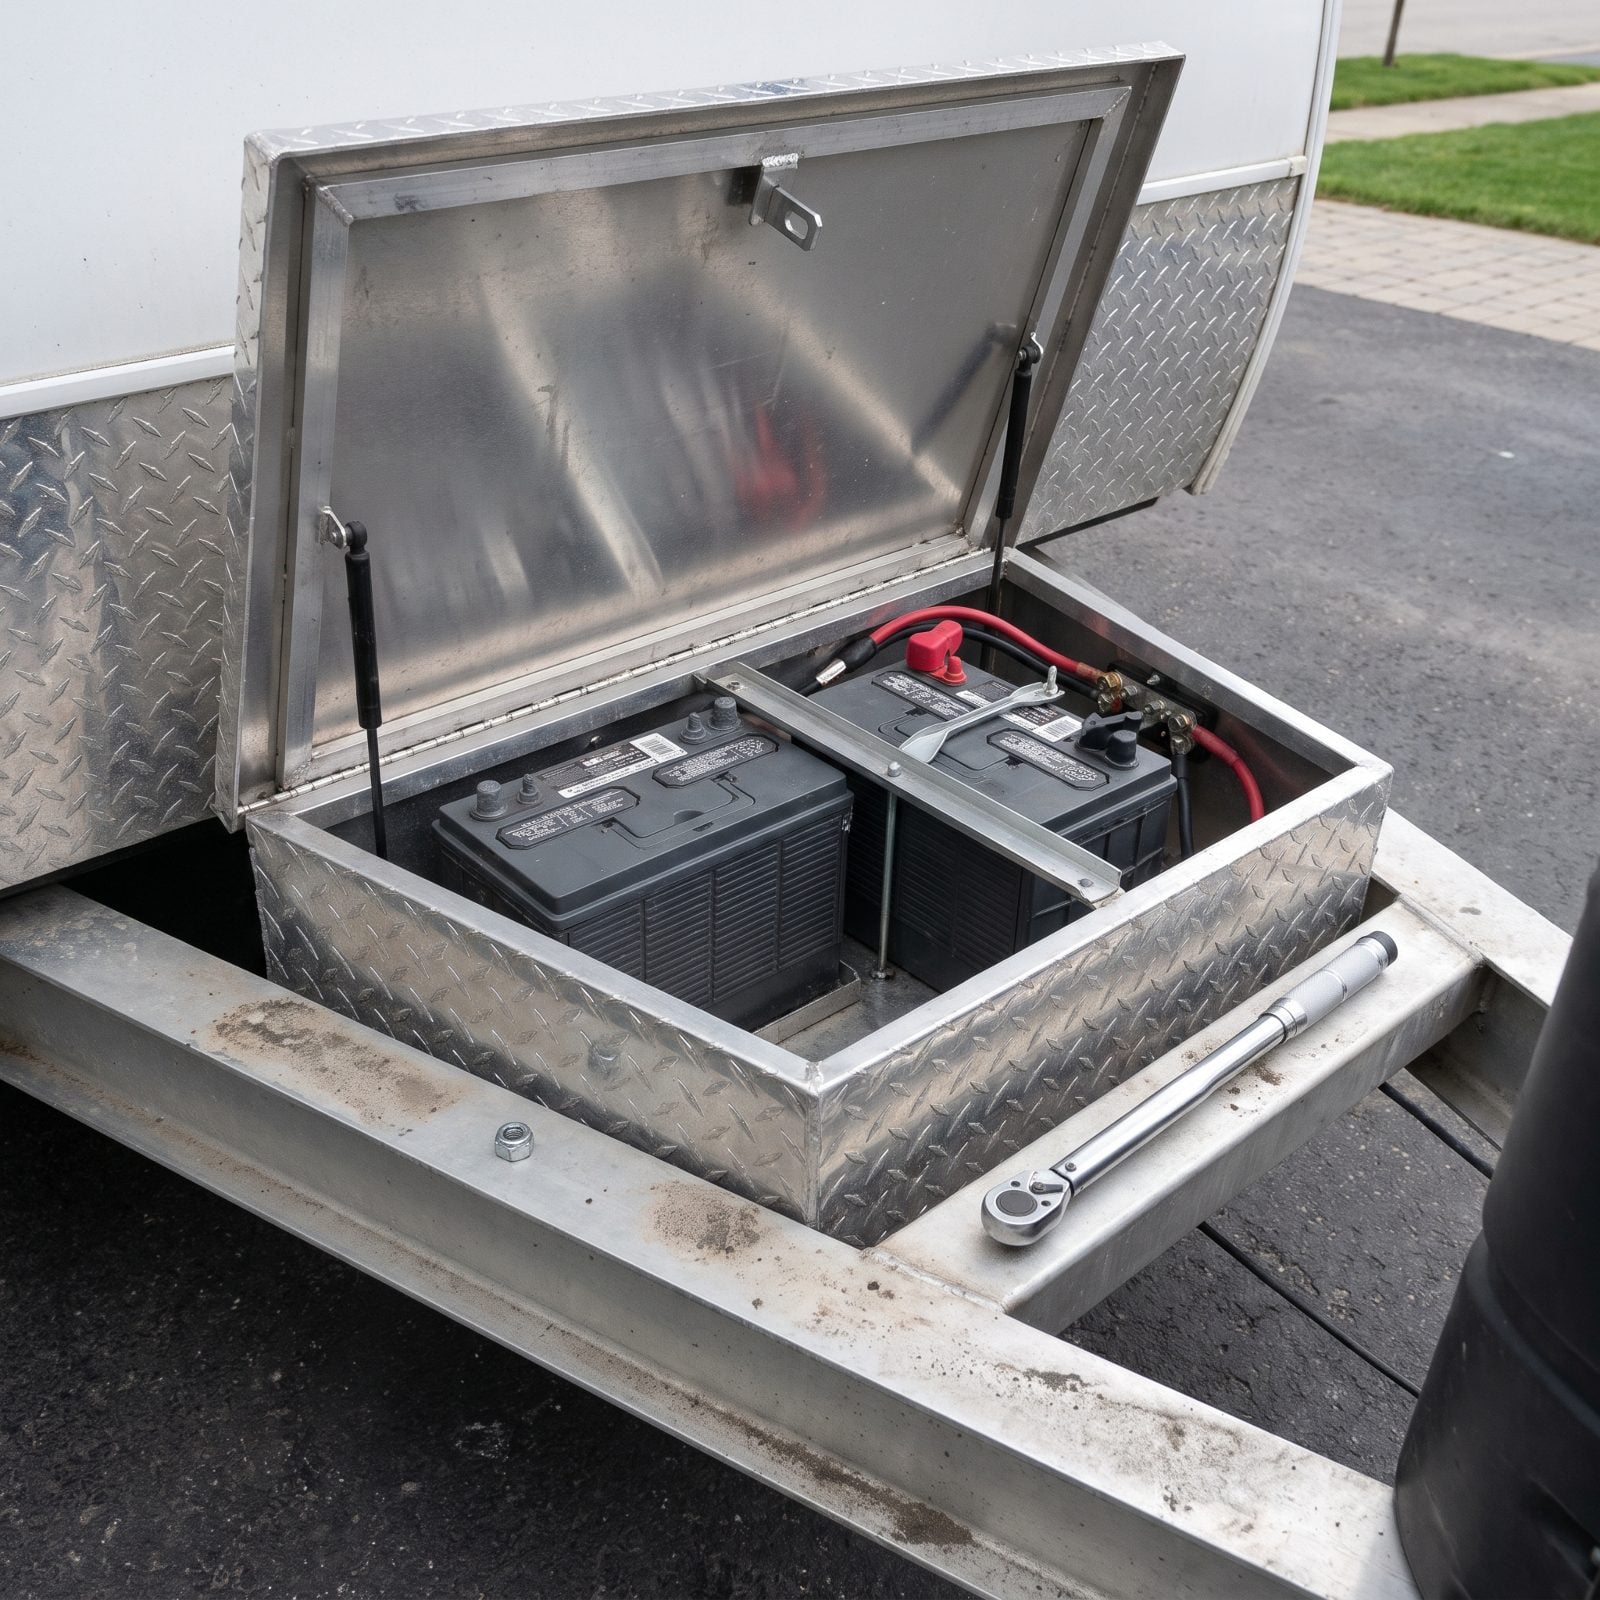
Batteries are heavy, and the road is rough. A loose one bounces, slides, and grinds its terminals against anything metal within reach.
That’s not a minor annoyance. A battery shorting across its terminals mid-trip can arc, melt cables, and start a fire in the front compartment where you won’t see it until it’s bad — and loose batteries crack their cases and spill acid besides.
Before every trip, check that the hold-down bar is snug and the terminals are tight. A proper battery box with a lid keeps road spray and debris out, and a hold-down kit keeps everything planted when you hit expansion joints at 65. Two minutes with a wrench. Fold it into your tire check and you’ll never forget.
11. Hooking City Water Straight to the Spigot With No Regulator
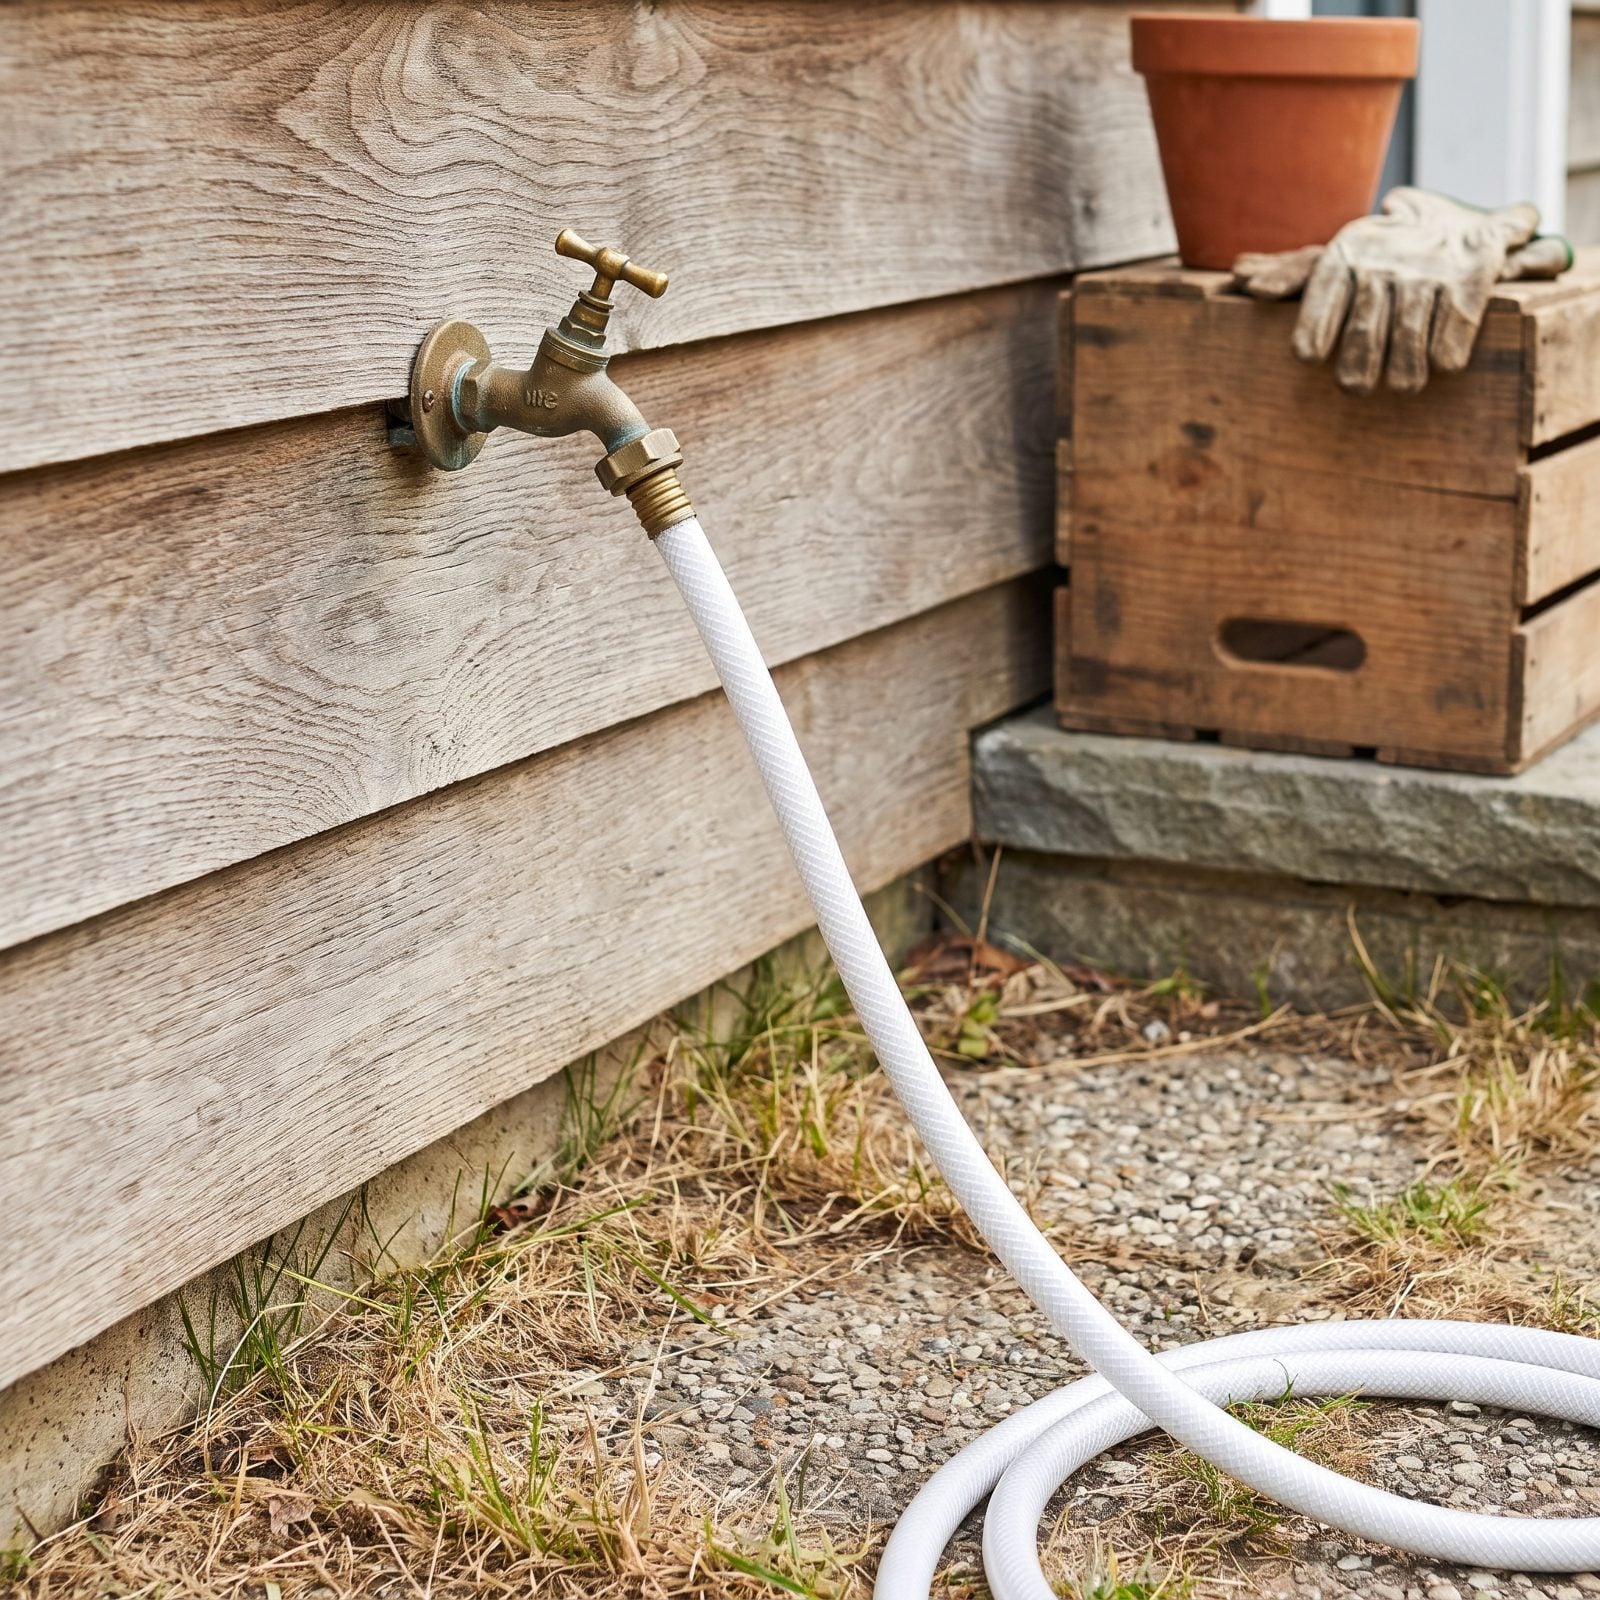
Campground water pressure is a lottery, and some parks run shockingly high. I’ve watched gauges jump way past what feels safe on a connection that seemed perfectly normal at the tap.
Your RV’s plumbing is rated for far less. Hook straight to a high-pressure spigot and you can blow a fitting behind a wall, split a line, or pop the water heater’s relief valve. The flood might start while you’re off at the camp store, and interior water damage is expensive and slow to find.
Thread a water pressure regulator onto the faucet before the hose, every single time. The adjustable brass kind with a gauge lets you dial it down to a safe range and shows you exactly what the park is pushing. Ten dollars for the simple inline type, more for the adjustable. Either one beats a soaked subfloor.
10. Filling the Fresh Tank Through the Green Garden Hose From the Shed
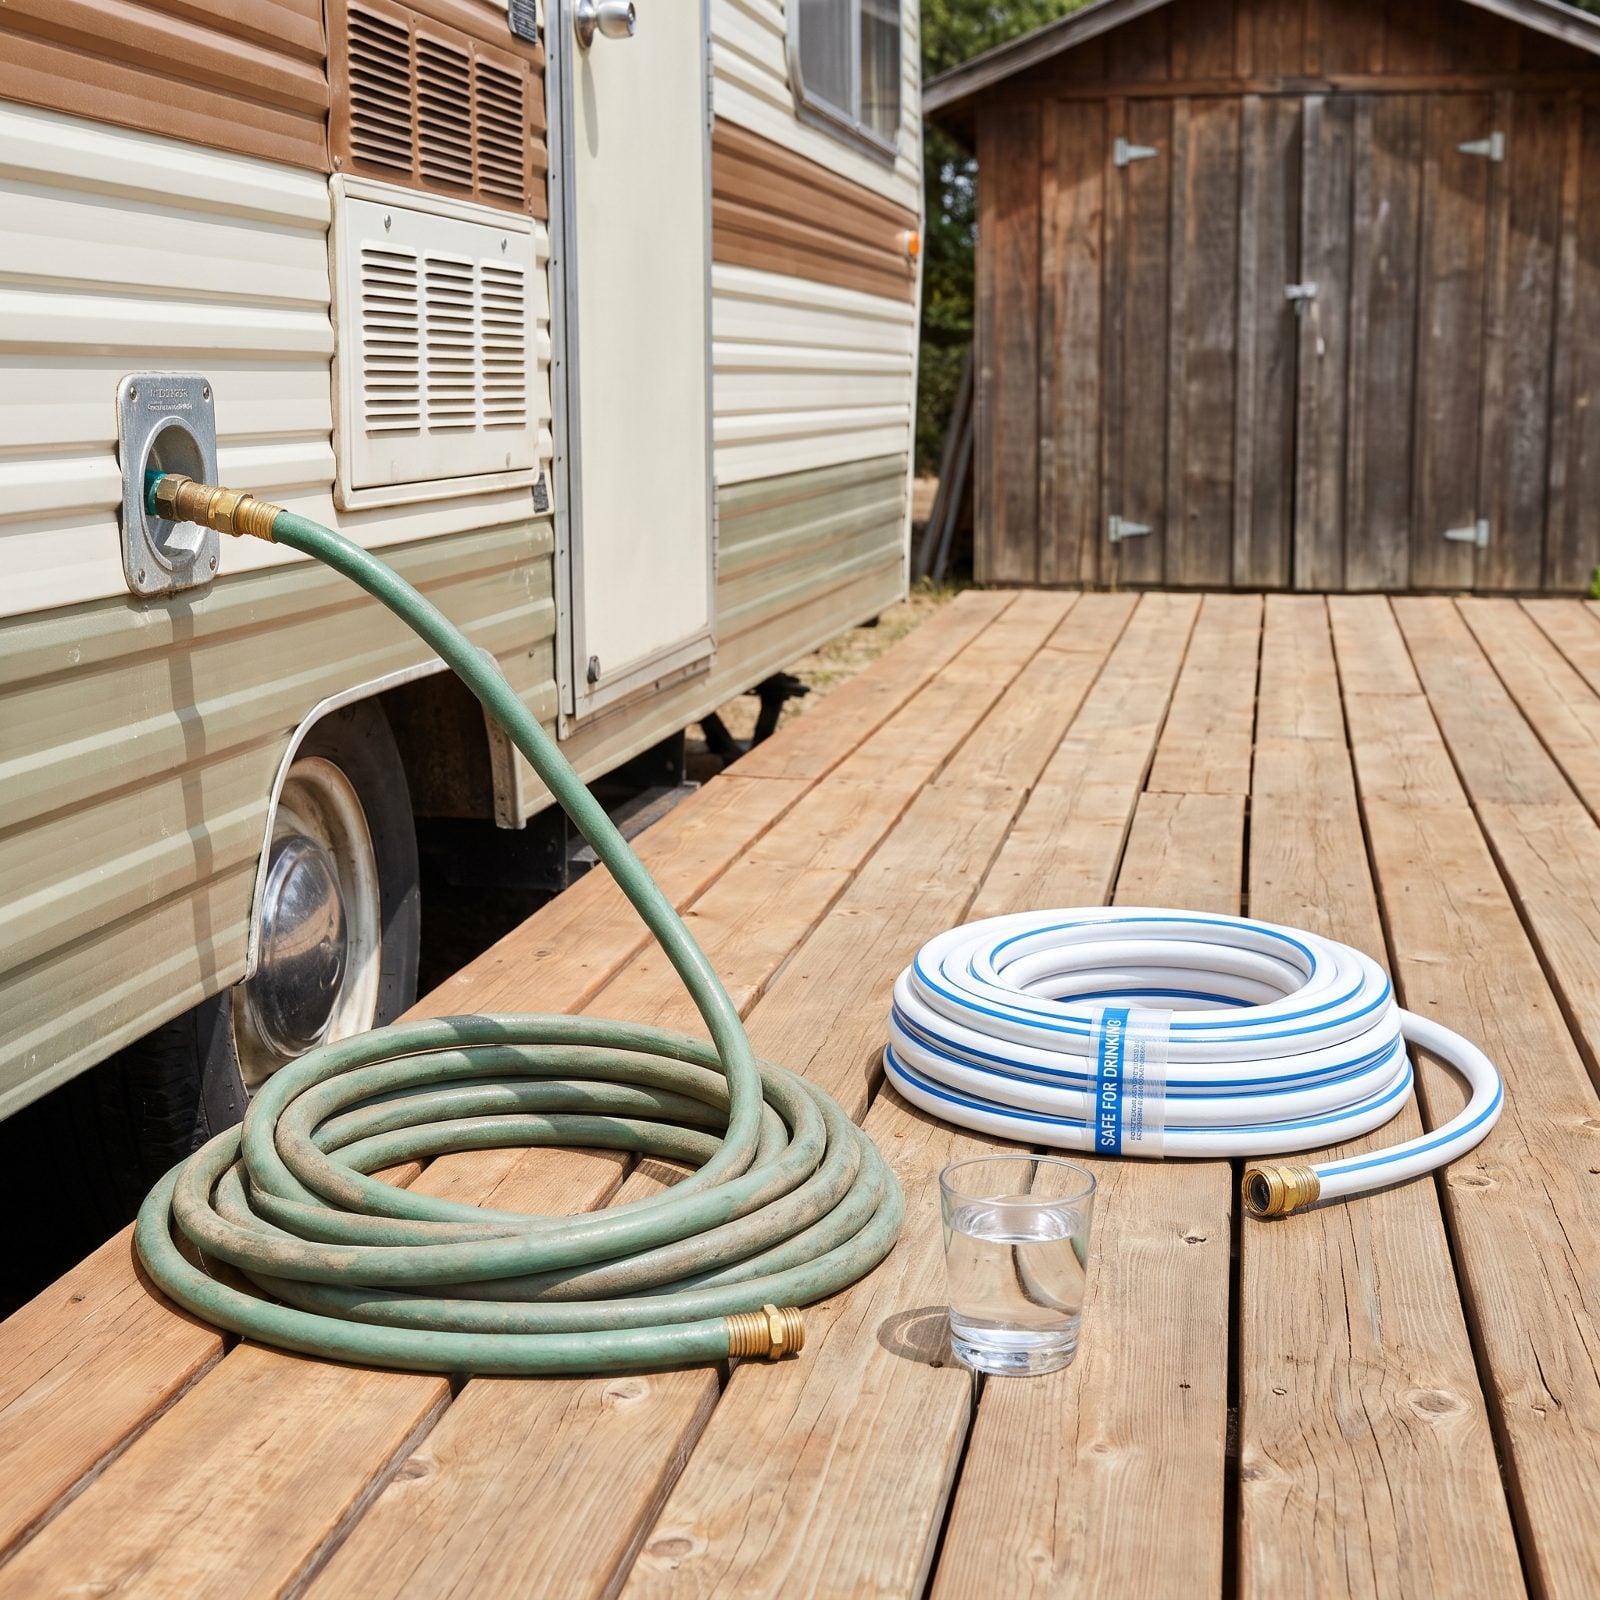
Water from a green garden hose tastes like warm vinyl and a little bit of the garage. That flavor is the plasticizers leaching out, and those hoses were never made for anything you’ll drink.
Standard garden hoses can carry lead in the fittings and chemicals in the jacket, and they turn into a breeding ground once bacteria get a foothold inside. None of that belongs in your fresh tank.
Buy a dedicated potable drinking water hose — the white or blue kind labeled safe for drinking — and use it only for fresh water. Keep a separate colored hose for tank flushing and dirty jobs so the two never get mixed up. Cap the ends between stops to keep the inside clean. One hose for drinking, one for everything else, and that’s really all there is to it.
9. Dumping the Black Tank When It’s Only Half Full
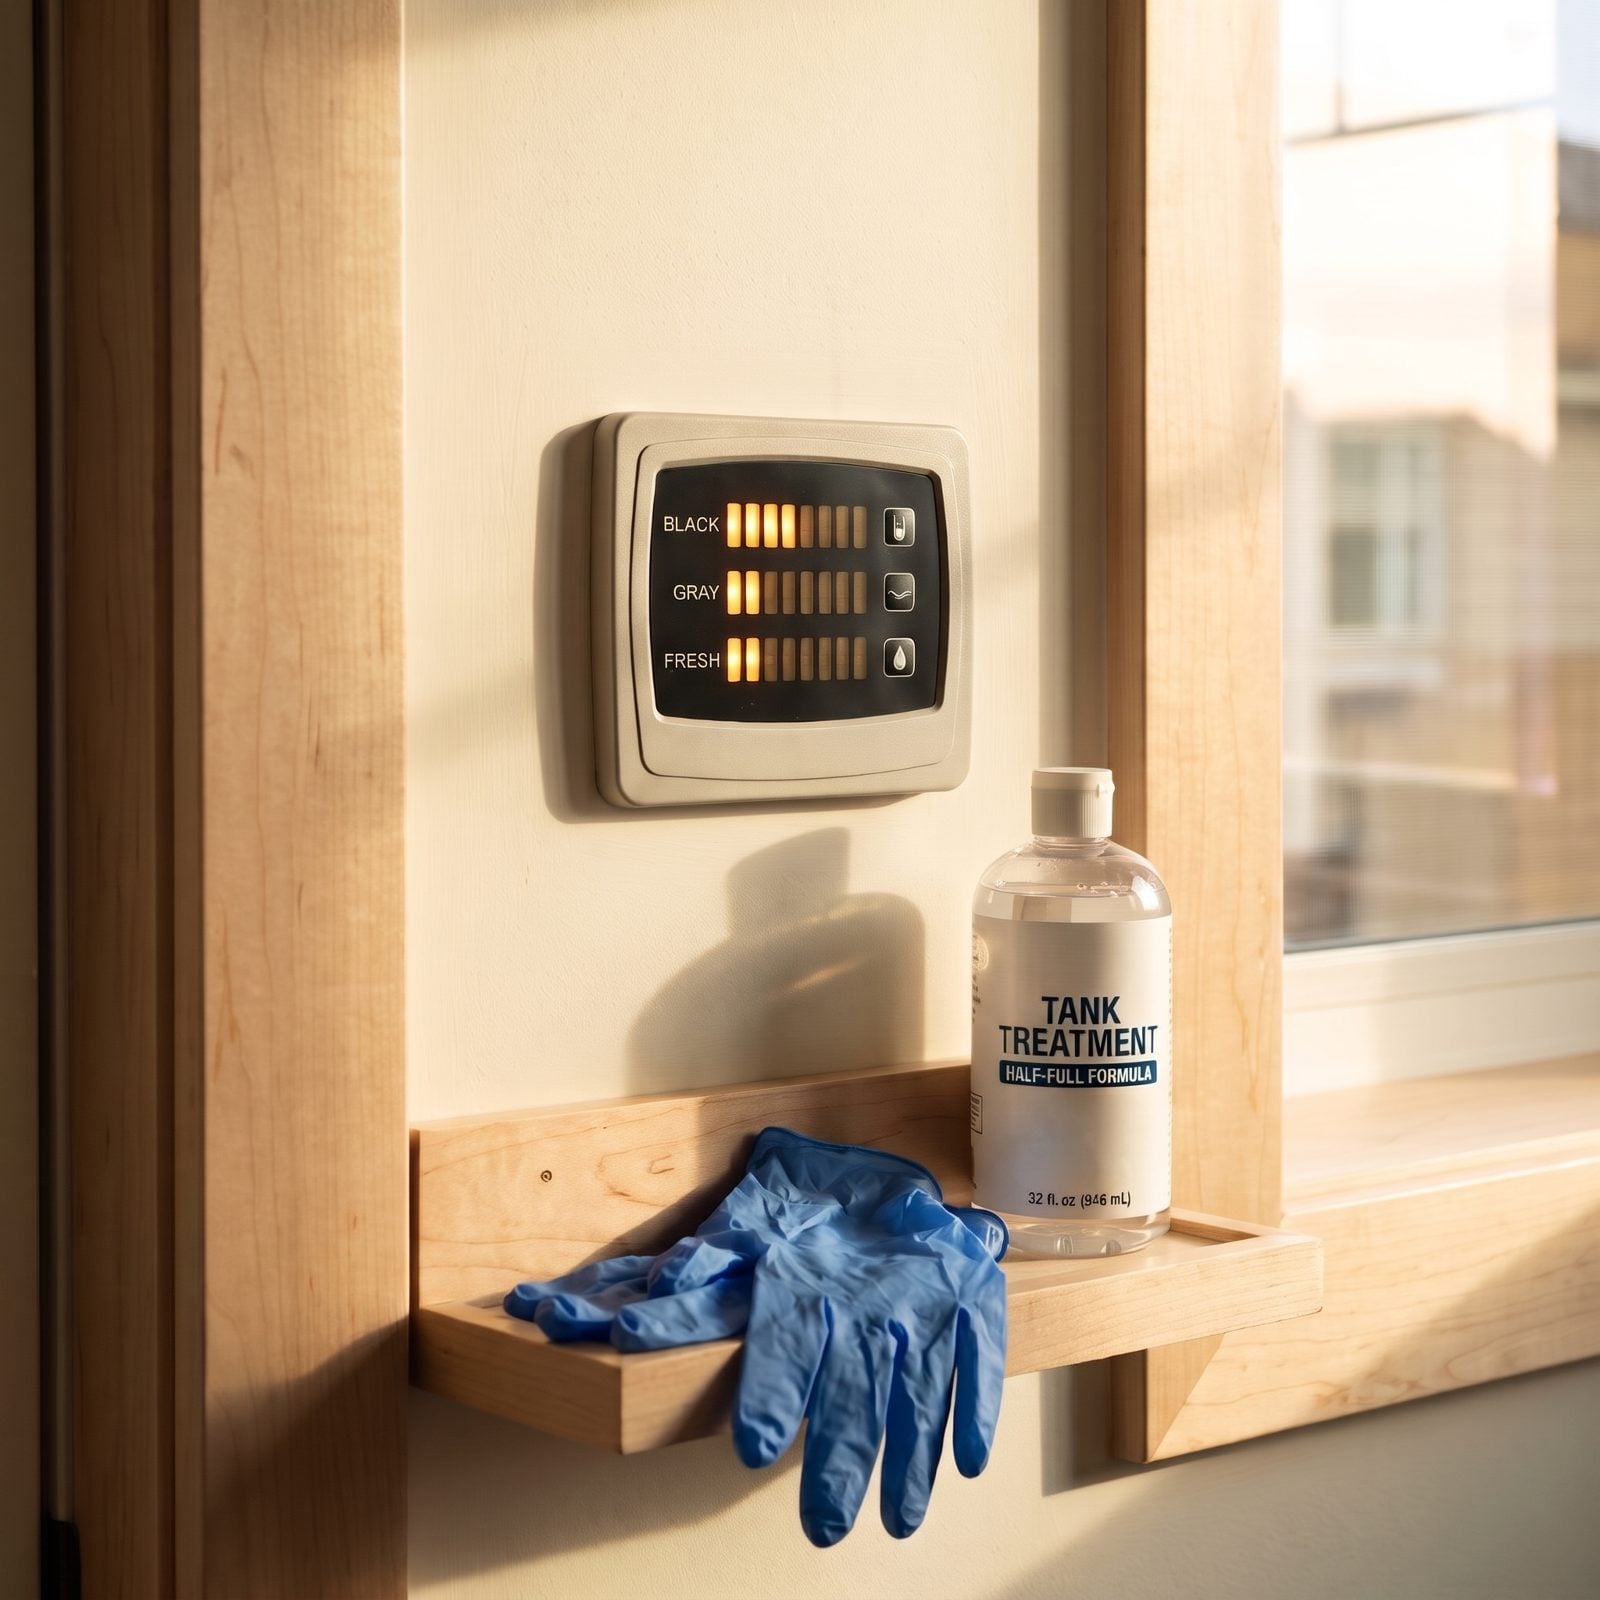
Water is what moves solids. Dump a half-full black tank and there isn’t enough volume to carry everything out the hose, so the solids stay put. Over a few trips they build into the same clog you were trying to avoid in the first place.
A tank needs a good head of liquid behind it to flush clean, and pulling the valve early wastes the one force that actually does the work.
Wait until the black tank reads about two-thirds to three-quarters full before you dump. Weekend camper who never fills it? Add a few gallons through the toilet before dumping to give yourself the water you need. And always dump black first, then gray, so the soapy gray water rinses the hose on its way out.
8. Skipping the Black-Tank Flush Because It Looks Empty on the Gauge
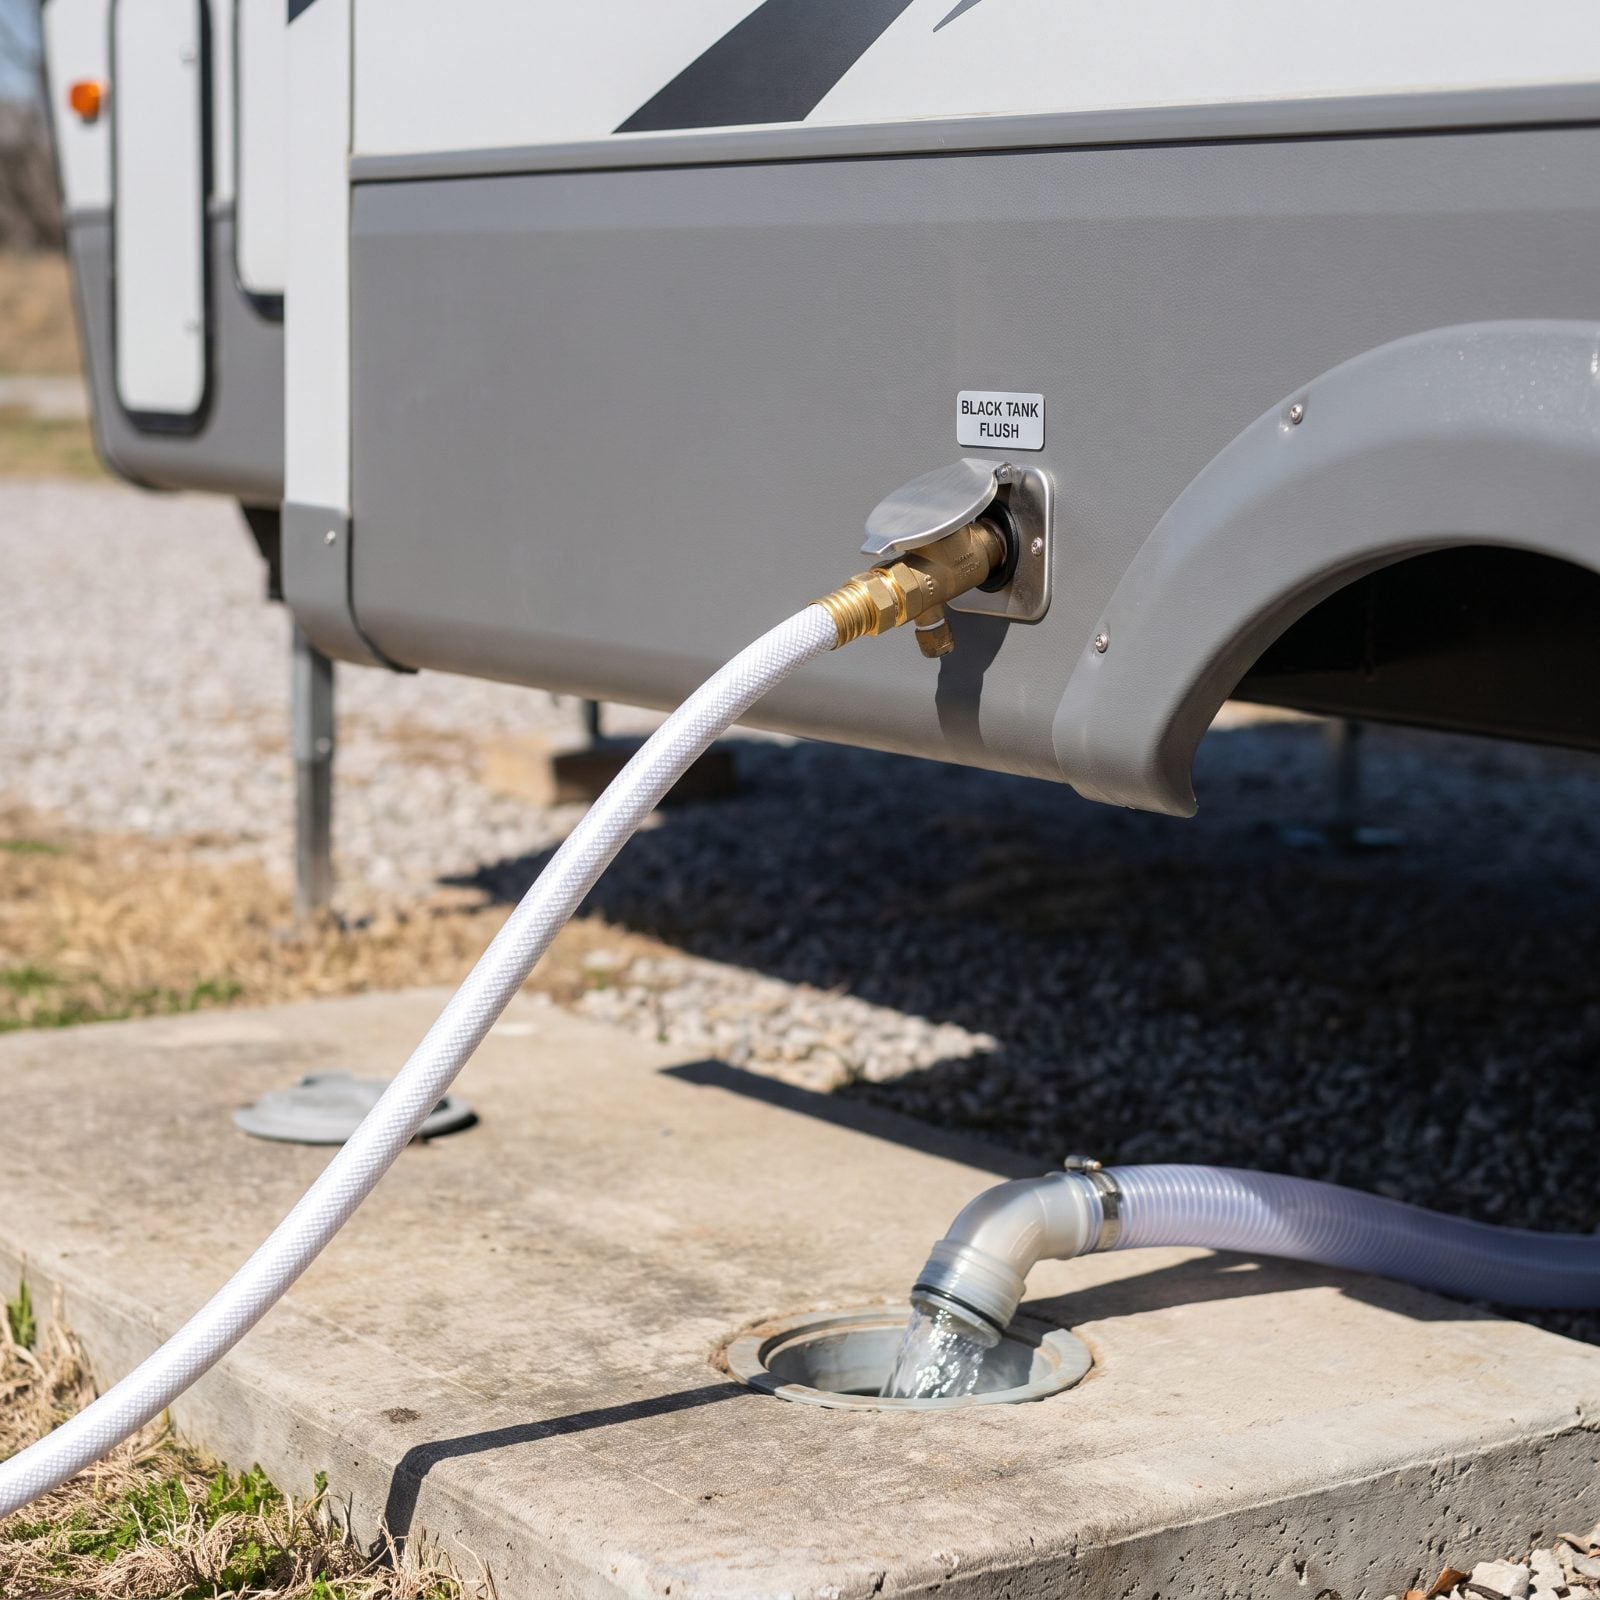
The gauge says empty, you cap the hose, and you drive off. Trouble is, tank sensors lie constantly — residue coats them, and they read empty while there’s still plenty hanging around in the corners.
Skip the flush every time and the leftovers harden, the sensors stay gummed up, and the smell follows you home. That odor creeping through the bathroom on a hot drive is a tank telling you it never got rinsed.
Most fifth-wheels have a built-in black-tank flush inlet. Hook a hose with a brass coupling to it after dumping and run water until it comes out clear. No built-in flush? A wand or a tank-rinser does the same job. Do it at every dump and your sensors read true, your tank stays sweet, and nobody wrinkles their nose walking past your rig.
7. Storing a Dirty Sewer Hose Next to Your Fresh-Water Gear
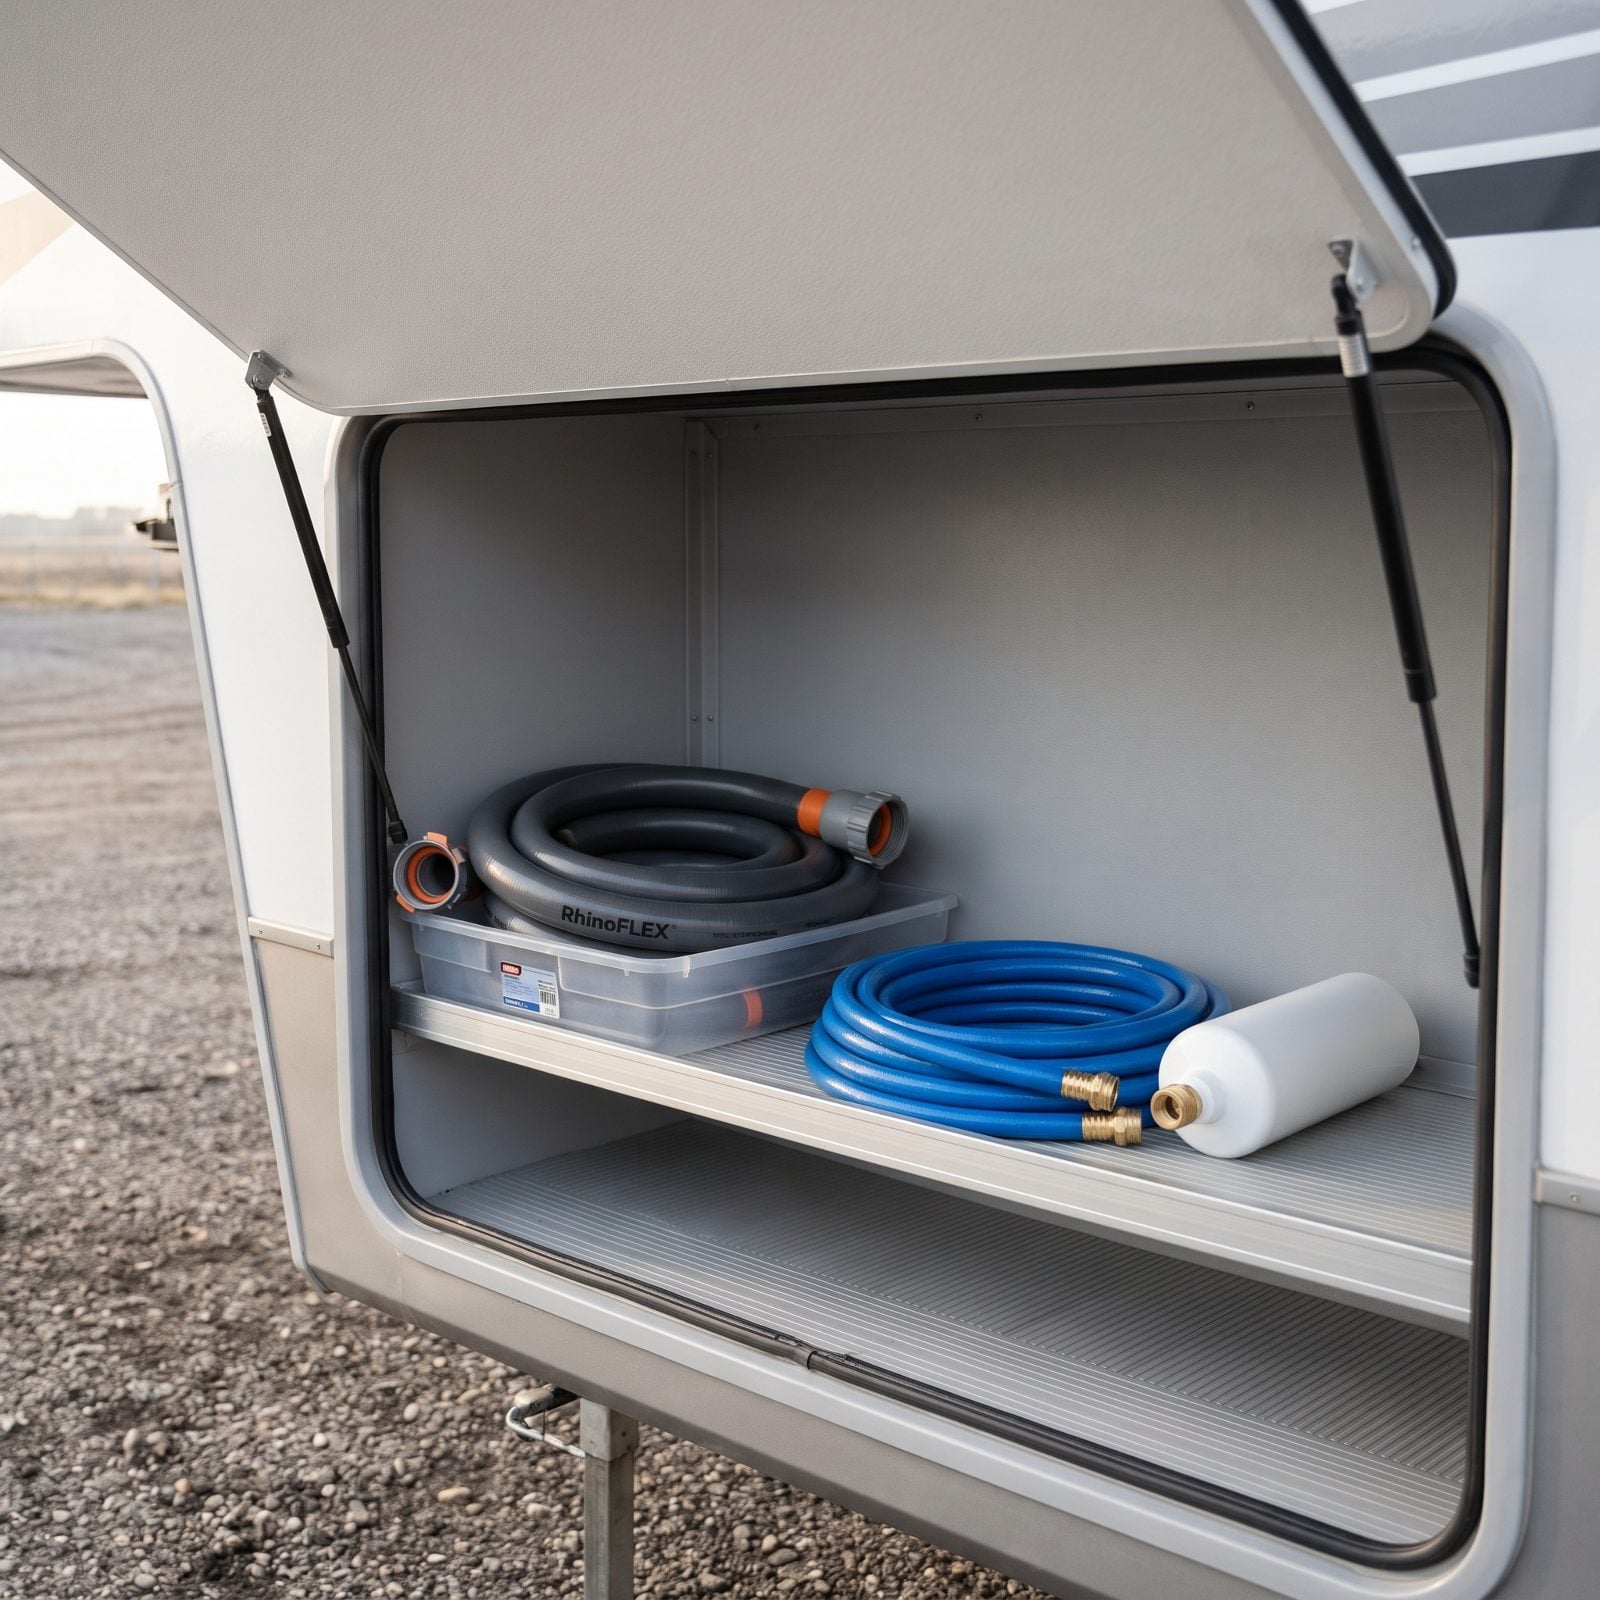
The sewer hose and the fresh-water hose both end up in the same basement bay, often within an inch of each other, because it feels efficient. One compartment, everything in reach.
Here’s the problem. A sewer hose is never truly clean. Residue clings to the fittings and migrates to whatever it touches, and your drinking-water hose is the thing you fill coffee pots and toothbrush cups from. Those two should not be sharing a shelf. Ever.
Give the sewer gear its own sealed bin, ideally a dedicated compartment near the dump valves, and keep the blue potable water hose and inline water filter on the opposite side of the rig entirely. Color-coding helps: blue for drinking, anything-but-blue for waste.
6. Firing Up the Water Heater Before There’s Water in It
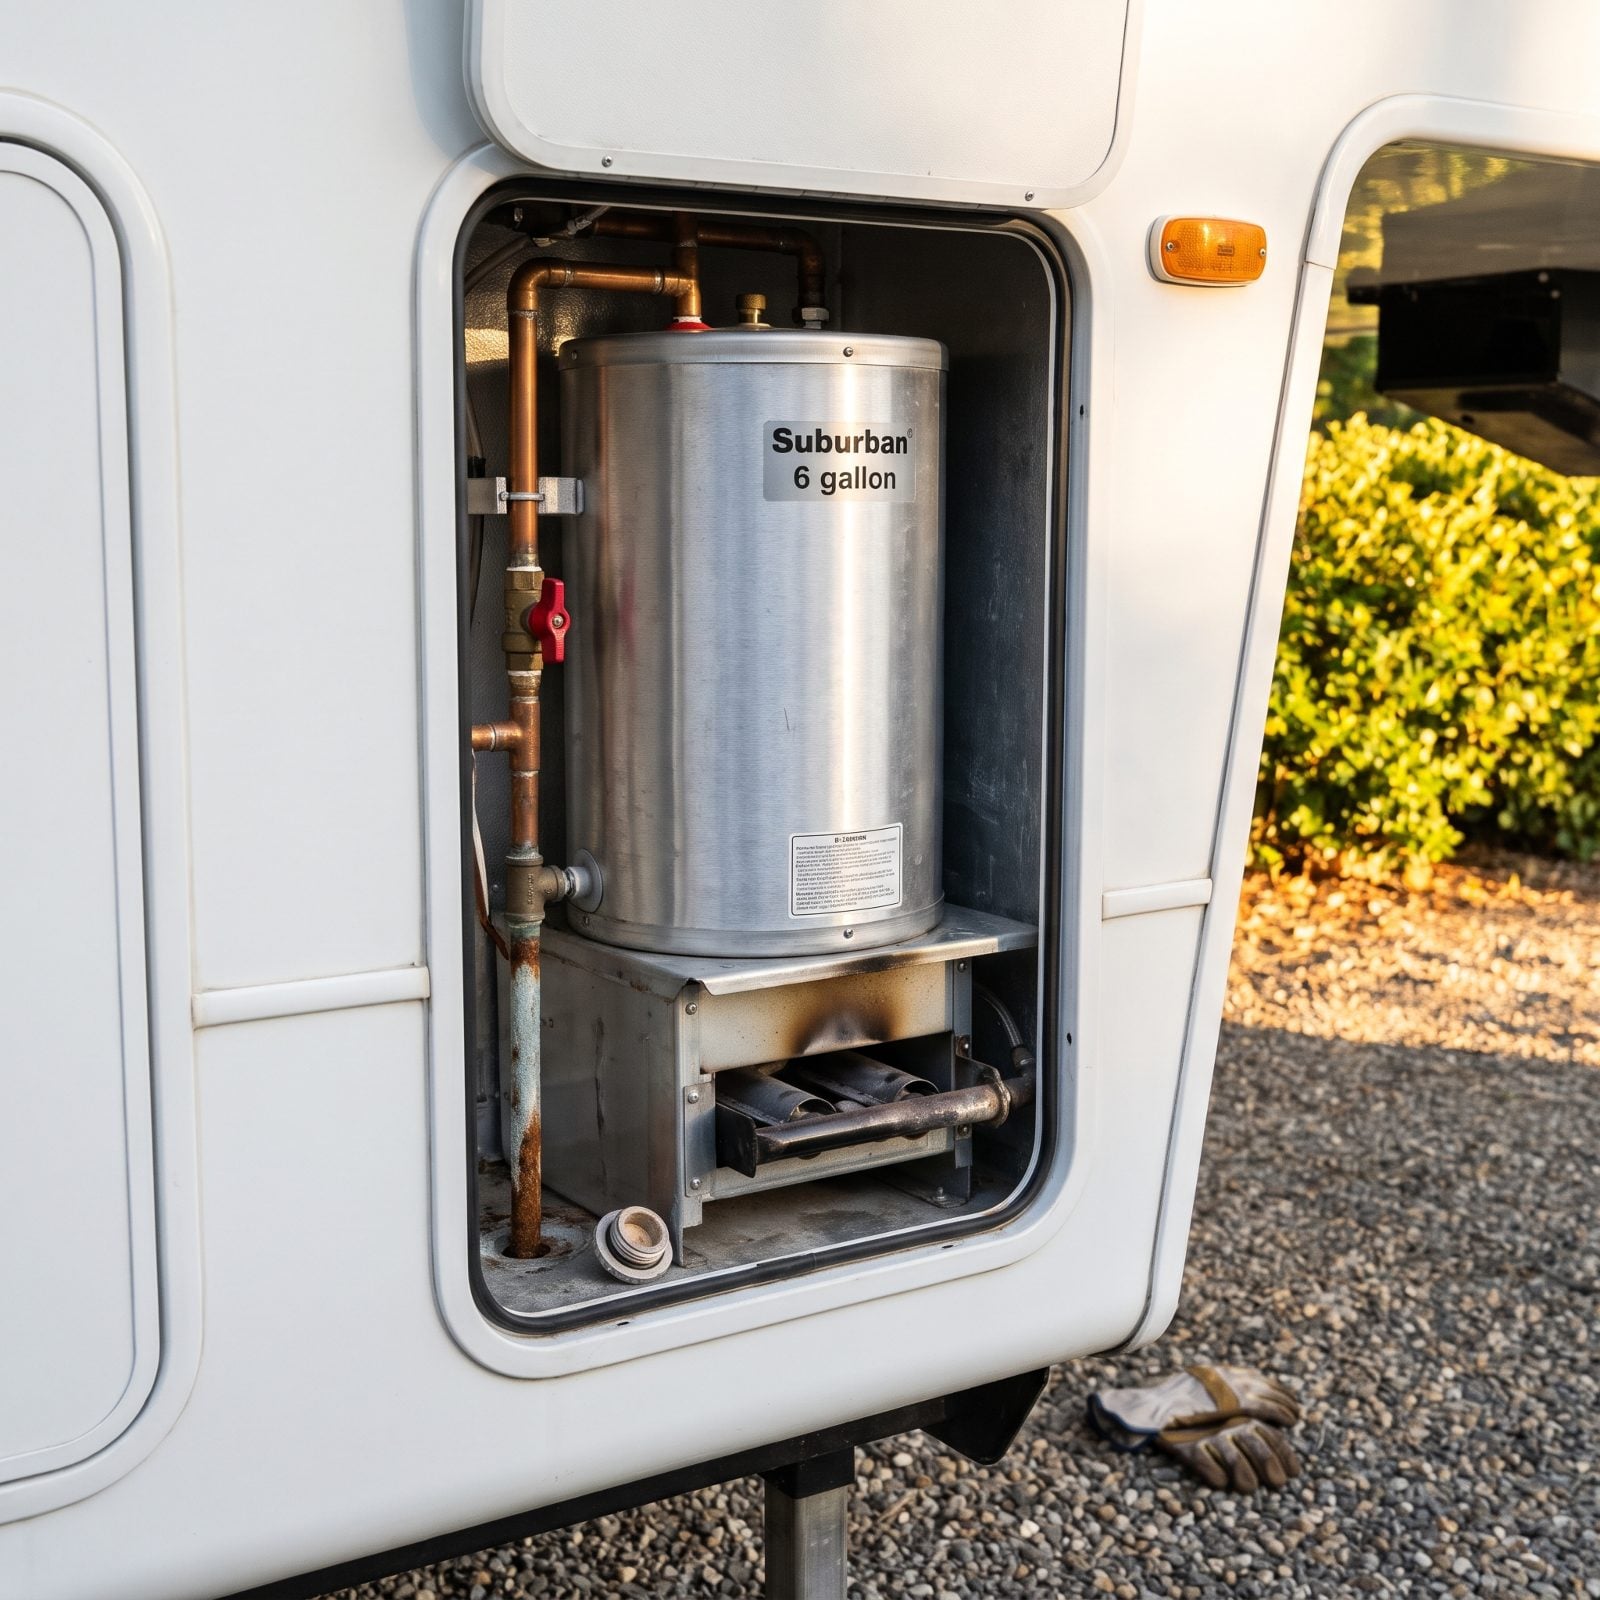
Dry-firing a water heater is one of the fastest ways to cook an expensive component before your first trip ends.
New owners flip the switch out of habit, forgetting the tank sits empty after winter storage or a fresh dewinterize. Electric elements burn out in minutes with no water to heat. On gas models you’ll get odd behavior and a chewed-up burner. Either way, it’s a repair bill that never had to exist.
Fill the tank first. Open a hot tap inside and let it run until the water flows steady and the air stops sputtering out — that gurgle fading to a smooth stream is your signal the six gallons are full. Now you can turn the heater on.
Check your bypass valves too. Leave them in winterize position and water never reaches the tank, no matter how hard your pump works.
5. Winterizing the Obvious Lines and Forgetting the Low-Point Drains
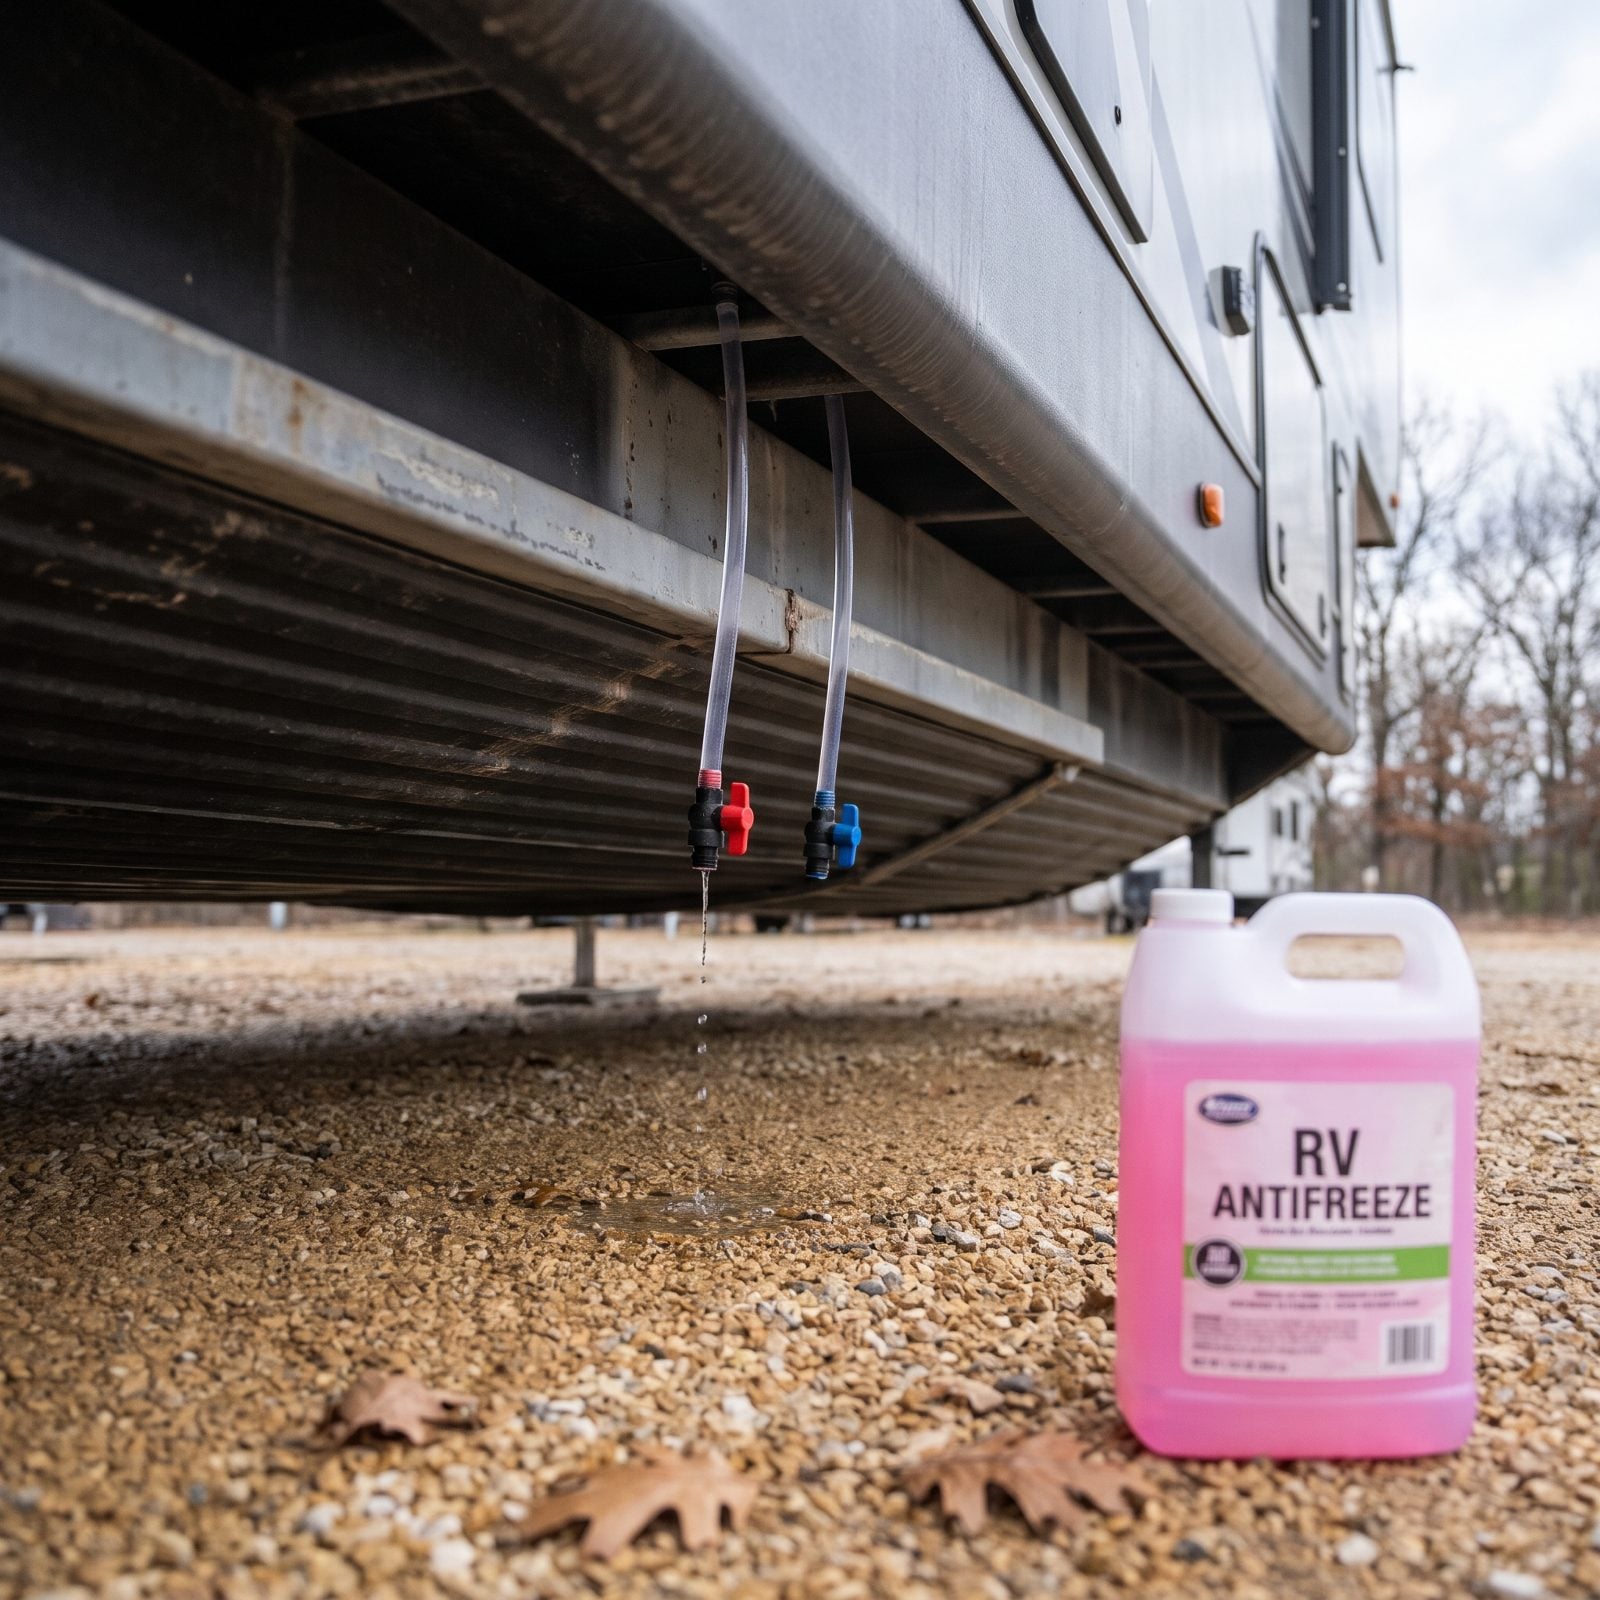
Most people blow out the main lines, pour pink antifreeze down the traps, and call winter handled. Then spring shows up with a cracked fitting somewhere they never even thought about.
The culprits are almost always the low-point drains and the hidden runs. Water pooled in a sagging line or a dead-leg behind the shower expands when it freezes, and a hairline split can flood your basement the moment you repressurize in April.
So open both low-point drains — usually a red and a blue valve under the belly — and let them run dry. Don’t skip the outside shower, the ice maker line, or the washer hookups if you’ve got them. Run the water pump briefly with antifreeze until pink shows at every faucet, the toilet and any exterior spray port included.
4. Treating Roof Sealant as a Fix-It-Once Job
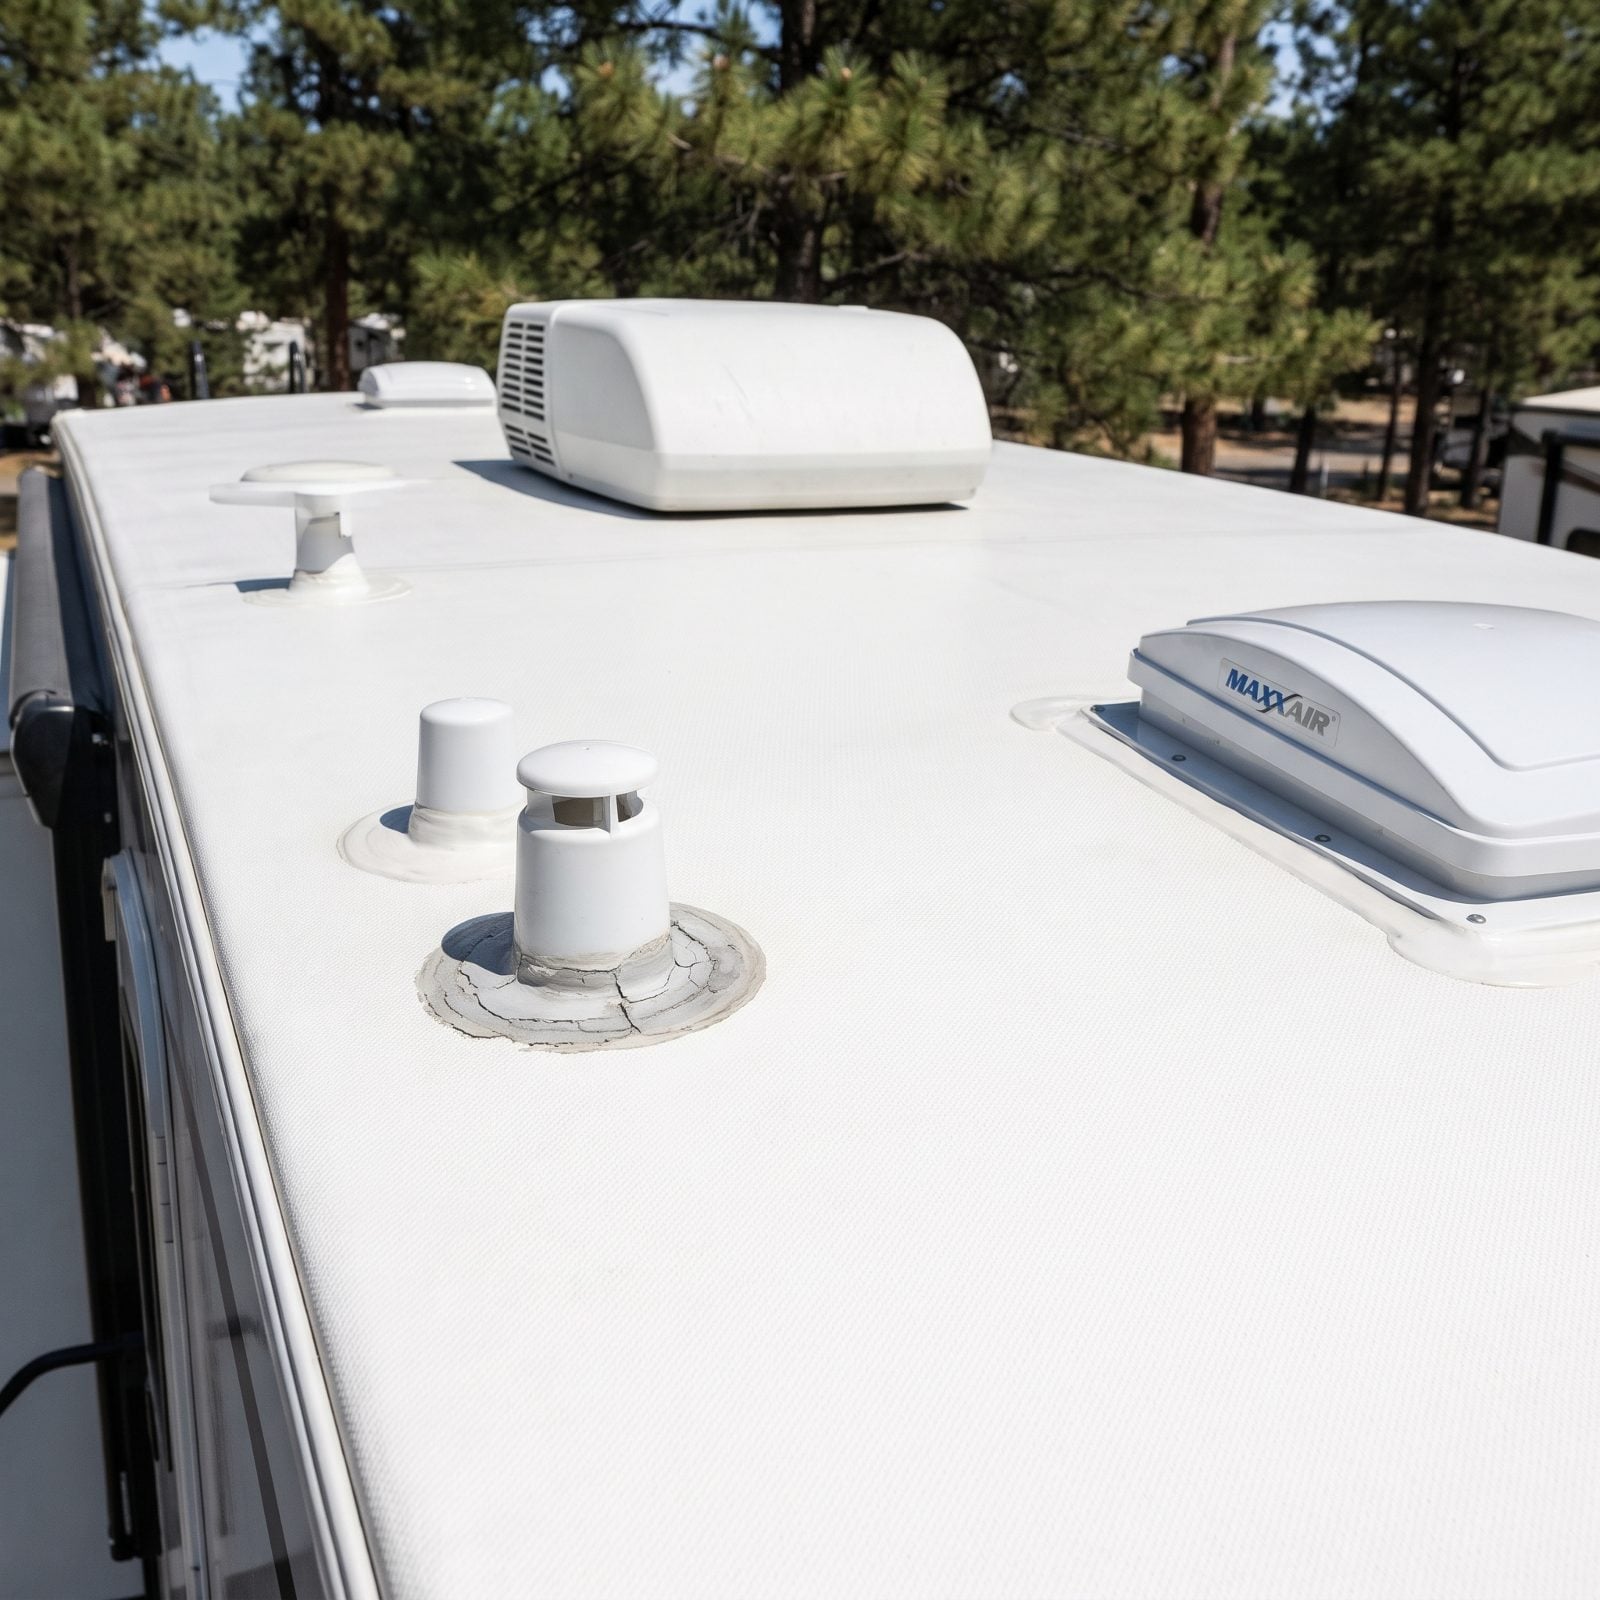
You sealed the roof when you bought the rig. Good. But sealant isn’t a one-and-done chore, and that’s where it gets expensive.
Sun and temperature swings turn flexible roof sealant brittle over a season or two. A hairline crack around a vent pipe boot lets water in slowly, and by the time you notice a stain on the ceiling, the damage has already reached the roof decking and the insulation. Water in a roof is the single costliest repair most RV owners ever face.
Walk the roof (safely — see the next item) every few months and after any hailstorm. Eyeball every membrane seam, the sealant around each plumbing vent cap, and the edges around the roof fan and the AC unit. Fresh white self-leveling RV roof sealant over a cracked bead takes ten minutes and a few bucks. Keep a tube in a storage bay.
3. Climbing Onto a Roof That Was Never Built for Your Weight
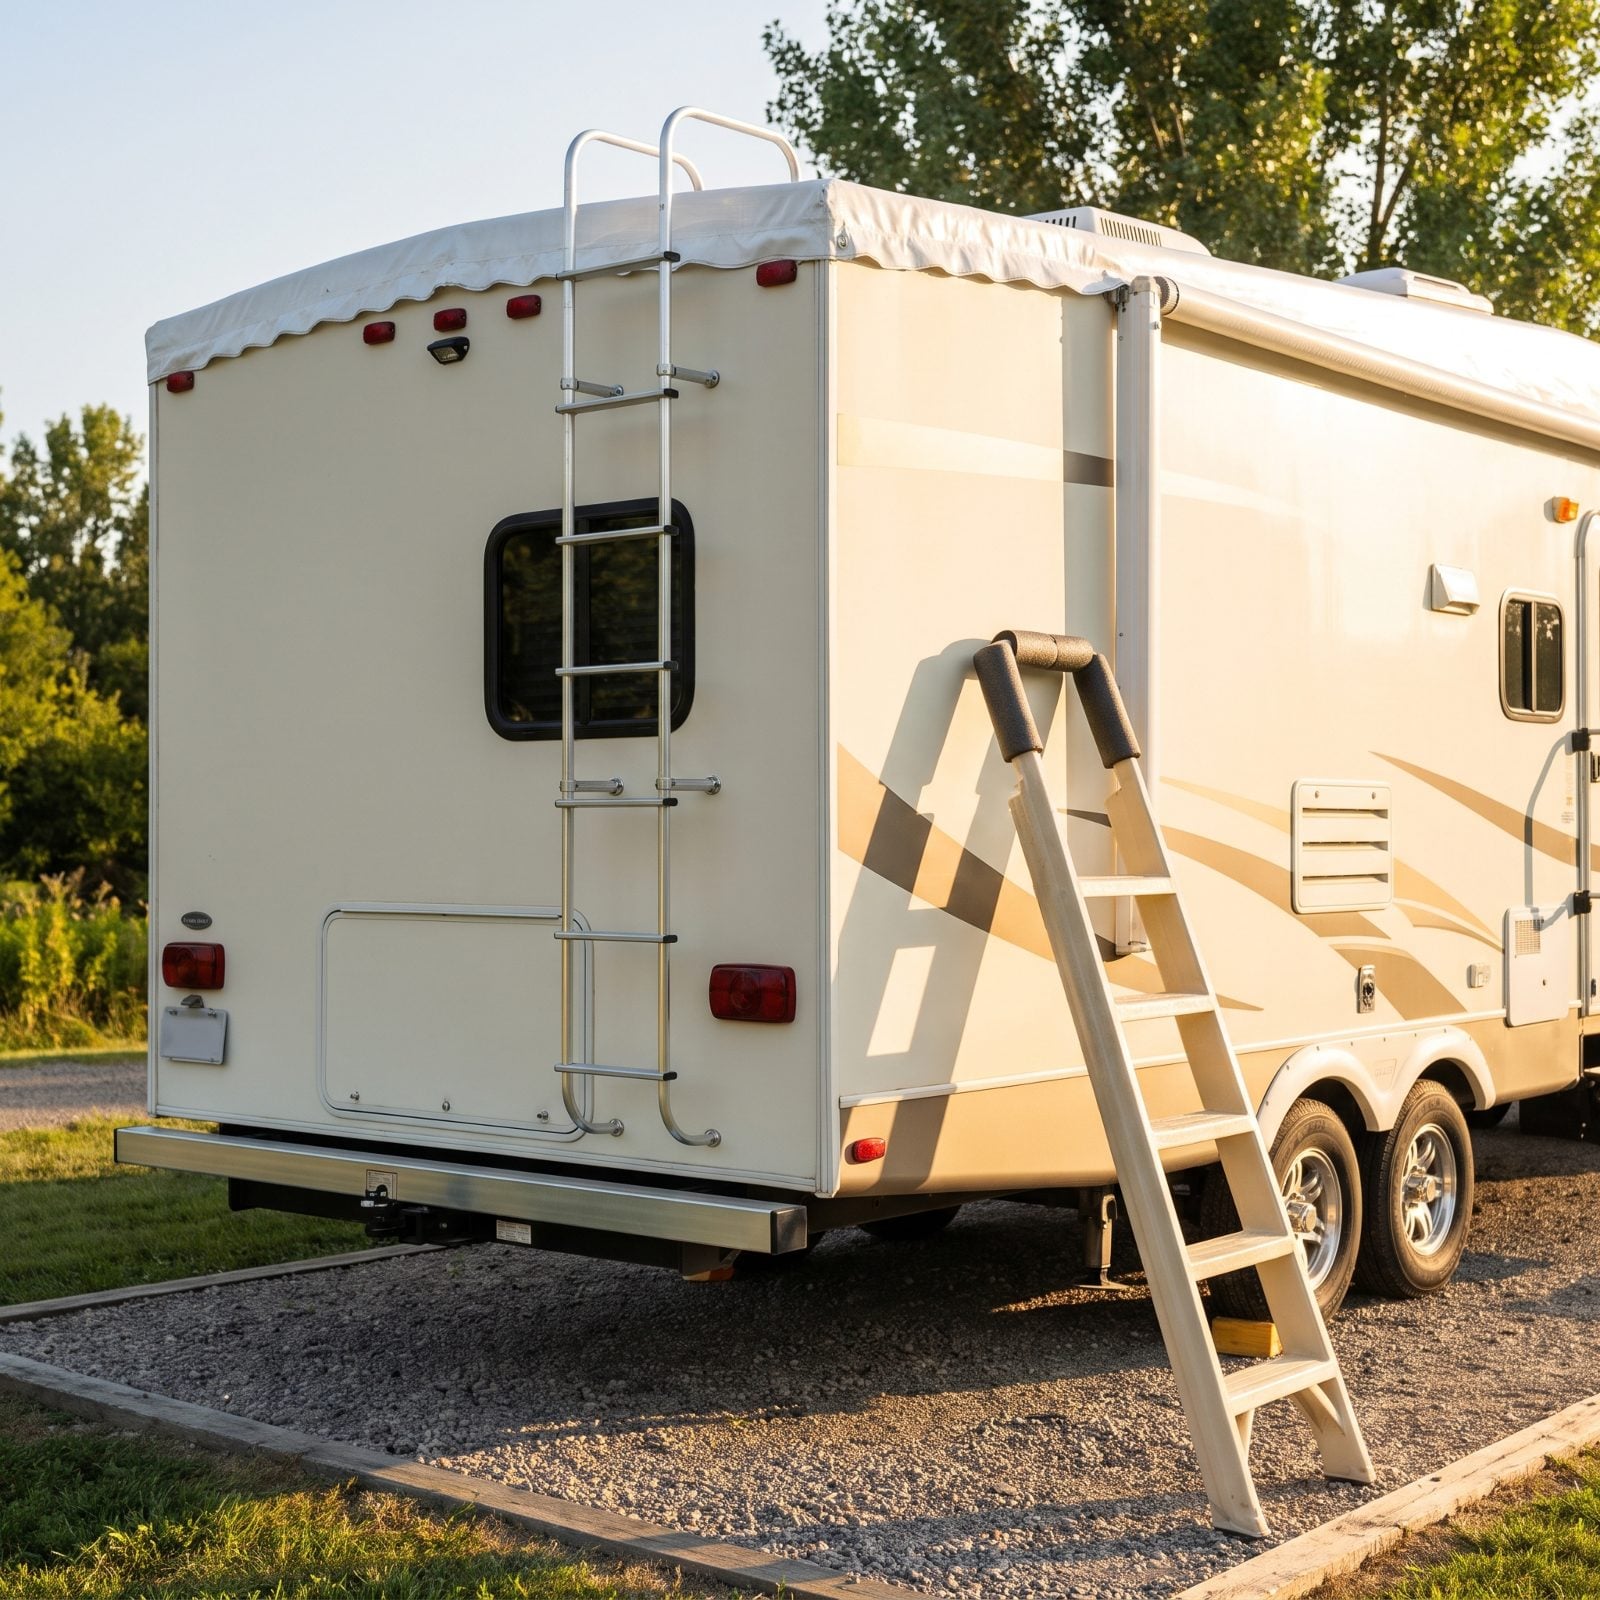
Here’s one plenty of new owners get wrong. It’s easy to assume every RV roof is a roof you can stand on, and a lot of them aren’t.
Many fifth-wheels have roofs rated only for light foot traffic, and a few aren’t walk-on at all. Put your full weight in the wrong spot and you’ll crack the membrane, crush the decking, or punch straight through between the trusses. Congratulations — you’ve now created the exact leak you climbed up to prevent.
Check your owner’s manual for the roof rating before you ever step up. If it’s walk-on, stay over the trusses and the stronger edge zones, spread your weight, wear soft-soled shoes. If it isn’t rated for you, inspect from a ladder at the edges and let a shop handle anything in the middle.
The cheapest roof repair is the one you avoid by not standing where you shouldn’t.
2. Pumping Tires to the Sidewall Number Instead of the Load Chart
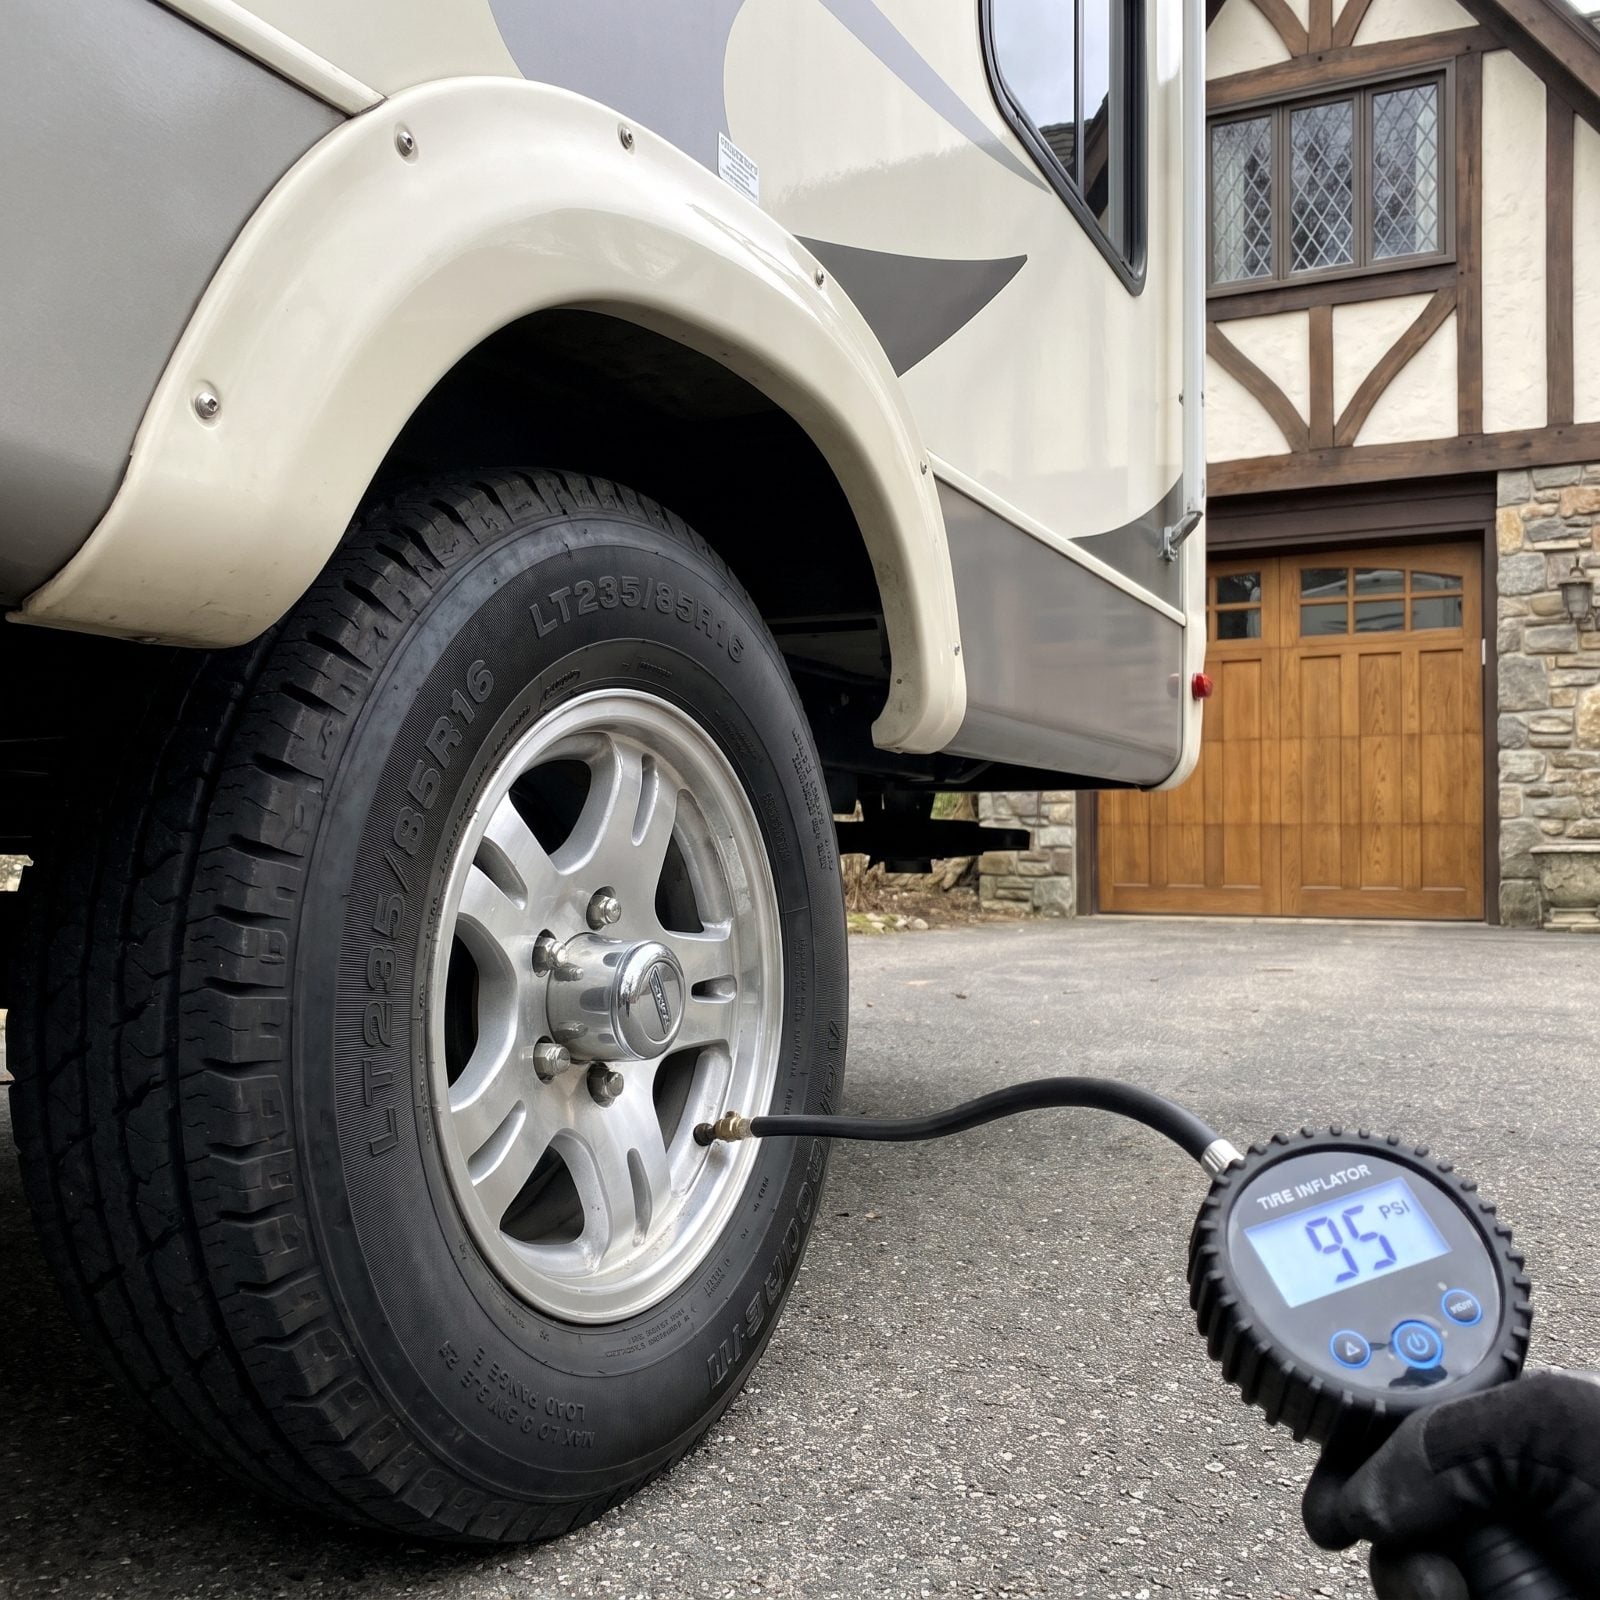
The number molded into the sidewall is the maximum pressure the tire can hold — not the pressure your loaded trailer actually needs. New owners pump every tire to that max, then wonder why the ride is harsh and the center tread wears down fast.
Overinflation shrinks your contact patch and the tire rides on its middle. Underinflation runs the tire hot, which is a blowout waiting to happen. Neither is guesswork you want to be doing at 65 on an interstate.
Weigh your loaded, hitched rig — corner weights are best — and match the pressure to the tire manufacturer’s load and inflation chart for that weight. That’s your number. Set cold, check before every travel day.
1. Trusting Tread Depth When the Tire Is Secretly Too Old
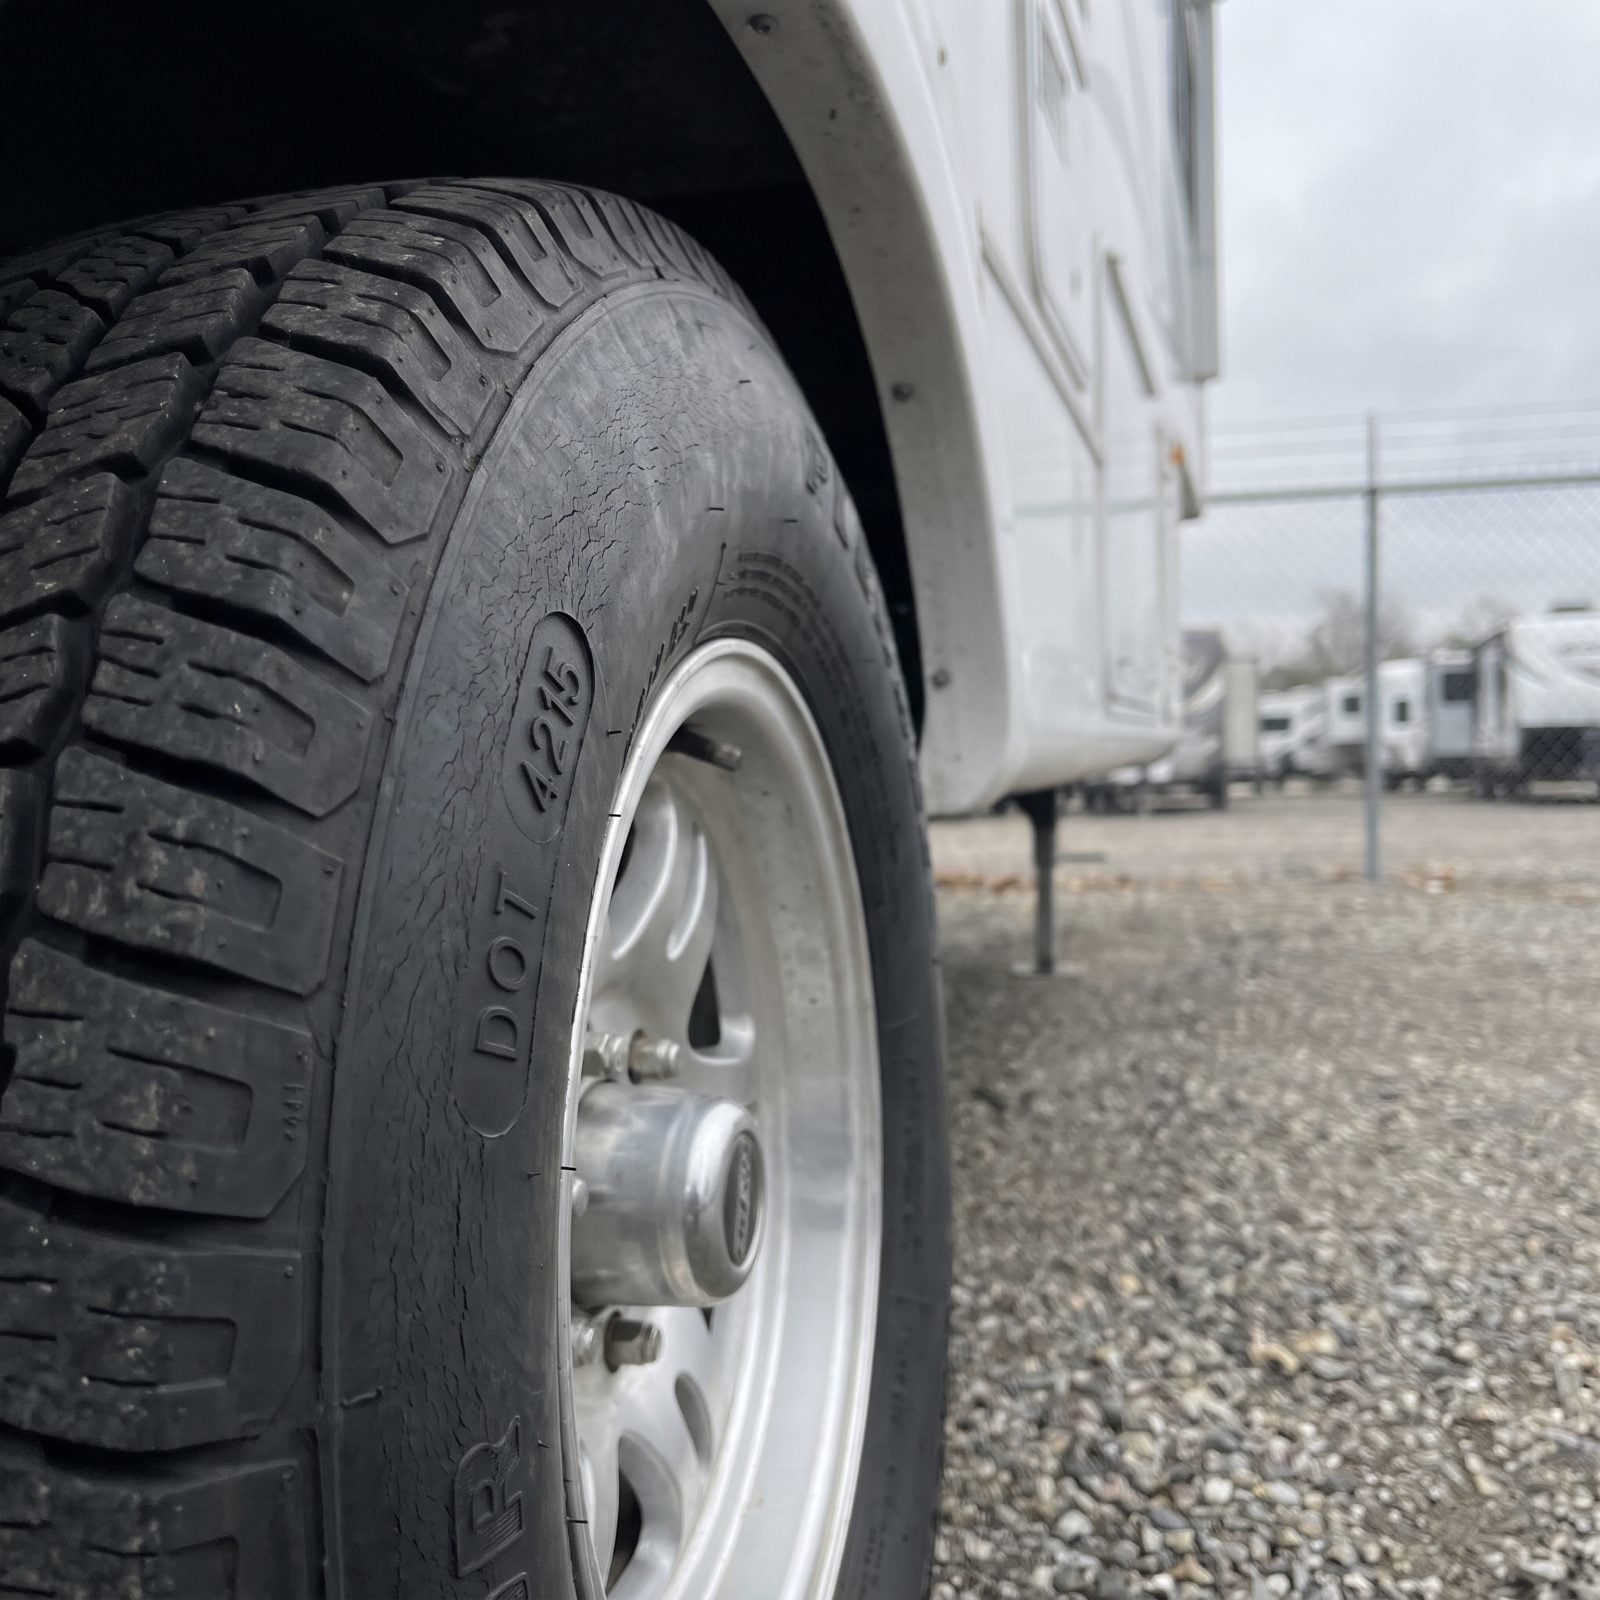
Plenty of tread left, so the tires are fine, right? Not on a trailer that sits. RV tires usually die of old age long before they ever wear out, because a fifth-wheel parks far more than it rolls.
Rubber degrades with time, UV, and heat whether you drive or not. A six-year-old tire with gorgeous tread can have brittle, cracking sidewalls and let go at highway speed — and that’s where most trailer blowouts actually come from, not worn tread.
Read the DOT date code on the sidewall. The last four digits are the week and year of manufacture. Most makers say replace trailer tires somewhere in the five-to-seven-year range regardless of tread, and watch for sidewall cracking sooner. Cover them in storage, keep the rig off flat spots.