
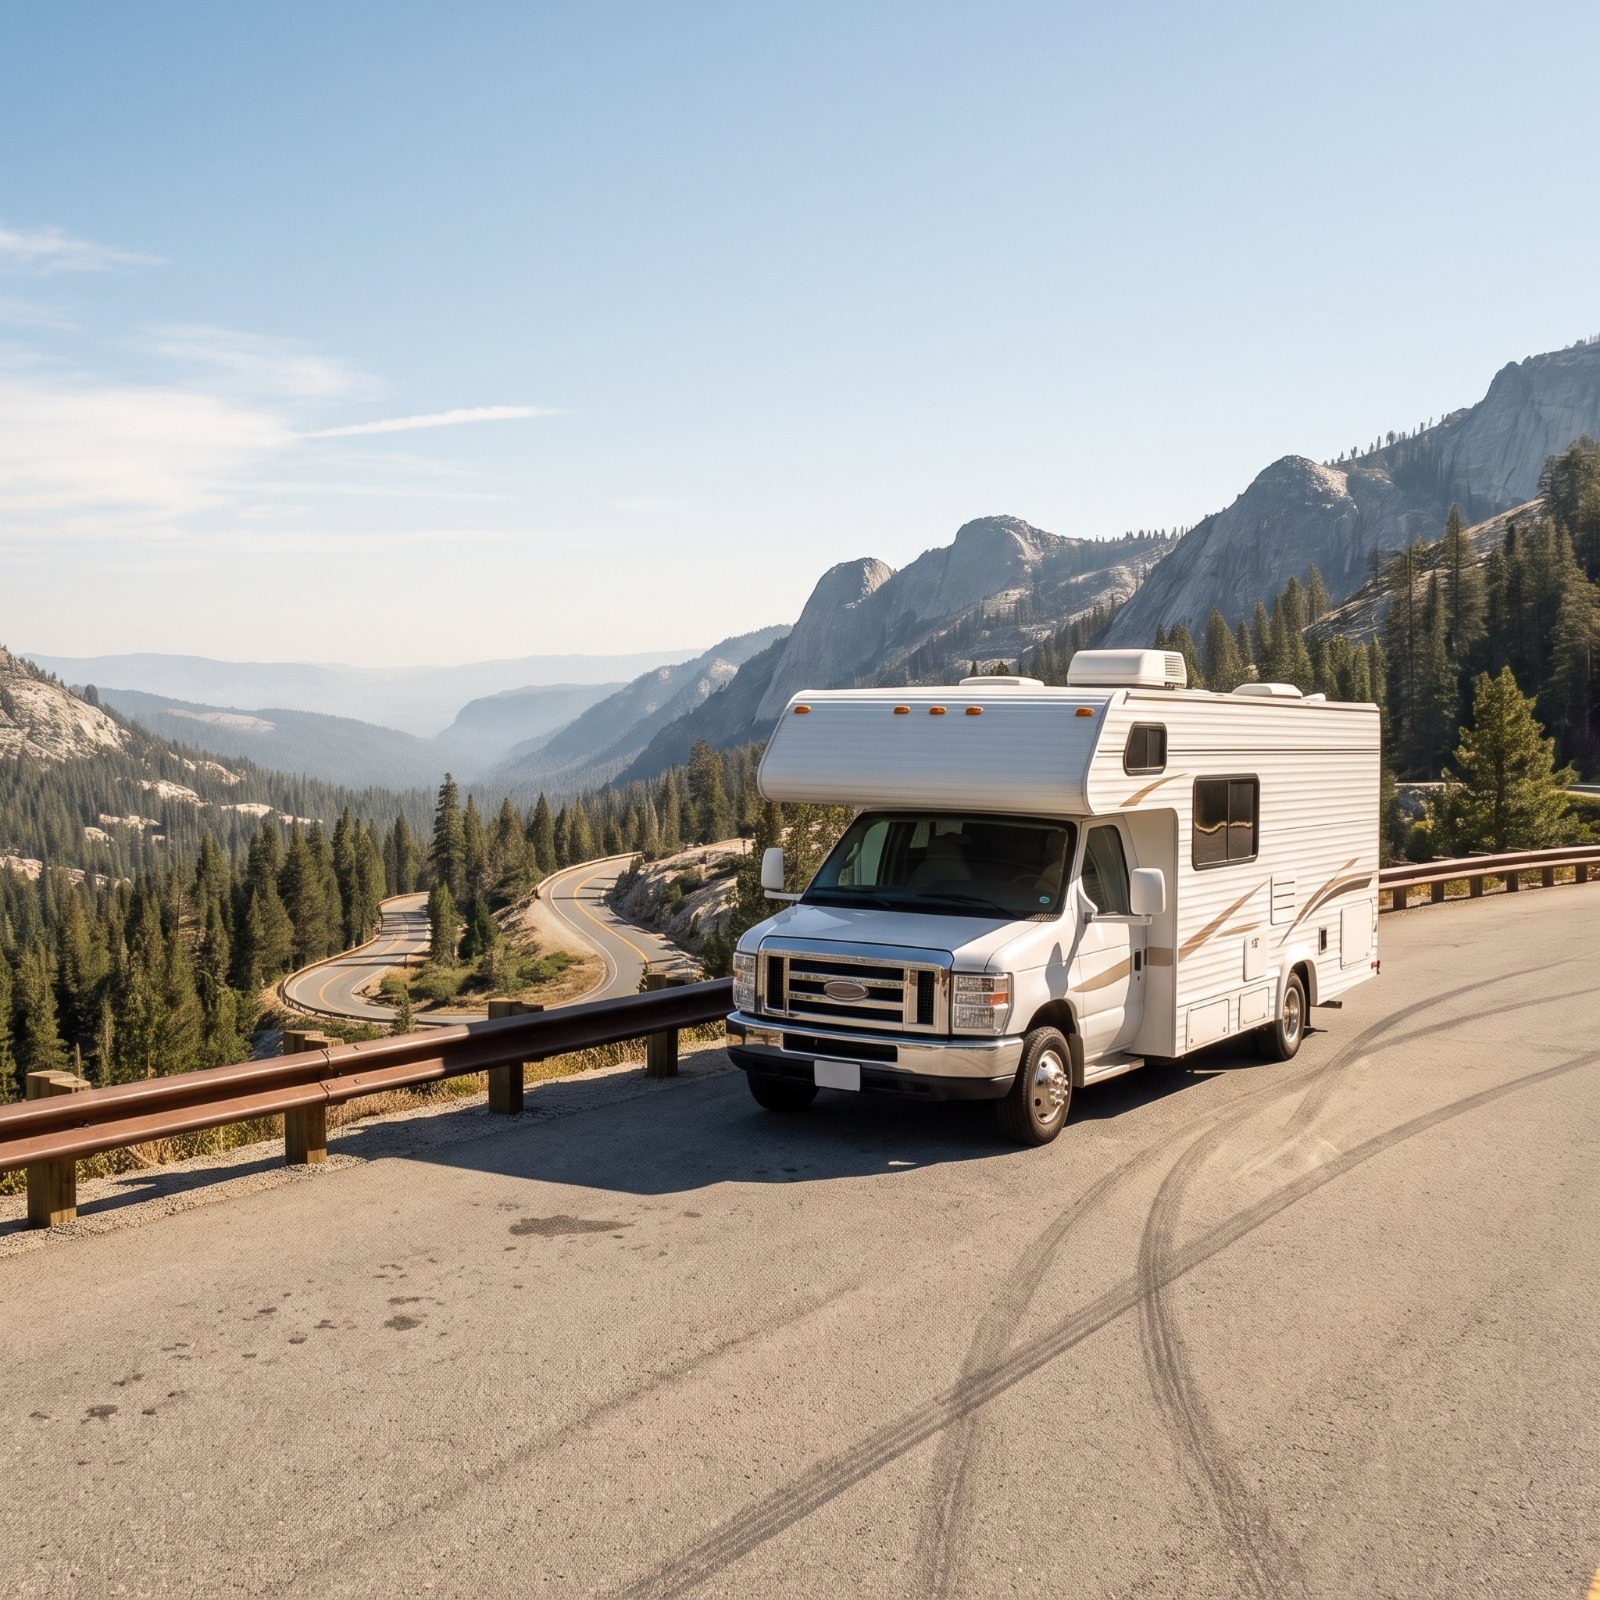
The smell gives it away first. A hot, acrid tang drifting up from the wheels halfway down a long grade, the kind that makes you sit up straight and ease off whatever you were doing wrong. That’s cooked brakes, and it’s avoidable.
Please note that some of the images in this article were created with the assistance of AI.
Mountains punish improvisation. The drivers who come down those seven-percent descents calm and in control did most of their work before the first switchback. Here’s how they do it, from the gear they pick at the summit to the gas they top off in the valley.
36. Start the Descent in the Gear You Would Use to Climb It
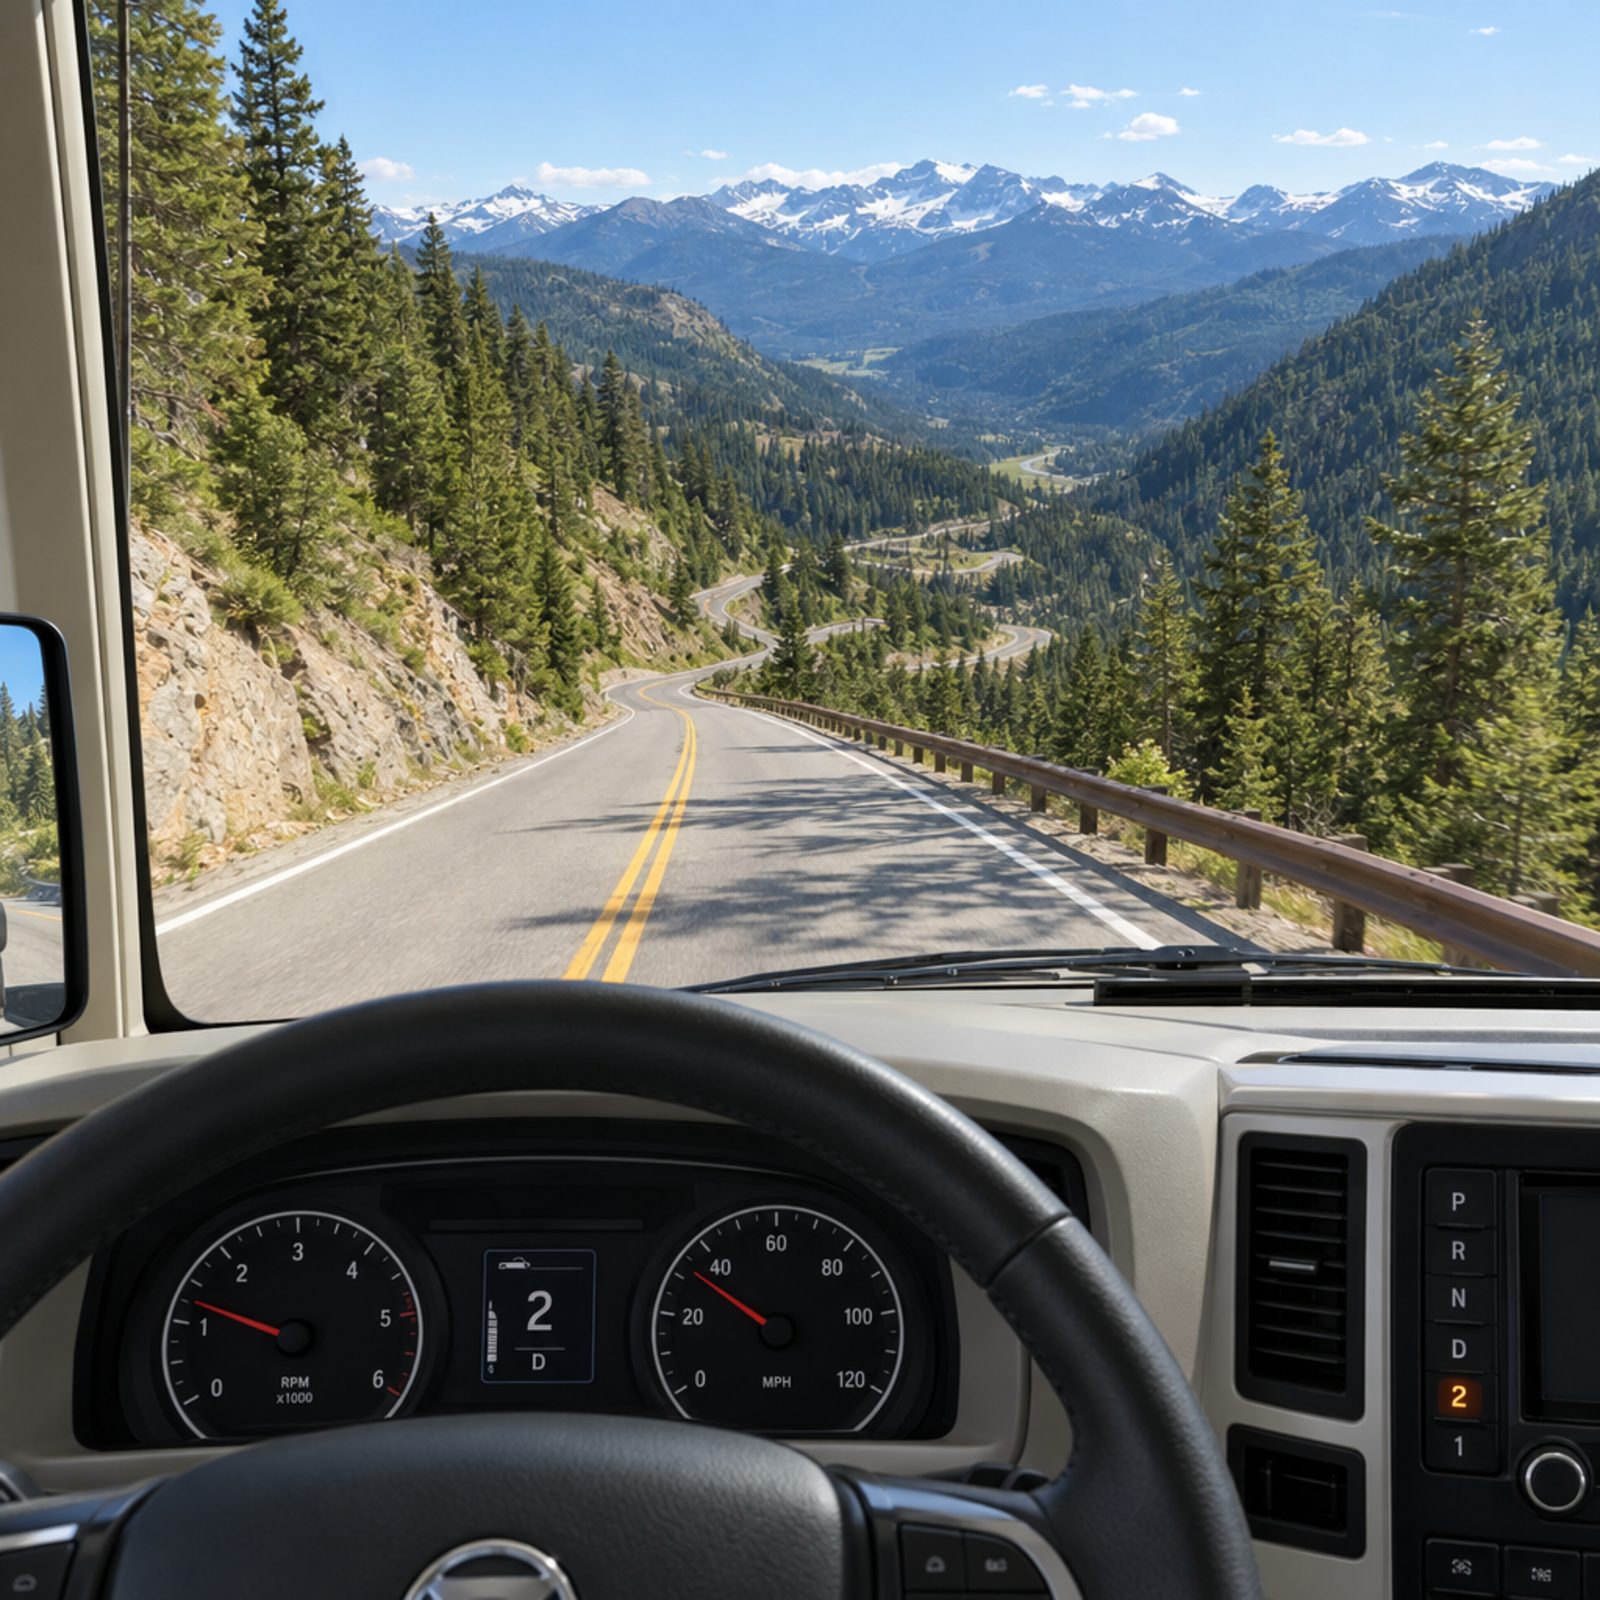
The oldest rule in the mountains still holds: whatever gear got you up a grade will hold you coming down it. People forget this the second the road tips downhill. They crest the pass in a low gear, then shift up and let the transmission coast while gravity does the rest, right up until the brakes are smoking.
The consequence is simple and scary. Ride the brakes all the way down and they fade, which means the pedal goes soft and the rig keeps rolling anyway. That’s how runaway-truck ramps earn their keep.
So drop into your climbing gear before the descent starts, not after. Let the engine hold your speed, and use the brakes in firm, brief presses to slow down, then release and let them cool. Plenty of drivers learn this the hard way on their first big pass.
35. Inspect Brake Pads, Rotors, Drums, and Fluid Before the Climb
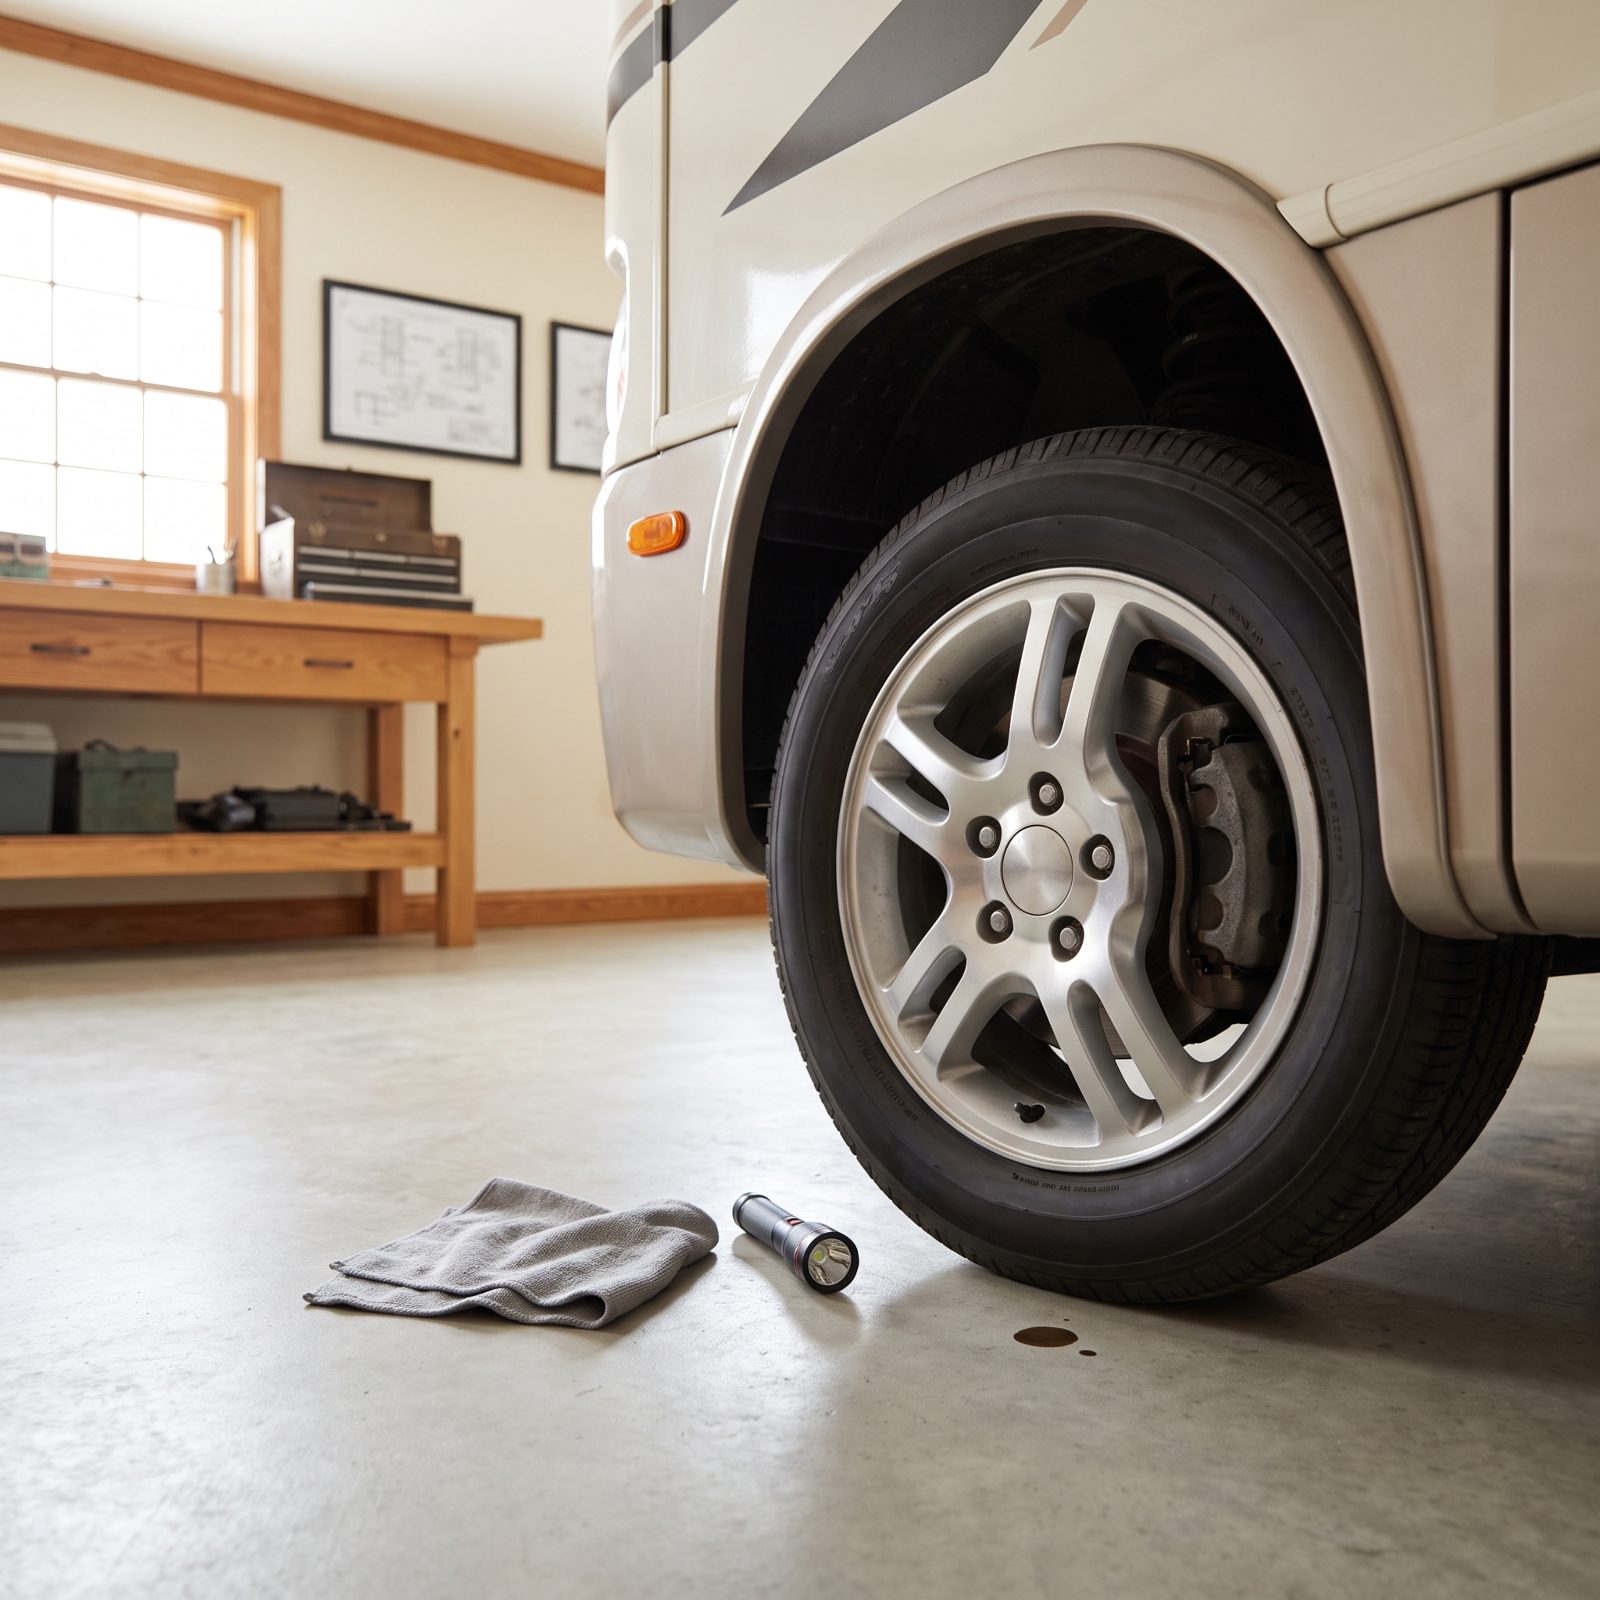
Flat-country brakes and mountain brakes live very different lives. On level ground you’ll never notice thin pads or tired fluid. Point the rig down a nine-mile grade and both show up at the worst possible moment.
Worn pads and glazed rotors can’t shed heat. Old brake fluid absorbs moisture over the years, and moisture boils, and boiling fluid hands you a spongy pedal exactly when you need a firm one.
Before any serious climb, get the wheels off and look. Pads with less than a quarter inch left get replaced now, not later. Rotors and drums should be smooth, not scored or blued from old heat. And if you can’t remember the last brake fluid flush, you’re overdue — figure two years between flushes for a rig that sees mountains.
34. Confirm the Trailer Brake Controller Is Properly Calibrated
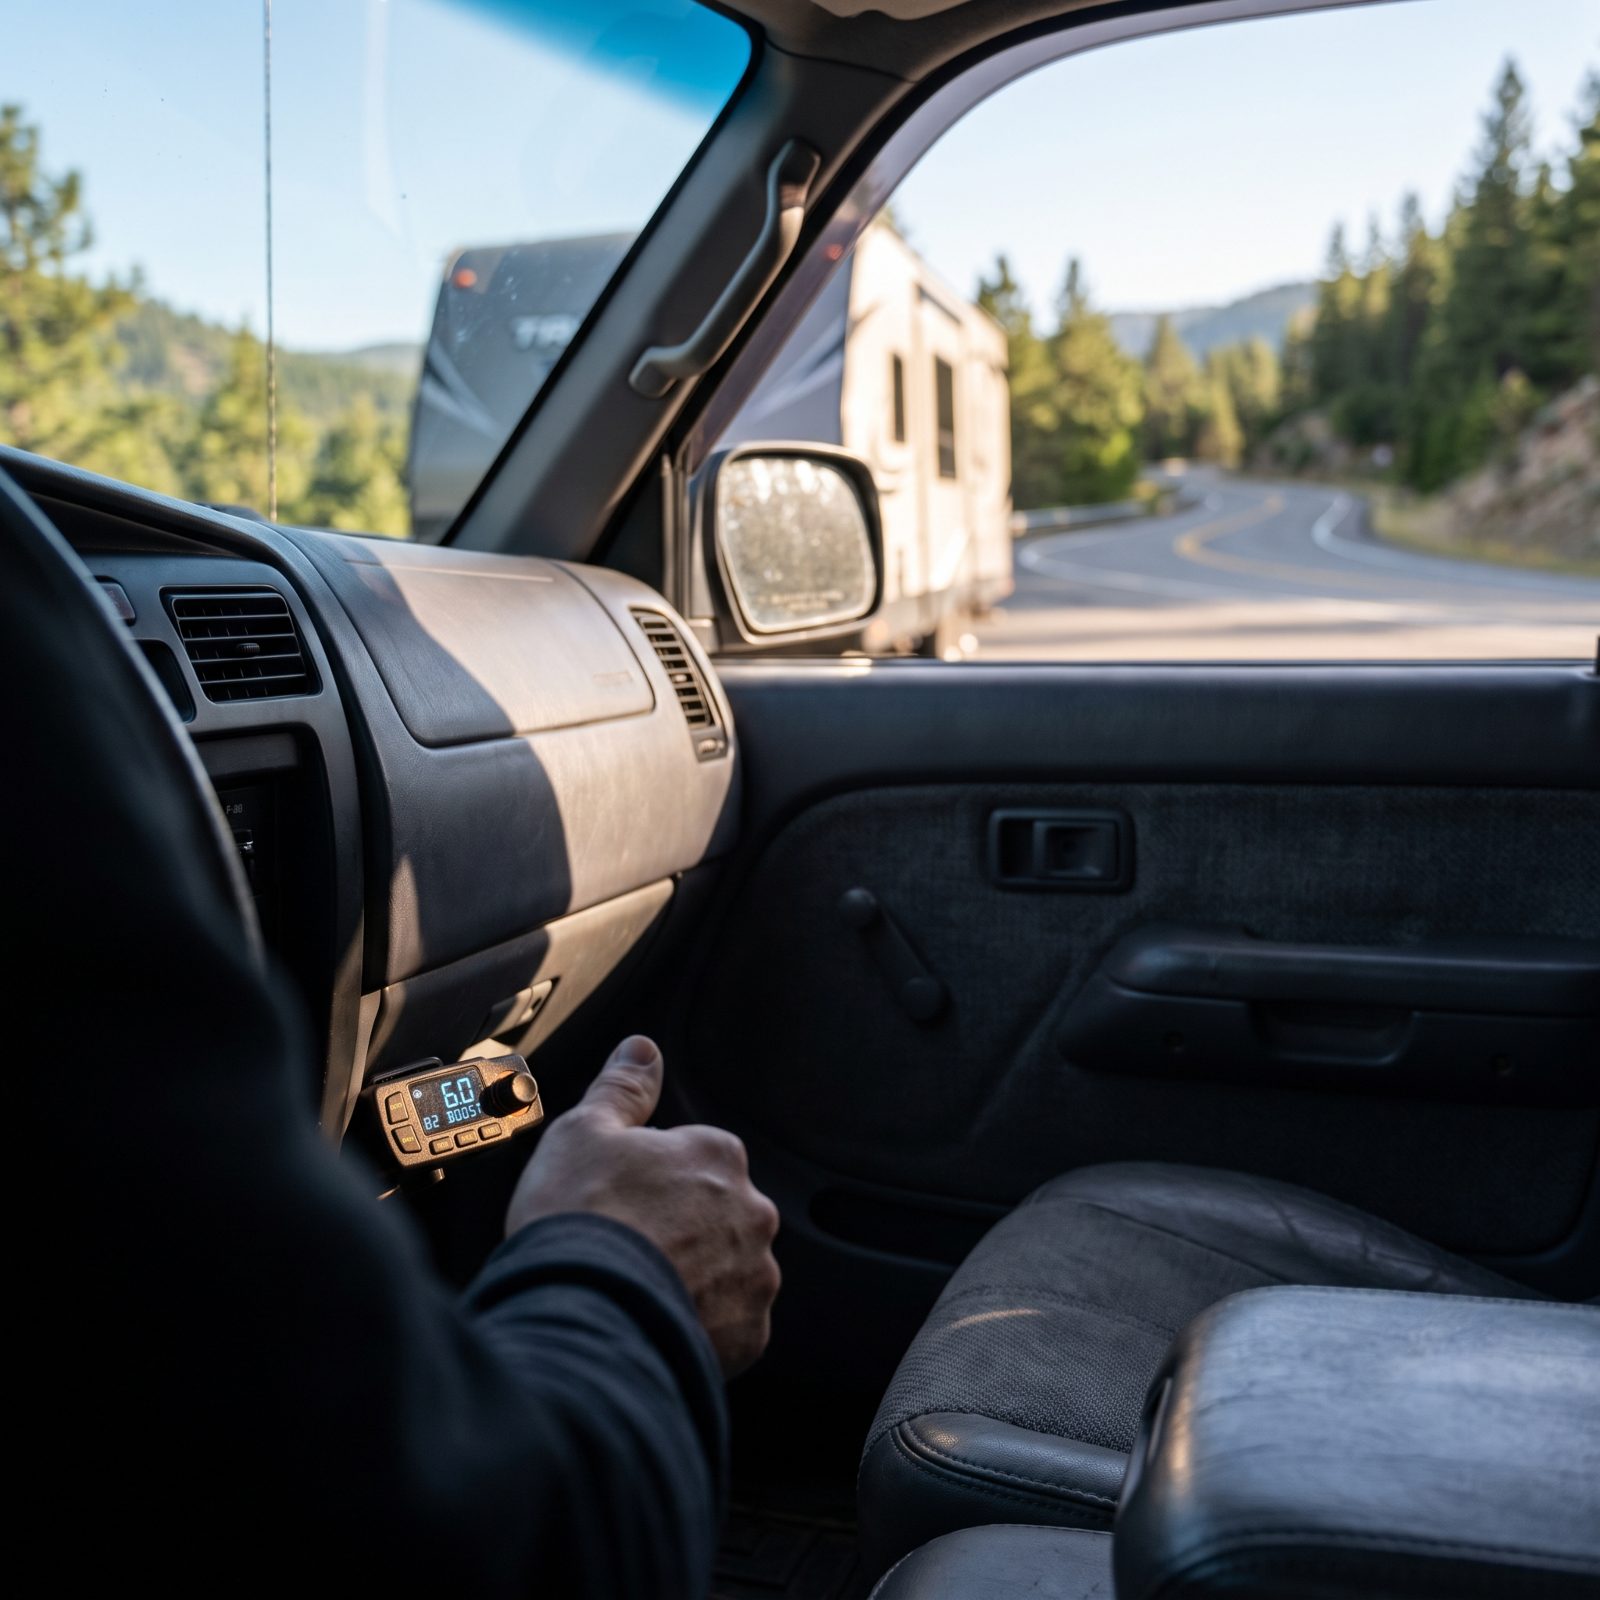
A towable RV has its own brakes, and the little controller mounted under your dash tells them how hard to grab. Most people set it once at the dealer and never touch it again. That’s a mistake in flat country and a dangerous one on winding mountain roads, where other trailers may be sharing the curves ahead of you.
Gain too low and the tow vehicle does all the braking, overheating fast on a descent. Gain too high and the trailer wheels lock and skid on a wet curve.
Calibrate it loaded, the way you’ll actually travel. Find an empty stretch, get up to about 25 mph, and ease the manual slider, adjusting the gain until the trailer brakes firmly without grabbing or skidding. Then do it again once you’ve packed heavy for a trip, because a loaded trailer brakes nothing like an empty one.
33. Test the Tow Vehicle’s Engine-Braking or Tow/Haul Mode
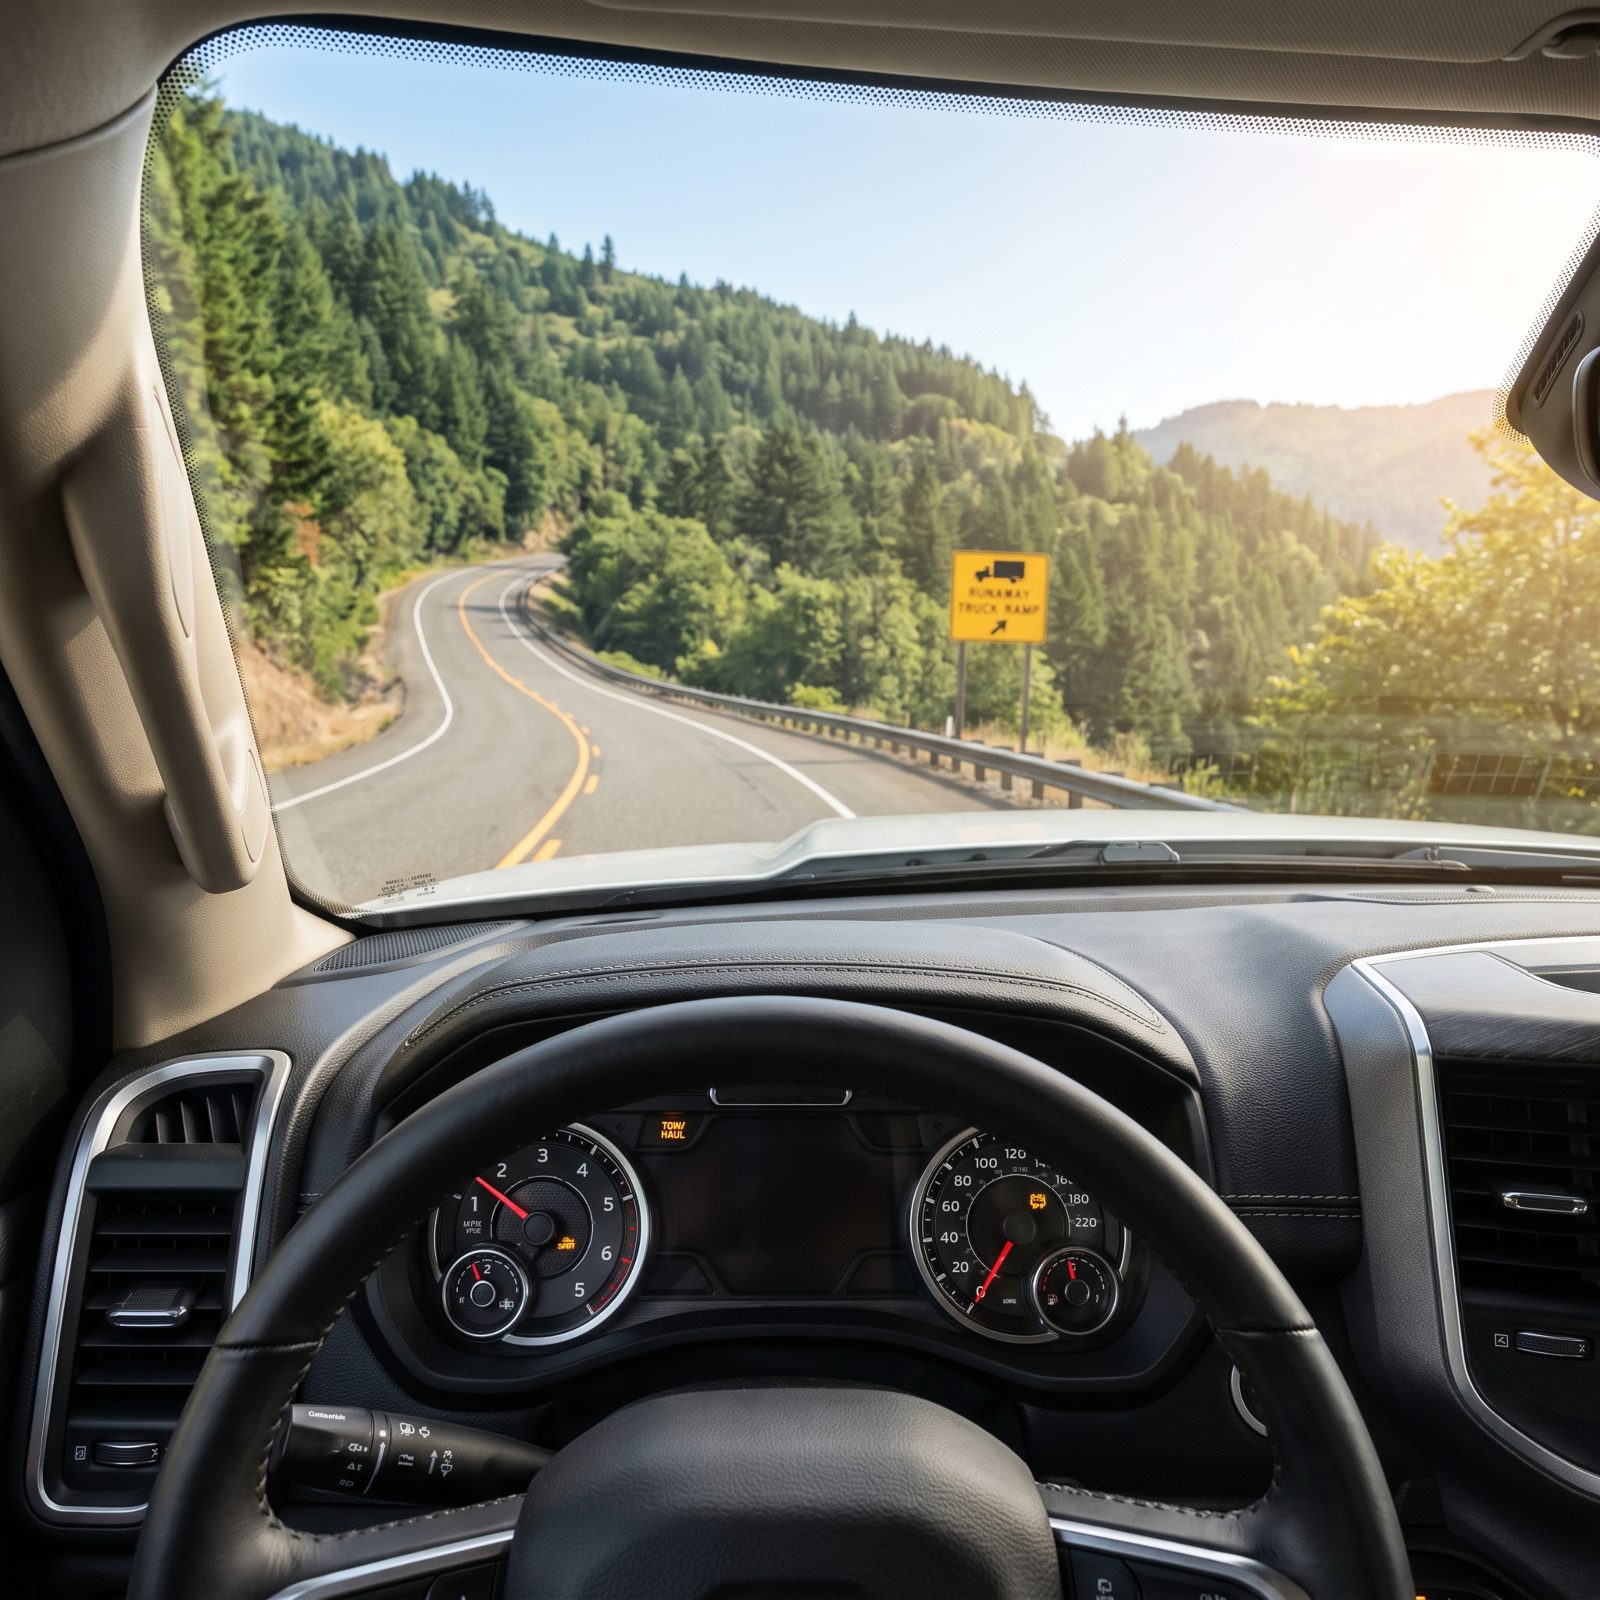
Modern trucks and motorhomes carry a secret weapon most owners never try before they need it. Tow/haul mode, exhaust brakes, and downshift grade logic will hold your speed on a descent without you touching the service brakes much at all.
Here’s the catch. If you’ve never felt how aggressively your rig engine-brakes, the first time will be on a real grade — the wrong classroom entirely.
Find a modest hill near home before your trip. Switch into tow/haul and take your foot off everything. Notice how much the engine slows you, and whether a diesel exhaust brake kicks in. Learn the sound and the feel. By the time you hit the real mountain, you want to already know this system can hold most of your speed so the brakes only clean up what’s left.
32. Check Coolant and Cooling-System Hoses While the Engine Is Cold
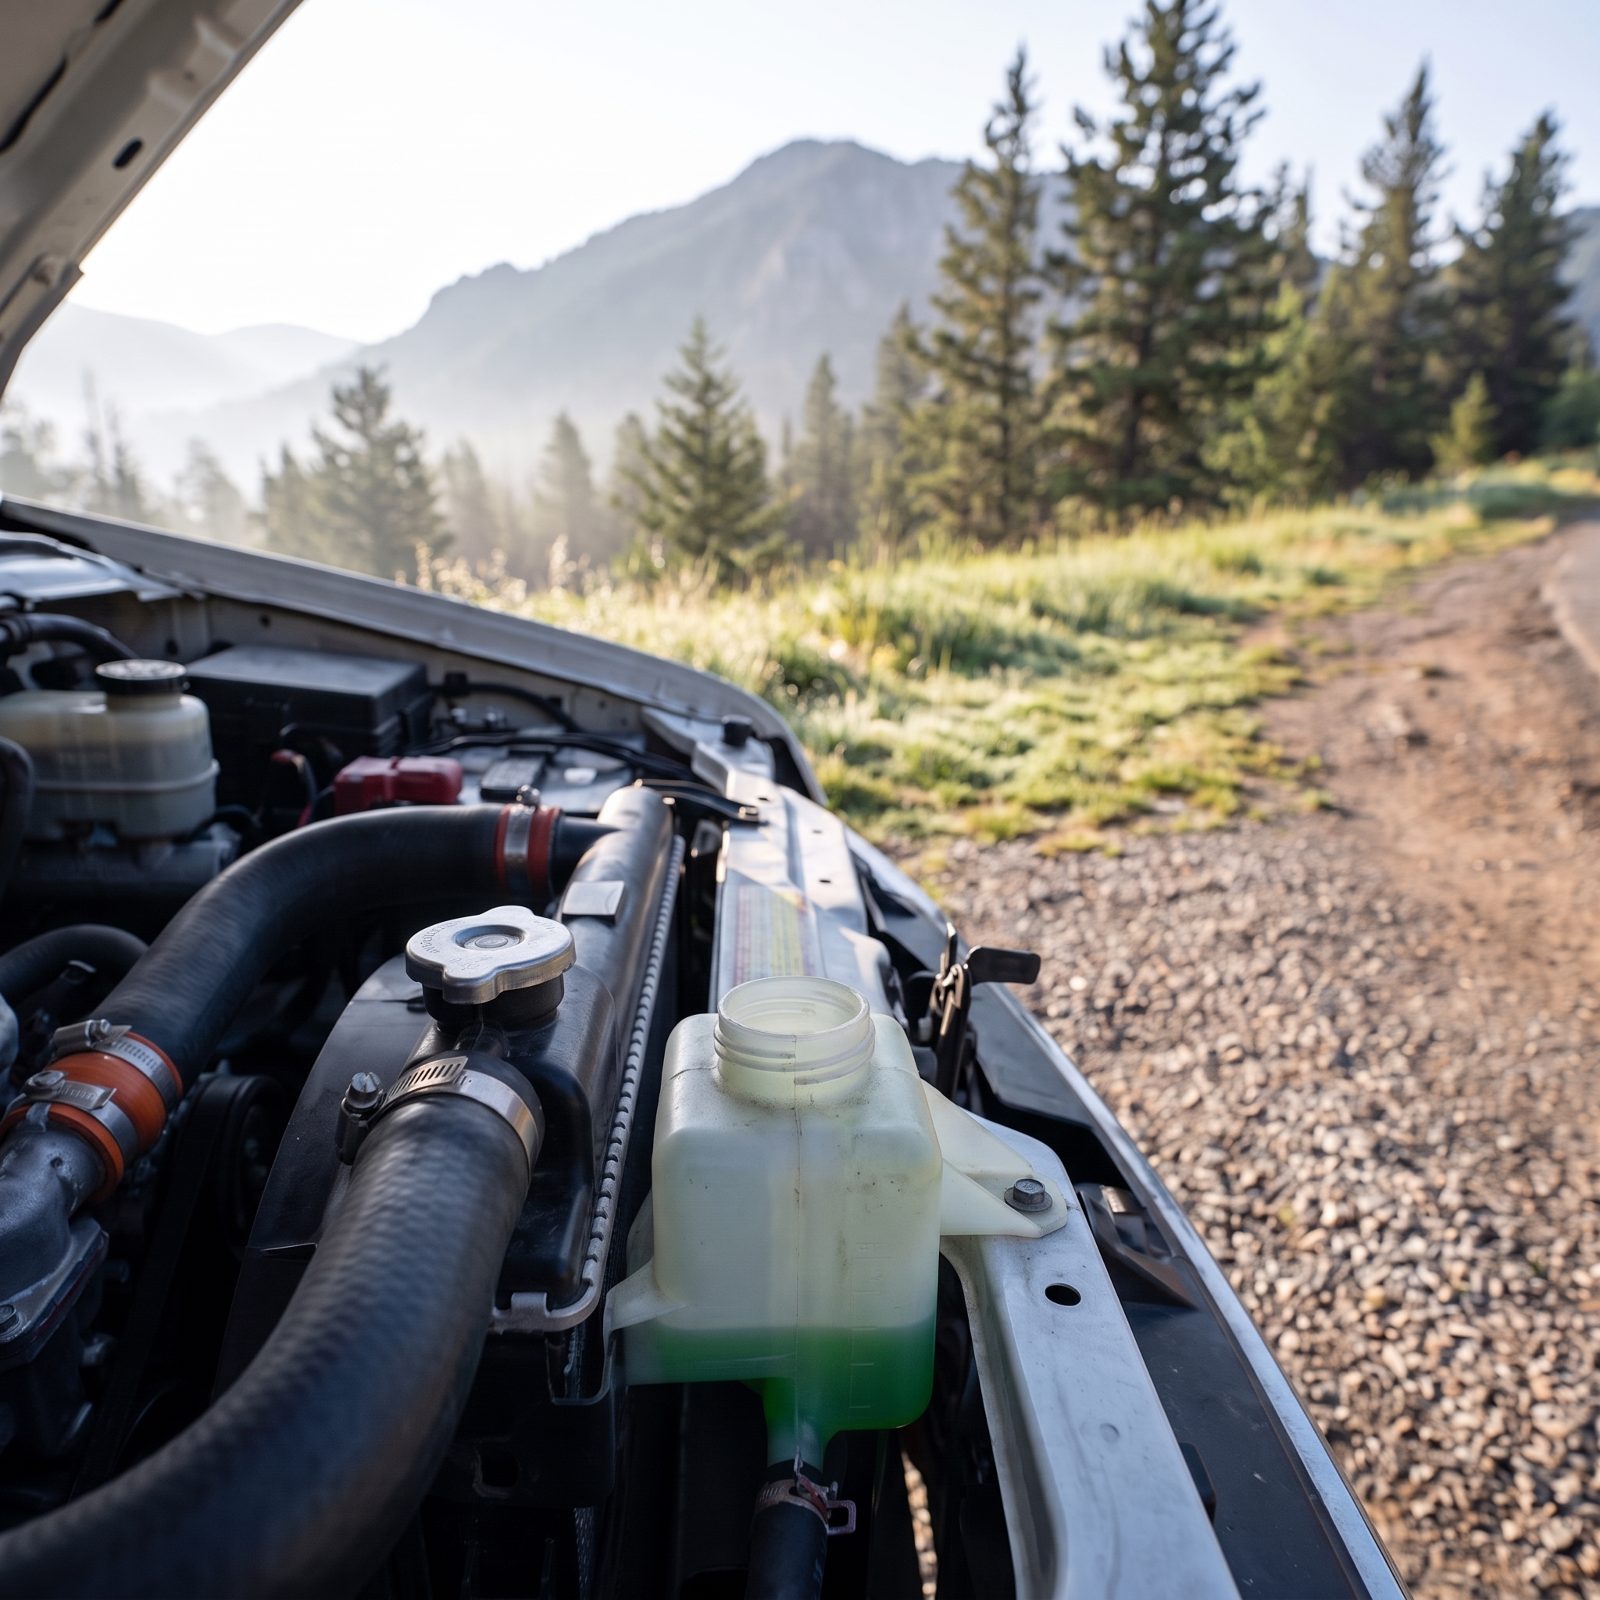
Climbing a long grade is the hardest work your engine ever does. It’s full throttle for miles, and heat is the enemy. A cooling system that’s fine on the interstate can boil over on the way up a pass.
Check it cold, always. Never open a hot radiator cap — pull it in the morning before you drive. Coolant should sit at the full line and look clean, not rusty or sludgy. Then squeeze every hose you can reach. A good one is firm and springy. A bad one feels mushy, or hard and brittle, or shows little cracks at the clamp ends.
A ten-dollar hose that lets go at 8,000 feet strands you with a cooked engine and a long wait for a tow truck that may not come quickly up here.
31. Set Cold Tire Pressures for the RV’s Actual Loaded Weight
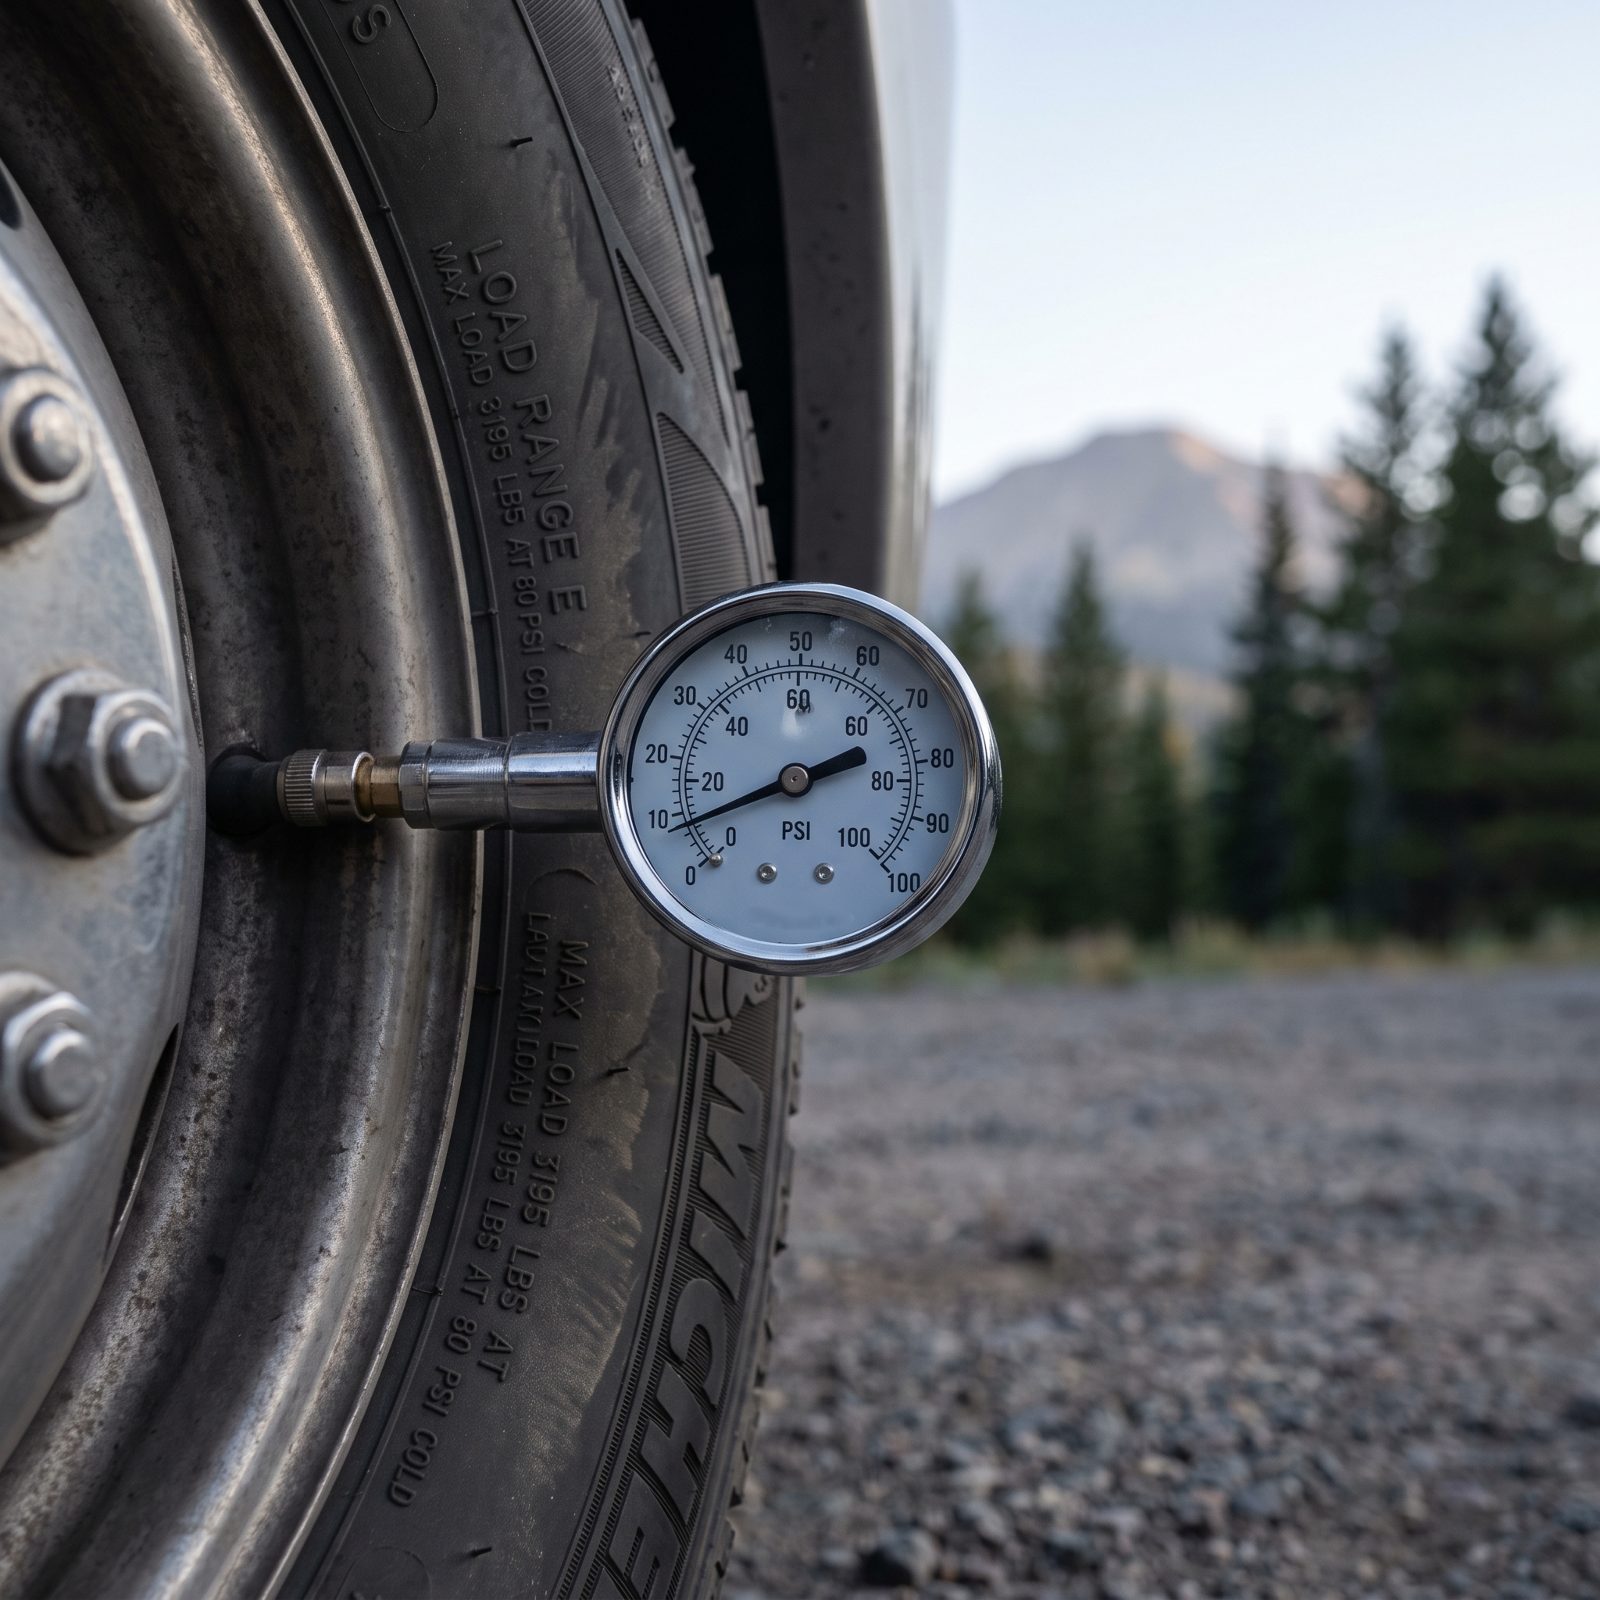
Tire pressure isn’t a number off the sidewall. The sidewall shows the maximum. The right pressure comes from how much weight that specific tire is actually carrying, and most rigs are loaded unevenly.
Underinflated tires on a mountain run flex, build heat, and fail. A blowout on a switchback with a thousand-foot drop on one side is the scenario every veteran driver quietly plans against.
Get the rig weighed loaded, ideally corner by corner at a scale, then match each tire’s pressure to its load using the manufacturer’s inflation chart. Set those pressures cold, before you’ve driven, because driving heats the air and raises the reading. Check them at dawn with a quality dial gauge, not the stick type rattling around in the gas station bin.
30. Check Every Tire for Sidewall Cracks, Bulges, and Uneven Wear
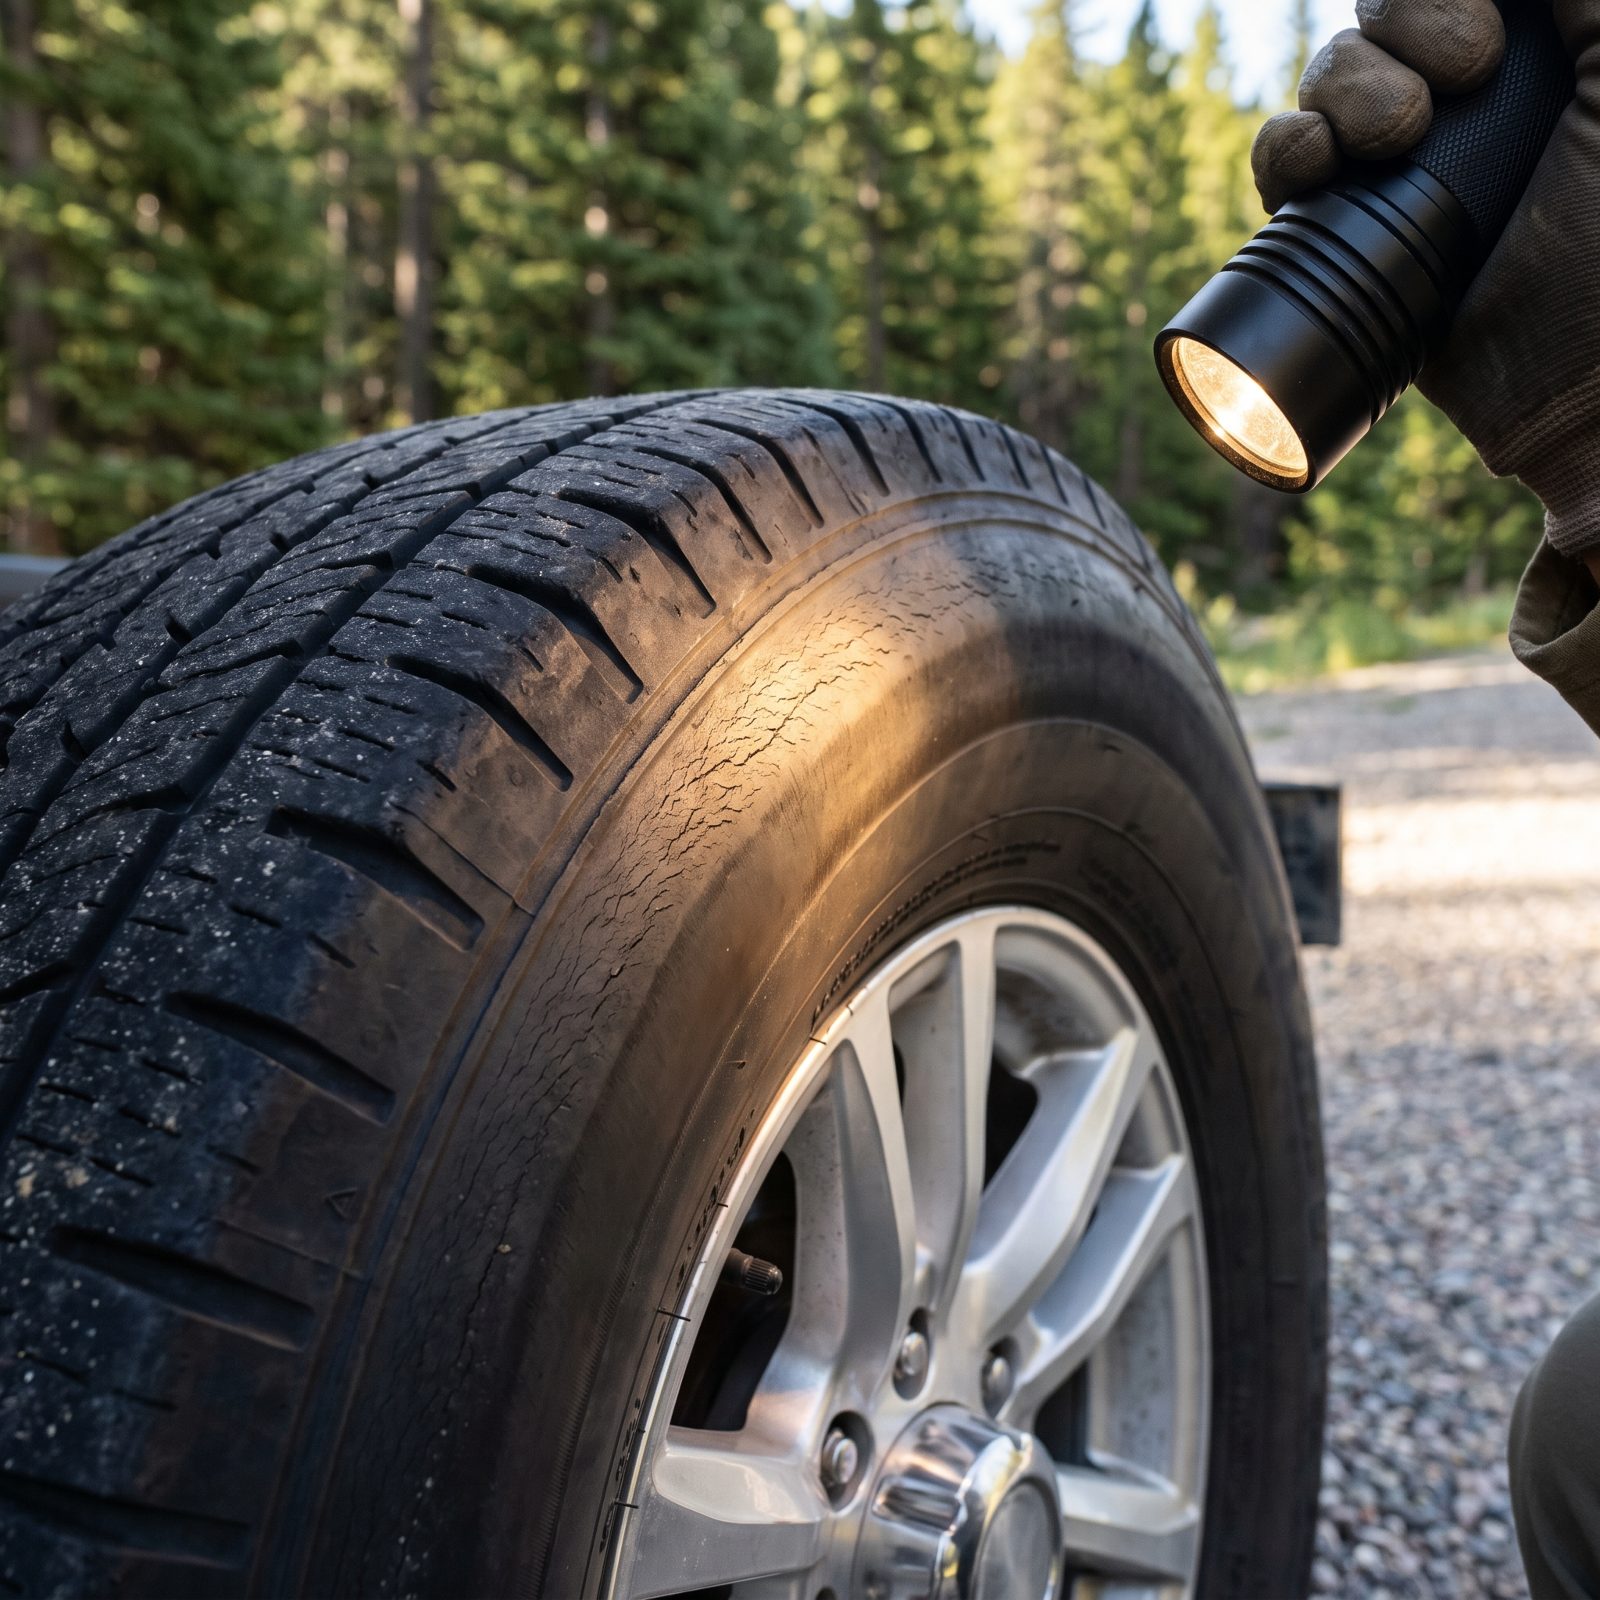
RV tires age out before they wear out. Rigs sit for months at a stretch, and rubber degrades with time and sunlight whether you drive it or not, so a tire with plenty of tread can still be seven years old and ready to split.
Walk every tire before a mountain trip. Look for spider-web cracking in the sidewall, any bulge or blister, and uneven wear that hints at alignment or inflation problems. Run your hand along the tread for cupping or flat spots.
Find the four-digit date code on the sidewall. The last two numbers are the year. Most makers say replace at seven years regardless of tread, and in the mountains I don’t argue with that number.
29. Fill Up Before Entering a Remote Mountain Corridor
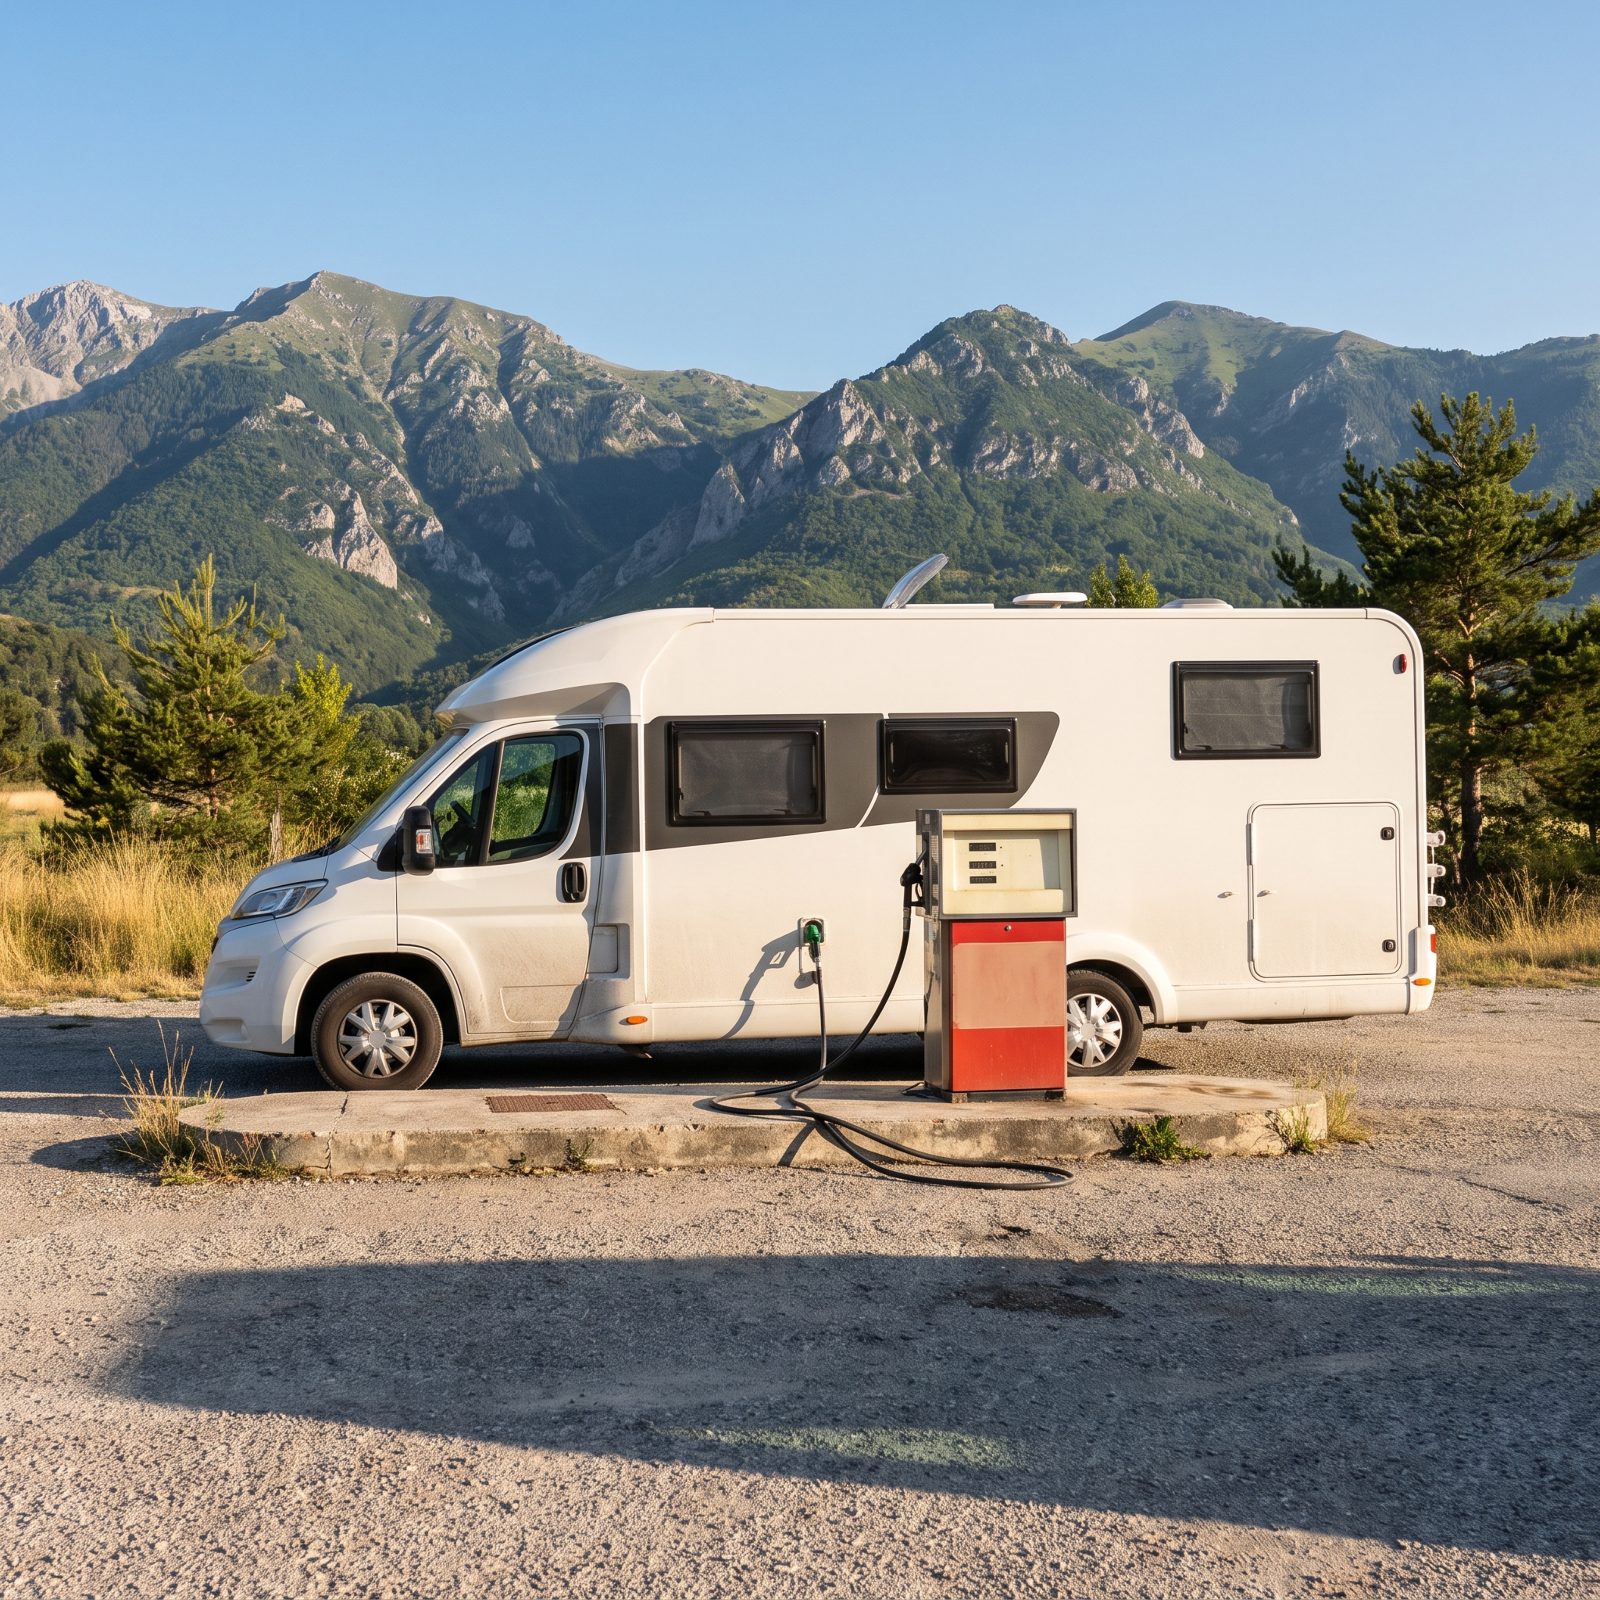
Mountains eat fuel. A grade your rig sips on the flat will drain a quarter tank in miles, because engines drink hard when they work hard. And up high, the stations thin out fast.
The mistake is treating a half tank like it’s plenty. It isn’t — not when the next pump might be sixty miles and two passes away, and not all of them take your card or stay open past dark.
Fill up completely at the last real town before you climb. A full tank is part of your safety gear, not just a convenience. Running low on a remote corridor at altitude, in cold, with weather coming, is the kind of problem that compounds fast.
28. Download Offline Maps Before Cell Service Disappears
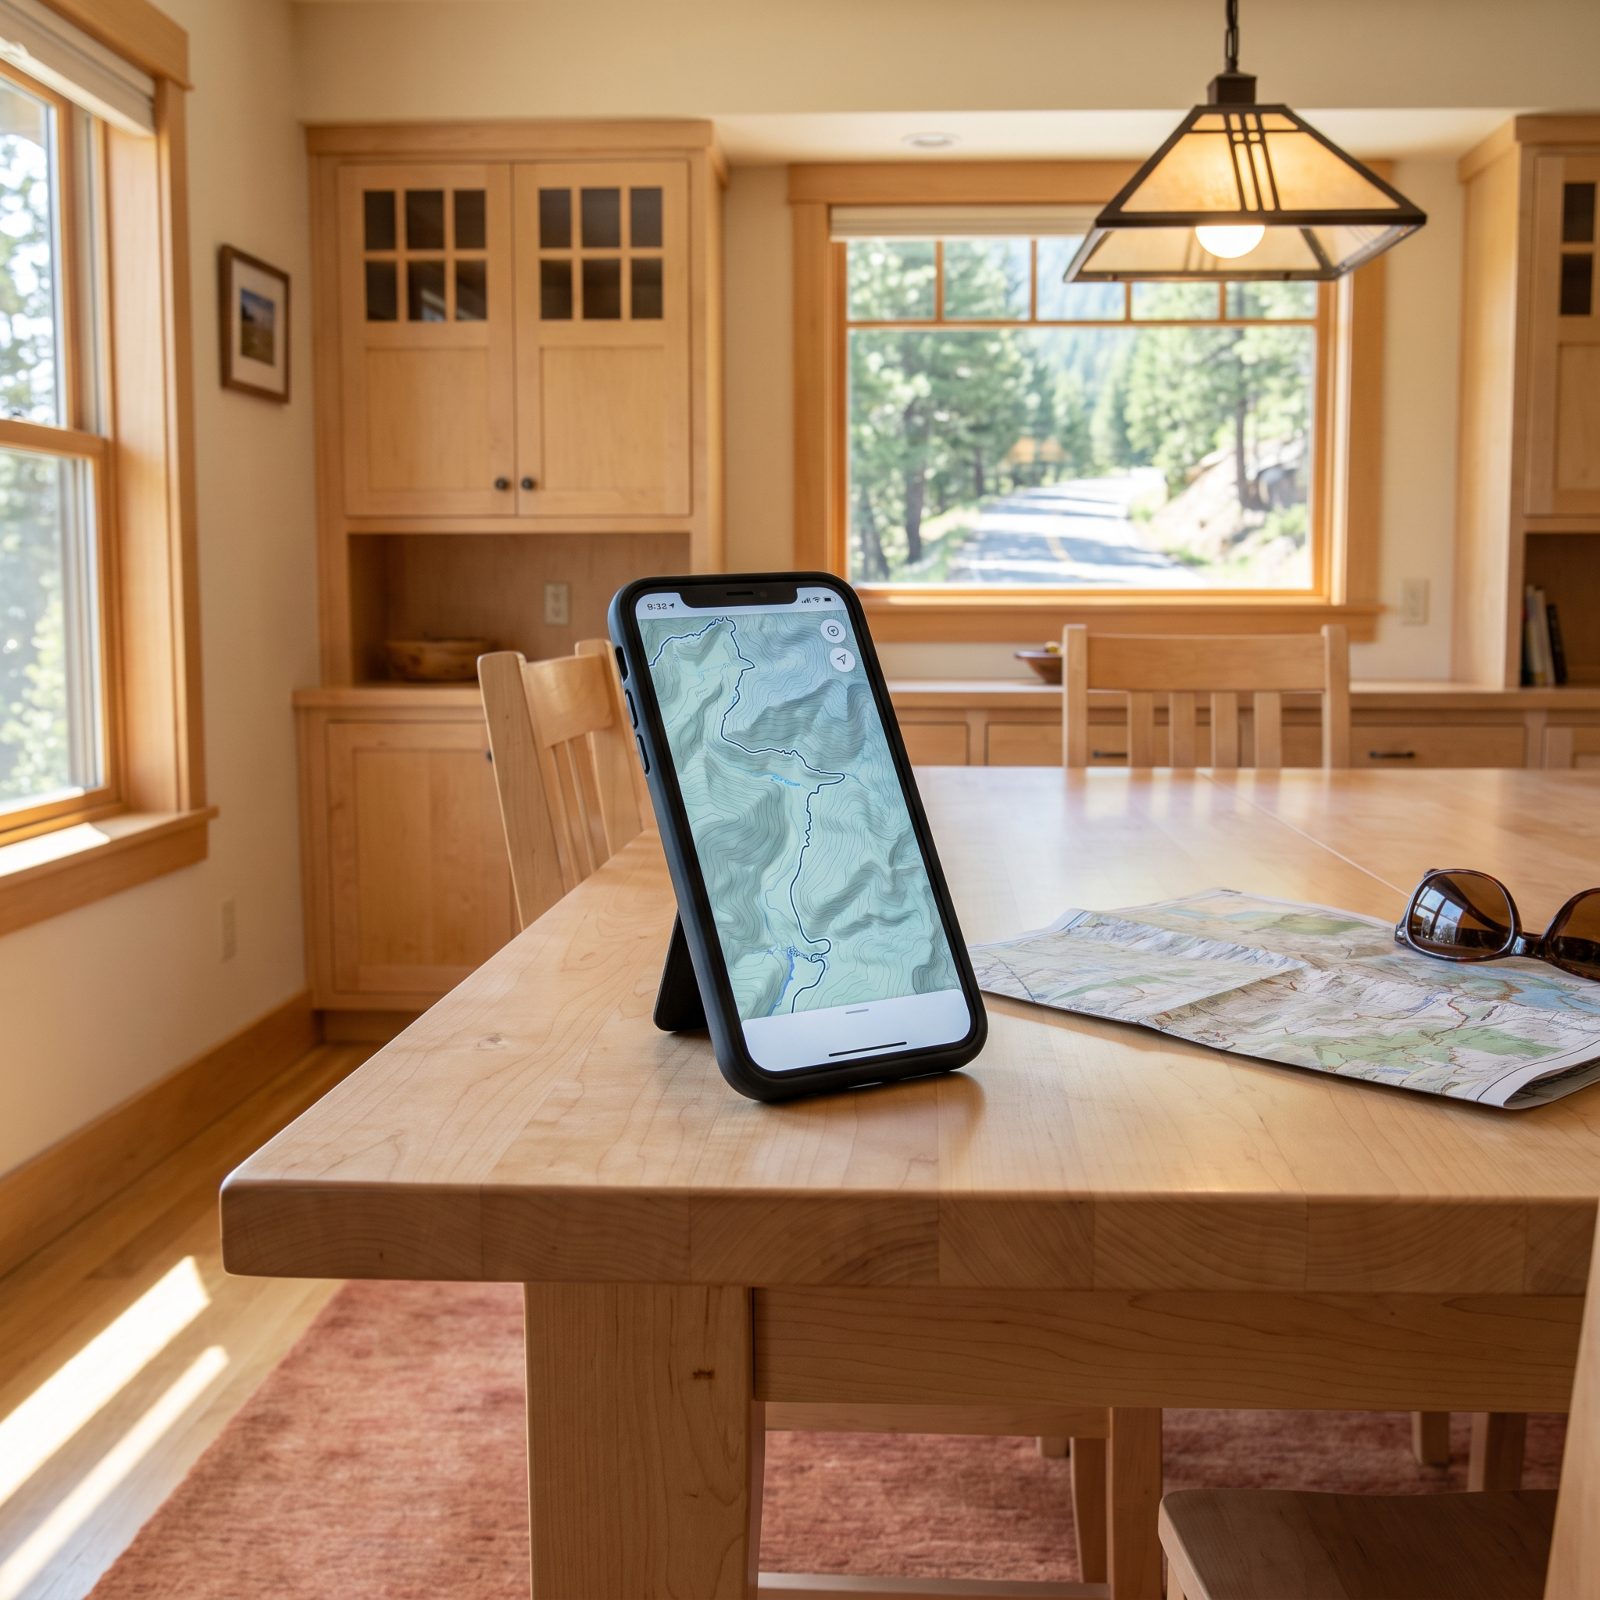
Your phone’s map is brilliant until the bars vanish, and in the real mountains they vanish for long stretches. One minute you’ve got turn-by-turn, the next you’ve got a spinning circle and a fork in the road.
Download the offline map of your whole route before you leave a town with service. Both Google Maps and apps like Gaia let you save a region to the device so it runs on GPS alone, zero signal required.
And keep a paper atlas in the door pocket. Call it old-fashioned. The Rand McNally doesn’t need a battery, doesn’t lose signal, and has gotten plenty of drivers unlost in canyon country when the screen was useless.
27. Study the Route’s Maximum Grades and Elevation Profile
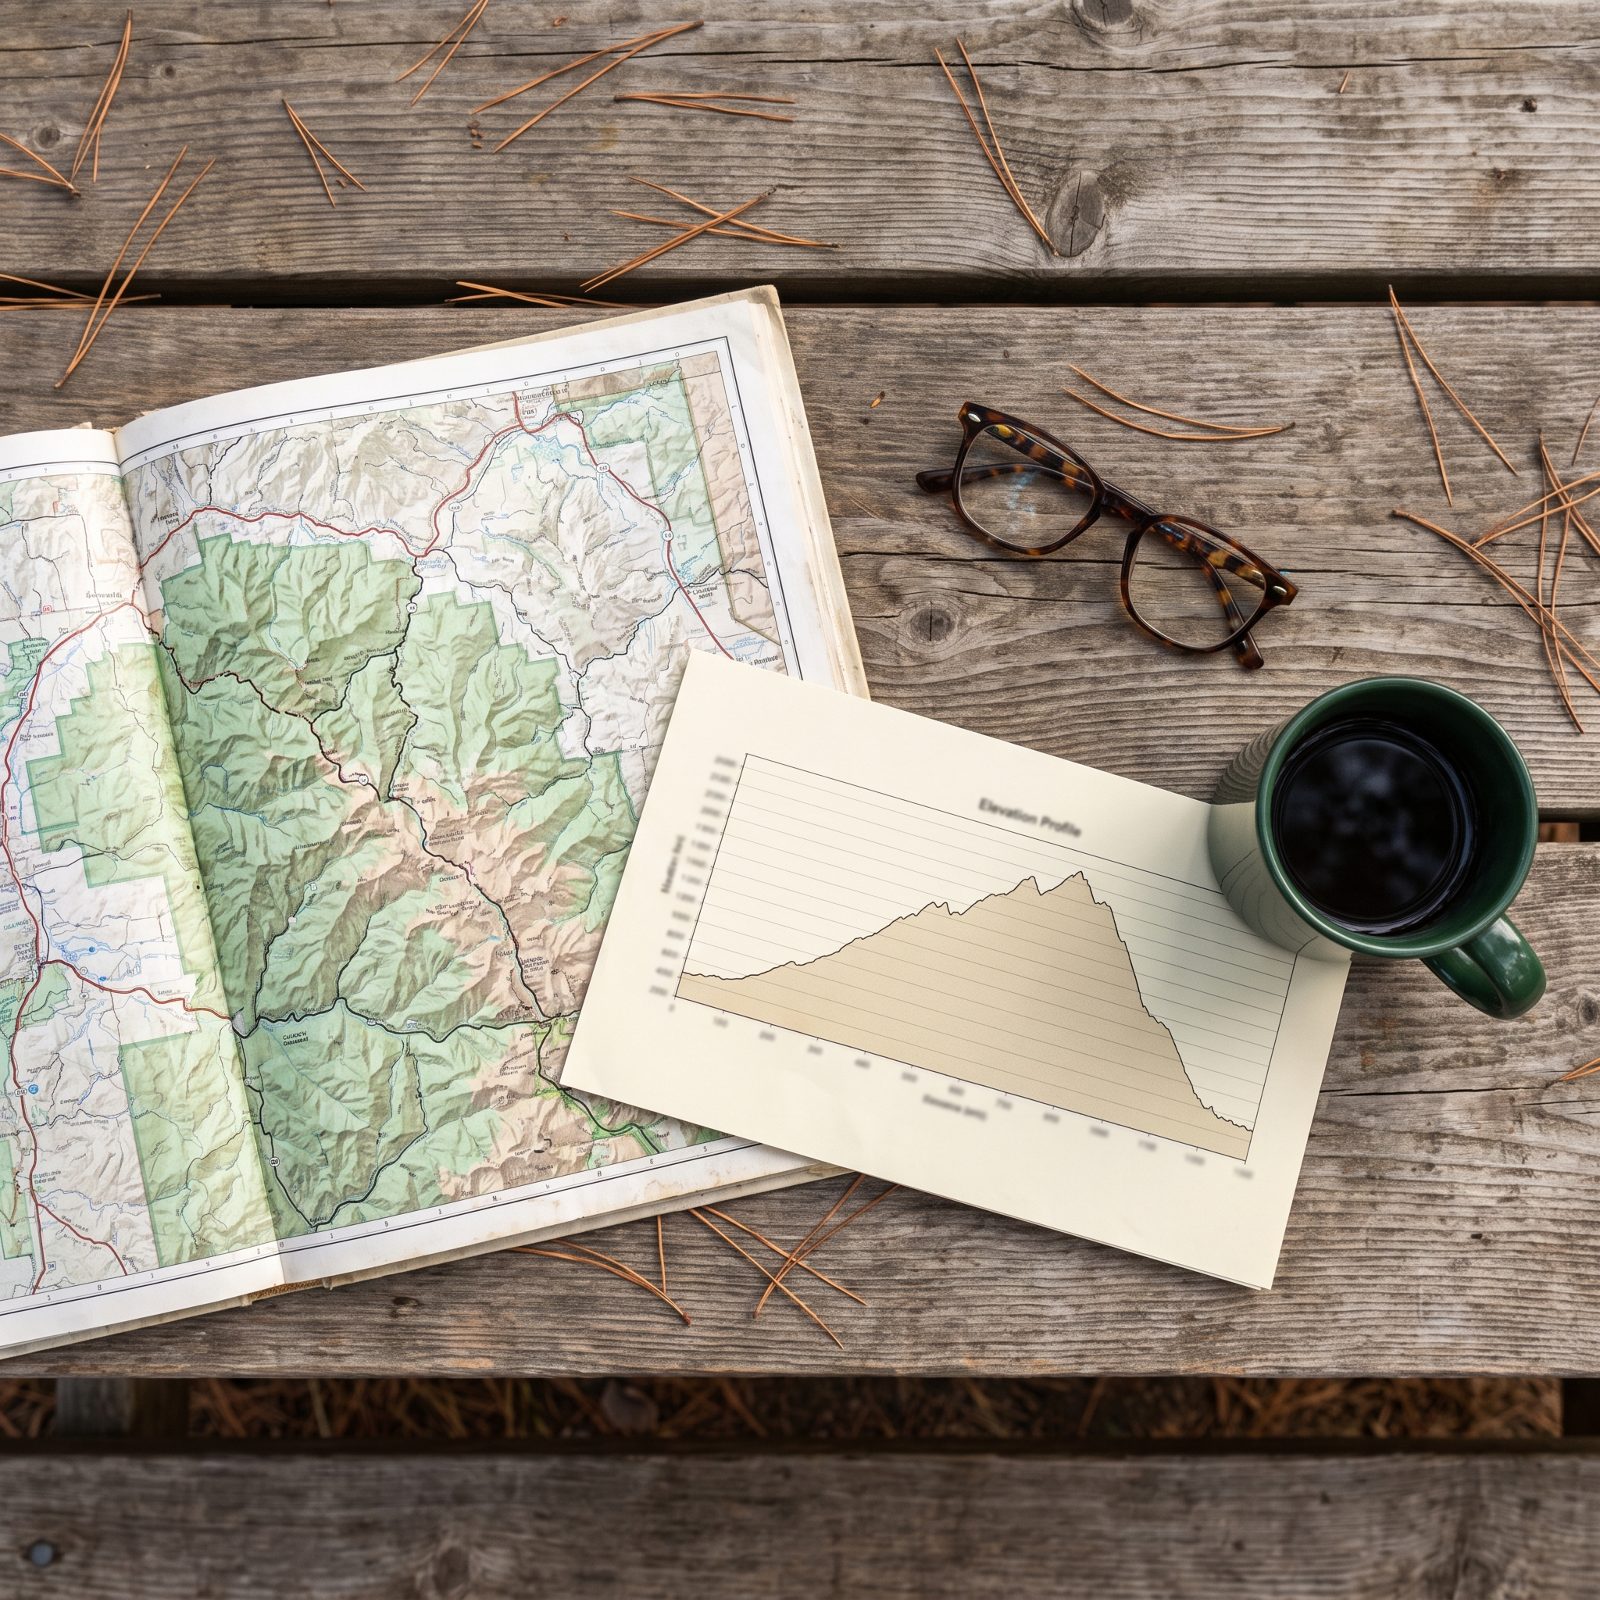
Not all mountain roads are equal, and the map won’t tell you the whole story. Two routes between the same towns can differ by thousands of feet and several percent of grade. One’s a pleasant climb. The other’s white-knuckle.
Before you commit, pull up the elevation profile. Even a printed elevation chart without grade percentages shows you the steepest pitches, the longest sustained climbs, and where the passes top out. A seven-percent grade for nine miles is a very different day than a four-percent grade for three.
Knowing the numbers lets you plan your descent gear, your fuel, and your nerves ahead of time. Plenty of RVers reroute entirely around the worst grades, and there’s no shame in it. The scenic drive you take calmly beats the shortcut you survive.
26. Skipping the Tunnel-Height and Weight Check Before You Commit to the Route
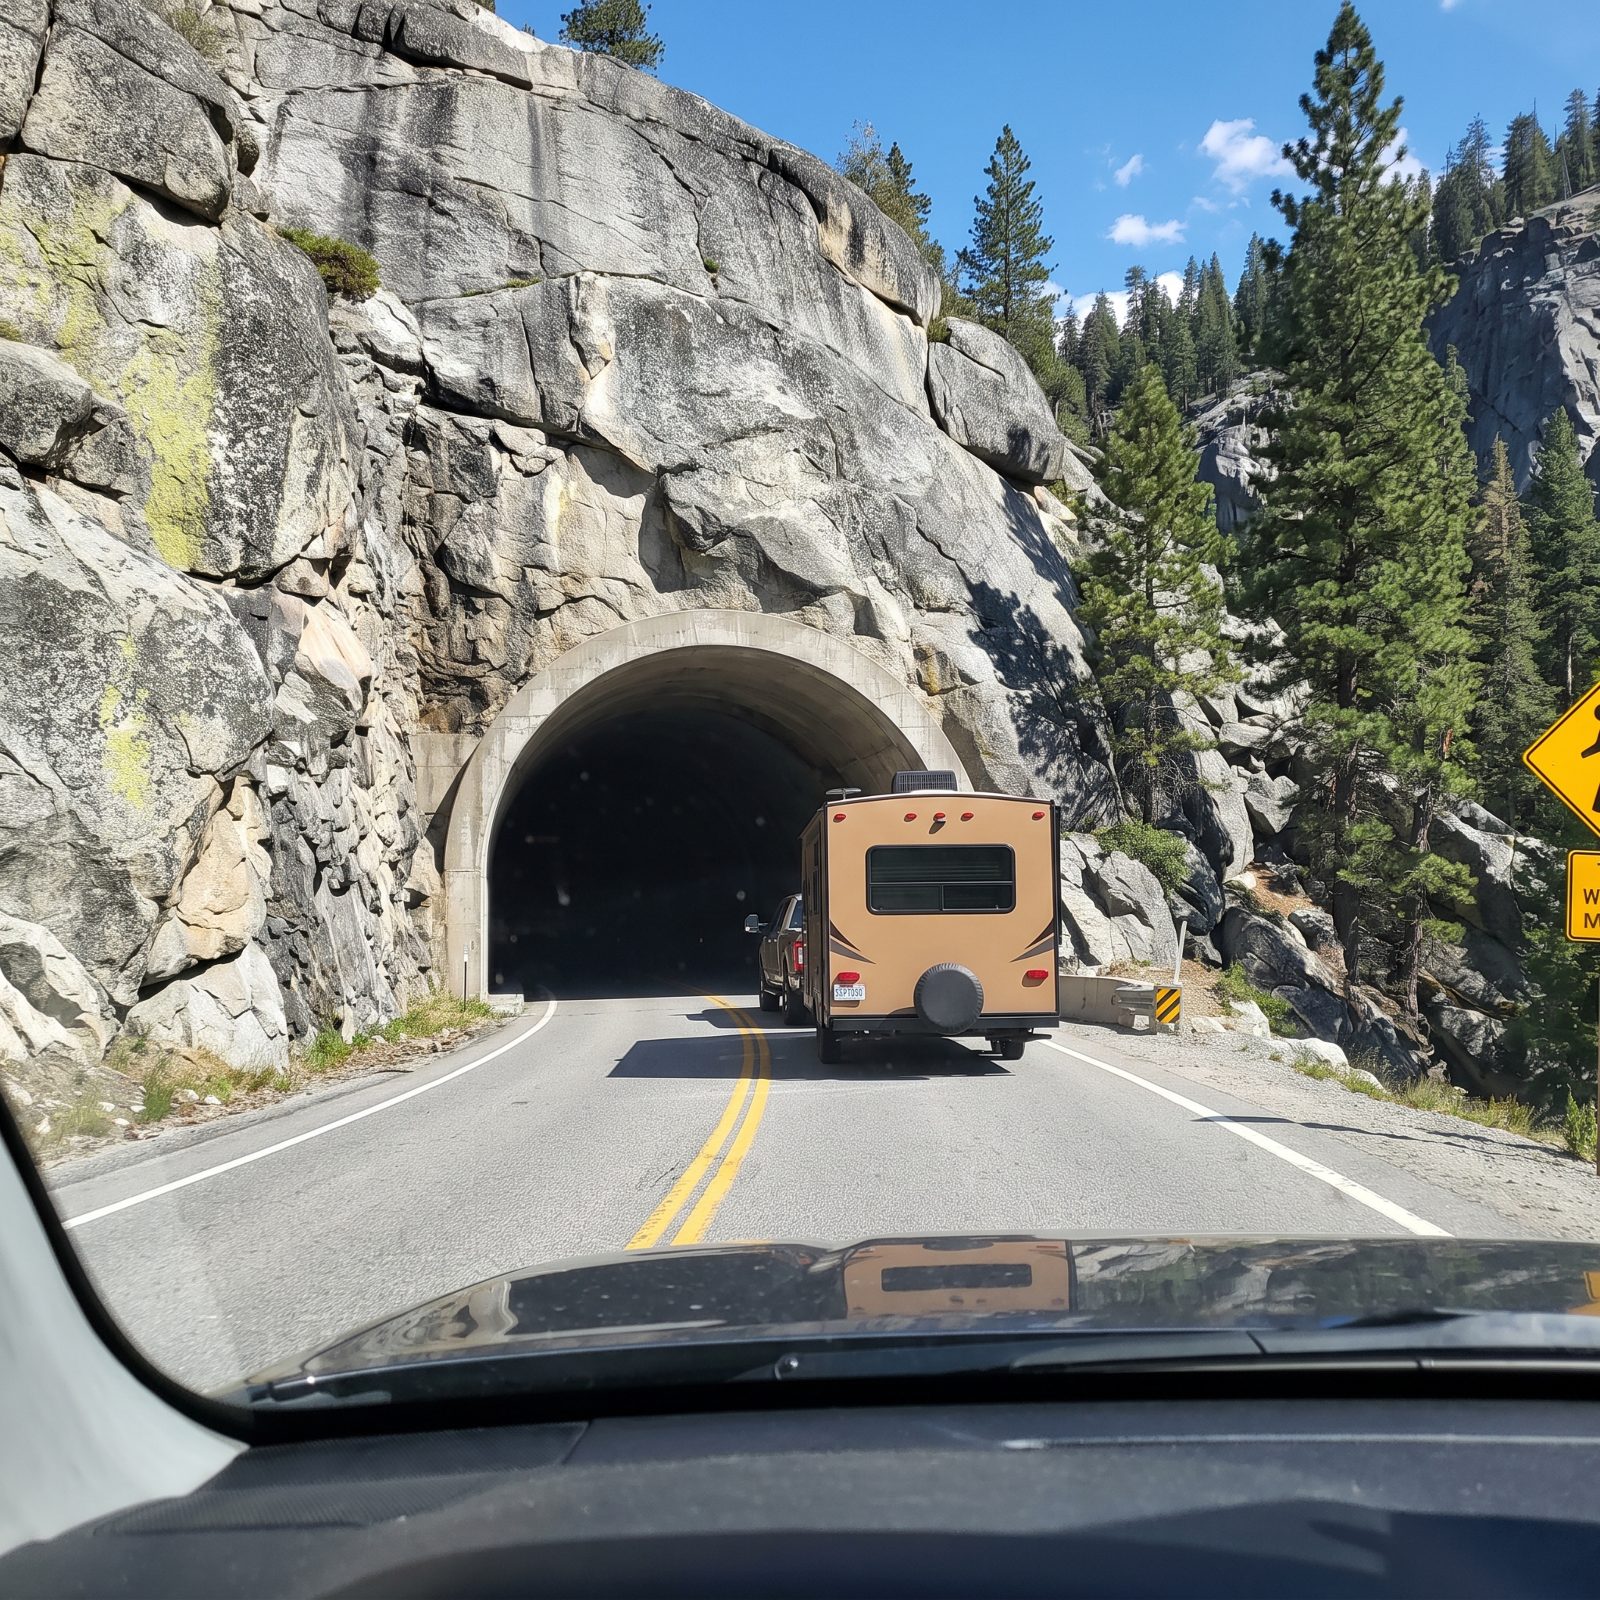
You plug the destination into the same phone app you use for grabbing tacos, and it happily routes you under a tunnel built for a sedan. Low-clearance tunnels and posted weight limits don’t care that your GPS found the shortest line. Clip a tunnel portal at eleven feet of rooftop AC and you’ve turned a scenic drive into an insurance claim, traffic stacked up behind you and nowhere to turn a 35-foot coach around.
So measure your rig’s true height, roof air units and all, and write it on a sticky note stuck to the dash. Use an RV-specific routing app like RV LIFE or CoPilot that lets you punch in height and weight, then confirm the sketchy passes against a paper atlas the night before. Low-tech, I know. It still works.
25. Not Spotting the Runaway-Truck Ramps Before Gravity Takes Over
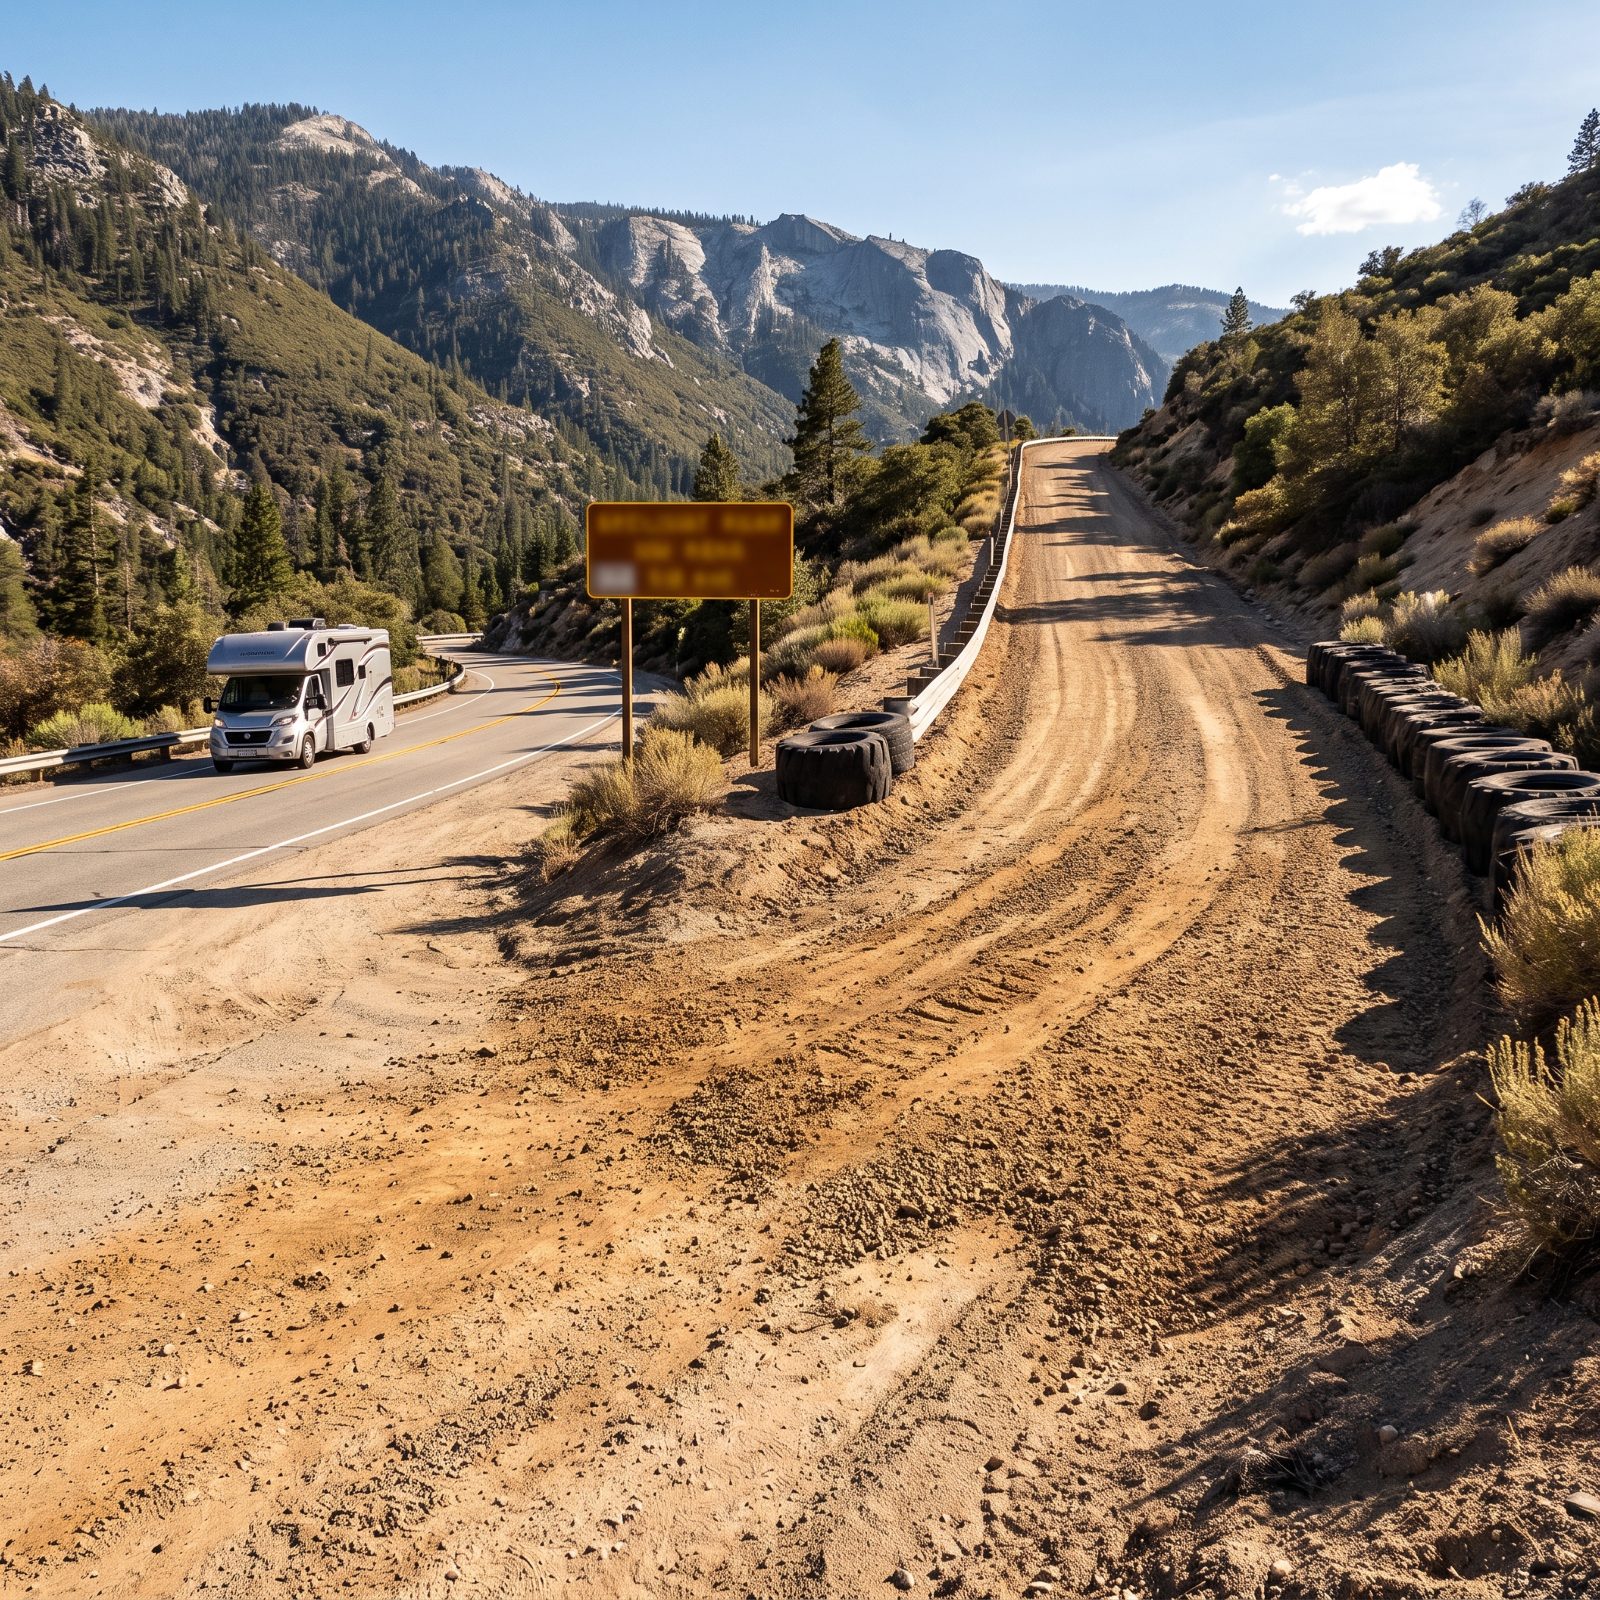
Most drivers notice the runaway-truck ramp right as they blow past it at 55, think “huh, interesting,” and forget it existed within a quarter mile. That’s exactly backward. A ramp is only useful if you knew it was coming, because by the time you actually need one you won’t be reading signs anymore.
Before you drop over a summit, note where the escape ramps sit. They’re marked on the descent and listed on many state DOT grade maps. If your brakes fade and the pedal goes soft, that deep bed of gravel is your friend, not your embarrassment. Aim for it early and let the sand do what your brakes can’t.
24. Pulling Into a Brake-Check Area Too Short for Your Whole Rig
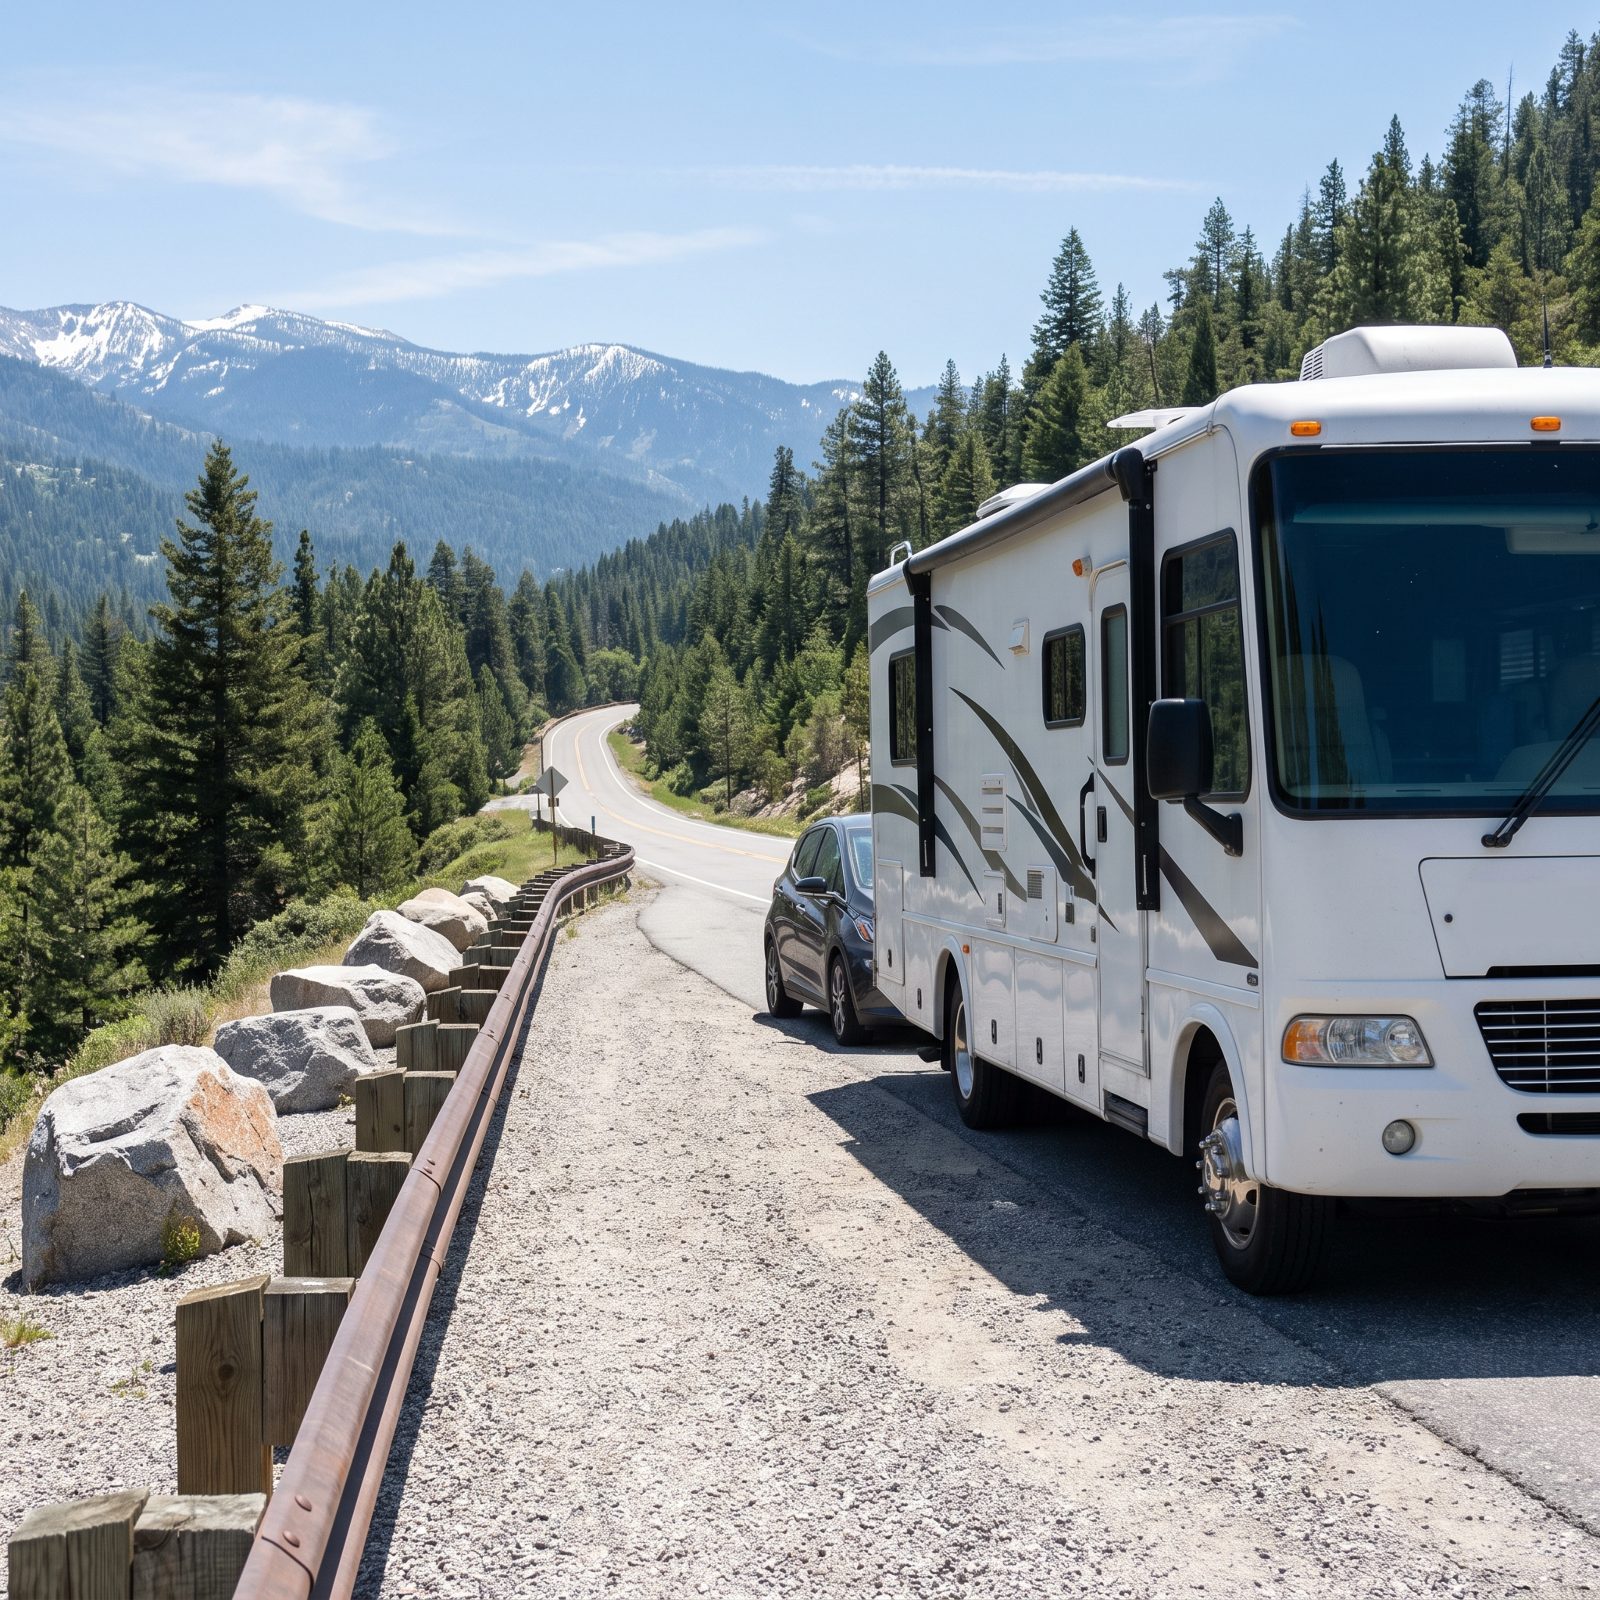
This one catches good drivers. The gravel pullout looks rough, so you ease to a stop on the asphalt beside it instead, and now your whole coach is sitting on the pavement with cars whipping past. Stopping short of the gravel leaves your rig in the live lane even with a long, empty pullout right next to you, and on a blind mountain curve that’s a genuinely bad place to be sitting.
Know your total length, coach plus whatever you’re dragging behind, and when a pullout can clearly swallow all of it, pull the whole rig fully off the asphalt onto it. Not sure? Roll past and take the next one. There’s always a next one, and a mile of patience beats a sketchy rig parked on the pavement beside an empty pullout.
23. Trusting the Valley Forecast When You’re Climbing to the Summit
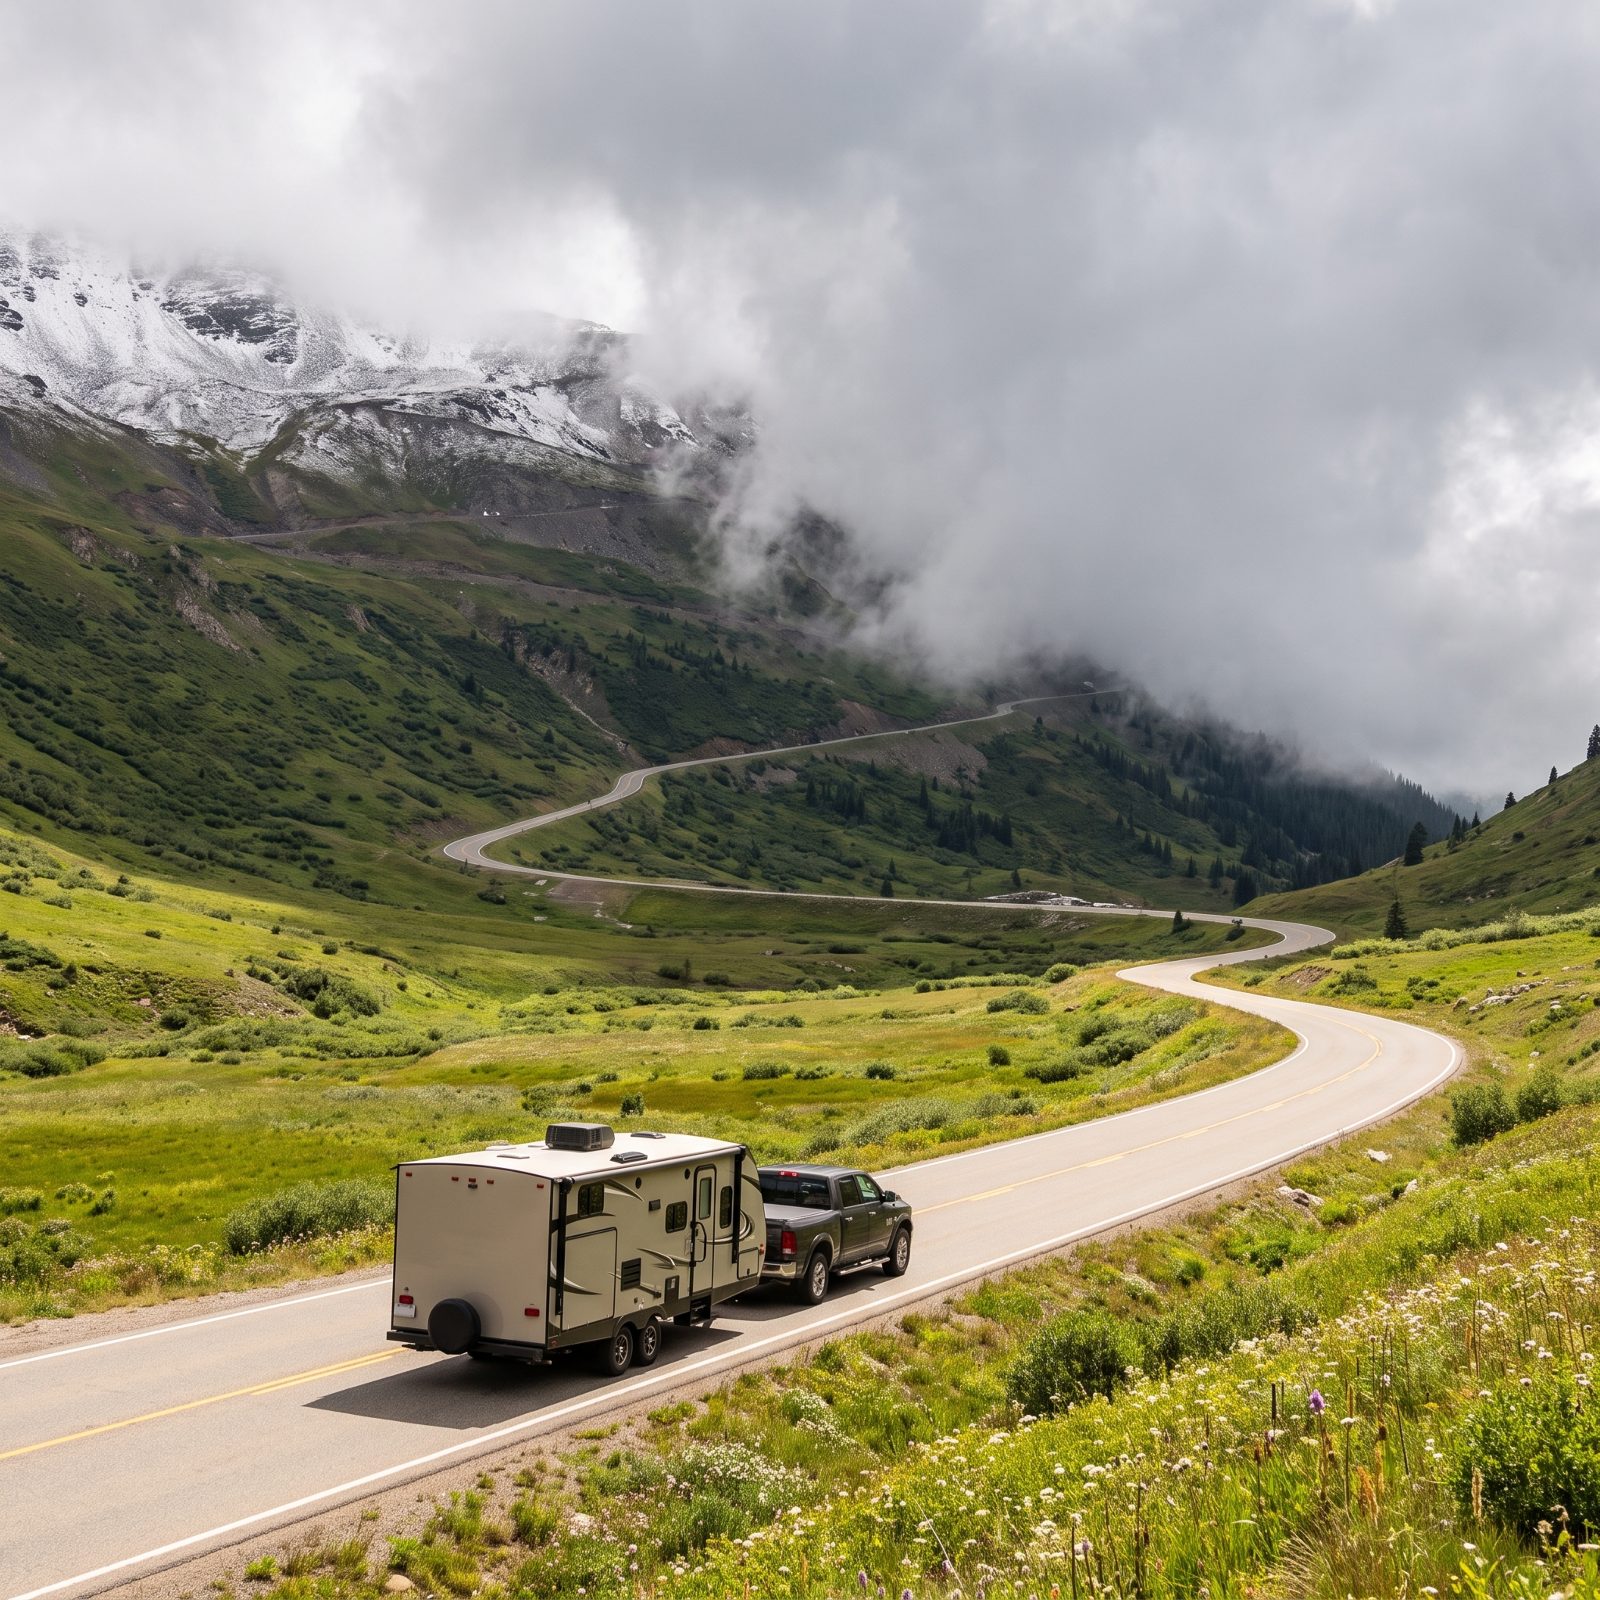
It’s 72 and sunny where you’re hitching up. Four thousand feet higher, where you’re actually headed, it’s spitting snow and the wind is leaning on the summit like it has a personal grudge. Checking only the weather at your current elevation ranks among the most common mountain mistakes, because the sky at the trailhead tells you almost nothing about the sky at the top.
Pull the forecast for the actual pass, by name and elevation, not the town at its base. Mountain-pass cameras on state DOT sites show you current conditions right now. A clear valley and a snowy summit can sit twenty minutes apart on the odometer and a full season apart in reality.
22. Saving the Big Pass for After Dark
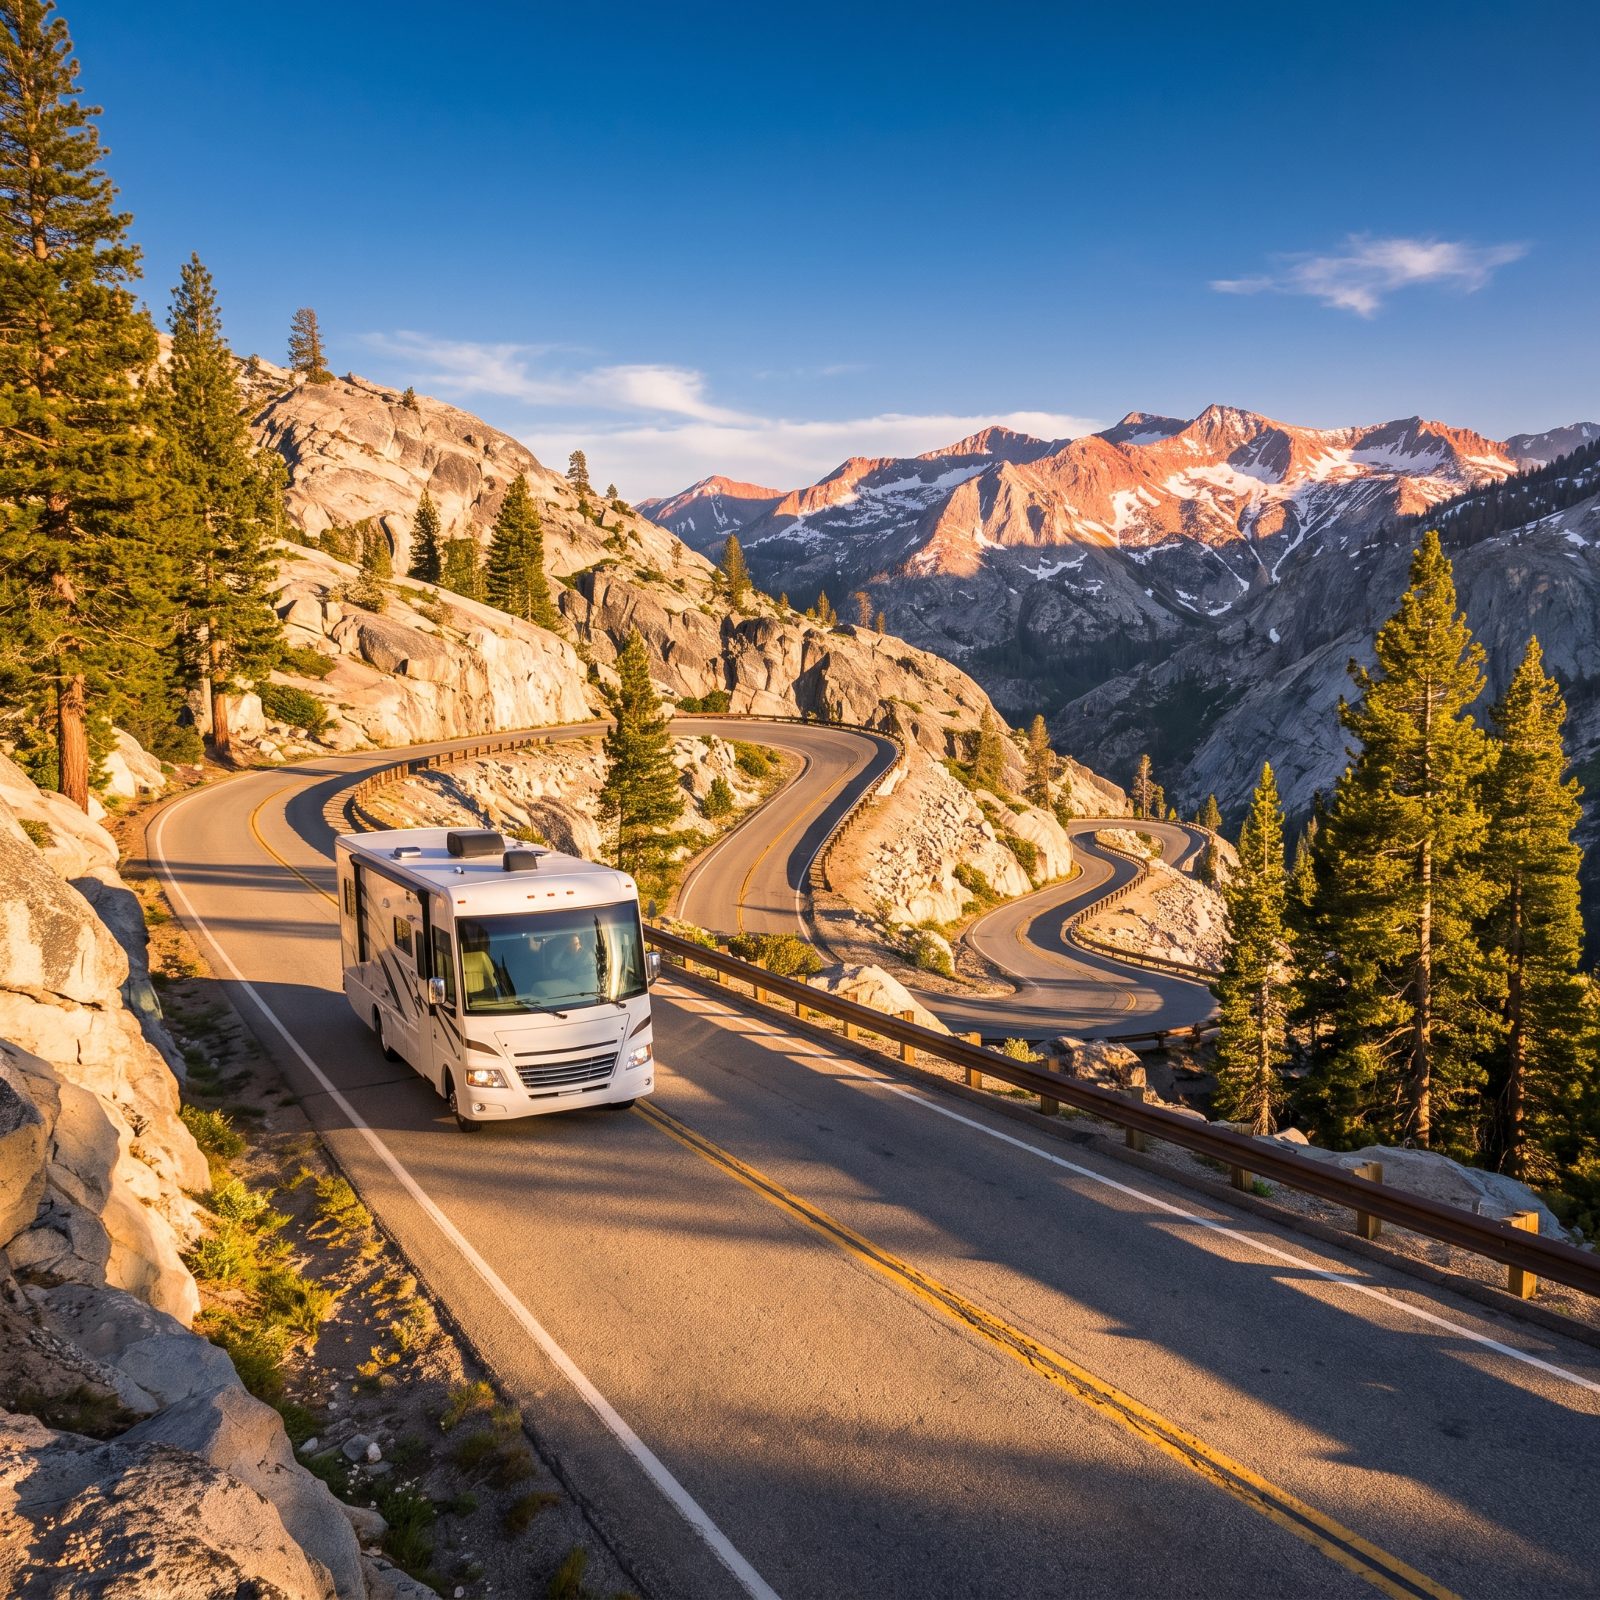
The math tempts you. Push on after dinner, make the pass tonight, wake up on the far side with the hard part behind you. Then you’re threading switchbacks in the dark, headlights swallowed by a drop-off on one side, deer in the ditch, and no way to read how the road bends until you’re already halfway through the bend.
Cross high passes in daylight. You see the grade, the shoulders, the pullouts, and the weather coming at you from miles off. Elk and mule deer move at dawn and dusk, and black ice hides best after sundown. Daylight running out before the summit? Stop at the base and climb fresh in the morning.
21. Driving Into Forecast Snow, Ice, or Freezing Rain Instead of Waiting It Out
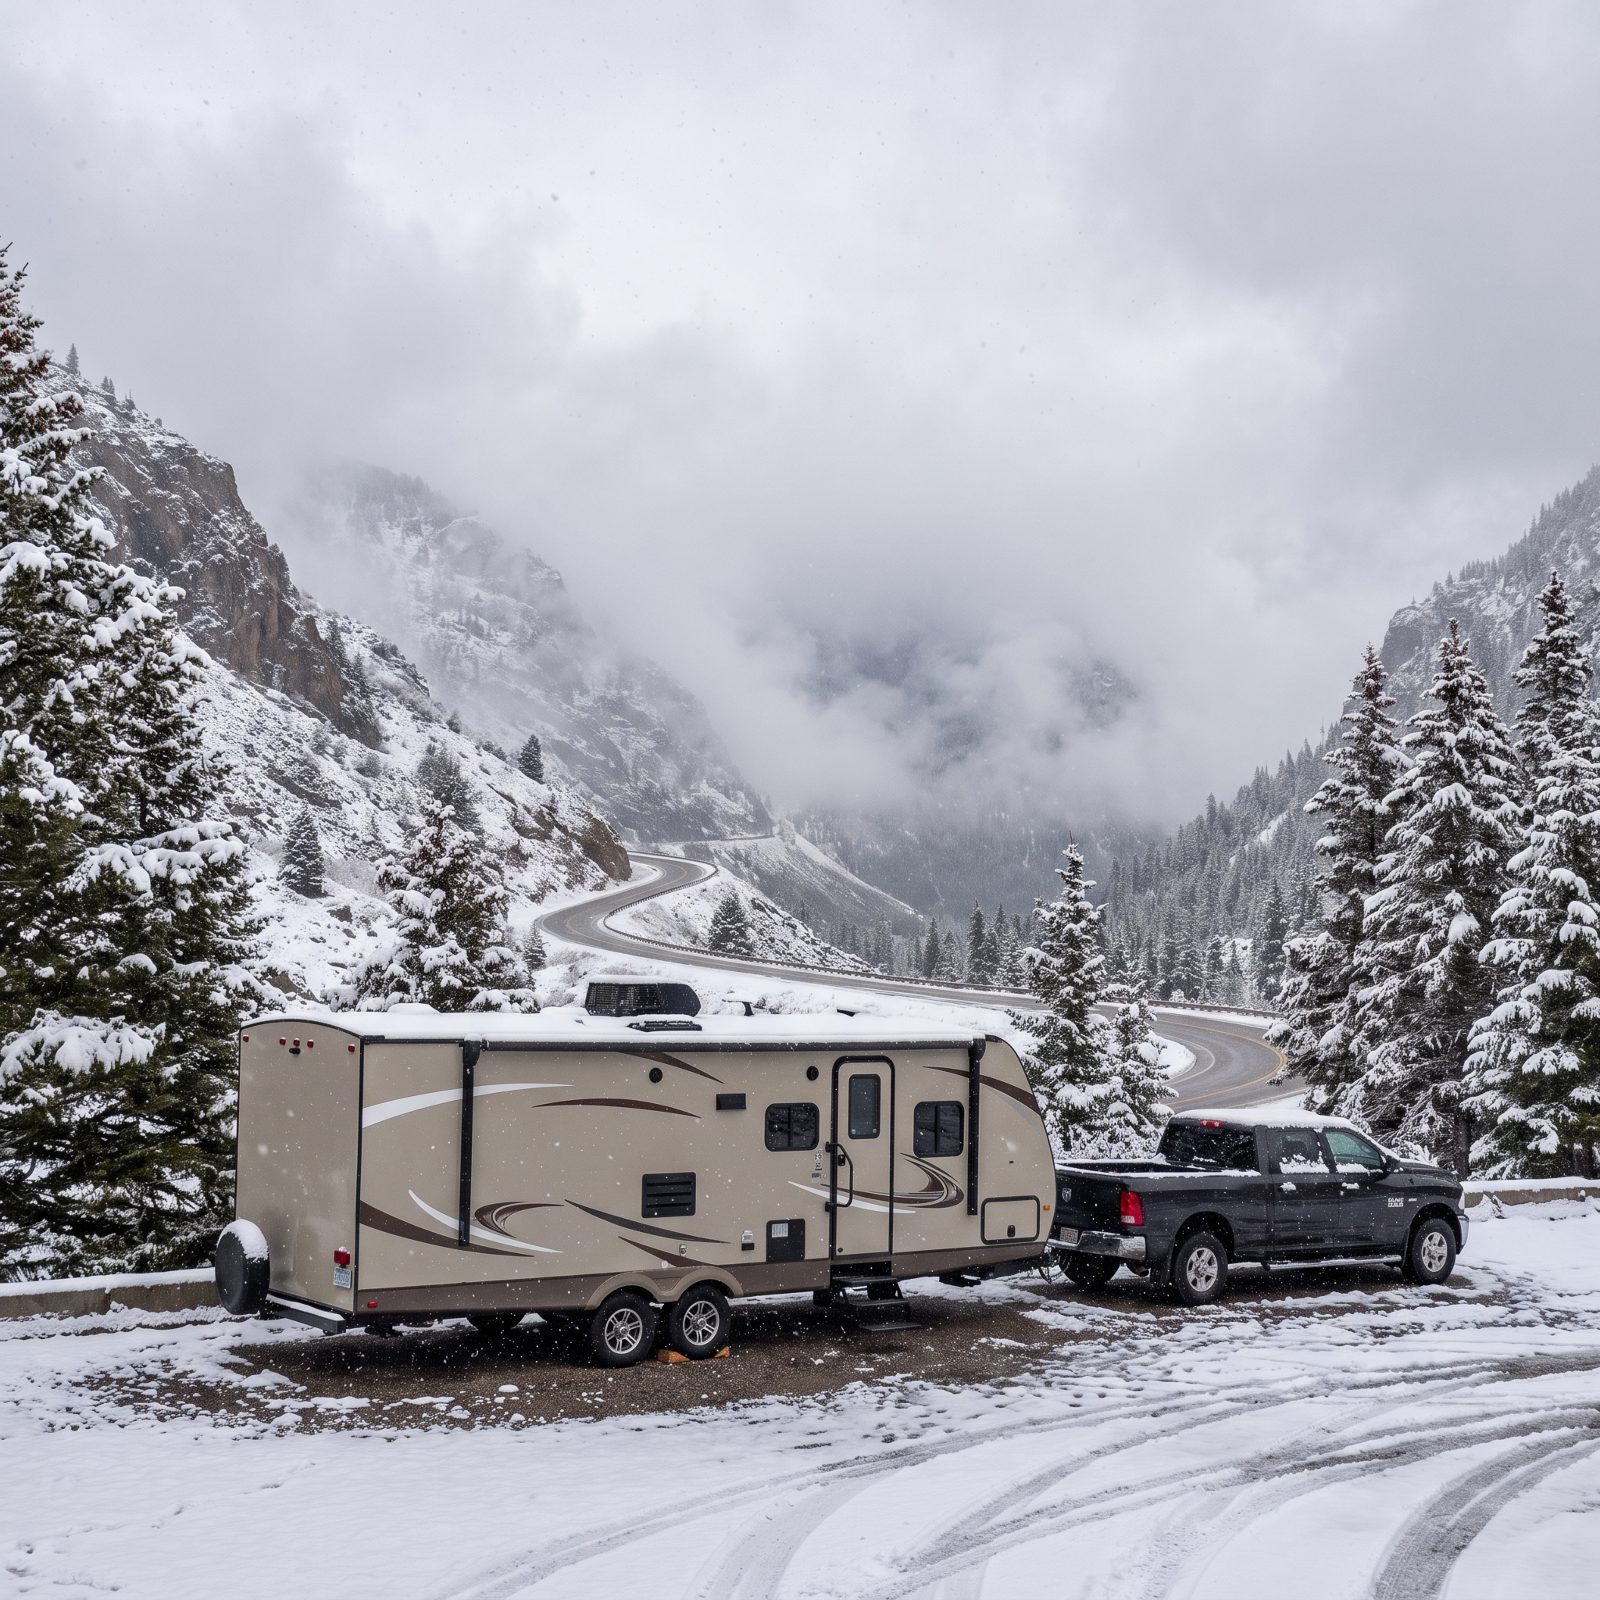
Schedules are the real hazard in winter mountain driving. You’ve got a reservation, family expecting you, and a storm warning you’ve decided to “beat.” A 20,000-pound rig on a glazed grade doesn’t negotiate. It slides, and once it starts, no amount of experience brings it back.
When snow, ice, or freezing rain shows up in the forecast for the pass, delay. A day in a Walmart lot or a cheap RV park beats a jackknifed trailer and a tow bill with a mountain in it. Weather windows open constantly up here. Wait for a clear one and let the plows and sanders go first.
No campground, no reservation, and no relative’s dinner is worth driving a loaded rig onto black ice.
20. Carrying Tire Chains You’ve Never Actually Put On
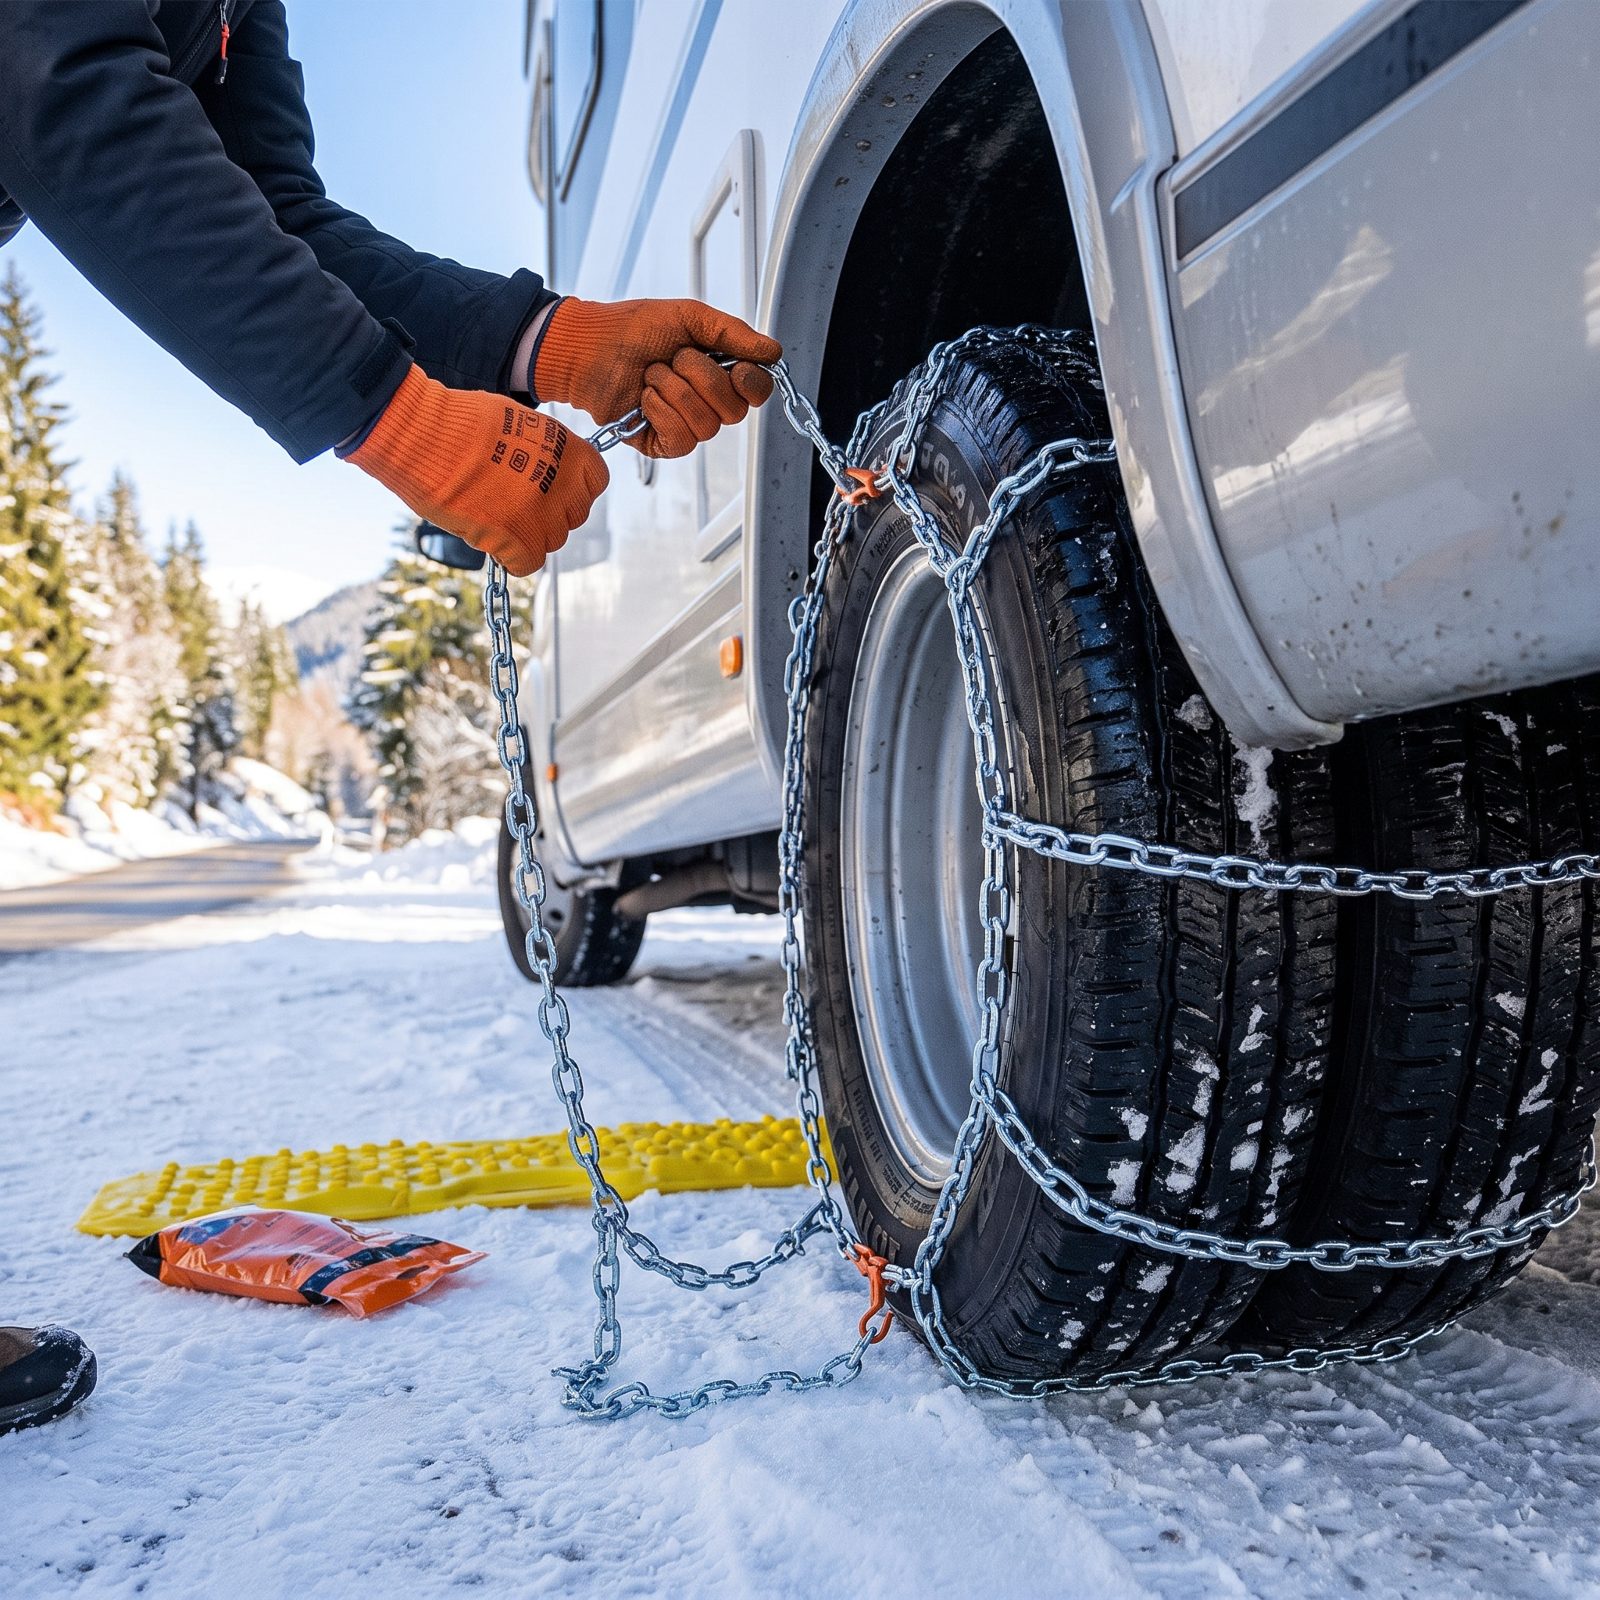
Chains live in a milk crate in the basement bay for years, pulled out exactly never. Then you hit a chain-control checkpoint, a trooper waves you over, and you’re crouched in slush at 9,000 feet trying to figure out which end goes where while the light fades and your fingers stop cooperating.
Buy chains fitted to your actual tire size, not “close enough.” Then practice in the driveway on a dry afternoon, twice, until you can do it with gloves on and the instructions left in the bag. Pack a foam kneeling pad, a headlamp, and work gloves right alongside them. Chain control is not the place to figure this out for the first time.
19. Feathering the Brakes the Whole Way Down Instead of Snubbing Them
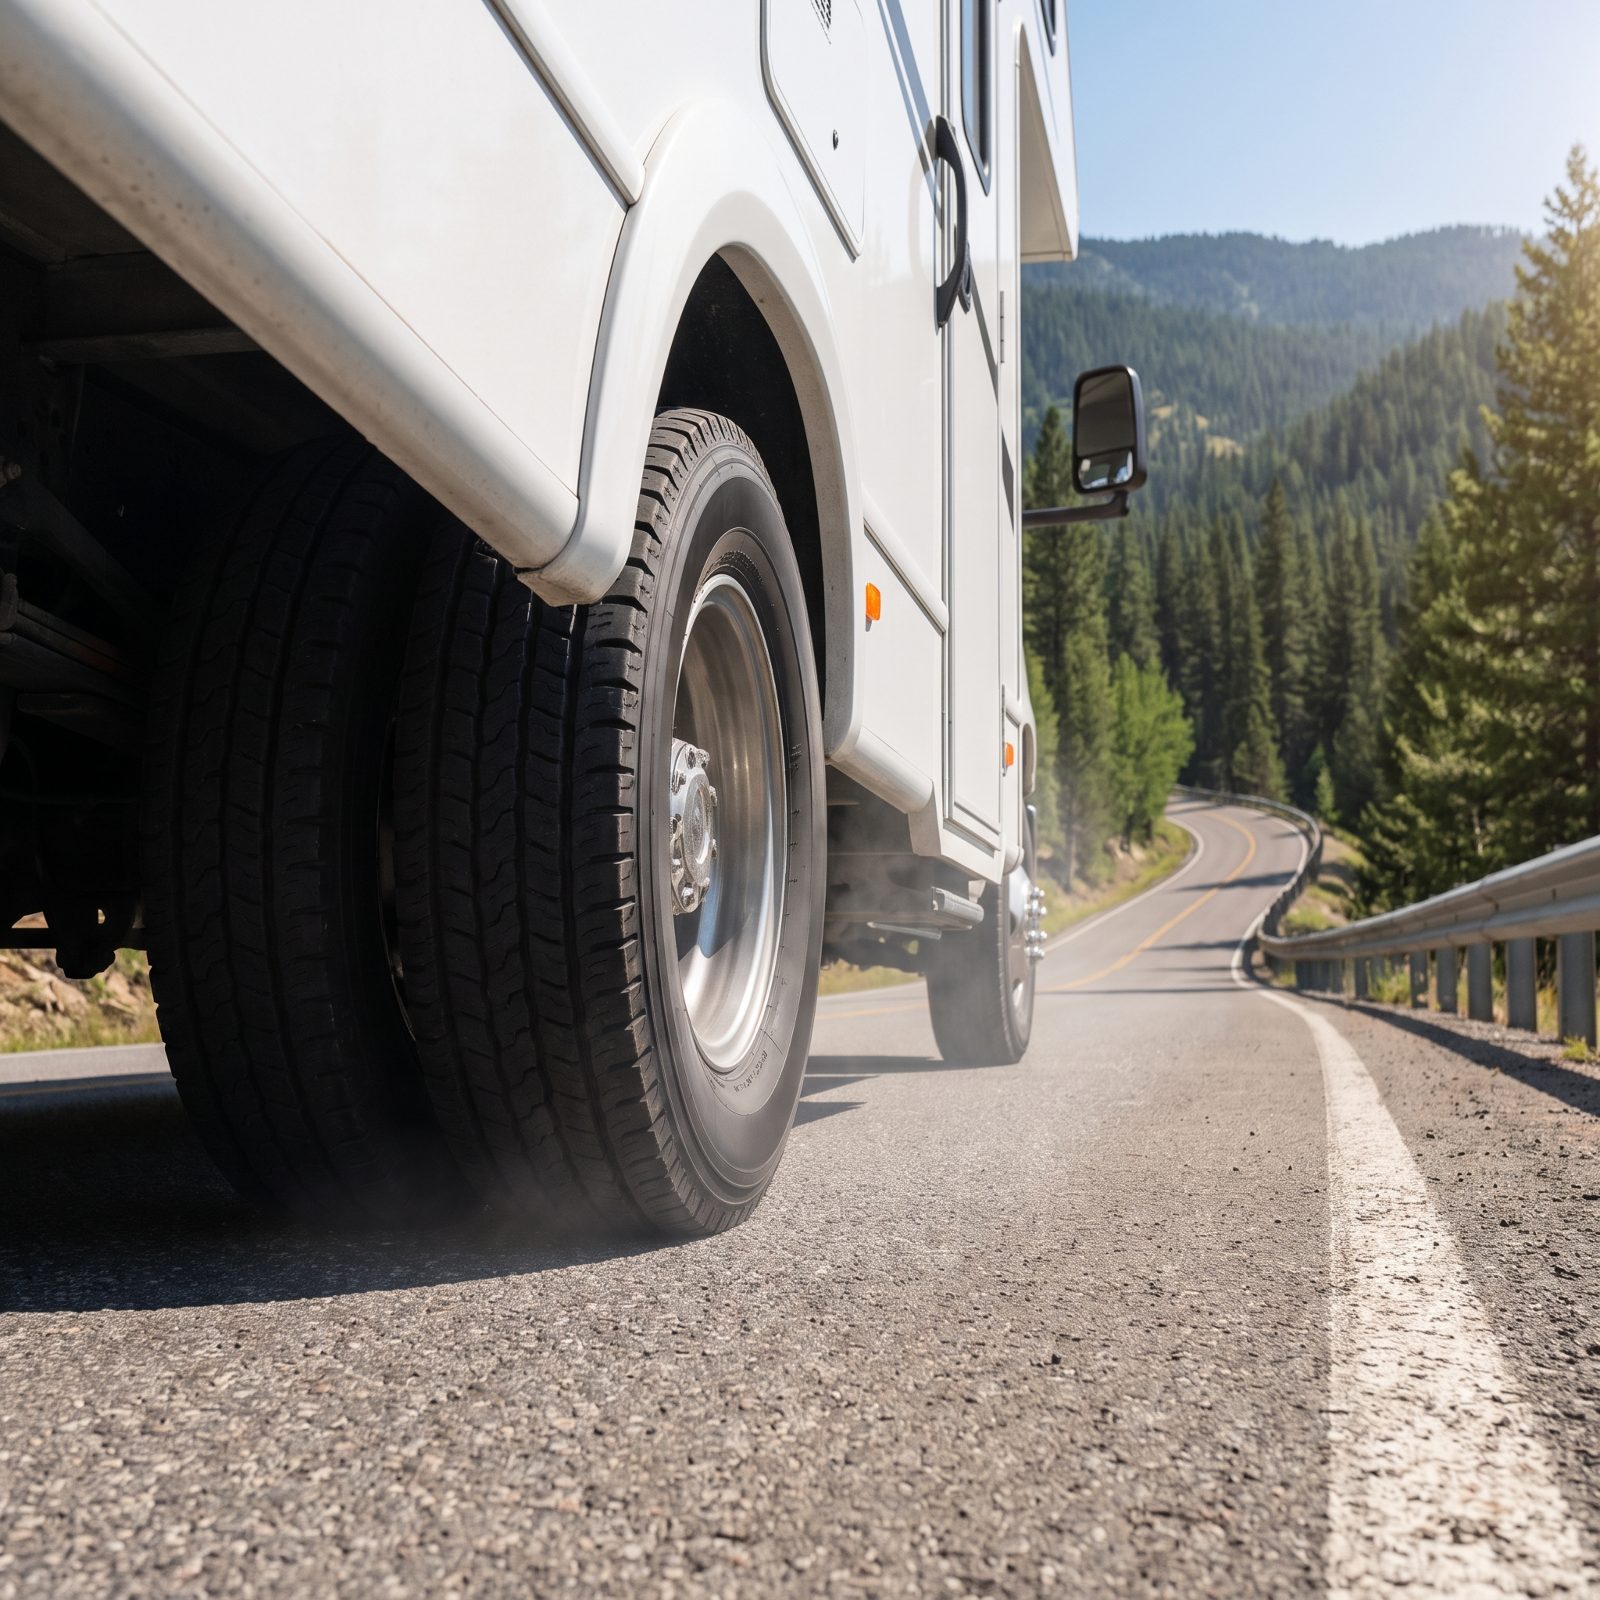
Light, constant pressure feels gentle and safe, so folks hold the pedal lightly the whole way down. Trouble is, gentle continuous friction builds heat steadily with no chance for any of it to escape. The brakes never cool, and halfway down the longest grade of the trip they quit on you.
Snub them instead. Let the engine brake carry most of your speed, and when you drift a few mph over your target, brake firmly for a few seconds to knock it back down, then fully release. Firm and brief, then off. That off part matters as much as the on part, because releasing is when the brakes actually shed heat. Pick a safe descent speed and defend it in short, decisive bites.
18. Shifting Into Neutral to Coast and Save Fuel
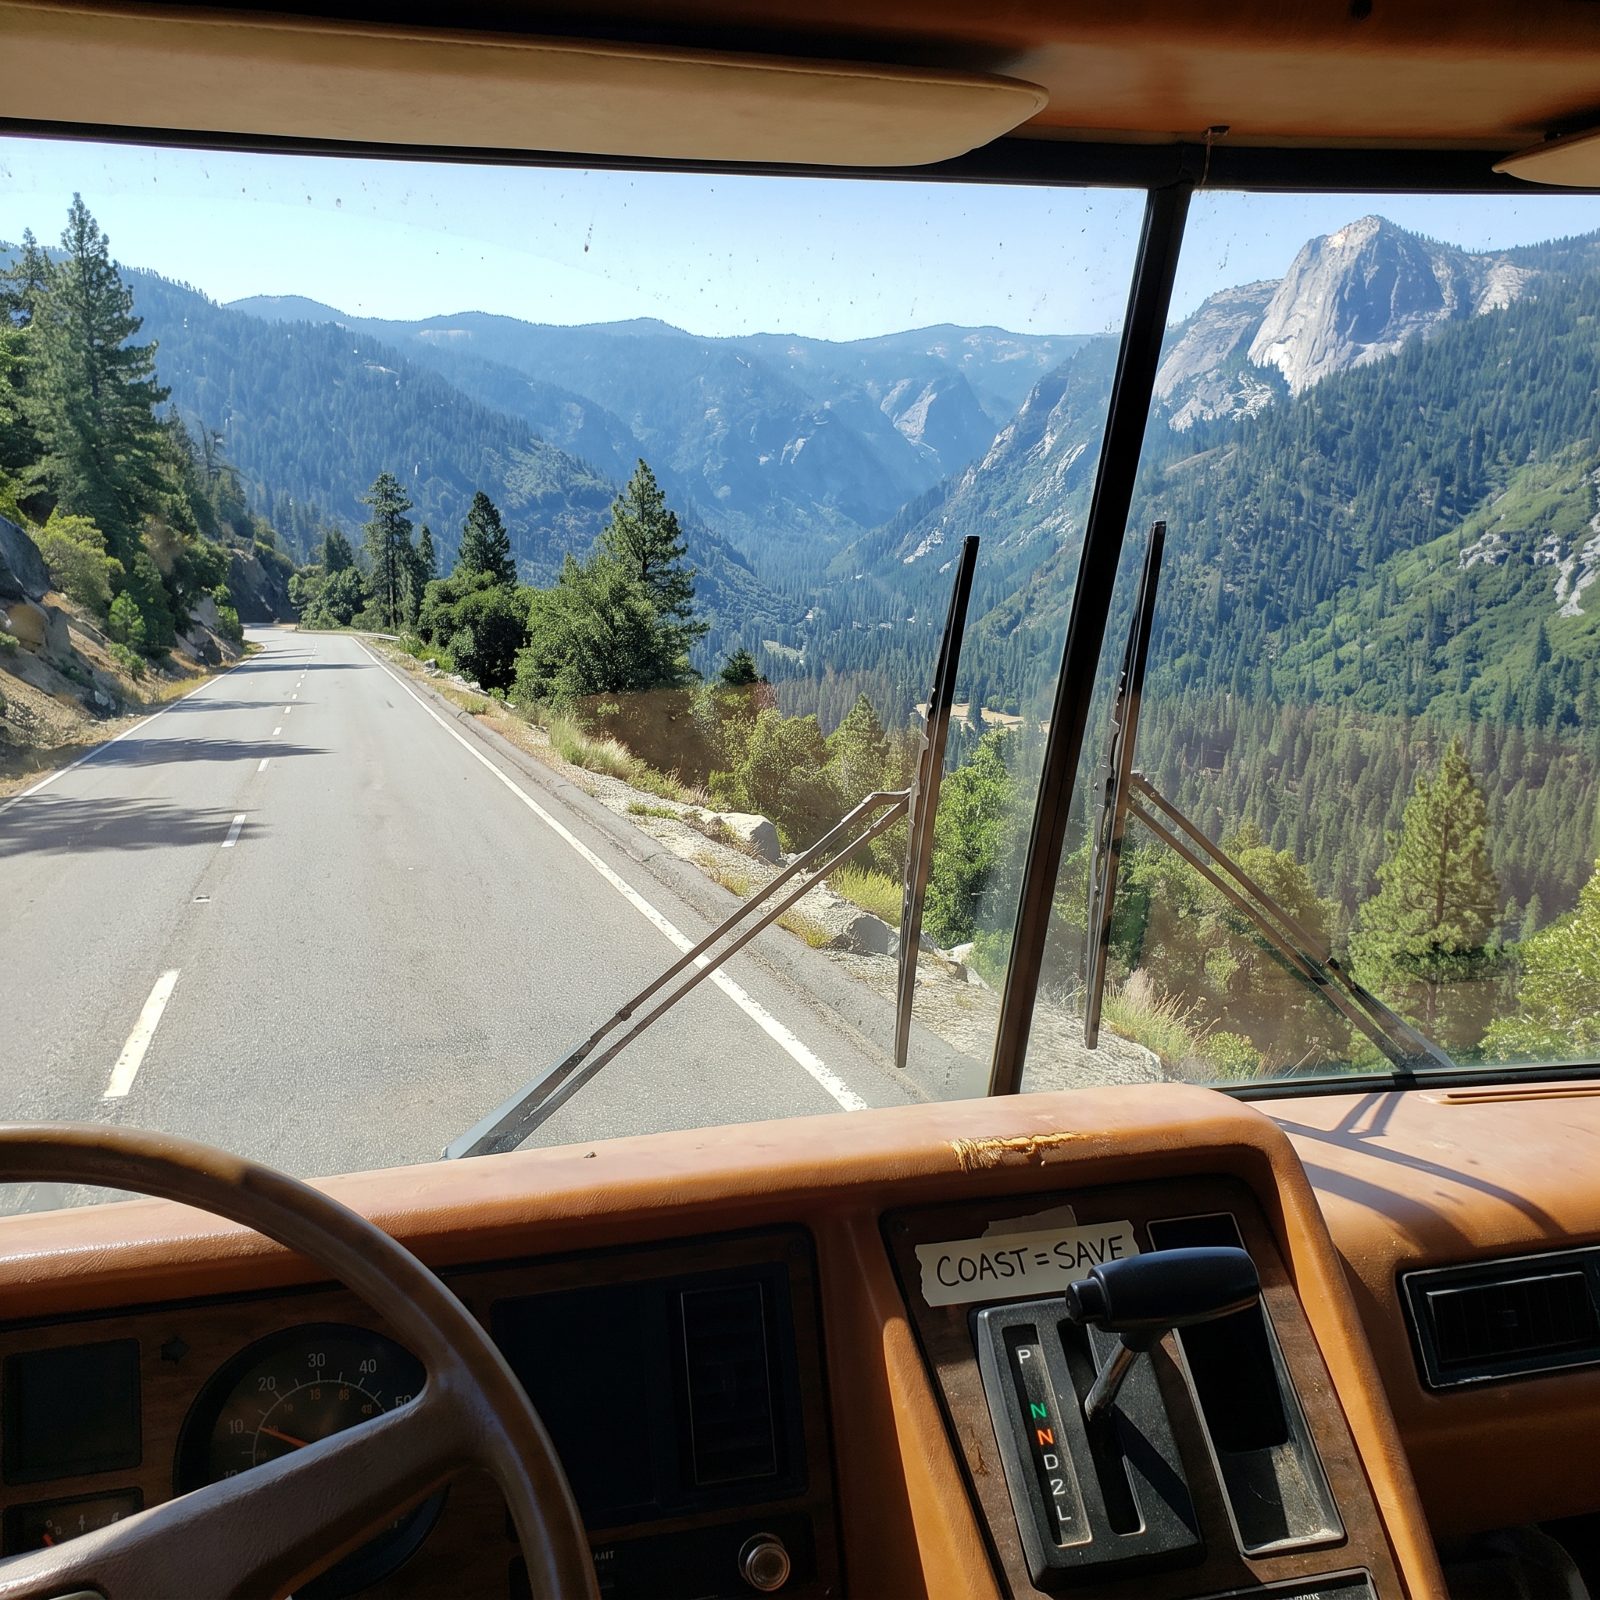
Somebody at a campfire once told you coasting in neutral saves gas on a downgrade. It doesn’t, not meaningfully, and on a mountain it’s flat dangerous. In neutral the engine can’t hold you back at all, so every bit of speed control lands on the service brakes, which is precisely the load that boils them.
Leave it in gear. Always. Let the lowest appropriate gear carry the drag. Modern engines cut fuel entirely on a closed-throttle descent anyway, so you’re coasting for free with the engine still braking for you. There’s never a reason to put a loaded rig in neutral on a grade. Not for fuel, not for anything.
17. Watch Engine Temperature Throughout a Sustained Climb
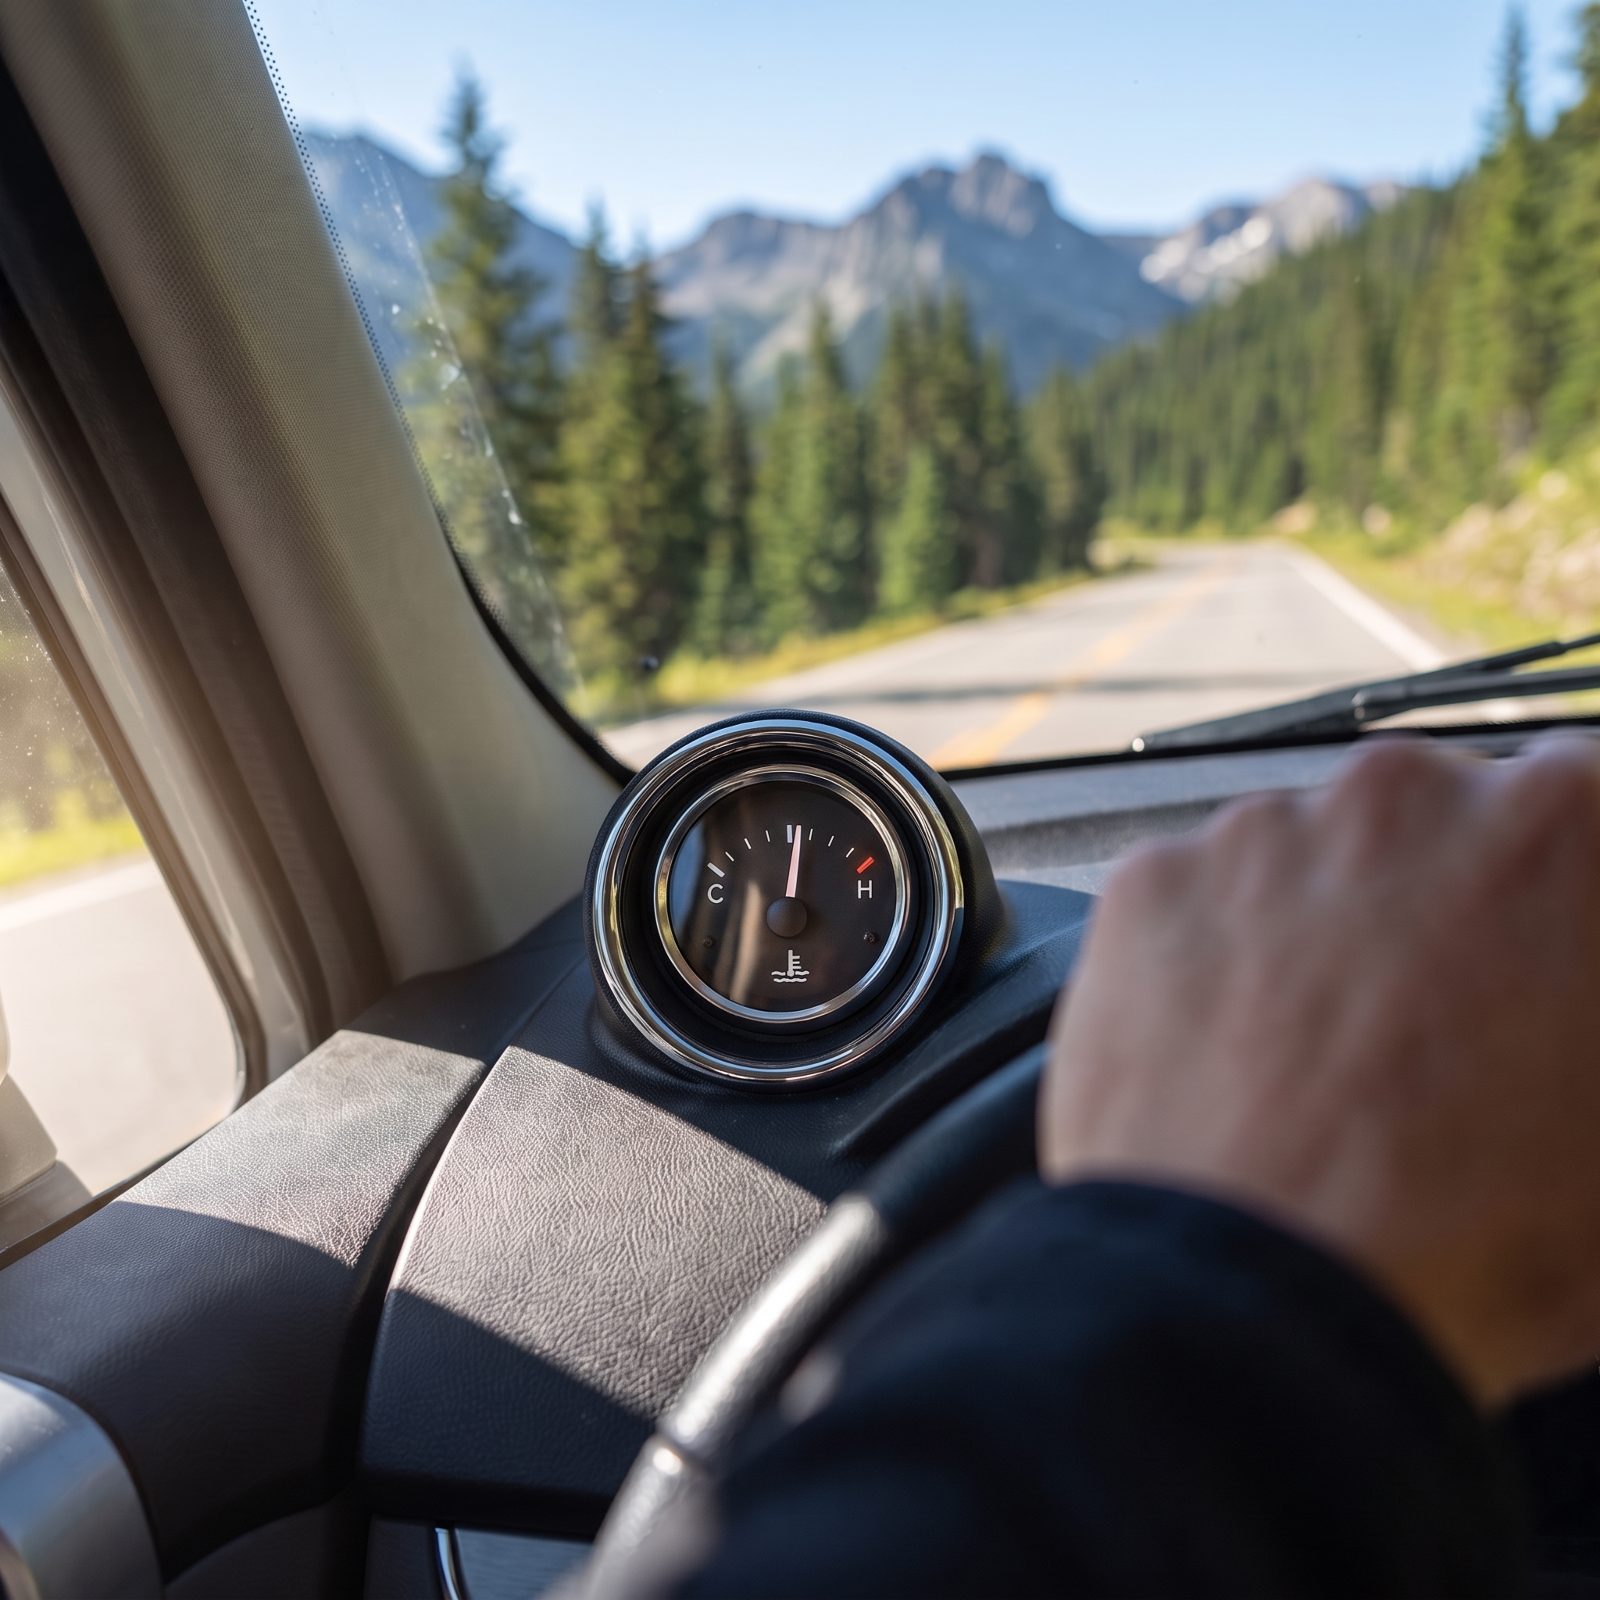
The temperature gauge is the one instrument that warns you a problem is coming before it actually lands. On a long pull, coolant temp creeps, and that creep is normal. A slow, steady march past the midpoint that never levels off is not.
Here’s where people get burned. They set cruise, zone out on the scenery, and only glance down when a warning light trips. By then the engine’s been cooking for miles. Put the gauge in your scan the same way you work your mirrors, every thirty seconds or so. Climbing toward the top third without leveling off? Back off the throttle, drop a gear so the engine isn’t lugging, and ease your speed. Gentle load, steady RPM, cooler engine.
16. Turn Off the Cab Air Conditioner if the Engine Starts Running Hot
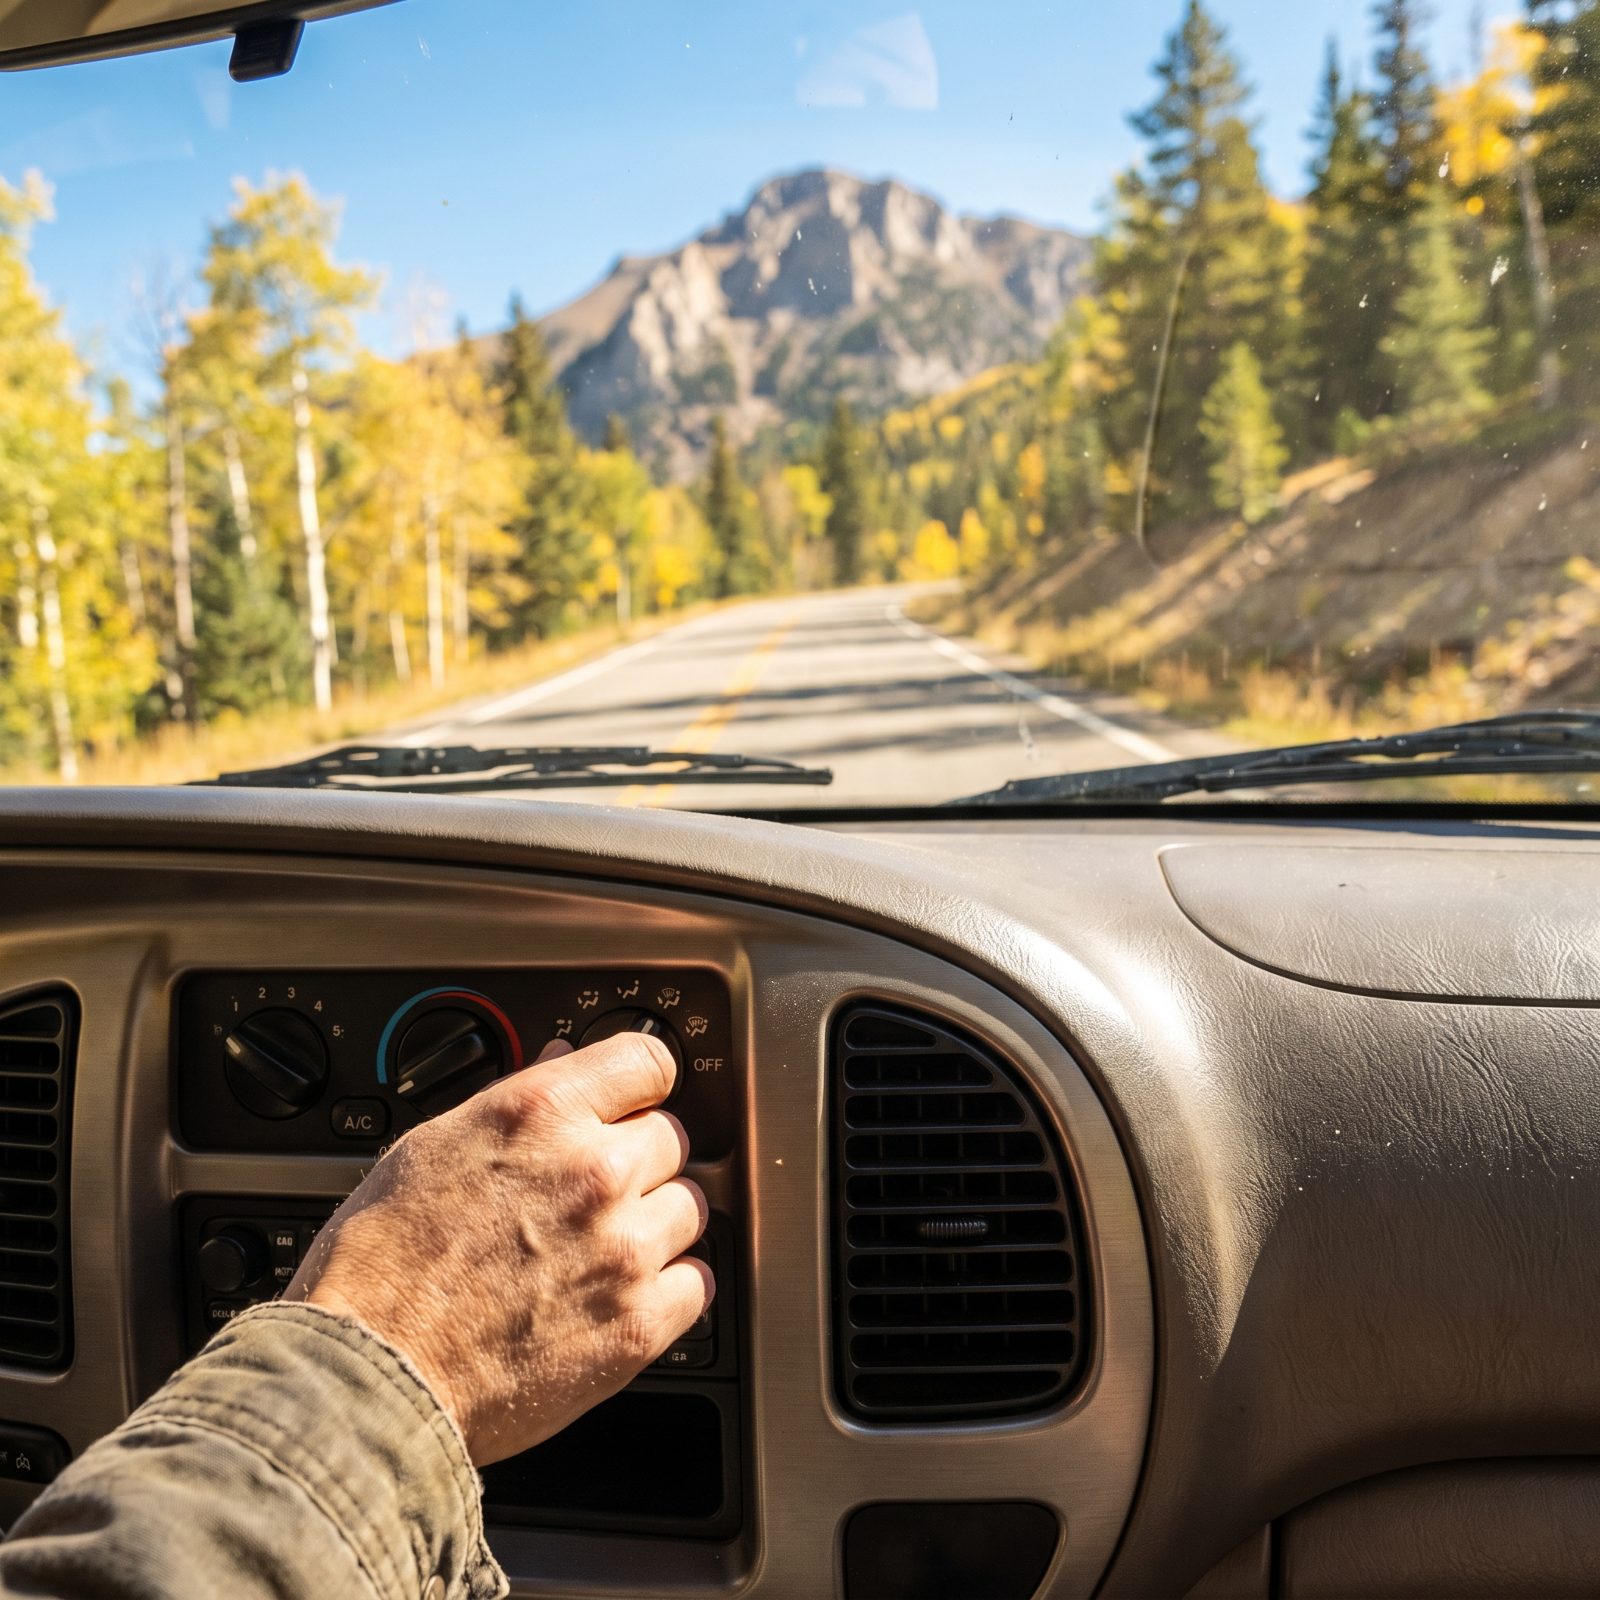
Your dash AC compressor runs off the same engine that’s already straining up the grade, and it dumps extra heat right in front of the radiator through the condenser. On a marginal day, that’s the difference between holding temp and watching the needle climb.
Gauge creeping on a hard pull? Kill the cab air first. It’s the fastest heat you can shed with one button. Roll the windows down, crack the vents, sweat a little, you’ll live. Flip it back on once you crest and the engine settles.
Plenty of drivers resist this because nobody likes being hot in their own motorhome. But being hot beats being stranded with a blown head gasket at nine thousand feet.
15. Never Remove a Hot Radiator Cap at a Mountain Pullout
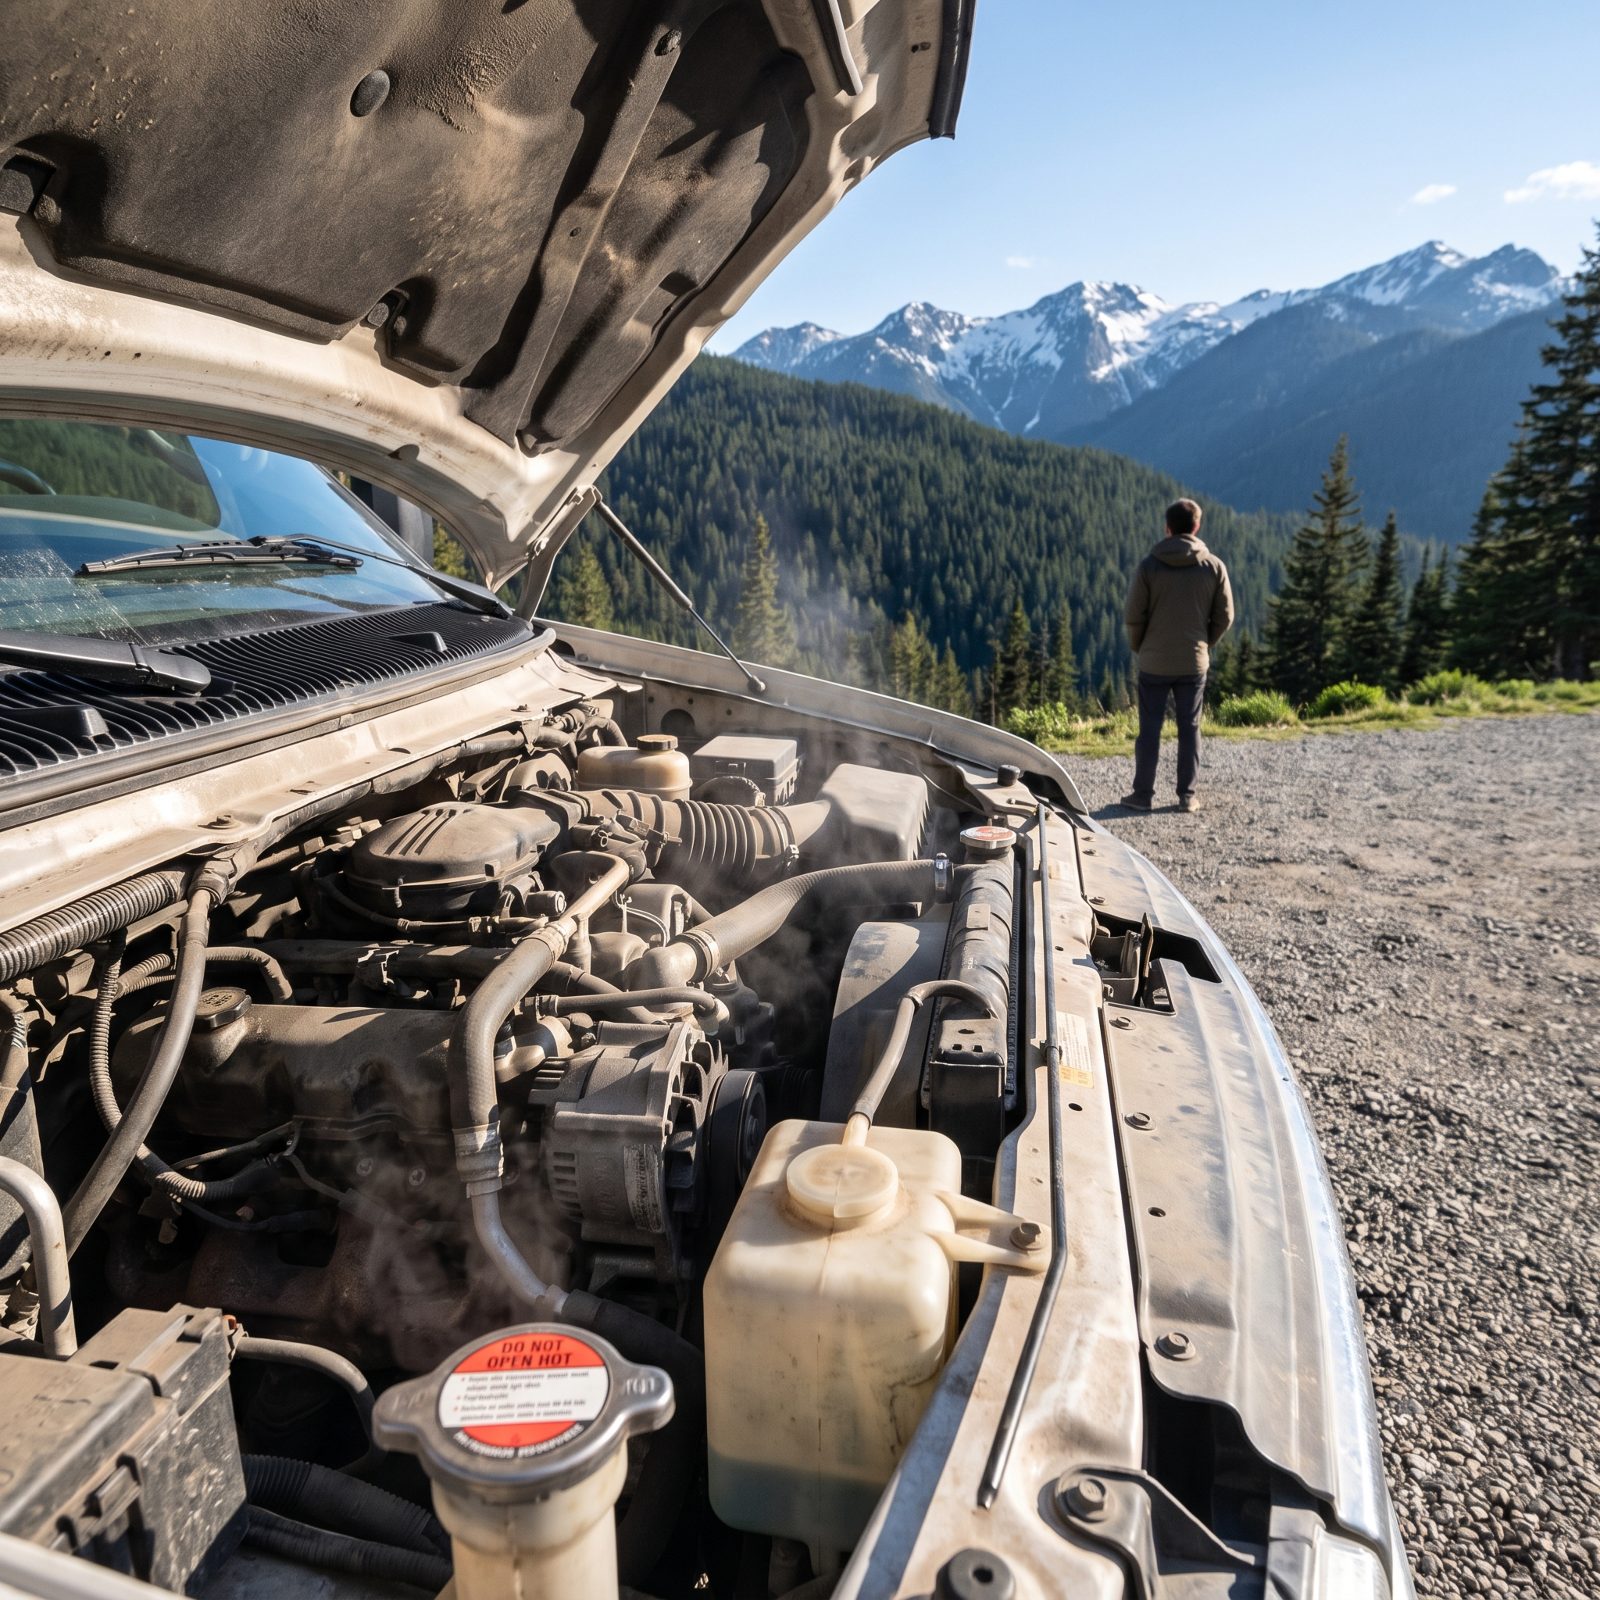
A cooling system on a hot engine sits pressurized and well over 200 degrees. Crack that cap and you get a geyser of scalding coolant and steam straight into your hands and face. People do it every summer because they want to top off and keep moving. The burns are serious and completely avoidable.
Overheated? Pull over, shut it down, and open the hood to let the heat escape. Then wait. Half an hour minimum, longer if you can stand it. Only add coolant through the overflow reservoir, never the pressure cap, until that system’s cool enough to touch with a bare hand. Keep a gallon of pre-mixed coolant in the bay so you’re not guessing with water from a stranger’s cooler.
14. Let Faster Traffic Pass at the First Safe Opportunity
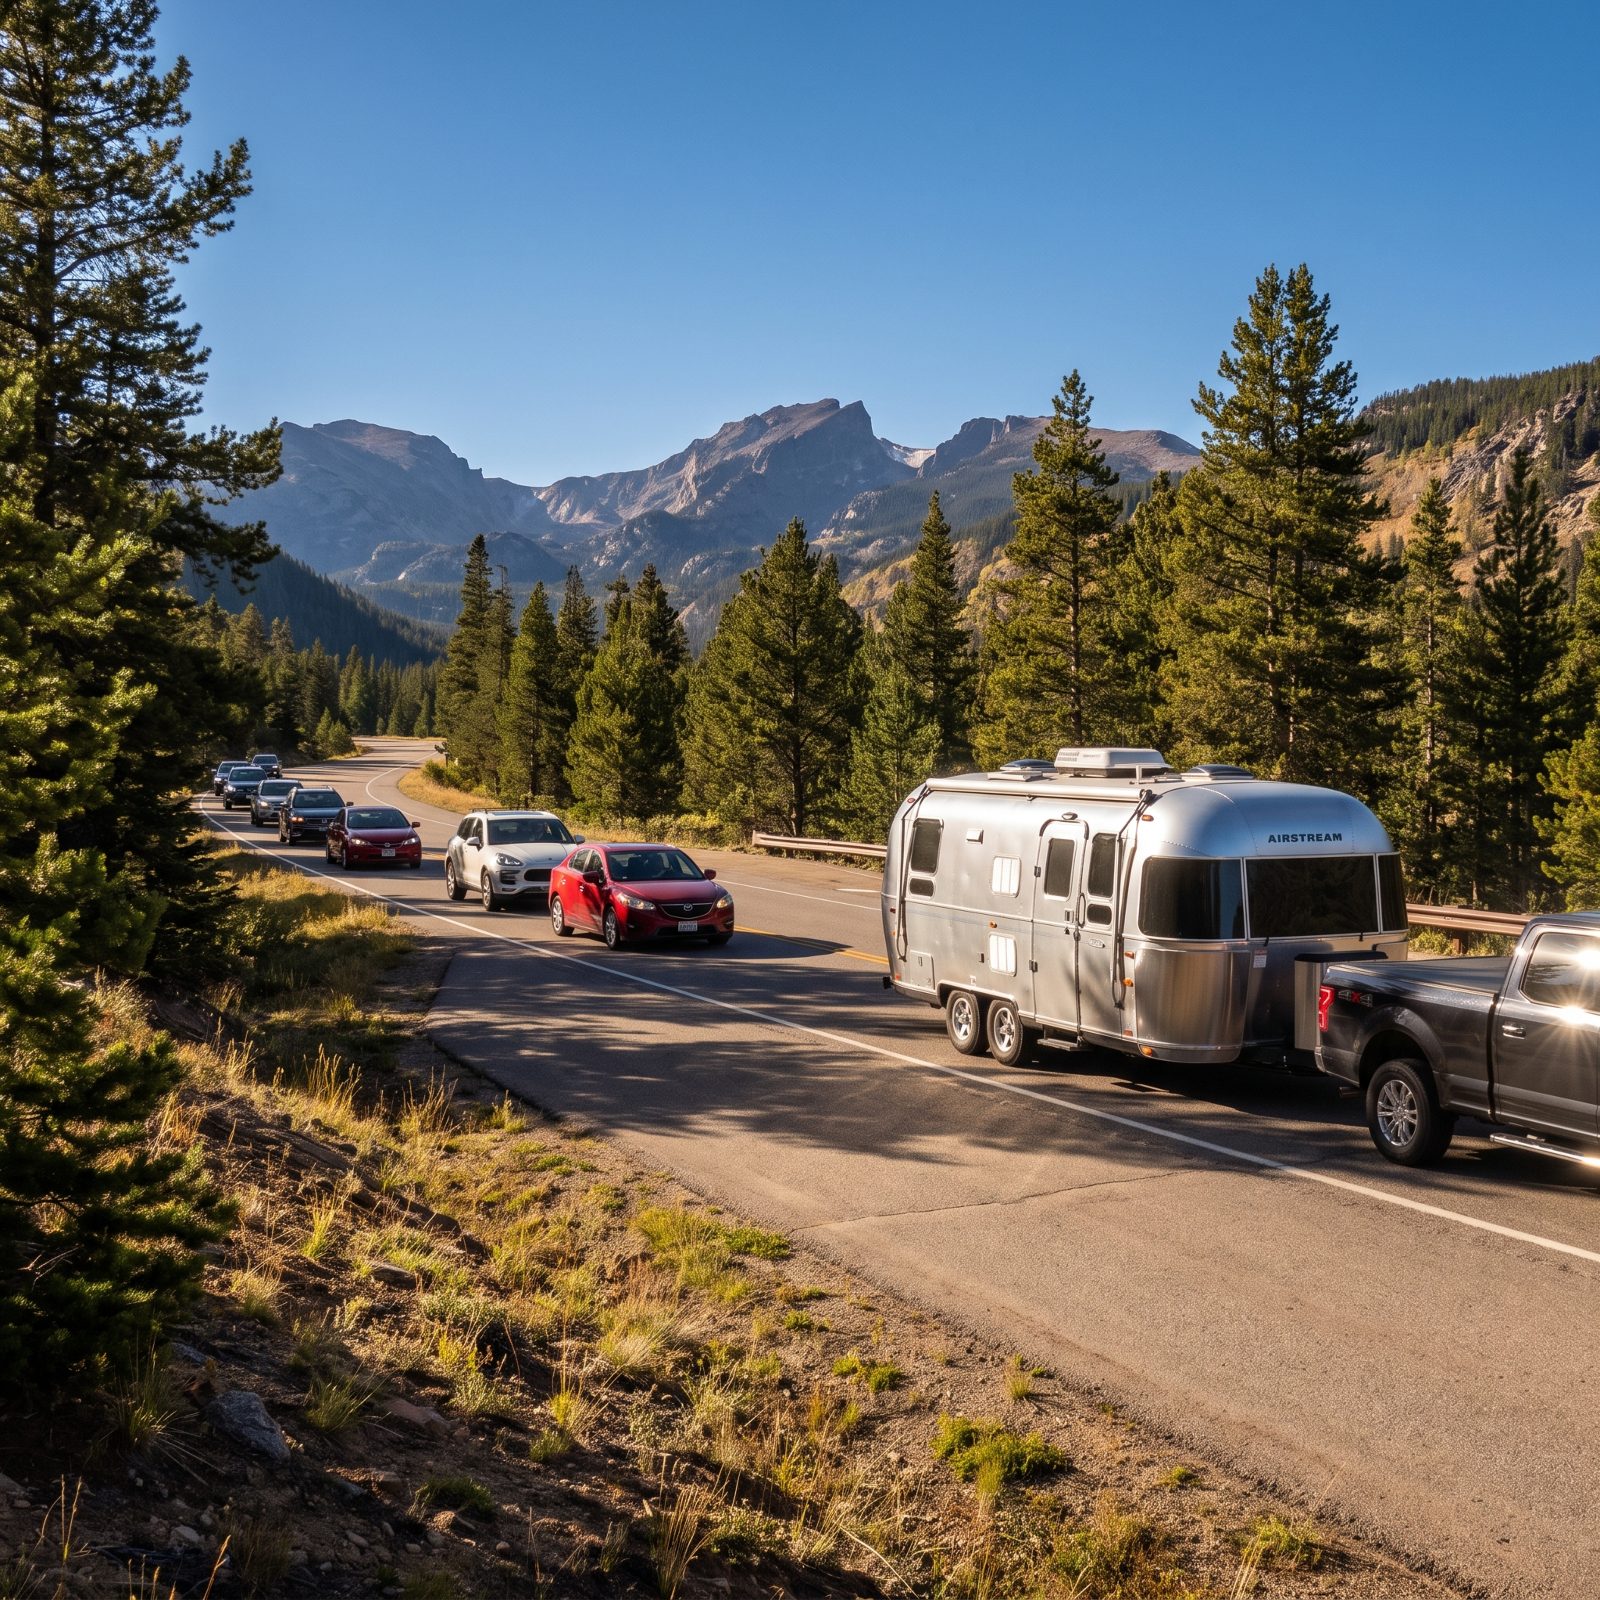
A loaded RV climbs slow. That’s physics, not failure. But a half-mile conga line forms behind you fast, and frustrated drivers make reckless passes on blind curves to get around a rig that won’t use a turnout.
Watch for slow-vehicle pullouts. They’re marked, and they’re there for you. When three or more cars stack up, use the next one: signal, ease in, let them go, roll back out. It costs you under a minute and defuses every impatient driver behind you before one of them does something stupid into oncoming traffic. Some states actually require it when enough vehicles are trailing you, and honestly, it makes the whole climb less tense anyway.
13. Enter Hairpin Turns Slowly and Accelerate Only After the Apex

The instinct on a switchback is to carry speed and power through it. In a tall, heavy RV, that instinct loads the outside tires, pushes the rig wide, and can set a trailer swaying right where there’s nothing on the outside but air and a guardrail.
Slow down before you enter. All your braking happens on the straight approach, never mid-corner where the weight has already shifted. Turn in gentle, hold a steady throttle through the bend, and wait until you’re past the apex and the road opens back up before squeezing on power. The engine pulling smooth at the exit settles the whole rig. Rush the entry and brake in the turn and you get that stomach-drop lurch, and in a motorhome that lurch is a lot of weight moving the wrong way.
12. Keep the Trailer Inside Its Lane on Tight Right-Hand Curves
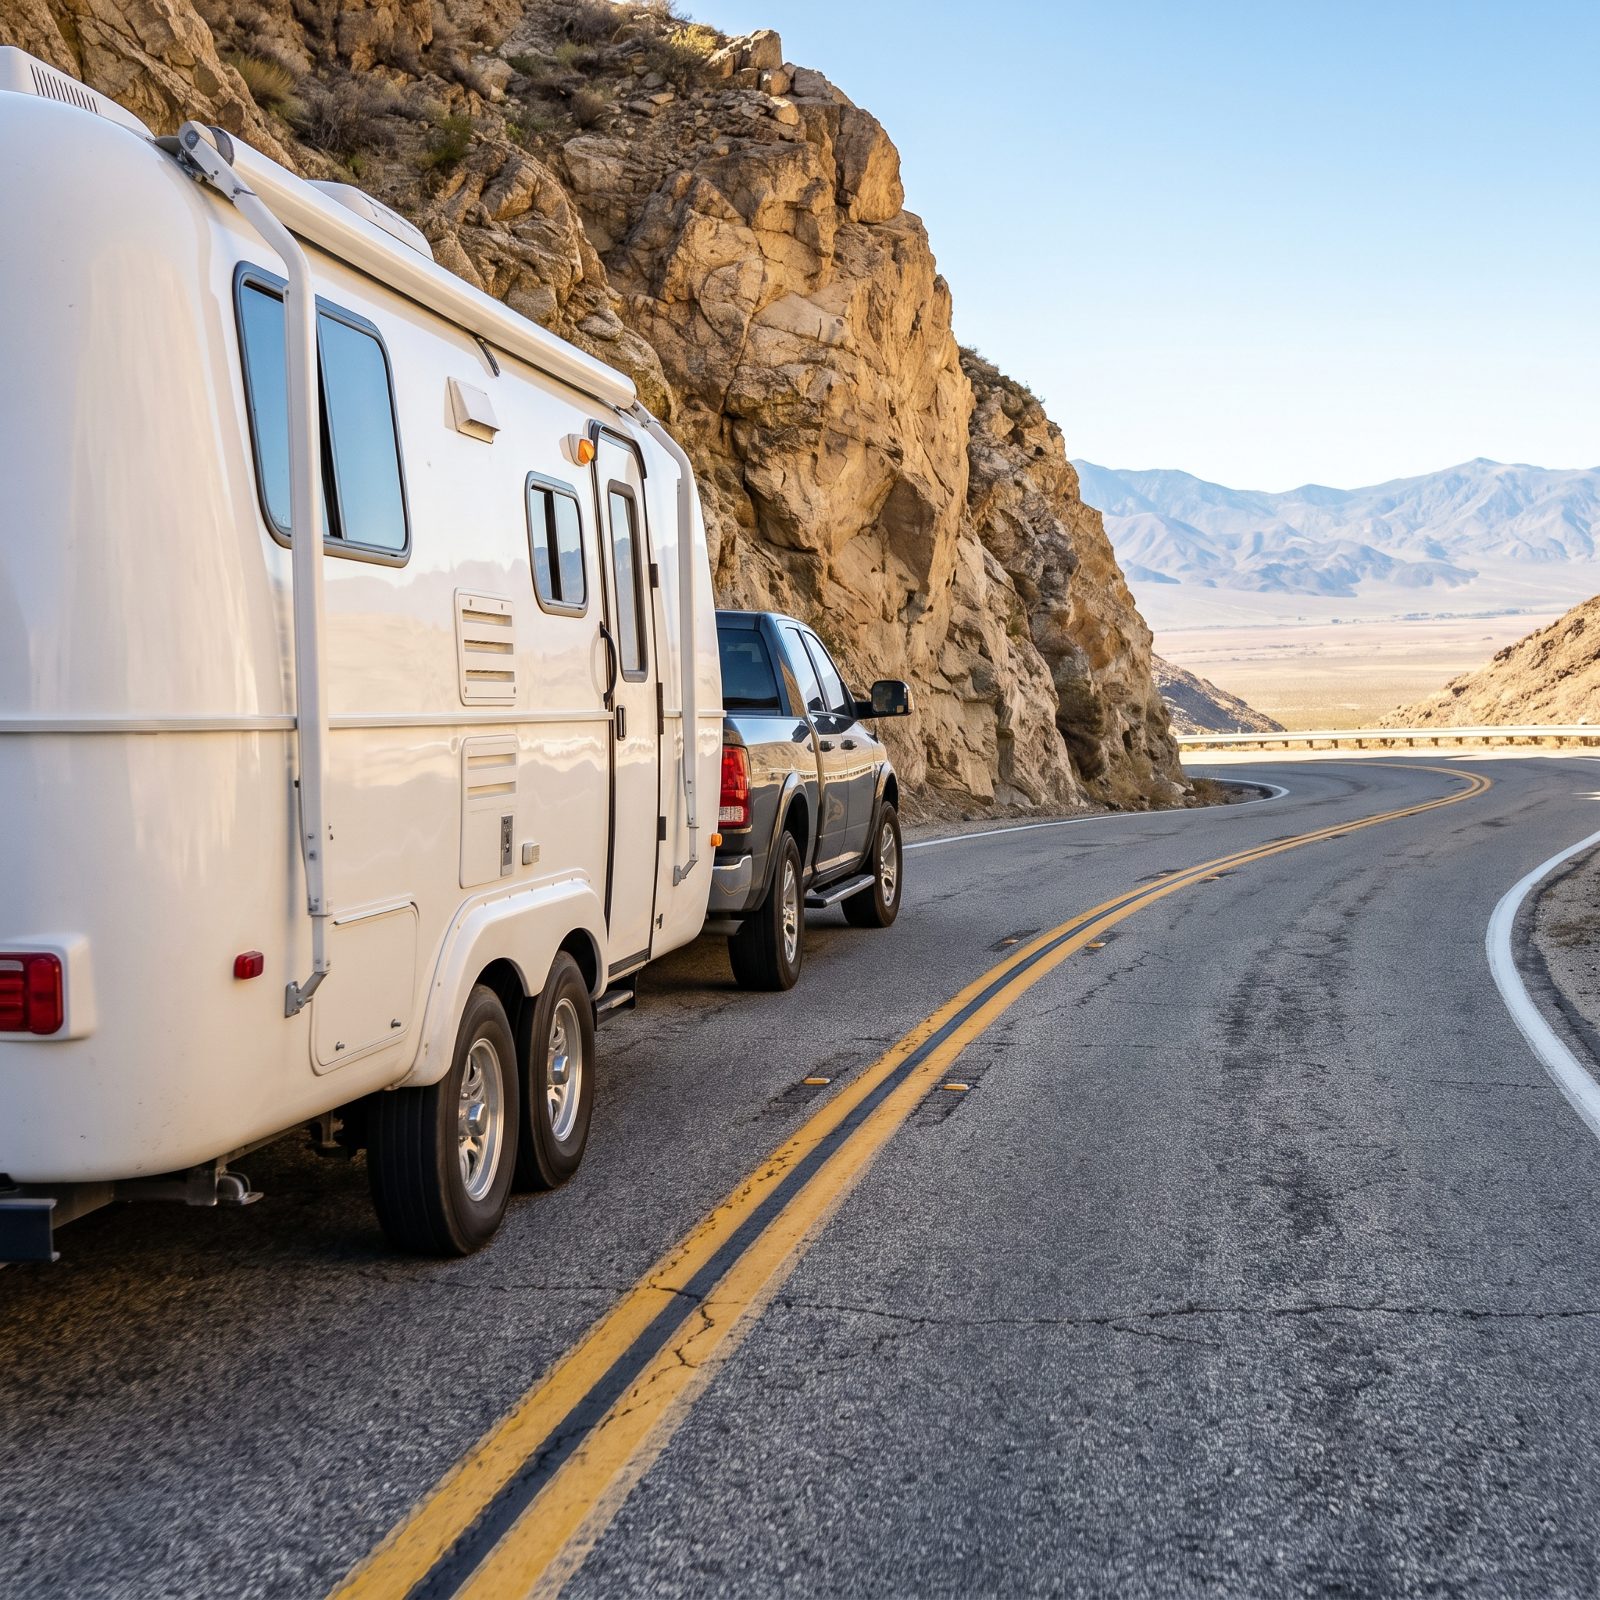
A trailer doesn’t follow your tow vehicle through a curve. It cuts the corner, tracking inside the arc your truck swept. On a right-hander with a cliff or rock face on the inside, that off-tracking can clip the shoulder, a rock, or drop a wheel off the edge.
So swing wide. Give the curve more room than feels necessary by easing your tow vehicle toward the outside of your lane before you turn in, so the trailer’s shortcut lands it back in the center. Keep your mirrors working the whole way through and watch where the trailer tires actually sit. The longer the trailer, the more it cheats the corner, and the more deliberate your wide entry has to be.
11. Never Cross the Centerline on a Blind Mountain Bend
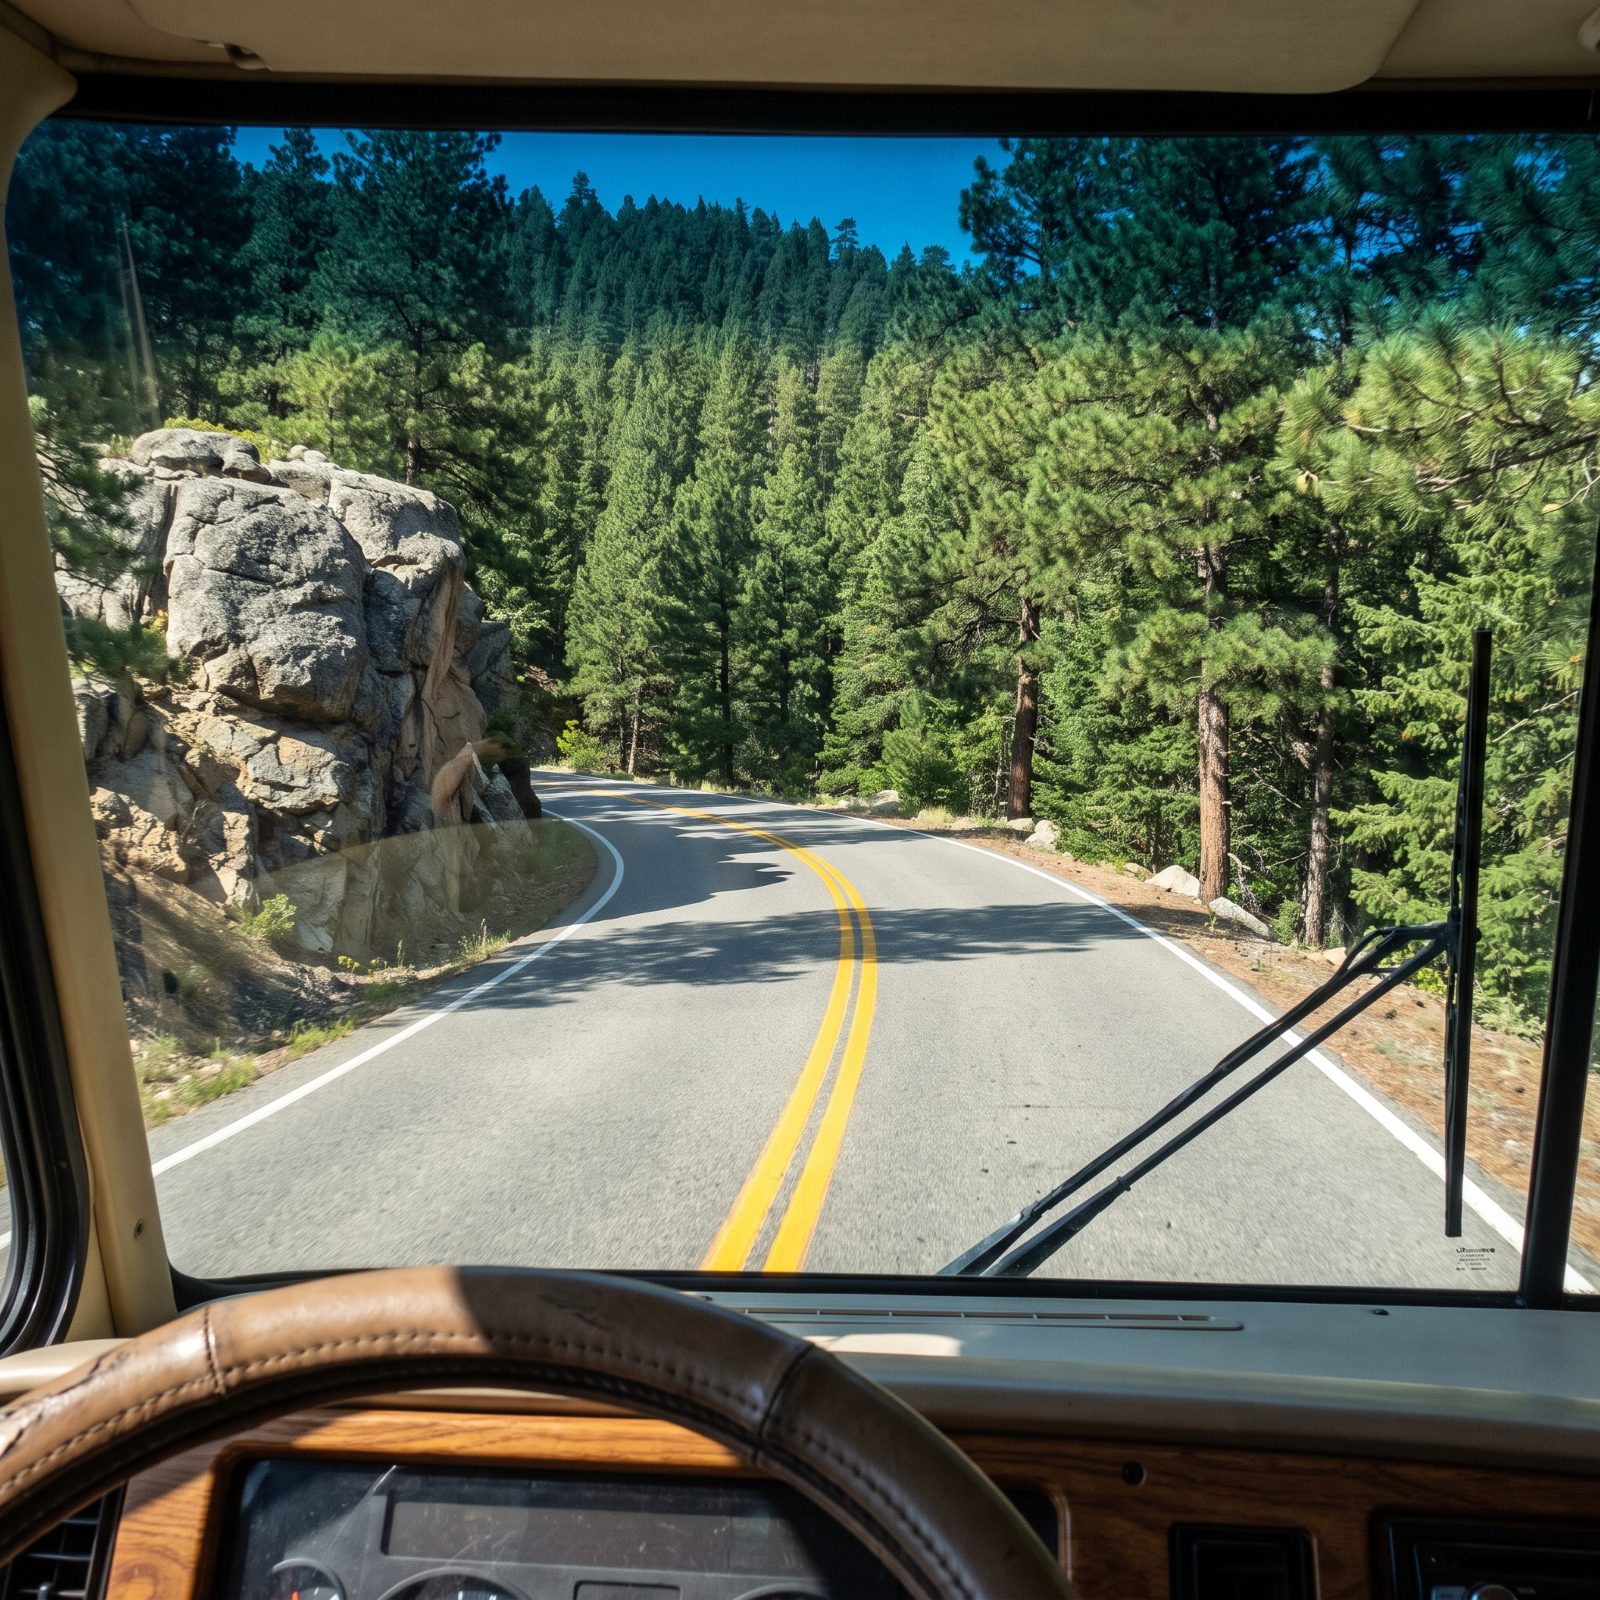
On a blind bend you can’t see what’s coming, and a wide RV is tempted to drift left to straighten the curve and keep its speed up. Do that, and the first thing you’ll meet around the rock is a logging truck that assumed its lane was clear.
Stay planted on your side, even if it means crawling to keep the whole rig inside the line. A double yellow on a mountain means someone studied that road and decided passing there kills people. Hold your lane, cover the brake, and let the curve unfold before you add any speed. Boring is the goal. Boring gets you to the campground.
10. Scan Far Ahead for Wildlife Entering the Road
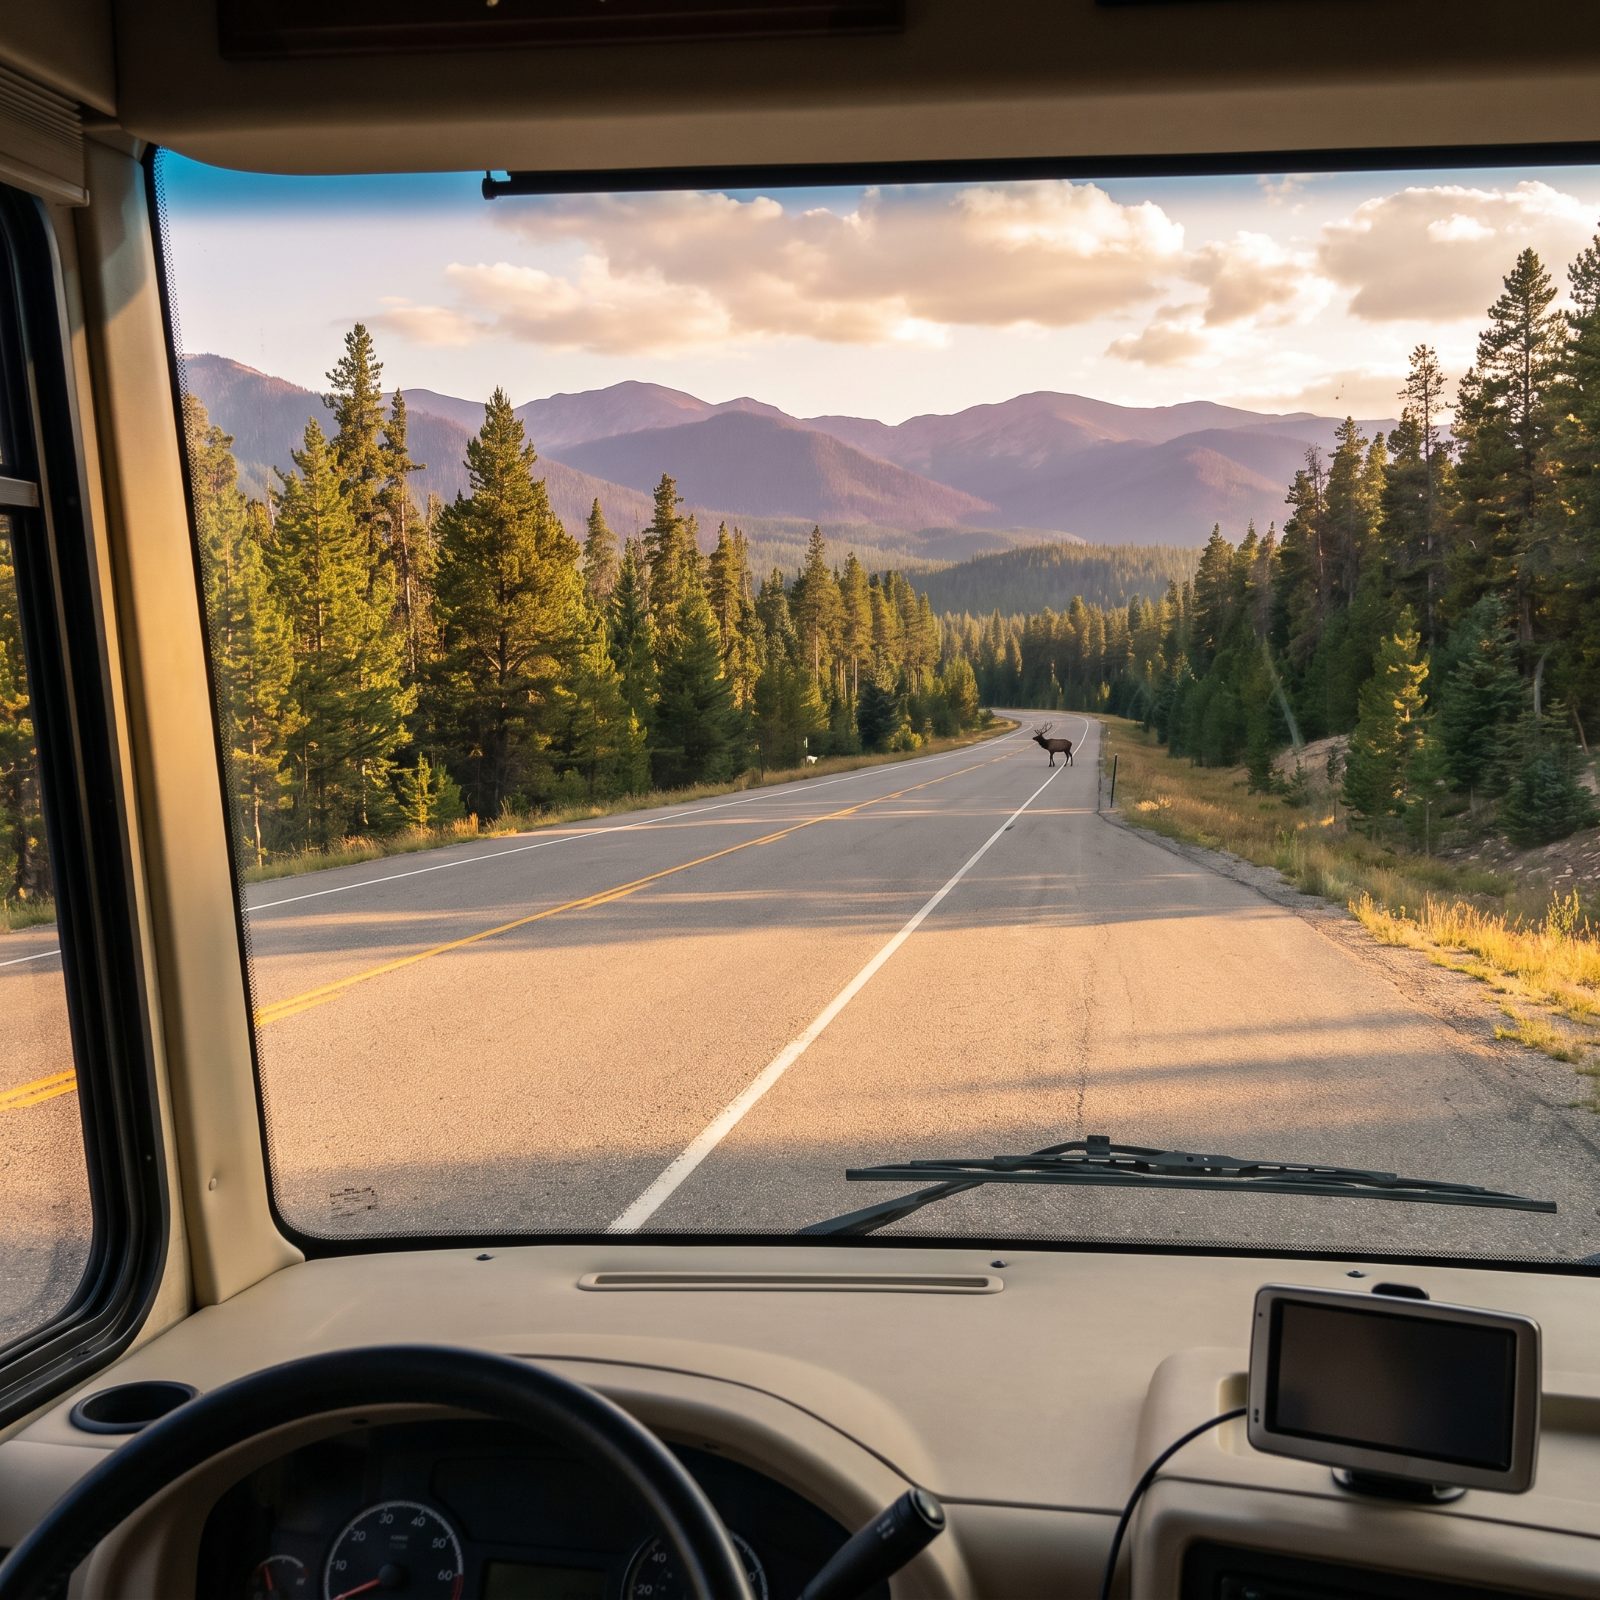
Mountain roads run through animal country, and elk, deer, and cattle treat the pavement like part of the meadow. The ones that kill you aren’t the ones you see in time. They’re the ones that step out at dawn, dusk, or into a dark stretch of timber while your eyes are fixed thirty feet past the hood.
Look far down the road, out to the tree line and the ditch edges, not just the lane in front of you. A pale shape standing still at the shoulder is your warning, and reflected eyeshine in low light is the same. Then remember one hard truth about a loaded RV: you can’t swerve it the way you’d swerve a car. Spot the animal early, bleed off speed on the straight, keep both wheels in your lane. Yanking a motorhome at the last second rolls it.
9. Expect Shaded Pavement to Hide Ice Even on Clear Days
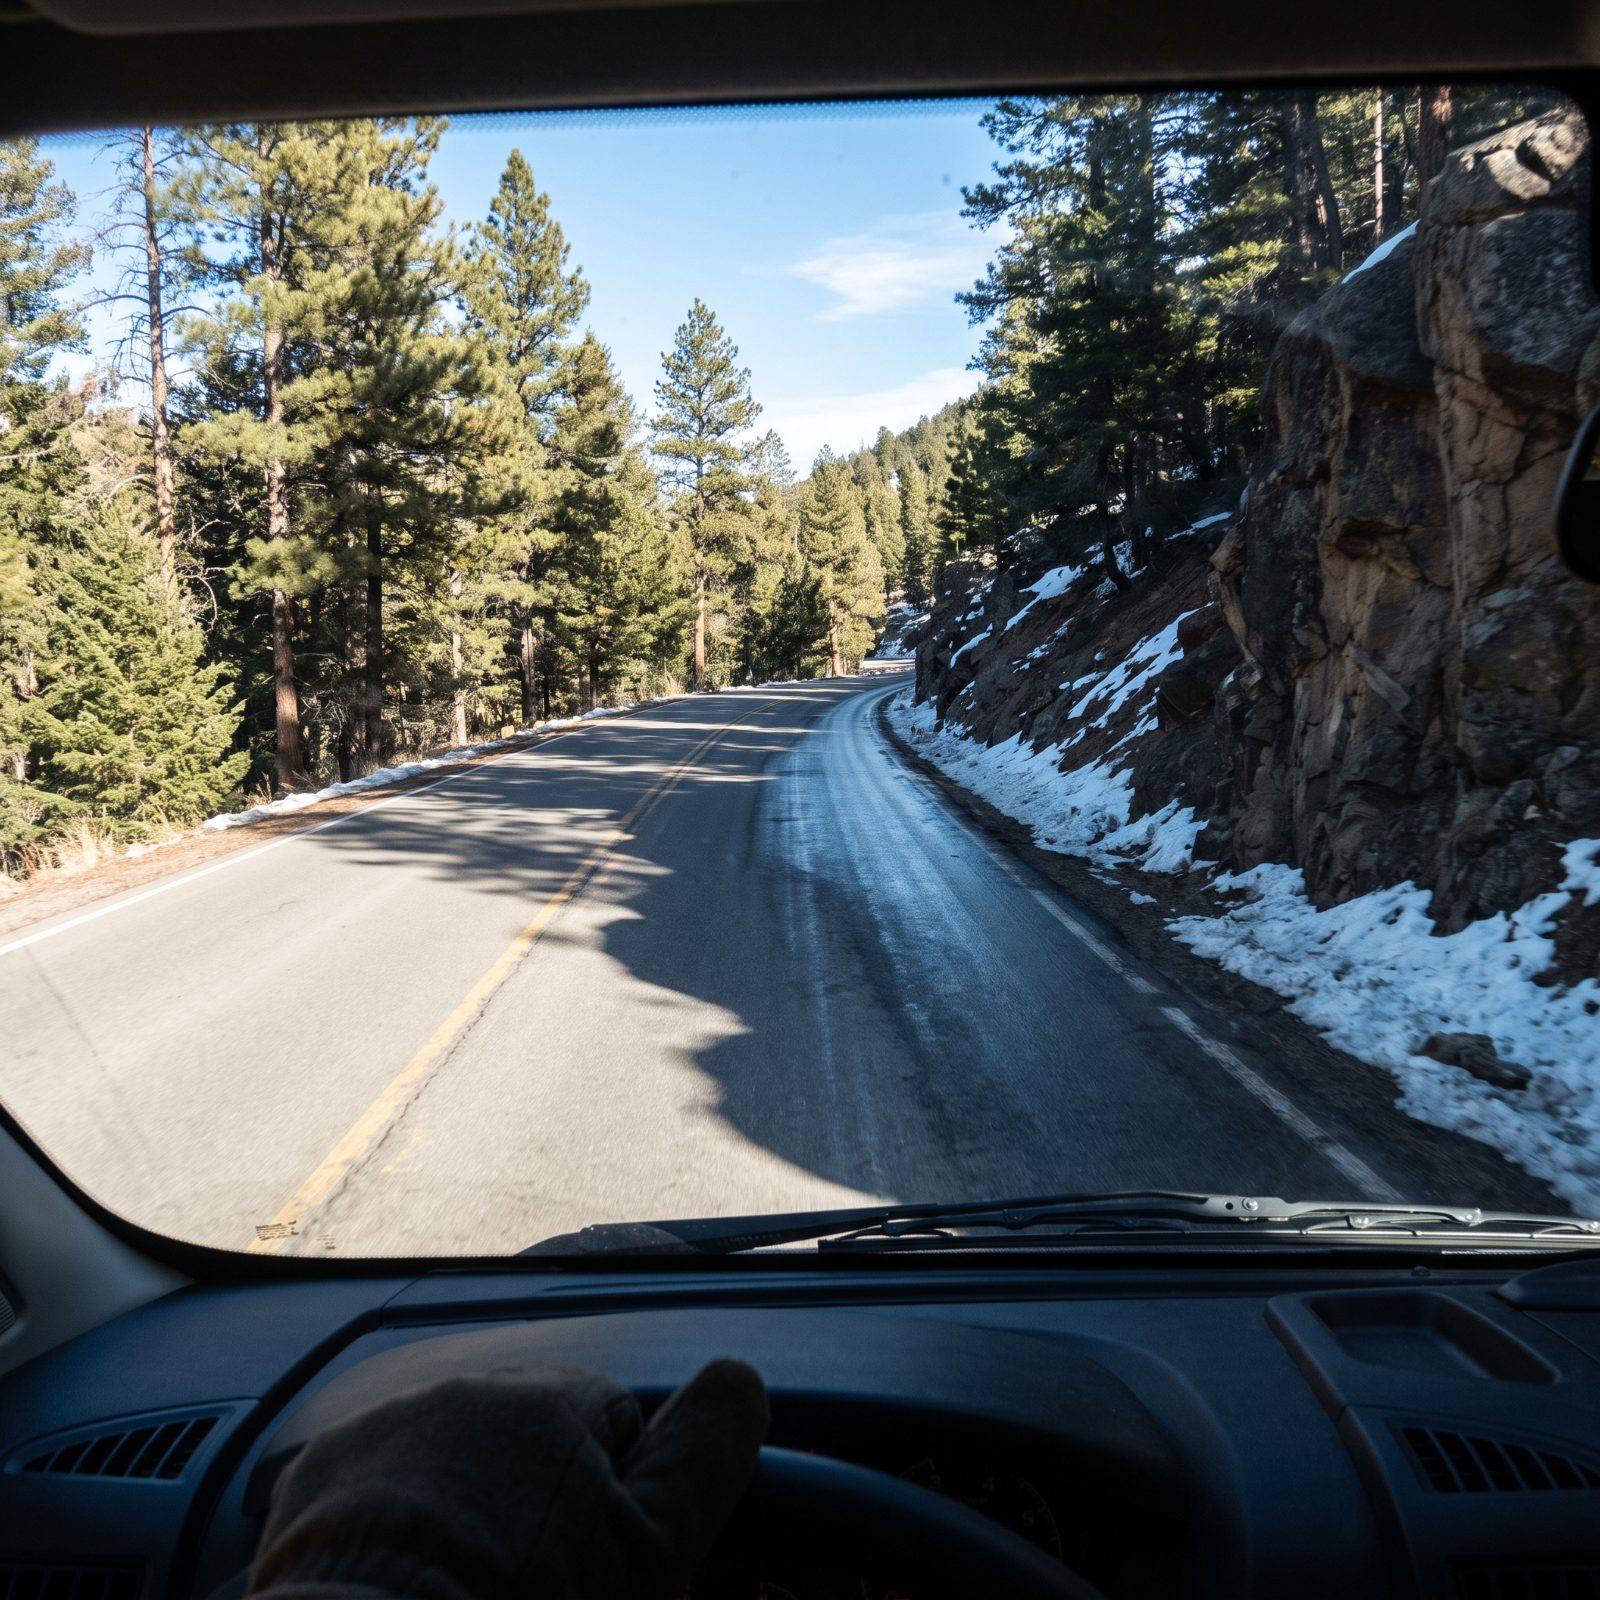
The sun can be out, the sky can be blue, and the road can still try to kill you in the shade. North-facing cuts, the backside of a ridge, the stretch under a stand of tall timber, those spots never catch direct sun in the cold months. Meltwater runs across them and refreezes into a glaze that looks exactly like wet pavement.
When the road ducks into shadow after a sunny open stretch, treat it as suspect. Ease off before you enter, not inside it. Smooth, gentle steering, no sudden brake stabs, no throttle jabs. Bridges and overpasses ice first because cold air wraps them top and bottom. That bright-to-shade transition is where people get caught, because their guard dropped back in the sunshine a quarter mile ago.
8. Slow Down and Use Low Beams in Fog or Low Cloud
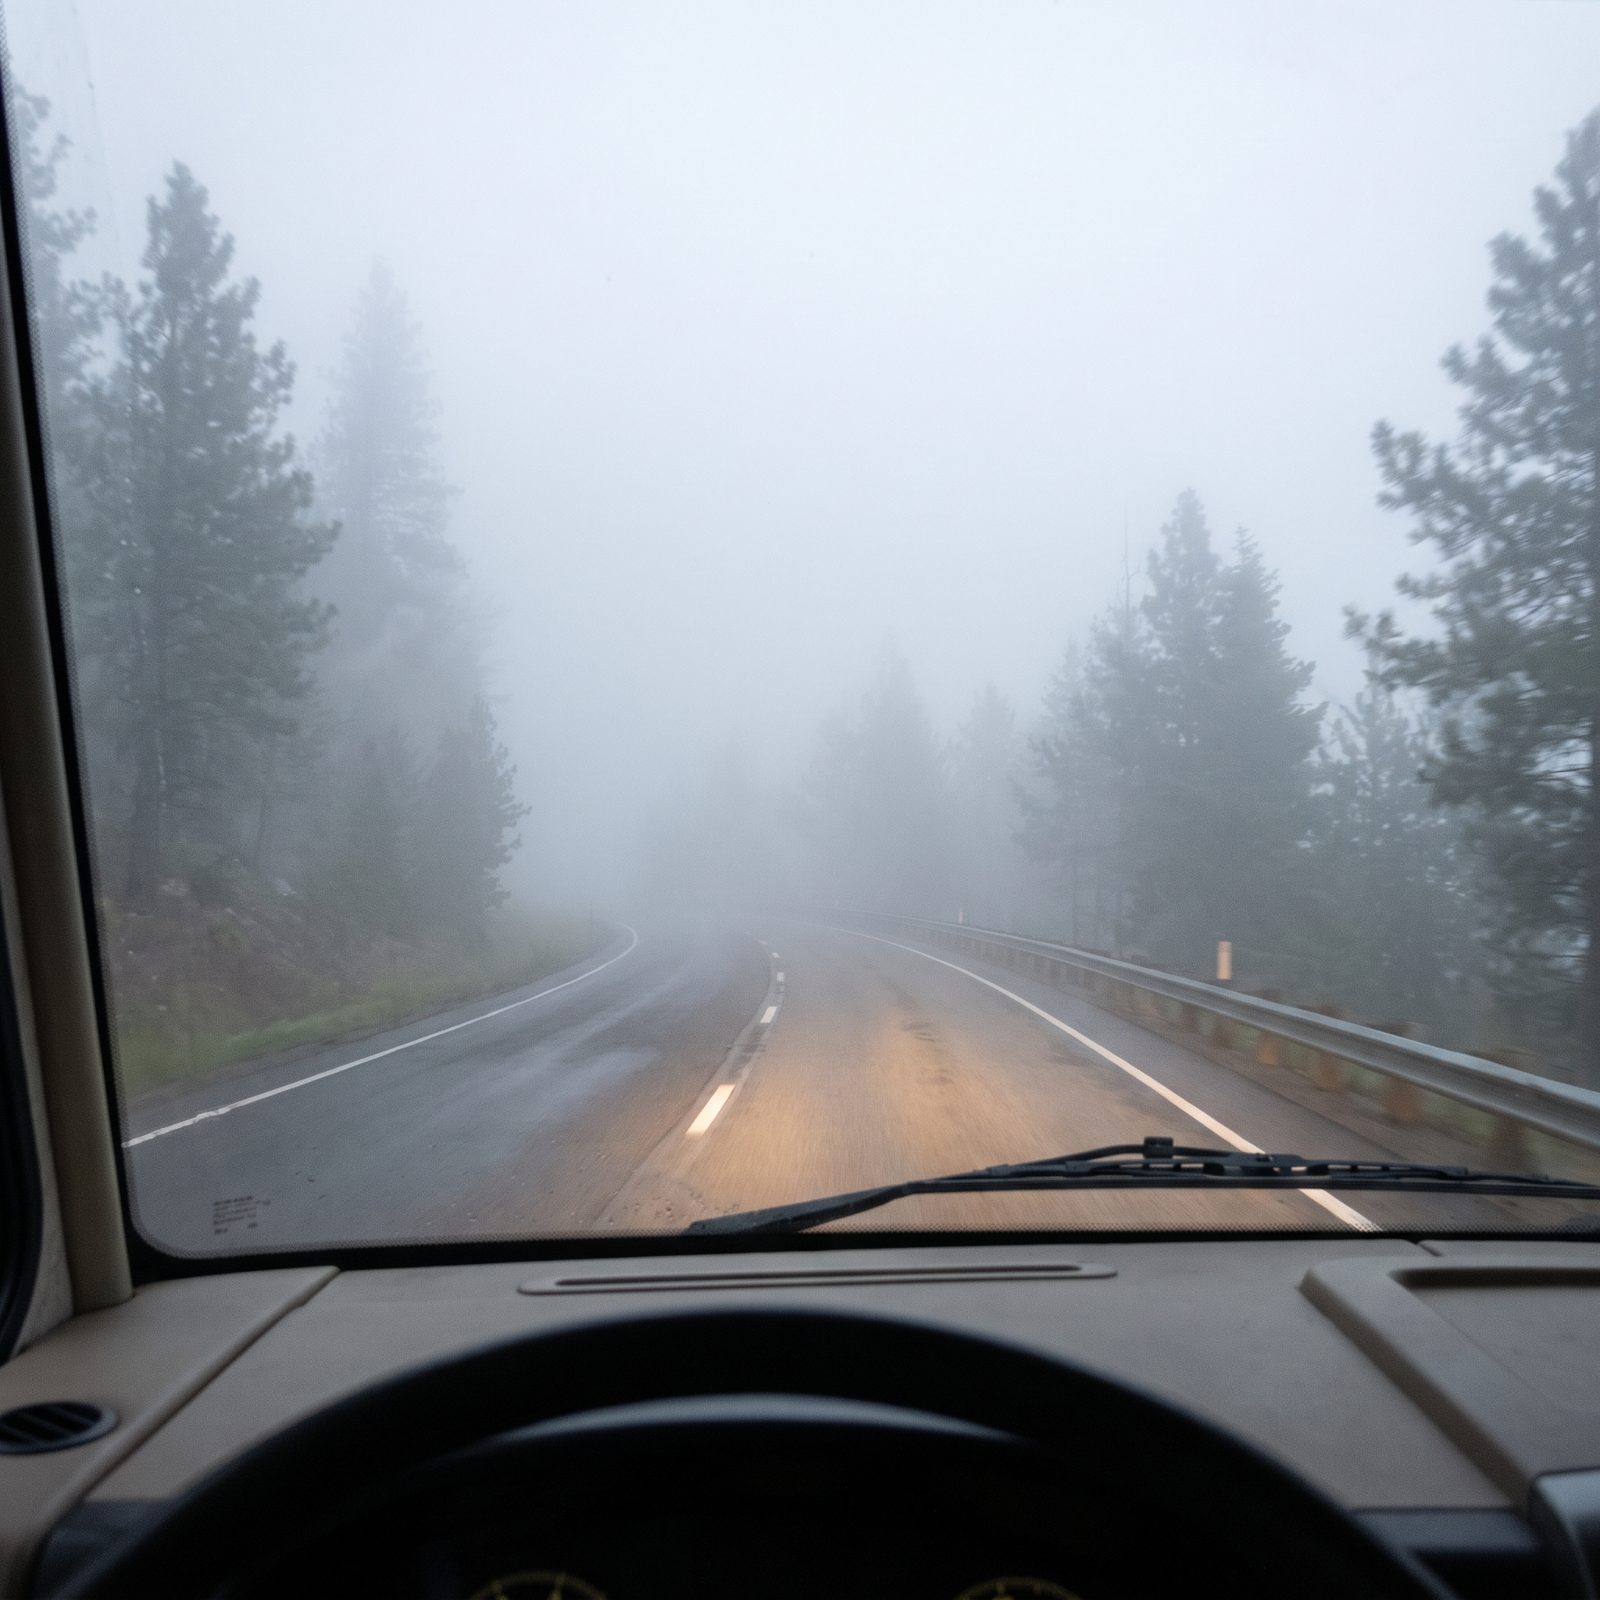
Mountain weather doesn’t roll in. You drive into it. One minute the pass is clear, the next you’ve climbed into a cloud and your sightline drops to a few car lengths. The reflex is to flip on the high beams for more light, and that’s exactly backwards.
High beams bounce off the water droplets and throw a white wall right back at you, worse than the fog itself. Switch to low beams, or fog lights if you’ve got them, so the light stays down on the road. Slow to a speed where you can stop inside the distance you can actually see, which might mean 25 even on a highway. Use the painted fog line on your right as a guide so you’re not drifting. And don’t tailgate the taillights ahead, because if they stop short, their bumper arrives before your eyes register it.
In mountain fog, your safe speed isn’t the posted limit. It’s whatever lets you stop inside the distance you can see, and that’s a number only you can read.
7. Expect Sudden Crosswinds at Exposed Ridges and Canyon Openings
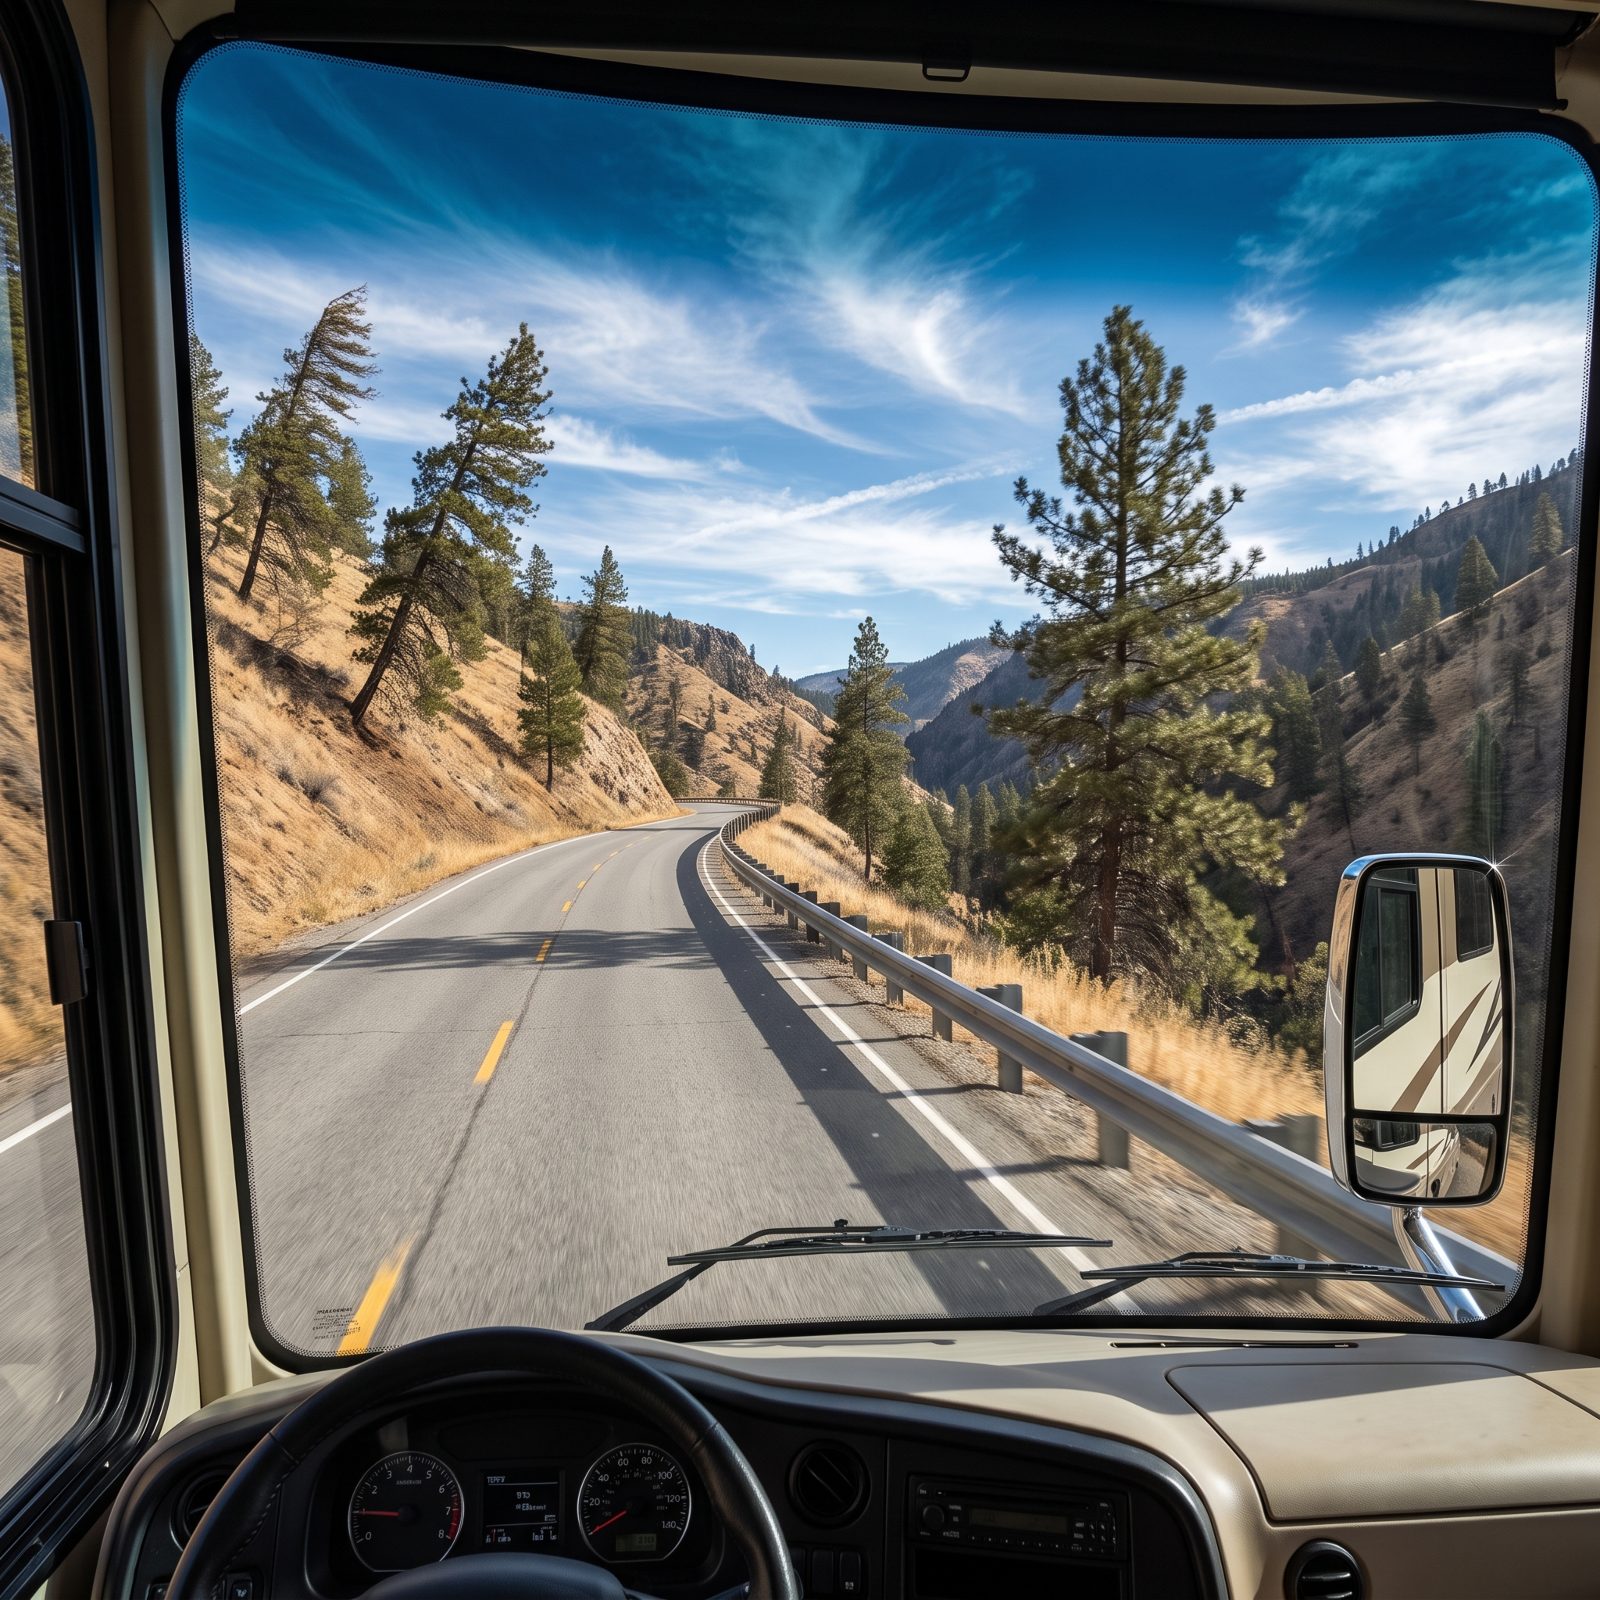
You roll out of a sheltered stretch of timber, round a bend, and the mountain opens up. That gap in the ridge is a wind funnel, and the gust that hits a 13-foot-tall box with the side profile of a billboard does not politely wait for you to brace.
Get caught loose on the wheel and a crosswind can push you a full lane before you’ve corrected. On a shoulderless grade that’s the whole ballgame.
Before exposed sections, back off the throttle and bring your speed down a notch. Keep both hands at nine-and-three with a relaxed grip, not a death clench, and watch the roadside grass and treetops ahead, because they tell you a gust is coming before it reaches you.
6. Do Not Use Cruise Control on Steep, Curving, Wet, or Icy Grades
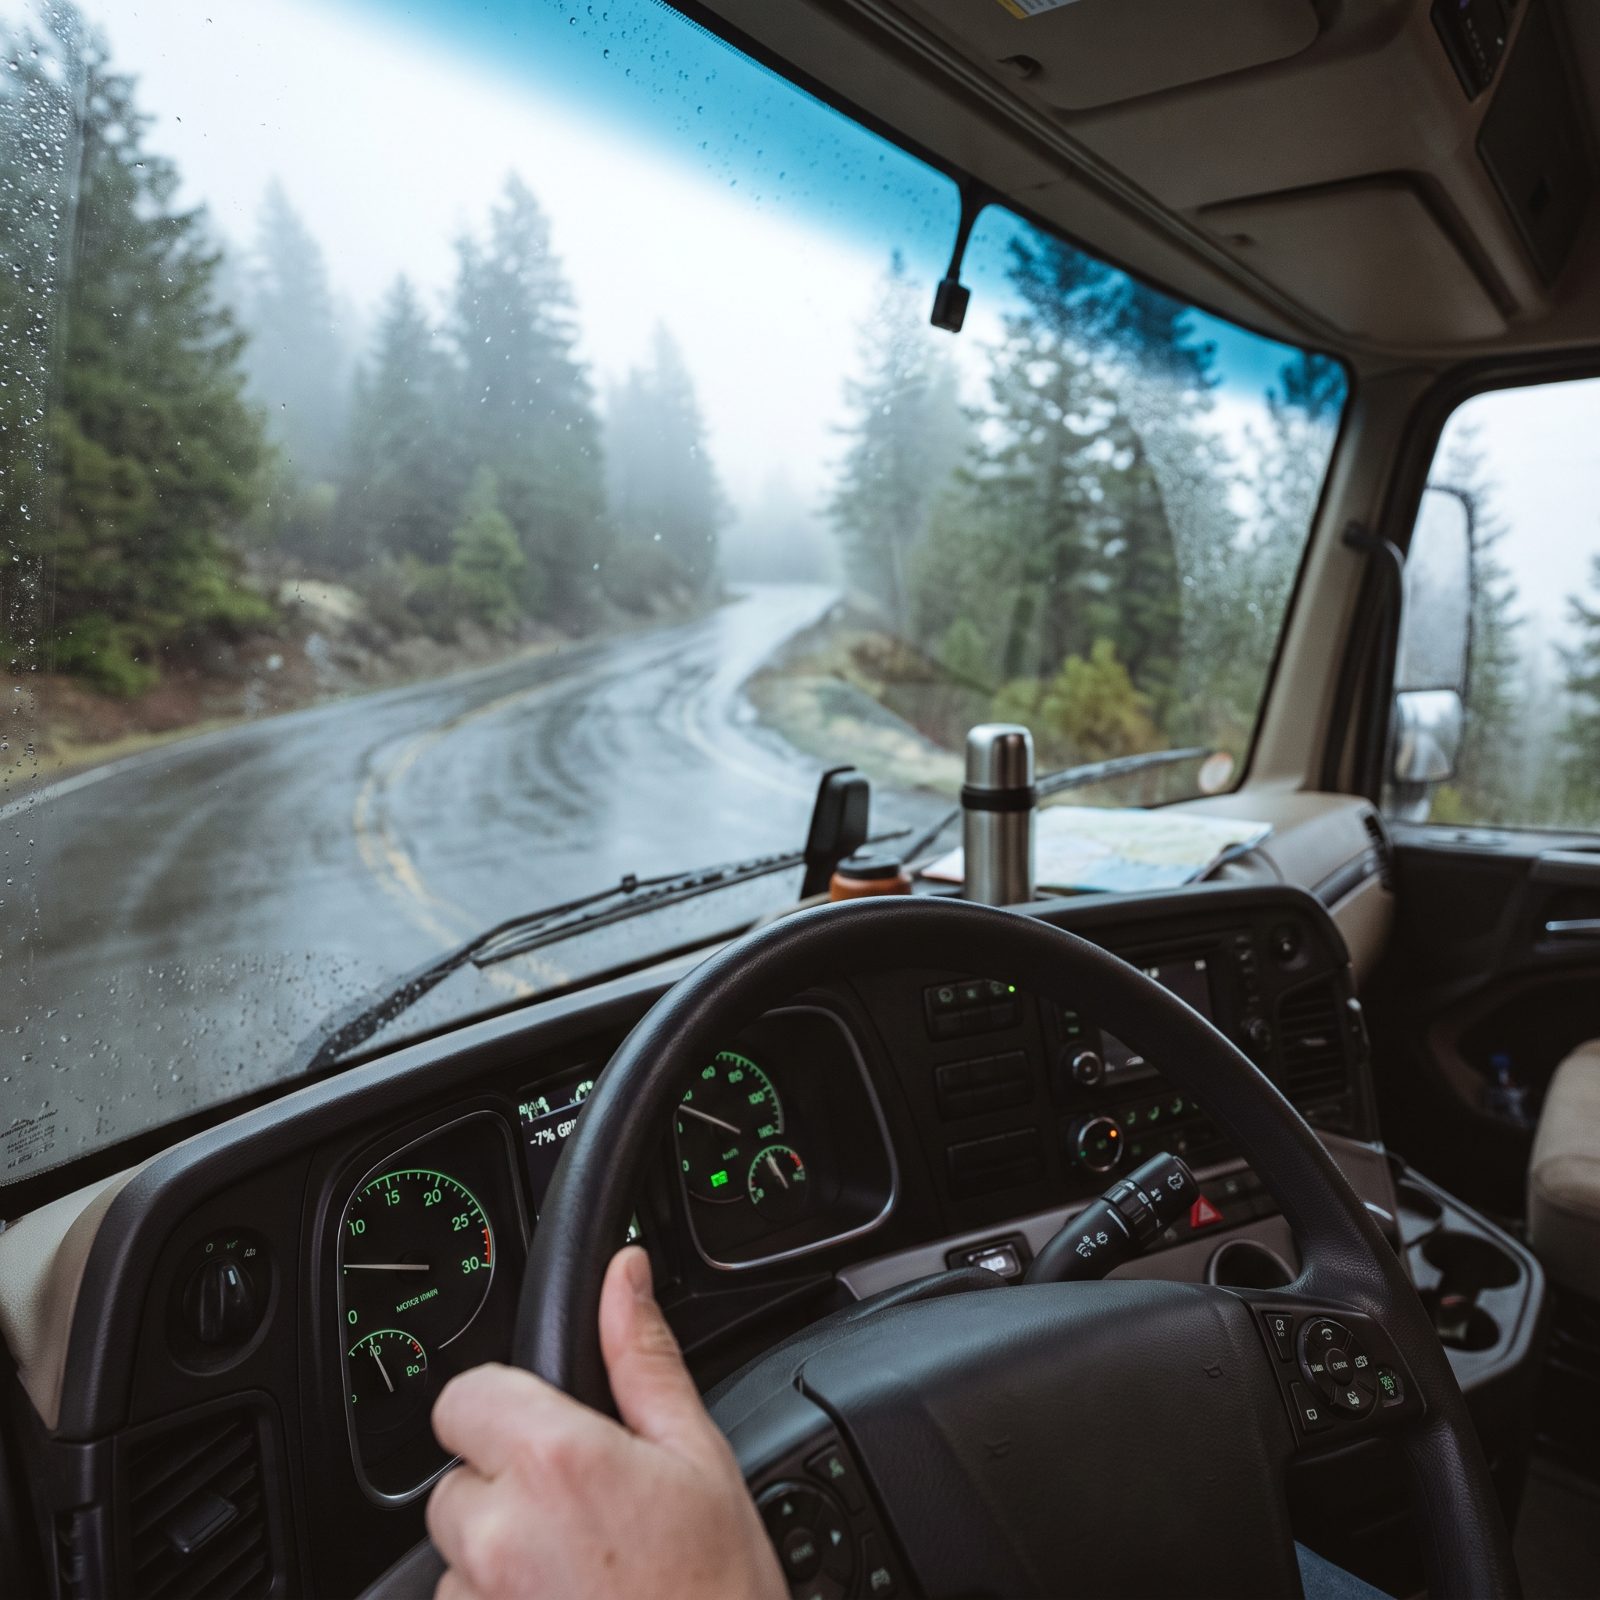
Cruise control is wonderful on flat interstate. On a wet, twisting descent it becomes a passenger who wants to go faster than you do.
On a downgrade the system can’t feel the road. It won’t preemptively downshift, and on slick pavement a system fighting to hold speed through a curve pits your drive wheels against your traction right when you need all of it. You want to be the one metering speed, not the computer.
Kill it the moment the road starts falling and bending. Pick a lower gear, let engine braking do the heavy lifting, and control the rest yourself. Your right foot reads conditions the cruise module never will.
5. Pull Over Safely if You Smell Hot Brakes
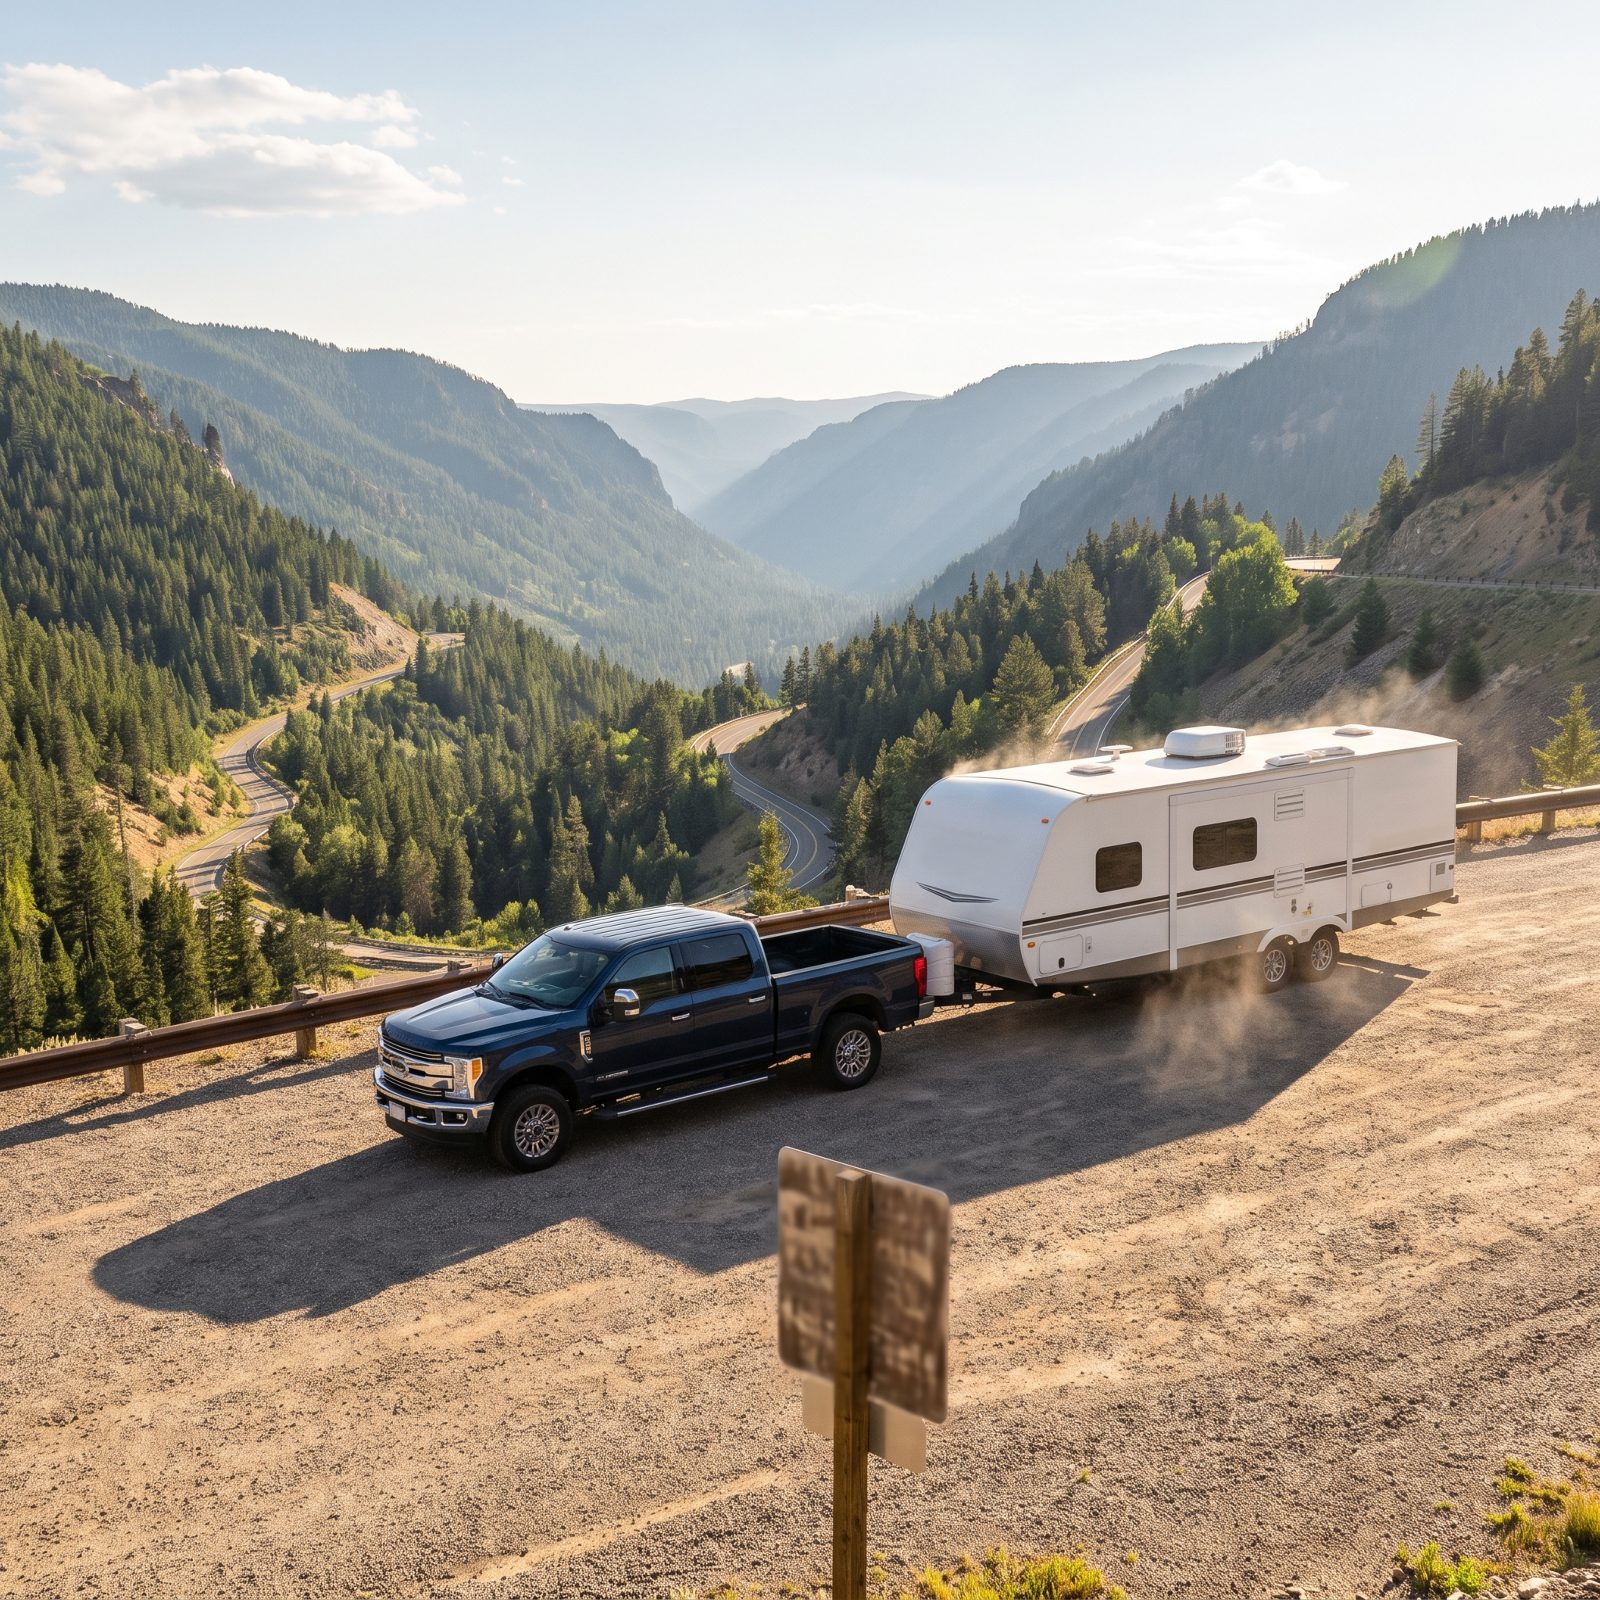
That sharp, acrid tang, somewhere between burnt toast and hot iron, drifting up through the vents on a long descent? That’s your brakes telling you they’re done being heroes.
Overheated brakes fade. The pedal gets soft, the stopping distance stretches, and if you ride them all the way down you can boil the fluid and lose them entirely. On a crowded grade, it’s common to see several rigs limping into the same pullout.
At the first whiff, find a brake-check pullout or any safe level spot well off the lane, and stop. Let the brakes cool for a solid half hour or so. Don’t rush it.
Cooling brakes is boring. Replacing your brakes, or worse, because you didn’t is a lot more boring.
4. Never Set the Parking Brake While the Brakes Are Overheated
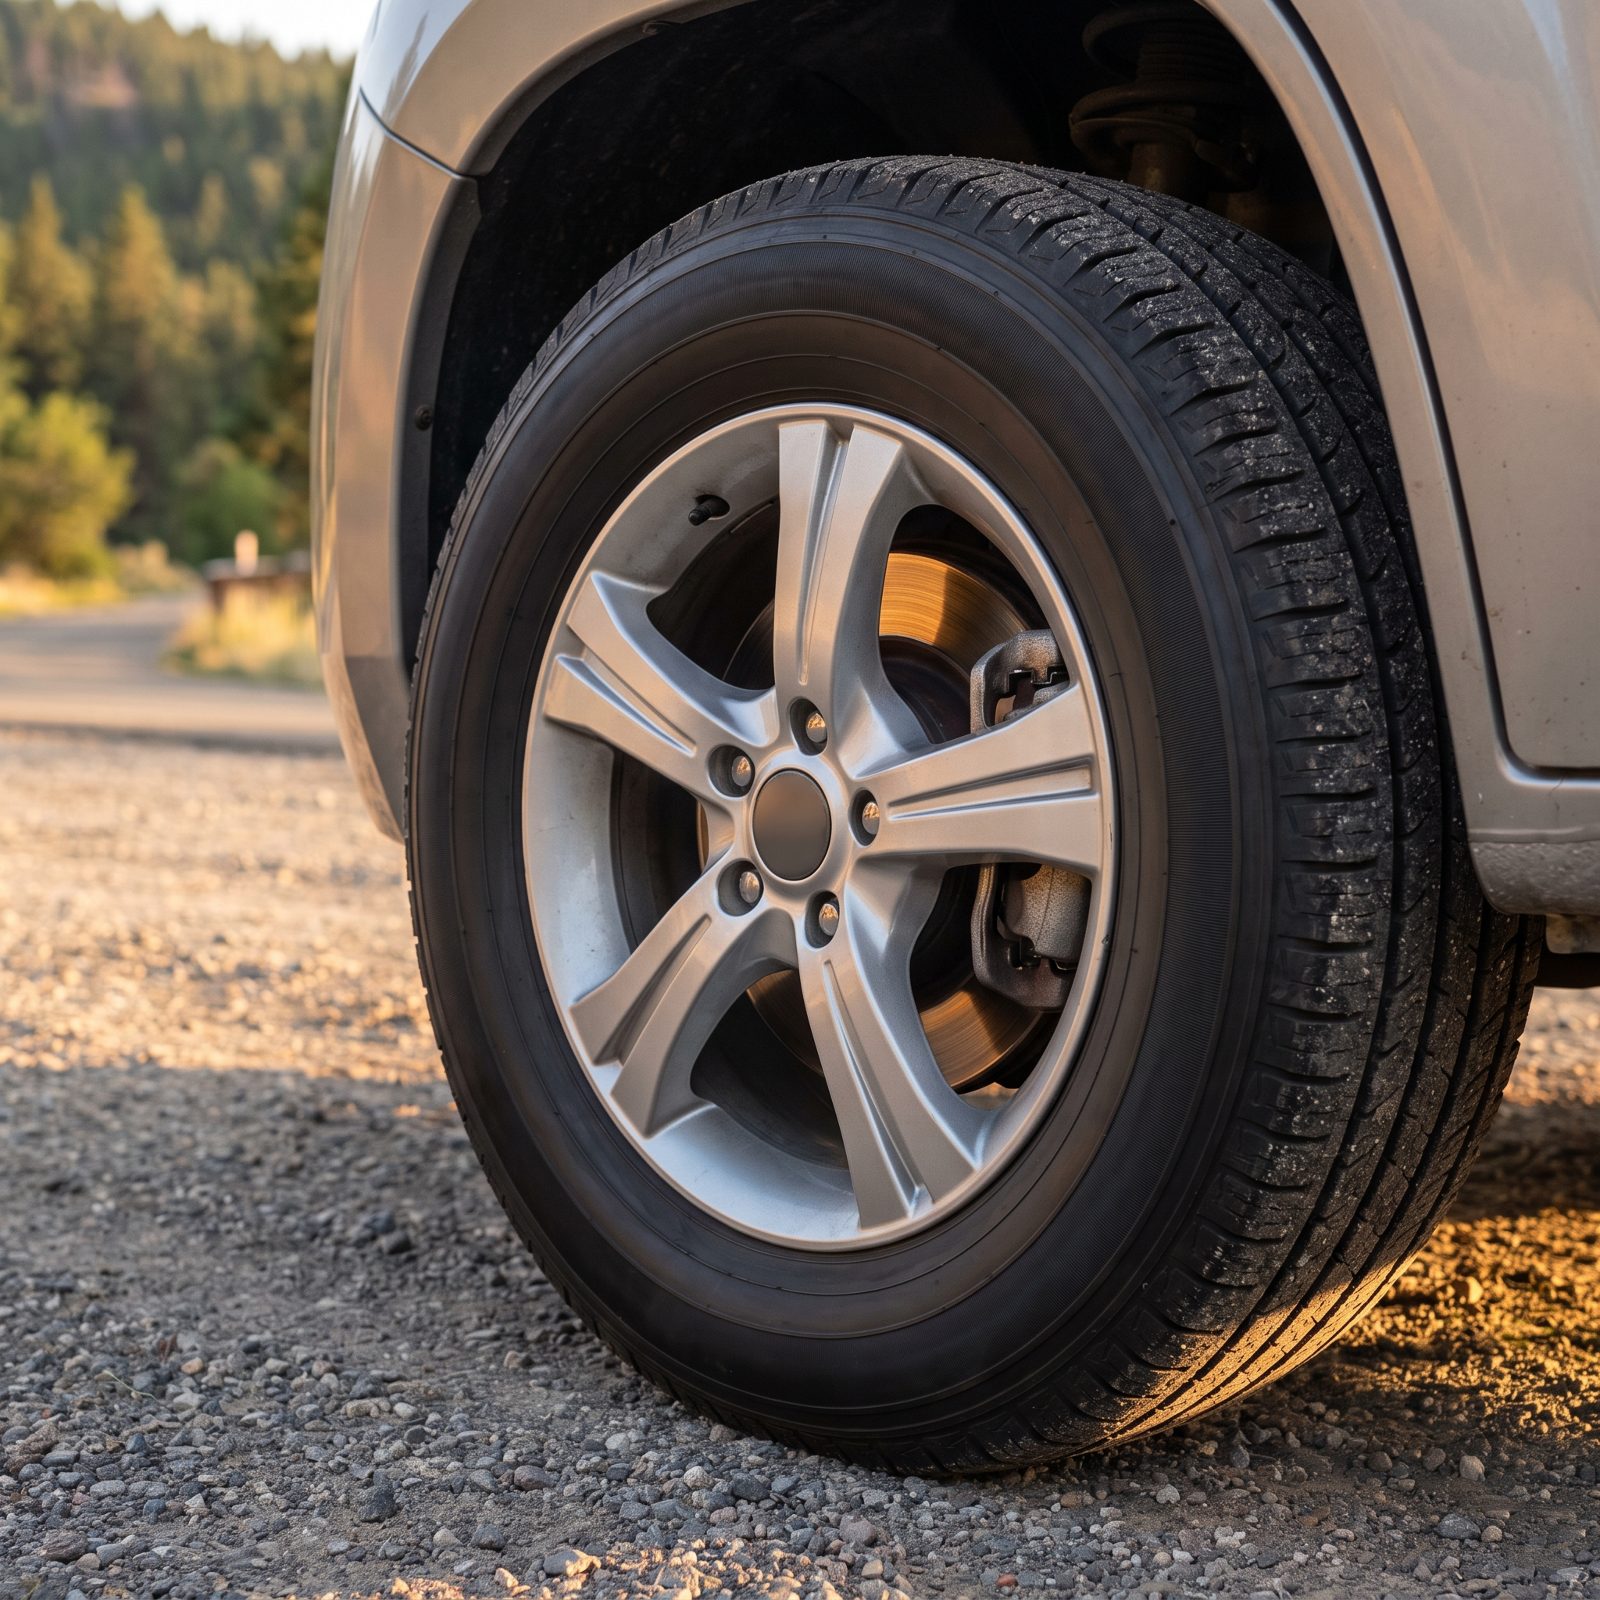
You’ve just pulled off hot, you’re relieved, and reaching for the parking brake feels like the responsible move. On an overheated system it’s the opposite.
Clamp a hot rotor or drum and you lock that heat right against the friction surface, which can warp or glaze it as it cools unevenly. You walk away with a pulsing pedal and lopsided braking that haunts you the rest of the trip.
So leave the rig in park or in gear, let the brakes breathe, and hold position with wheel chocks. Set the parking brake only once everything has cooled back down to the touch.
3. Use Wheel Chocks Whenever You Stop on a Steep Grade
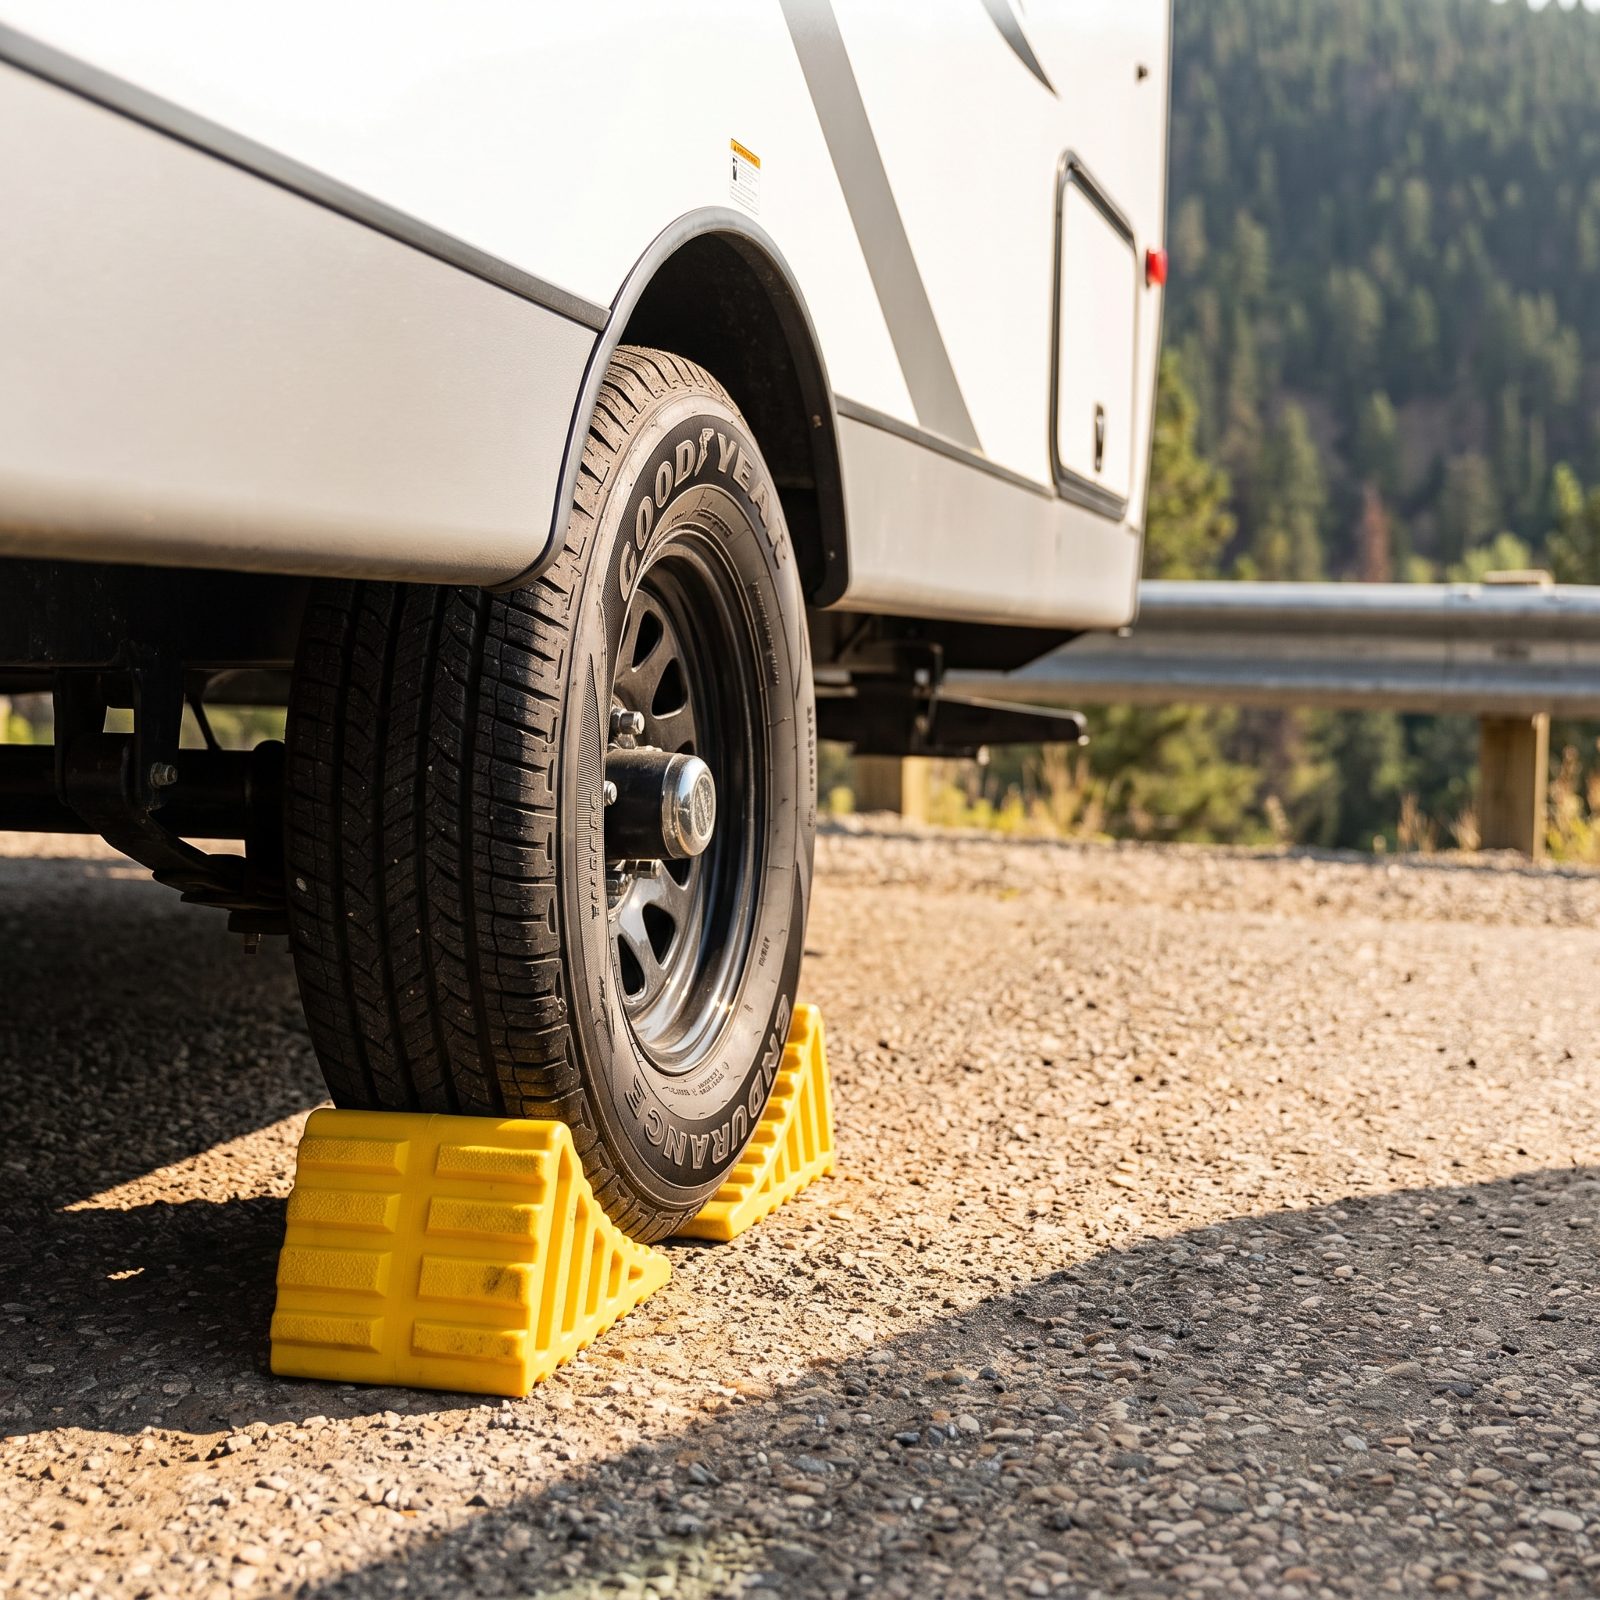
A parking brake is one system. On a steep pullout, backing it up with chocks is just smart insurance.
Parking pawls and brake cables can slip, especially under the weight of a loaded rig on a real grade. A trailer that rolls while you’re standing behind it hitching or airing up tires is the kind of story you only tell once.
Keep a pair of yellow rubber chocks within arm’s reach, not buried in a storage bay. Snug them against the downhill side of the tires before you fully trust the brake. Half a minute of work, and the rig stays exactly where you left it.
2. Carry an Emergency Communication Device for No-Service Areas
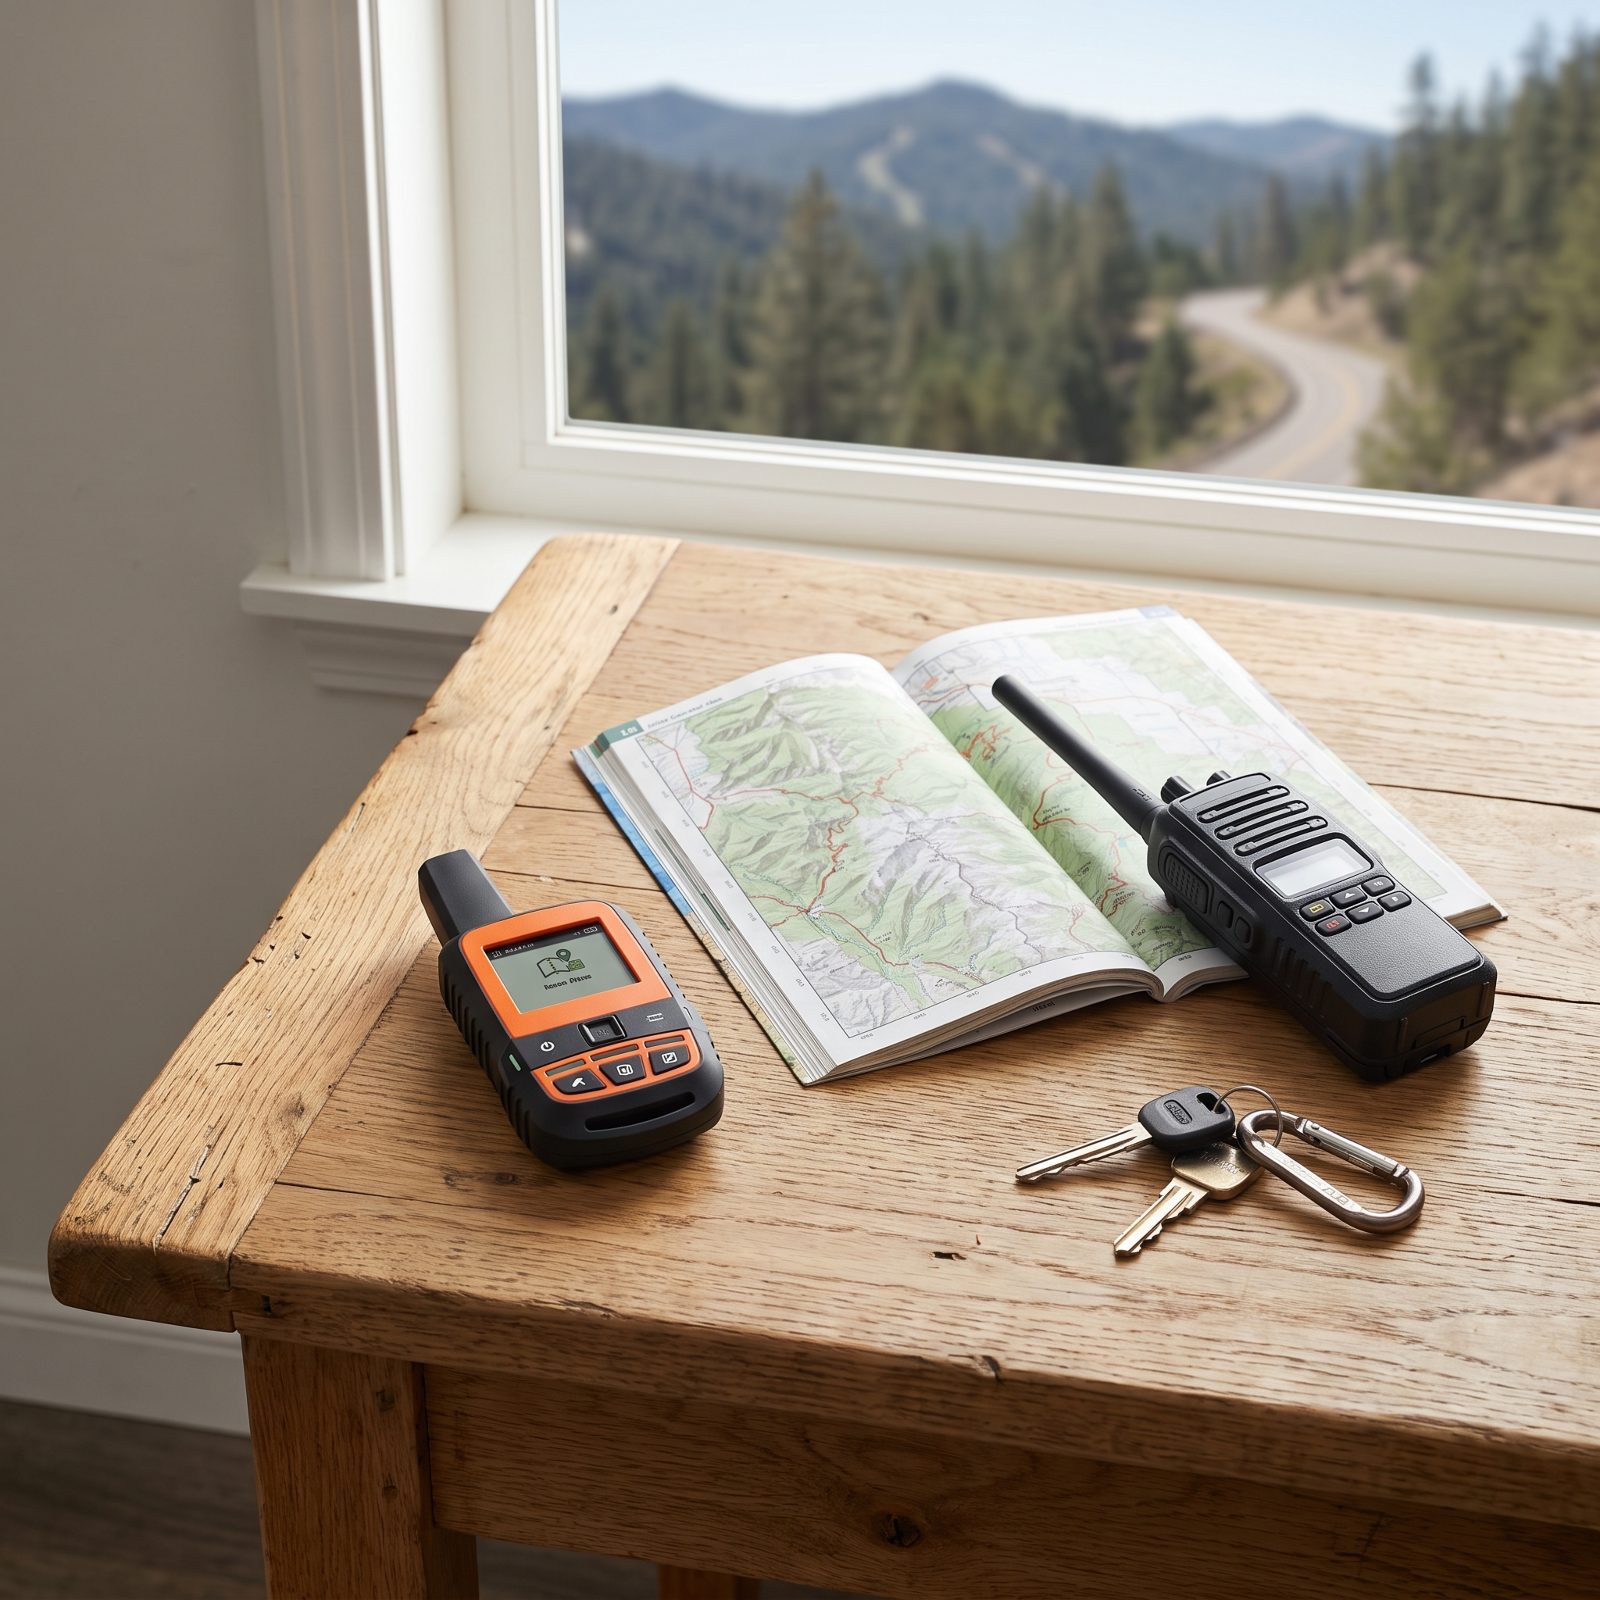
Half the best mountain country has no cell signal, and your phone’s little search-for-service spinner is not a safety plan.
Break down or roll a tire on a lonely pass with no bars, and a smartphone is a brick. People have sat for hours waiting on a passing car on roads that see only a handful all day.
Carry a satellite messenger like a Garmin inReach or a SPOT. Both let you send your coordinates and call for help from anywhere the sky is open, no towers required. Pair it with a couple of handheld two-way radios so your spotter outside can talk to the driver on tight turns.
1. Know When to Turn Around Instead of Committing to a Dangerous Pass
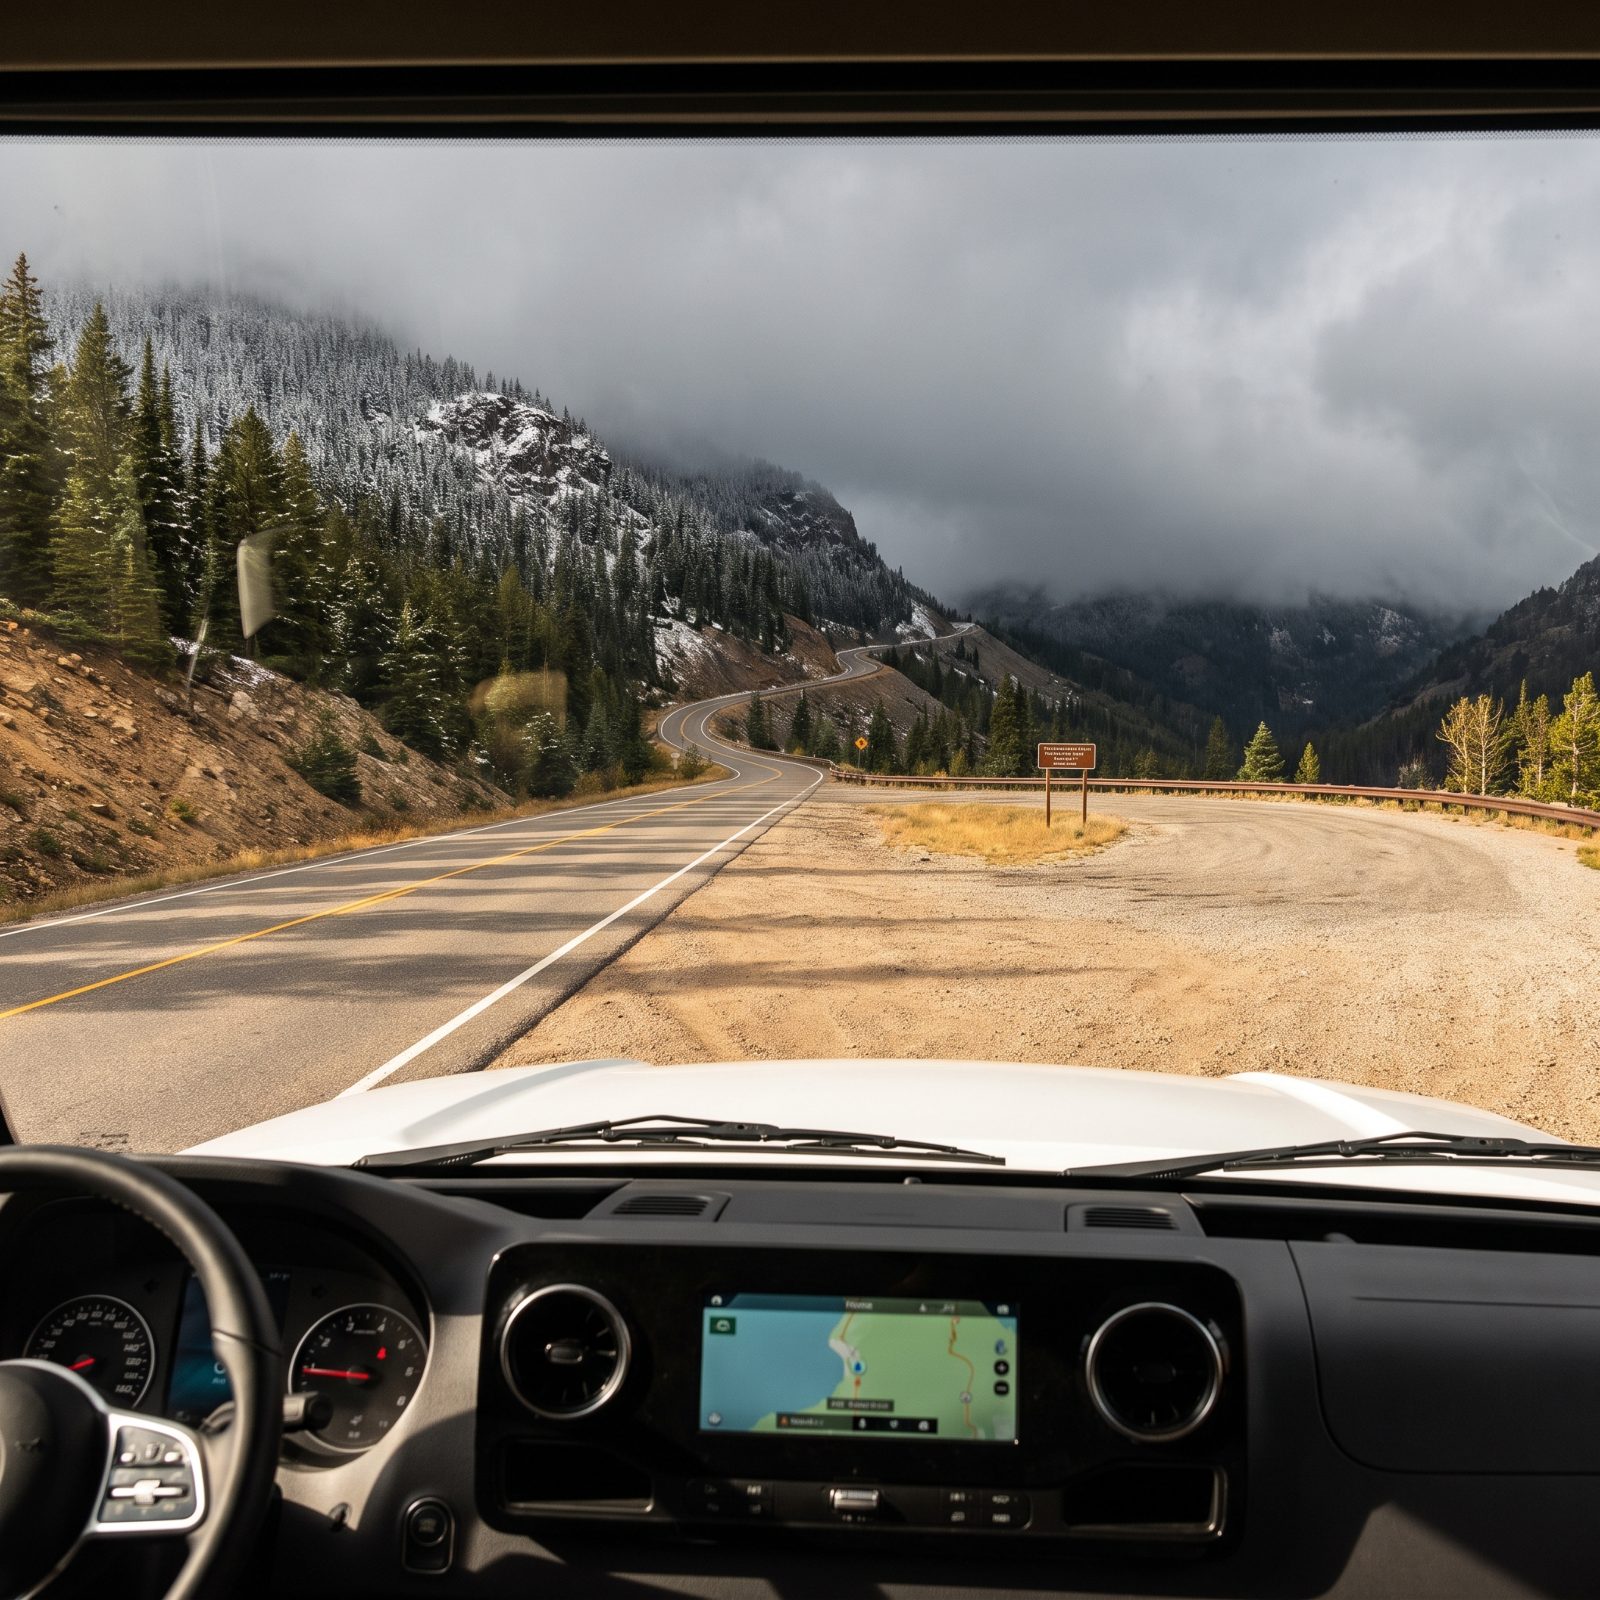
Pride has totaled more rigs than mechanical failure ever will. You see the weather closing on the summit, the road narrowing, the grade sign that just climbed into double digits, and some stubborn voice says we’ve come this far.
And that voice is exactly the thinking that gets a 30-foot rig jackknifed on an icy switchback with no shoulder and no way to reverse out.
So here’s the rule that keeps veterans off the tow-truck’s schedule. Decide at the bottom, where there’s still room to turn around. Check the forecast, the pass elevation, and your rig’s real limits before you commit to the climb. If snow is falling at the summit and you don’t carry chains, that pullout at the base is your friend. Turning around isn’t quitting — it’s the move that gets you home.