
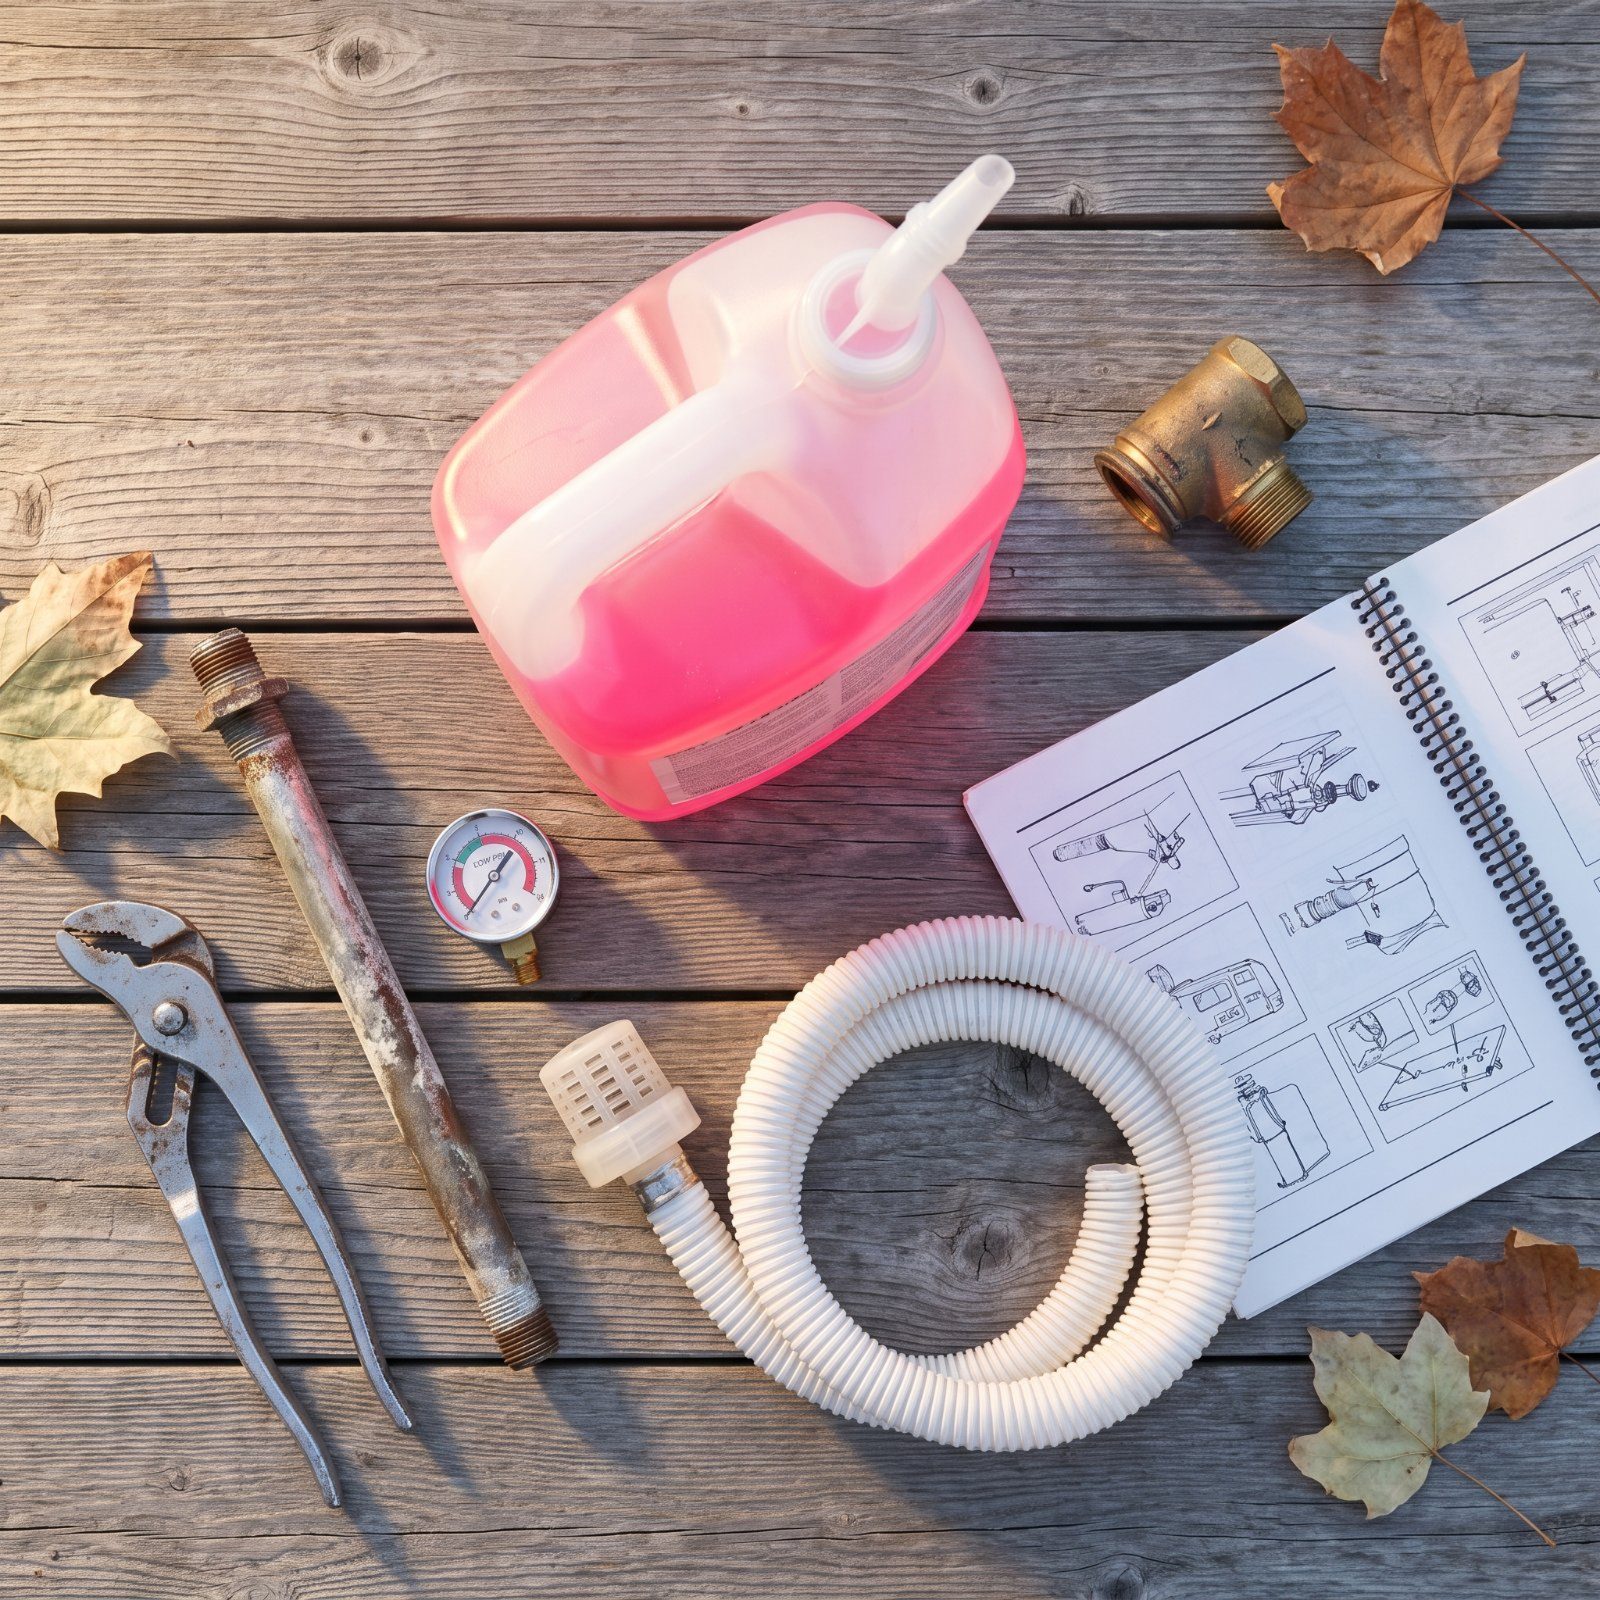
Water expands when it freezes, and that expansion is enough to split a copper line, crack a water-heater tank, or blow the dome off a water pump you can’t buy until spring. A burst line behind a wall doesn’t announce itself. You find it in April, when you flip the pump on and hear water running somewhere it shouldn’t. These steps keep that from happening, and most are easier than you’d think.
29. Photograph and Label Every Valve Before You Touch It
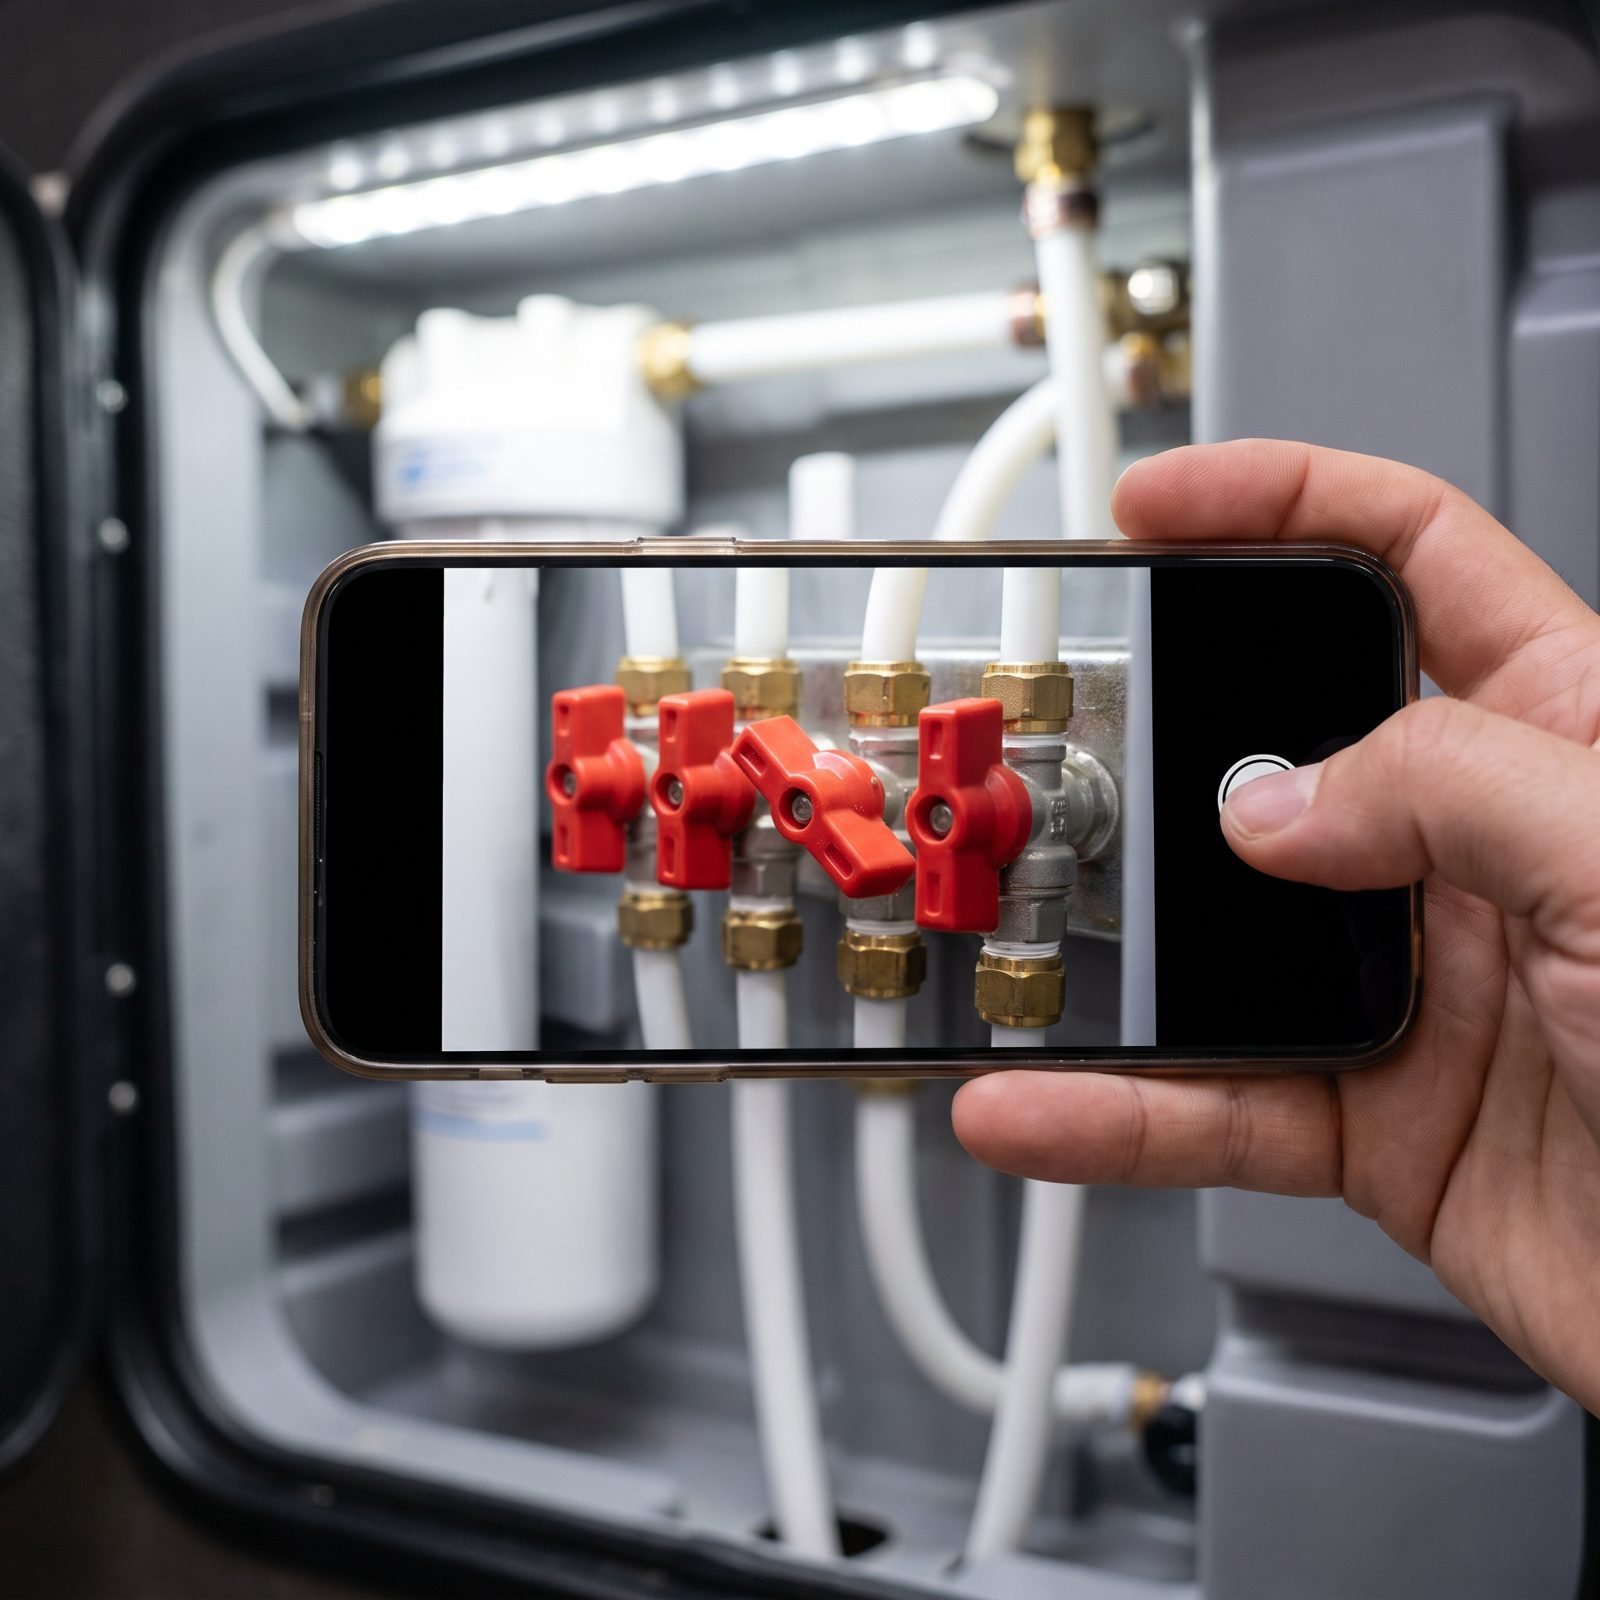
You’ve stared at a bank of identical valve handles in March, every one of them half-open, with no idea which position counted as “normal.” That’s the exact problem. Six months from now you will not remember whether the bypass valve was up or down.
So before you move a single handle, take a clear photo of every valve where it sits right now. Add a strip of painter’s tape and a Sharpie note wherever it helps: “bypass,” “low point,” “tank fill.” Four minutes of work saves you a confused afternoon come spring.
28. Match the Plan to Your Own Owner’s Manual, Not a YouTube Video
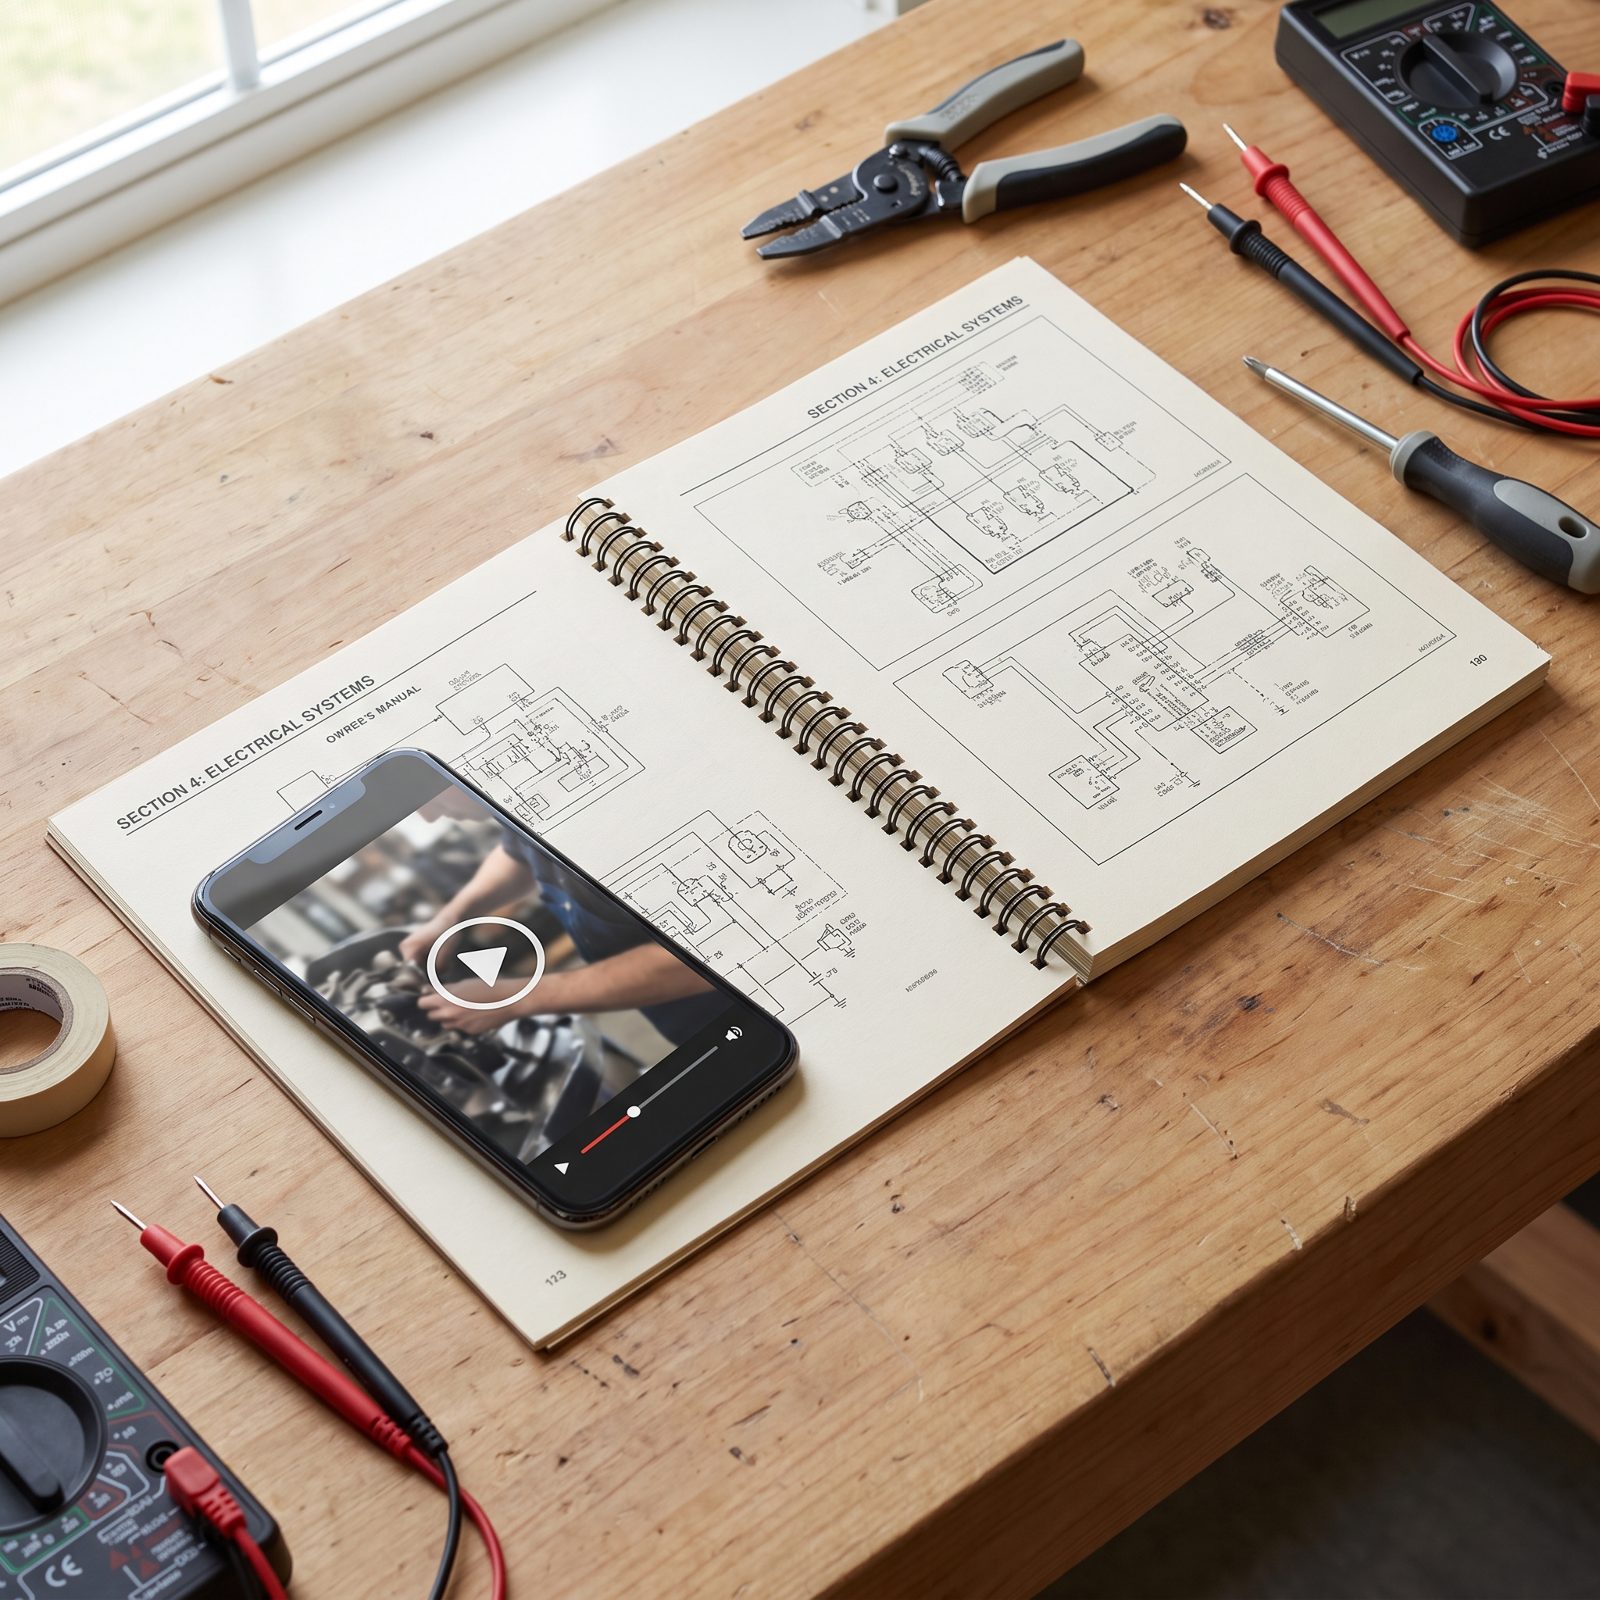
Two rigs that look identical from the outside can hide completely different plumbing. One has a tank heater pad; another routes the washer lines through a bay you’d never think to check. A generic checklist misses whatever’s unique to your coach, and that unique thing is usually what freezes.
Pull your actual owner’s manual before you start. Note anything the generic guides skip, whether that’s an ice-maker line, a second water heater, a residential fridge with a water hookup, or an outdoor kitchen. Build your list from the rig you actually own, then borrow the rest from the general steps below.
27. Kill Every Water-Heater Power Source and Let the Tank Cool Down
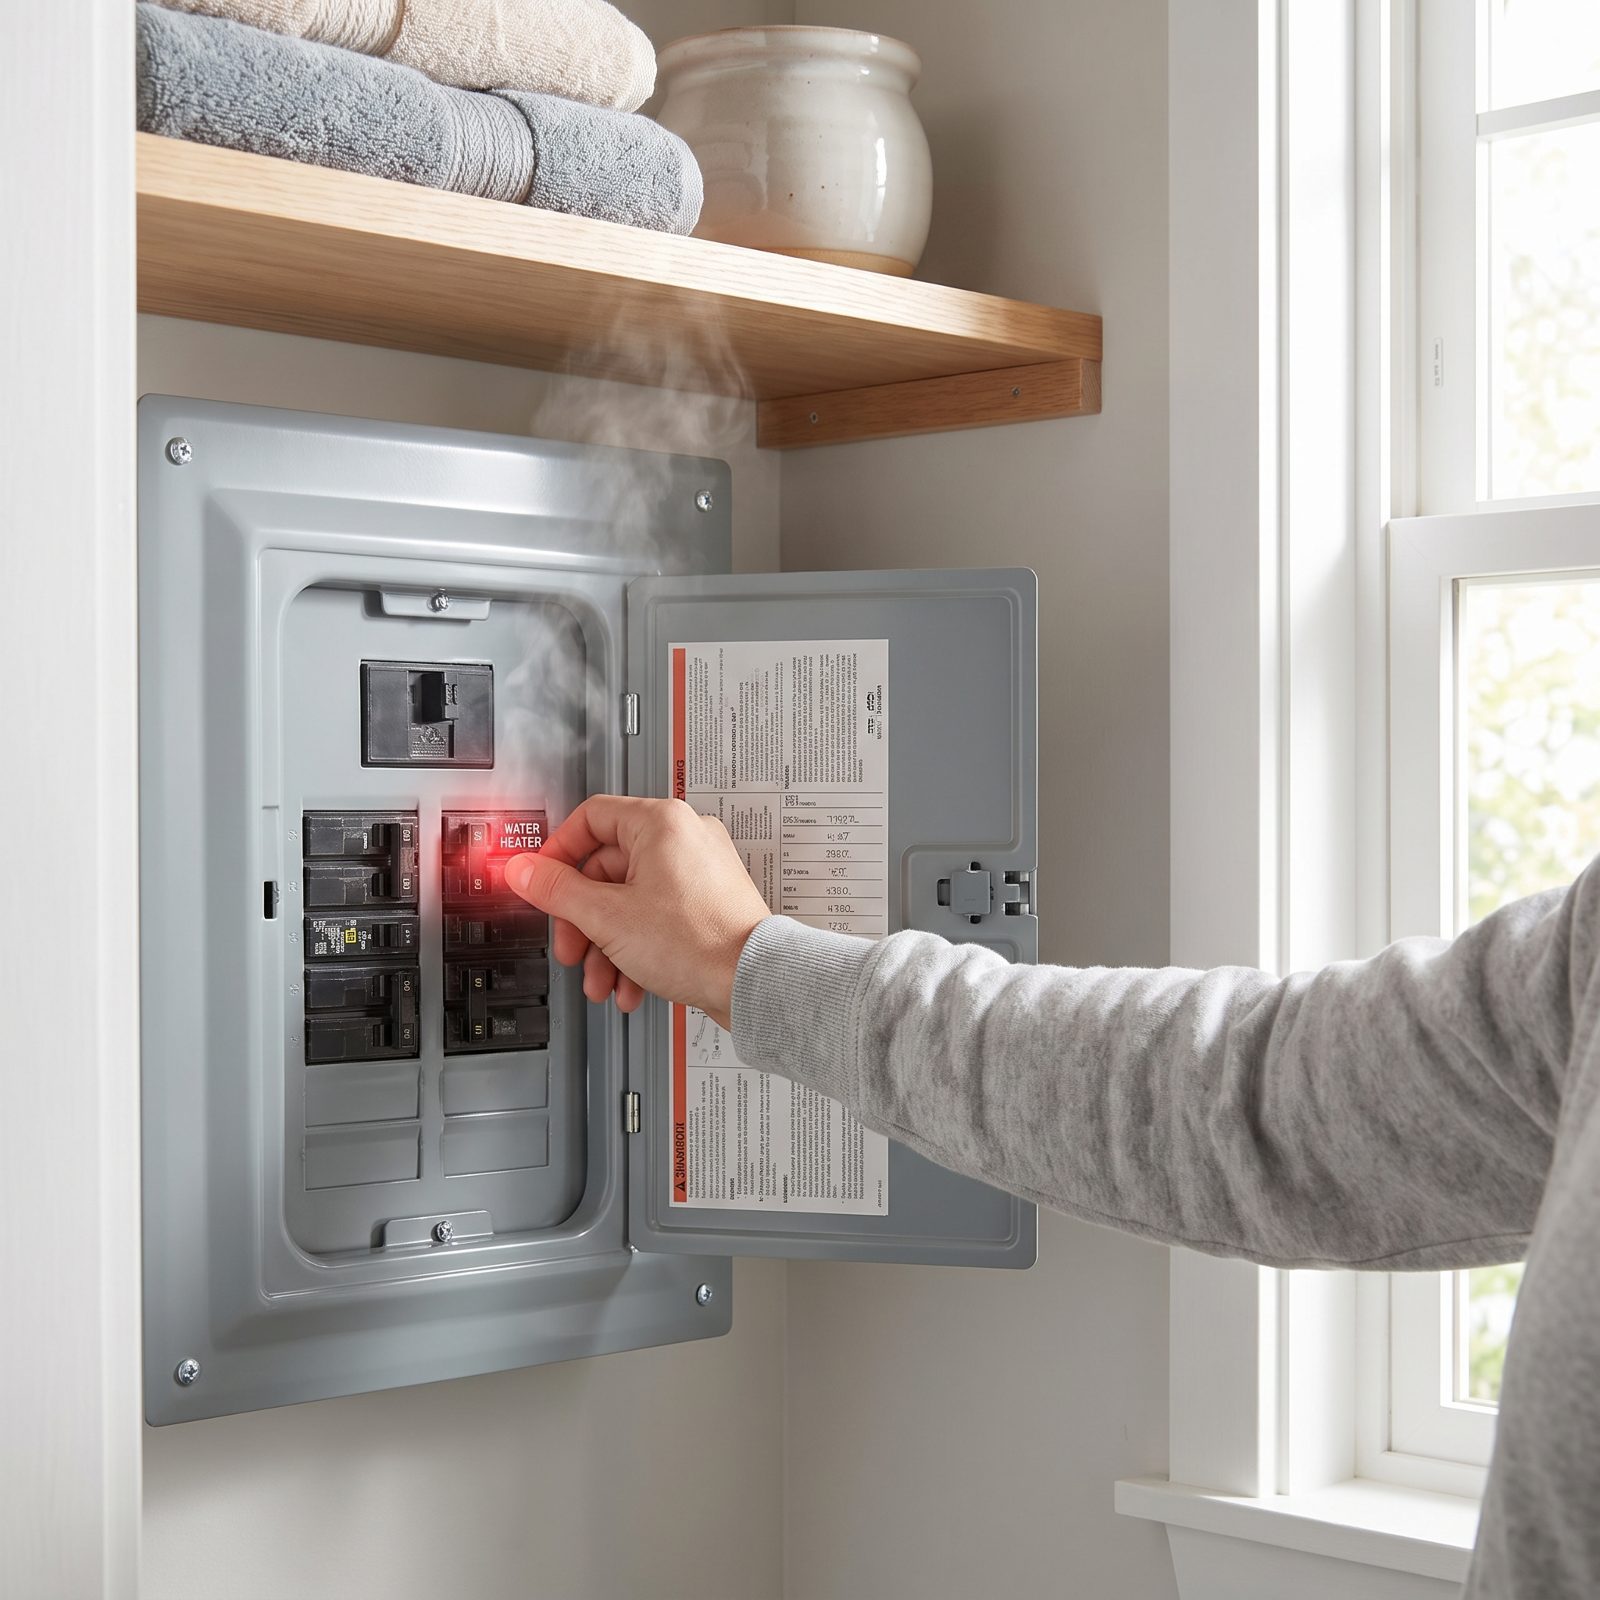
Draining a water heater that’s still hot is how people get scalded, and running the element dry is how they fry it. Both are avoidable.
Switch off the water heater at the panel. That means electric, propane, and the engine-heat loop if your rig has one. Then walk away for a couple hours and let the tank cool before you open anything. That tank holds real heat, and it comes out of the drain at the exact temperature it went in.
26. Drain the Freshwater Tank and Crack Open Both Low-Point Drains
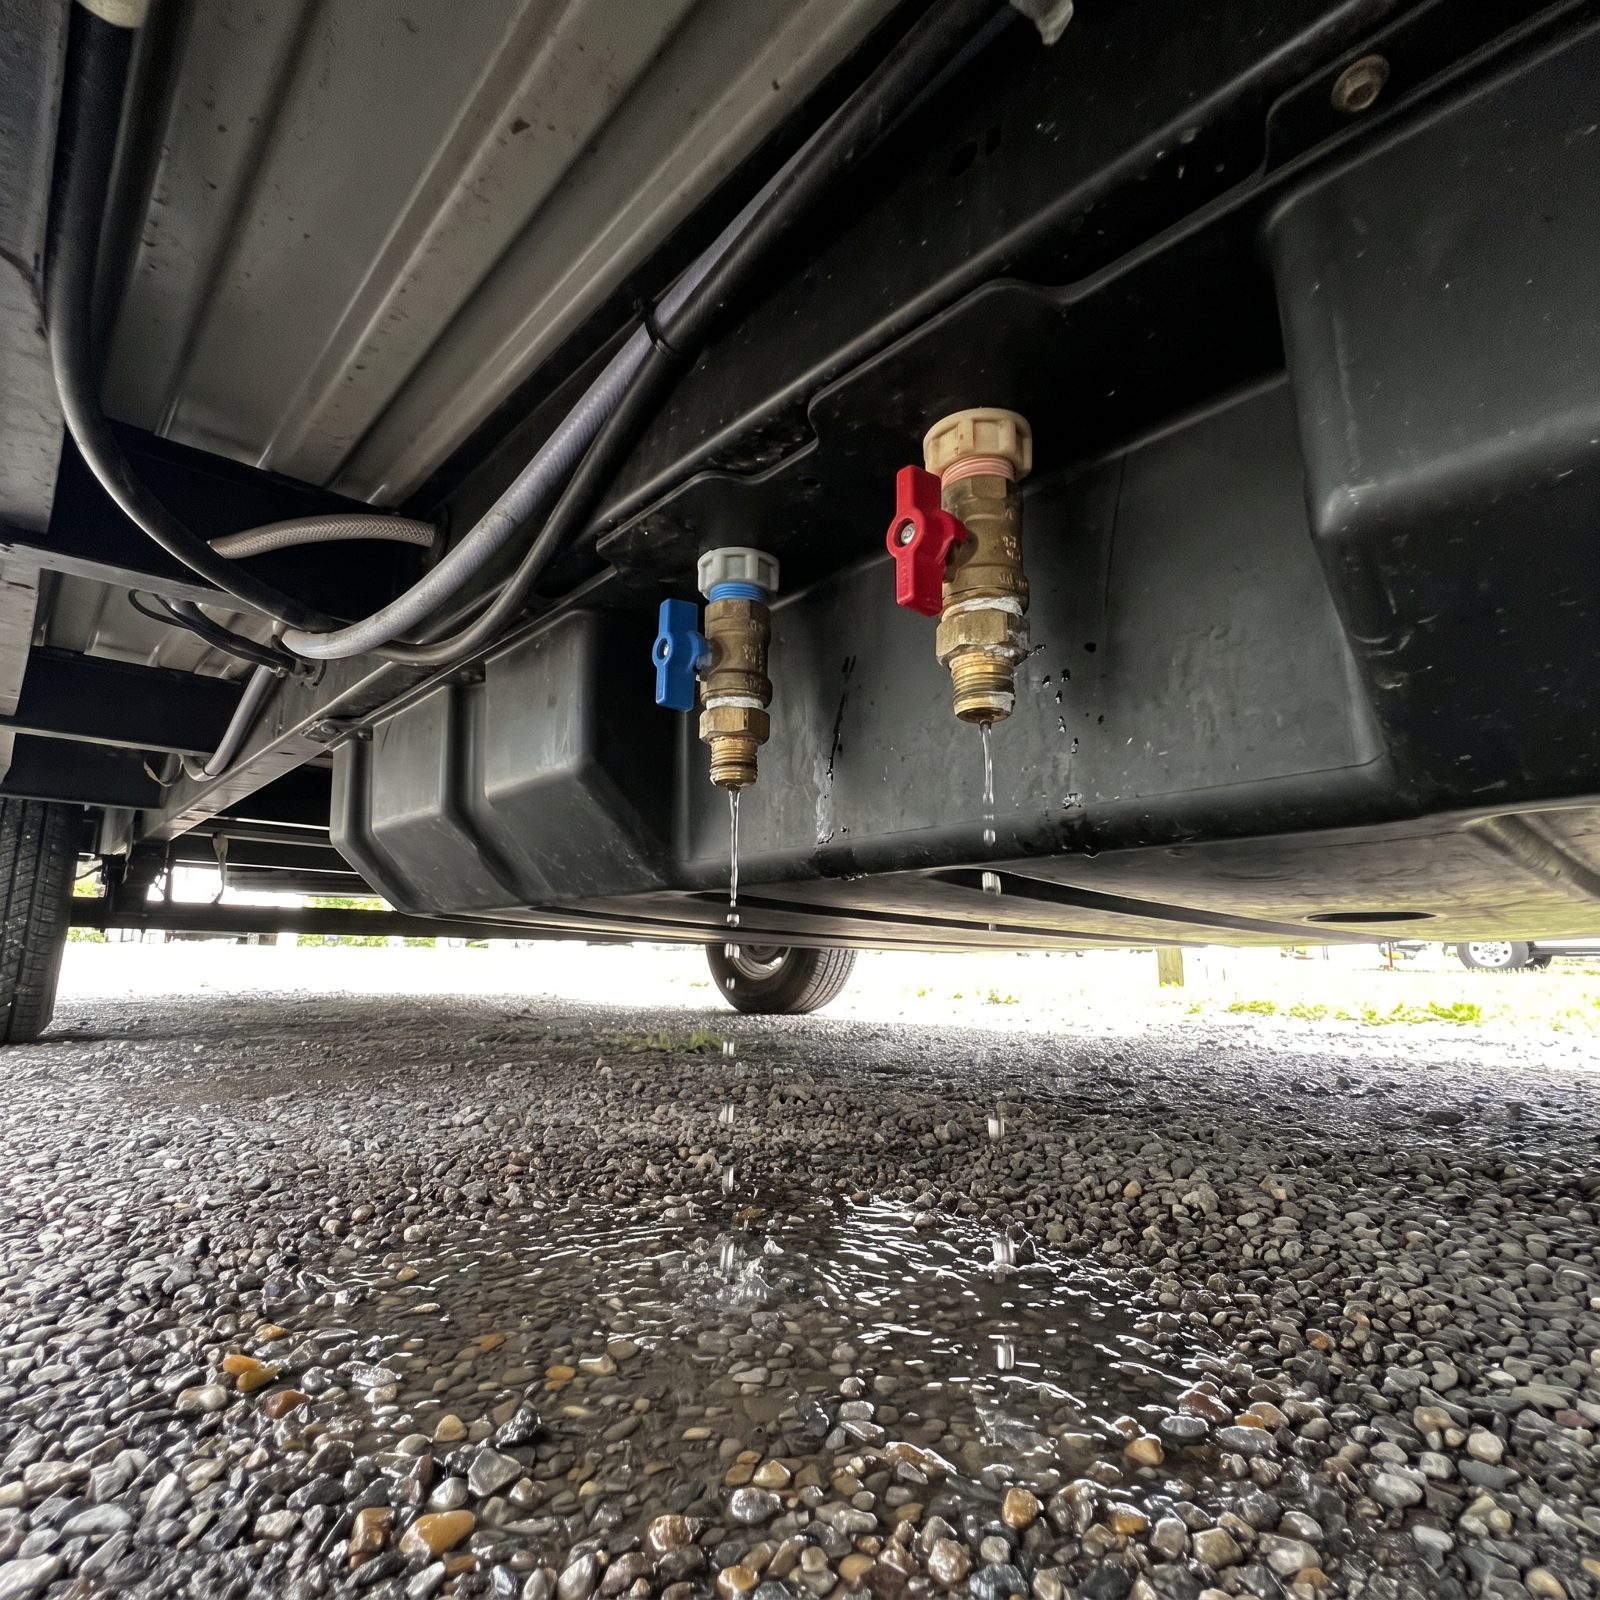
Most people drain the freshwater tank and call the plumbing empty. It isn’t. Water sits trapped in the lines at the lowest points, and those low spots are exactly where ice does its damage.
Open the freshwater drain first. Then find both low-point drains, usually a hot and a cold line color-coded red and blue, hanging below the belly, and open them both so the system gravity-drains completely. Run the water pump for a few seconds to push the last of it out, then shut the pump off before it runs dry.
25. Pull the Drain Plug or Anode Rod and Flush the Sediment Out
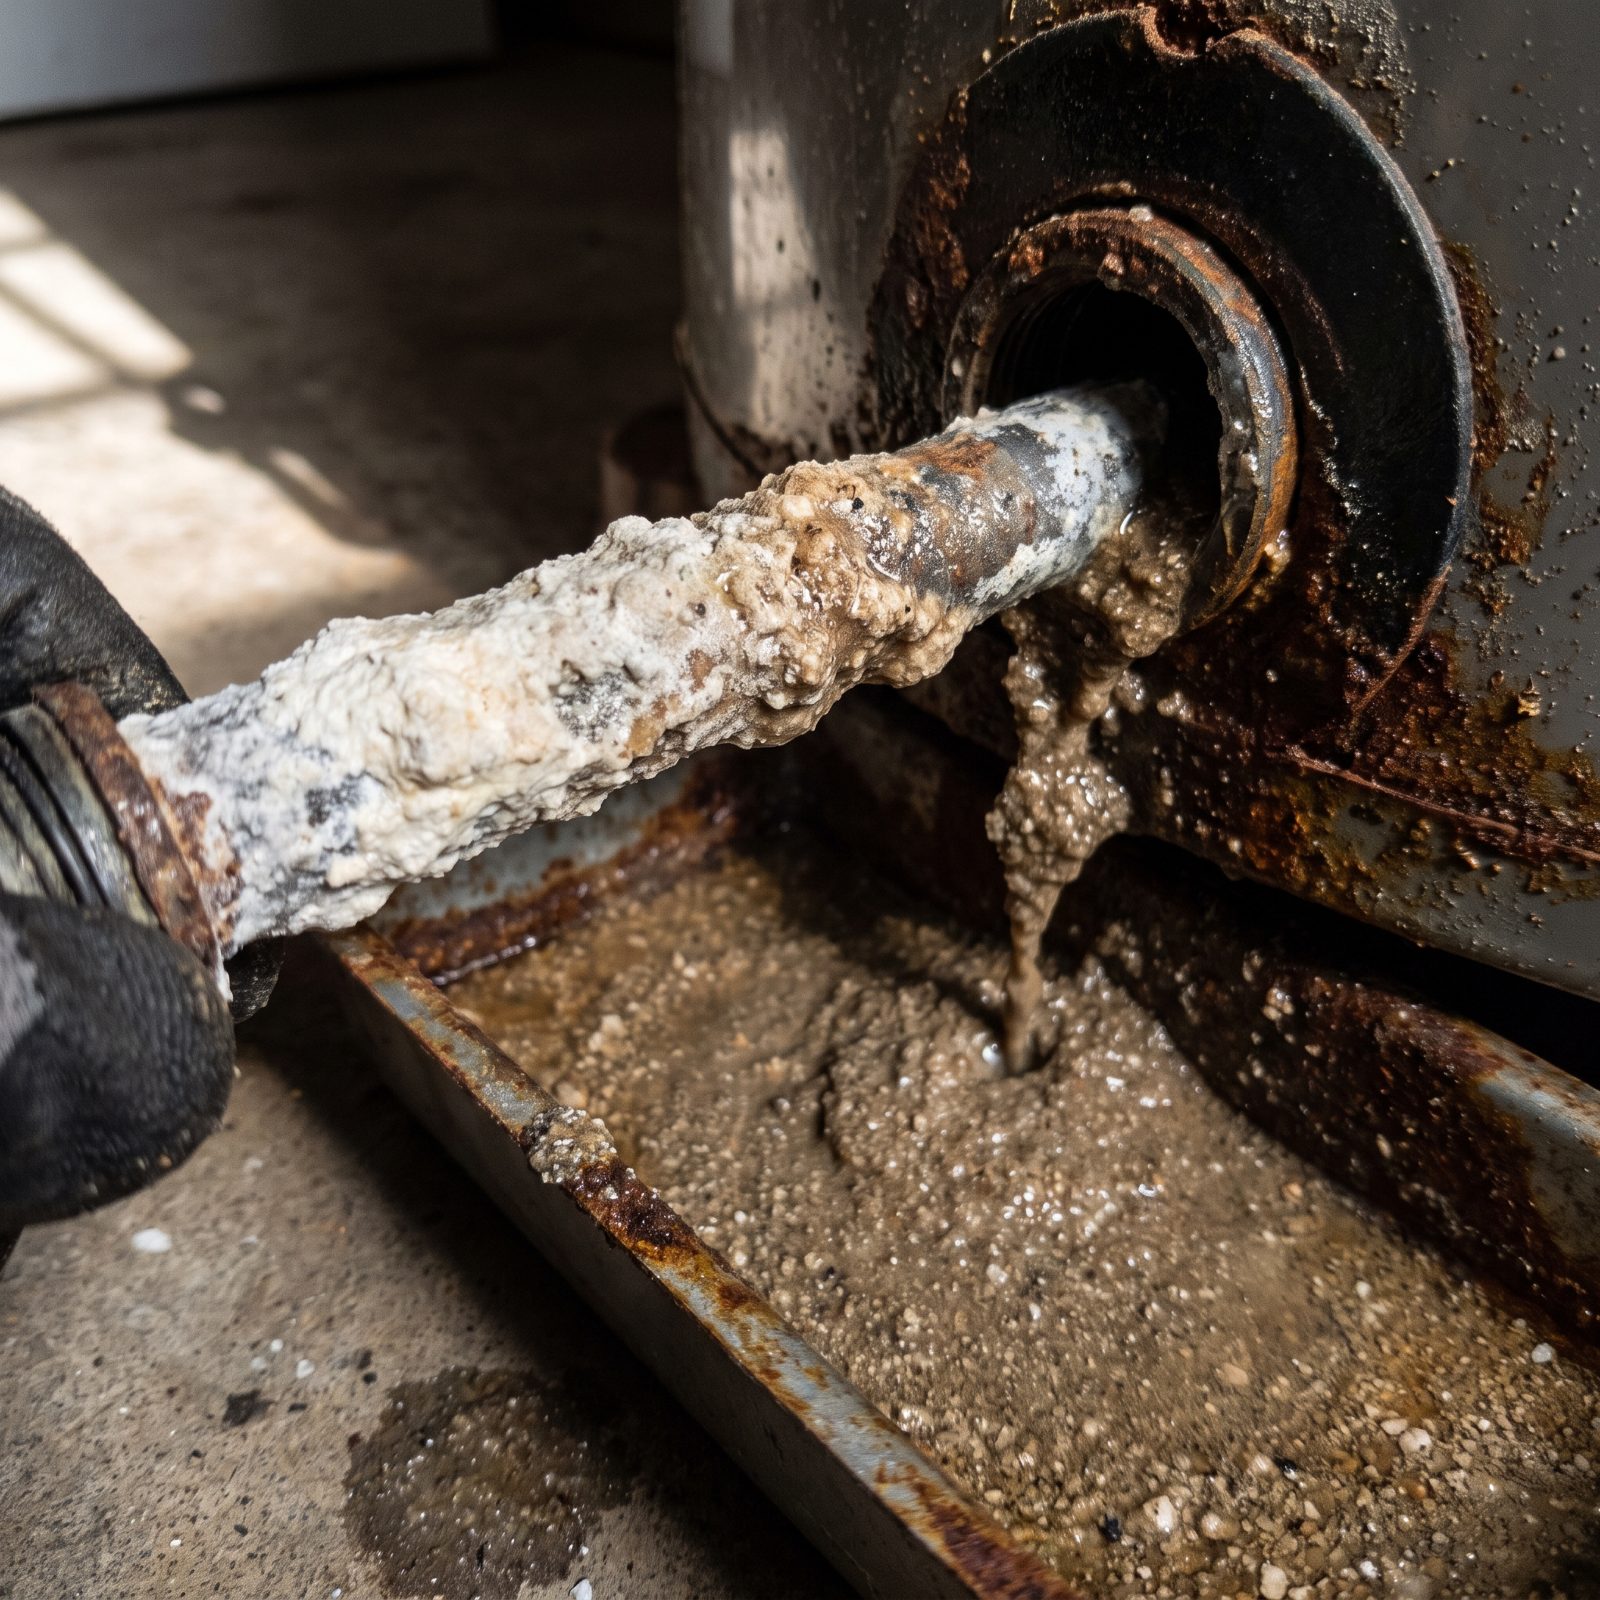
There’s a reason your water heater takes longer to heat each year. Mineral sediment settles at the bottom and bakes into a crust. Winterization is the one time you’ve already got it drained, so this is your window.
Remove the drain plug (Atwood) or anode rod (Suburban) with a socket wrench. If it’s an anode rod and it looks like a chewed-up pencil, that’s it doing its job, and it’s cheap to replace. Flush the tank with a short water-heater wand, or a quick blast from a hose, until the water runs clear of sediment.
24. Put the Water Heater in Bypass So You Don’t Fill It With Antifreeze
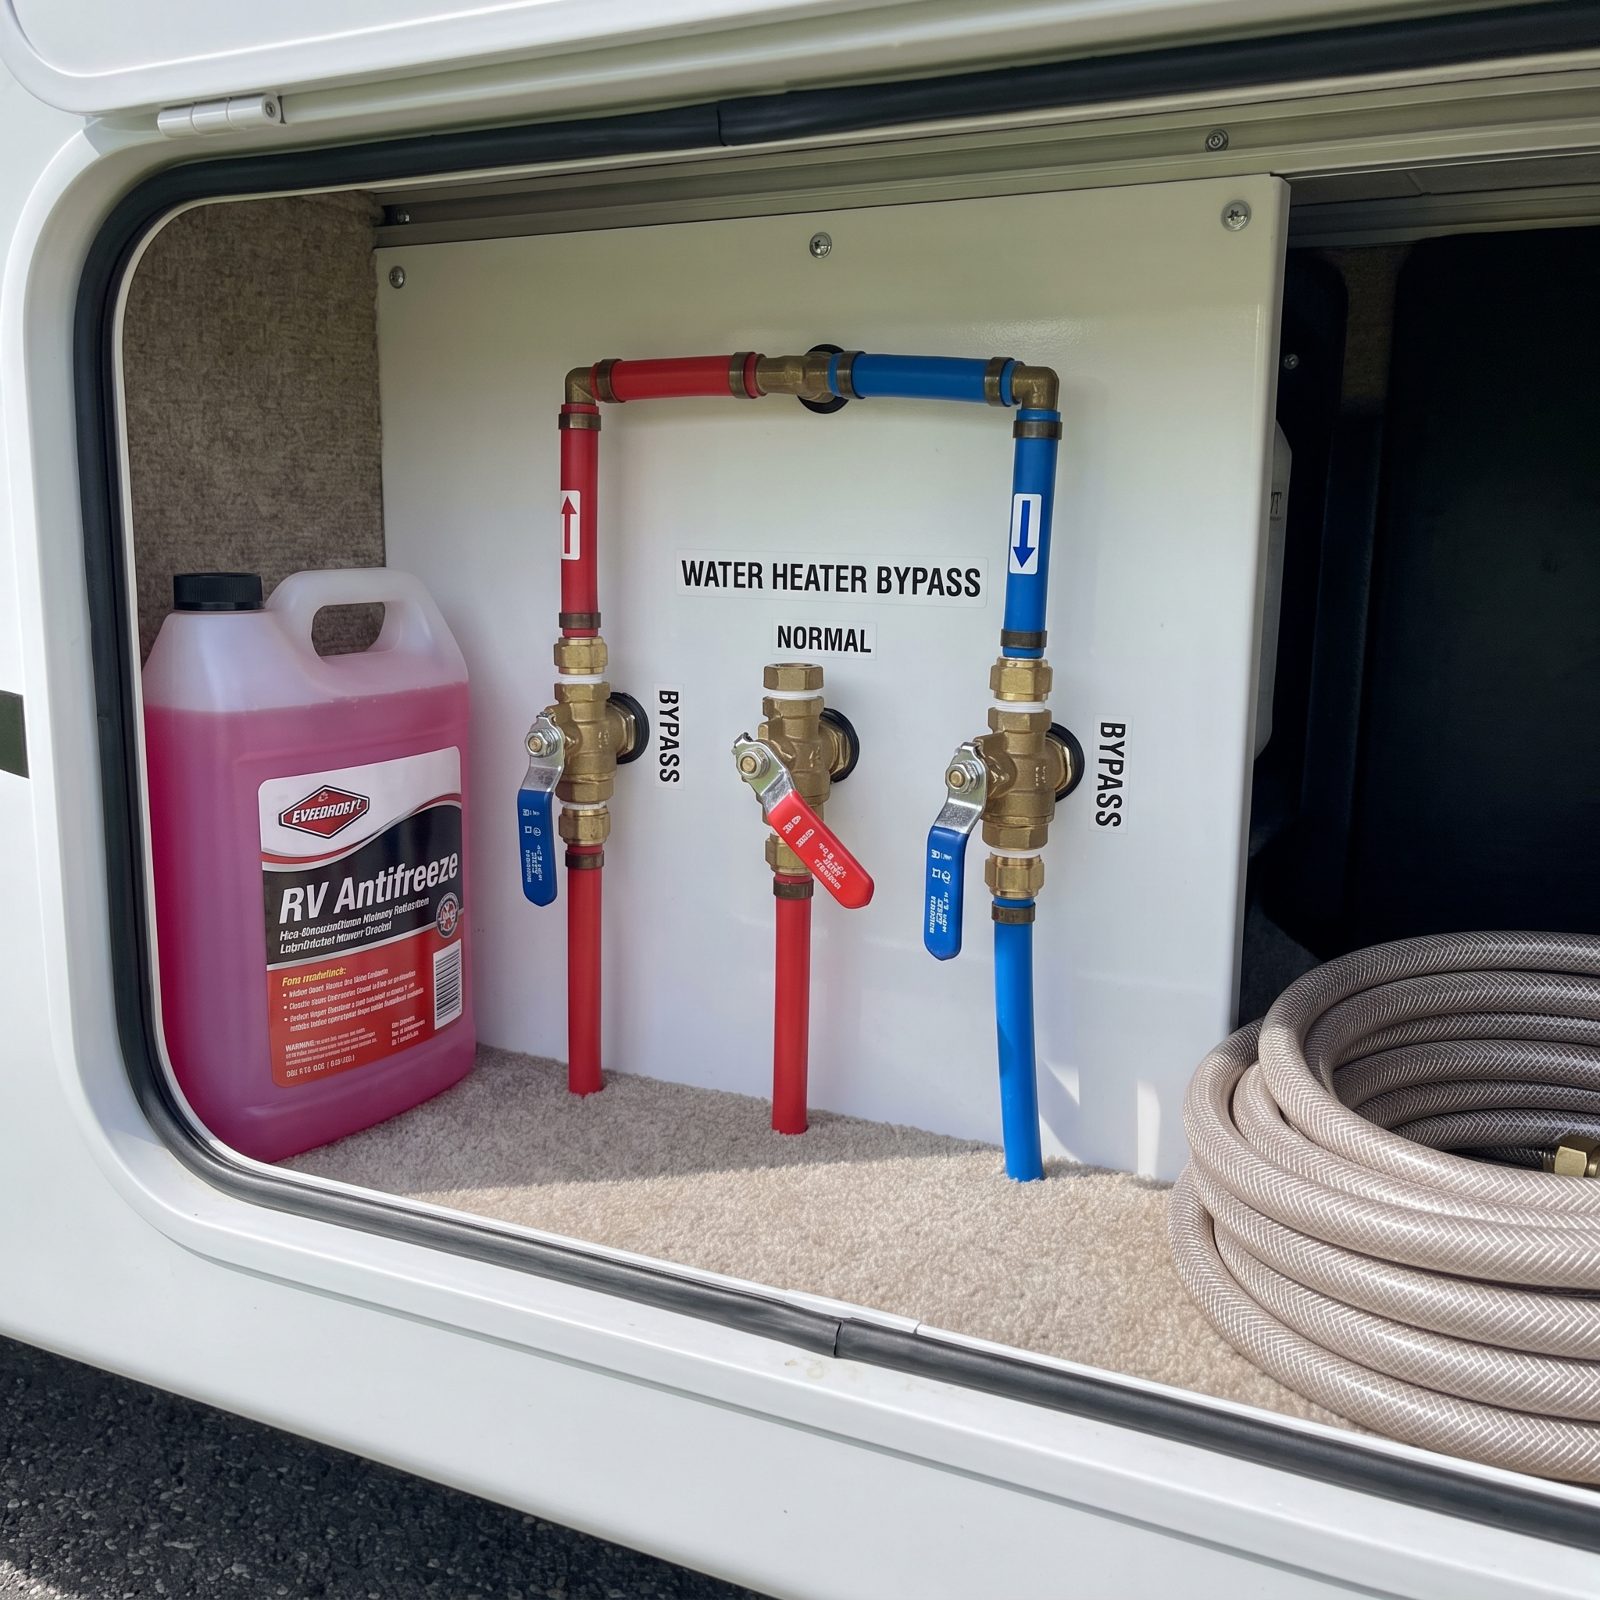
Skip this step and you’ll pump gallons of pink antifreeze straight into your water heater tank. That’s wasteful, it tastes like a mistake come spring, and you’ll be flushing it forever.
Find your bypass valves behind the water heater. Depending on your setup, it’s one, two, or three handles. Turn them so water routes around the tank instead of through it. Now when you pump antifreeze through the system, the tank stays empty and dry, which is exactly how it should sit all winter.
23. Yank the Filter Cartridges and Clean the Water-Pump Strainer
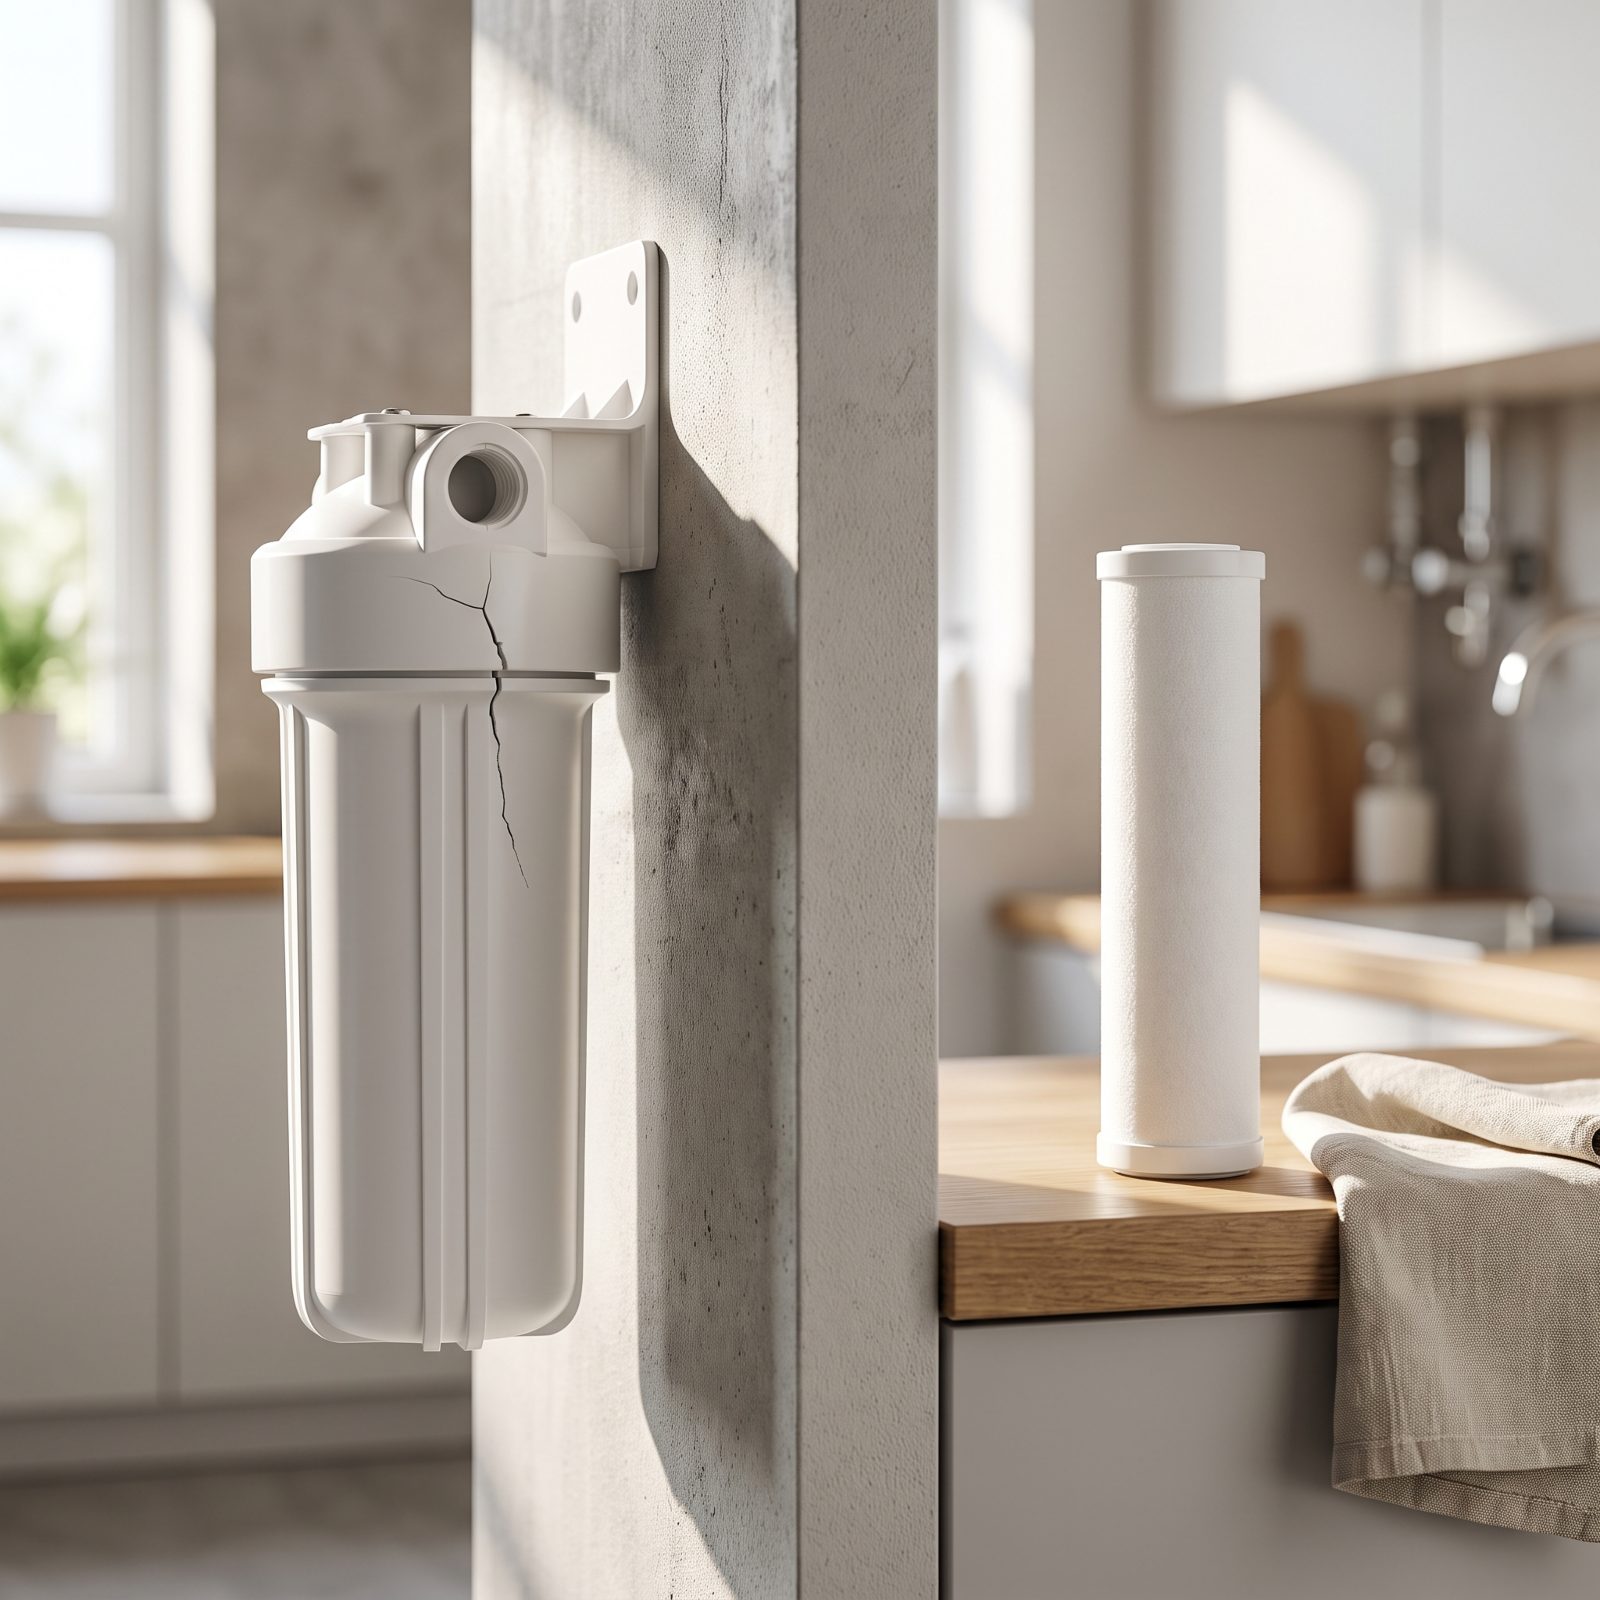
A water filter is basically a sponge. Leave it full through a freeze and it splits the housing from the inside. Same story for the little mesh strainer on the inlet side of your pump.
Remove and toss any filter cartridges. You want fresh ones in spring anyway. Unscrew the pump strainer, rinse the screen clear of grit, and leave it loosely reassembled so no water hides in there. Antifreeze won’t push through a clogged strainer well, so cleaning it now also makes the next step work right.
22. Drain the Hoses, Regulators and External Filter Housings Too
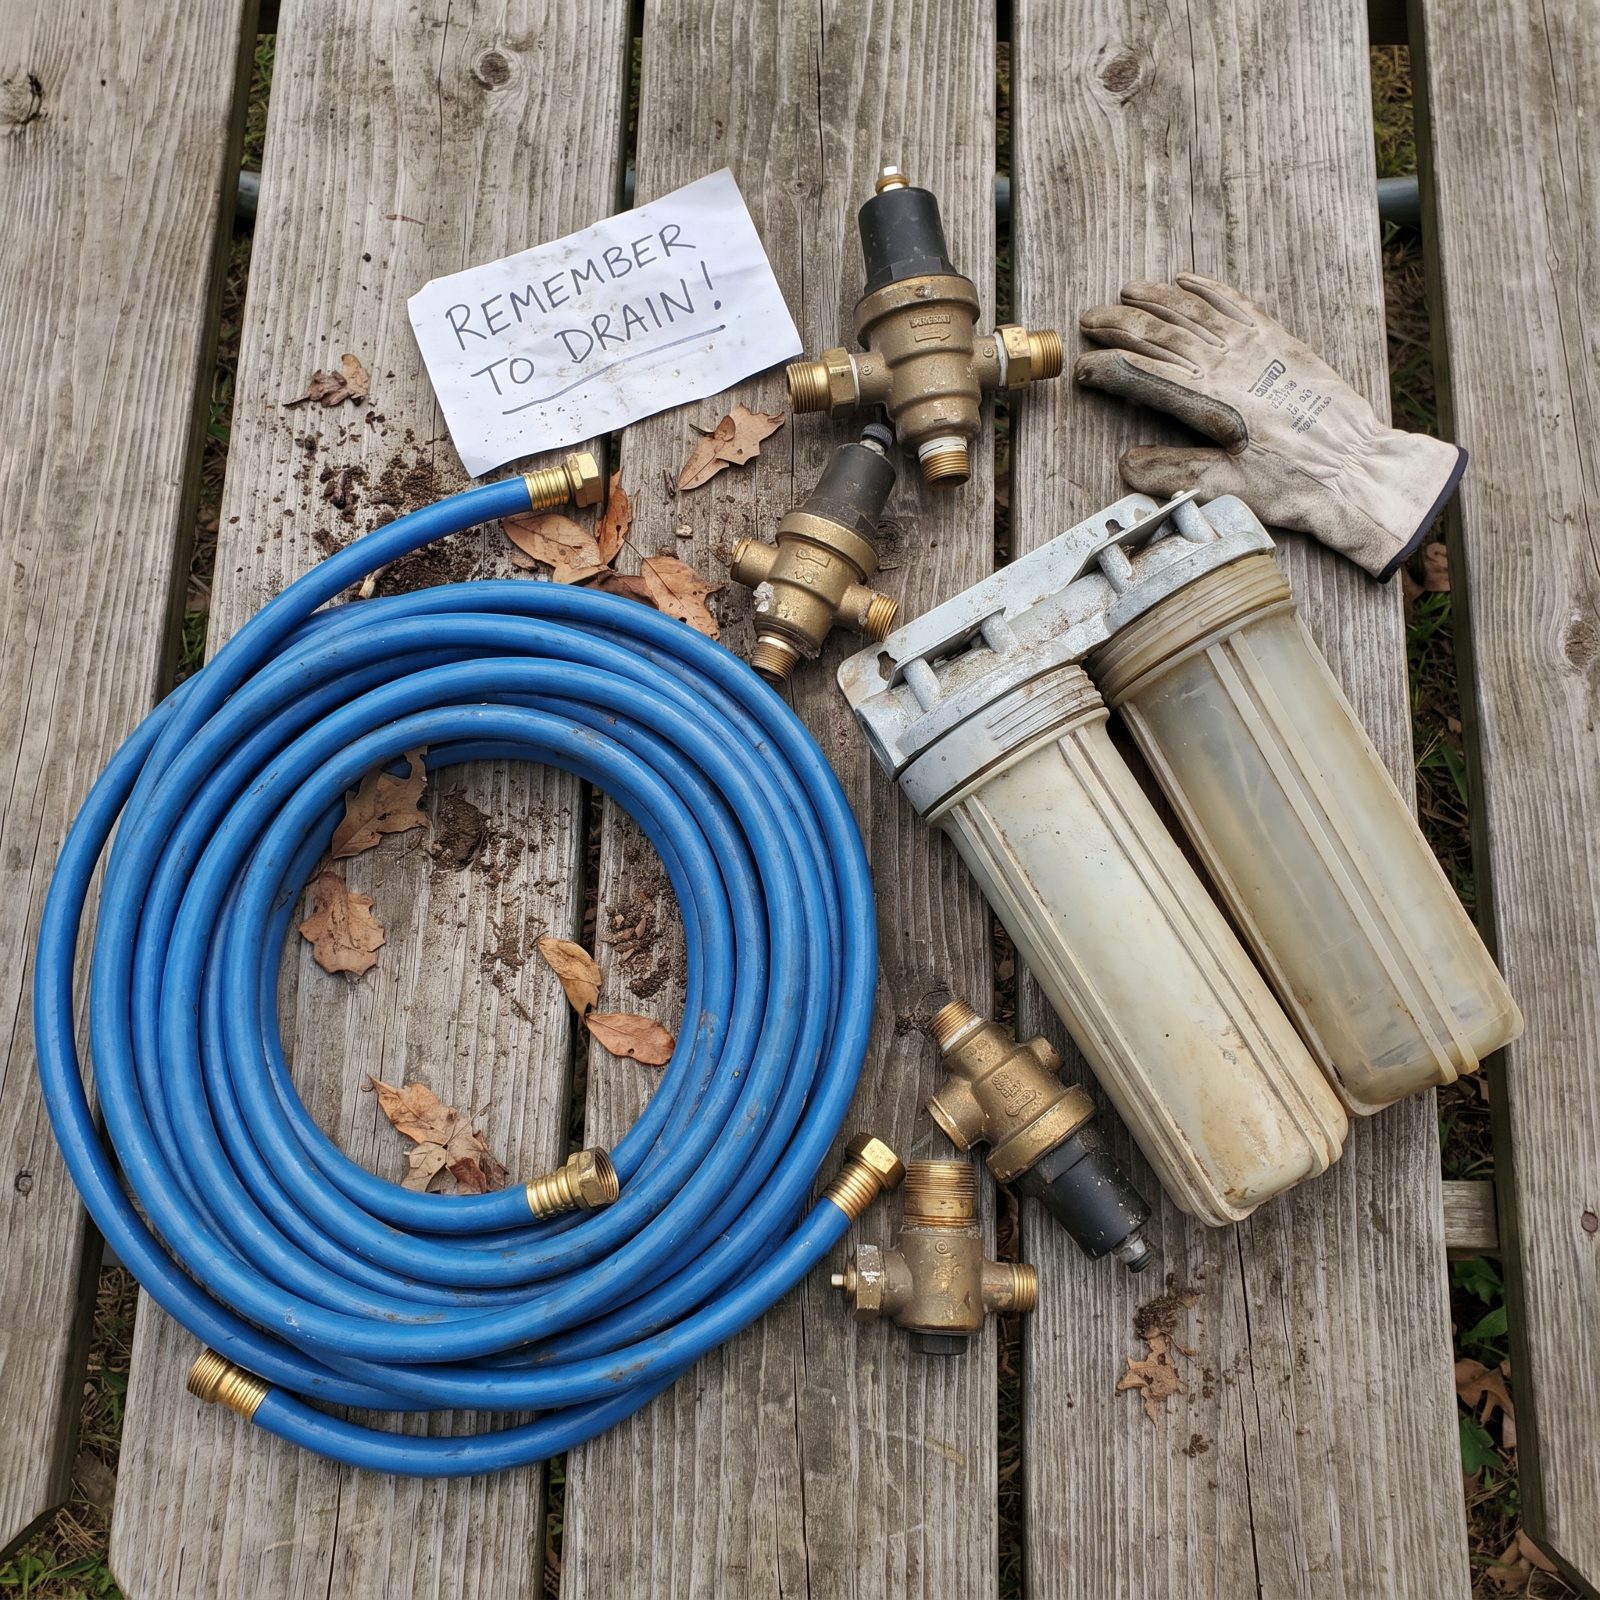
The gear that lives in the wet bay gets forgotten because it’s not technically part of the coach. Your white drinking hose, the brass pressure regulator, that blue inline filter you leave hooked up all season. Every one of them holds water, and every one of them cracks in a freeze.
Drain them, coil them, store them dry and inside if you can. A split hose is cheap. A cracked brass regulator means no city water pressure the day you pull into your first campground next year.
21. Set Your Air Compressor to an RV-Safe Pressure Before You Connect Anything
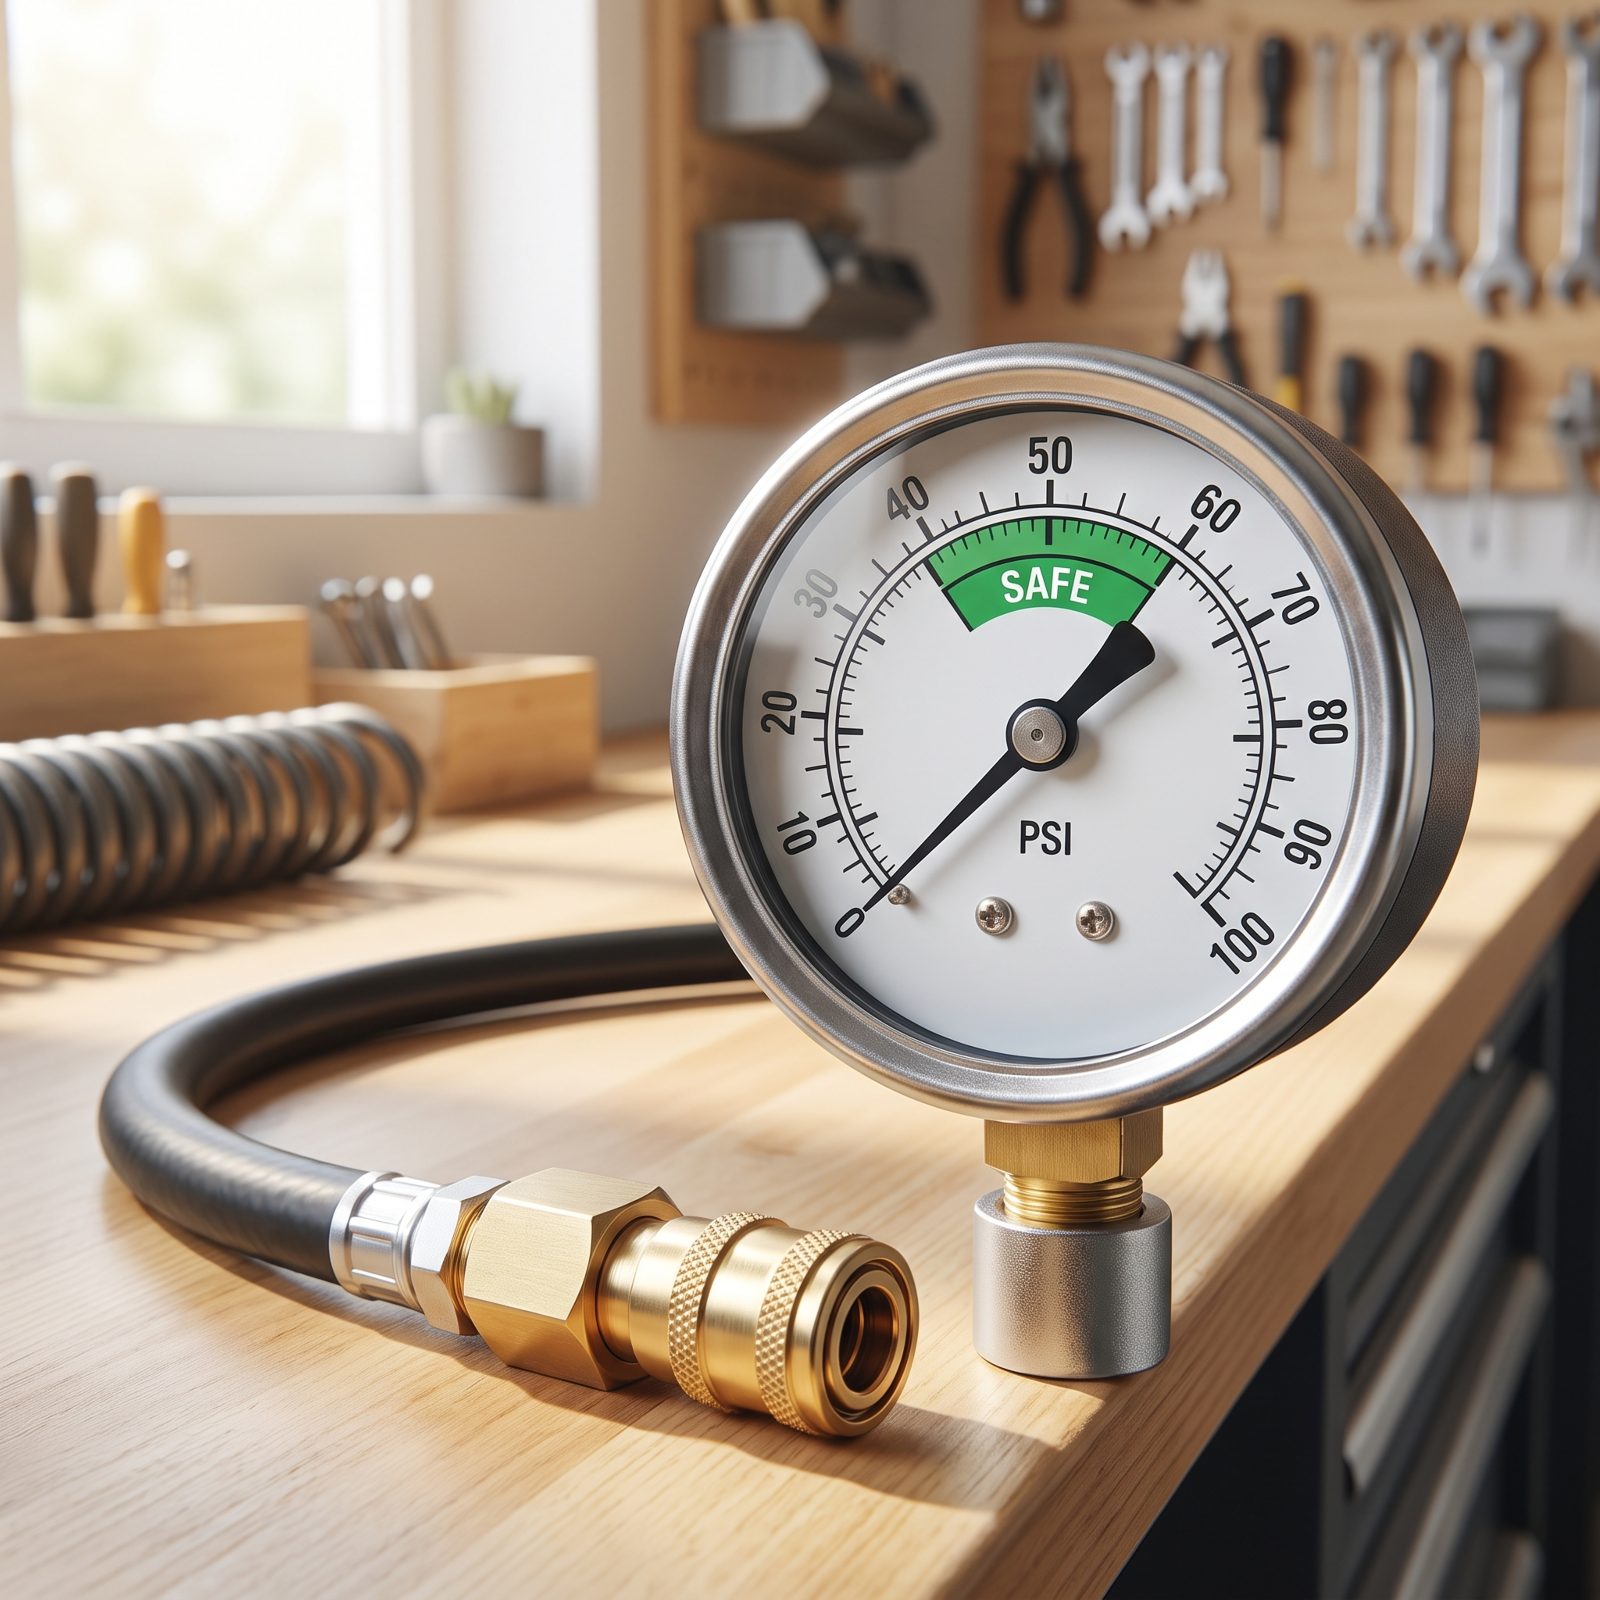
This is where people blow out more than their plumbing. Crank the compressor to shop pressure, hook it to the city water inlet, and you’ll pop a fitting or split a line the moment you open a valve. Your RV plumbing is not a tire.
Dial the regulator on your compressor down to a safe level before you ever connect it, somewhere in the low range and never above what your system is rated for. Check the gauge. Then attach the blow-out plug to the city water inlet. Low and slow protects the system you’re blowing air through.
20. Blow Out the Plumbing One Branch at a Time, Not All at Once
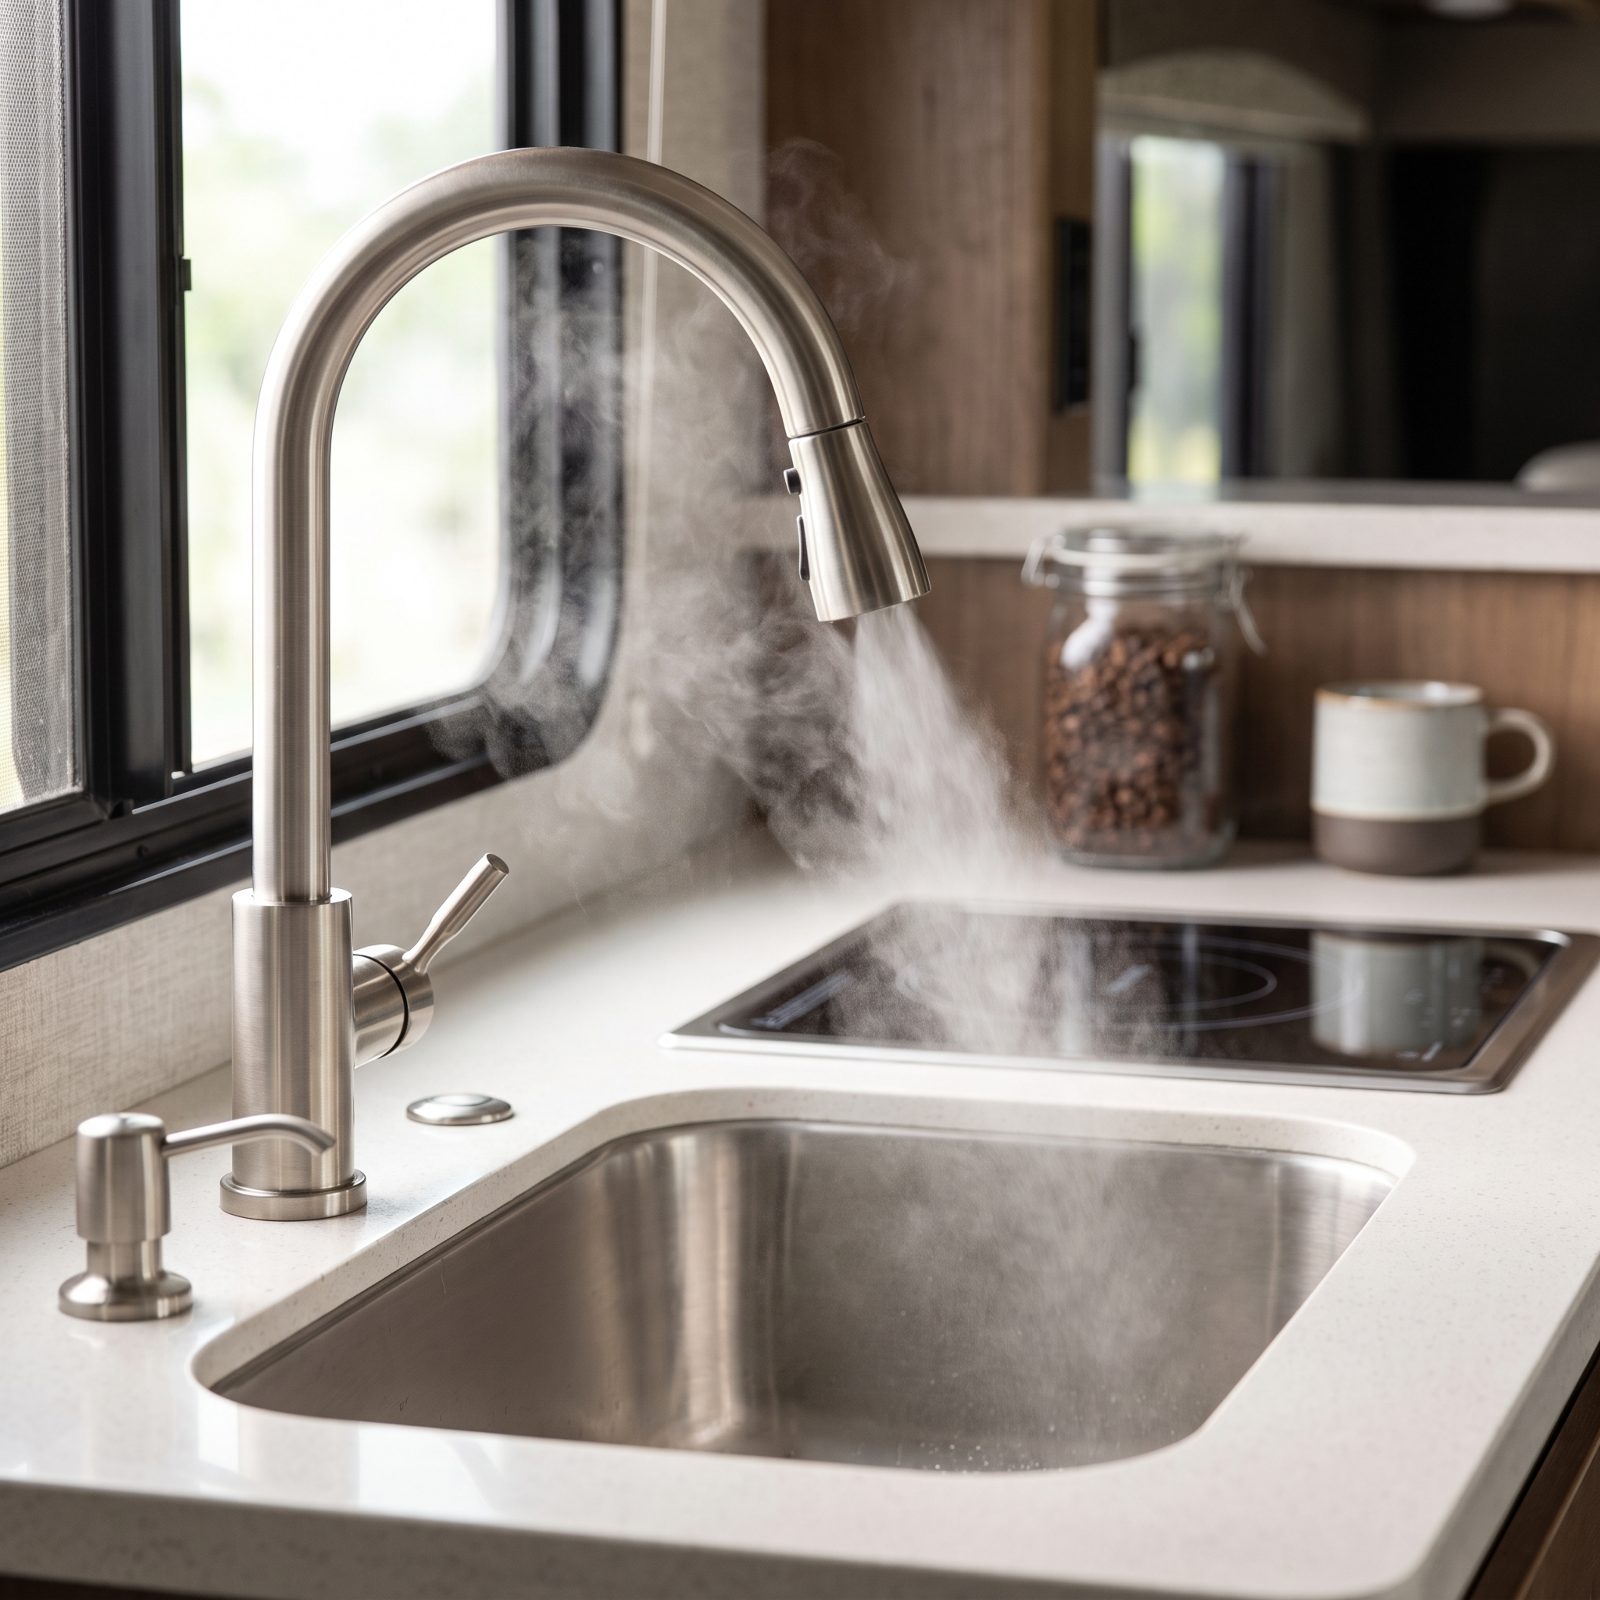
Open every faucet at once and the air takes the path of least resistance, which means one easy line clears and the rest stay half full. Then you store the rig thinking you’re done.
Work it methodically instead. With the compressor connected and the pump off, open one fixture at a time: hot then cold at each sink, the shower, the toilet valve, the outside shower, the ice maker line, the washer hookups. Hold each one open until you get only air, no spitting water. And don’t forget to flush the toilet and run air through the P-traps, then pour a splash of antifreeze down each drain to protect the traps.
One branch at a time. It’s slower, and it’s the whole reason your lines are actually dry instead of just mostly dry.
19. Cycle the Toilet Valve and Hand Sprayer Until Dry
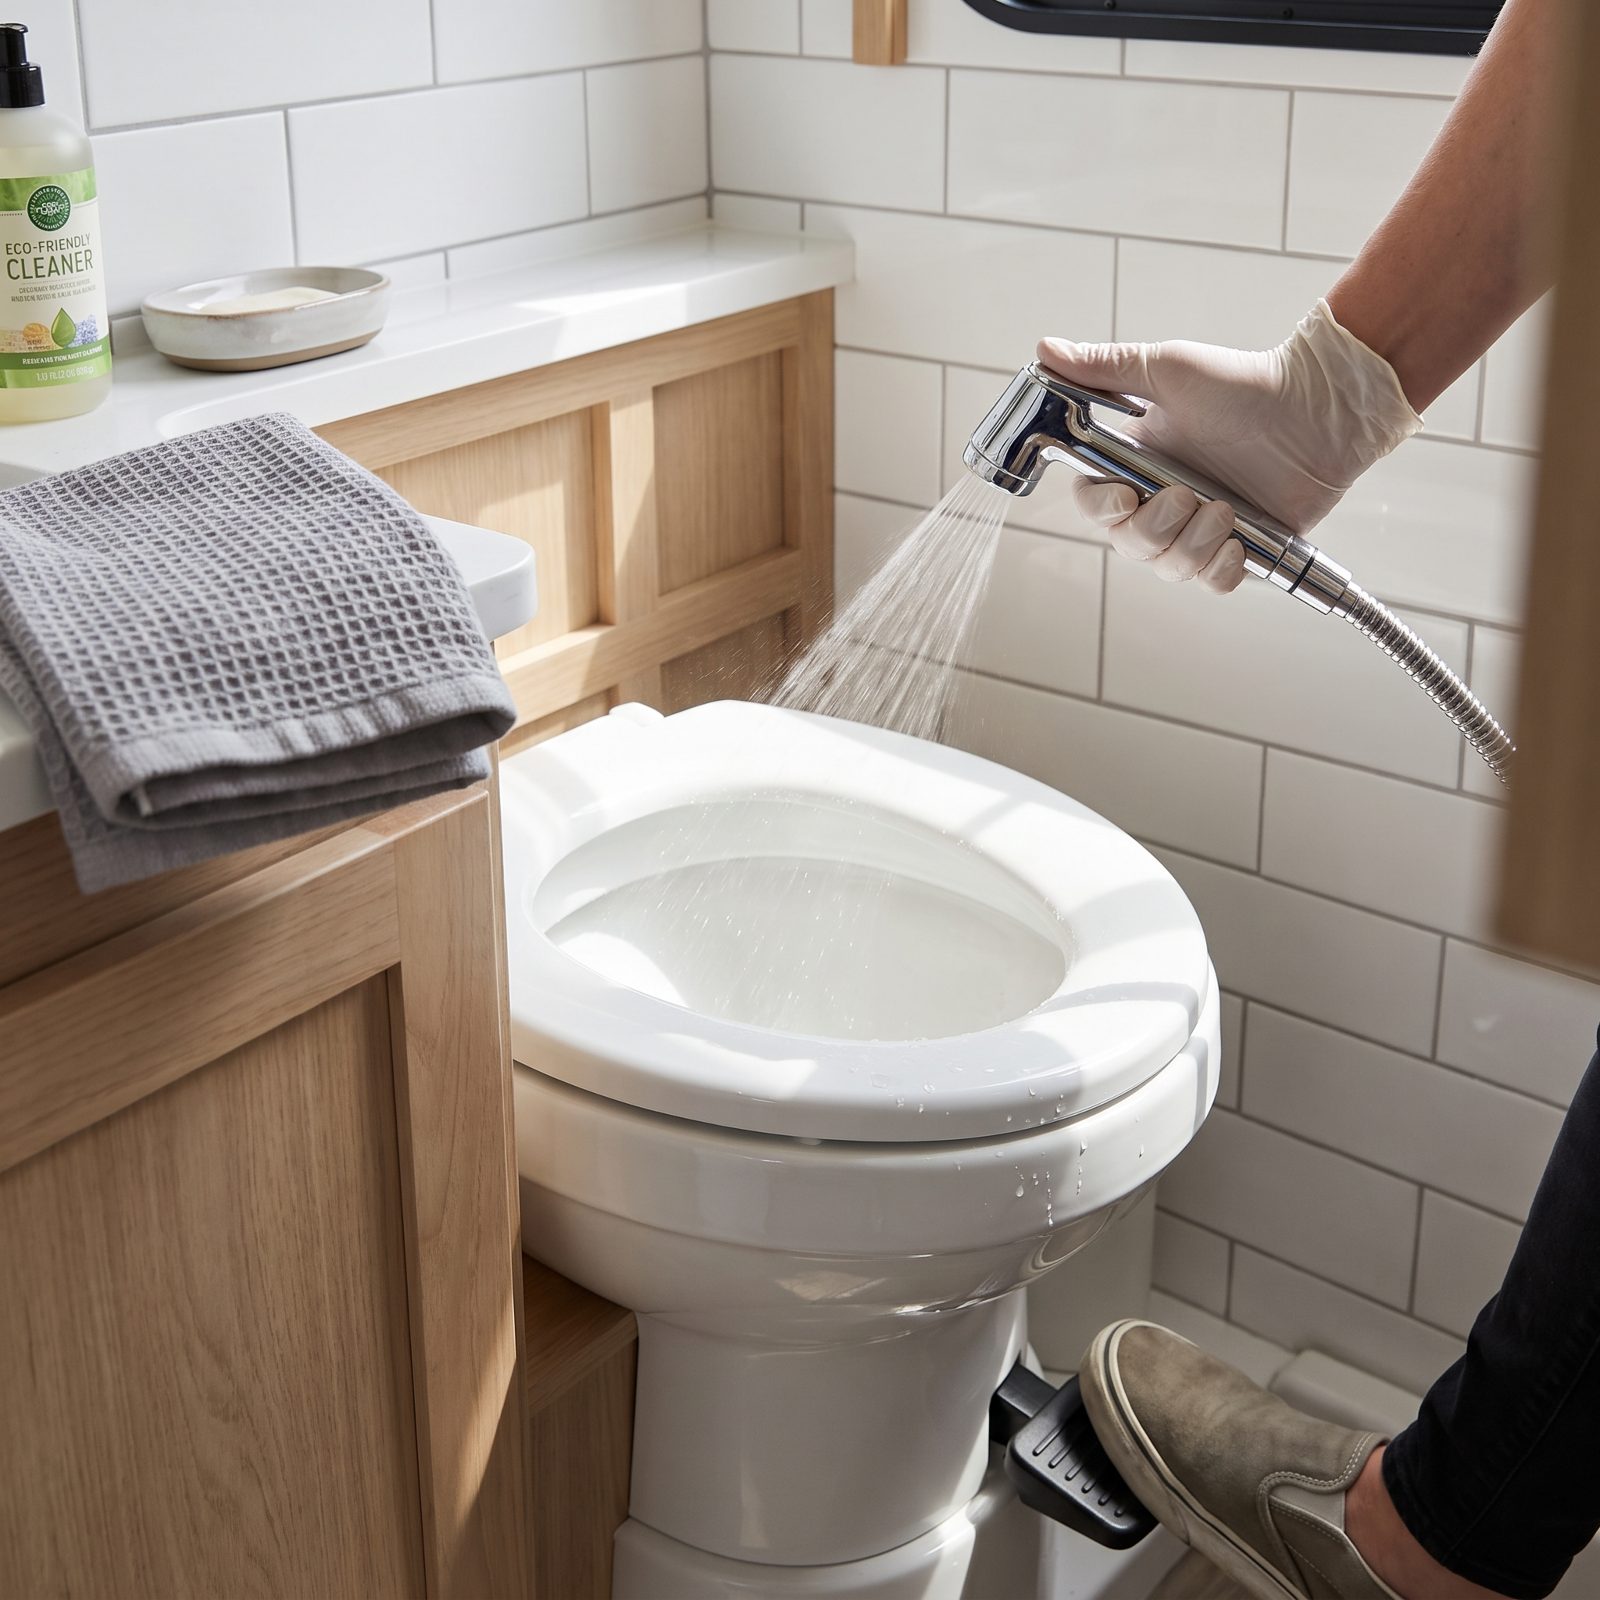
The toilet valve is where water hides. People winterize the whole rig, feel proud, then forget that the flush valve and that little hand sprayer each cradle a thimble of water that freezes, expands, and cracks a seal you can’t easily replace.
So here’s the fix. Once the antifreeze is running through the lines, hold the flush pedal open until pink fluid comes through and the bowl shows color. Then squeeze the hand sprayer into the bowl until it runs pink too. Work the valve open and shut a few times so the seal itself gets coated.
18. Clear the Exterior Shower, Outdoor Kitchen and Wet-Bay Fittings
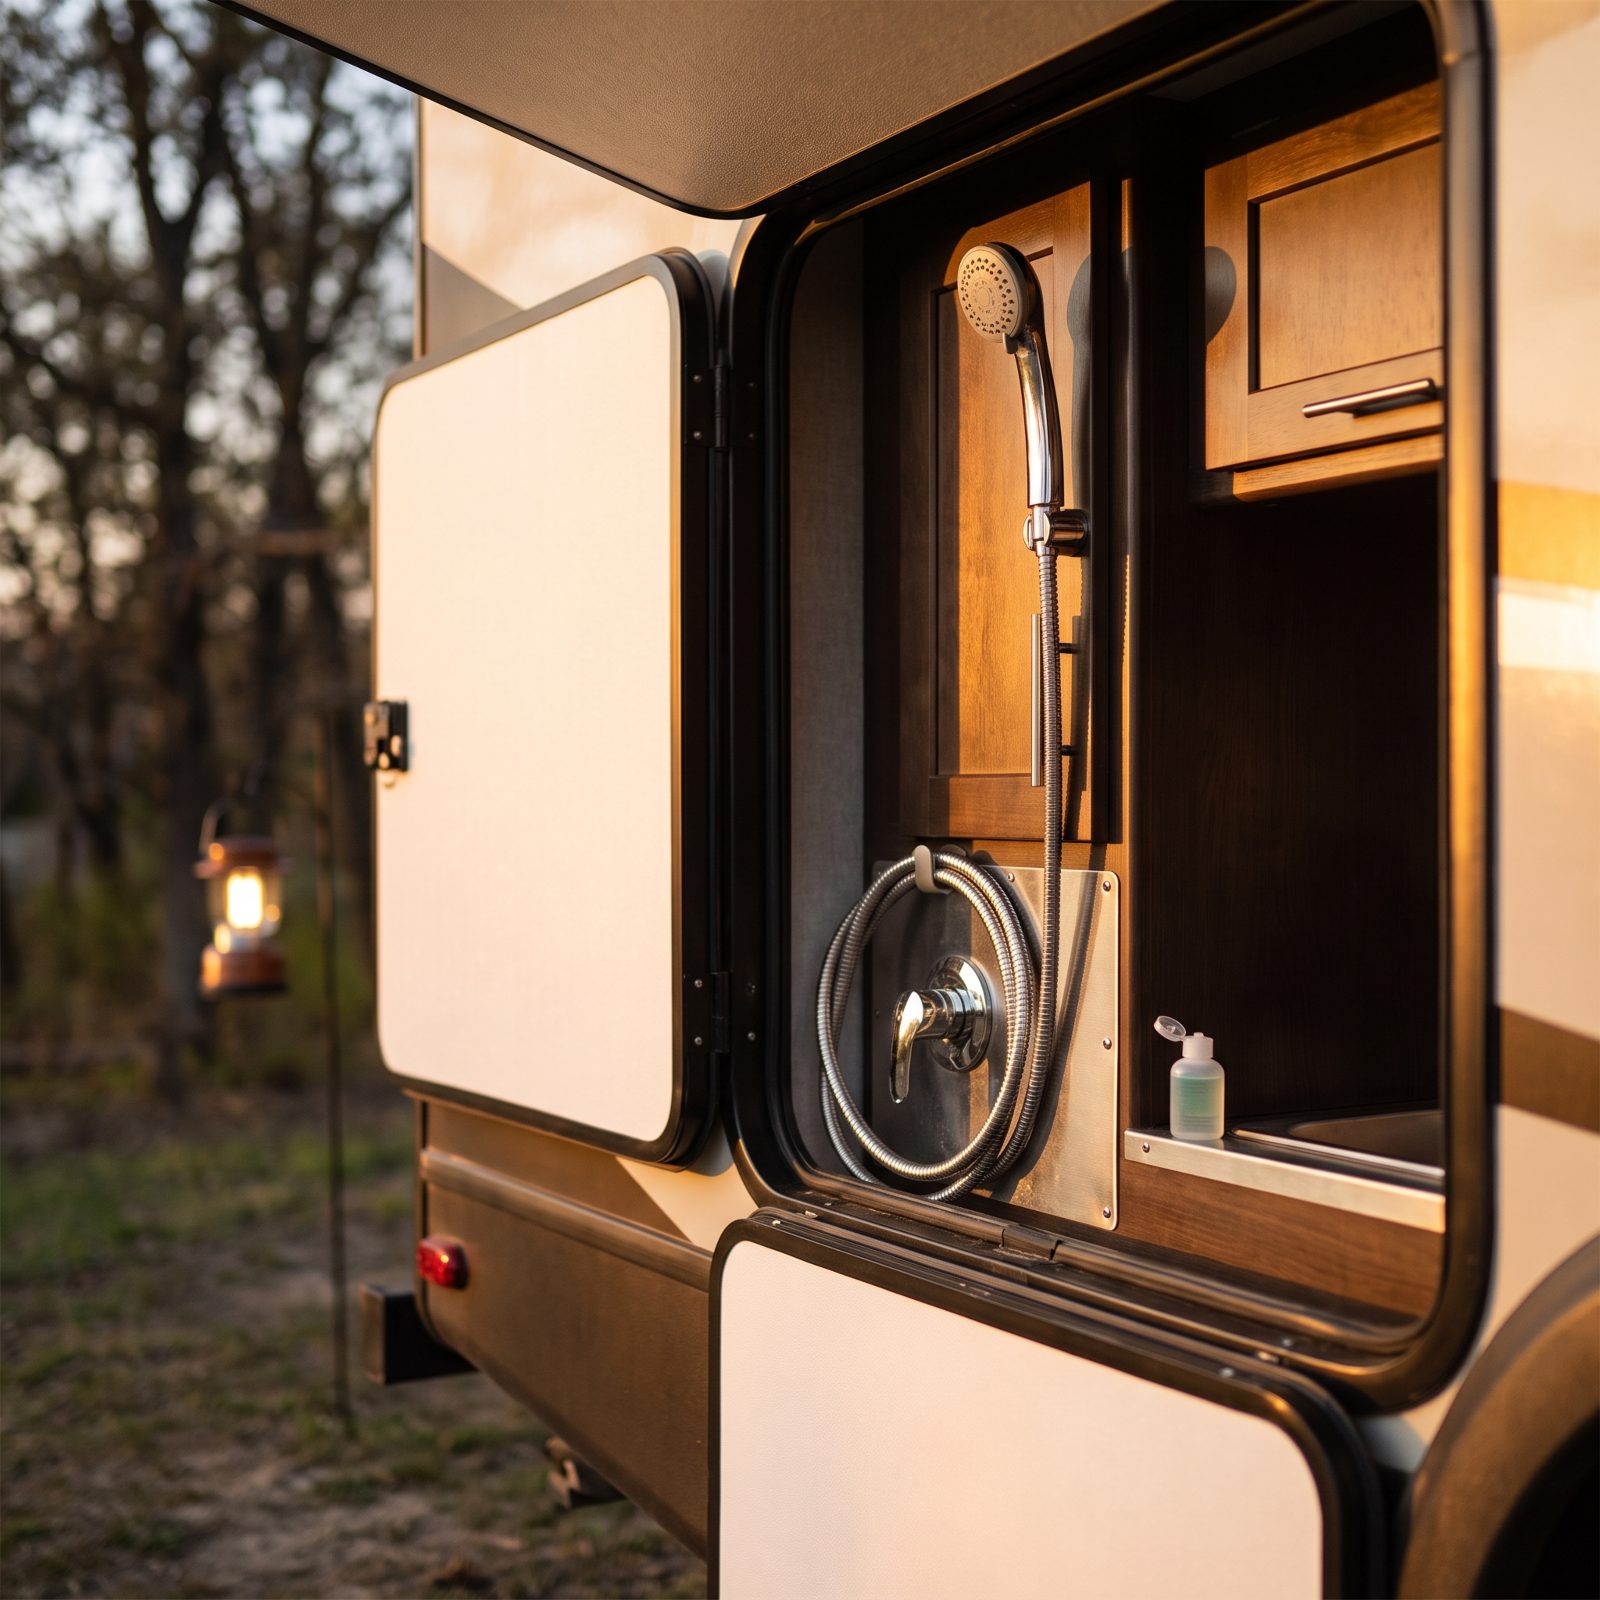
The outdoor shower and the kitchen bay are the fittings nobody remembers until spring, when a cracked mixer valve starts weeping behind the wall. They sit low on the rig, so they drain last and freeze first.
Open both hot and cold on the exterior shower and pull the head off its cradle so the whole hose empties. Same drill at any outdoor sink. Then run antifreeze through until each one shows pink. And don’t forget the wet bay’s utility connections and any winter-kit bypass valves tucked back there. A flashlight earns its keep in that cramped, knuckle-scraping space.
17. Run Manufacturer-Specified Winterizing Cycles for the Washer, Dishwasher and Ice Maker
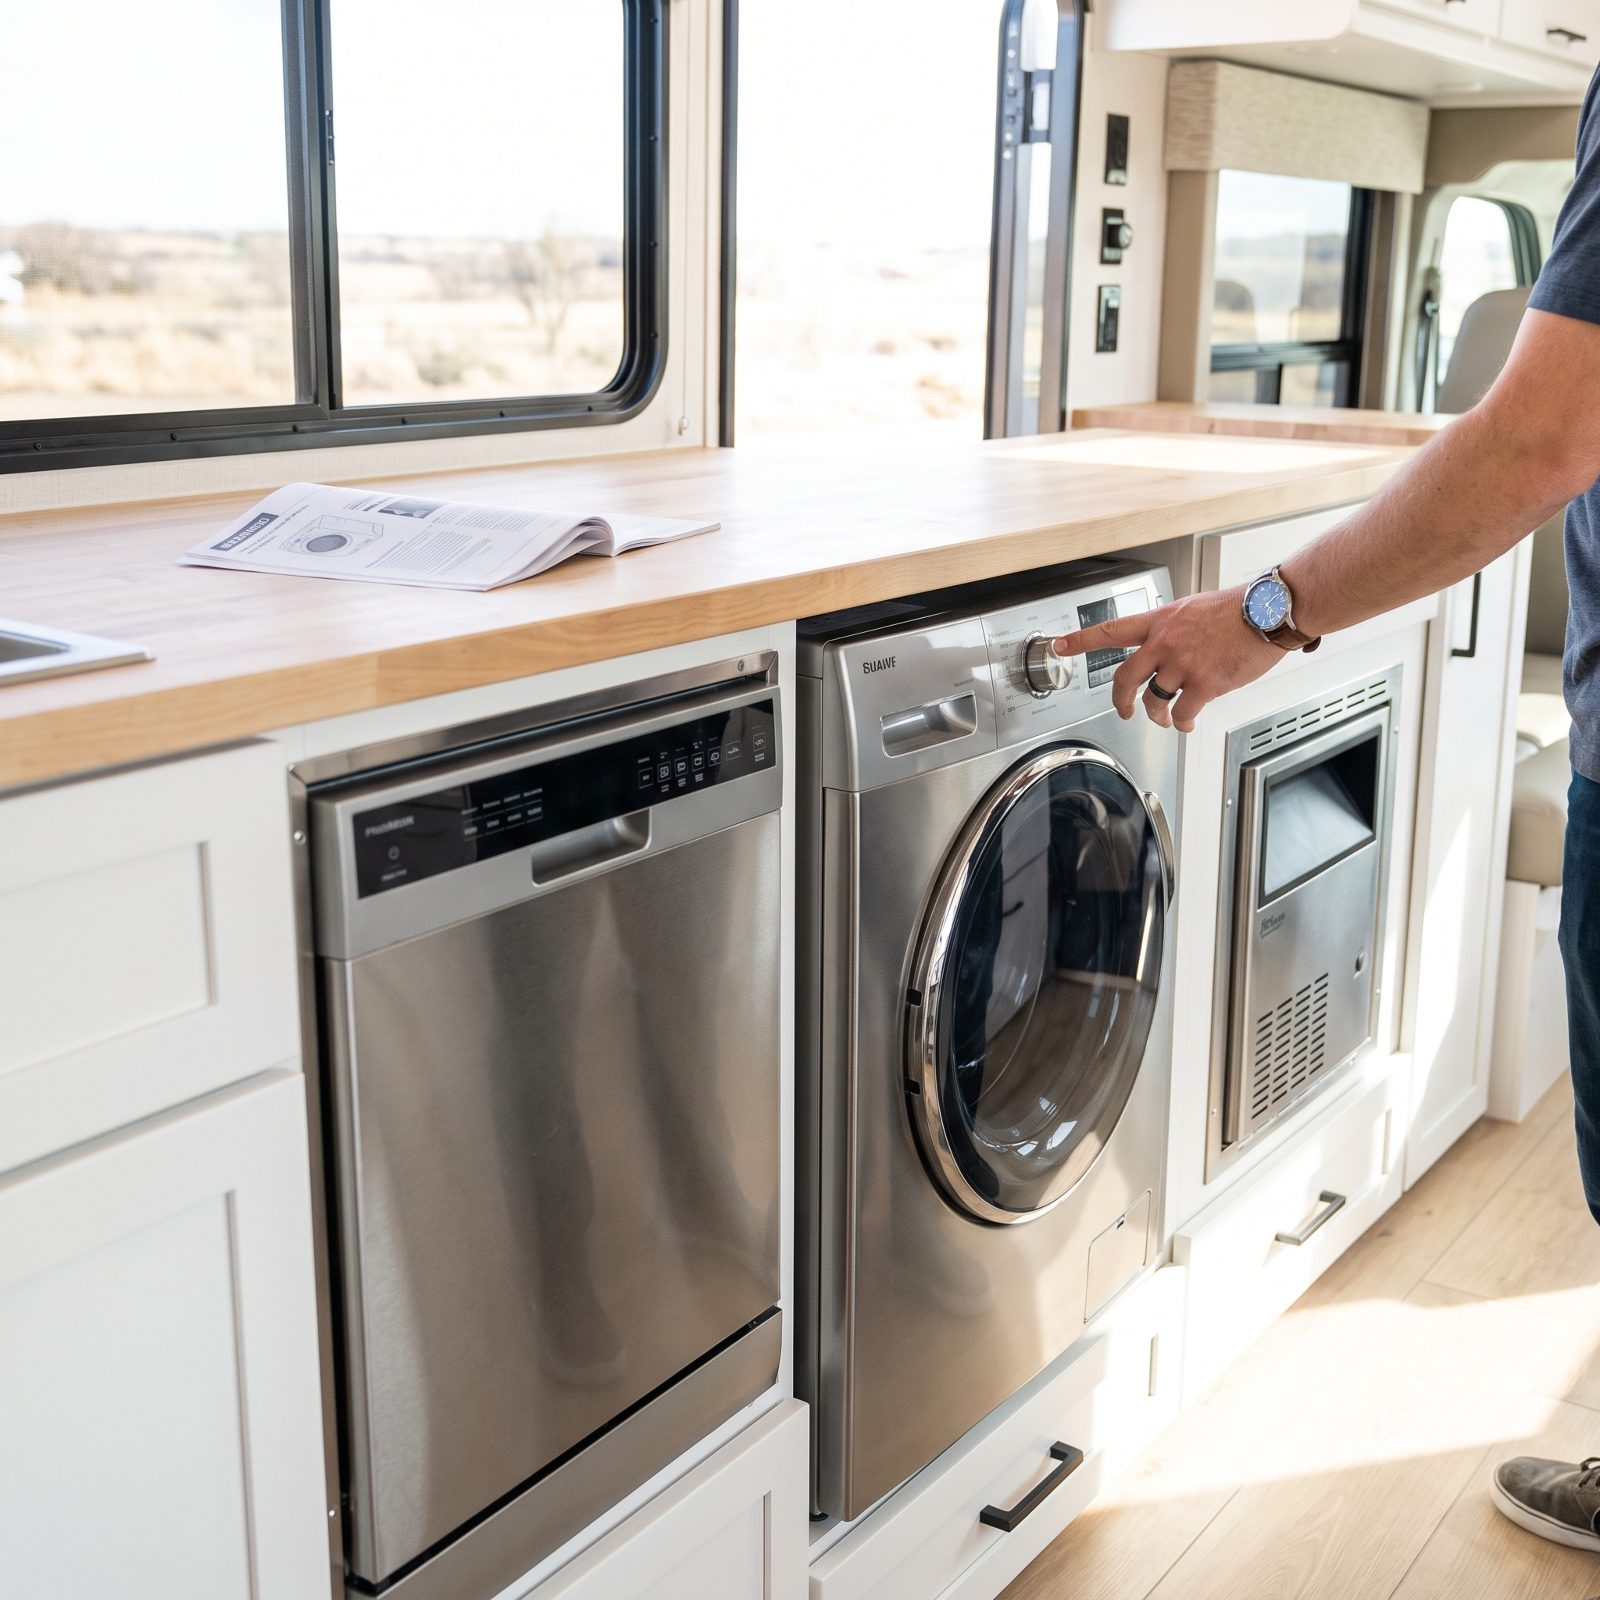
Appliances with their own water lines need their own instructions. A washer, a dishwasher, and an ice maker each trap water in places that draining the fresh tank will never touch, and every manufacturer runs its own winterize cycle for a reason.
Dig out the manual for each one. The washer usually wants a short cycle with antifreeze poured in the drum so the internal pump and valves get coated. The dishwasher runs a drain-and-fill with pink fluid. As for the ice maker: shut it off at the supply, disconnect the line, dump the cube bin.
Skip all this and you’ll find out in April when a split solenoid floods the floor on your first fill.
16. Follow the Dedicated Winterization Procedure for a Tankless Water Heater
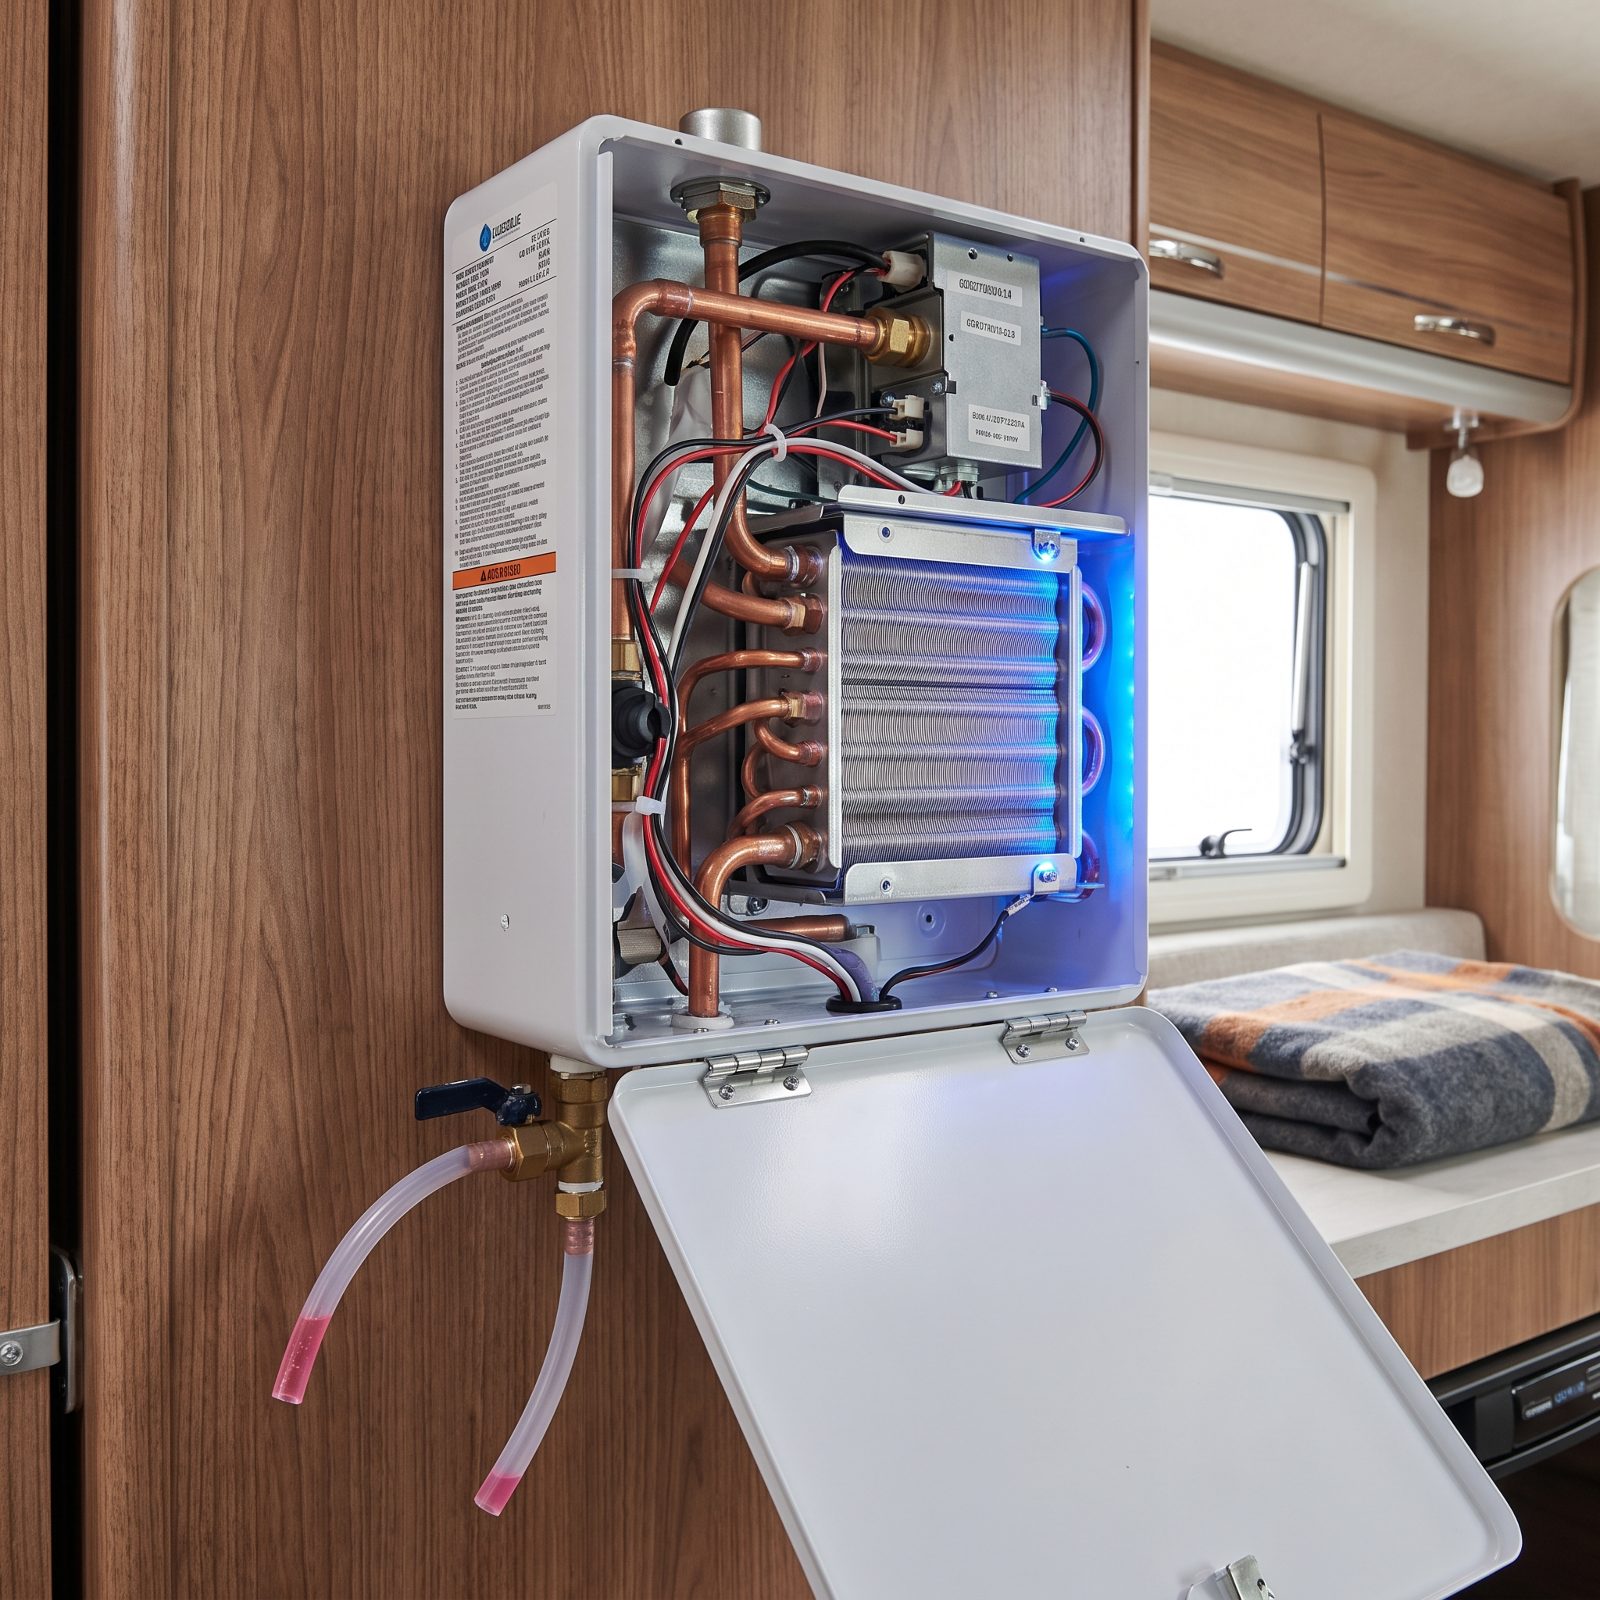
Tankless units trip people up because there’s no tank to drain, so folks assume there’s nothing to do. Wrong. The heat exchanger inside holds water in narrow passages that crack if they freeze, and the repair bill is not small.
Every tankless brand has a specific cold-weather procedure. Most involve isolating the unit with its bypass valves, opening the drain plugs to empty the exchanger, then either leaving it dry or pushing antifreeze through depending on the maker. Read the sheet that came with yours. Don’t guess from a YouTube video shot on a different model.
15. Rinse the Black Tank and Clean Residue from the Gray Tank
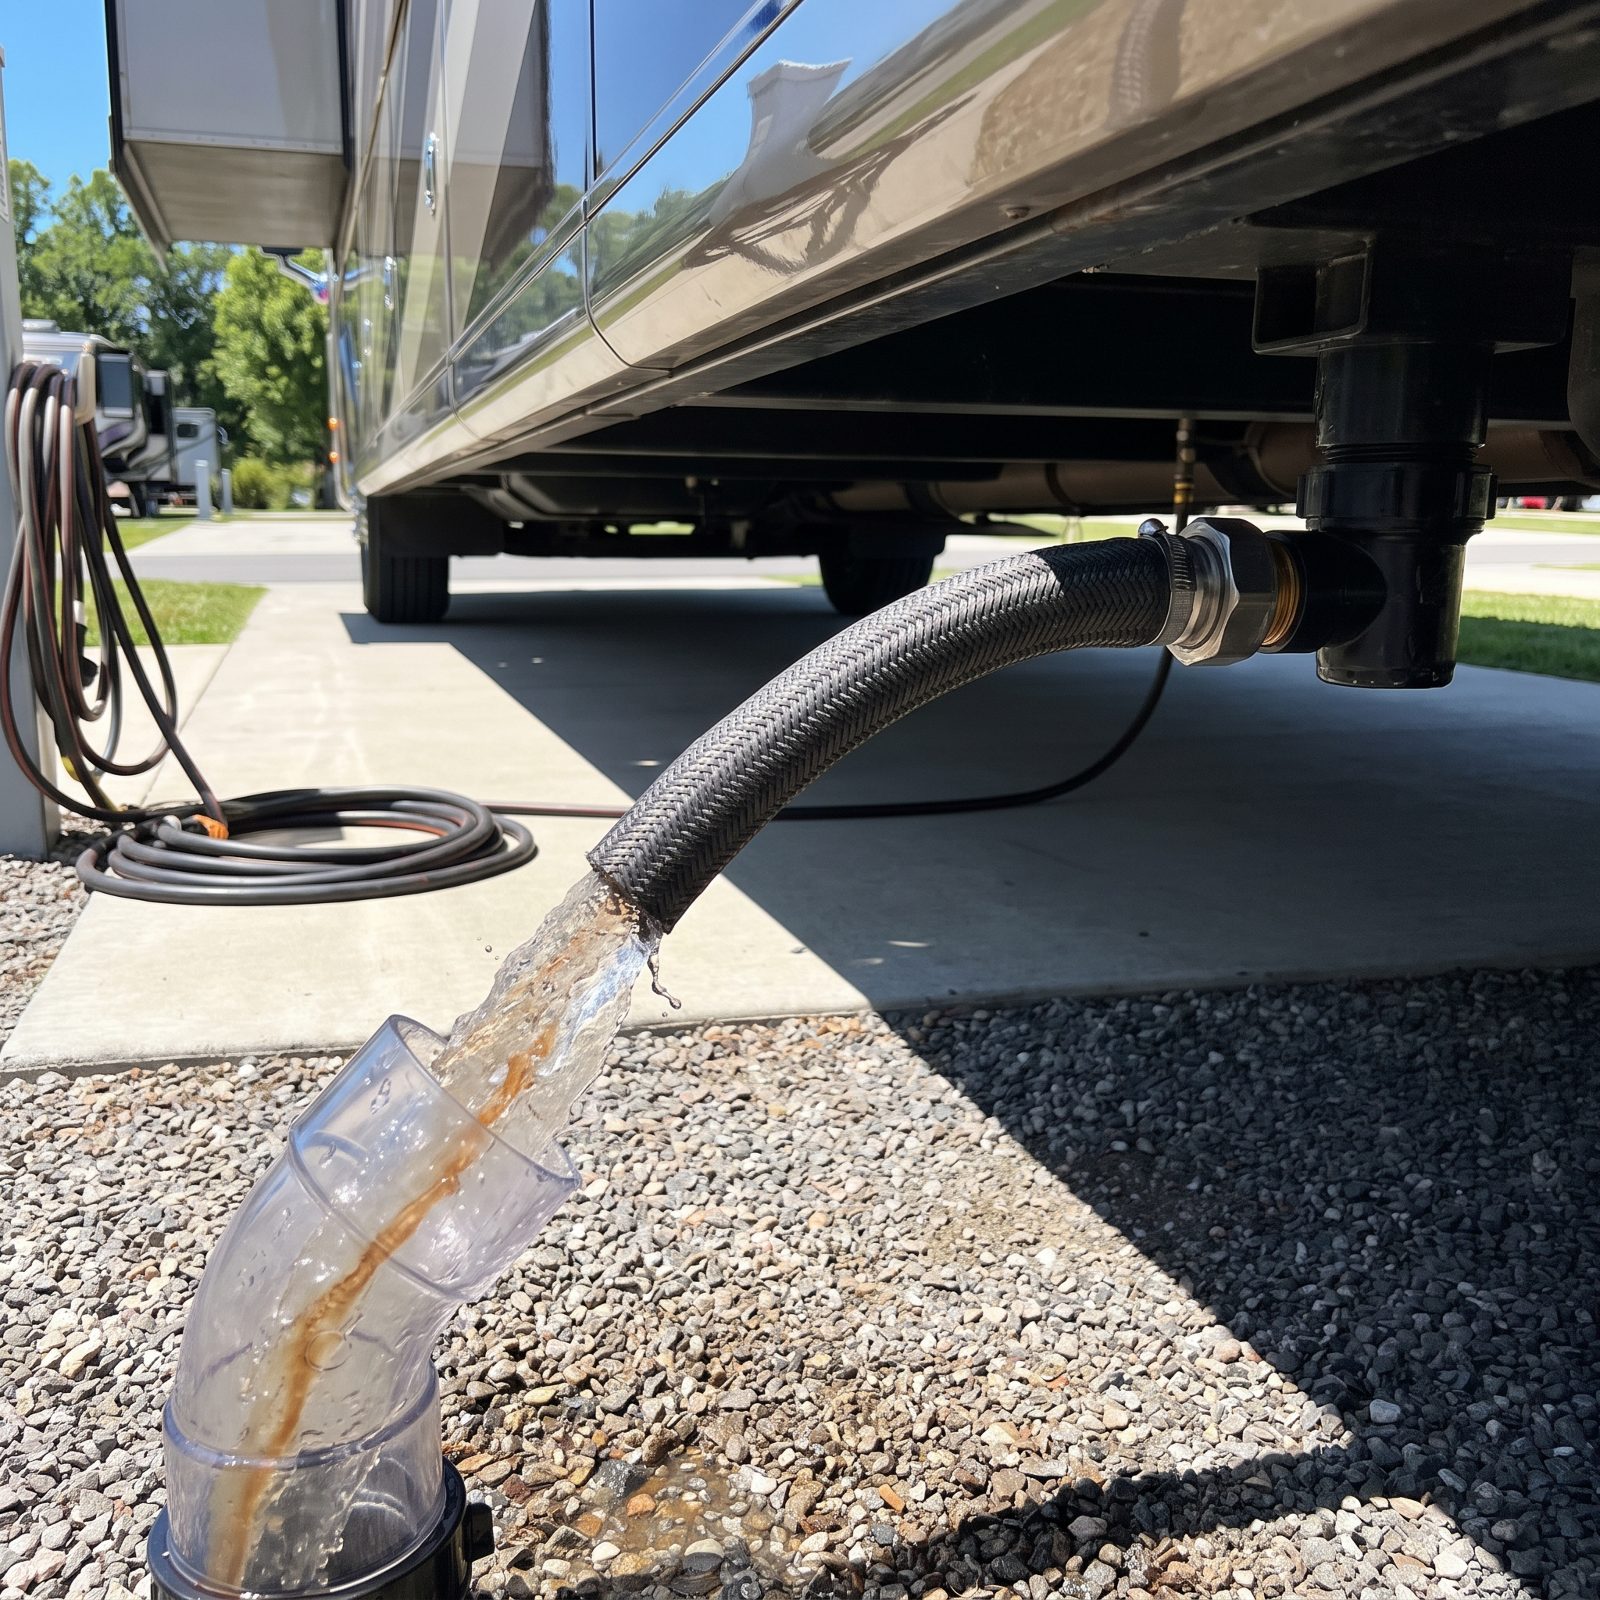
A black tank that goes into winter dirty comes out of winter worse. Solids that dry onto the sensors and walls over months of cold turn into a crusted mess, and the smell waiting for you come spring is a genuine punishment.
Run the built-in flush, or a tank wand, until the water coming out the clear elbow goes clear. The gray tank needs attention too. It builds a greasy film from dish soap and food scraps that loves to hold onto odor, and a hot flush plus a tank cleaner tablet break that down.
Drain both completely. Then leave the valves closed so no cold air sits in an open pipe.
14. Wash, Dry and Cap the Sewer Hose and Fittings
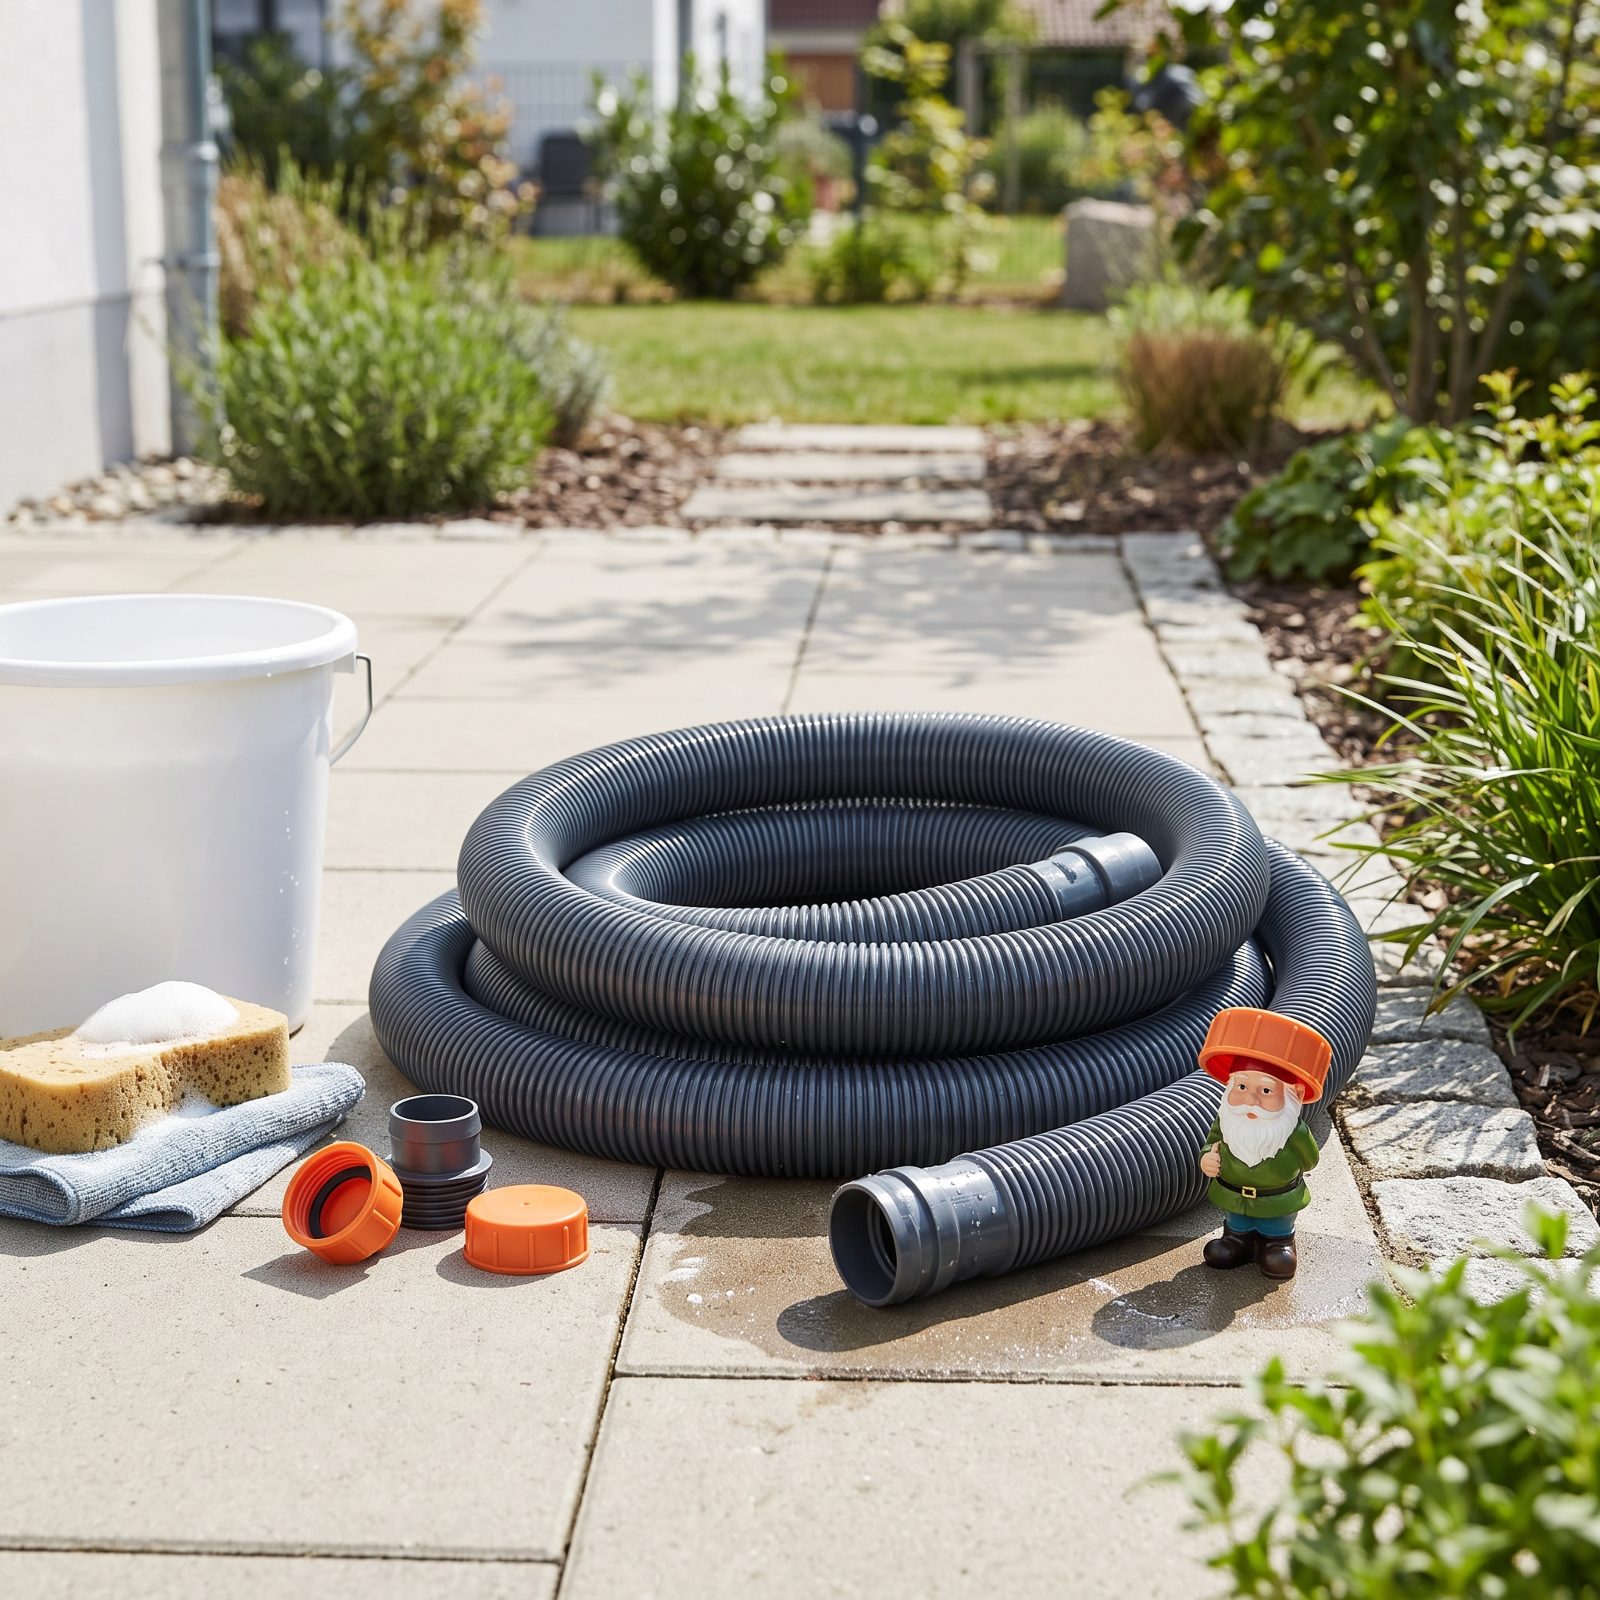
Store a sewer hose wet and uncapped and you’ll open the storage bay in spring to a cloud of smell that clings to everything near it. The residue dries, cultures through the off-season, and the open ends invite spiders and mud daubers to move in and set up house.
Rinse it thoroughly, flush clean water through until it runs clear, then stand it up or drape it to dry fully. Cap both ends. A dedicated hose carrier keeps it off the garage floor and away from critters.
13. Connect the Water Pump to an RV-Antifreeze Siphon Tube
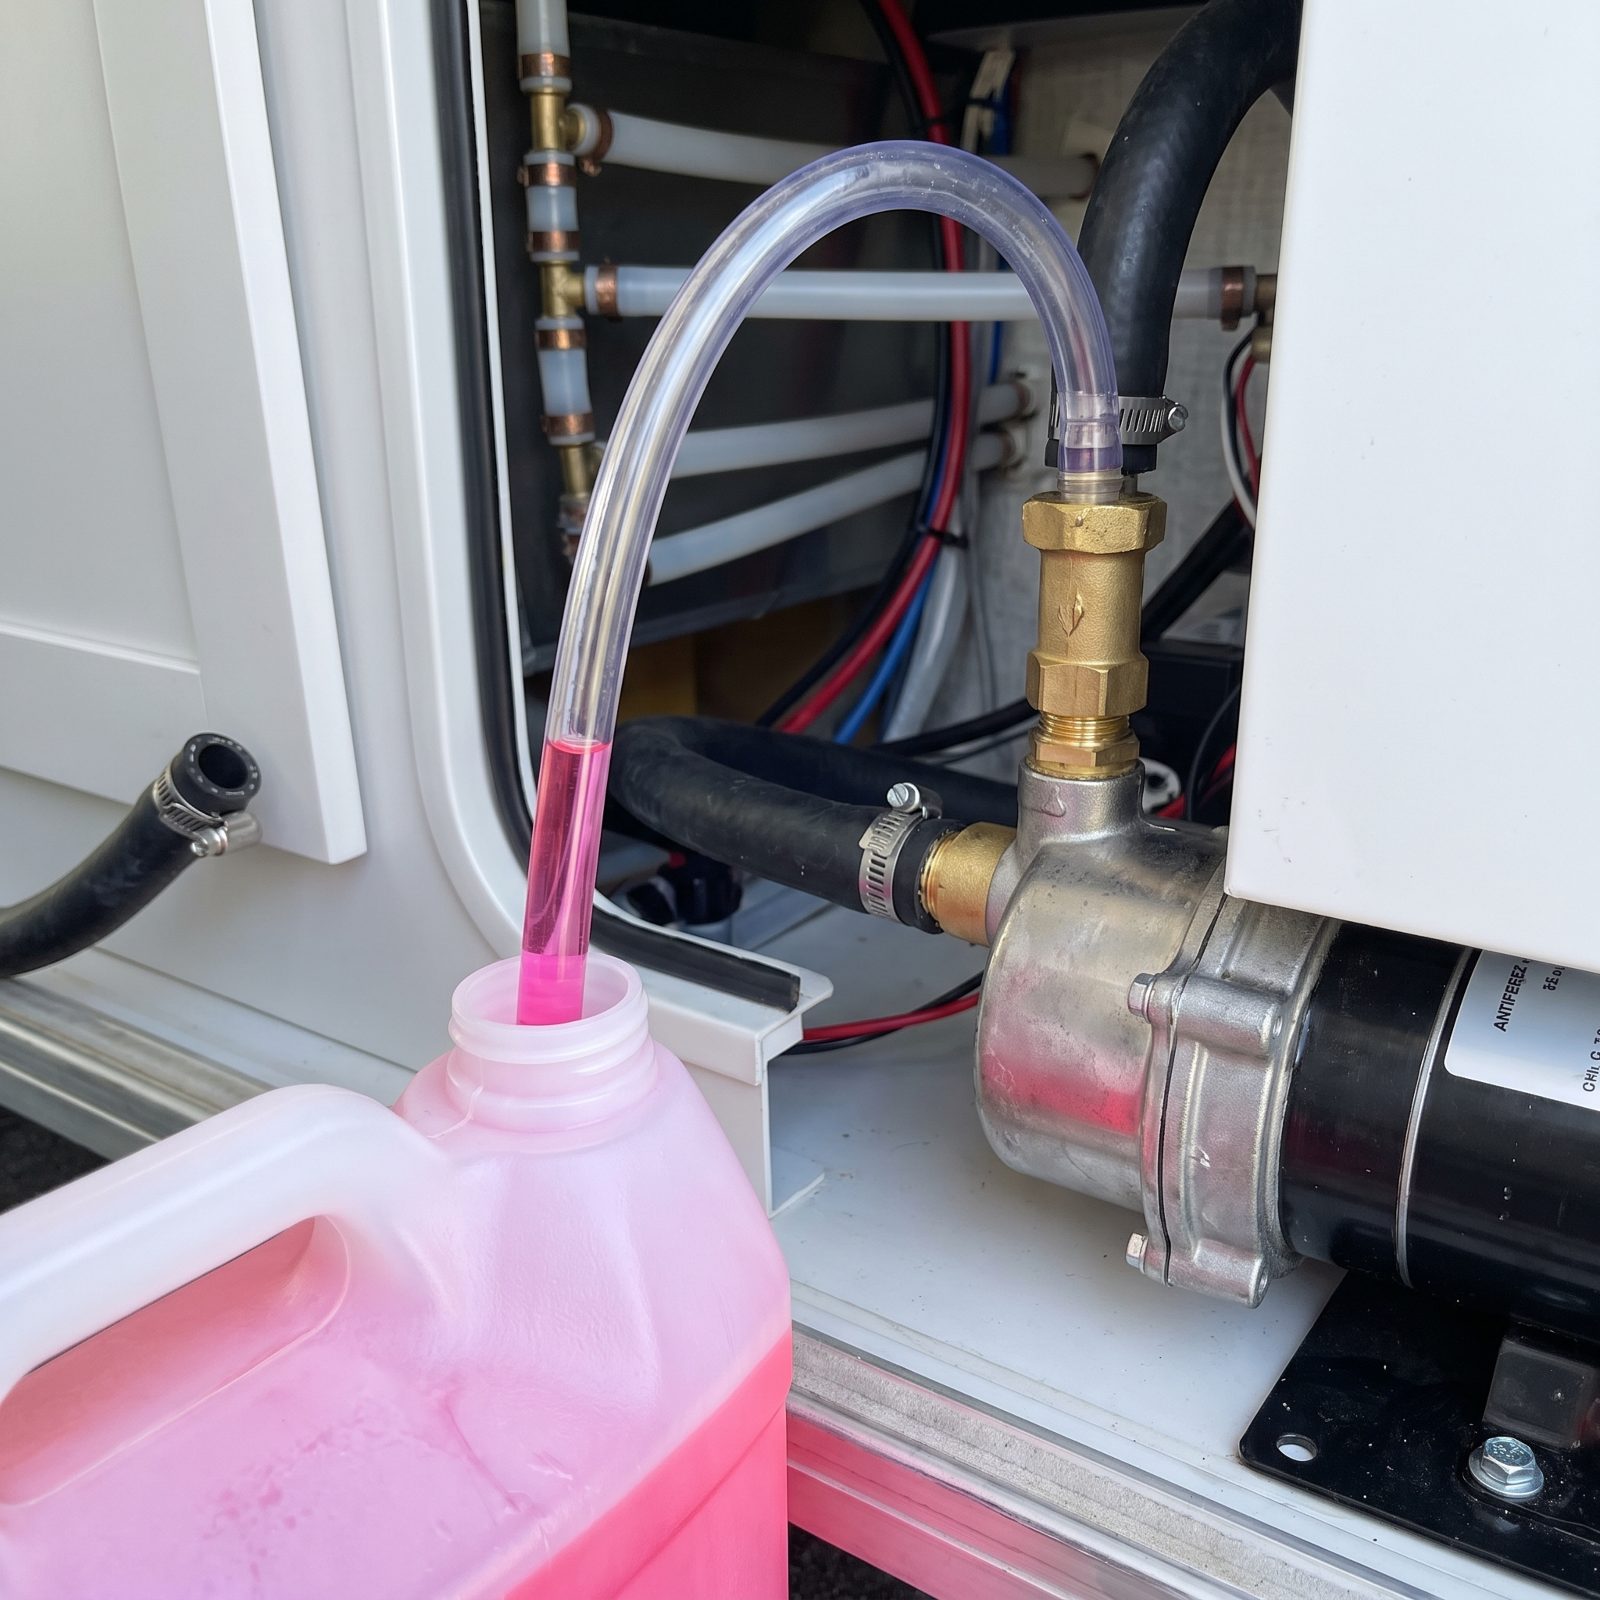
The water pump drives the whole antifreeze job. The usual mistake is trying to pour pink fluid into the fresh tank and pump from there, which wastes gallons and leaves the lines weak.
Use the pump’s winterizing bypass instead. Most modern rigs have a three-way valve and a short siphon tube fitting right at the pump inlet. Drop that tube straight into the antifreeze jug and flip the valve. Now the pump pulls pink fluid directly, pressurizing the lines with the real thing rather than a diluted tank.
No factory bypass? A clear inline siphon kit runs about fifteen dollars and installs in an afternoon.
12. Pump Pink Antifreeze Through Every Fixture and Confirm It at the Farthest Faucet
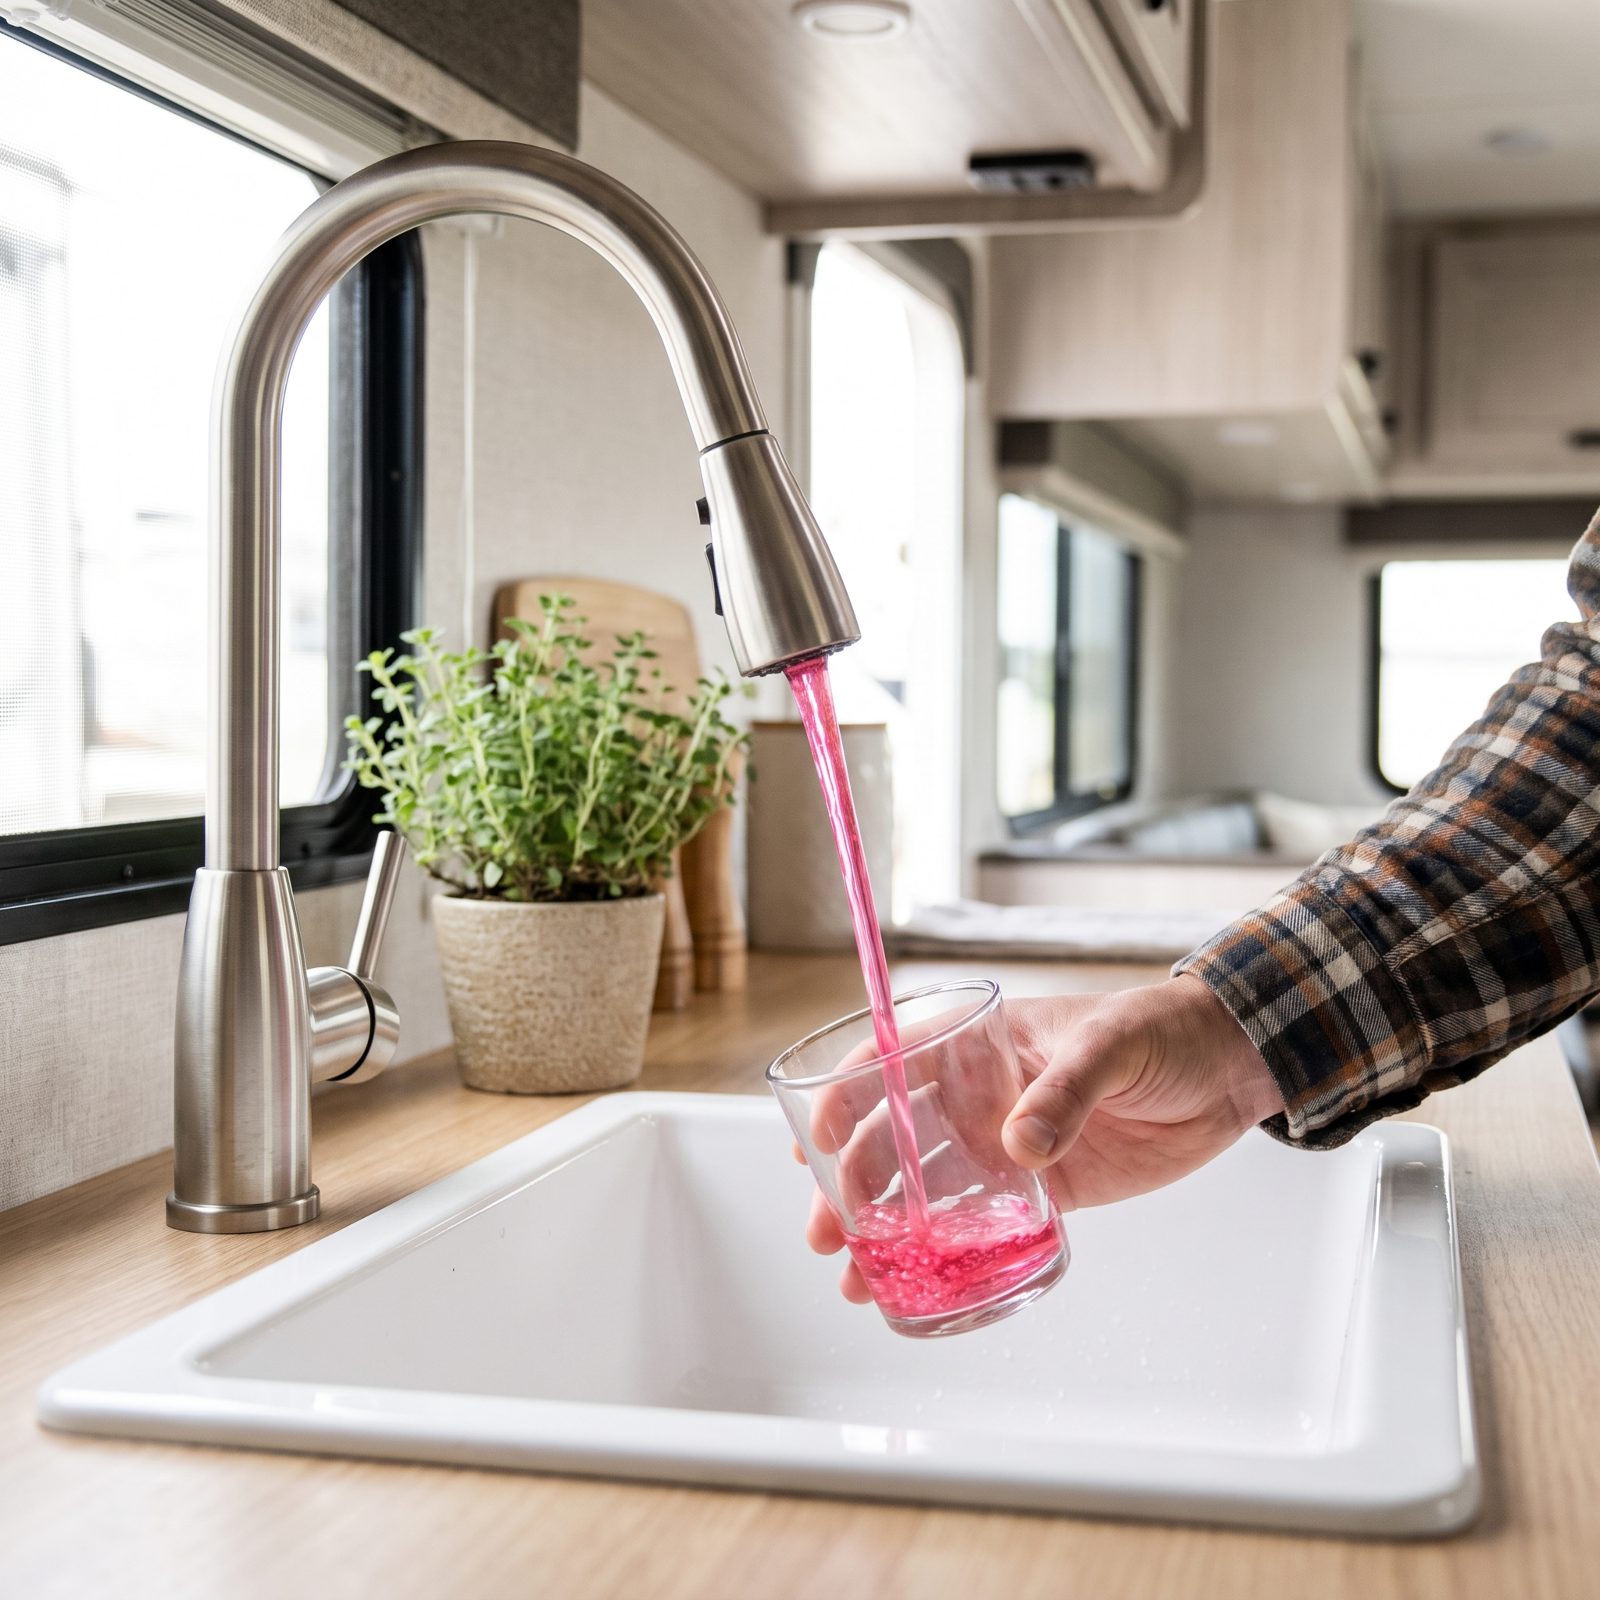
People run antifreeze through the kitchen tap, see pink, and call it done. The farthest faucet is the one that gets you, because the line to it is the last to fill and the easiest to leave with a slug of plain water sitting in the low spot.
Work fixture by fixture, hot then cold, one at a time. Open each until the stream turns solid pink, then move on. Bathroom sink, shower, kitchen, toilet, every exterior tap. Finish at whatever’s physically farthest from the pump. When that one runs pink, the whole system is protected.
If the last faucet runs clear, every line between you and the pump is lying to you.
Keep a second jug within reach. Run dry mid-job and you pull air into the lines, then spend the next hour chasing bubbles.
11. Pour Antifreeze into Every Sink and Shower P-Trap
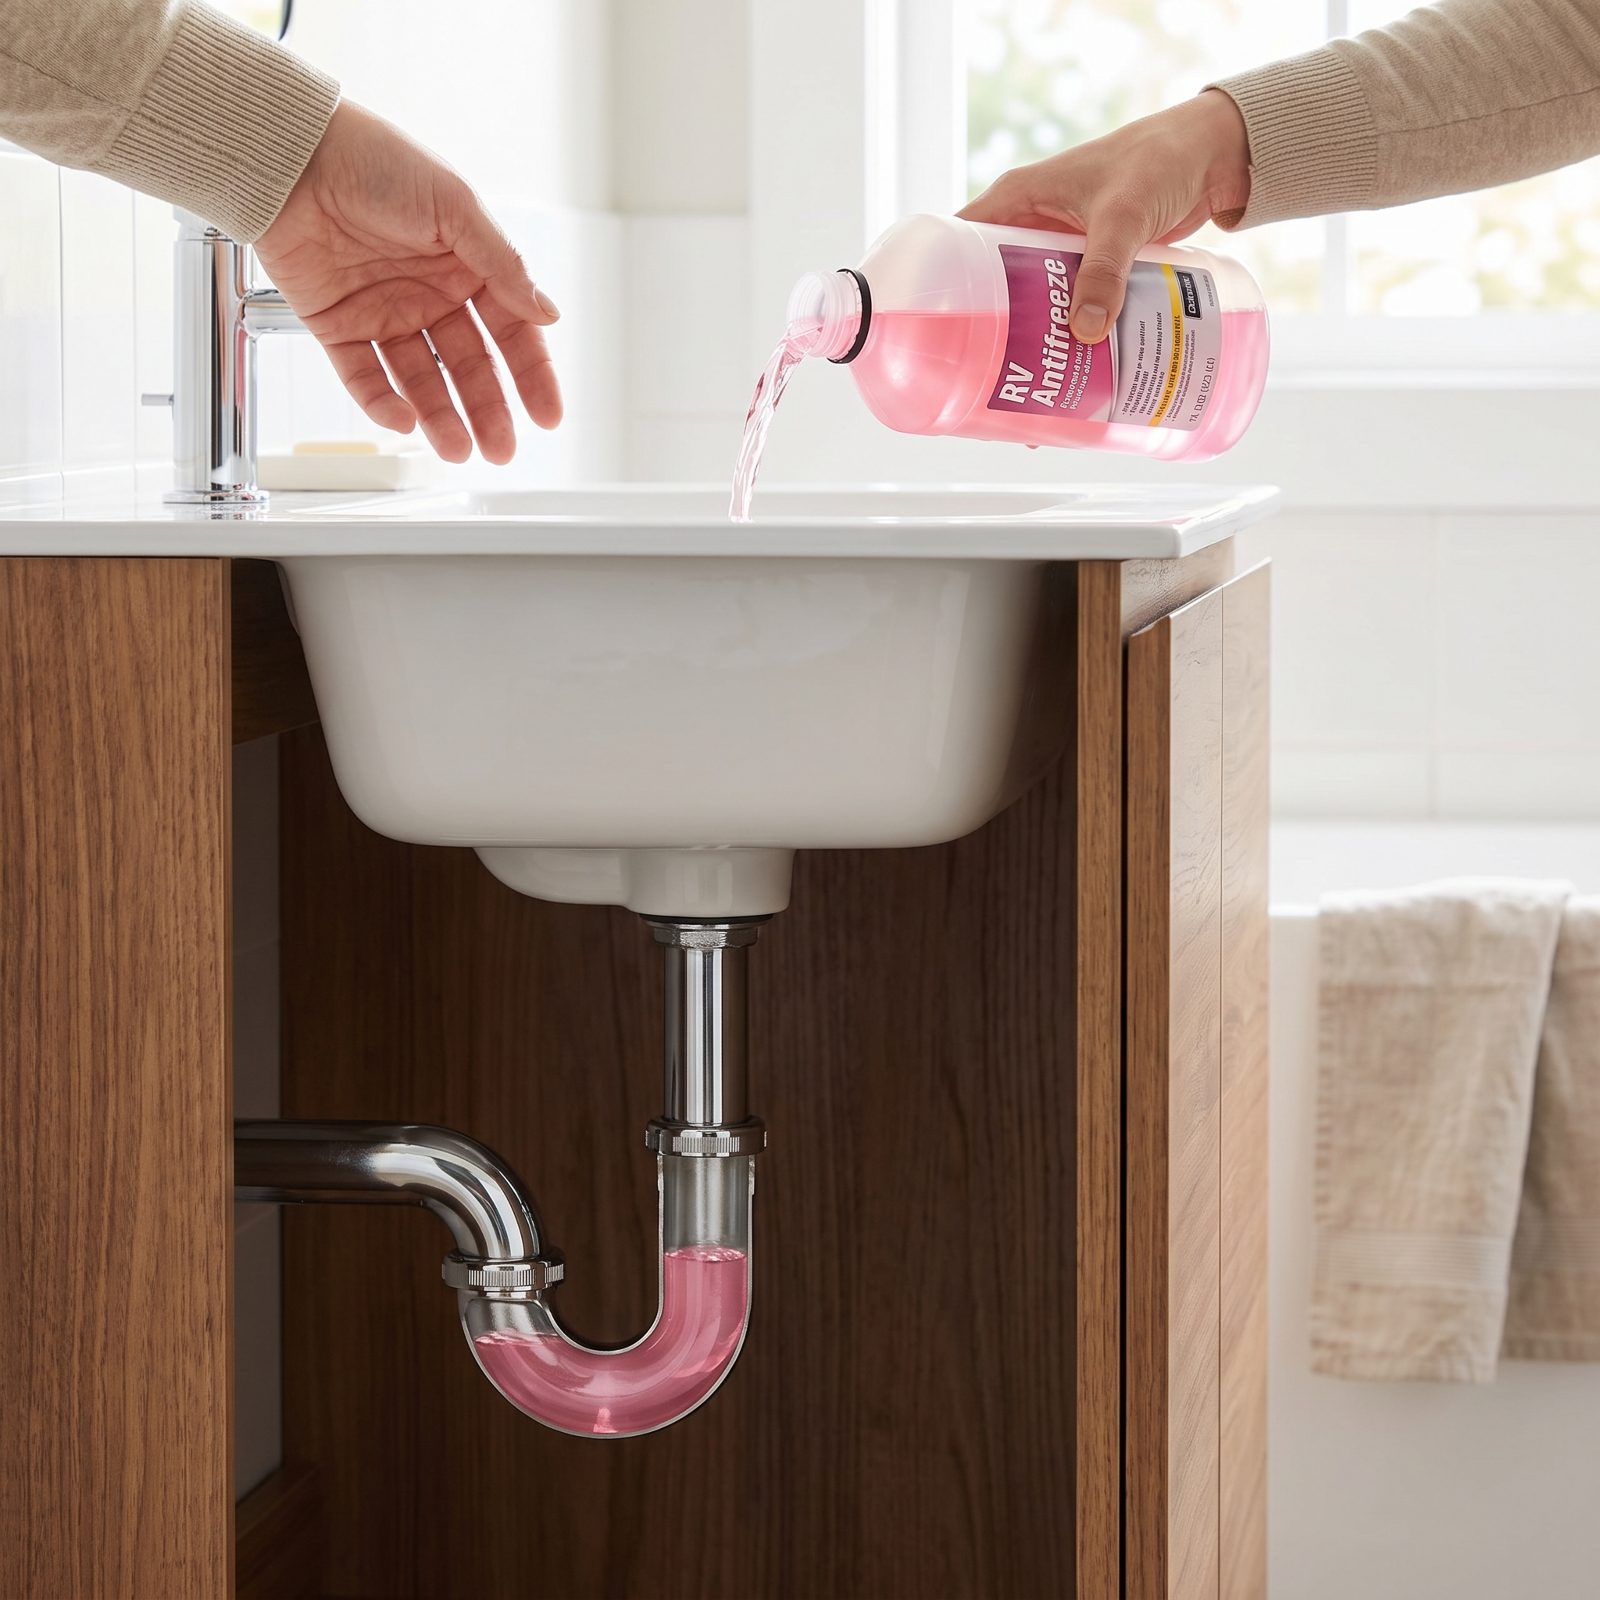
Every drain in the rig has a P-trap. It’s a little curve of pipe that holds water on purpose to block sewer gas, and that held water is a built-in freeze trap. A cracked trap under a cabinet makes for a miserable spring repair.
Pour a cup or two of antifreeze down each sink, the shower, and the tub if you have one. You want to see pink standing in the trap, pushing the old water out. The water pump won’t reach the traps for you, since draining the fixture empties the line above the trap but not the trap itself.
10. Protect the Toilet and Waste-Valve Seals with Antifreeze
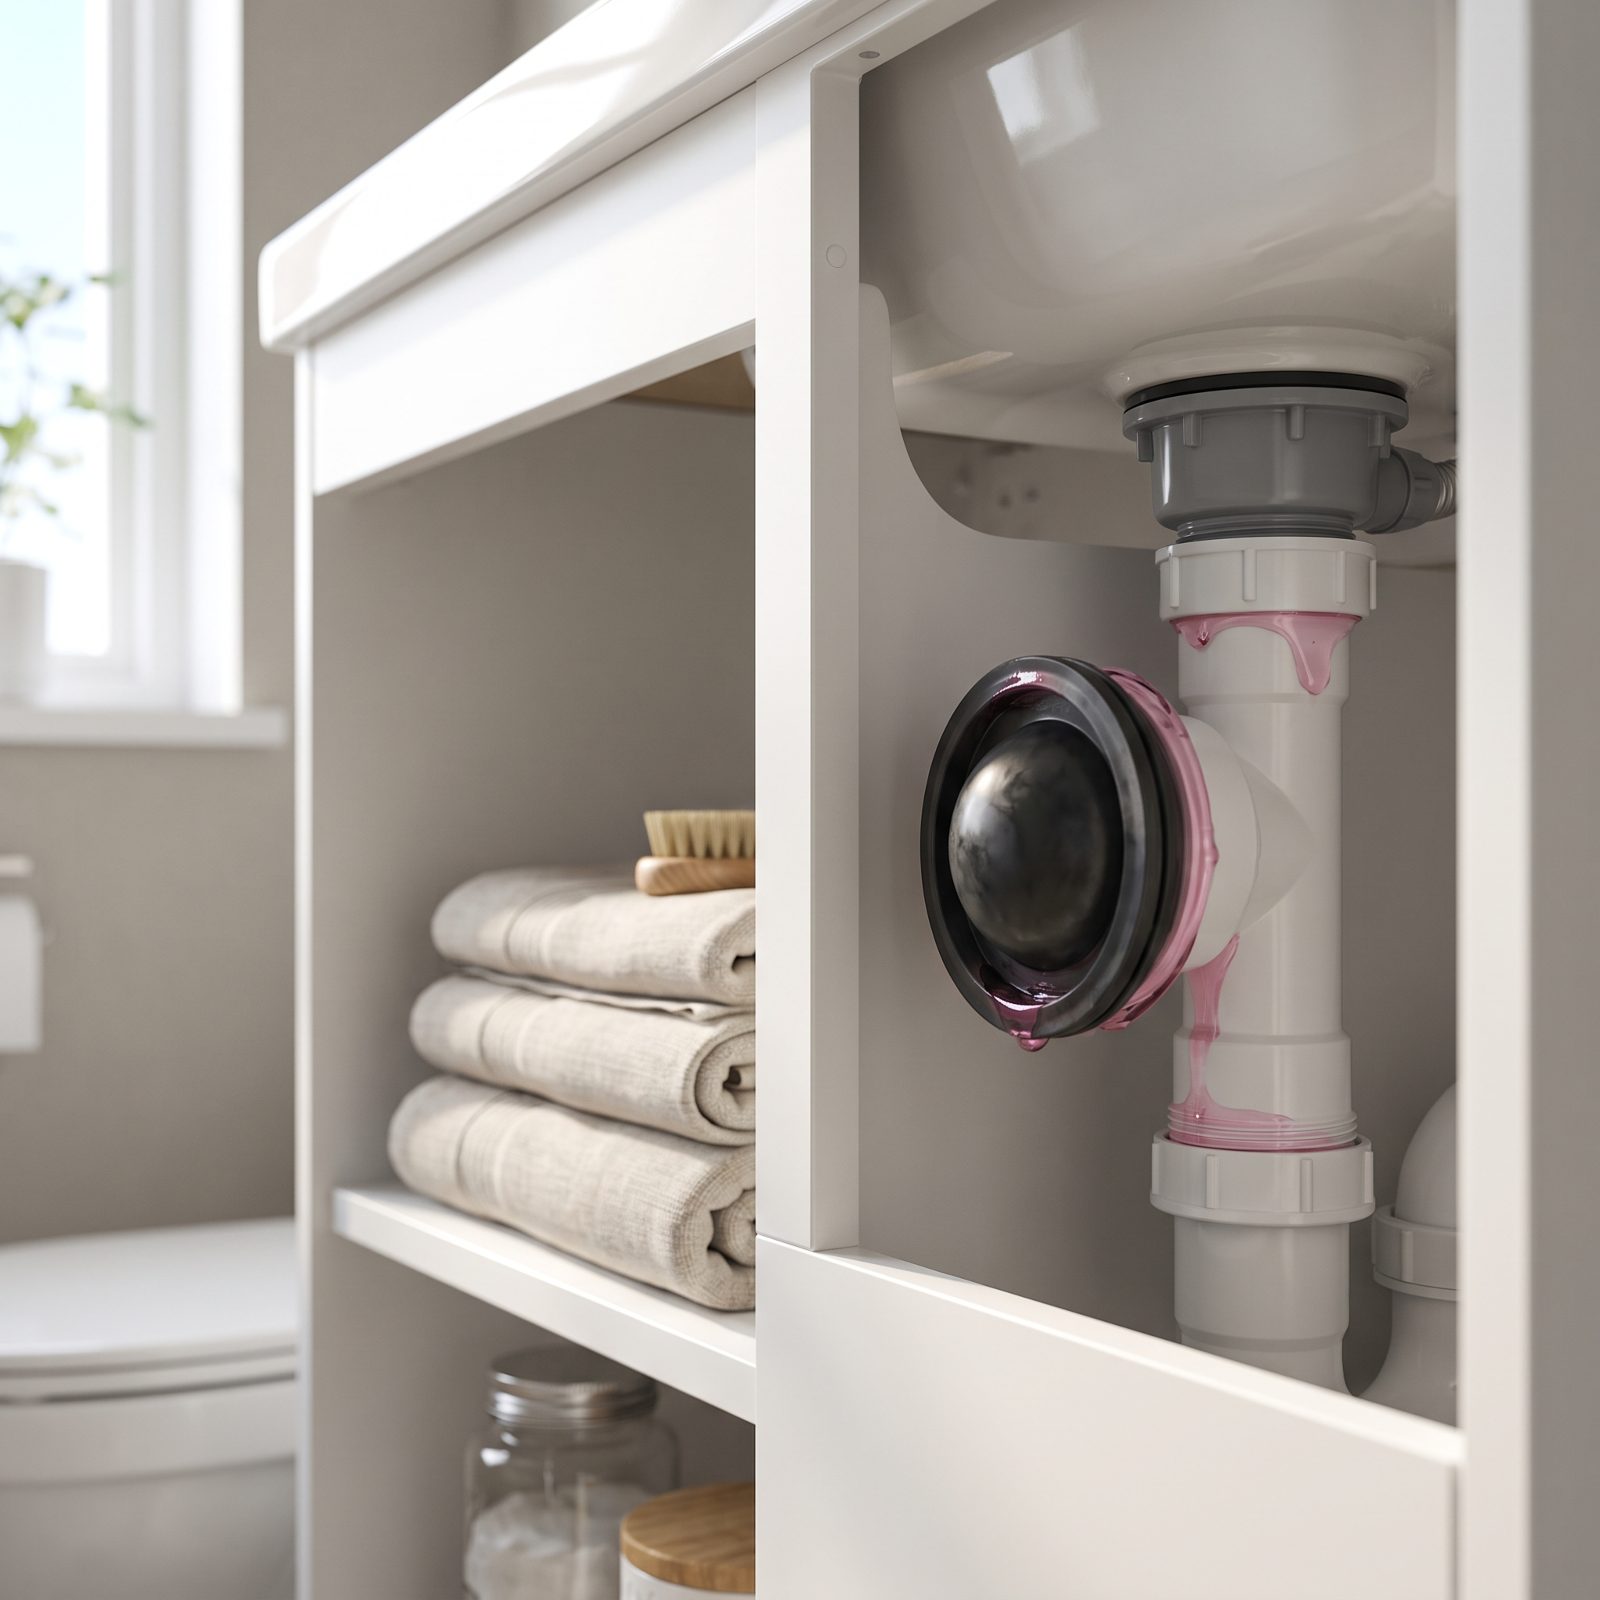
The last holdouts are the rubber seals that keep your RV from smelling like a tank. The toilet’s ball valve seal and the dump valve seals all stay wet, and rubber that freezes dry cracks and starts leaking odor into the rig.
Leave a little pink standing in the toilet bowl so the ball valve seal sits in antifreeze all winter. For the dump valves, run a cup of antifreeze through the tanks before the final drain to coat those blade seals. Both seals cost pennies in fluid now and real aggravation if you skip them.
9. Empty and Clean the Refrigerator, Then Prop Its Doors Open
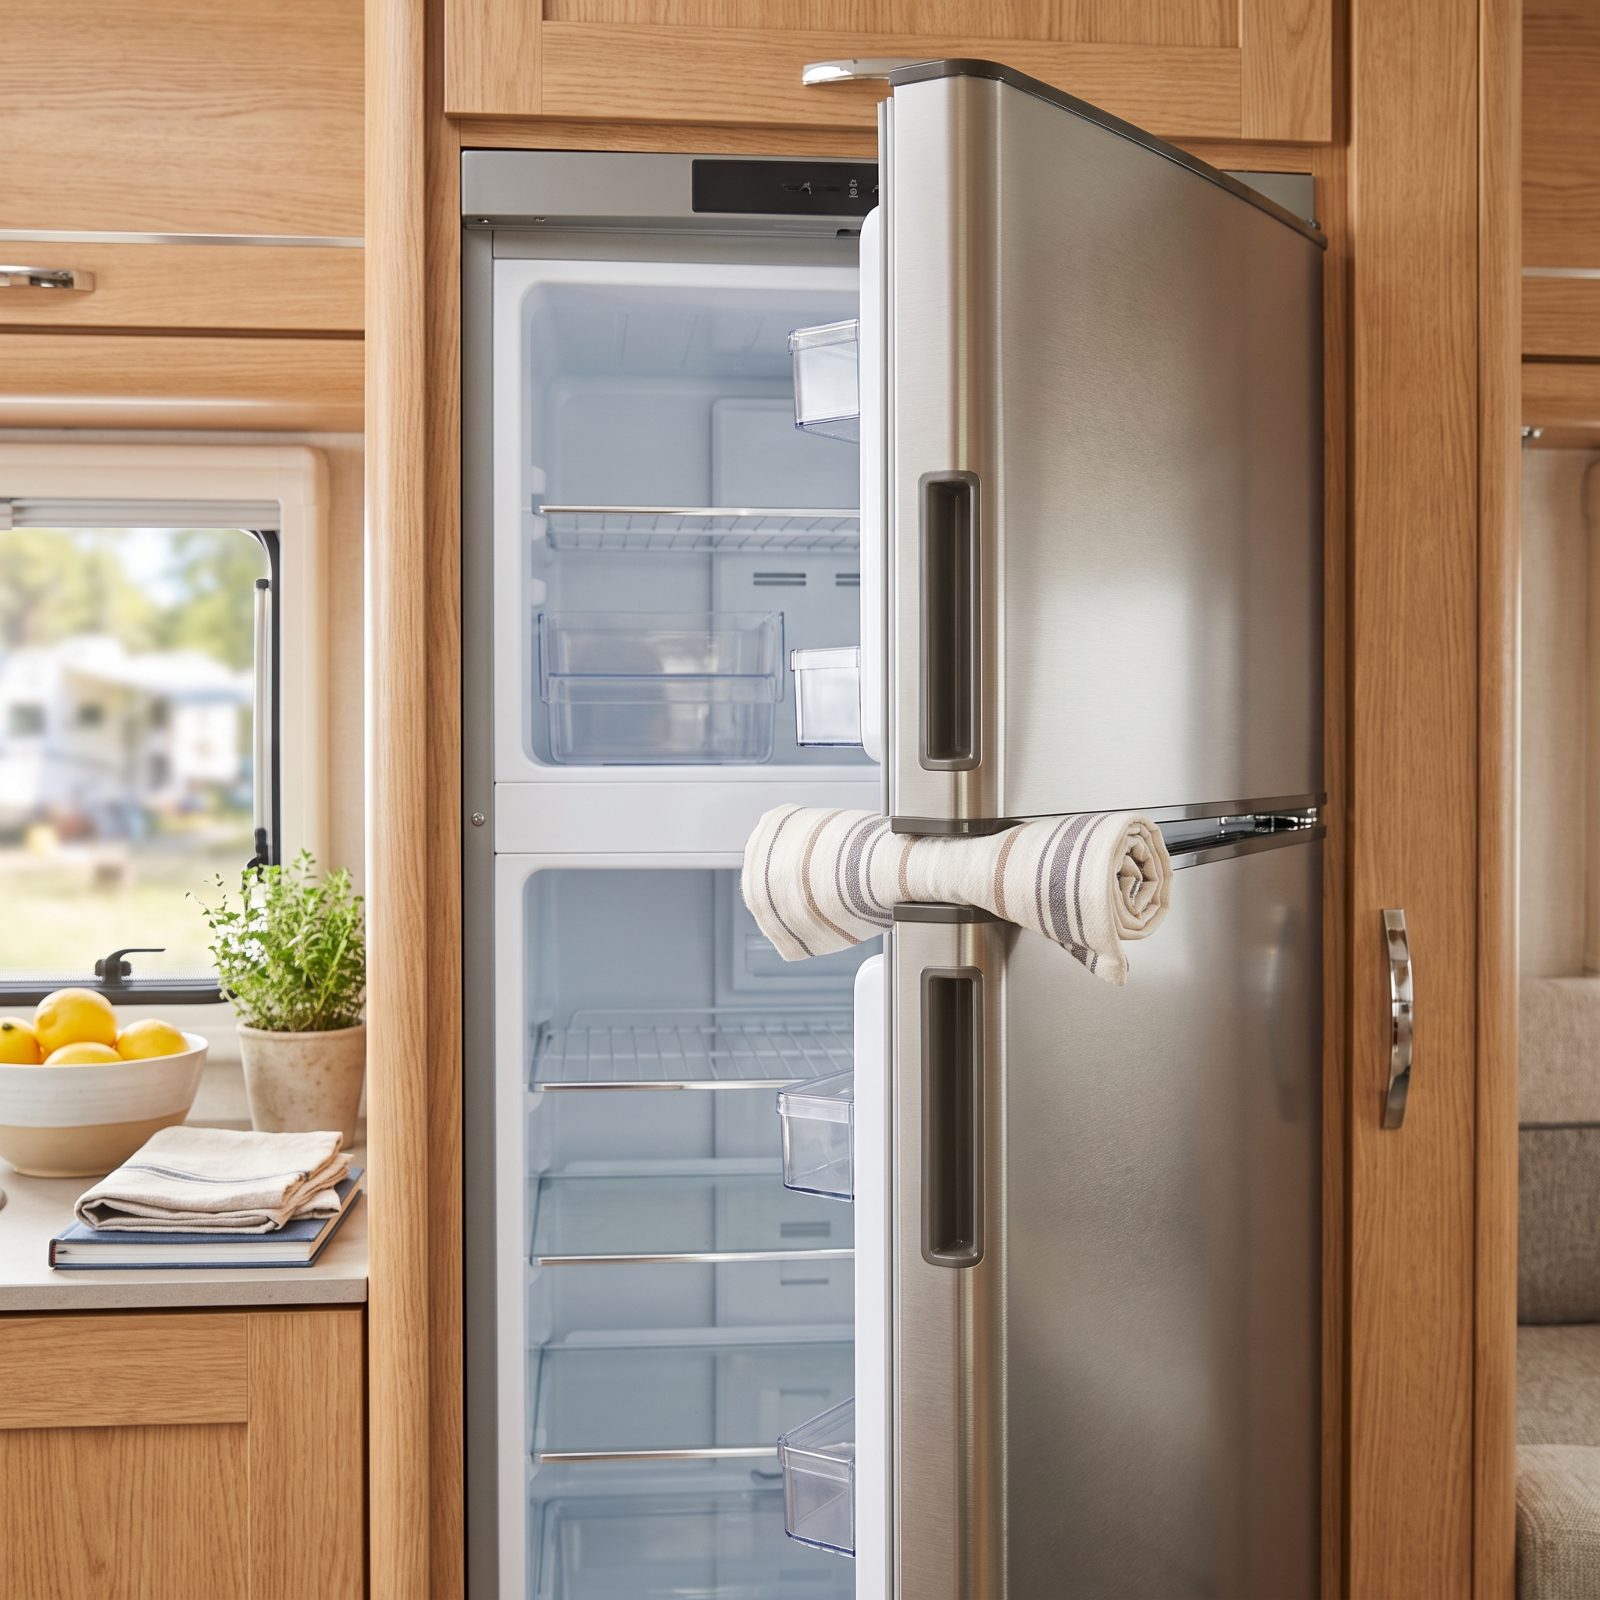
A closed fridge in a stored RV turns into a science experiment. Shut the door on a few drops of moisture and some crumbs, come back in spring, and you’ll open it to a smell that lives in the walls for months. Mold loves a sealed, dark box.
Empty everything, defrost the freezer, and wipe both compartments dry. Give the door seals a pass with a damp cloth so they don’t stick, then prop the doors open. A spring-loaded fridge bar works. So does a rolled towel. Drop an open box of baking soda on a shelf to catch whatever stale air is left.
8. Shut Off the Propane and Inspect the Furnace Intake and Exhaust
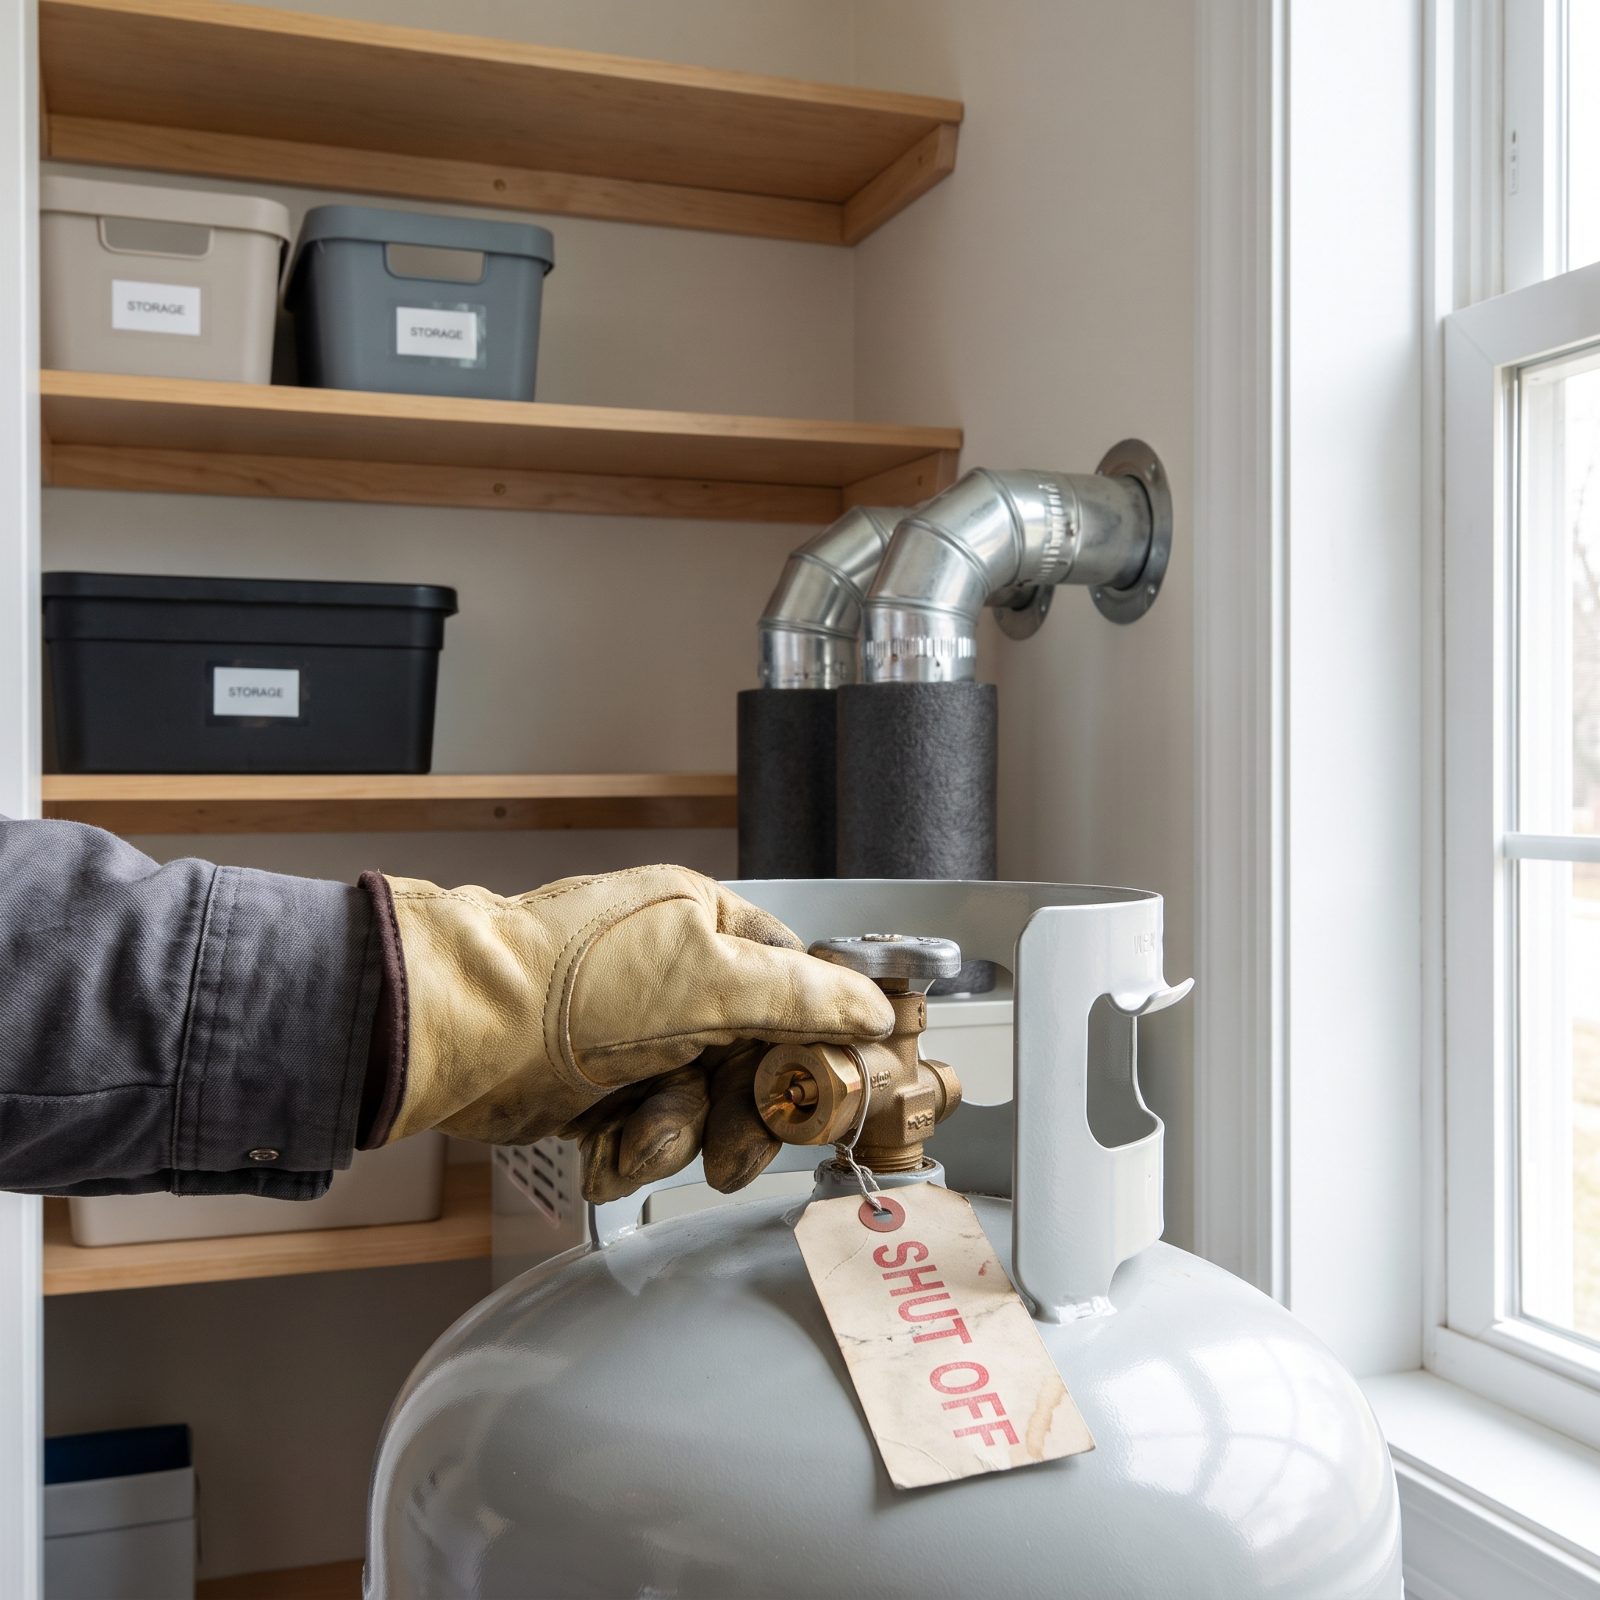
Propane sitting in a line all winter is fine. Propane leaking into a stored, unoccupied rig is not. Close the tank valves and shut off the supply before the RV sits. It costs you nothing and removes the one variable you can’t monitor from your couch at home.
While you’re back there, look hard at the furnace intake and exhaust. Spiders and mud daubers build nests in those vents over the summer, and a blocked exhaust is how you end up with carbon monoxide or a furnace that won’t light when the first cold snap hits. Shine a light in, clear any debris, and run the furnace for a minute to confirm it fires before you cut the gas.
7. Set House Batteries to the Correct Storage Charge and Disconnect Parasitic Loads
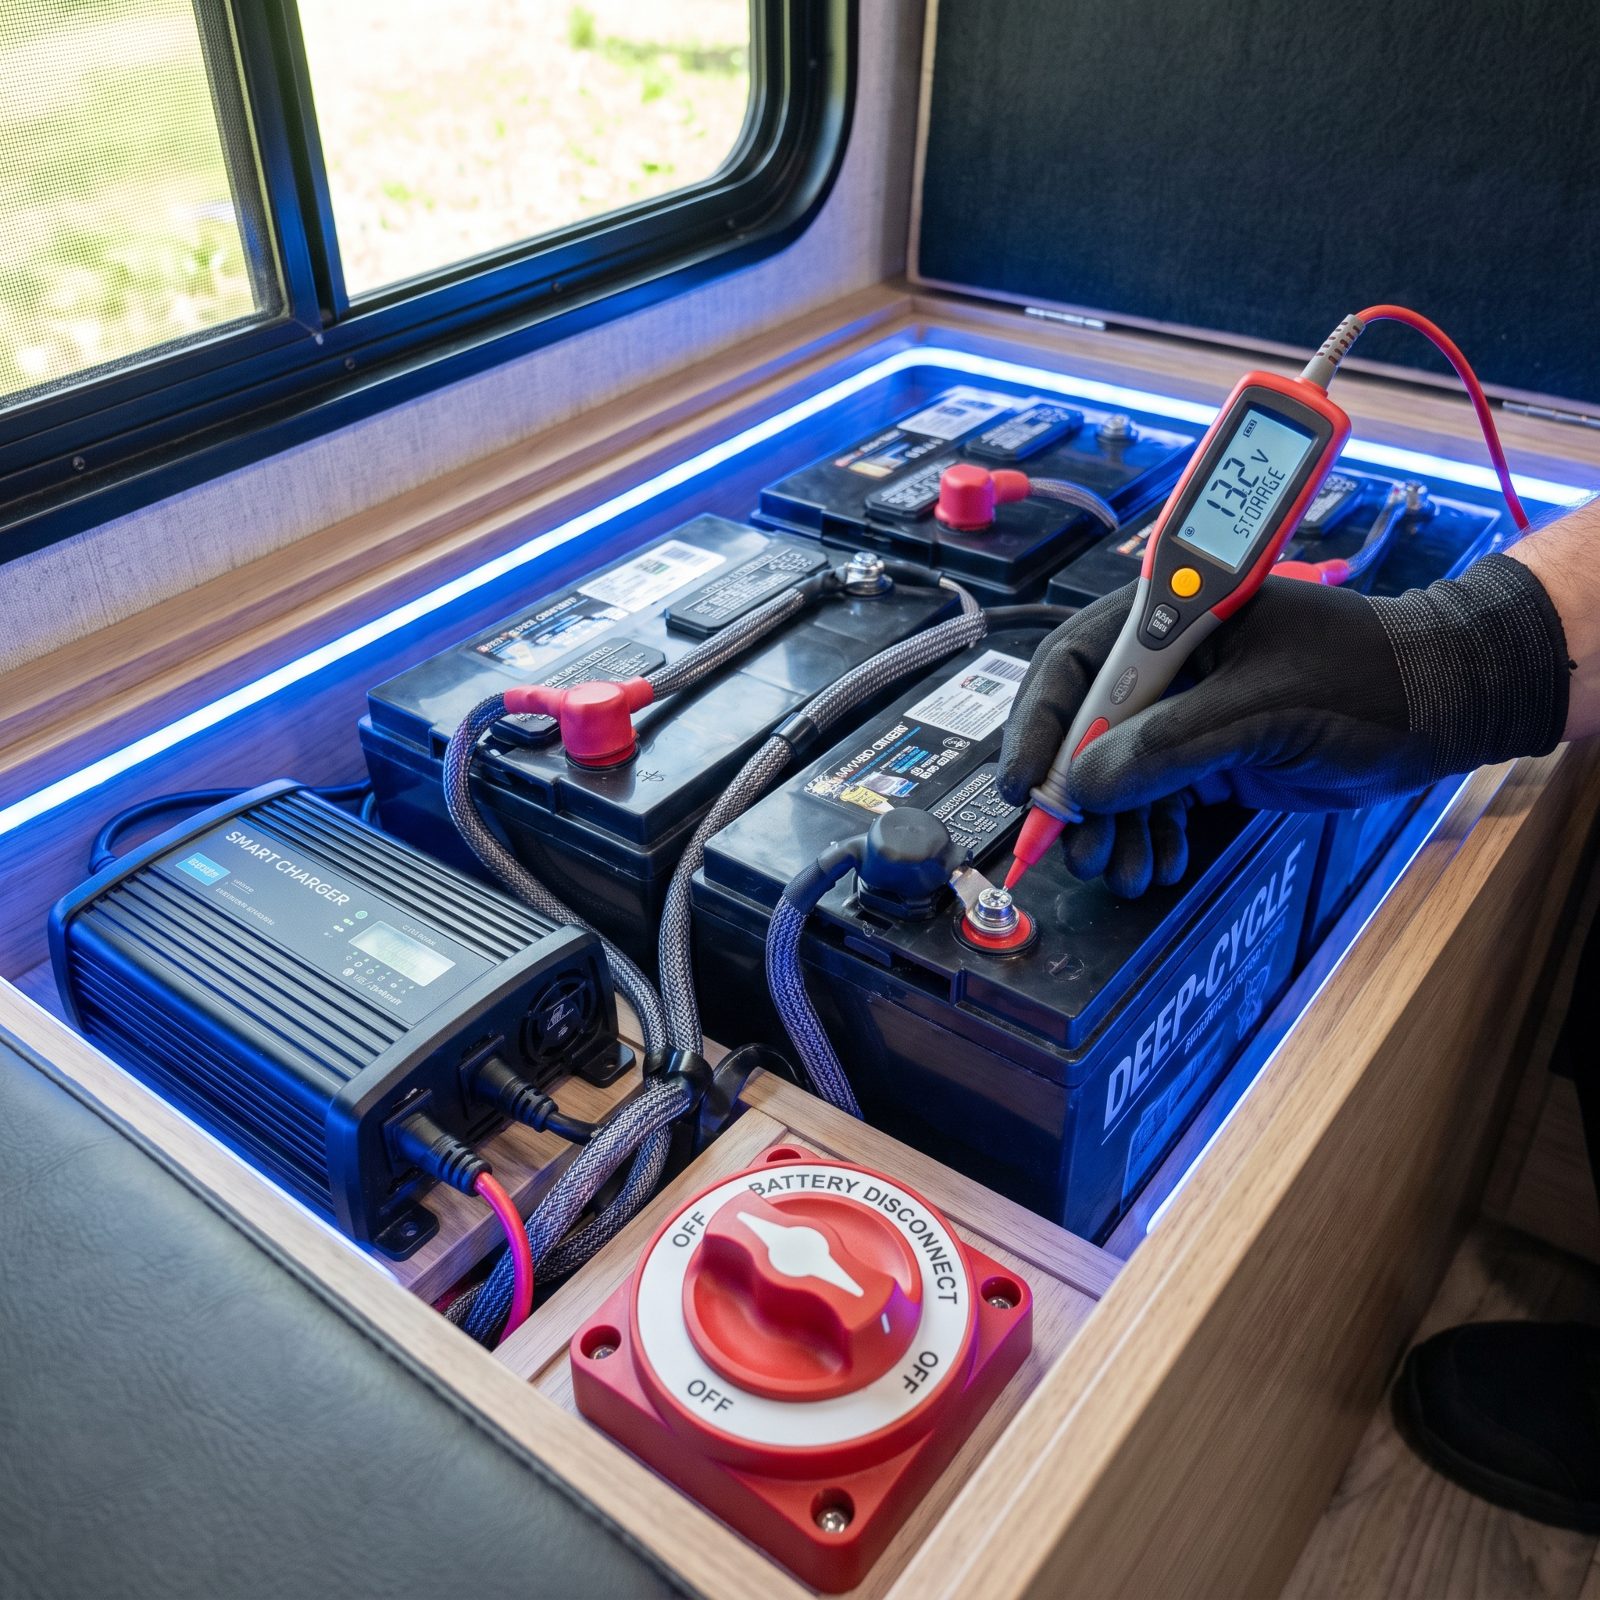
Here’s the quiet killer of RV batteries: the stuff that drains them while you’re not even there. Propane detectors, the fridge control board, antenna boosters, that little clock. They sip current every hour of every day you’re parked, and a flooded lead-acid battery left to drain down in the cold will freeze and crack.
Flip the battery disconnect if you have one. No disconnect? Pull the negative terminals. For lead-acid, store at a full charge, around 12.7 volts, and top it off with a battery maintainer — or just bring the batteries indoors. Lithium plays by its own rules. It’d rather sit around half charged, so run it partway down and leave it disconnected somewhere above freezing.
6. Stabilize Generator and Motorhome Fuel, Then Run Treated Fuel Through the System
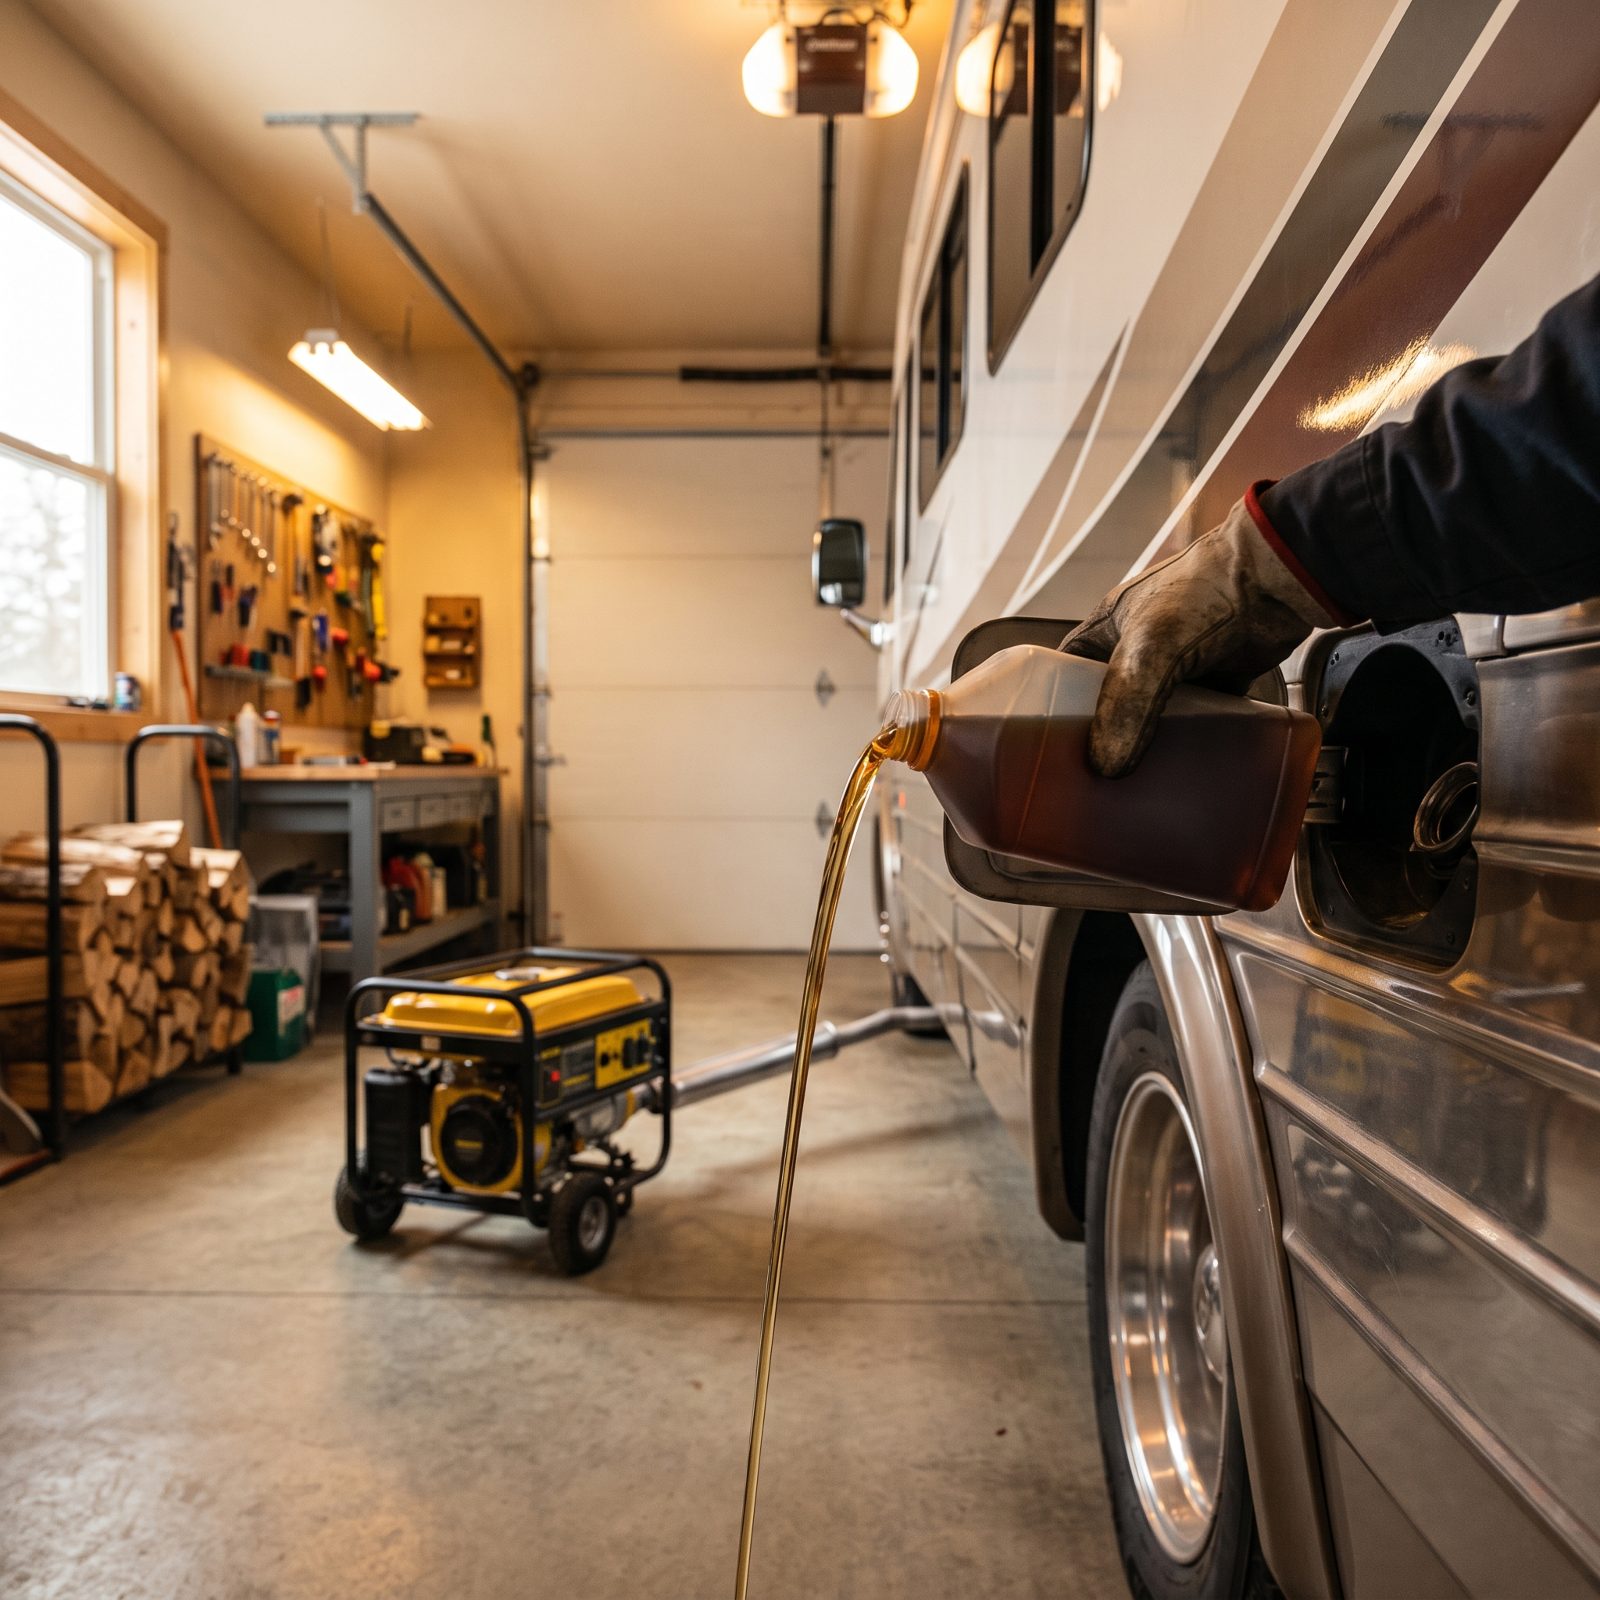
Gas goes stale. Leave untreated fuel in a tank or a carburetor for a few months and it gums up into varnish, and come spring your generator sputters, won’t hold a load, or won’t start at all. That repair bill dwarfs what a bottle of stabilizer costs.
Add fuel stabilizer to a nearly full tank, then drive the motorhome or run the generator for ten or fifteen minutes. That last step matters more than people realize. The stabilizer has to actually reach the fuel lines, pump, and carburetor, not just sit in the tank being useless.
I learned this the hard way with a generator that cranked all day the first warm weekend of April. Full tank of stabilized gas. I’d never run the engine after adding it.
5. Set Storage Tire Pressures, Chock the Wheels and Release the Parking Brake
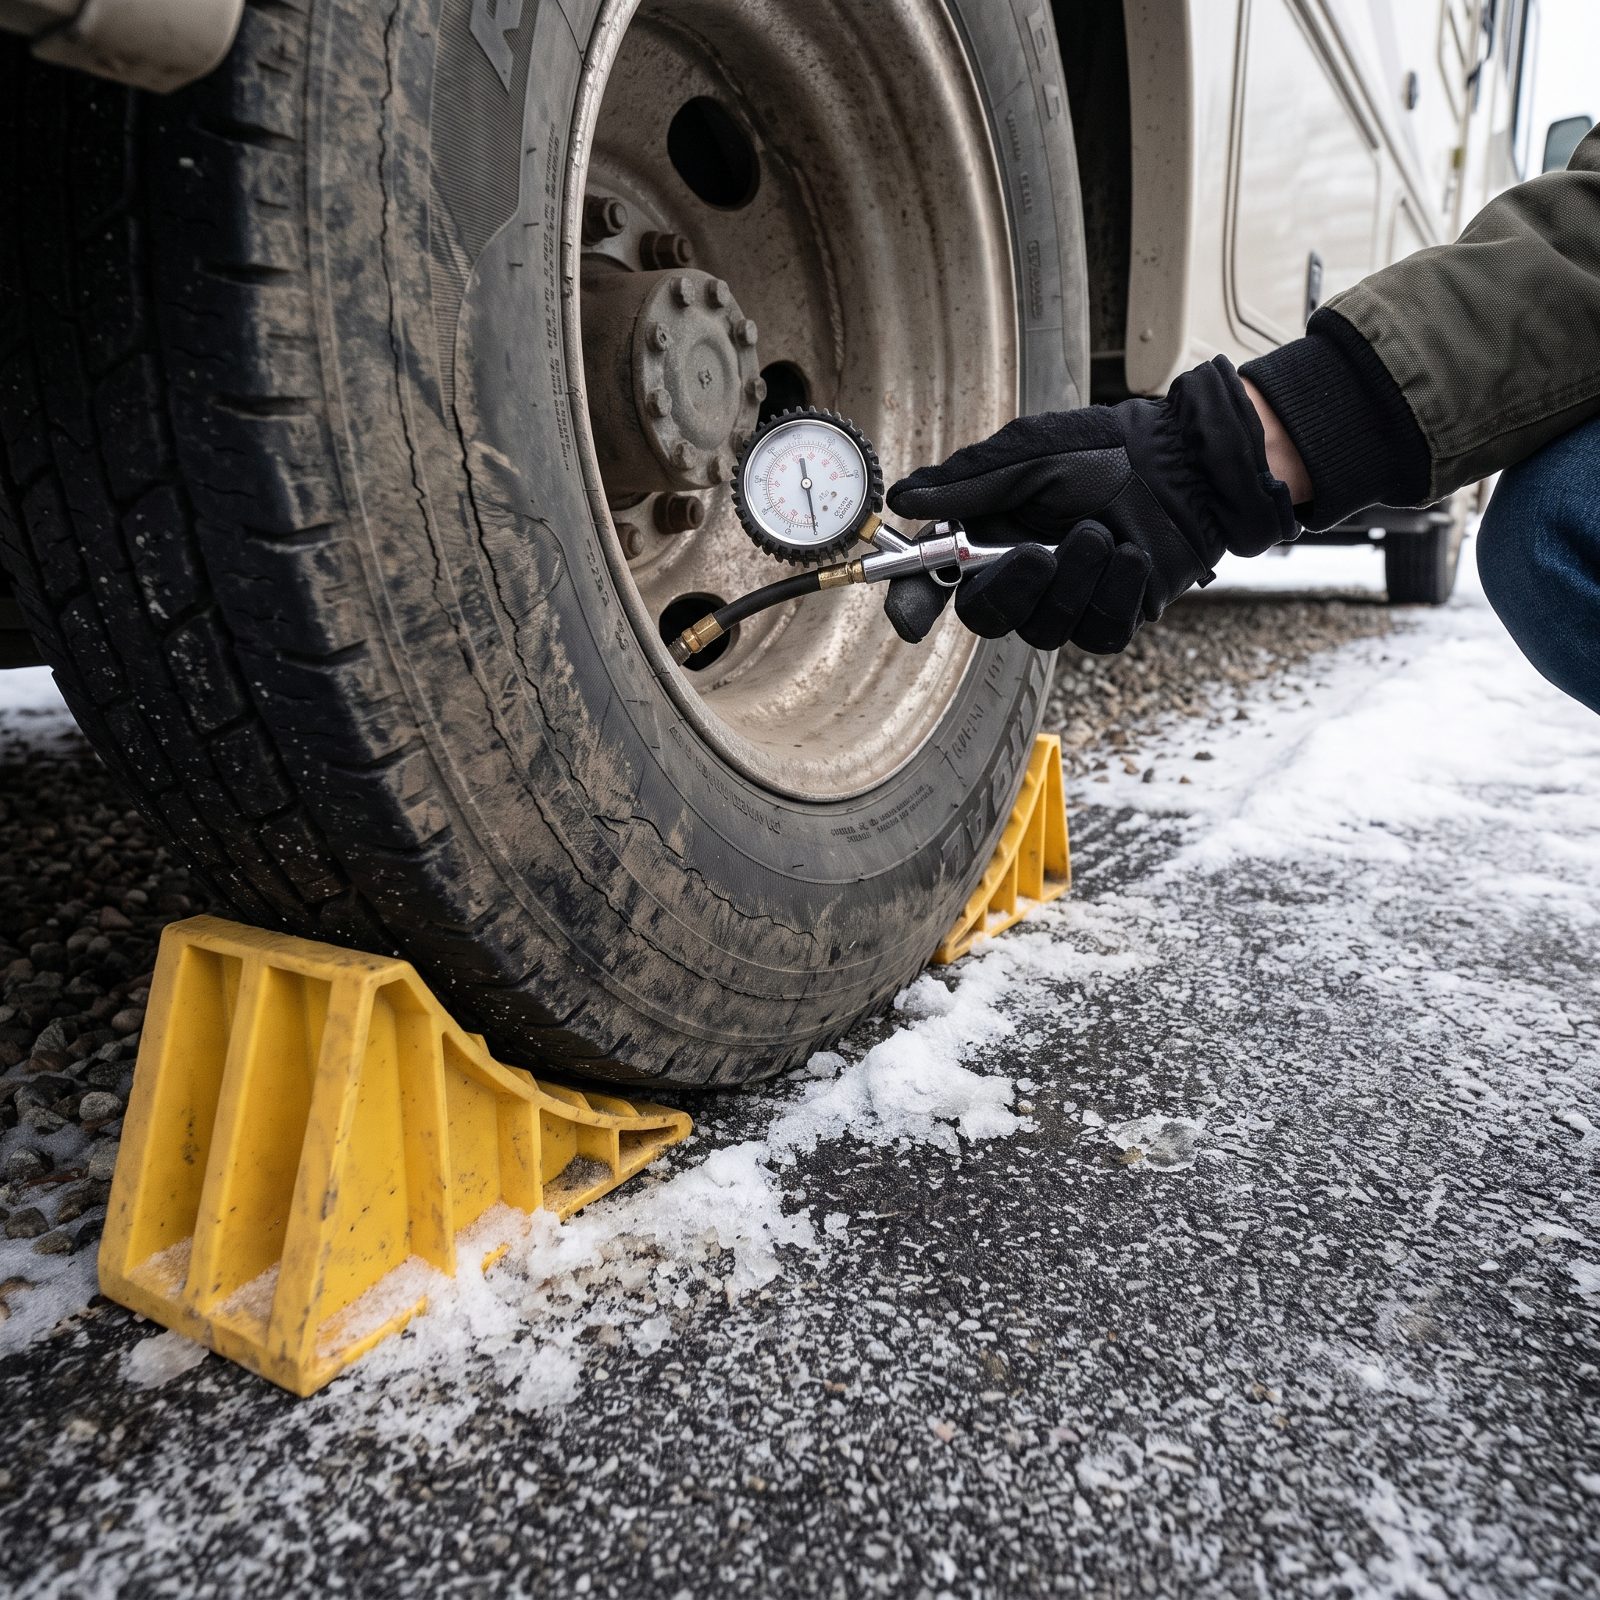
Tires don’t fail from miles alone. They fail from sitting. Park an RV on underinflated tires for a winter and you get flat spots, cracked sidewalls, and a slow leak you won’t notice until you’re hitched up and halfway down the driveway in April.
Air them up to the max pressure stamped on the sidewall for storage, which handles the natural drop as temperatures fall. Chock both sides of each wheel, then release the parking brake. Brake shoes left clamped against a drum for months can rust and seize together, and freeing a frozen brake is a worse Saturday than you want.
4. Inspect and Repair Roof Seams Before Snow and Ice Arrive
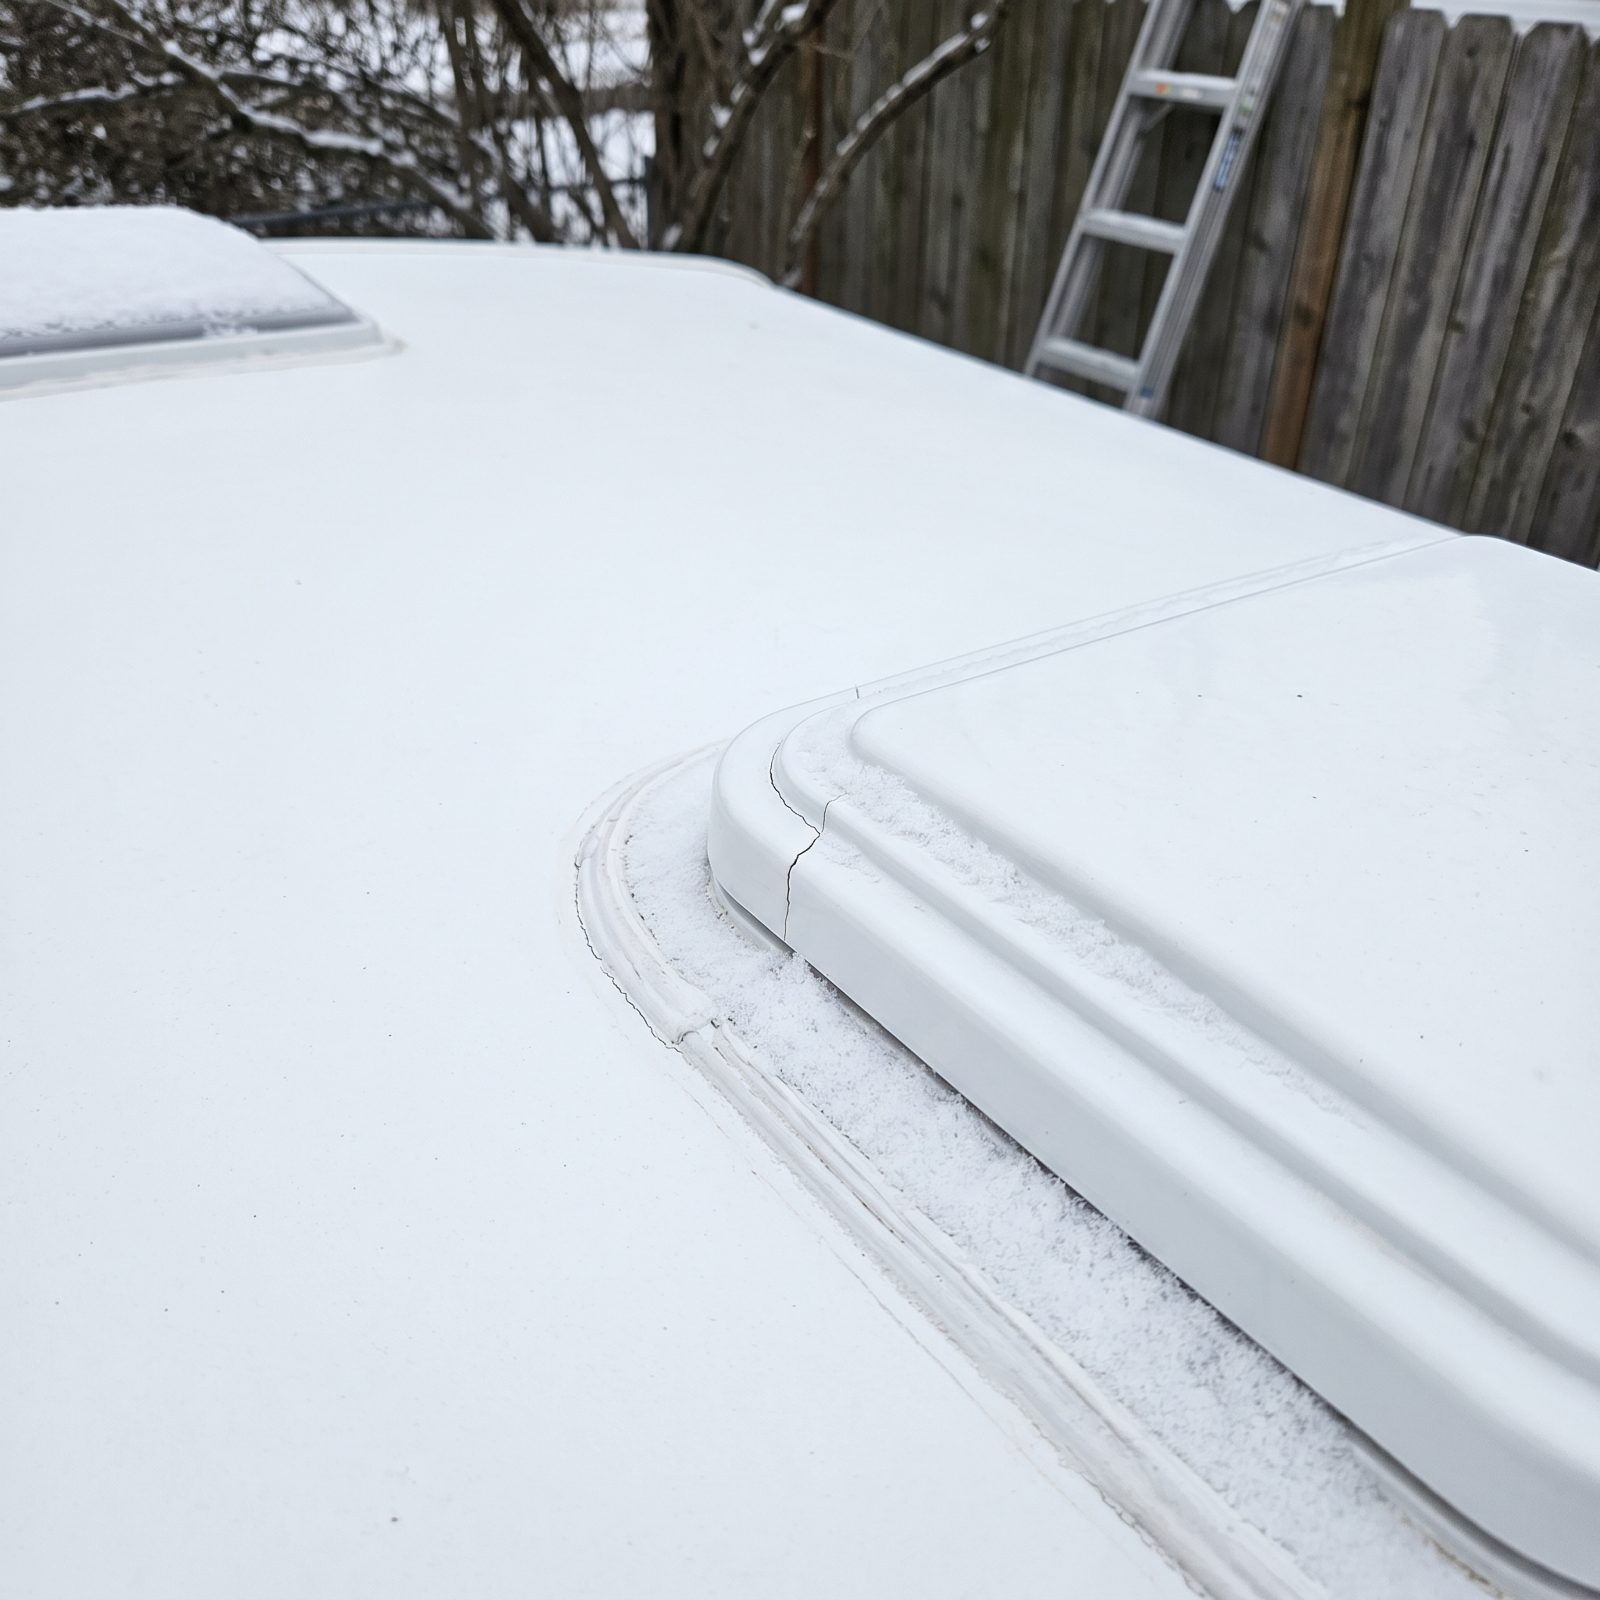
Water is patient. A hairline crack in a roof seam that you’d never notice in July becomes a problem the first time snow sits on it, melts, refreezes, and works its way under the sealant. By the time you spot the stain on the ceiling inside, the damage has been spreading through the walls for weeks.
Get up on the roof on a dry day and walk every seam, every vent flange, every skylight edge, and the front and rear caps. Any sealant that’s cracked, peeling, or chalky gets fresh self-leveling lap sealant over the top. Cheapest repair there is, and it heads off the priciest one.
Do this before the first snow. Chipping ice off a roof to find a leak in February is nobody’s idea of fun.
3. Seal Plumbing, Wiring and Vent Openings Against Rodents
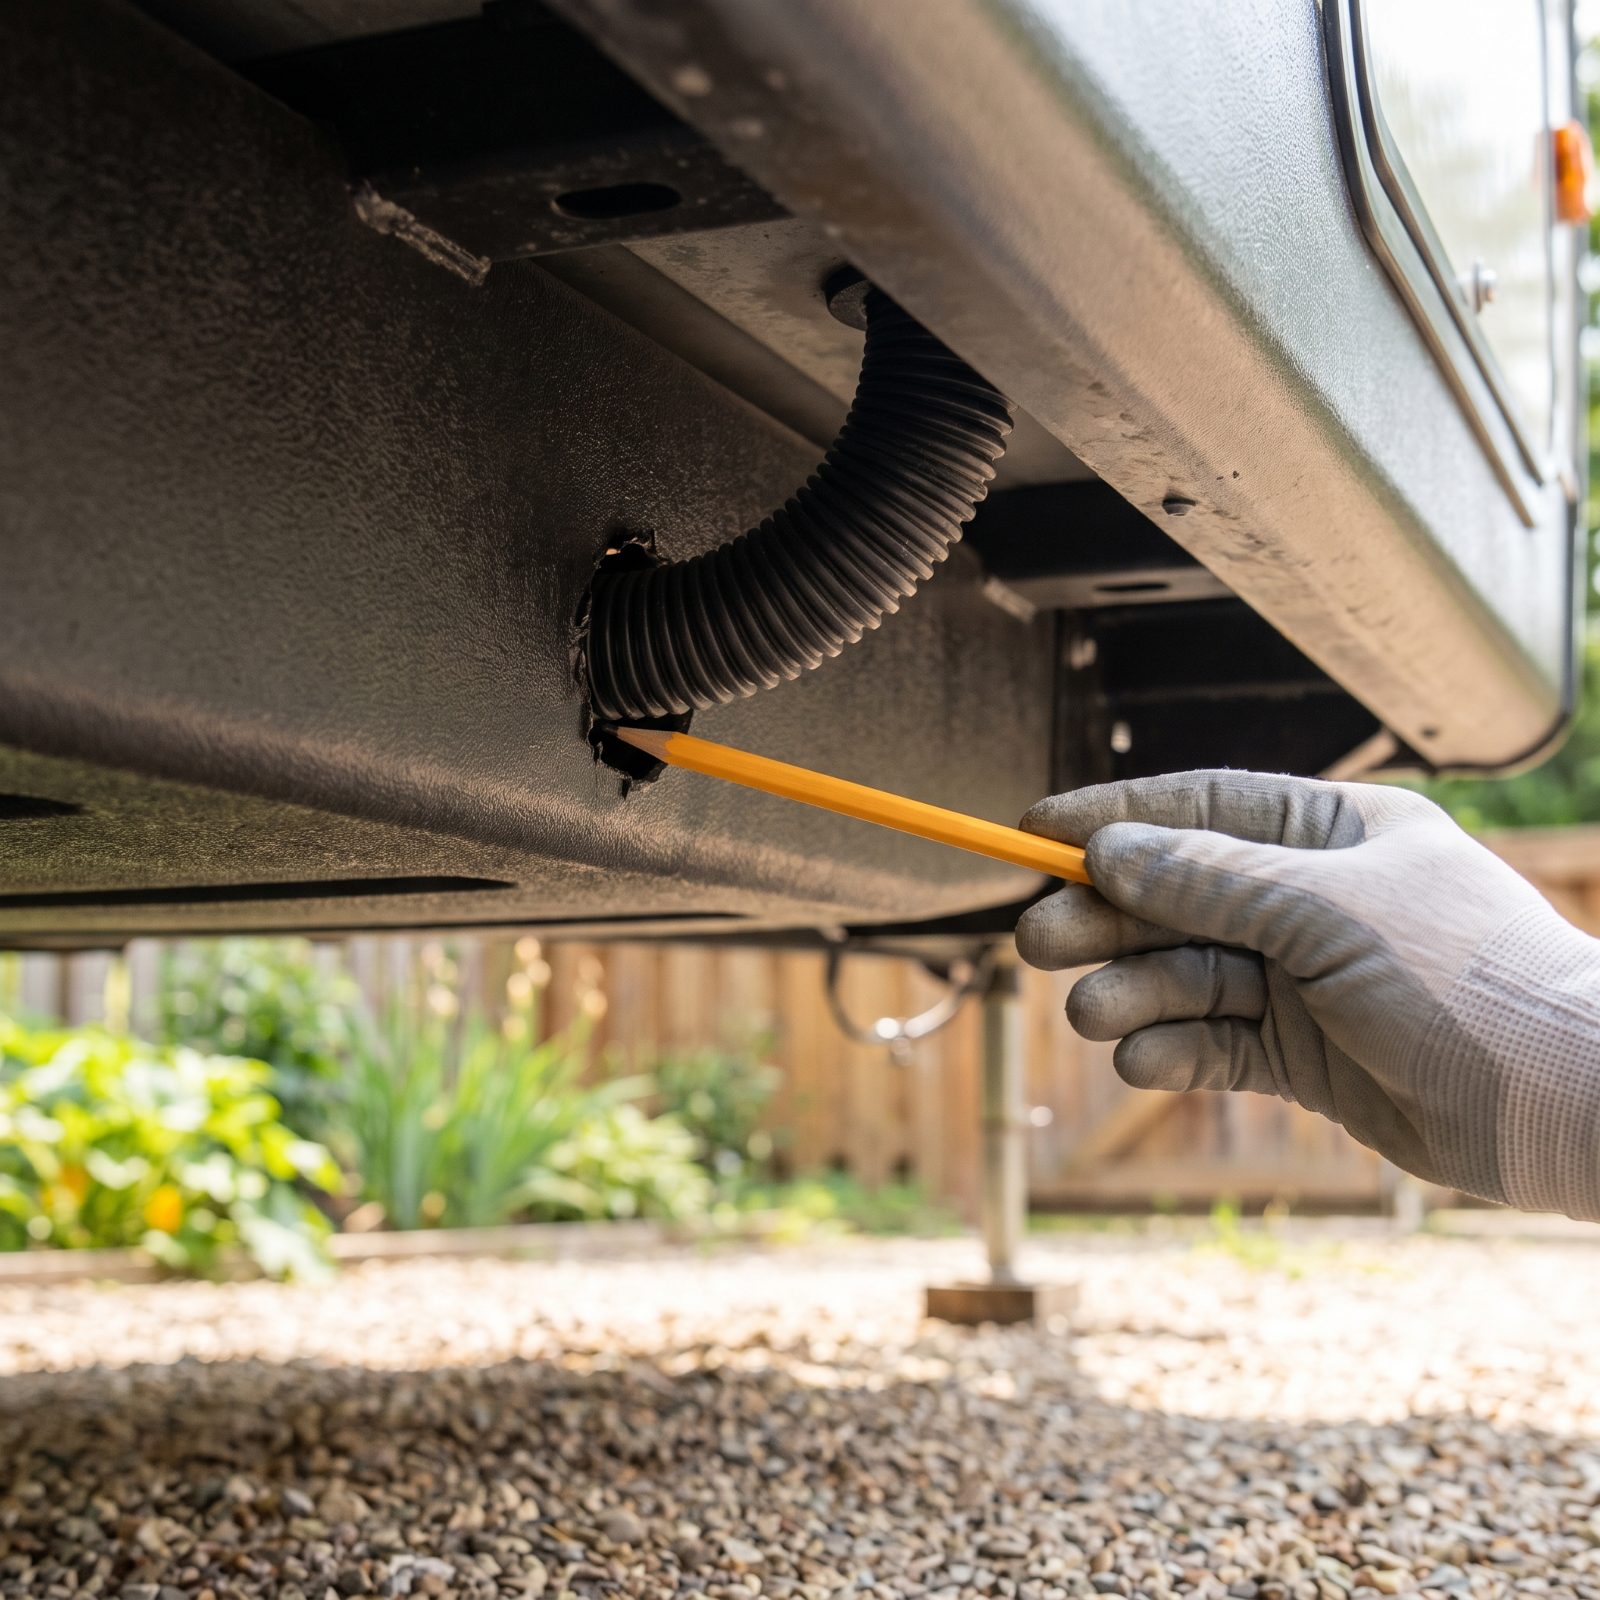
A mouse needs a gap the width of a pencil to get inside your RV. And once it’s in a warm, quiet, stored rig, it chews. Wiring insulation, water lines, cushions, the foam behind the walls. Mice have ended more RVs than rust has.
Every spot where a pipe, wire, or cable passes through the floor or wall is a doorway. Stuff those gaps with copper mesh or steel wool — which they won’t chew through — then seal around it. Close off the furnace and water heater exterior vents with covers made for the job. And leave the slides in; a retracted slide seals tighter than an extended one.
2. Use a Hygrometer and Create Airflow Under Mattresses and Inside Cabinets

A sealed RV sweats. Trapped air plus cold walls plus zero ventilation equals condensation, and condensation equals mold under the mattress and in the corners of closed cabinets. You won’t catch it until you’re pulling bedding out in spring and find the dark bloom on the underside.
Toss a cheap hygrometer inside so you can glance at the humidity on a winter check. Prop the mattress up on a corner or lay it on egg-crate foam so air moves underneath. Crack the cabinet and closet doors. Drop a couple of moisture absorber tubs in the galley and bedroom to pull the damp out of the air.
1. Schedule Recurring Winter Visits to Check for Leaks, Pests and Battery Drain
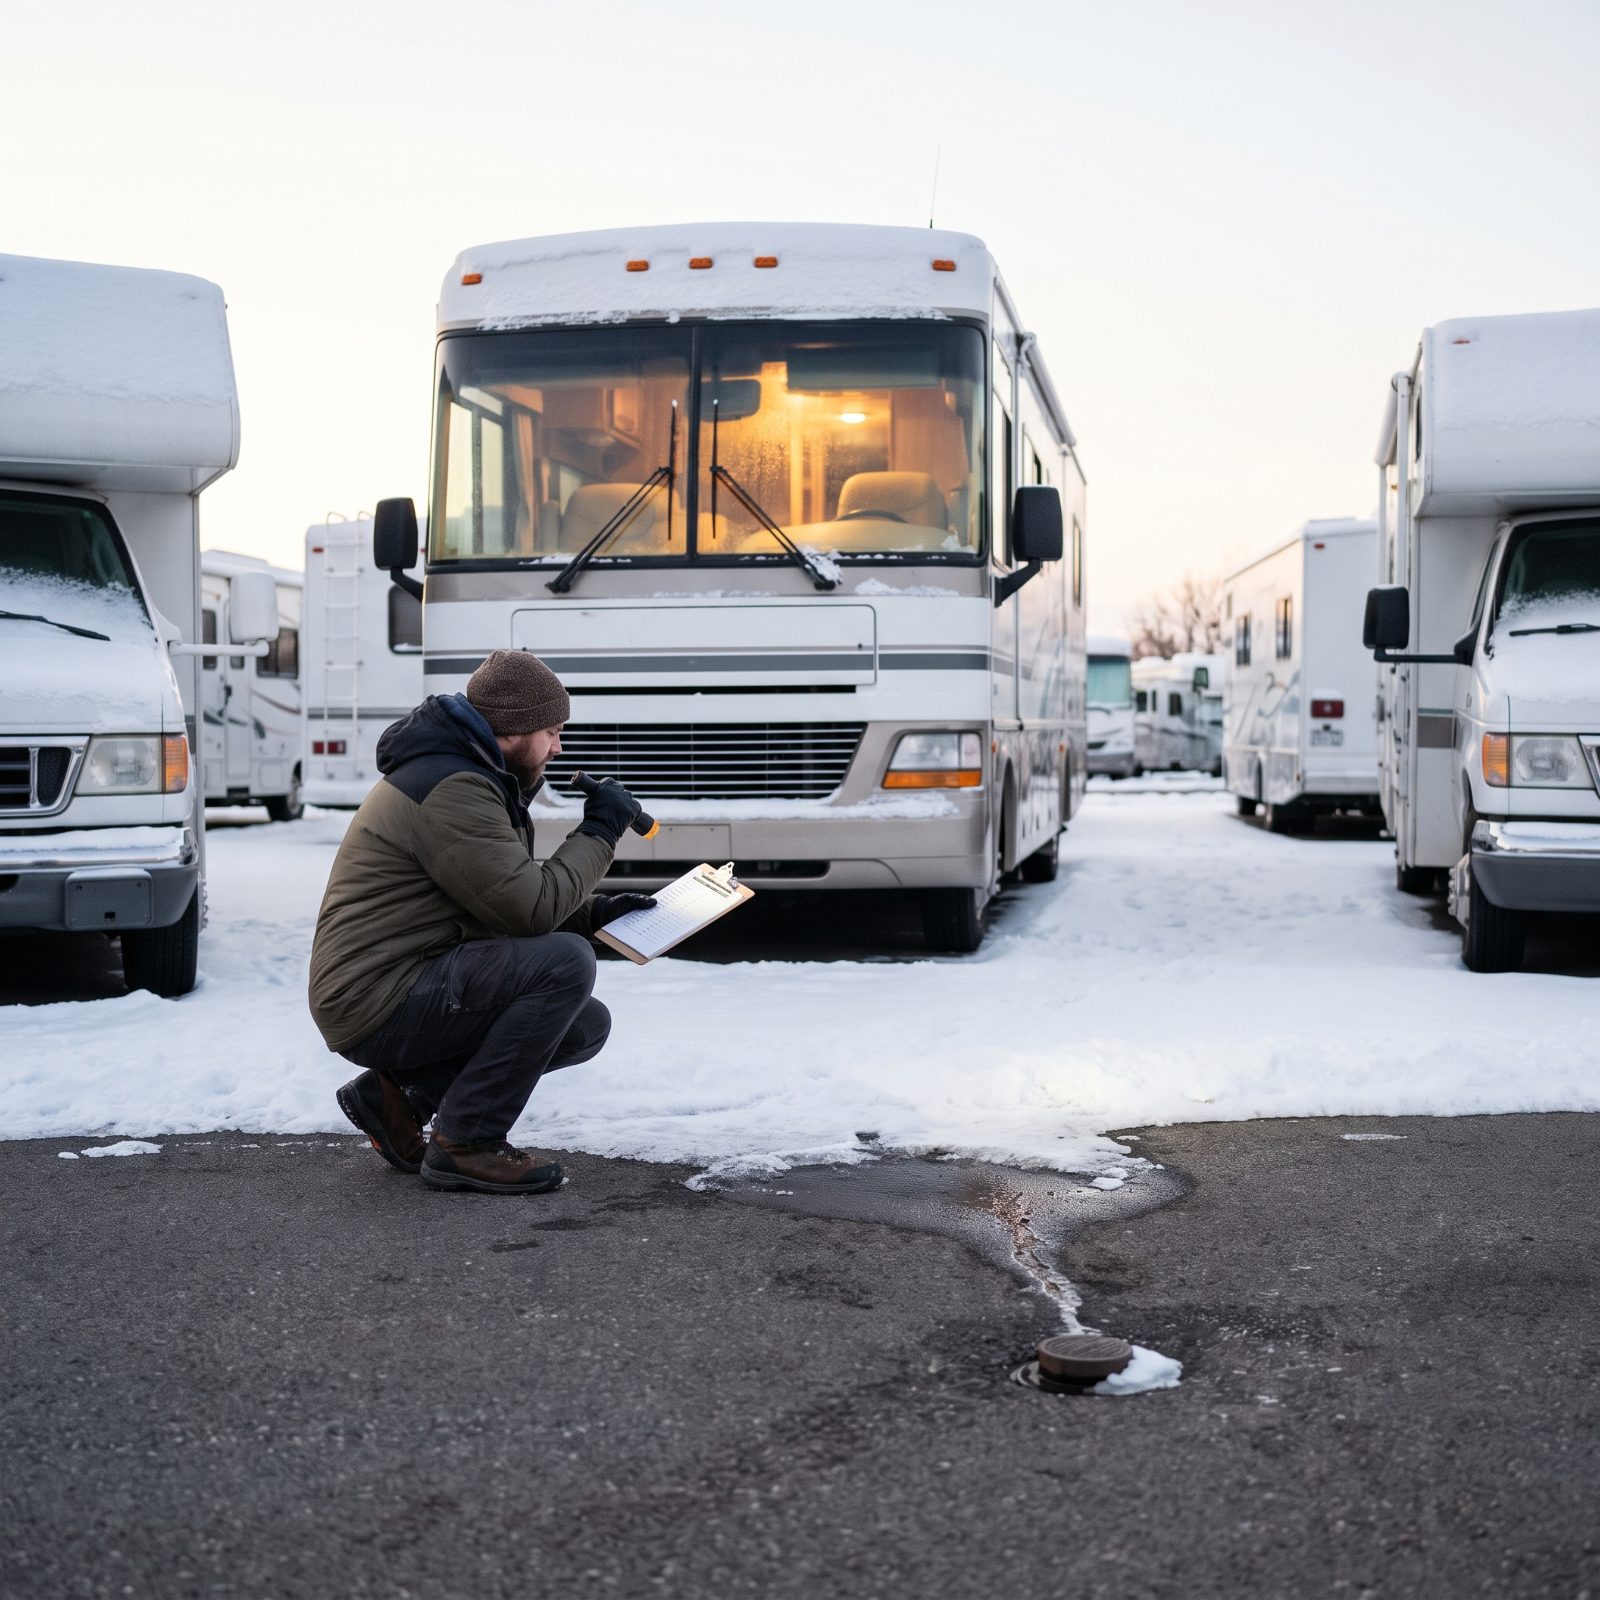
Winterizing isn’t a one-and-done. It’s a setup, and then it needs tending. The leak you sealed can reopen, the maintainer can quit, a mouse can find the one gap you missed. Everything you buttoned up in November deserves a look before April.
Put it on the calendar. Once a month, stop by with a flashlight and walk the ceiling for water stains, check the corners and under the mattress for moisture, look for droppings or chew marks, and glance at the battery voltage. Ten minutes a visit catches the small problem while it’s still small.
A friend who full-times through cold snaps swears by the monthly walk-through, and I’ve come around to it completely. The rig that gets checked is the rig that’s ready to roll in spring. The one that sits ignored? That’s the one with the surprise waiting.