
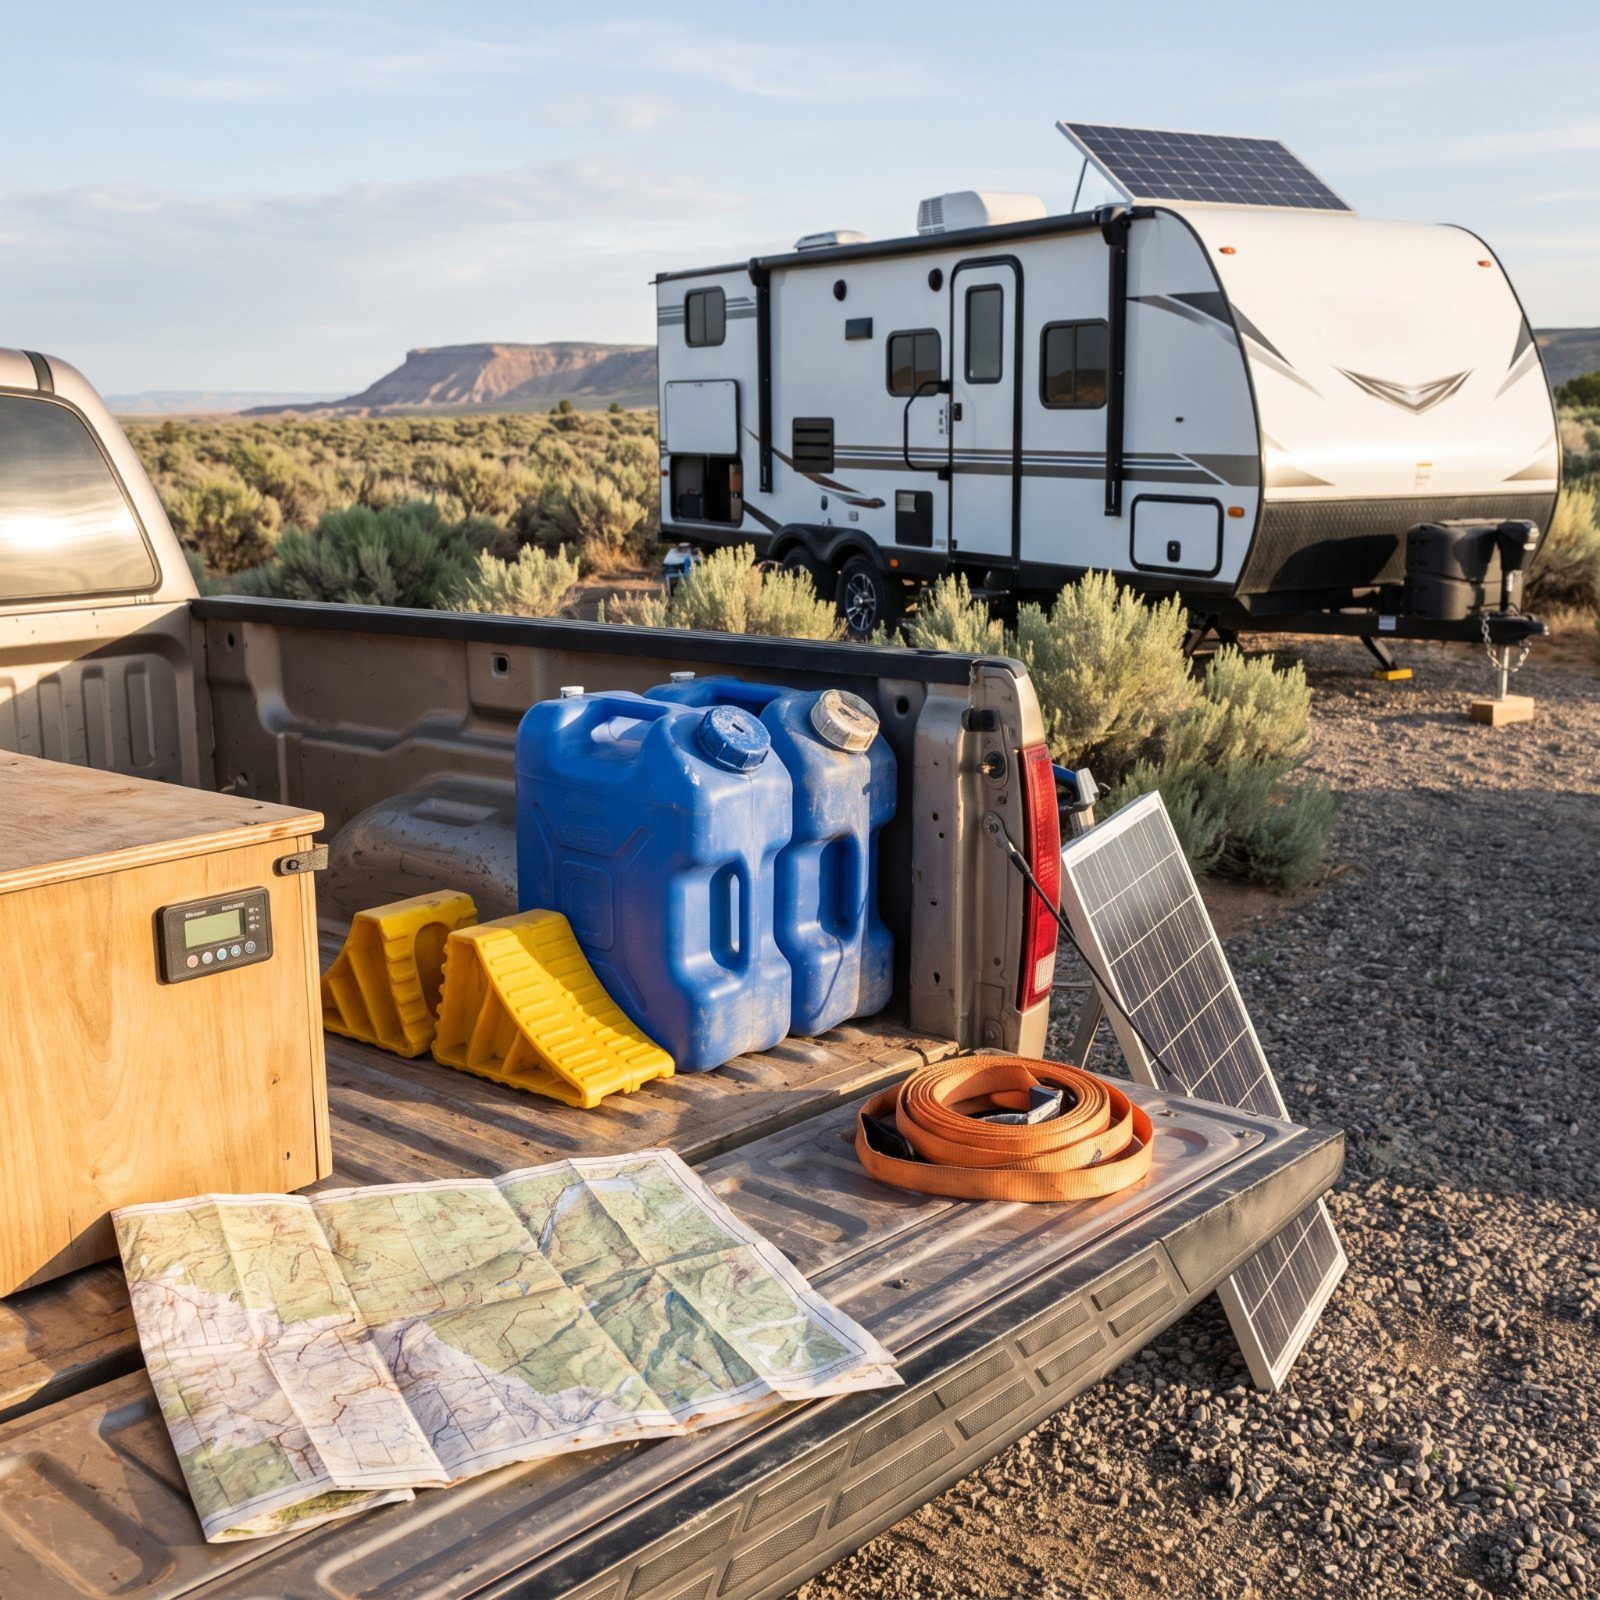
The first time you kill your hookups and drive toward empty land, something shifts. No water spigot. No shore power. No camp host three sites over to bail you out. That freedom is the whole reason you’re out here, and it’s also where most first-timers get humbled by something small and fixable. Nearly every off-grid headache traces back to a decision you made before you left the driveway. Get those right and the rest is coffee at sunrise with nobody around for miles. Here’s where people slip.
Please note that some of the images in this article were created with the assistance of AI.
45. Skipping the One-Night Driveway Shakedown Before Going Remote
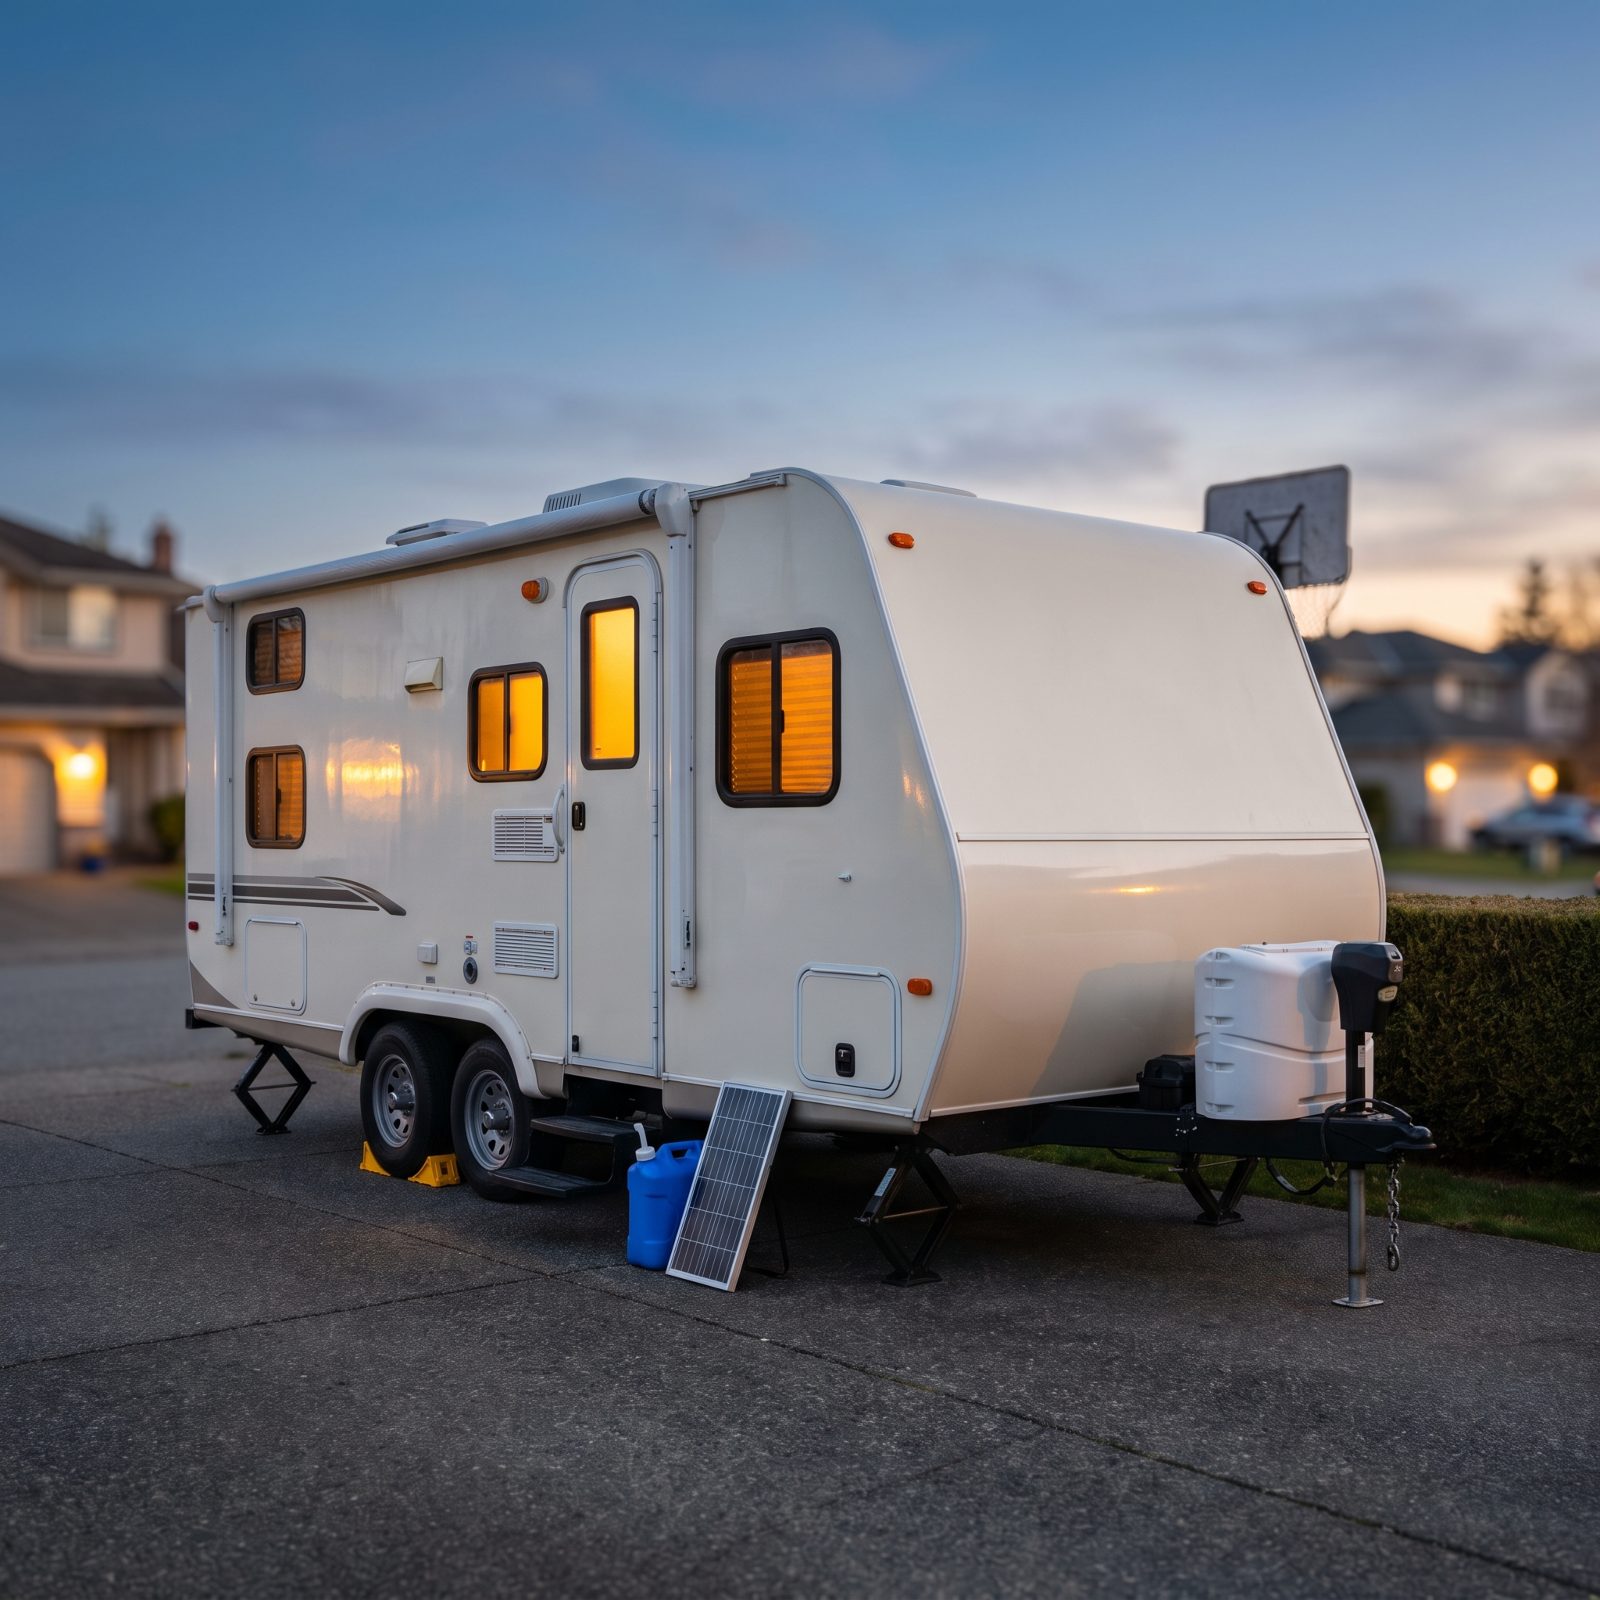
You load up, feel ready, and point the rig at the middle of nowhere for the maiden voyage. Then the furnace won’t light, or the water pump cycles all night, or the fridge never switched over to propane and everything’s warm by hour six.
Off-grid is the worst possible place to discover your systems don’t talk to each other. No hookup to fall back on, no help nearby.
So spend one full night parked in your own driveway running everything off battery and tank — no shore power cord, no garden hose. Cook, flush, sleep, run the furnace. Whatever breaks, breaks fifty feet from your garage instead of fifty miles from a paved road. I learned this courtesy of a pump that air-locked at two in the morning, and I’d rather you didn’t.
44. Rolling Into Camp as the Sun Goes Down
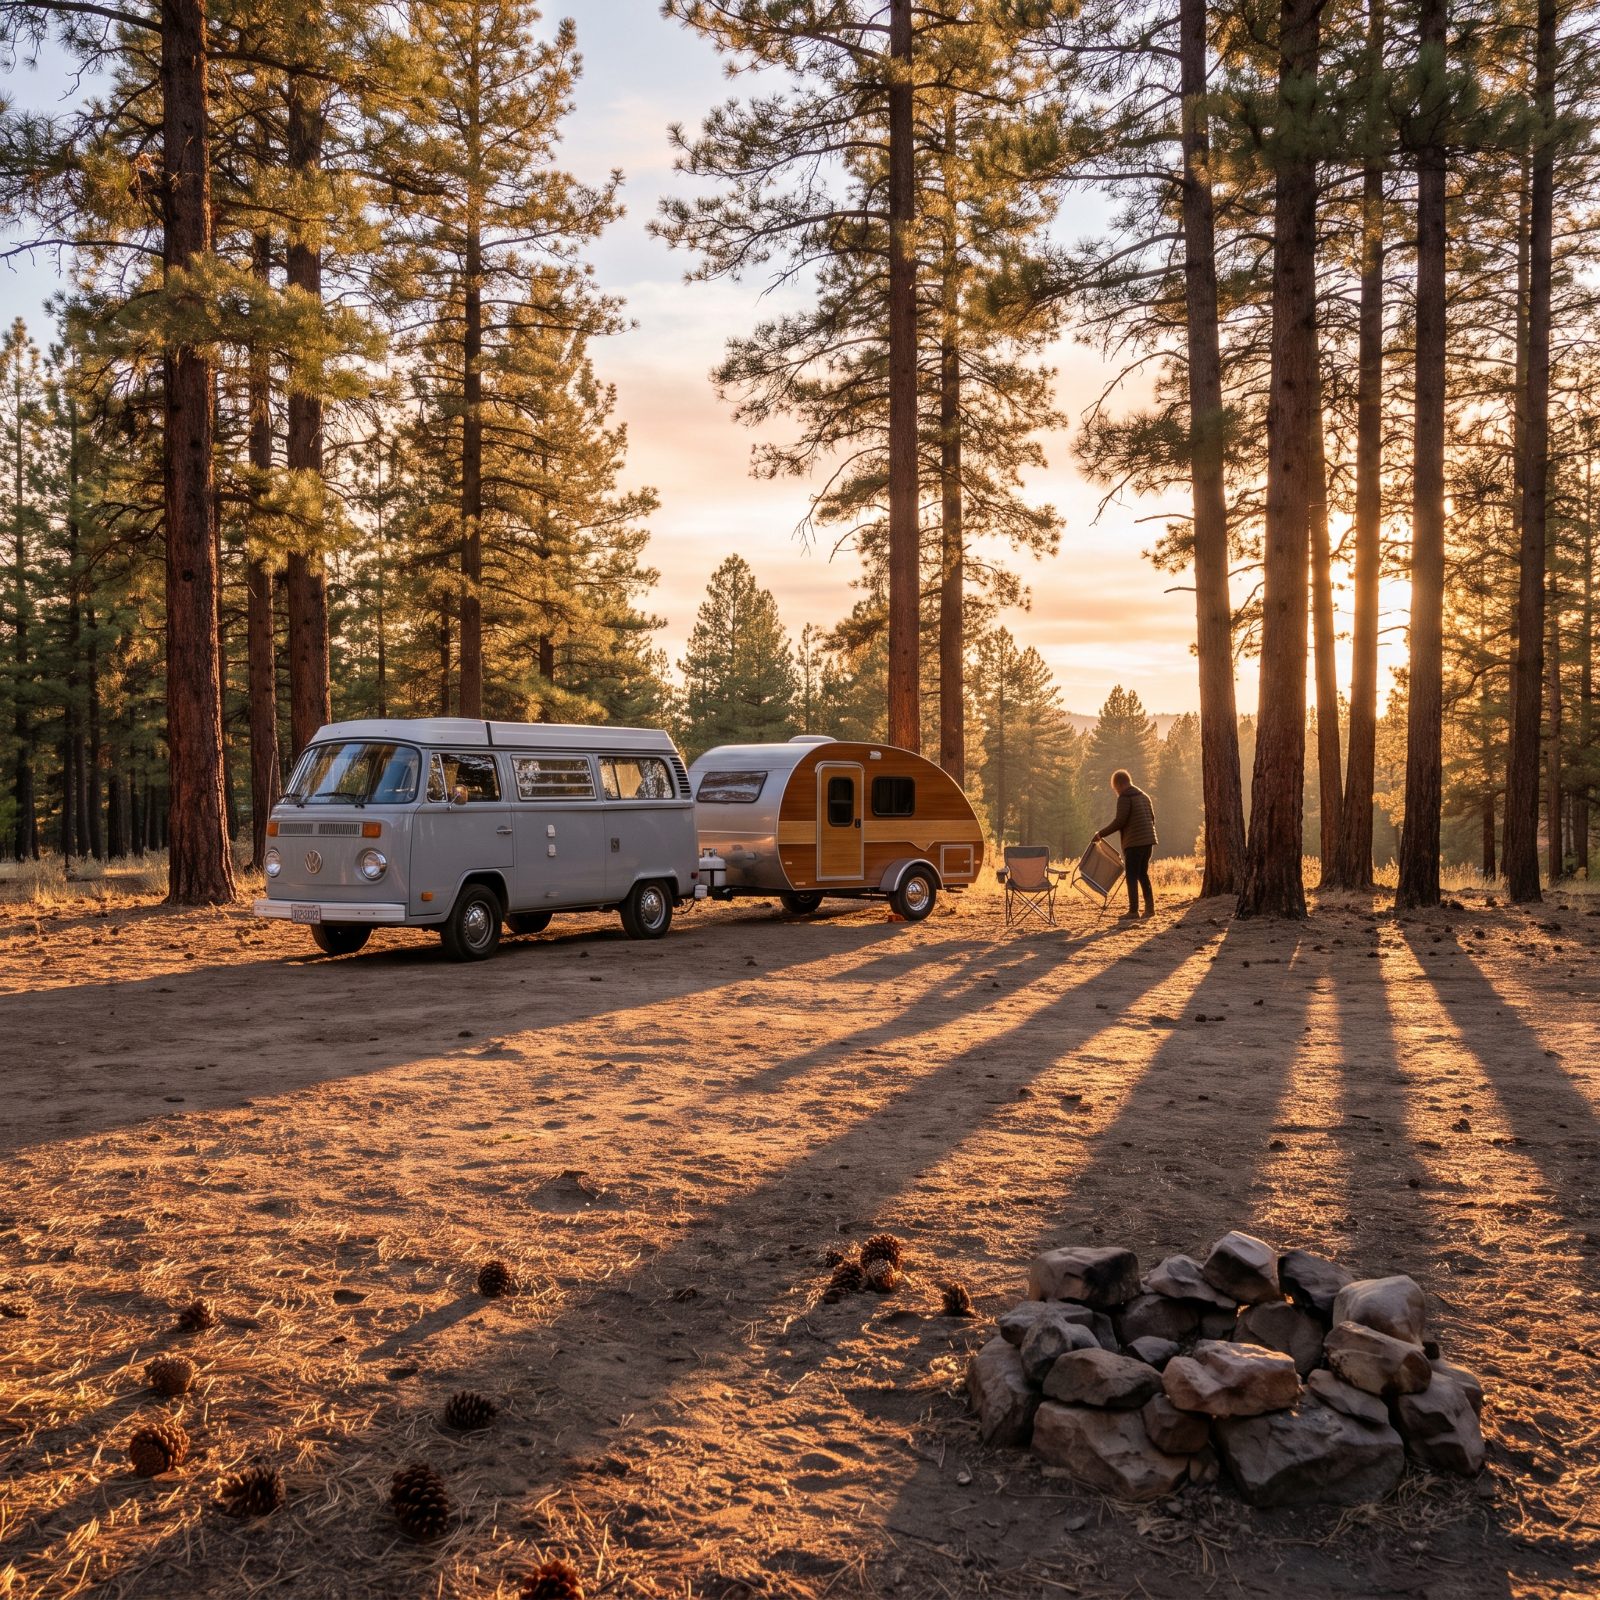
You push to squeeze in extra miles, telling yourself you’ll find a spot before dark. Then you’re backing a thirty-foot rig onto unfamiliar ground by headlights, guessing where the drop-off is and praying that flat-looking patch isn’t soft sand.
Darkness hides everything that matters out here — low branches, hidden ruts, the slope that’ll have you sleeping at an angle. Leveling, scouting, spotting: all of it goes sideways once the sun’s gone.
Aim to arrive with at least two hours of daylight left. That buffer lets you walk the site, check the ground, get level, and still have a cup of coffee while you watch the light go. Plan your drive backward from a target arrival time, not forward from whenever you happen to pull out of the driveway.
43. Assuming the Spot Is Legal Because Someone Else Camped There
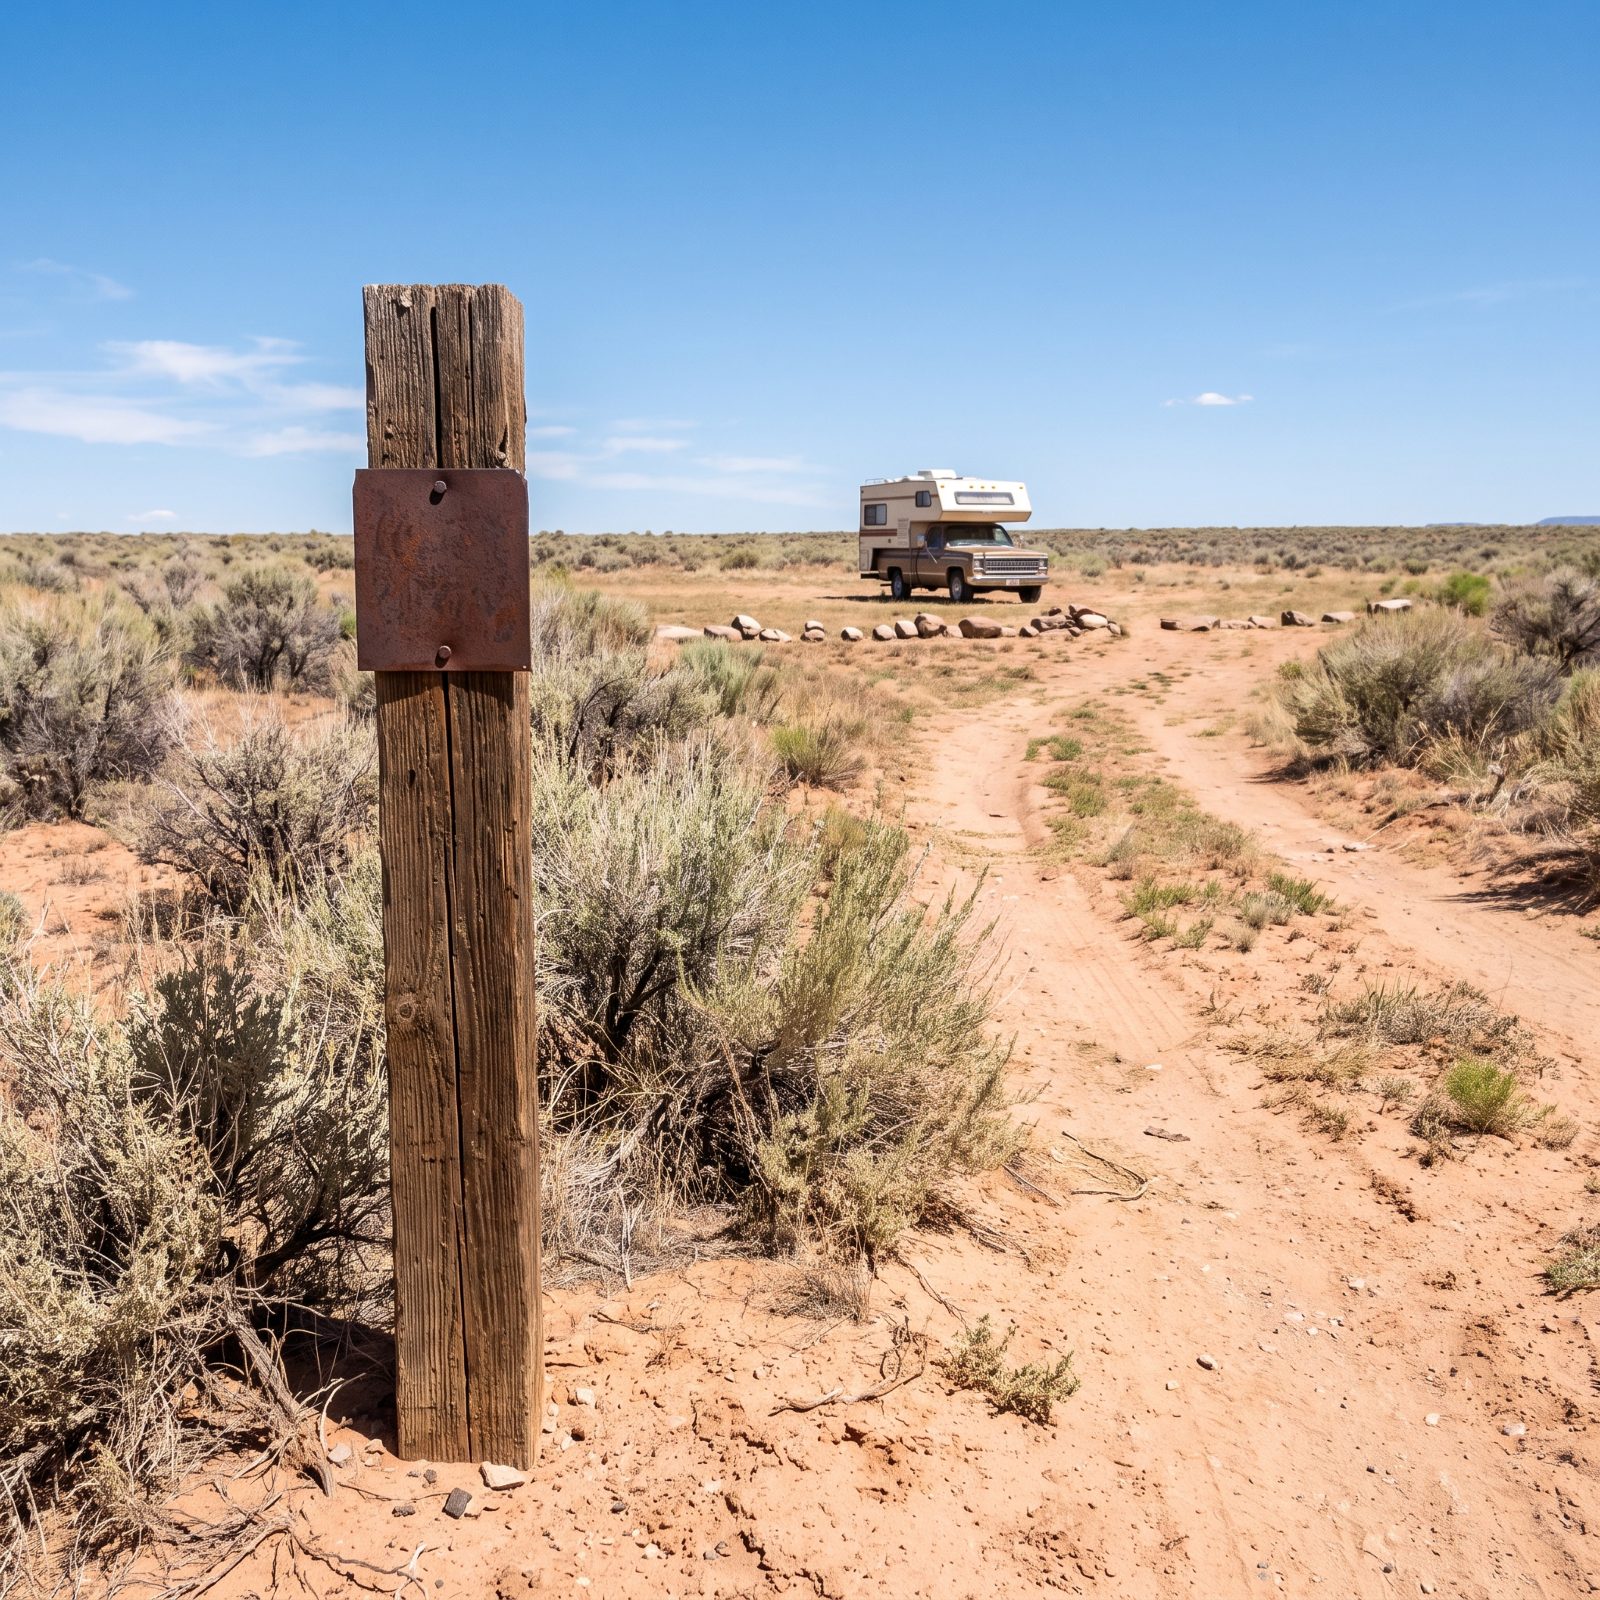
A fire ring and some flattened grass look like permission. They aren’t. Plenty of well-used pullouts sit on private land, closed allotments, or parcels where somebody camped who had no business being there.
Get it wrong and you could wake up to a knock, a citation, or a locked gate behind you. Out West the land ownership runs like a checkerboard, and the boundaries almost never match what the tire tracks suggest.
So before you commit, confirm the exact parcel is open to overnight camping. A land-ownership app that works offline — onX or the Bureau of Land Management’s layers — will tell you whether you’re standing on public ground or in somebody’s back forty. Trust the map, not the fire ring.
42. Ignoring Stay Limits, Permits, and Seasonal Closures

Public land feels like it has no rules until you learn it has plenty. Most dispersed areas cap you at 14 days in a rolling window. Some require a free permit. Some shut down entirely during fire season, hunting season, or mud season.
Overstay a limit and you’re not just rude — you’re risking a fine and dragging down the reputation of every boondocker with the land managers who decide whether these spots stay open at all.
Call or check the managing ranger district or BLM field office before you go. A quick scan of the current closure orders tells you if that road’s gated for spring runoff or if a fire ban means no campfire, period. The rules out here change by the week.
41. Trusting Your Phone to Have Signal for Maps You Didn’t Download
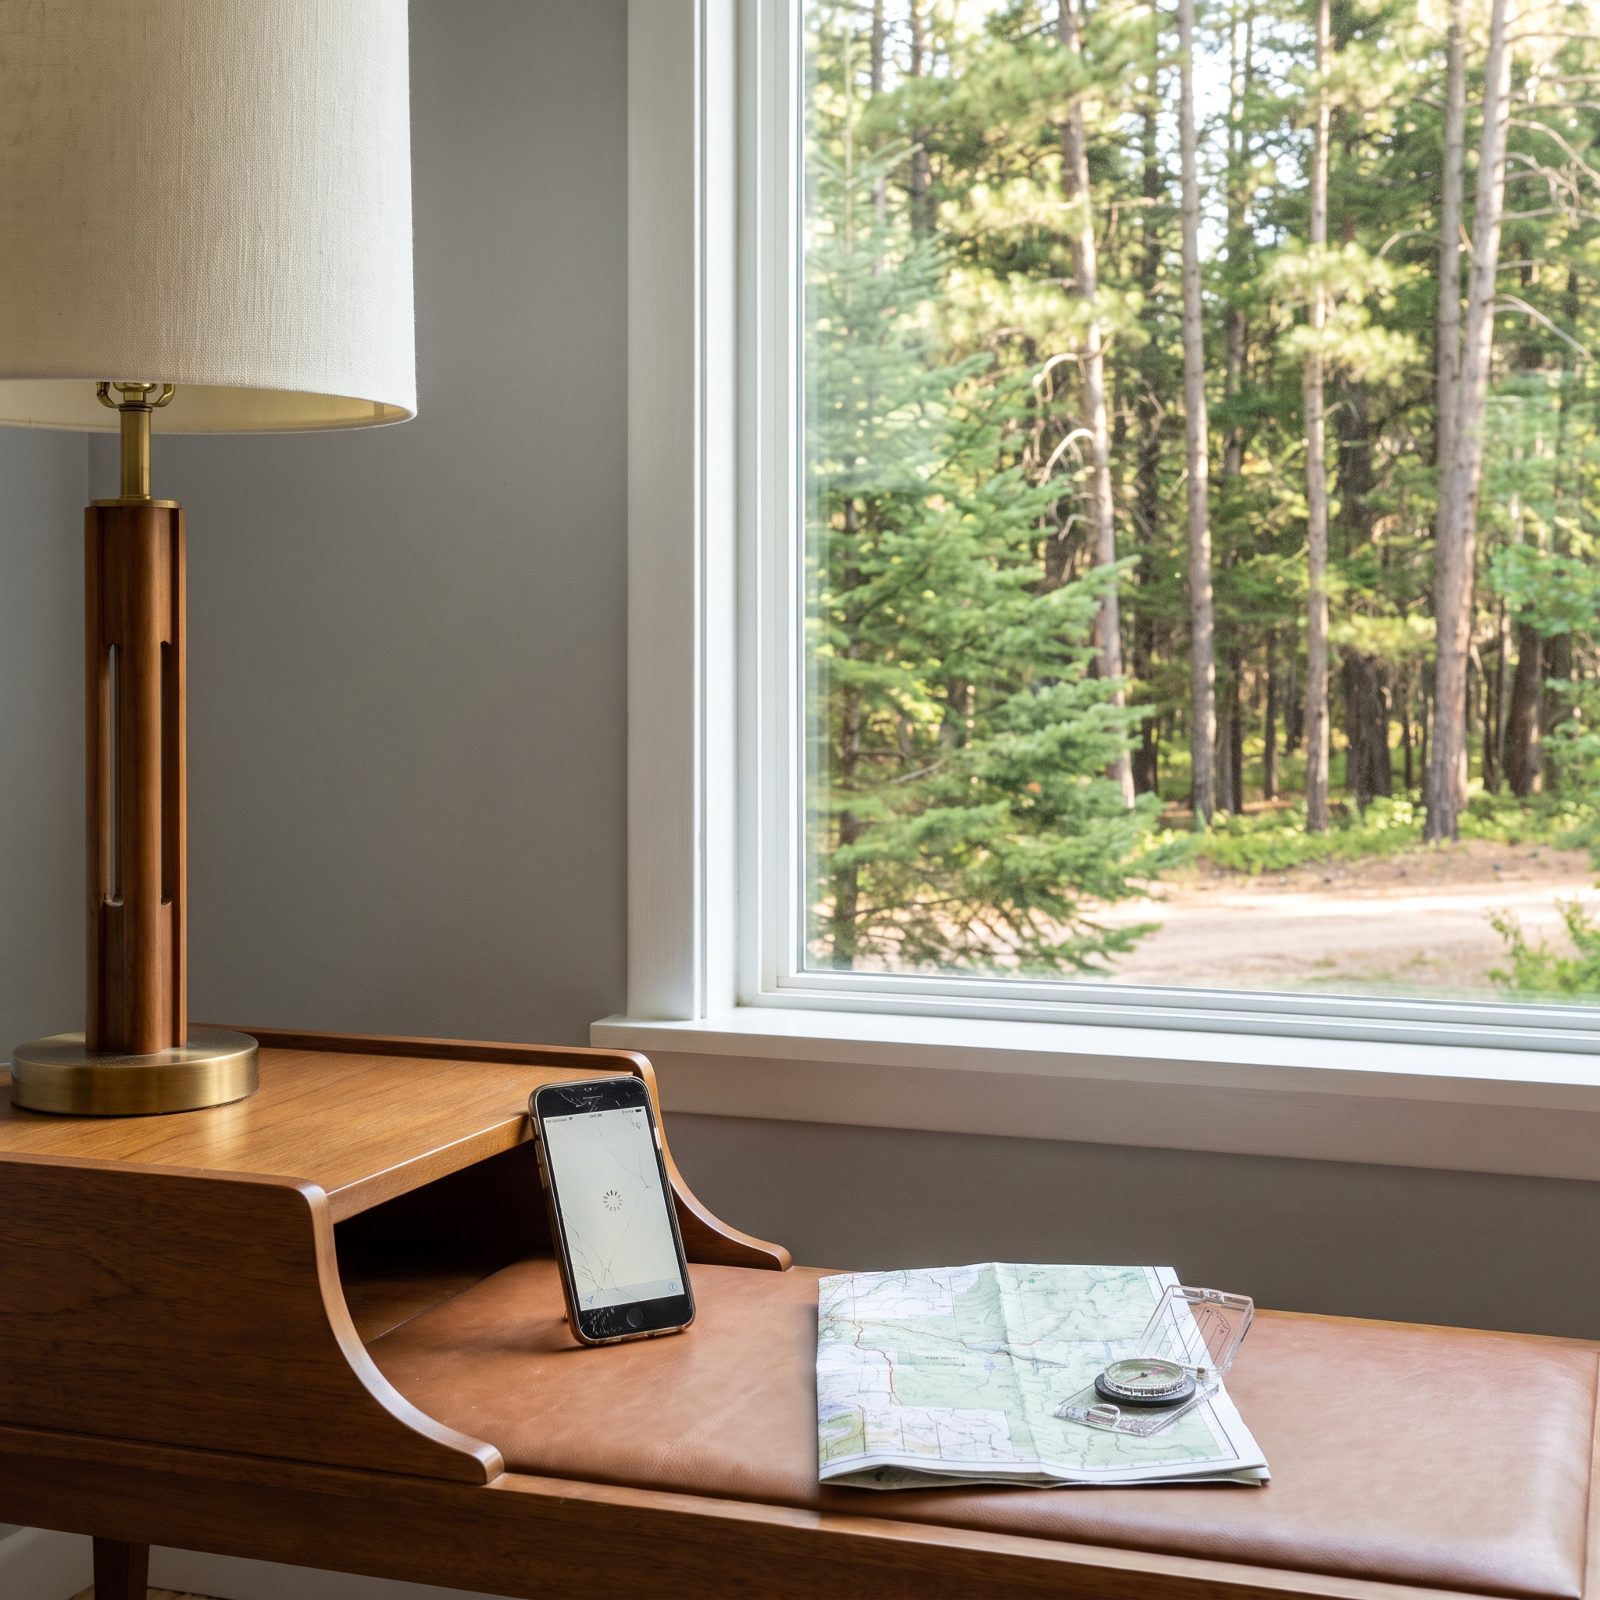
You plan to navigate with your phone, right up until the bars vanish twenty miles back and the blue dot freezes in a gray void. Now you can’t tell which fork is the legal road and which one dead-ends at a wash.
Offline maps are the cheapest insurance in boondocking. Download them at home on wifi, before you lose signal.
Grab three layers: the public-land ownership map, the agency’s Motor Vehicle Use Map that shows which roads actually allow vehicles, and your planned exit route cached end to end. Gaia GPS, onX, and the Forest Service’s own apps all let you save regions offline. And a paper MVUM in the glovebox? That’s the belt to go with the suspenders.
40. Trusting a Five-Year-Old Review Over This Week’s Road Conditions
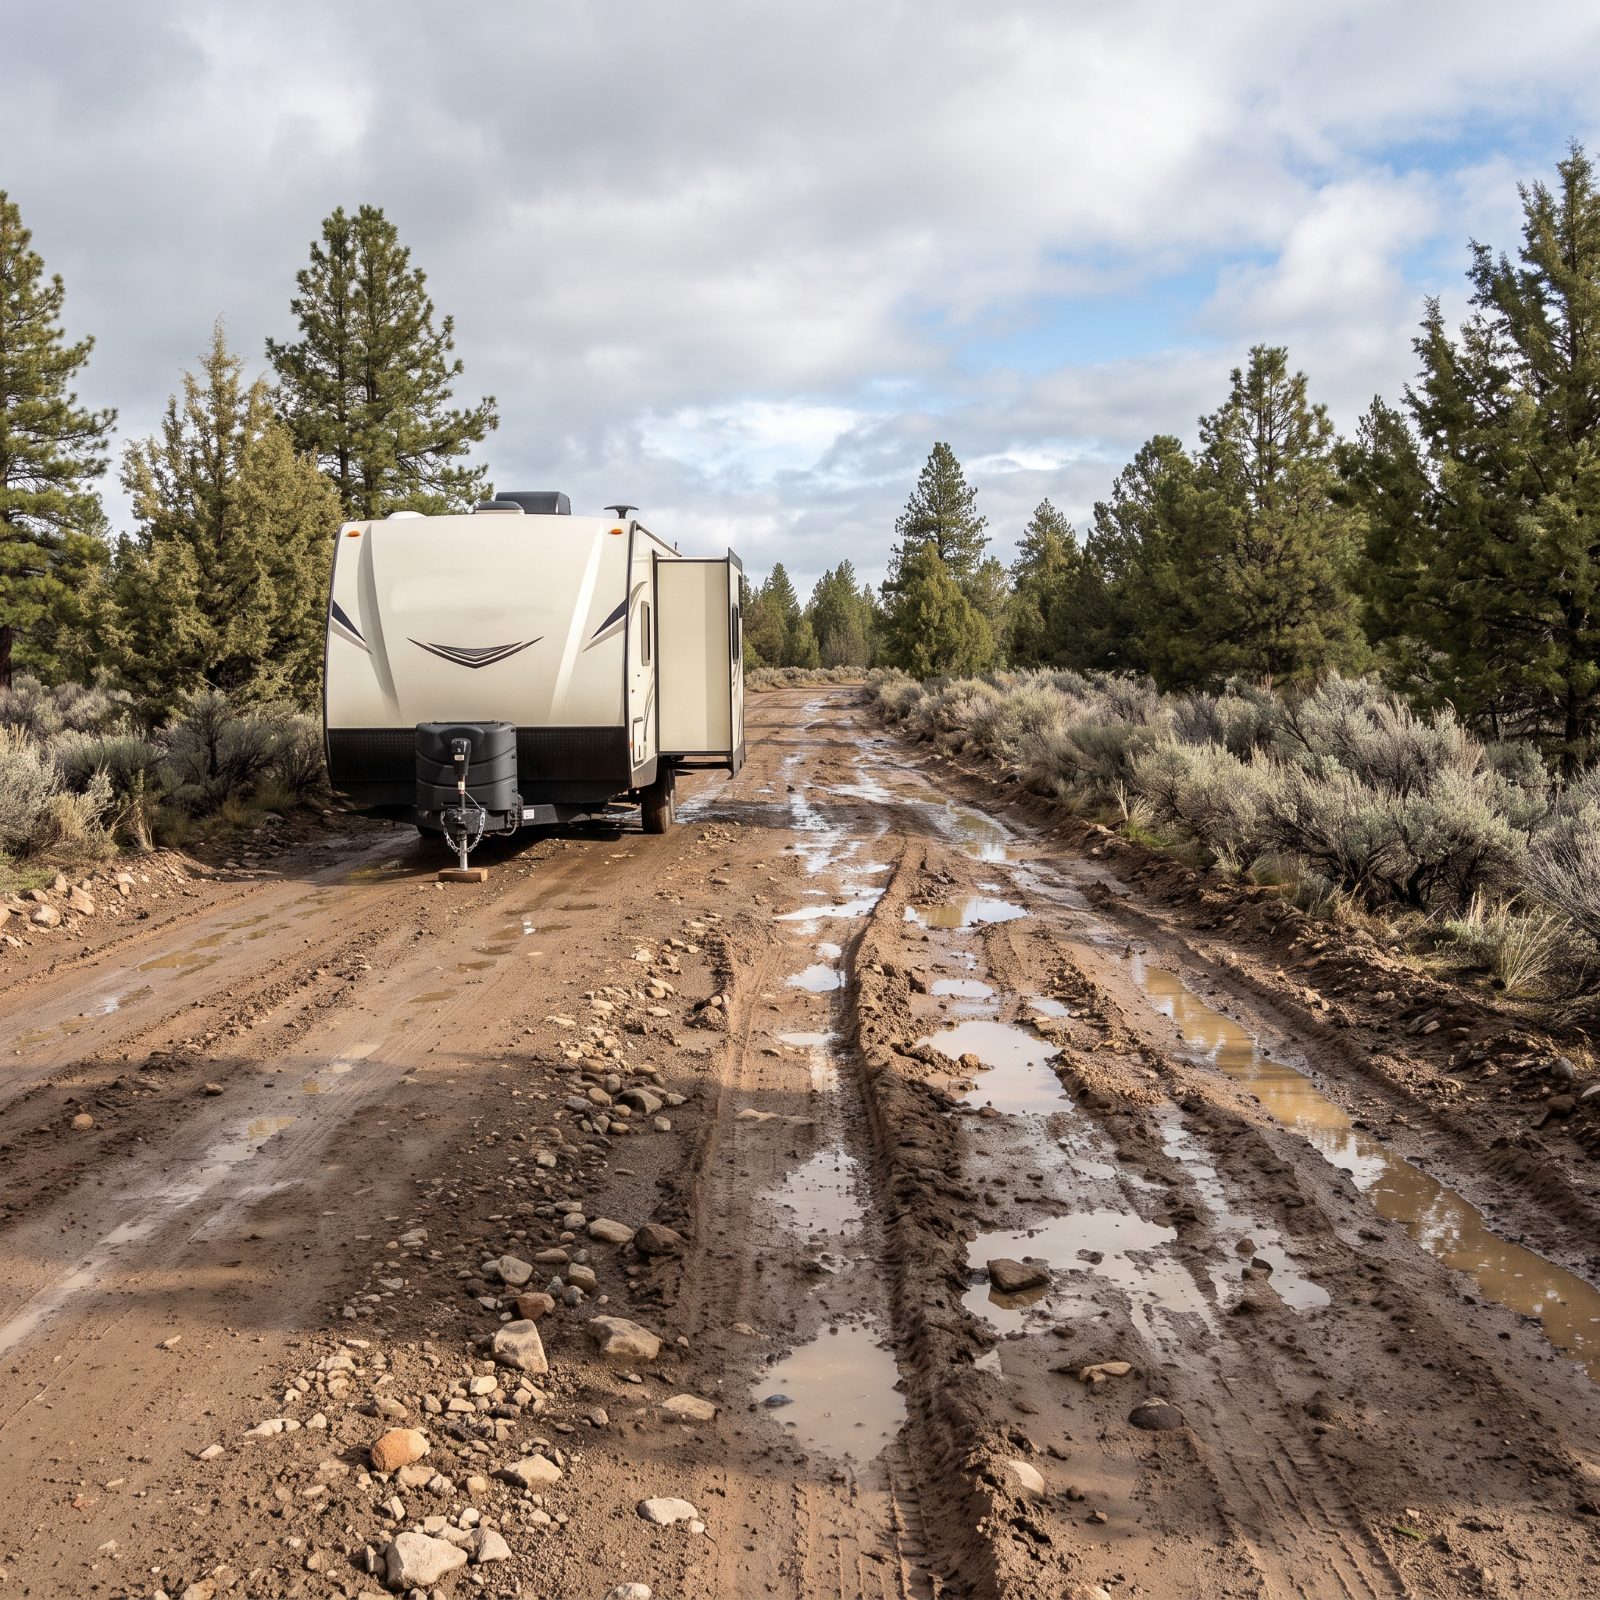
A glowing review from 2019 tells you nothing about the road today. One wet winter can turn a smooth two-track into a rutted mess, wash out a culvert, or leave a mud bog that’ll swallow a drive axle whole.
Old reviews lull you into bringing a heavy rig down a road that no longer exists in the shape it once did. That’s how people end up calling a tow truck that might not show for hours.
Sort reviews and forum reports by most recent, and look for anything posted after the last big storm season. On apps like Campendium and iOverlander, the newest comments mentioning ruts, snow, or washouts are worth more than a hundred five-star raves from years back. When you’re not sure, assume the road is worse than the photos.
39. Heading Off-Grid Without Telling a Soul Where You’ll Be

Part of the appeal is being unreachable. Part of the danger is being unfindable. Roll an ankle, break down, or simply miss your check-in, and nobody can point searchers anywhere useful if nobody knows where you went.
Before you leave pavement, text a trusted person your exact coordinates, your planned exit road, and the date you expect to check in. Agree on what they should do if you miss it.
A satellite messenger — a Garmin inReach, say, or a SPOT tracker — makes this bulletproof. You can update your position and trigger an SOS where there’s zero cell signal. Even without one, a shared pin and a hard return date turns a vague “somewhere out west” into an actual search box.
38. Committing to a Road You Can’t Turn the Rig Around On
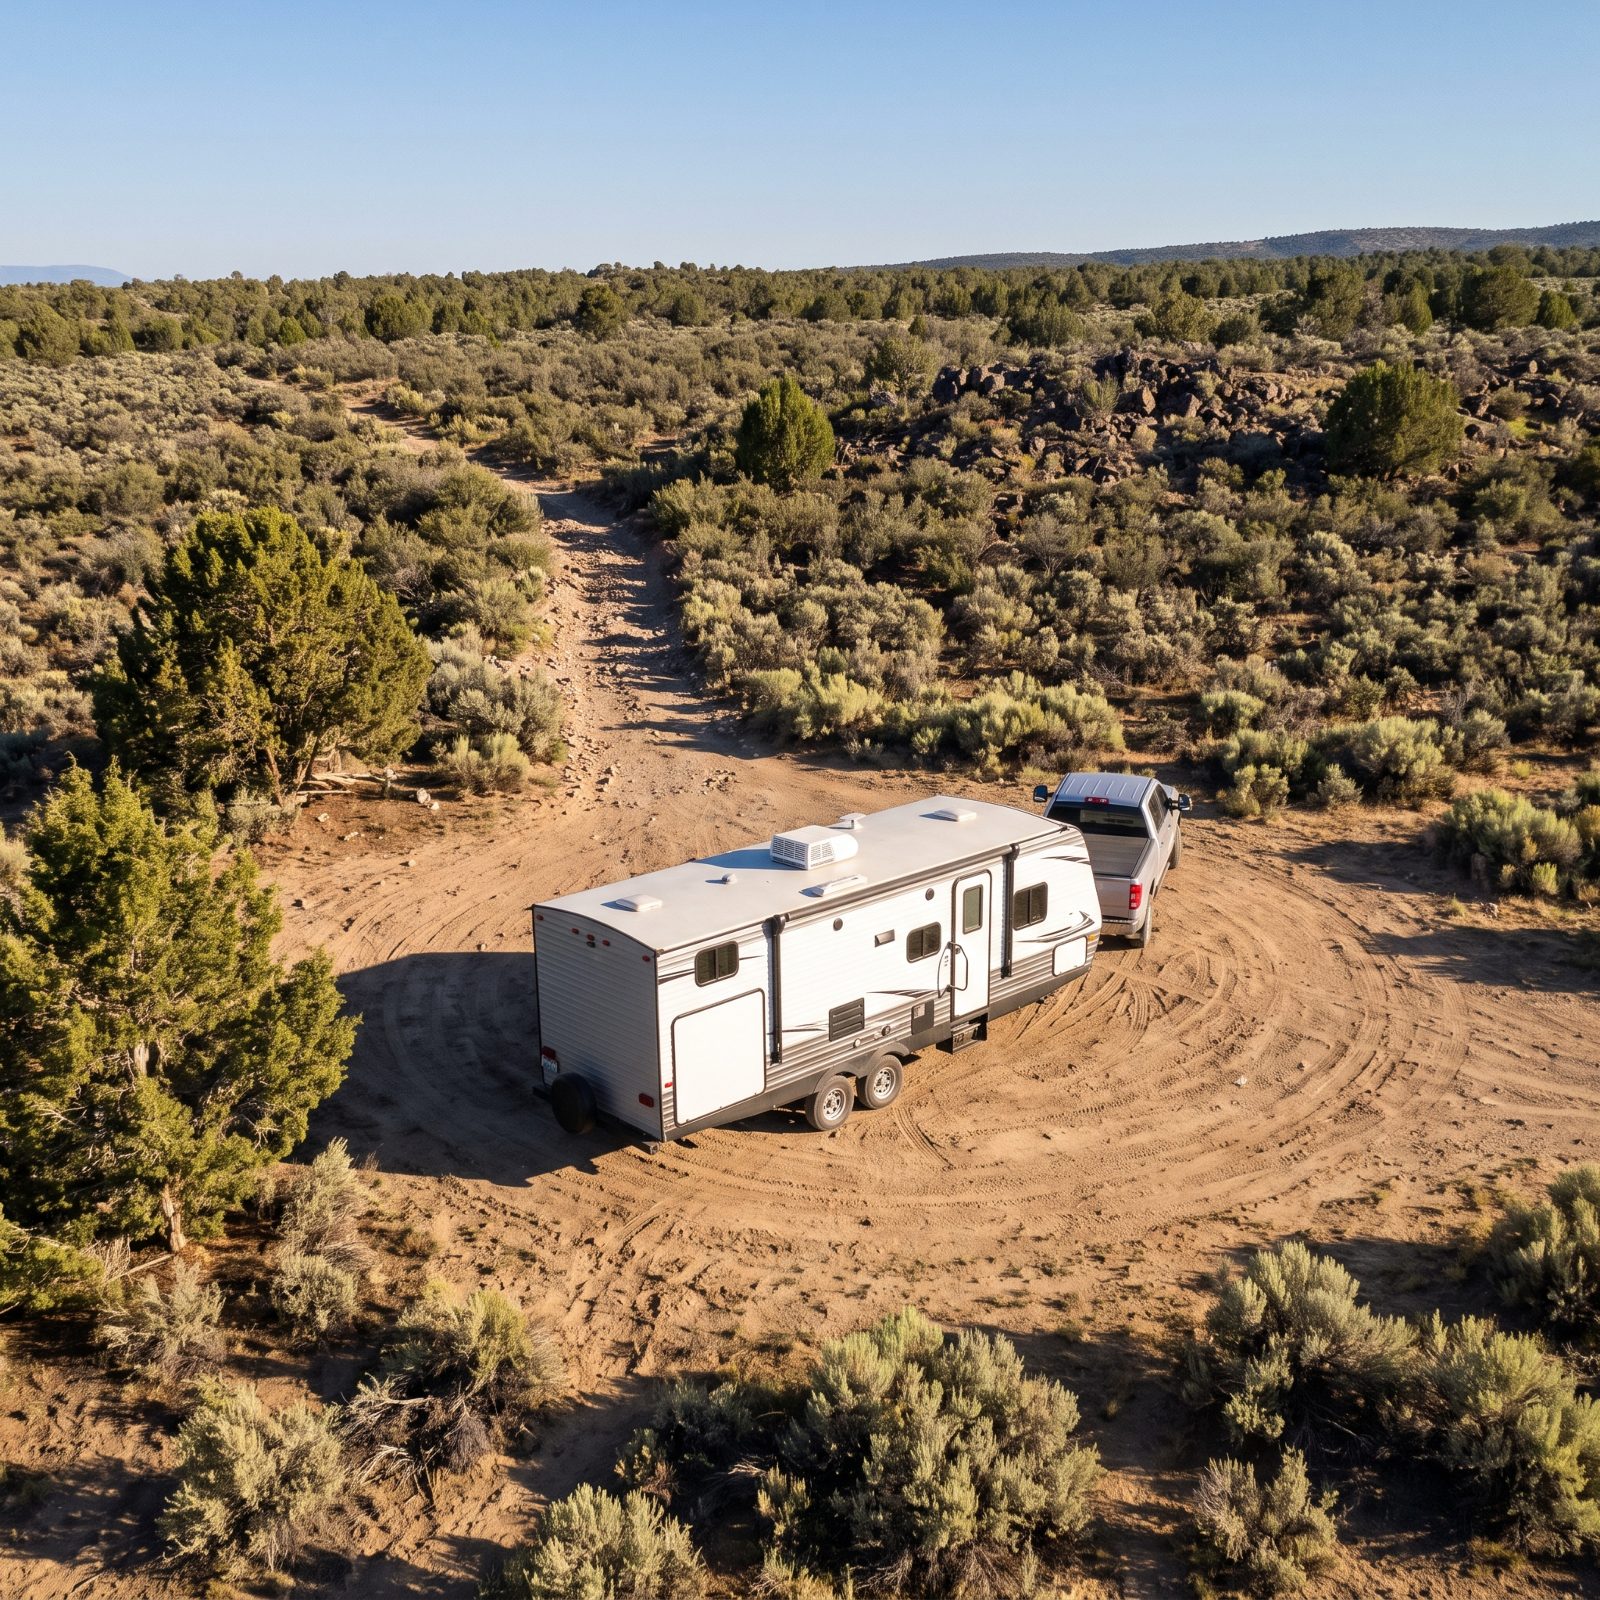
The spot looks perfect on the map. The road to it narrows to a single dirt track through the sagebrush. Maybe it opens into a roomy turnaround at the end. Plenty of narrow tracks don’t.
Backing a trailer blind down a tight, soft road is where good trips become expensive ones. One slide into a ditch and you’re done.
So before you drive in, confirm there’s a real turnaround at the far end — a wide pullout, an intersection, a proven loop. Satellite imagery helps. Recent reports help more. If you can’t verify space to reverse direction, don’t commit the whole rig. Which brings up the next move.
37. Parking on Ground That Turns to Soup After One Rain
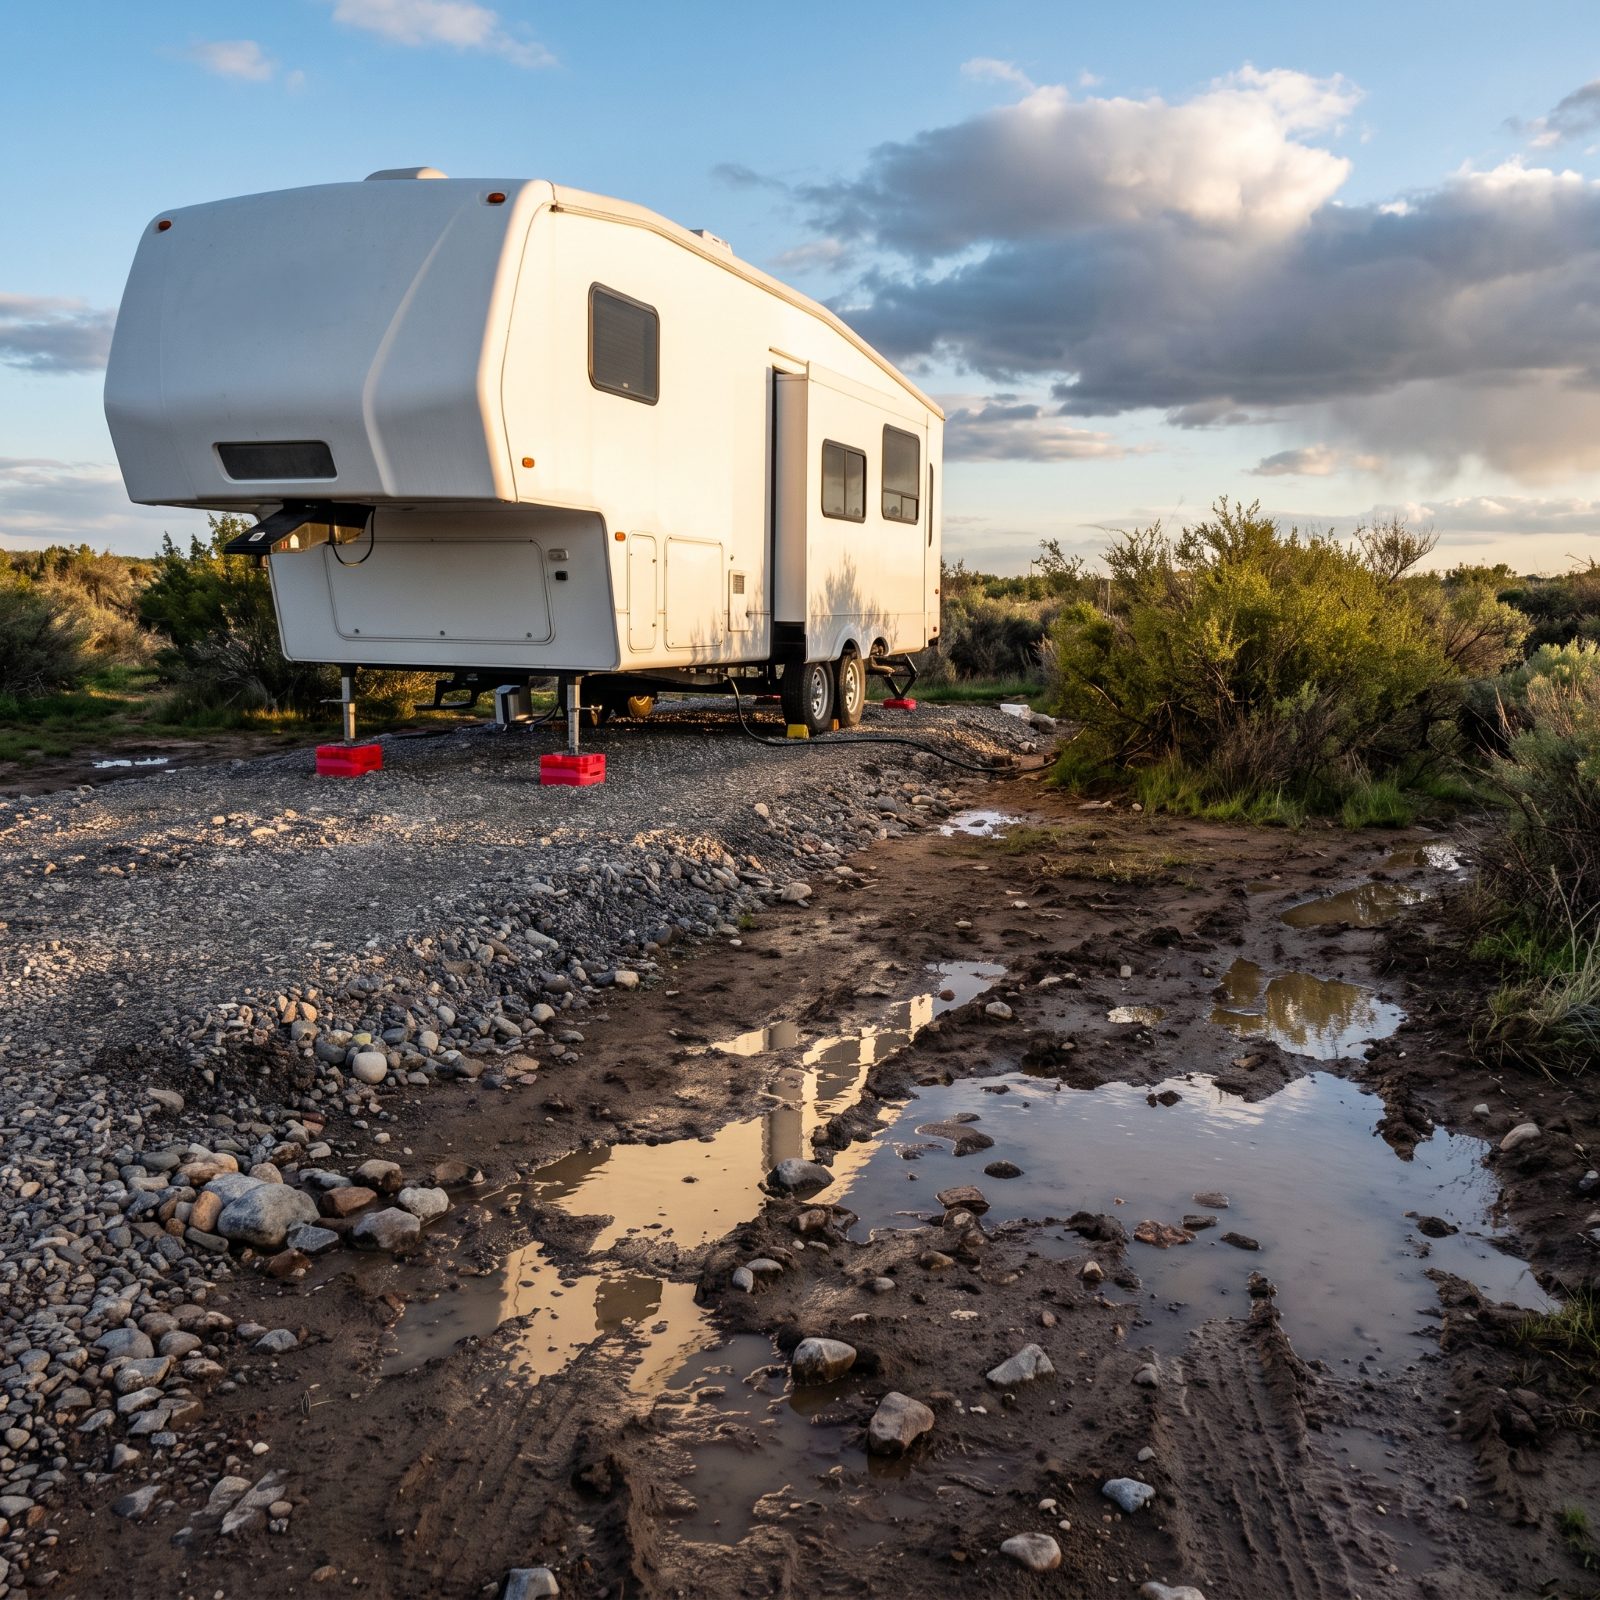
You find a flat, open patch and settle in. Dry and firm when you arrive. Then an overnight thunderstorm rolls through, and that pretty dirt pad turns into a wheel-sucking paste by morning.
Soft ground after rain is how a leveled, happy rig becomes a buried one. Fine silt and clay hold water like a sponge, and a loaded RV sinks fast.
Choose firm ground that’ll hold up wet — gravel, decomposed granite, hardpack, or a spot with good drainage and a slight crown. Steer clear of washes, low spots, and anything that looks smooth and powdery. Picture a heavy downpour before you park and ask yourself where the water goes. If the answer is “right under my tires,” move. Set your leveling blocks on solid footing while you’re at it, so nothing sinks unevenly.
36. Never Camp in a Dry Wash, Flash-Flood Channel, or Low Basin
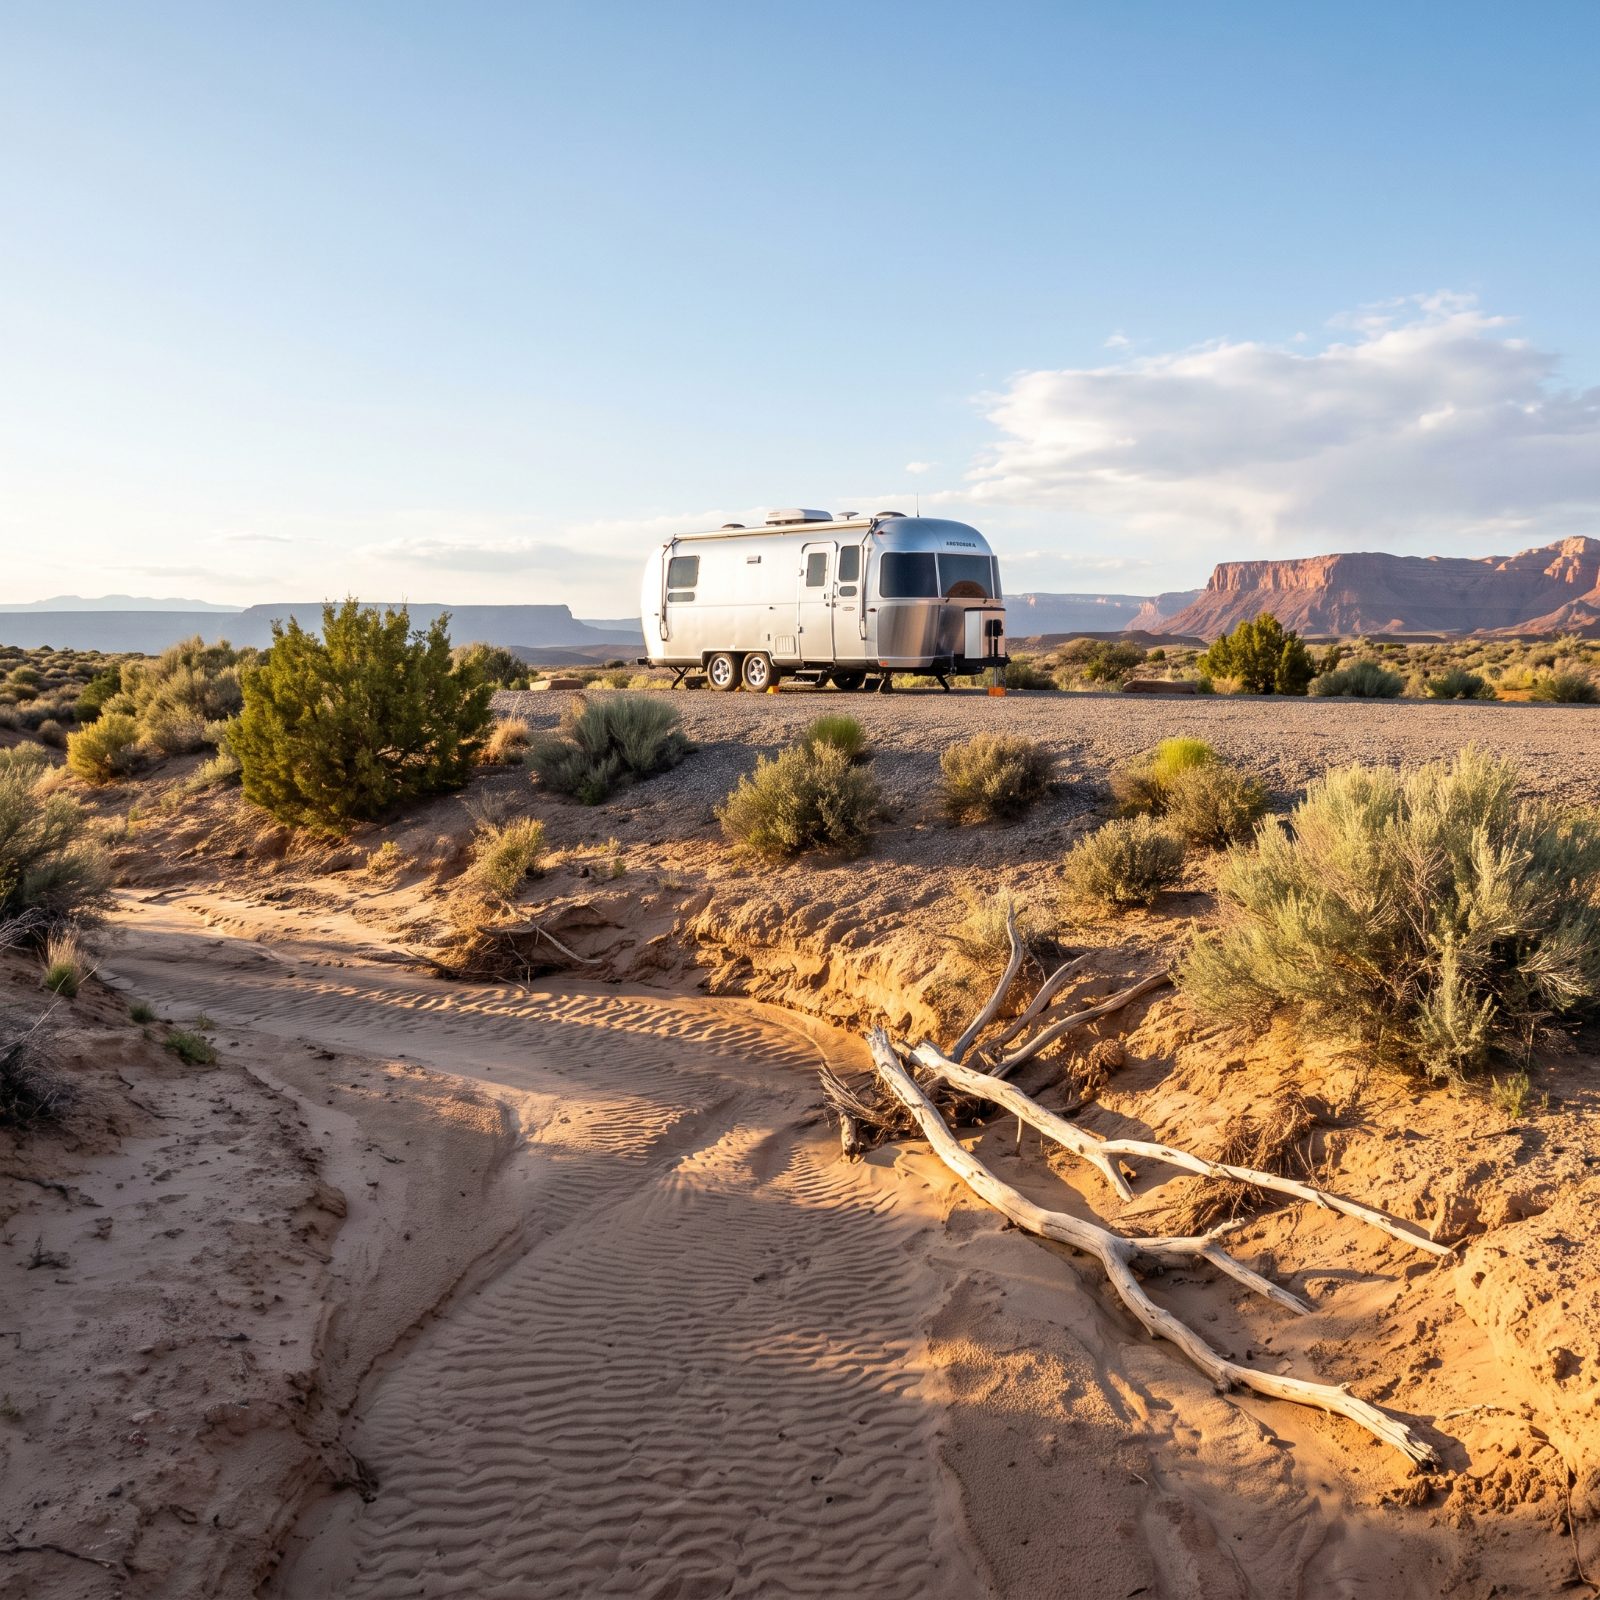
That flat, sandy clearing at the bottom of the gully is flat and sandy for a reason: water made it that way. It’s the single most tempting bad campsite in the desert, because it’s level, sheltered from wind, and it feels tucked away.
Here’s the problem. A storm thirty miles off, over a ridge you can’t even see, can send a wall of water down a dry wash in minutes. People have lost rigs — and worse — parked somewhere it hadn’t rained in months.
So camp up on the bank, on the high ground, on the terrace above the channel. Watch for the subtle tells: ripple marks in the sand, debris snagged in low branches, a smooth scoured bed. If it looks like water has run there before, it will again.
35. Look Up Before Parking Beneath Dead Limbs or Unstable Trees
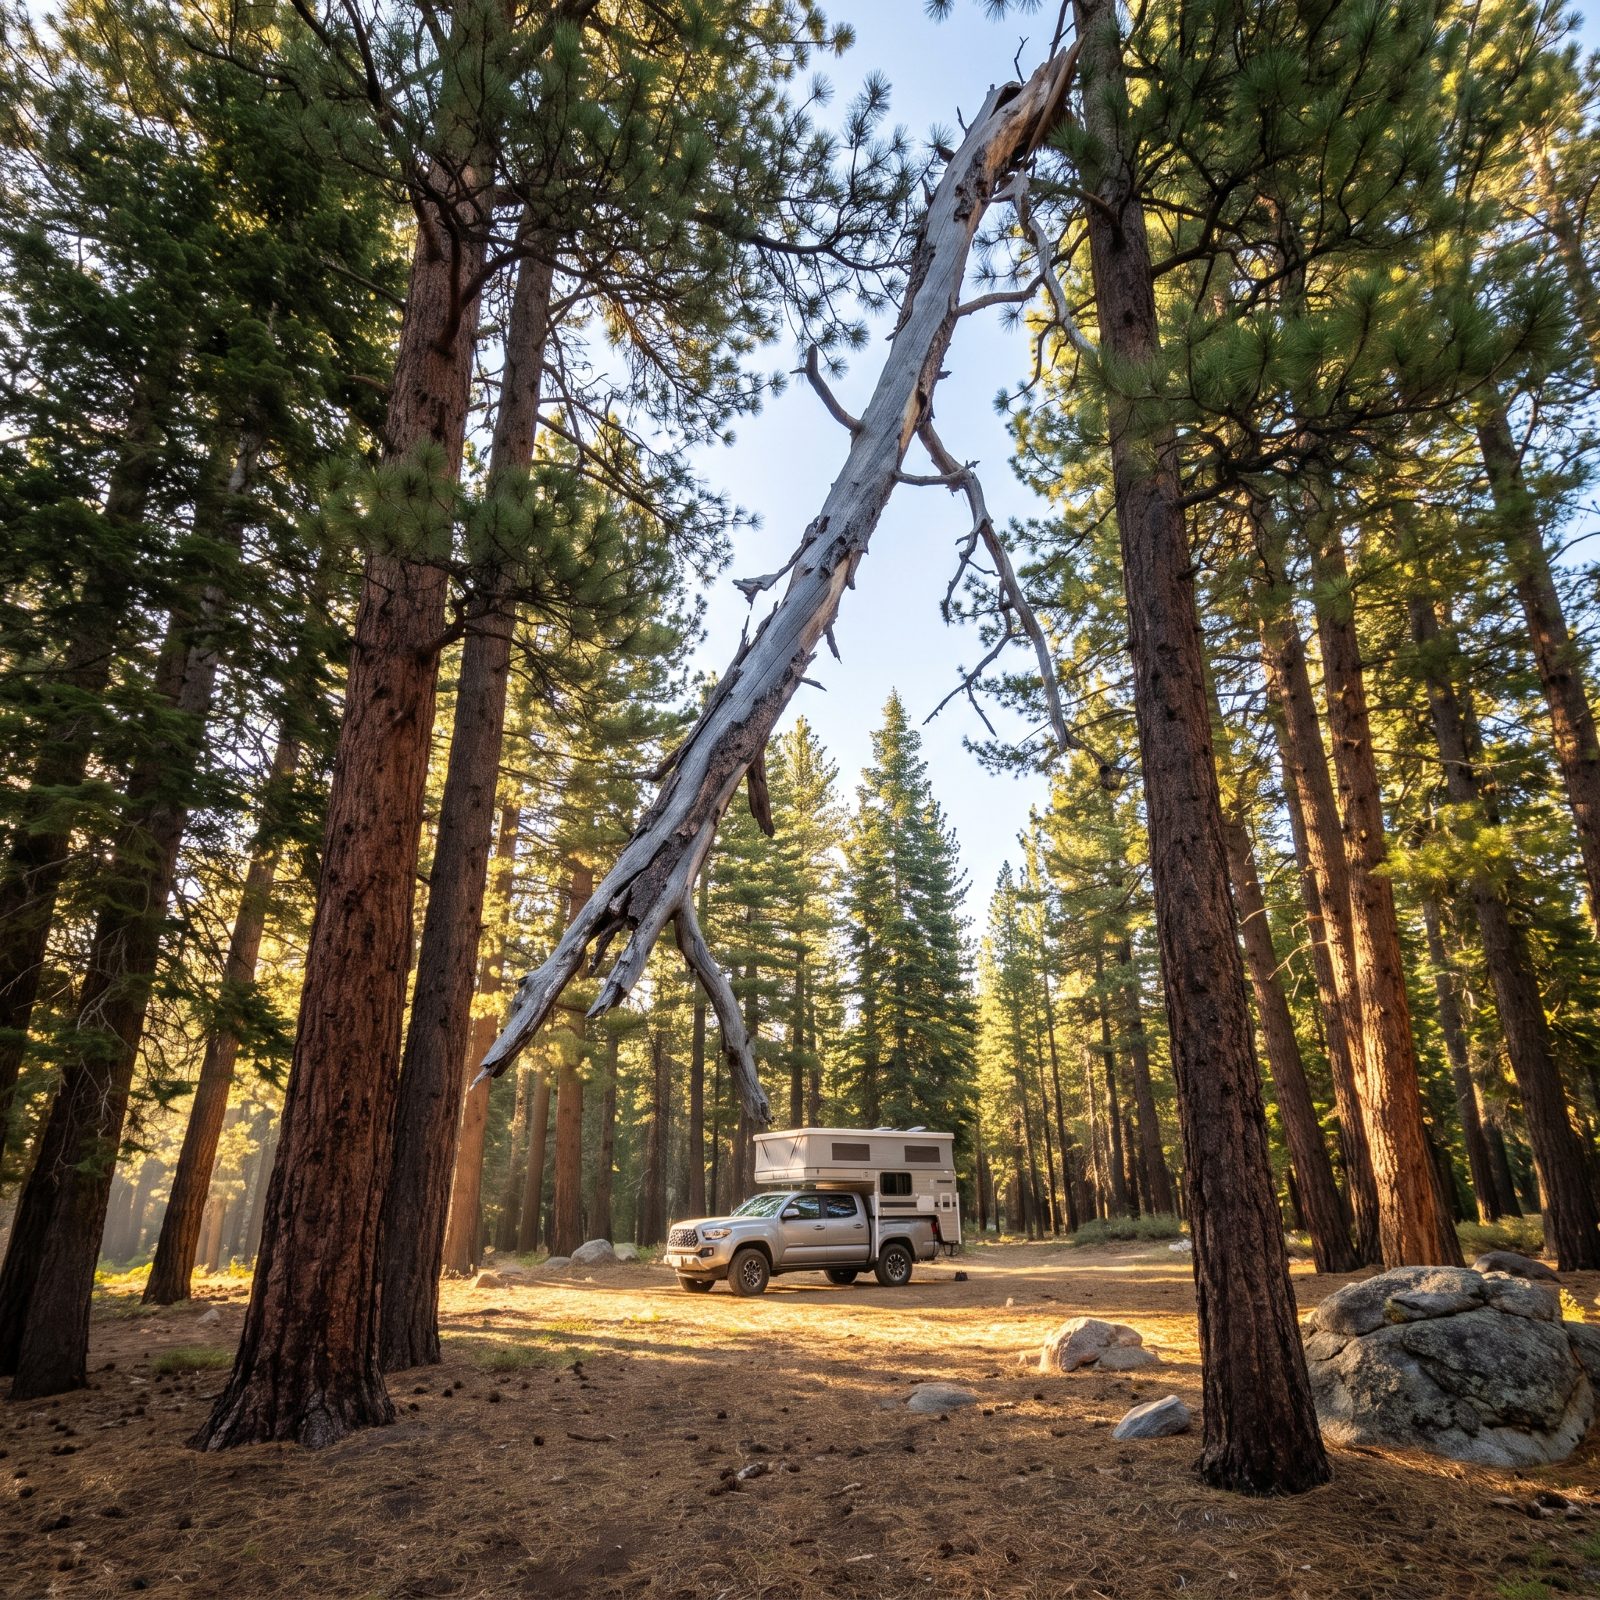
They’re called widowmakers, and foresters didn’t pick that name to be cute. A dead branch the size of your arm, dropping from forty feet in a night gust, will punch straight through a roof vent or a windshield.
Shade feels like a gift on a hot afternoon — but a big tree that gives you shade also gives you everything that falls out of it, and you won’t hear it coming.
Before you set the parking brake, actually look up. Scan for dead limbs, cracked trunks, trees leaning the wrong way, root balls half out of the ground. Then pick the open spot a few yards clear. You lose a little shade and sleep a lot better.
34. Keep a Safe Buffer From Cliffs, Soft Shoulders, and Crumbling Banks
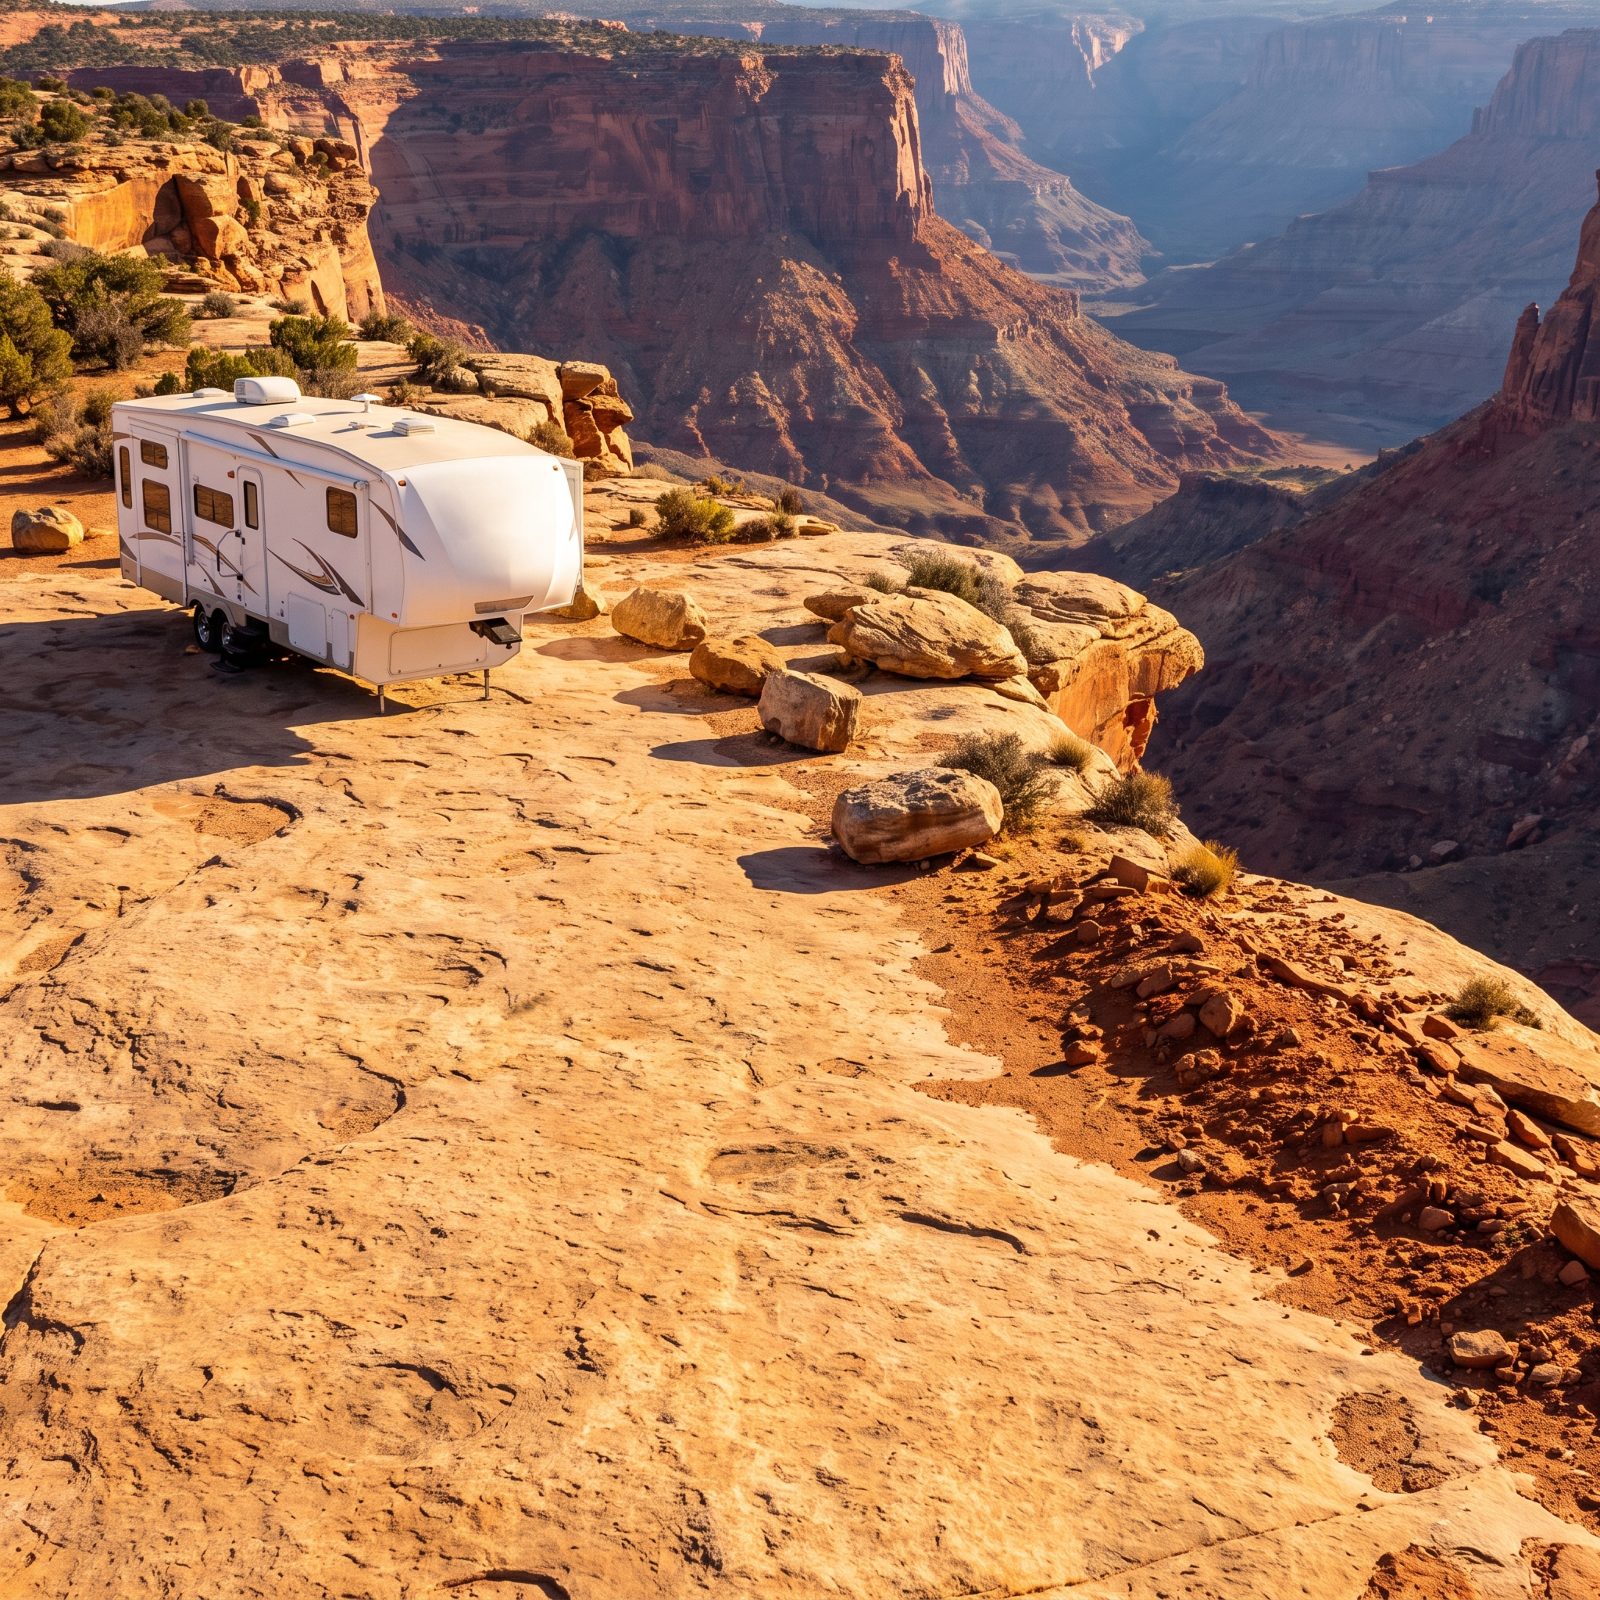
Canyon-rim campsites make the best photos and the worst parking decisions. Ground that looks solid an inch from the edge is often an overhanging lip of rock with nothing but air underneath.
Soft shoulders are sneakier. A tire that rolls six inches onto an undercut bank or a sandy berm can let the whole rig settle, then slide, and recovery out there is slow and expensive — assuming it’s possible at all.
Give yourself real distance. Park at least a trailer length back from any edge, and walk the ground first. Firm rock, not a crumbling margin. You can still carry your coffee to the rim at sunrise. Just don’t park the house there.
33. Use an Existing Campsite Rather Than Creating a New Clearing
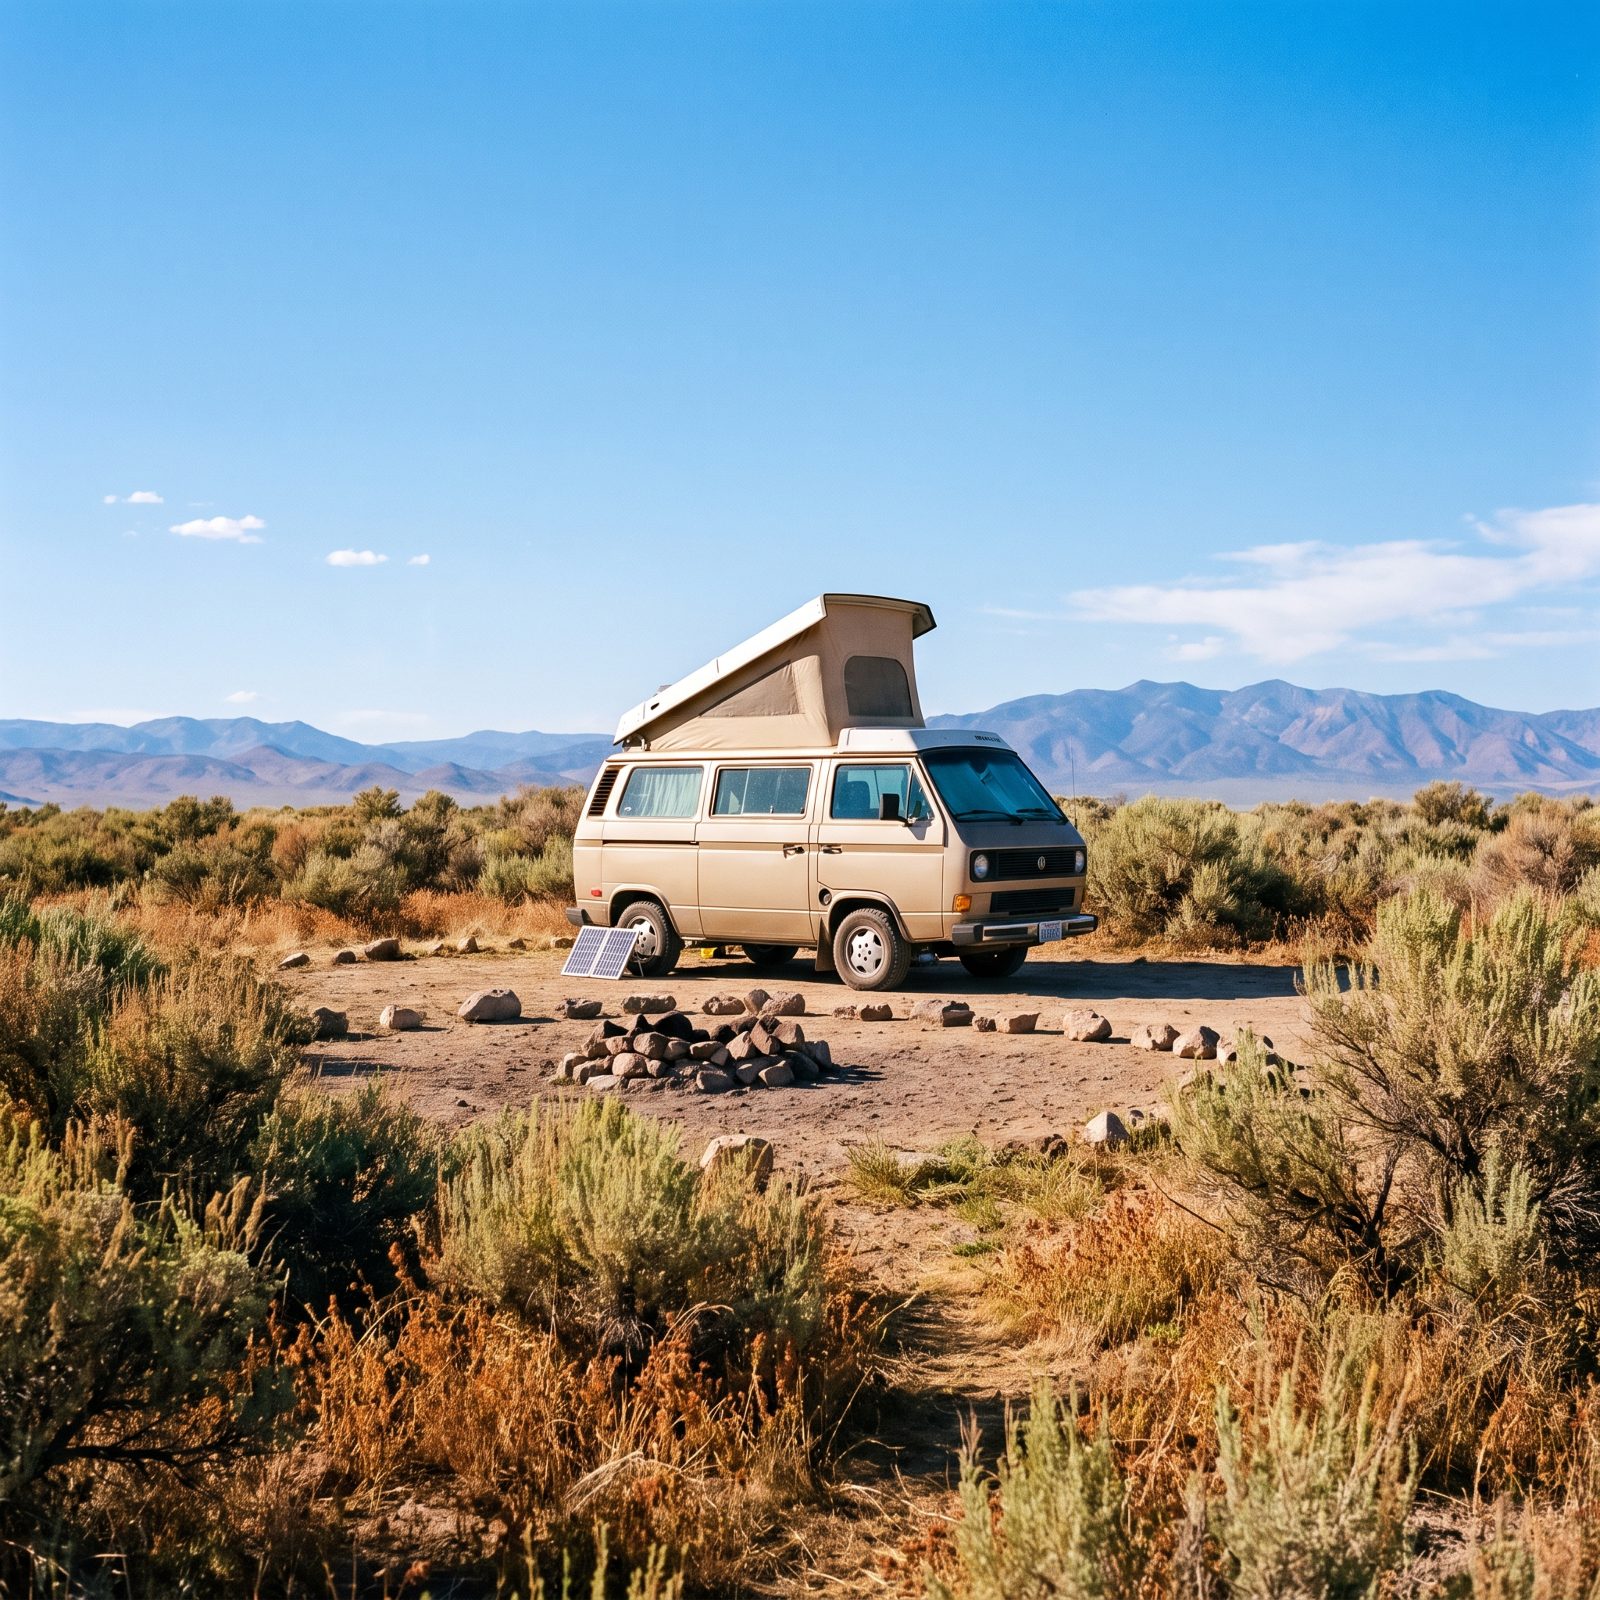
There’s a quiet pride in blazing your own spot — flattening fresh brush, making a clearing where nobody’s been. Resist it.
Desert soil and alpine meadow take decades to recover from tire ruts and crushed plants. Carve a new site and you’ve left a scar that the next person uses too, and the one after that, until a patch of living ground becomes a bald lot. It’s also exactly how land-management agencies decide to close an area to dispersed camping altogether.
Hunt for the ground that’s already bare: a flat spot with an old fire ring, packed earth, a visible pullout. Those sites exist because responsible people kept the damage contained to one place. Add yours to the pile instead of starting a new one.
32. Point the Rig to Reduce Wind Exposure Before Extending Anything
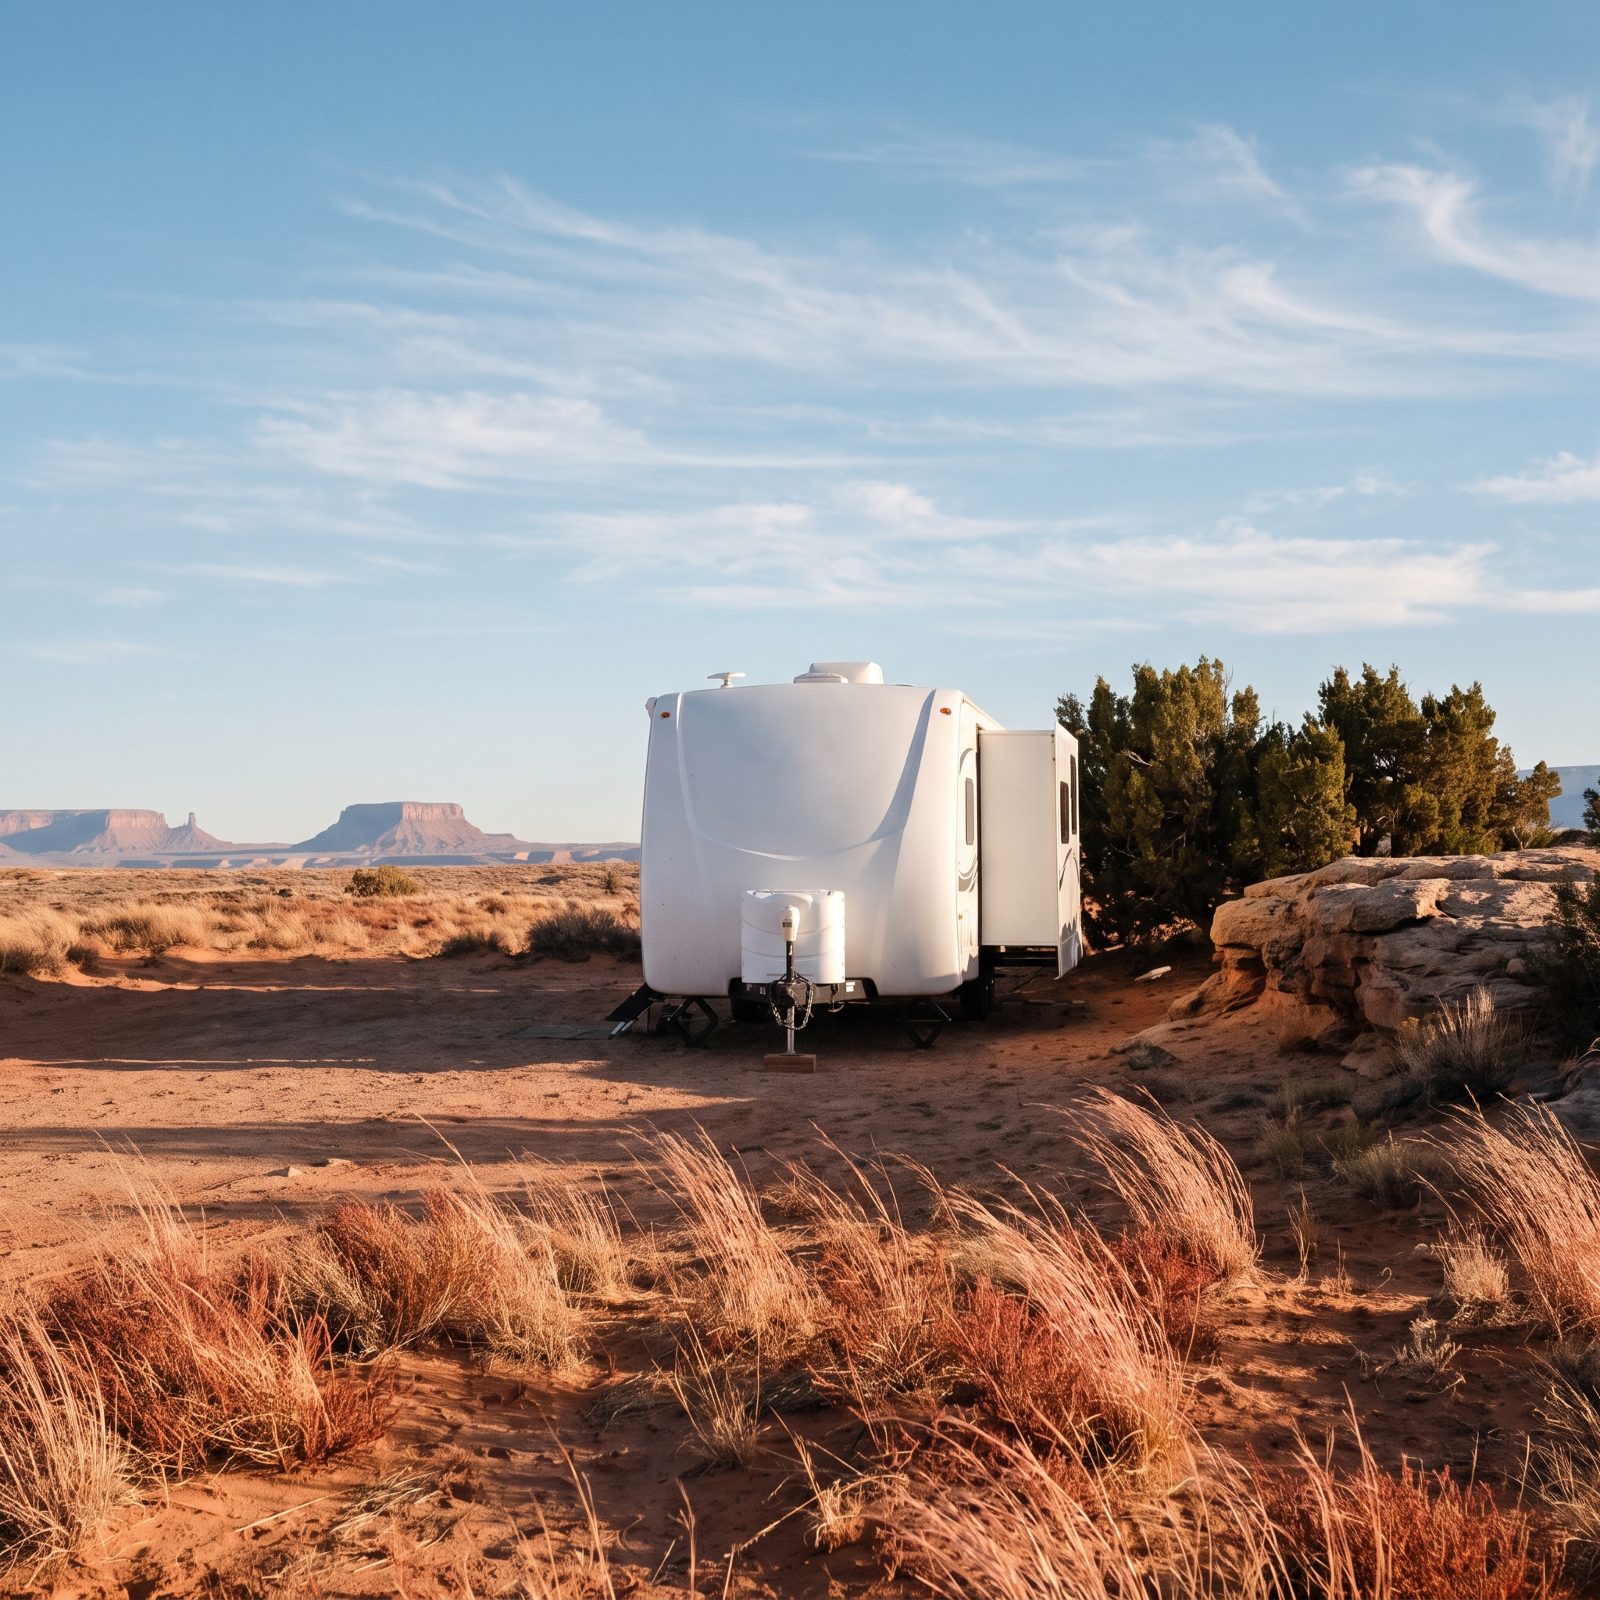
A travel trailer is basically a sail on wheels, and the broad flat side is where the wind does its worst. Park it broadside to a steady 30 mph blow and the whole rig rocks all night like a boat at anchor.
Before you unhitch, read the wind. Which way are the grasses leaning? Where’s the natural shelter — a rise, a rock wall, a line of trees? Point the nose into the prevailing wind and tuck the long side behind something if you can.
Do this before you drop the levelers and run the slides, because repositioning after you’ve set up is a miserable half hour. Get the orientation right once, and the gusts slide past instead of slamming in.
31. Leave the Awning Retracted Whenever Gusts Are Possible
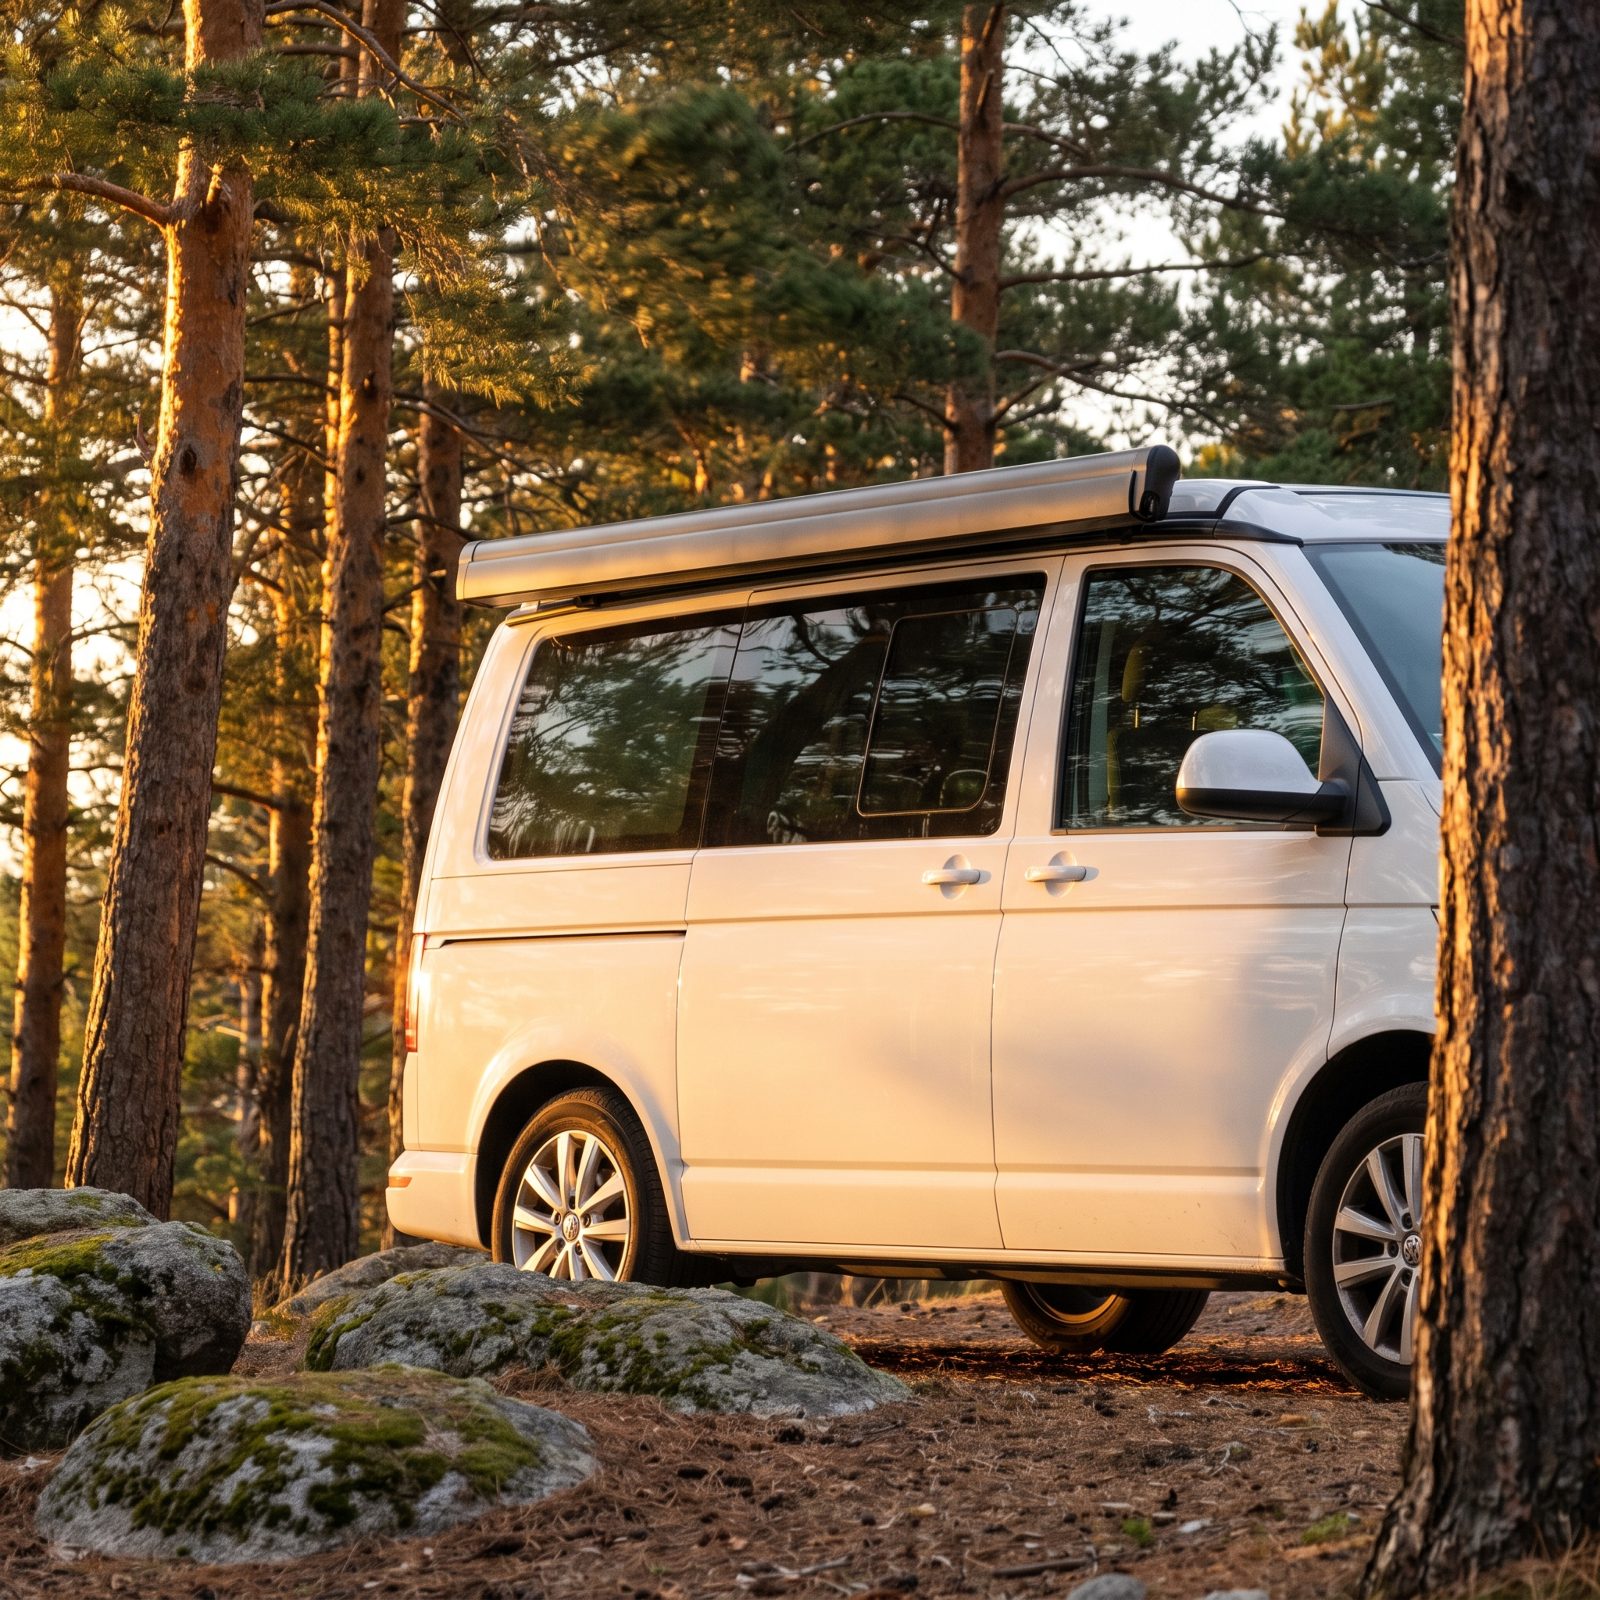
An awning is the first thing a first-timer rolls out and the last thing they think about. Then a sudden gust catches it, bends the arms into a pretzel, or rips it clean off the rail. That’s a four-figure repair and a long drive to find anyone who stocks the part.
Awnings fail fast. A calm afternoon can turn into a desert dust devil or a mountain downslope wind with almost no warning, and nylon has no vote in the matter.
Roll it out for the shade. Roll it back in any time you leave the site, go to sleep, or see the trees start moving. If the forecast mentions gusts at all, just leave it stowed. The shade isn’t worth the awning.
30. Chock the Wheels Before Unhitching or Deploying Leveling Gear
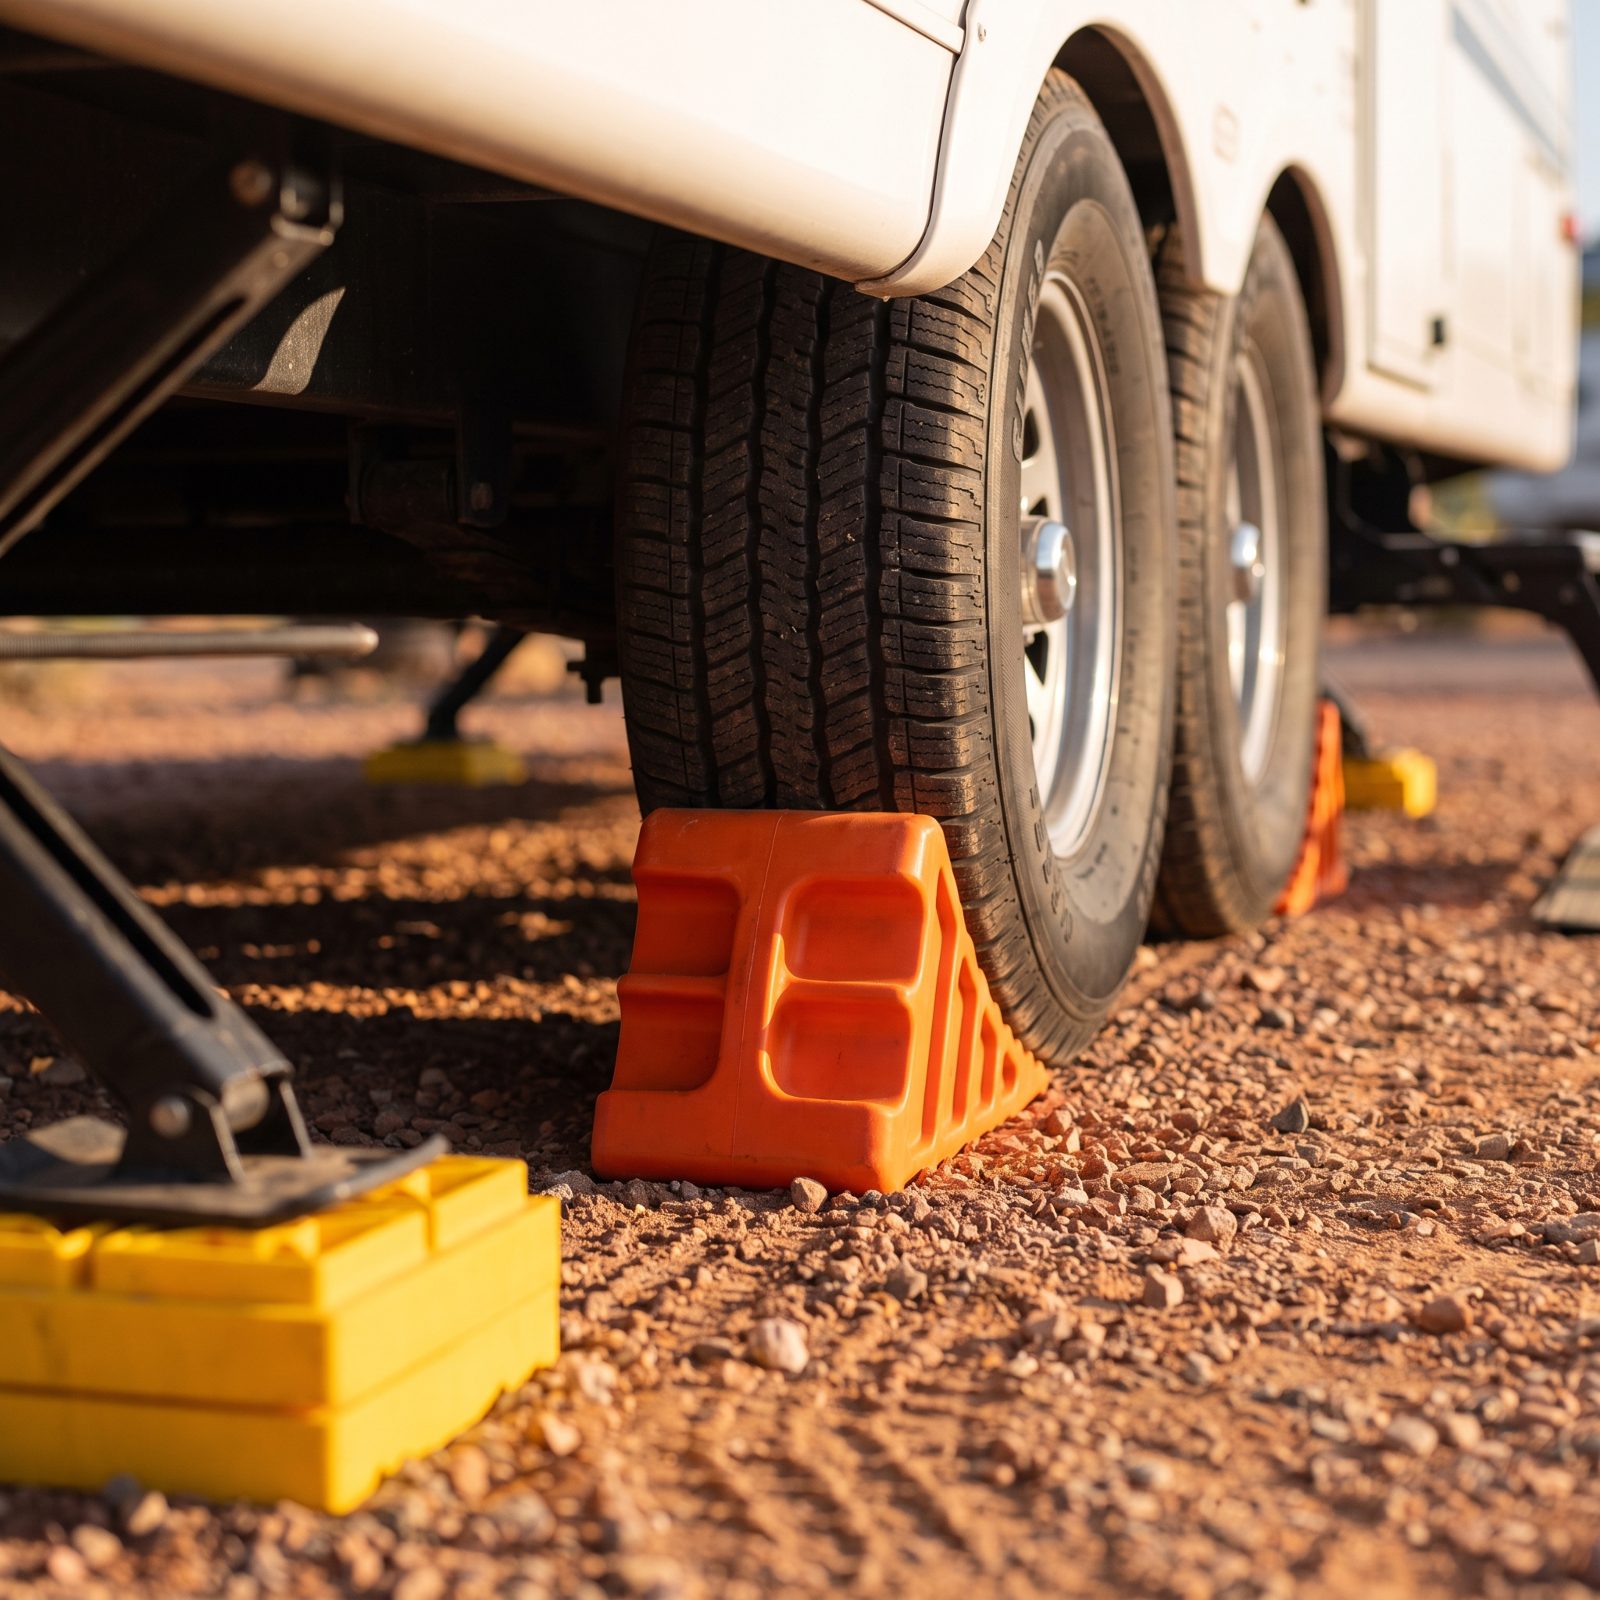
Boondocking ground is rarely dead flat. On a slight grade, the moment you unhitch or lift the tongue, a trailer wants to roll — and it only has to move a few inches to find out there’s nothing stopping it.
Set your chocks first, snug against the tires on both sides, before you touch the hitch or drop a single stabilizer. Rubber chocks grip gravel and dirt far better than the little plastic ones, and X-chocks between dual axles kill the rock entirely.
Ten-second habit. Prevents the one disaster you really don’t want: a loose rig rolling off while you’re standing behind it. Chocks, then hitch. Every single time, no exceptions.
29. Carry Leveling Blocks That Will Not Sink Into Sand or Mud
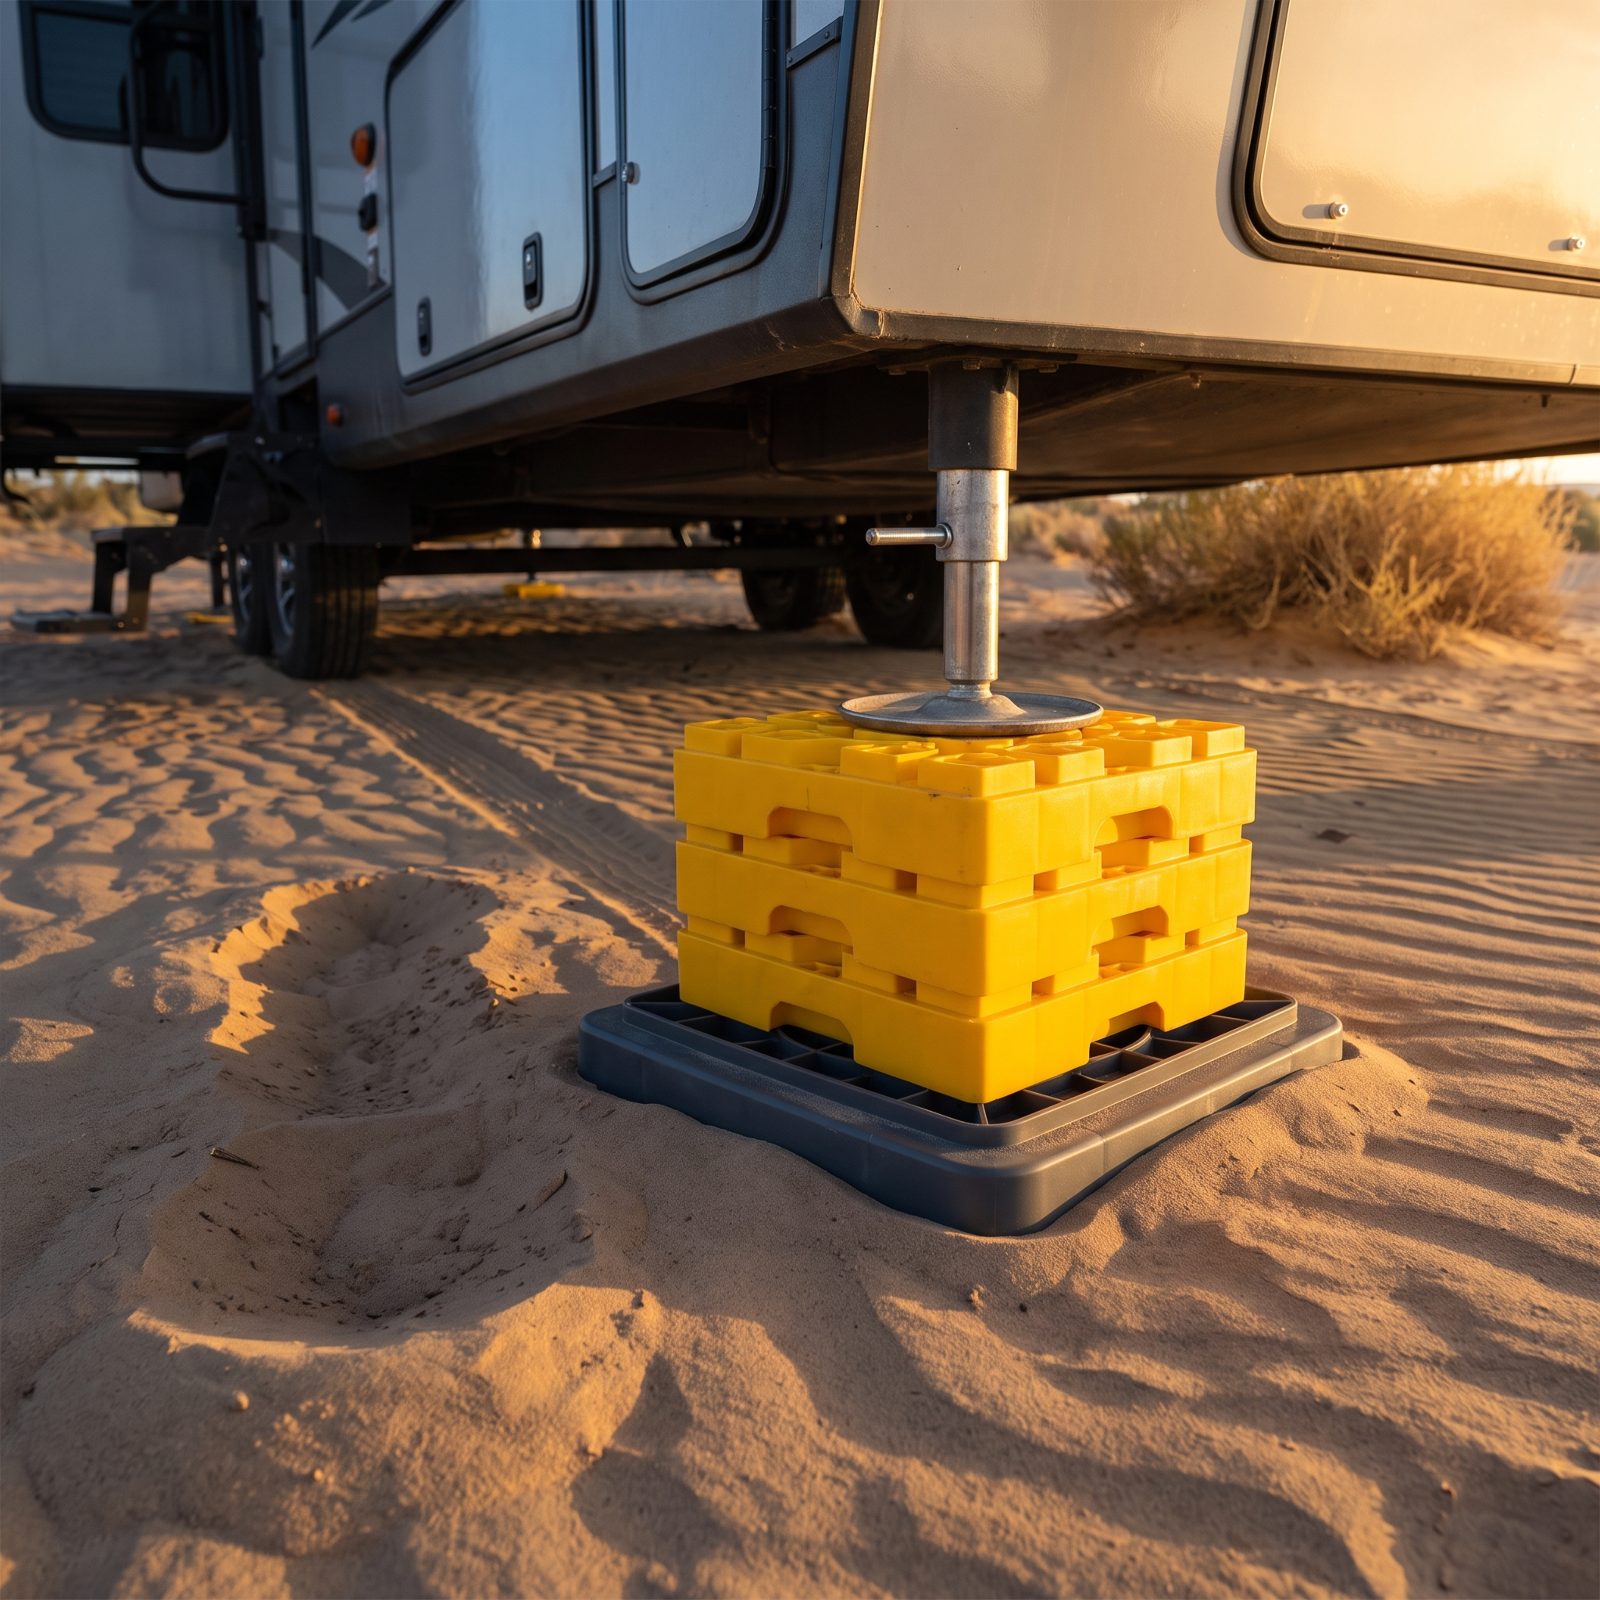
A stabilizer jack foot is about the size of a saucer. Rest that on dry sand and it works beautifully — until the afternoon sun softens the ground or a night rain soaks it, and the whole corner of your rig quietly sinks.
You wake up unlevel, the fridge is unhappy, and the slide won’t come back in square. On truly soft ground, a sinking jack can even stress the frame.
Carry stackable plastic leveling blocks, the Lego-style ones, plus a few wide flat stacking pads to spread the load. The wider the footprint, the less it sinks. On sand or mud, I’ll put a 12-inch-square pad down first, then the blocks on top. A spare square of plywood in the truck bed covers the ugly spots nothing else will.
28. Pack Traction Boards for Loose Sand, Snow, and Slick Clay
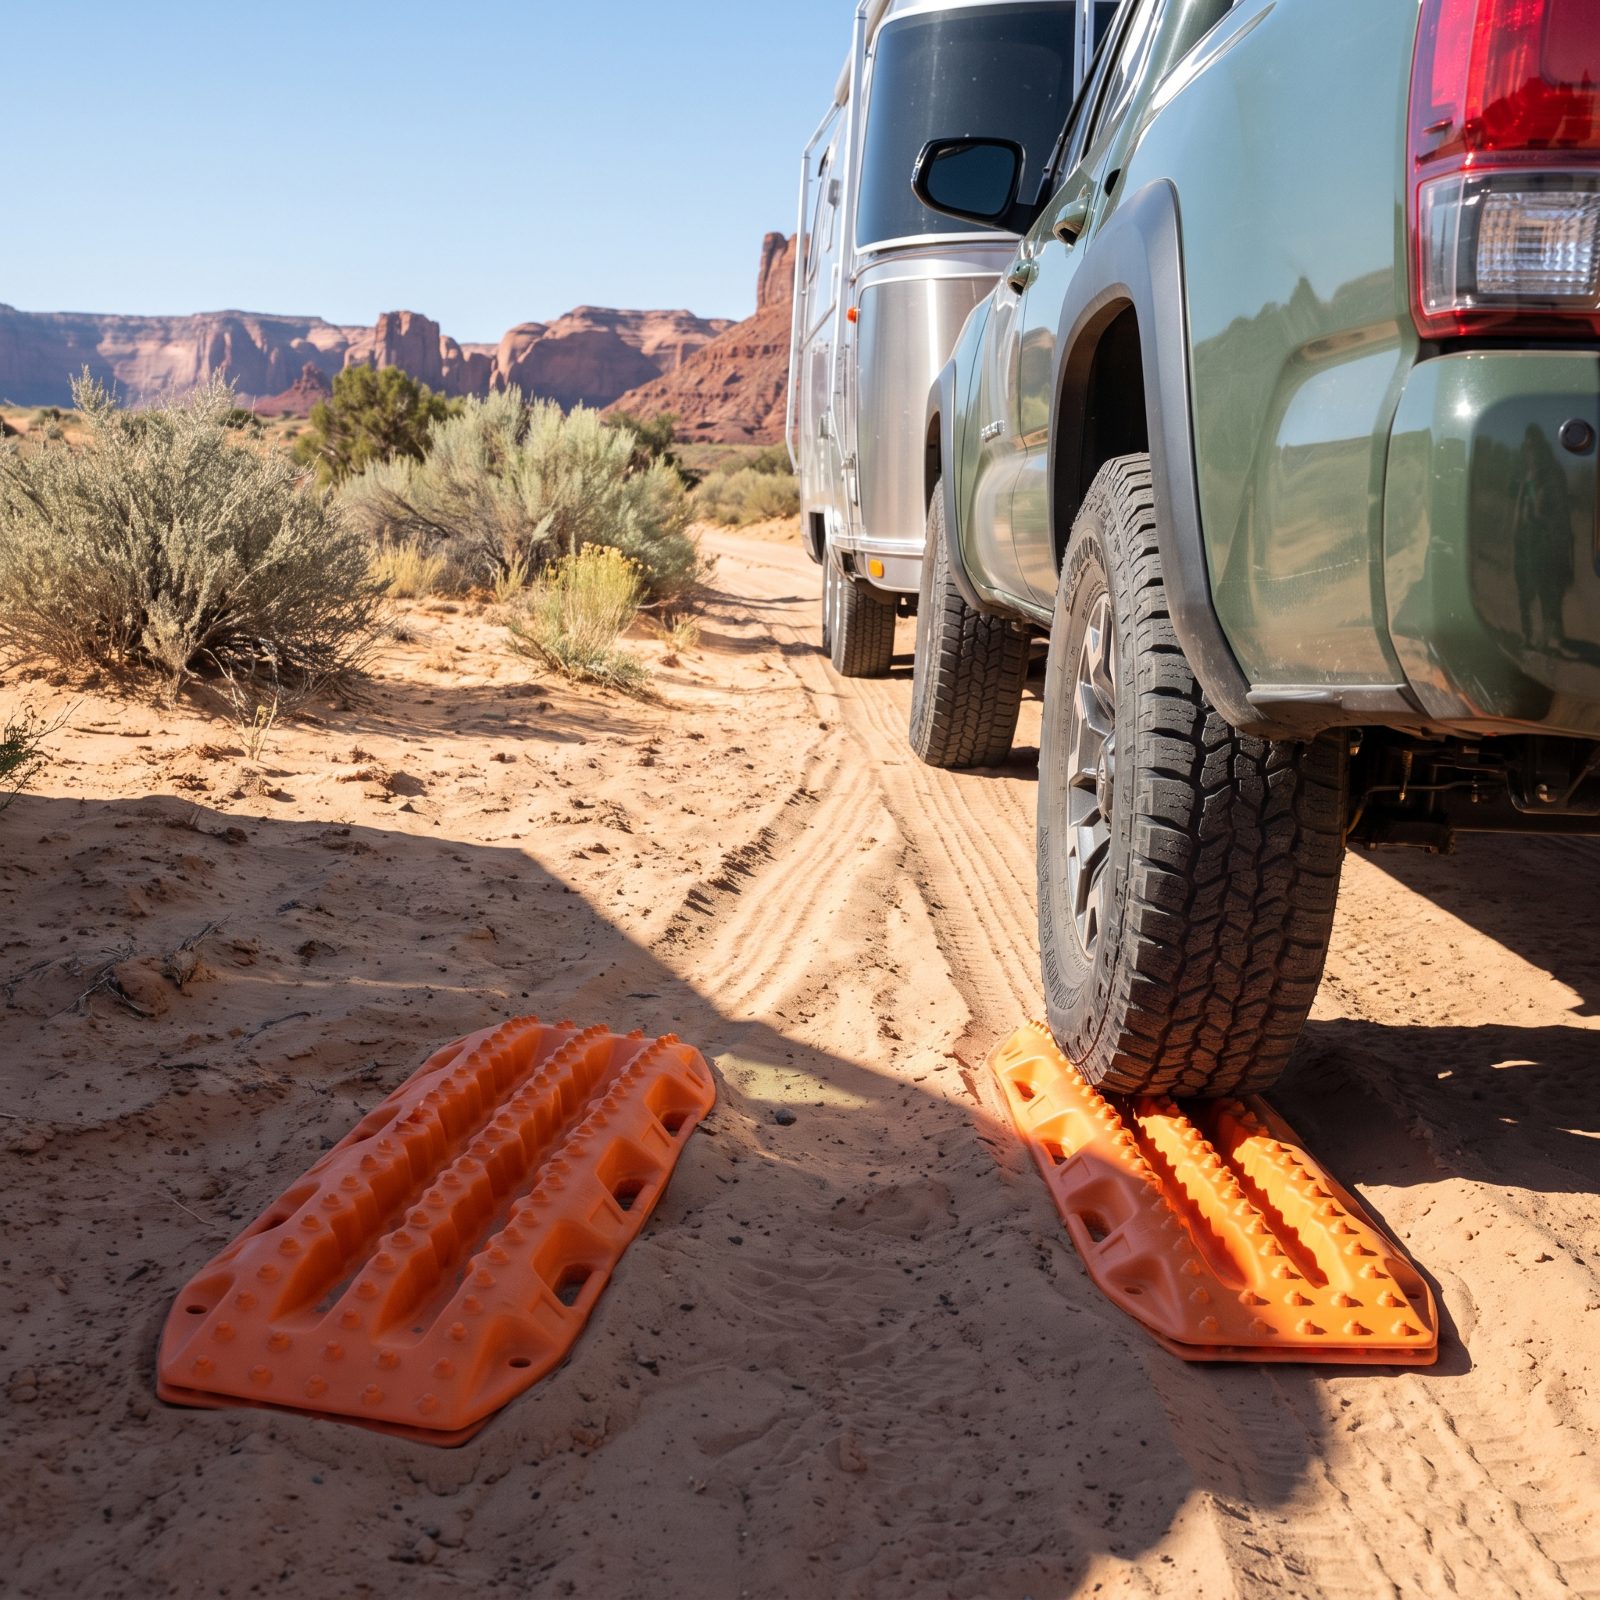
The track into your perfect spot is firm and friendly on the way in. Then overnight it rains, or you find the one patch of bottomless sand on the way out, and your drive tires spin themselves into a hole.
Traction boards — the rigid toothed ramps you wedge under a stuck tire — are the single best recovery tool a solo boondocker can carry. No winch, no second vehicle, no cell signal required.
Keep a pair where you can reach them, not buried under the bikes. They handle loose sand, snow, and that greasy wet clay that turns to ice the second it’s damp. I got stuck exactly once without them and spent two hours doing something a pair of boards fixes in ten minutes.
27. Bring an Air Compressor and Tire Gauge Rated for RV Pressures
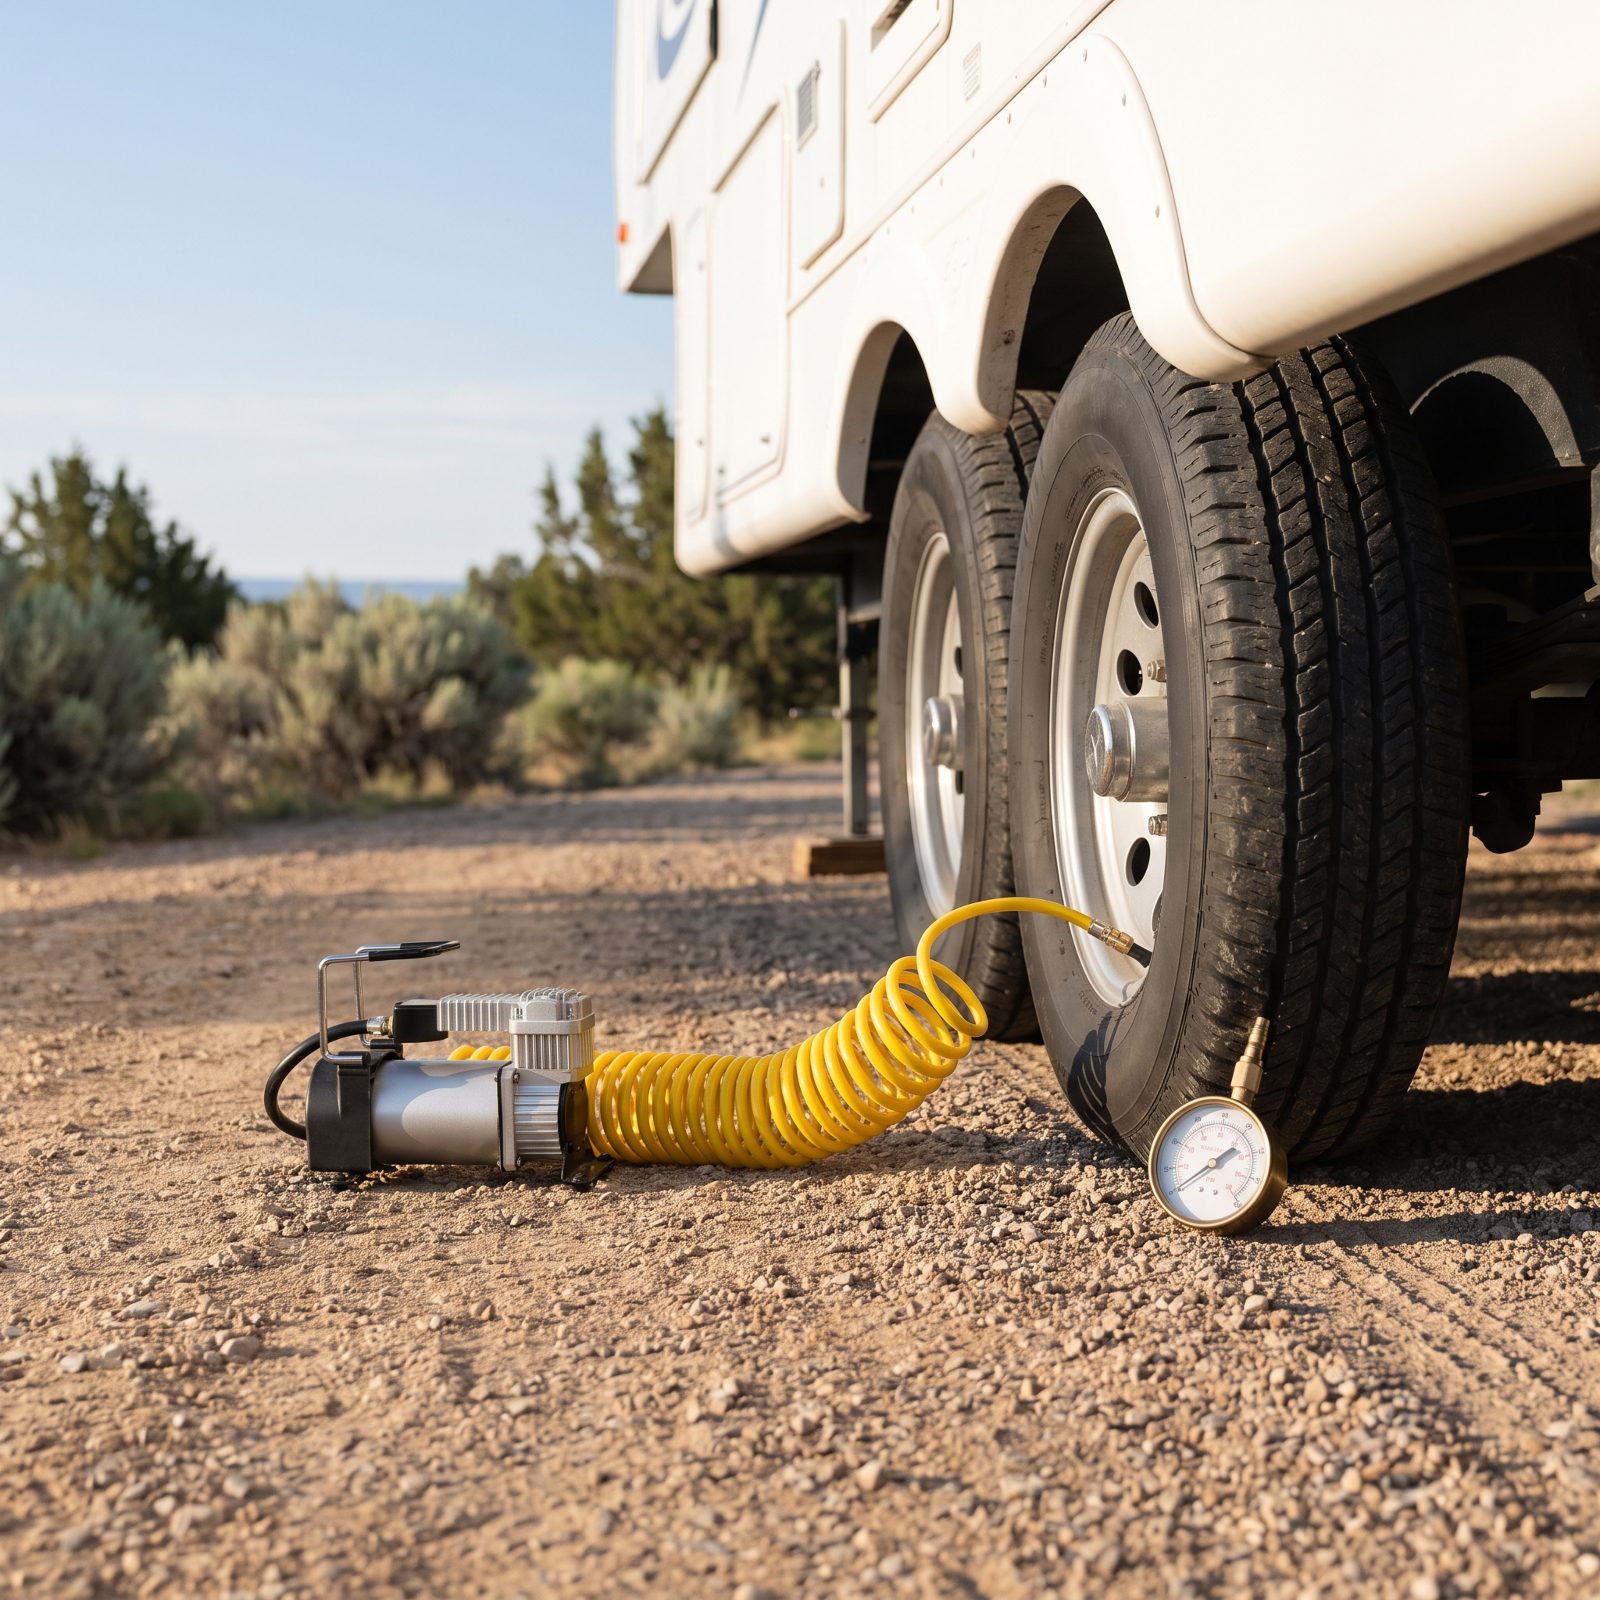
That little pencil gauge from the gas station glove box tops out around 60 psi. Your travel trailer tires might want 80, and big fifth-wheel and class-A tires push well past 100. A gauge that can’t read that high is worthless, and so is the gas-station compressor forty miles behind you.
Underinflated tires on a hot washboard road build heat, and heat is how blowouts happen. No tow truck idling around the corner out here.
So fix it before you go. Carry a compressor rated above your highest cold tire pressure and a brass RV tire gauge that reads to at least 120 psi. Check every tire cold, the morning you leave and again before any long dirt stretch.
26. Identify the Rig’s Safe Recovery Points Before It Gets Stuck
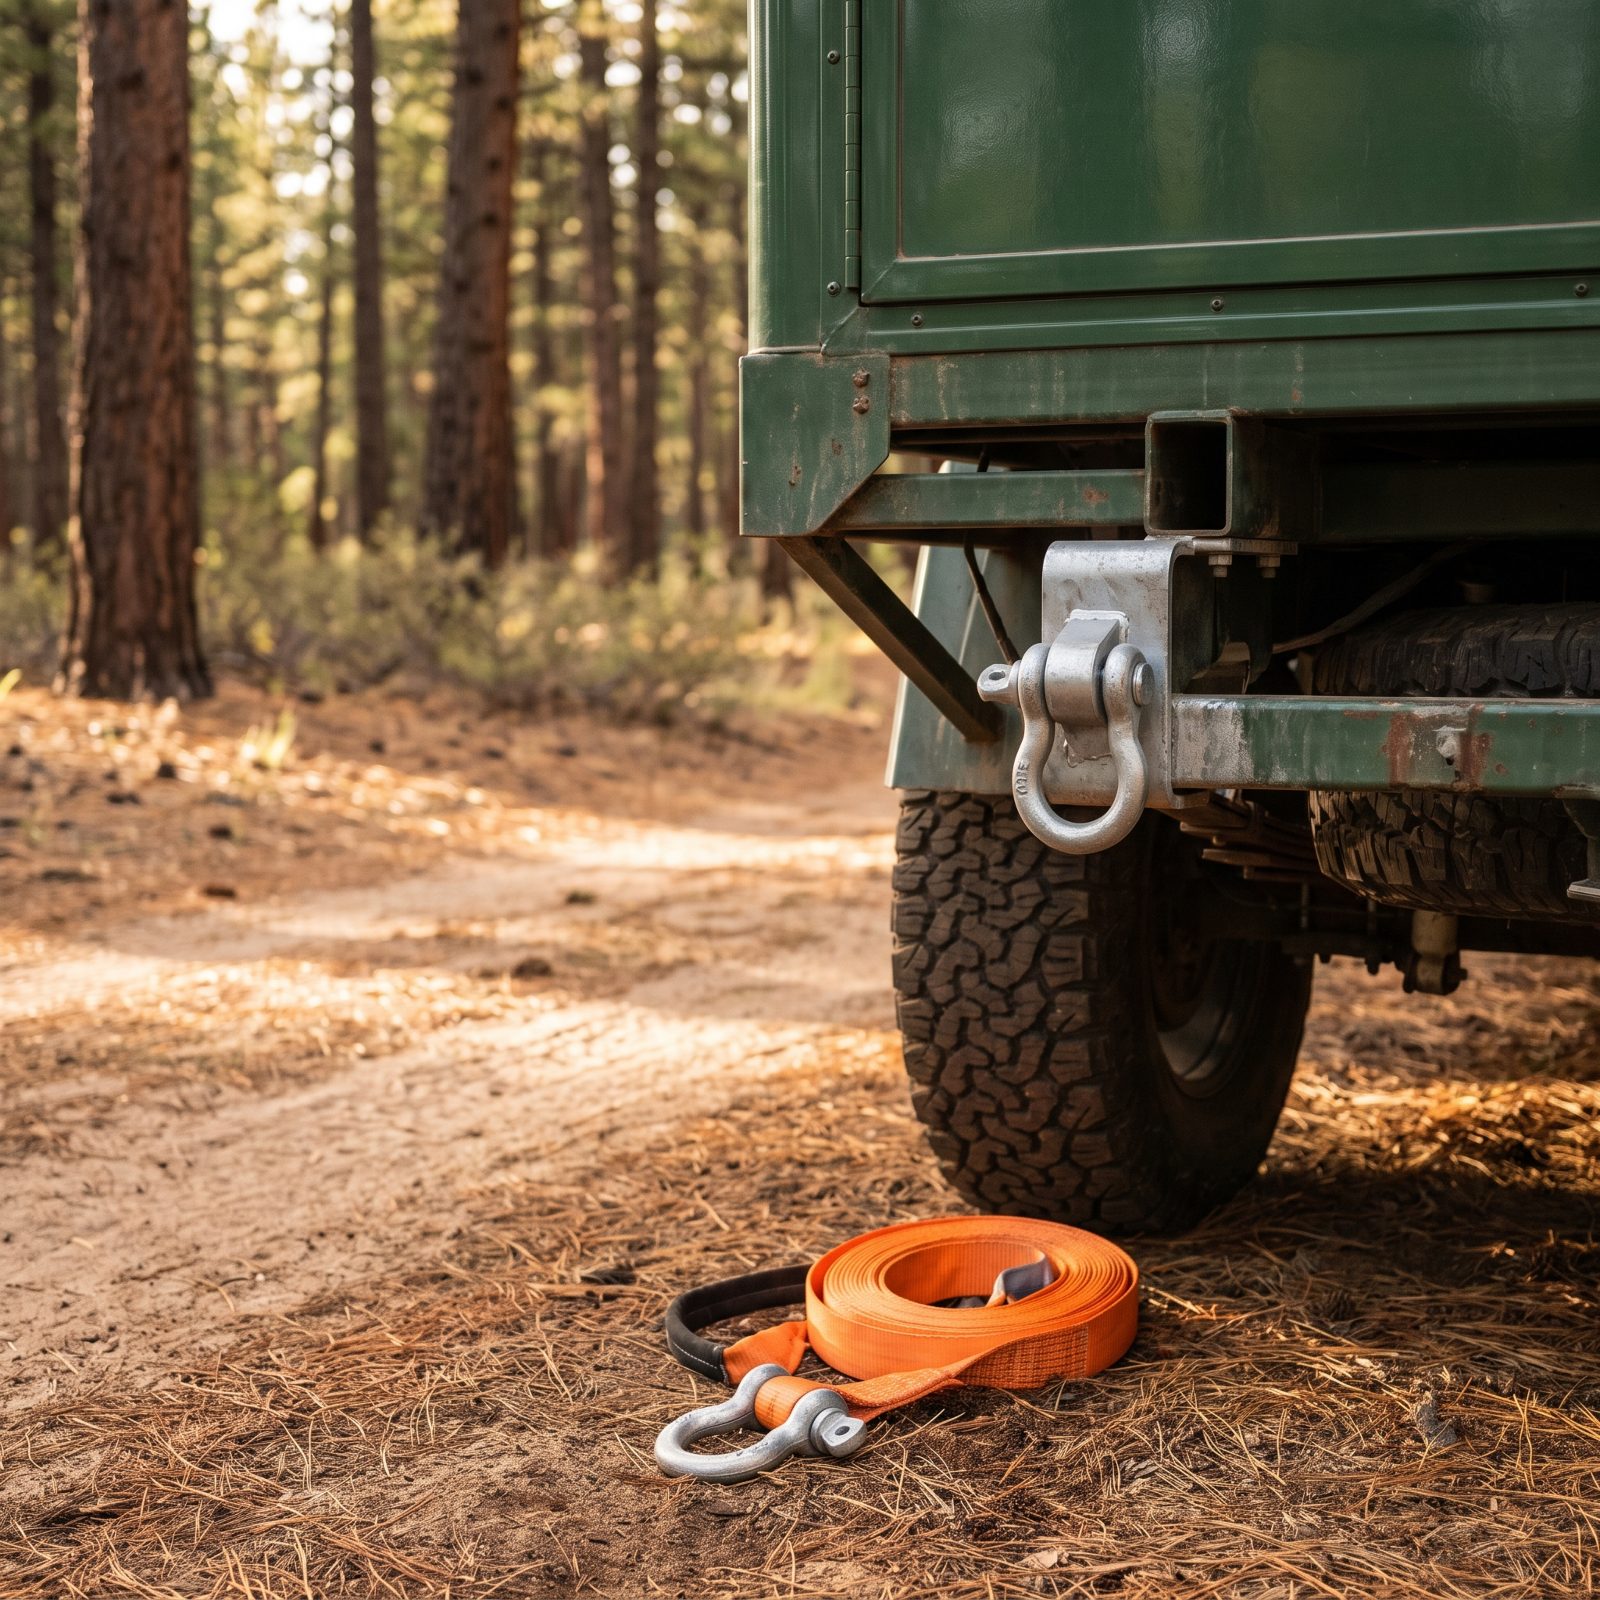
Everyone pictures the bumper as the place you hook a strap. On most rigs that bumper is thin steel meant to hold a sewer hose and a spare, and it’ll tear right off under a recovery load.
Hook to the wrong spot and you turn a minor stuck into a bent frame — or worse, a steel shackle launched through the air like a missile.
Find your rated recovery points now, parked and calm. Check the owner’s manual, hunt for factory-welded frame hooks or a receiver hitch, and keep a proper kinetic recovery strap and rated shackle on board. Knowing where to pull from is half the recovery.
25. Inspect the Spare Tire and Practice Using the Jack at Home
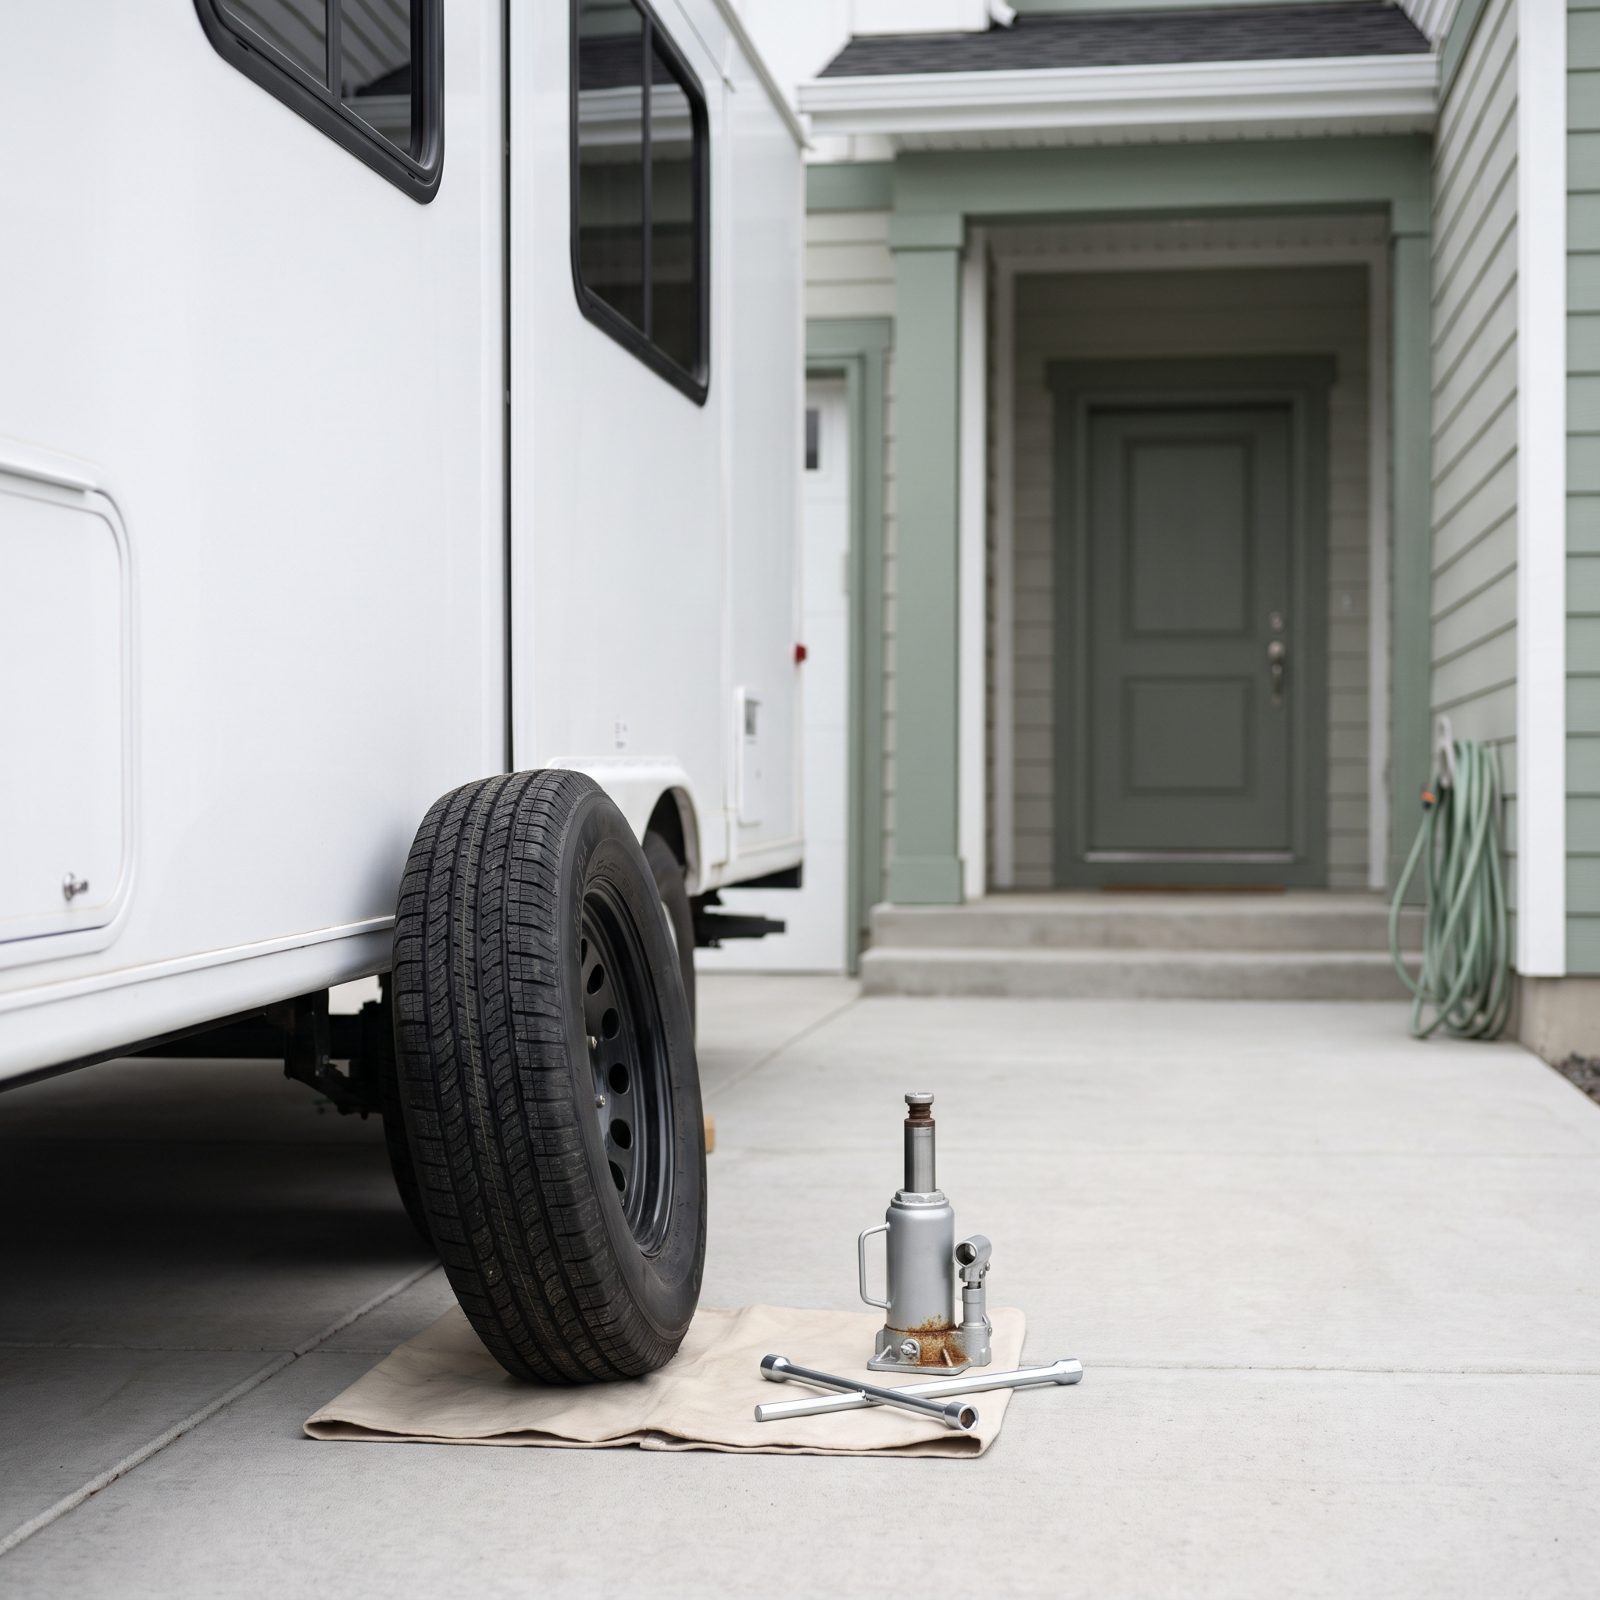
I put off checking my spare for an embarrassingly long time, and when I finally crawled under there it was flat. Dry-rotted at the sidewall, no air in it, bolted up under the rig doing absolutely nothing but looking reassuring.
A spare you’ve never dropped, on a jack you’ve never placed, in the dark, on a dirt shoulder, is not a plan. It’s a prayer.
Do a dry run in the driveway. Lower the spare, find the jack points, loosen the lugs with the wrench you actually carry. Check the spare’s pressure and age while you’re down there. Fifteen minutes now saves you two hours of roadside panic later.
24. Maintain a Larger Fuel Reserve Than You Would at a Campground
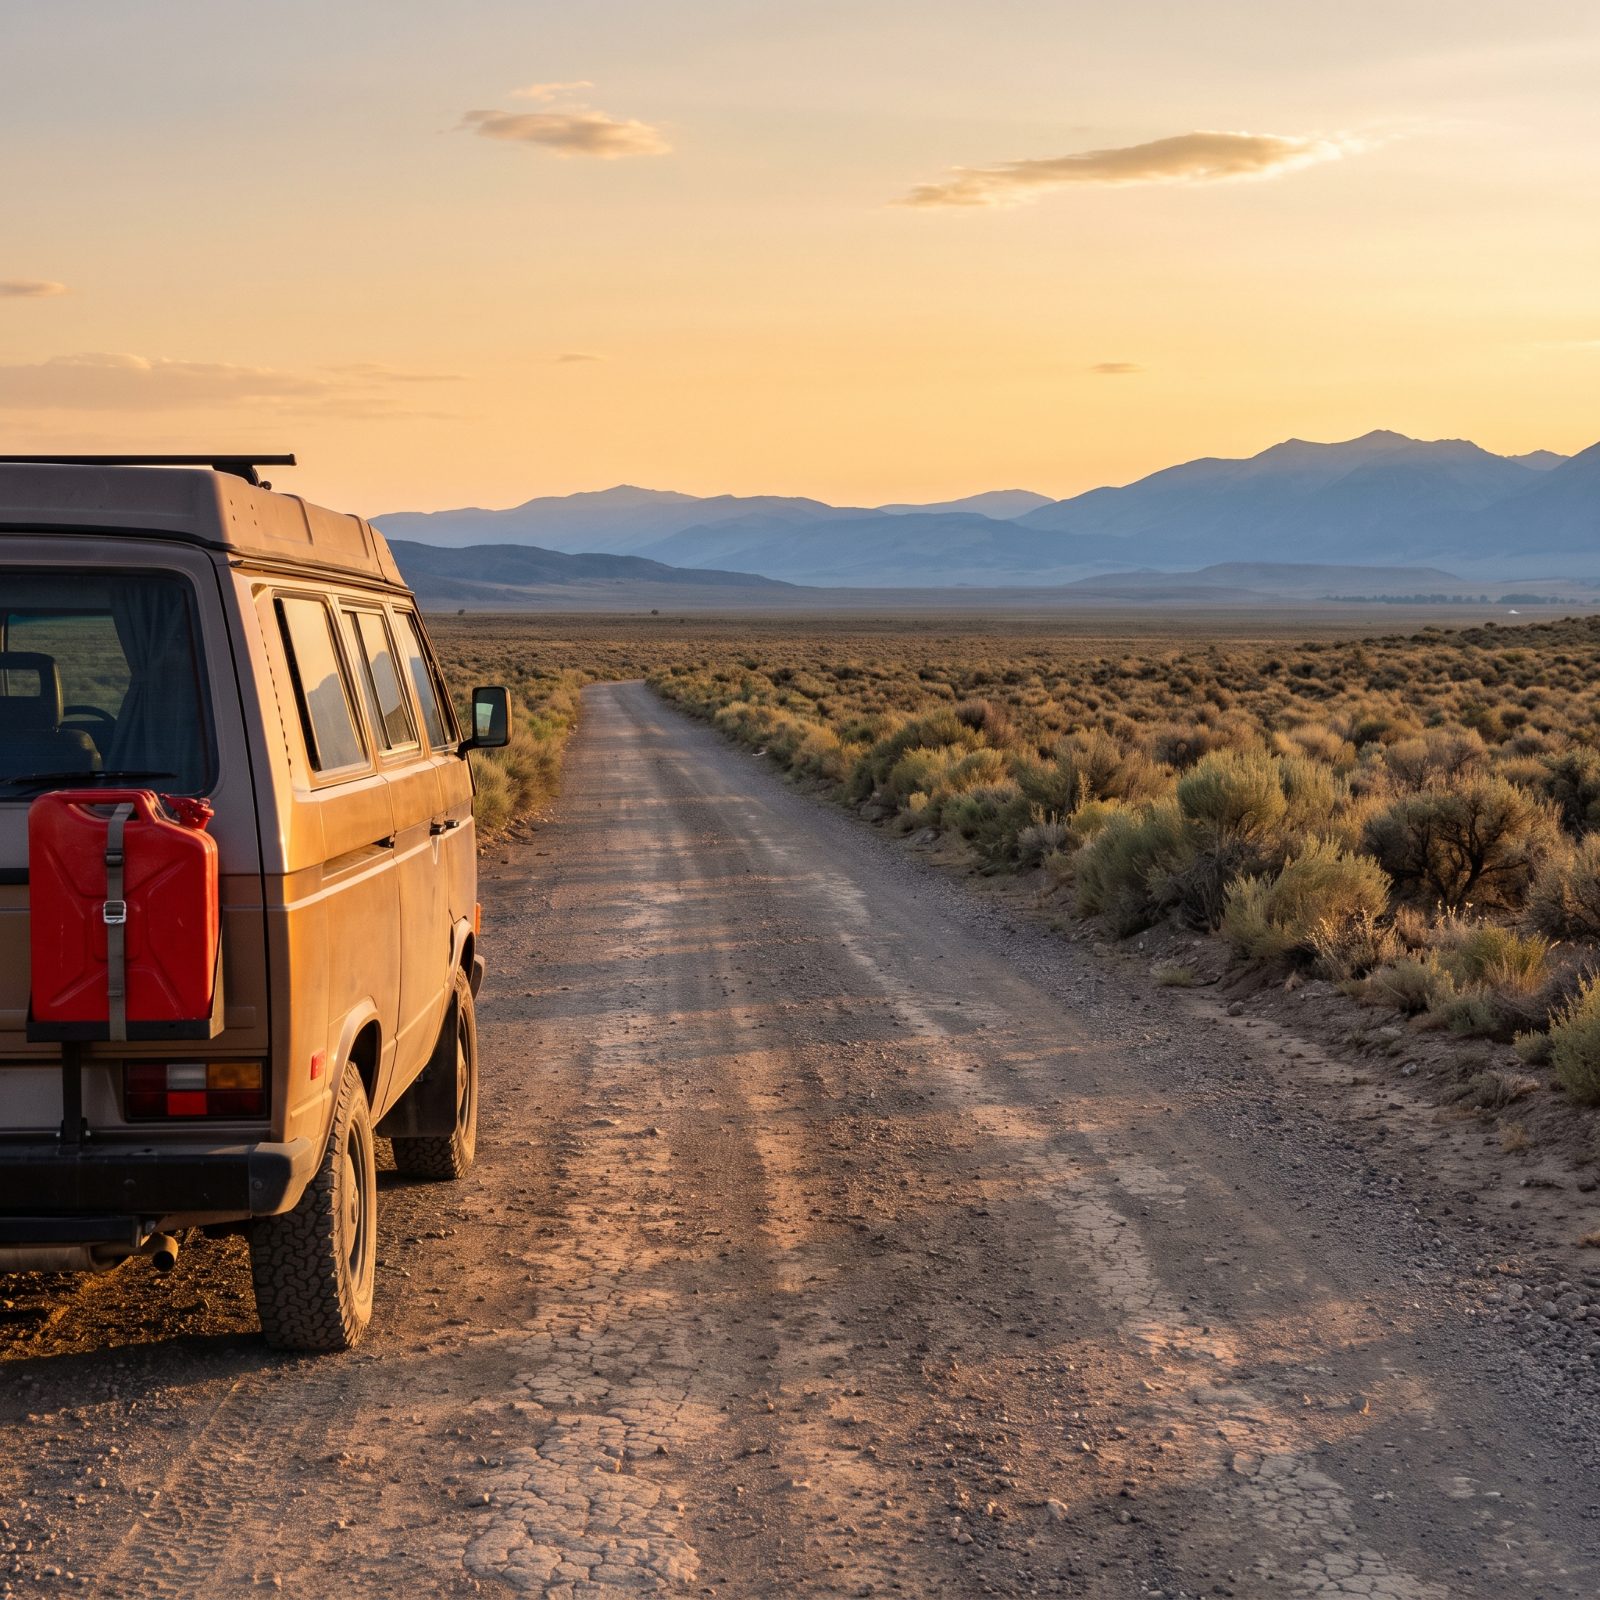
At an RV park the gas station is a right turn away. Out on public land the nearest pump might be sixty miles of dirt and switchbacks, and that distance eats fuel faster than the odometer suggests. Climbing, soft sand, idling the generator — they all pull from the same tank.
Plan your range against the worst case, not the map’s straight line. Fill up before you leave pavement, treat half a tank as your turnaround point, and carry a secured auxiliary can if the route is remote.
23. Install a Battery Monitor Instead of Guessing From a Voltage Light
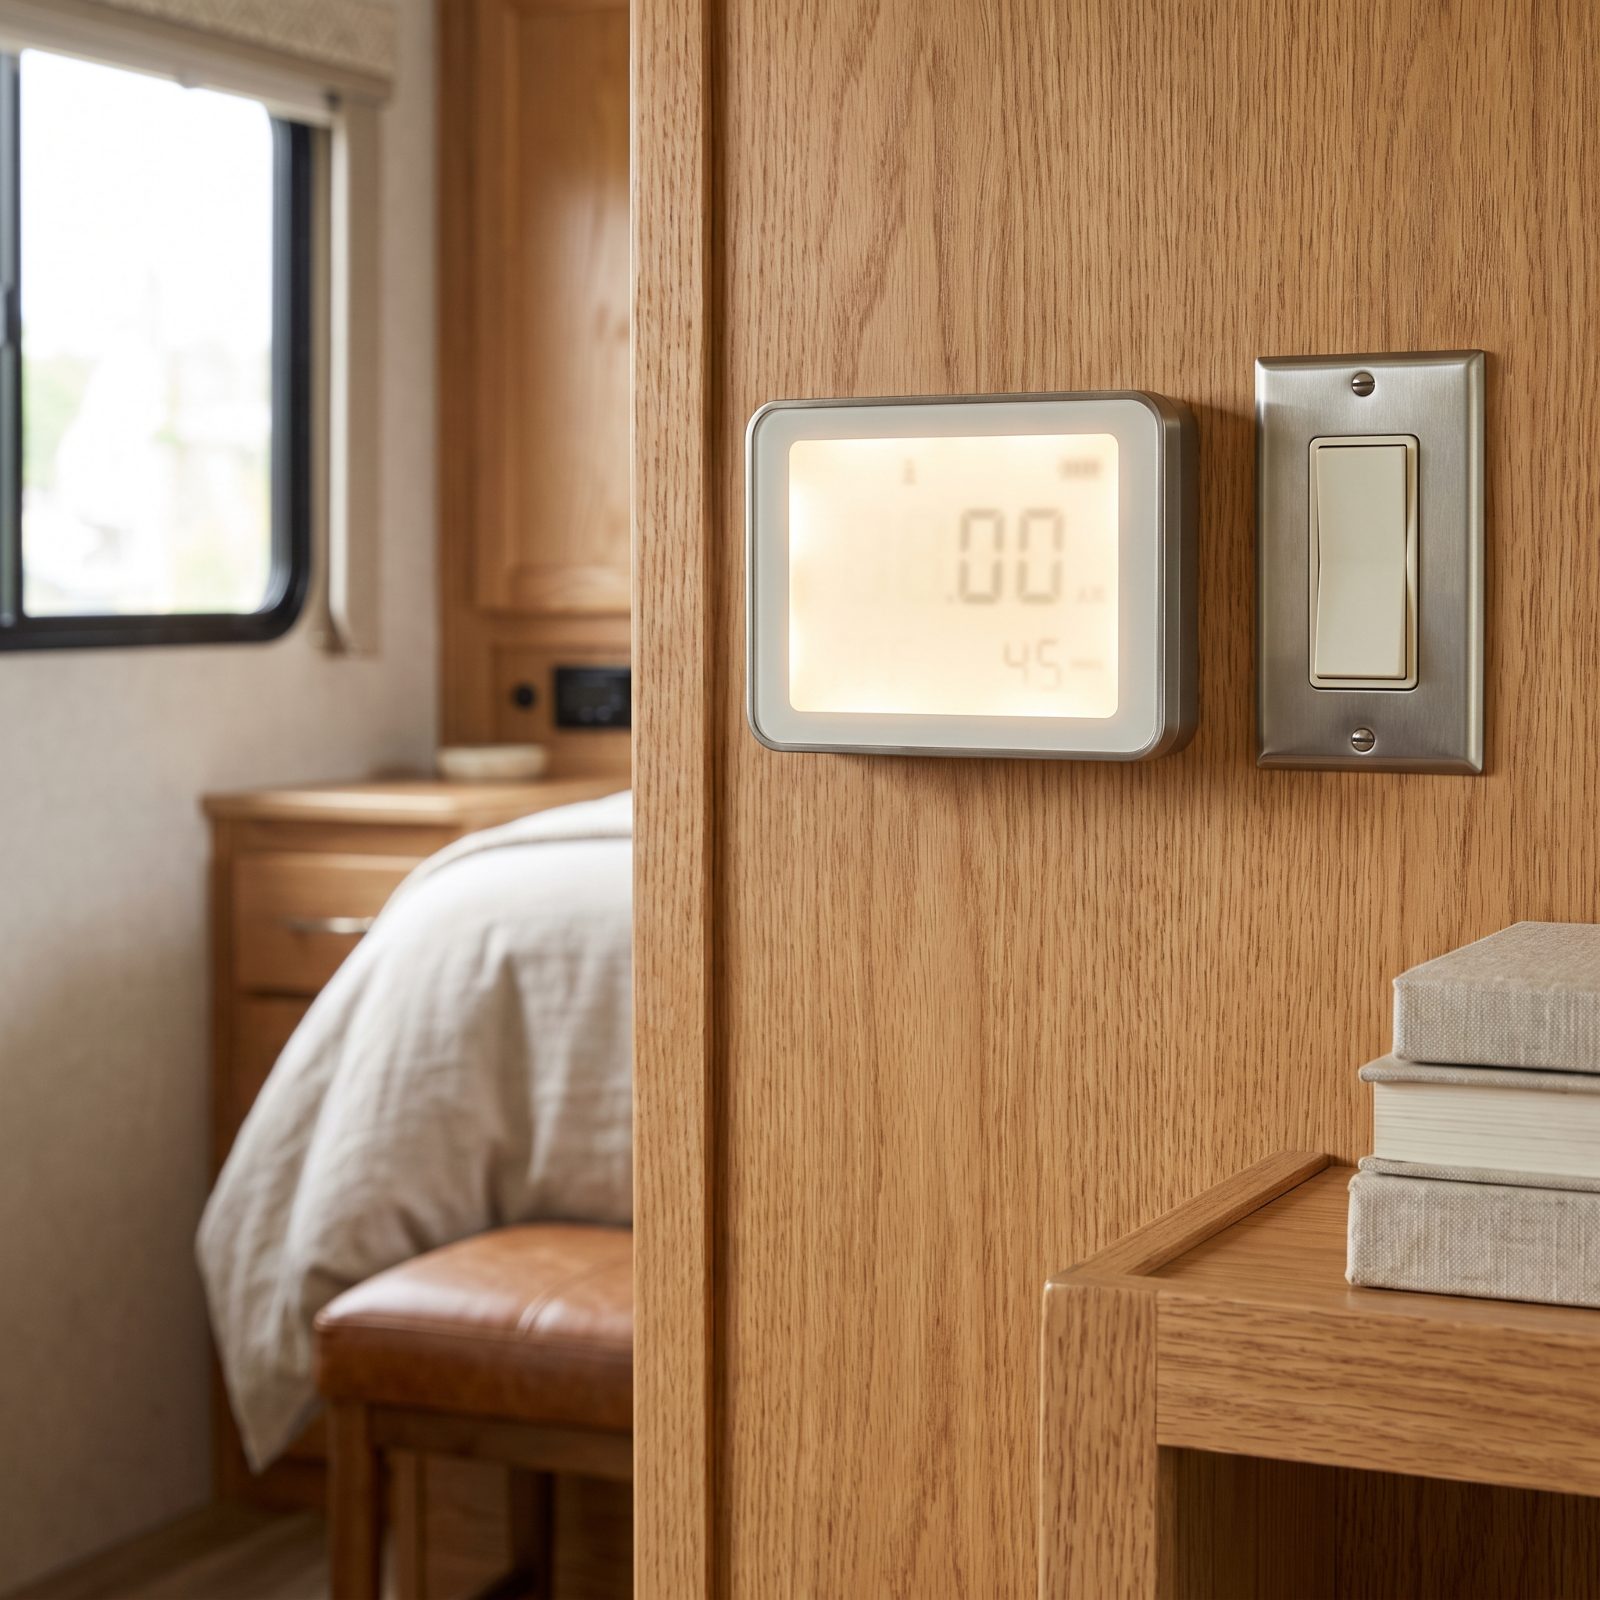
That little green-yellow-red idiot light the factory bolted in tells you almost nothing. Voltage alone is a liar. A battery under load reads low, then springs back when you shut things off, and you end up guessing wrong in both directions.
Guess high and you flatten your bank, which murders lead-acid batteries for good. Guess low and you run the generator for nothing, breaking that beautiful silence.
Put in a real shunt-based RV battery monitor that counts amp-hours in and out. It shows your true state of charge the way a fuel gauge shows fuel. Once you’ve lived with one, the voltage light looks like a toy.
A battery monitor turns boondocking from a nervous guessing game into a decision you can actually make.
22. Test the Solar Setup Under Real Loads Before Depending on It
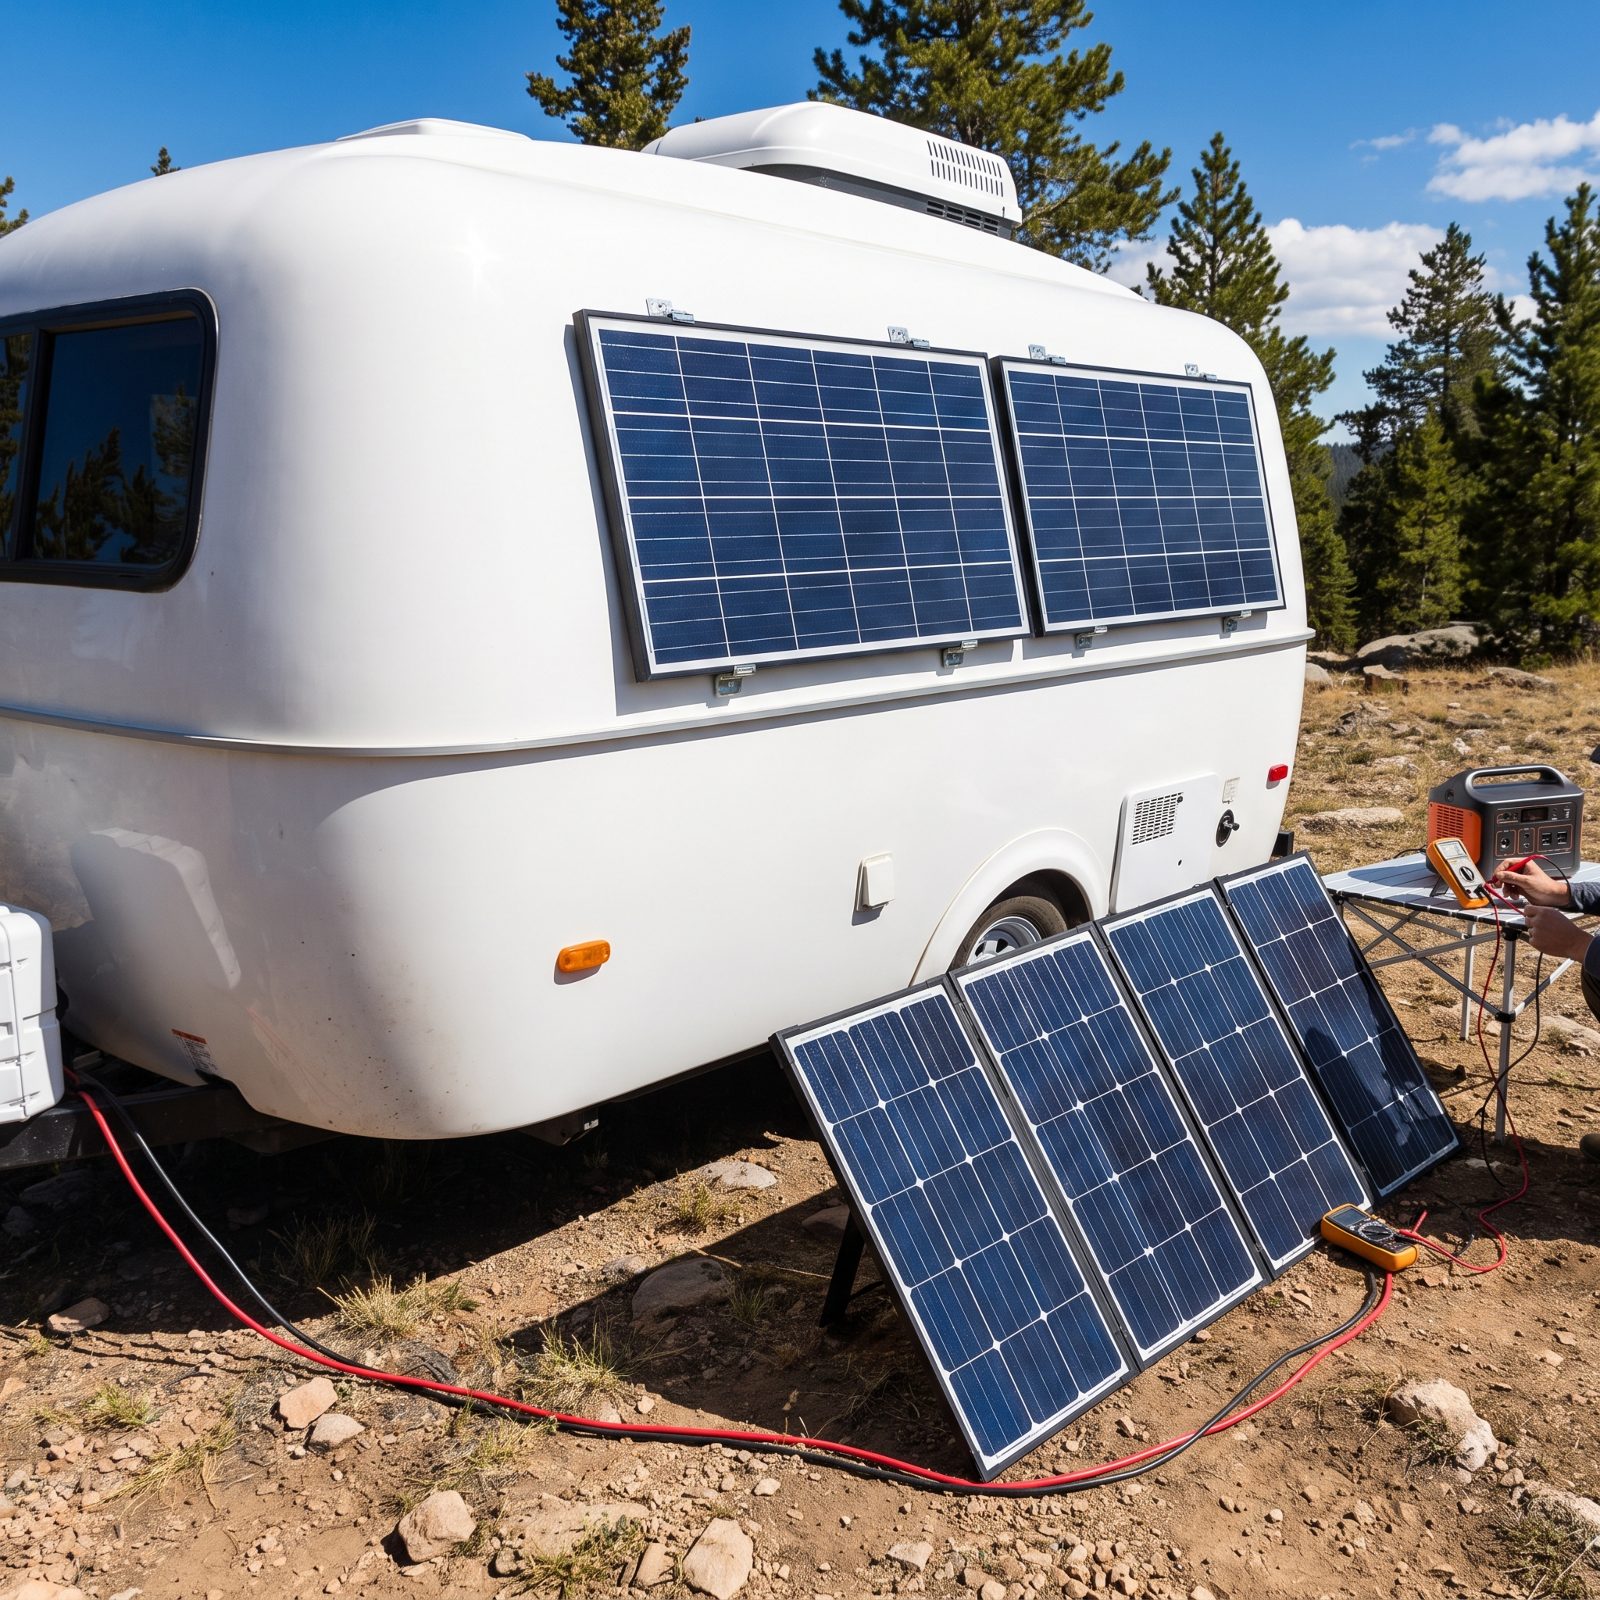
A solar setup that looks great in the dealership lot and one that actually refills your batteries are two different animals. Dealers wire for the sticker, not for your fridge.
The gap only shows up when you need it most: shaded sites, low winter sun angles, a controller that maxes out well below the panels’ rated watts. Discover that in the backcountry and your trip clock just got a lot shorter.
Test it at home under your real load. Charge down a bit, then watch how much the panels actually put back on a sunny day versus a cloudy one, and note how badly shade kills it. A portable panel you can drag into the sun often beats another roof panel stuck under a tree.
21. Know Which Appliances Cannot Run Together on the Inverter
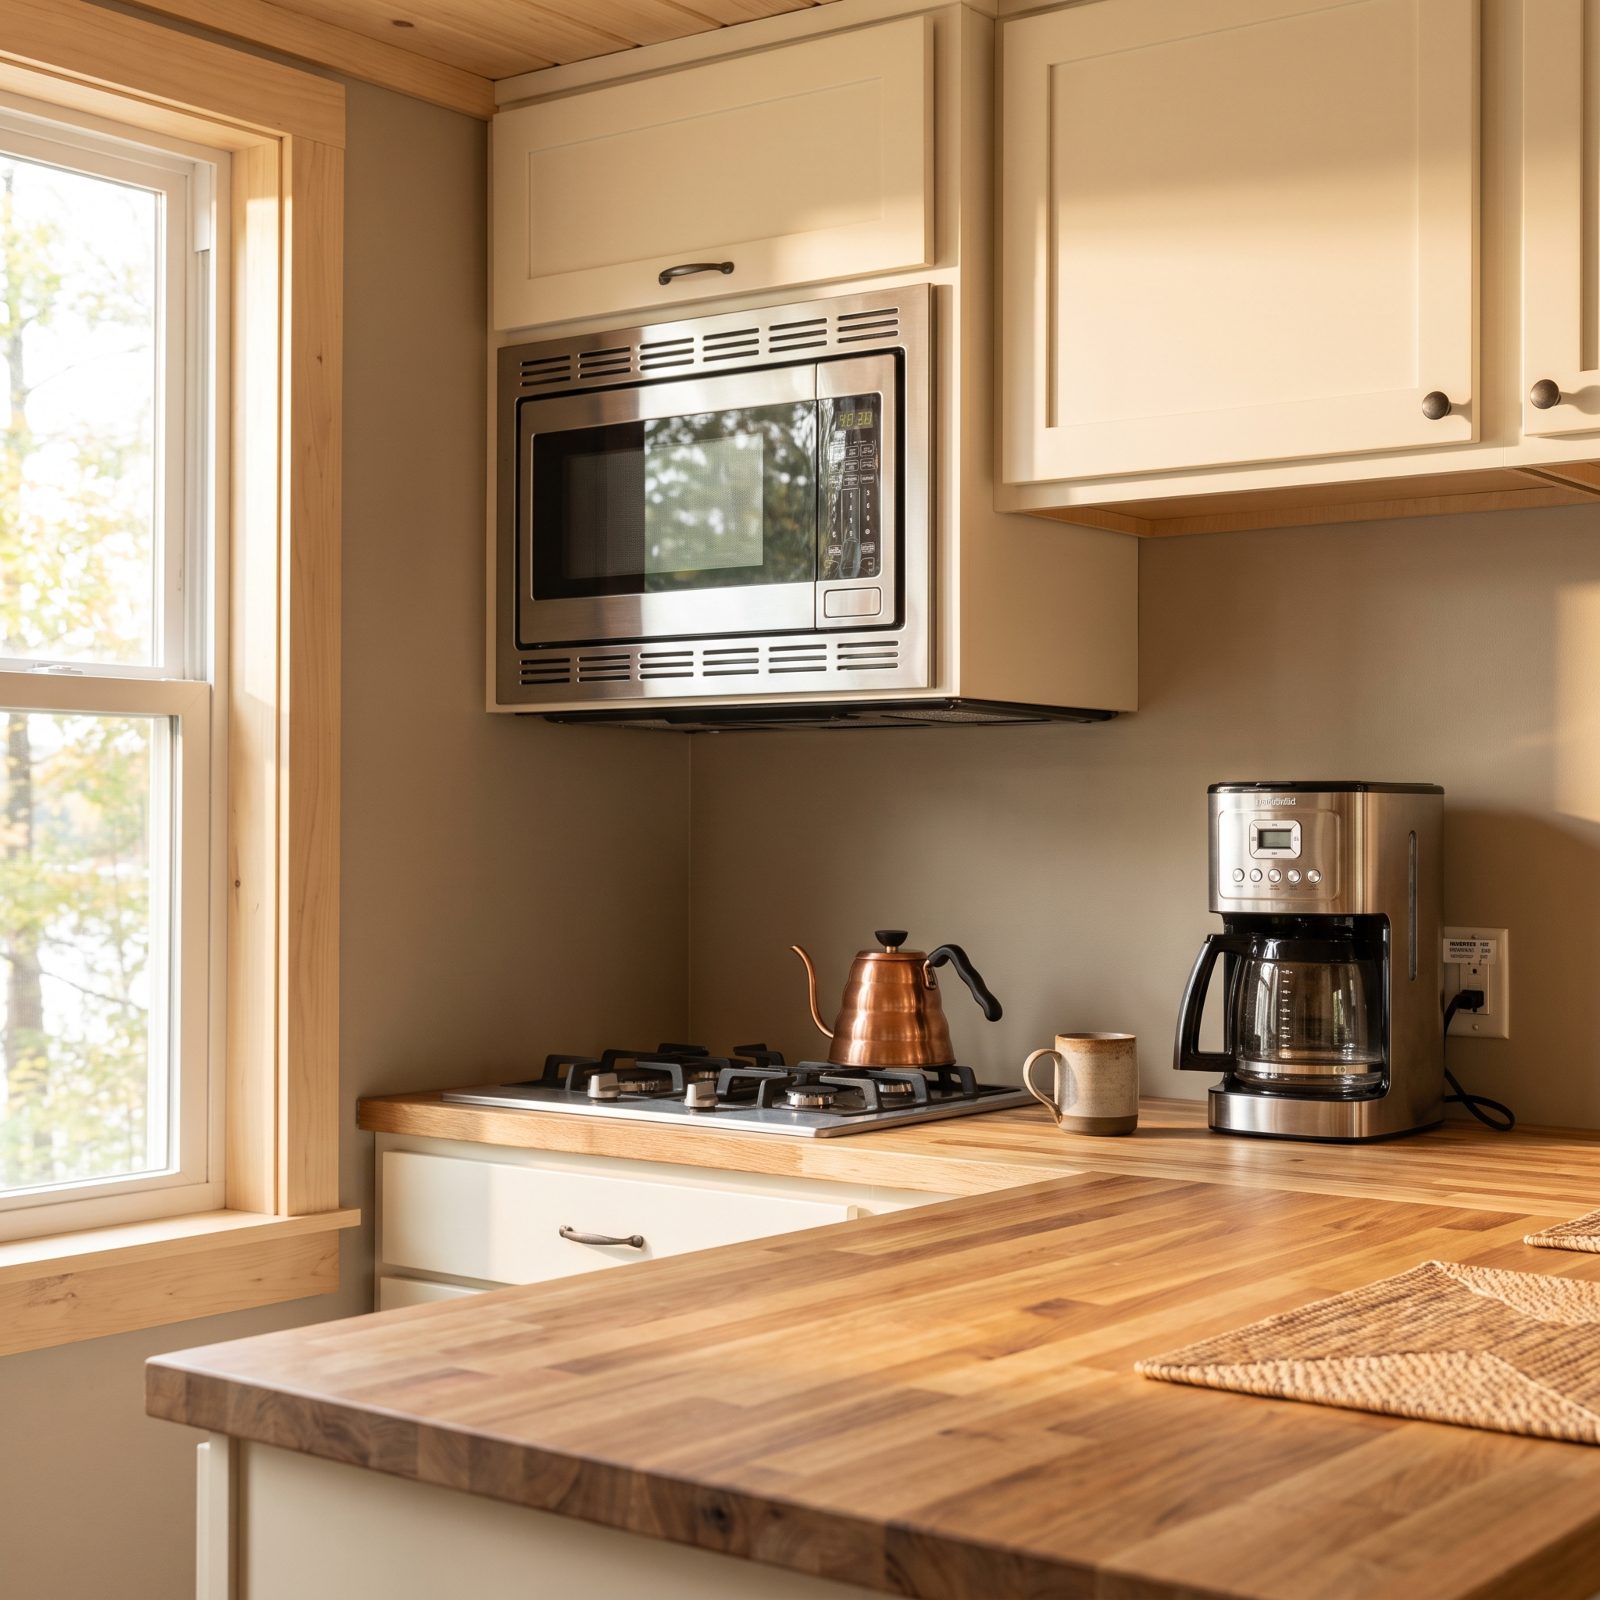
Inverters have a ceiling. Run the microwave, the coffee maker, and a hair dryer at once and you’ll find it instantly — usually with a loud click and sudden silence.
Tripping the inverter isn’t dangerous. It is a nuisance, though, and repeated overloads are hard on everything in the chain.
Do the arithmetic once, at home. Add up the watts of your high-draw items and compare them to your inverter’s continuous rating. The big offenders are anything that makes heat: microwave, toaster, hair dryer, induction burner, coffee maker. Make yourself a simple rule — one heat-making appliance at a time — and it becomes second nature by day three.
20. Switch Off Parasitic Loads Such as Tank Heaters and Idle Electronics

There’s a slow leak in every rig, and it isn’t water. Tank heaters cycling on, the stereo’s standby draw, the propane detector, a forgotten inverter humming with nothing plugged in — each one sips a little, and overnight they empty your bank while you sleep.
None of it feels like it’s doing anything, which is exactly the problem. You wake up to a battery lower than it should be and no obvious culprit.
Walk your switch panel before bed. Kill the tank heaters unless it’s genuinely freezing, shut off the inverter when nothing needs it, and unplug the devices that draw in standby. Your morning state of charge will thank you.
19. Run the Generator Under Load at Home Before Taking It Off-Grid
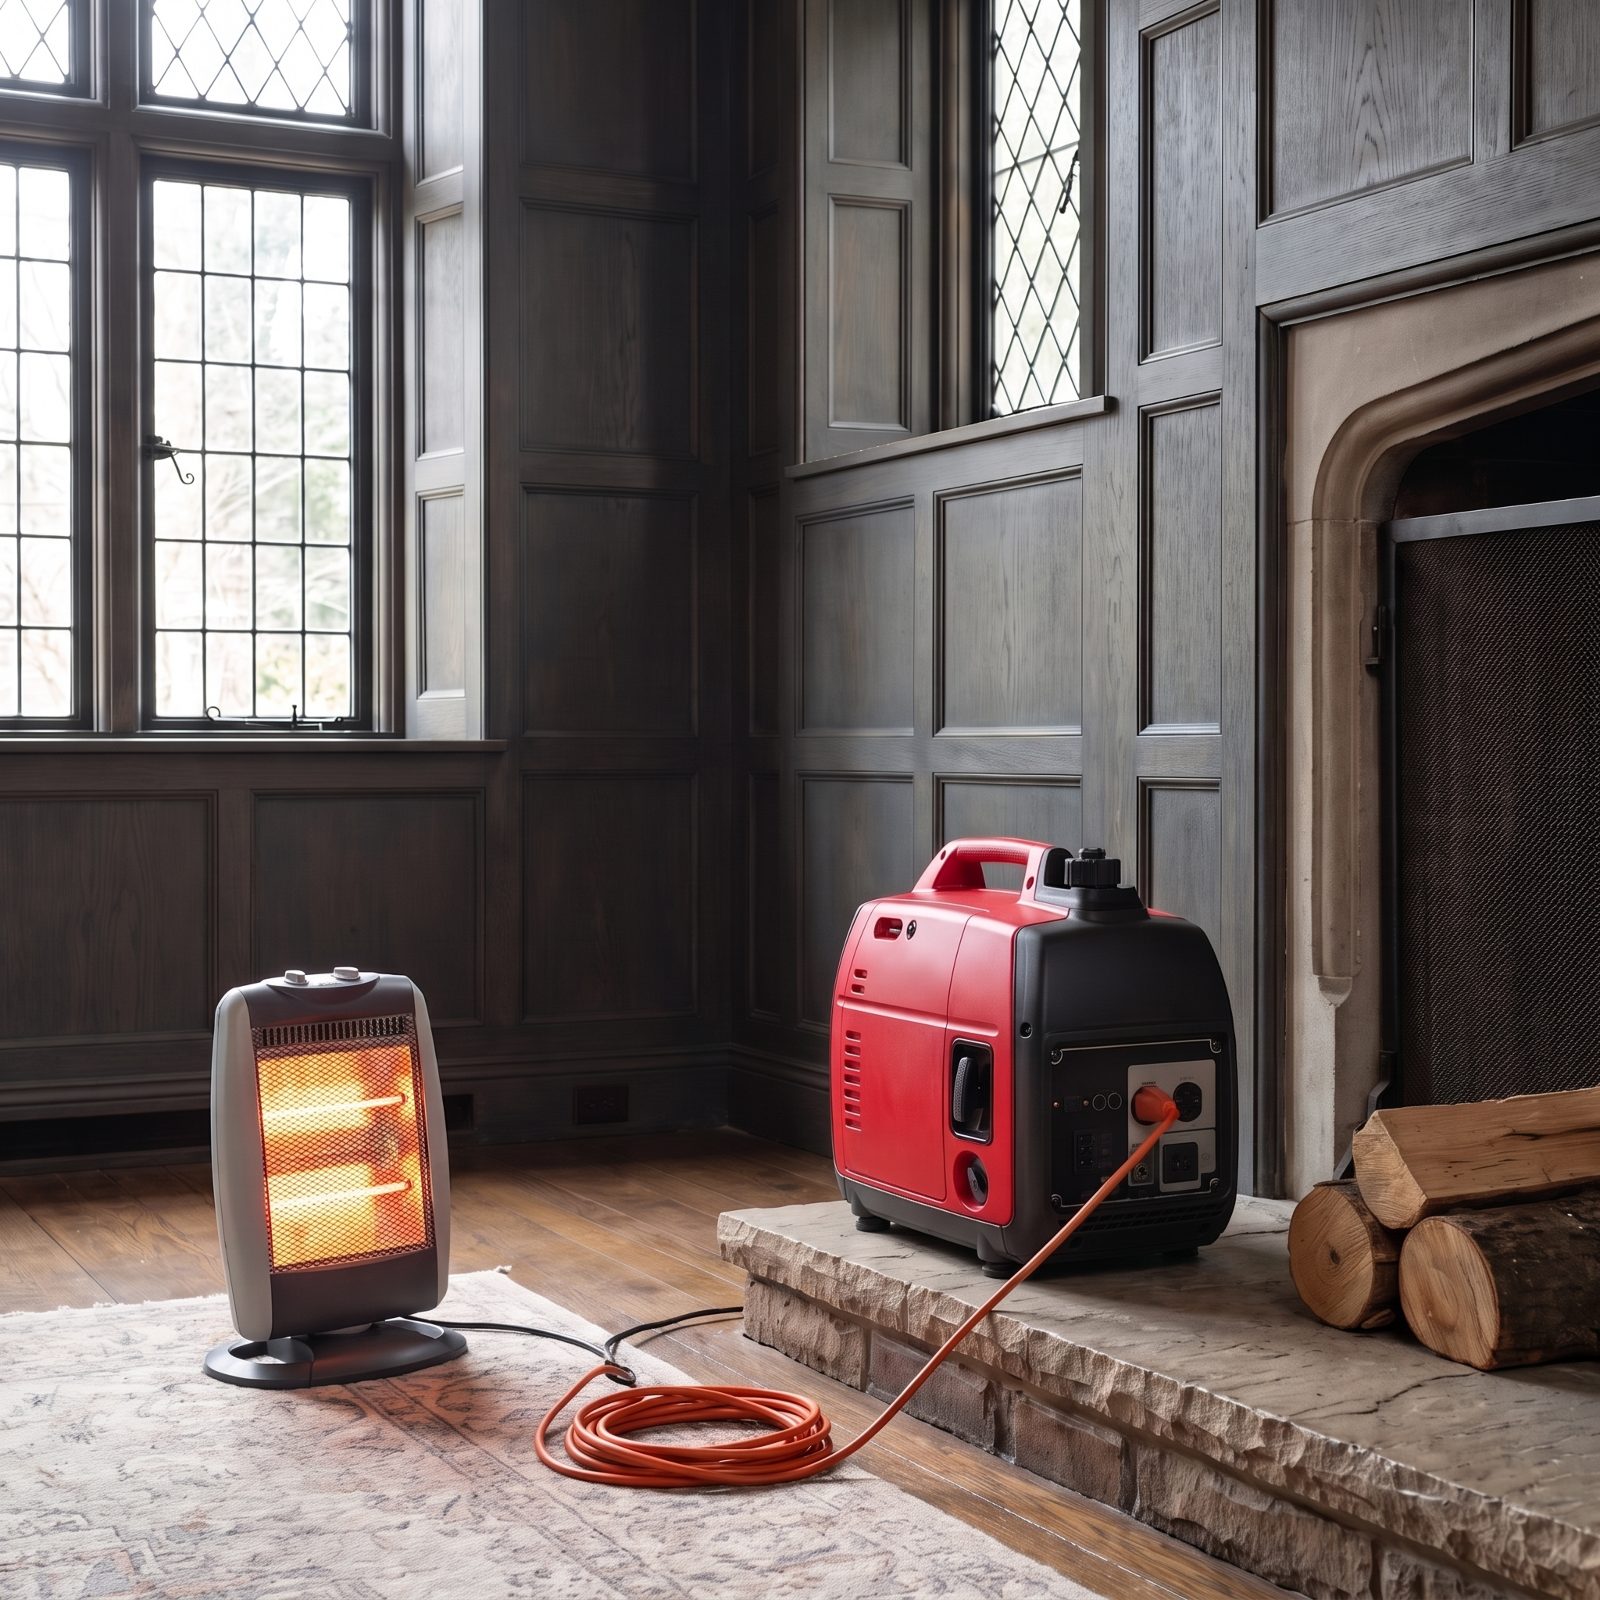
A generator that starts fine on the driveway and one that carries your microwave and battery charger together are not the same test. Old fuel gums the carb, the oil runs low, a clogged air filter chokes it under load. All of that hides until you ask it to actually work.
Find out in the backcountry and you’ve got dead batteries plus a boat anchor sitting on your carrier.
Fire it up at home and put a real load on it. Run the charger, plug a space heater into a heavy extension cord, let it work for a solid half hour. Change the oil if it’s due, drain stale fuel, pack a spare filter and the oil it takes. And do that test outside. Never run it indoors, in a garage, shed or workshop, even with a window open, and keep it well away from the rig and downwind when it’s running. Carbon monoxide is quiet, and it doesn’t give second chances.
18. Place the Generator Where Exhaust Cannot Enter Any RV Opening
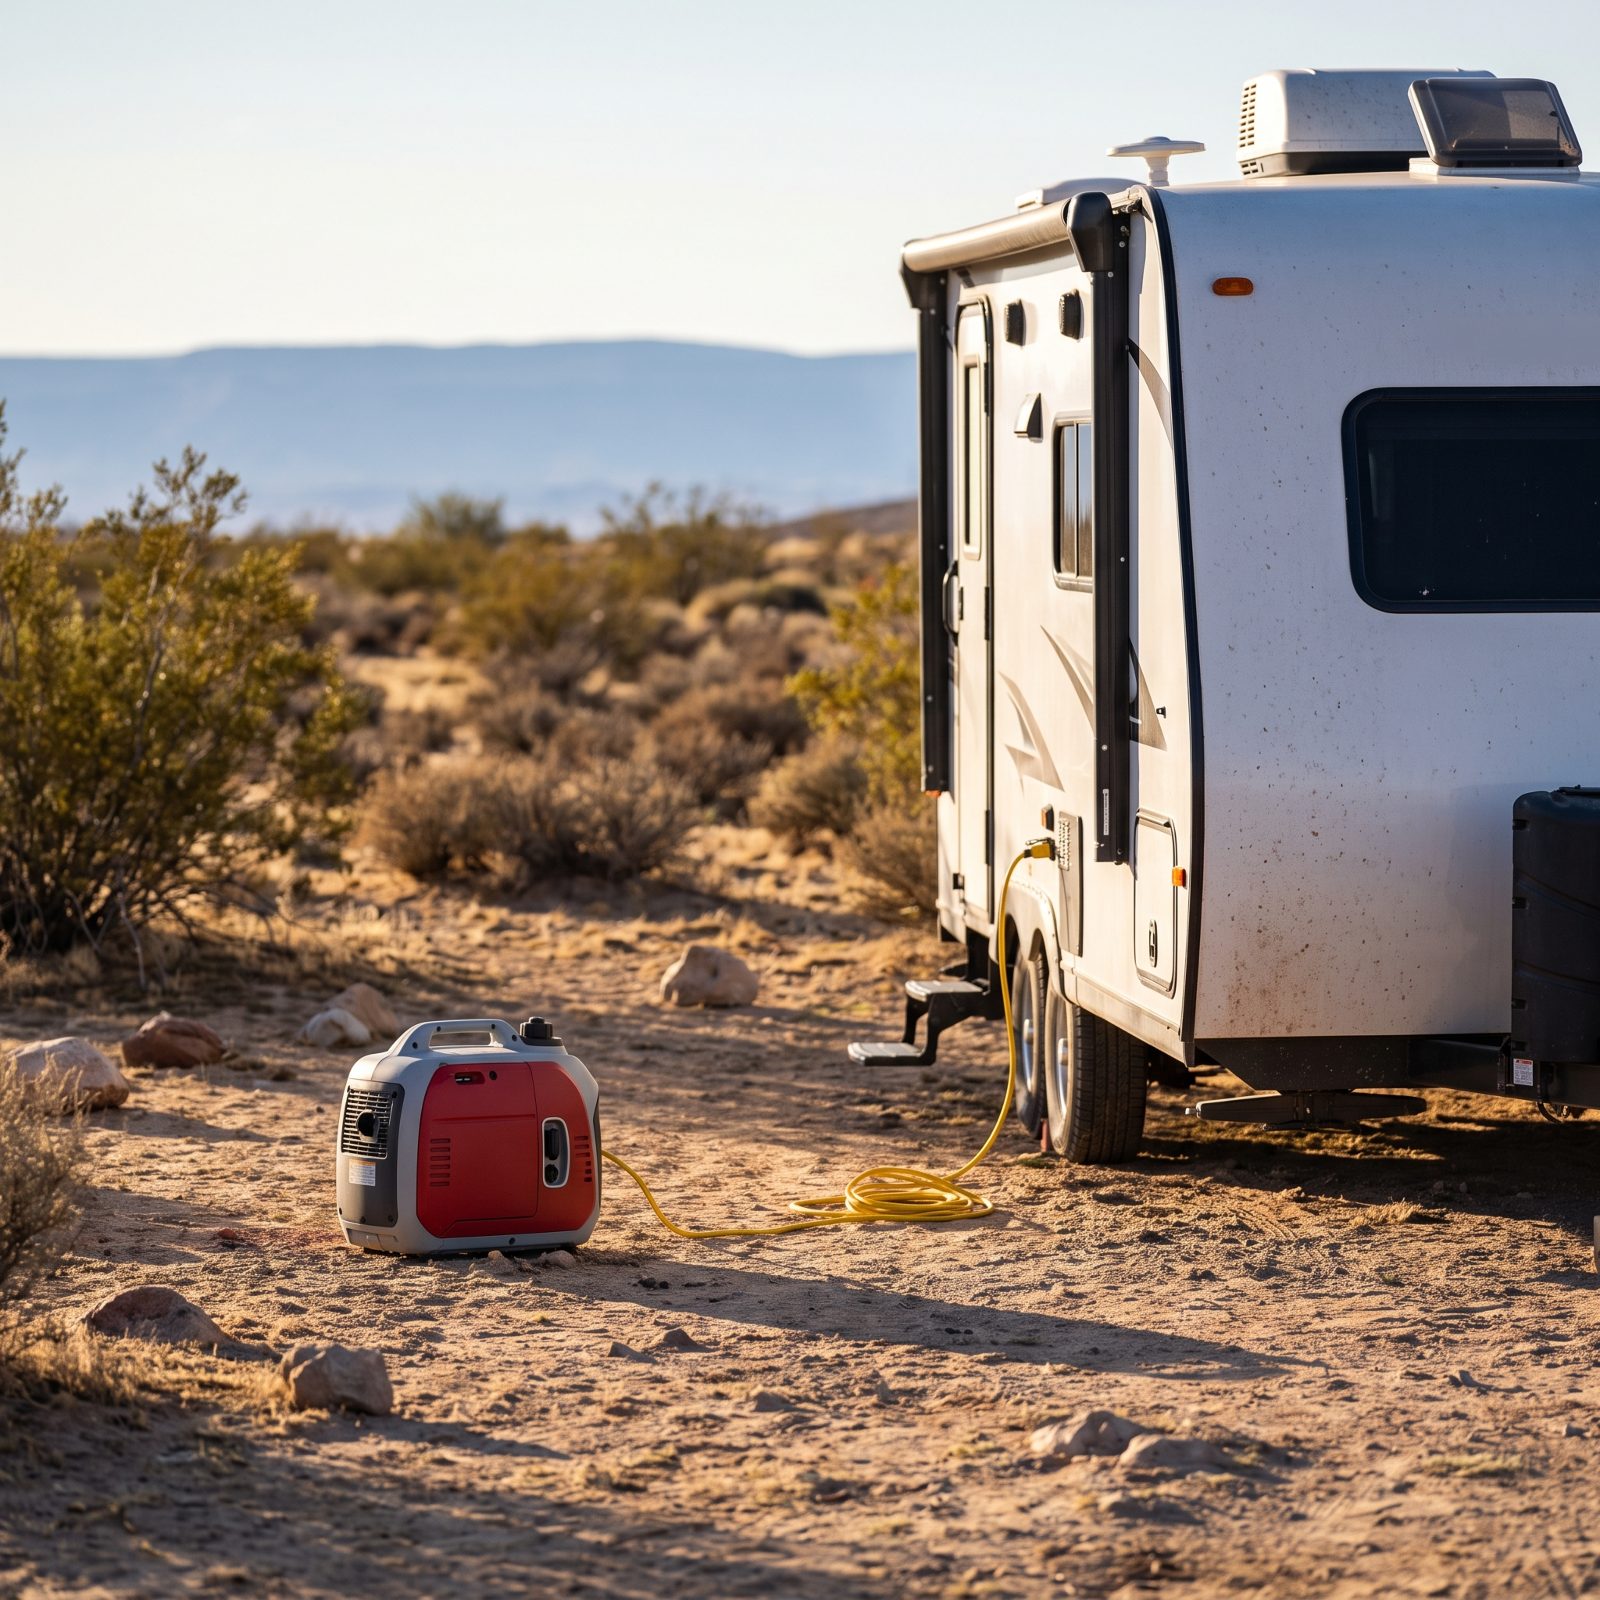
Generator exhaust is the quietest danger on any boondocking trip. Carbon monoxide has no smell, and it drifts toward low openings while you sleep. Park that generator a few feet off your bumper with the exhaust aimed at the trailer, and you’ve built yourself a problem you won’t feel coming.
Set it at least ten to fifteen feet away, downwind, exhaust pointed at open ground — never toward a window, door, vent, or the slide-out seals. The prevailing breeze shifts overnight, so move it before bed if the wind turned. And test your CO detector in the driveway, not after you’ve already parked out in the sticks.
17. Check Propane Levels and Leak-Test Connections After Travel
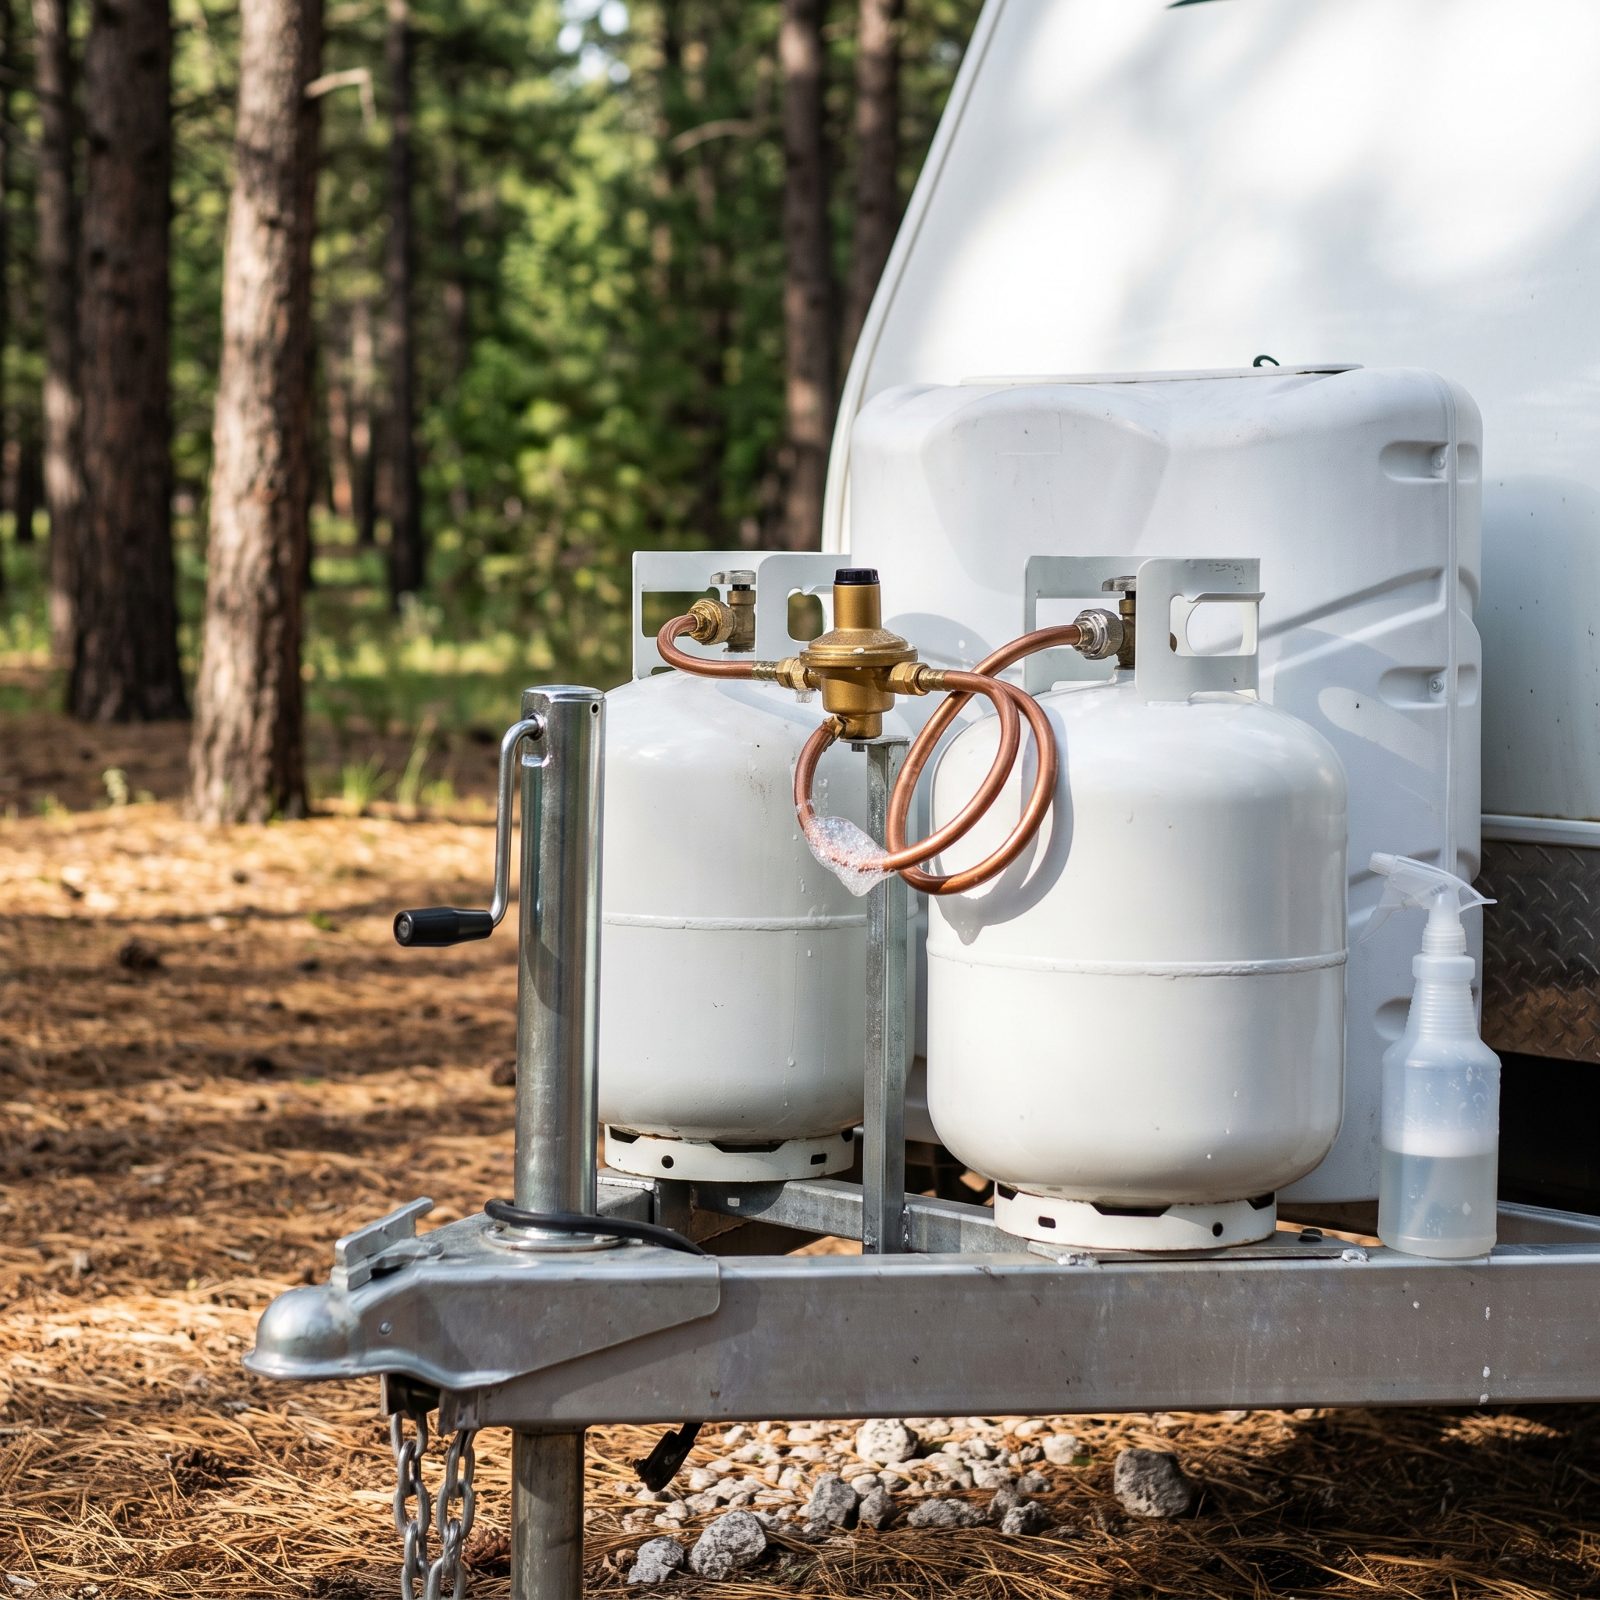
Highway vibration does things to propane fittings that sitting in a storage lot never does. You tow two hundred miles, park, light the stove, and assume the system is fine because it behaved last season. A slow leak at a loosened connection wastes your gas — and in an enclosed space, it does a good deal worse than that.
Here’s the two-minute habit. Open the tank valve, fill a spray bottle with soapy water, and mist every fitting, the regulator, and the coiled copper line. Small foam bubbles that cling and keep growing on a fitting mean a leak; big soap bubbles drifting loose beside the line are just overspray. Snug the connection, re-test, done. Check your tank gauge or just heft the cylinders so you know what you’re actually working with before you’re three days from a refill.
16. Calculate Drinking, Cooking, and Washing Water by Person and Day
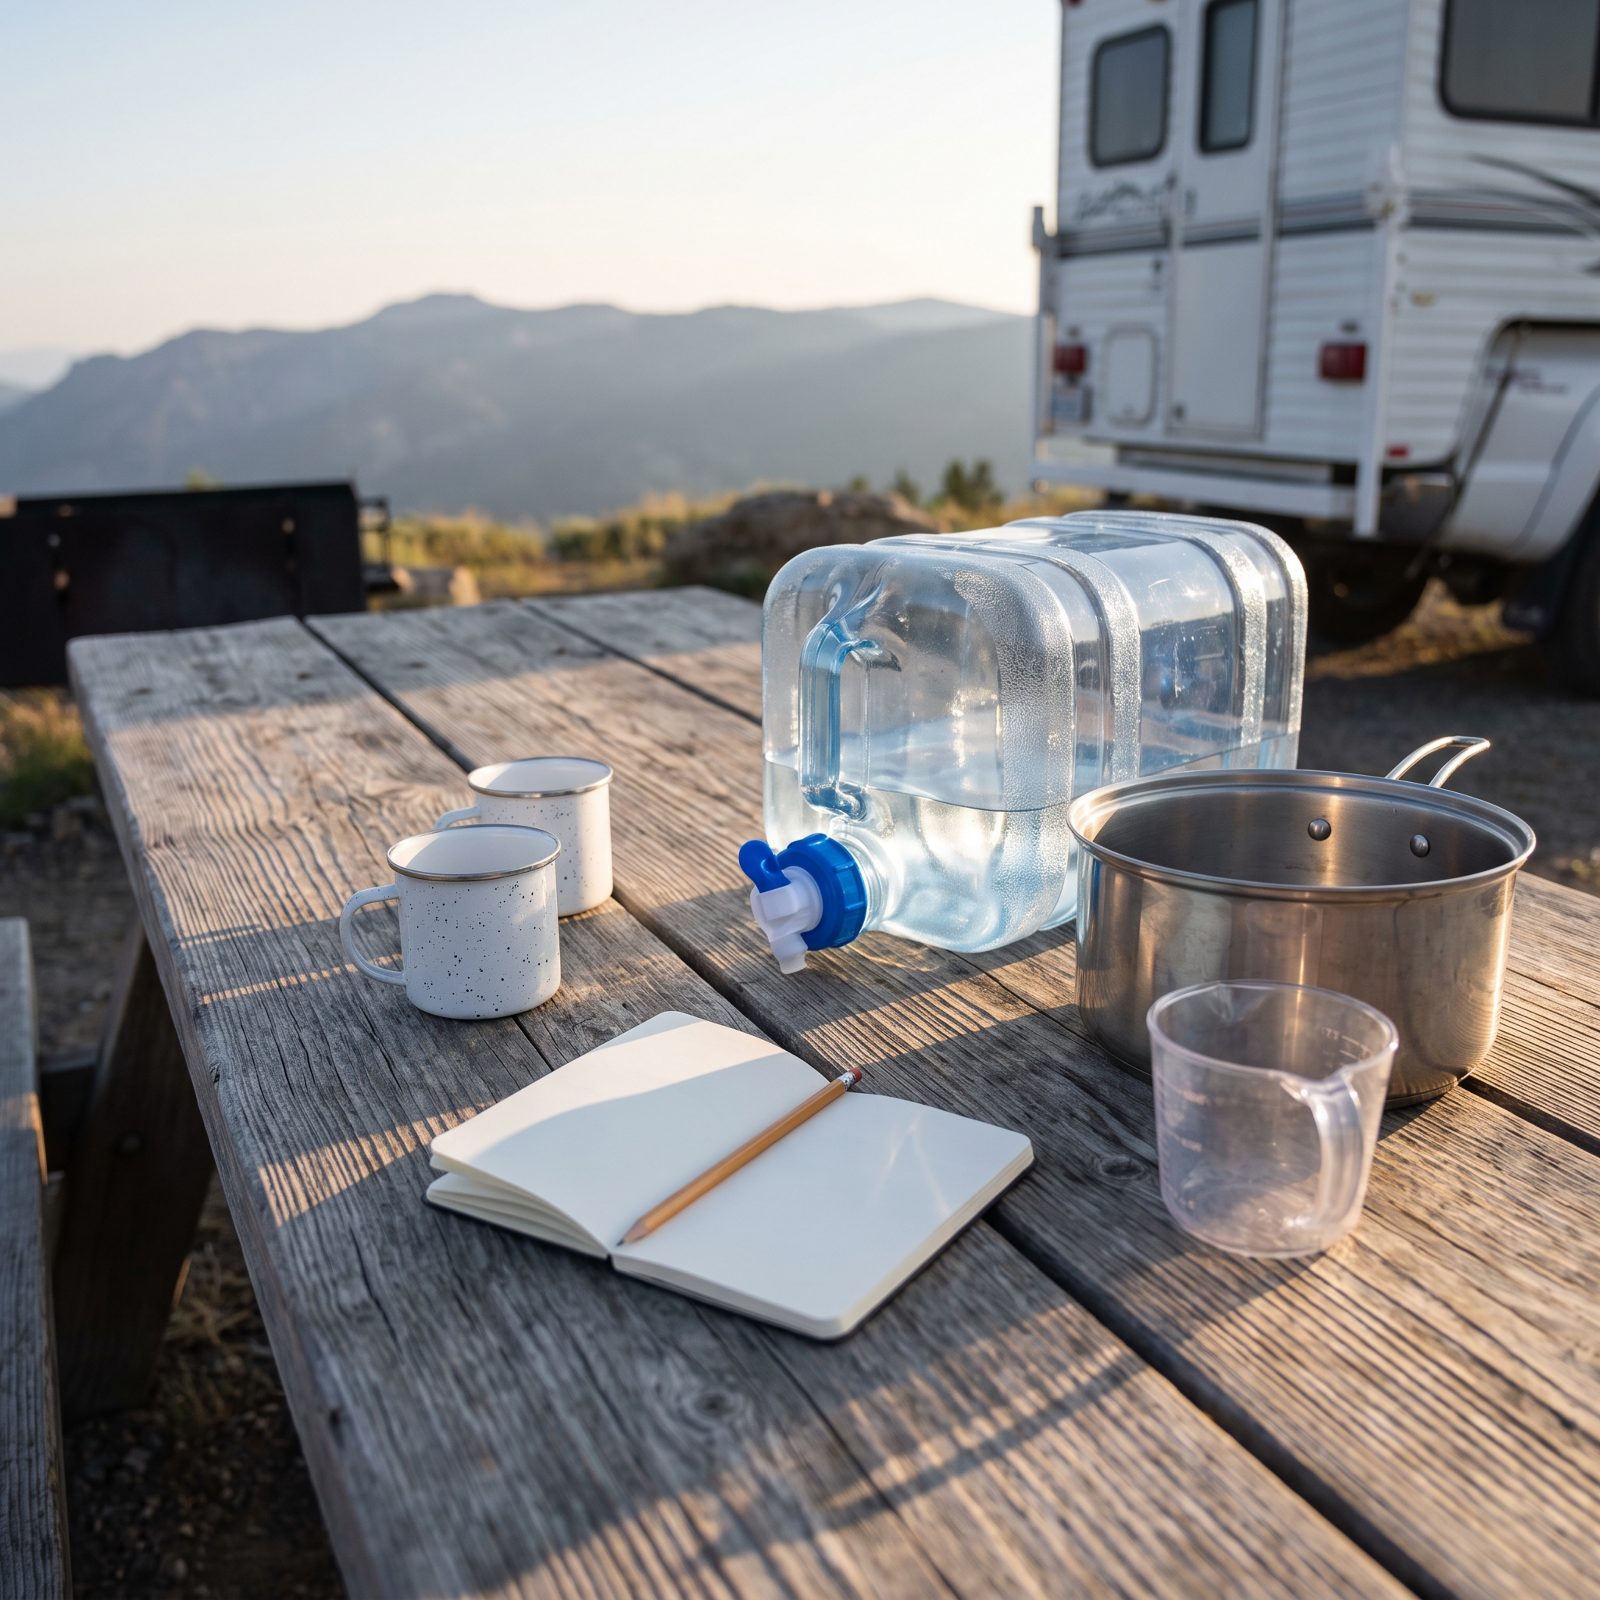
Most first-timers wildly underestimate water. You figure a full fresh tank lasts forever — until day two, when the dishes, the coffee, a couple of hand-washes and a quick rinse have quietly drained a third of it away.
Do the math before you fill up. Plan on roughly a gallon per person per day for drinking and cooking alone, then stack washing on top. Two people on a four-day trip can burn through twenty-plus gallons once dishes and hygiene enter the picture. Write it down, hold it up against your tank size, and you’ll know on day one whether you’re sitting pretty or rationing.
15. Carry a Separate Emergency Drinking-Water Reserve
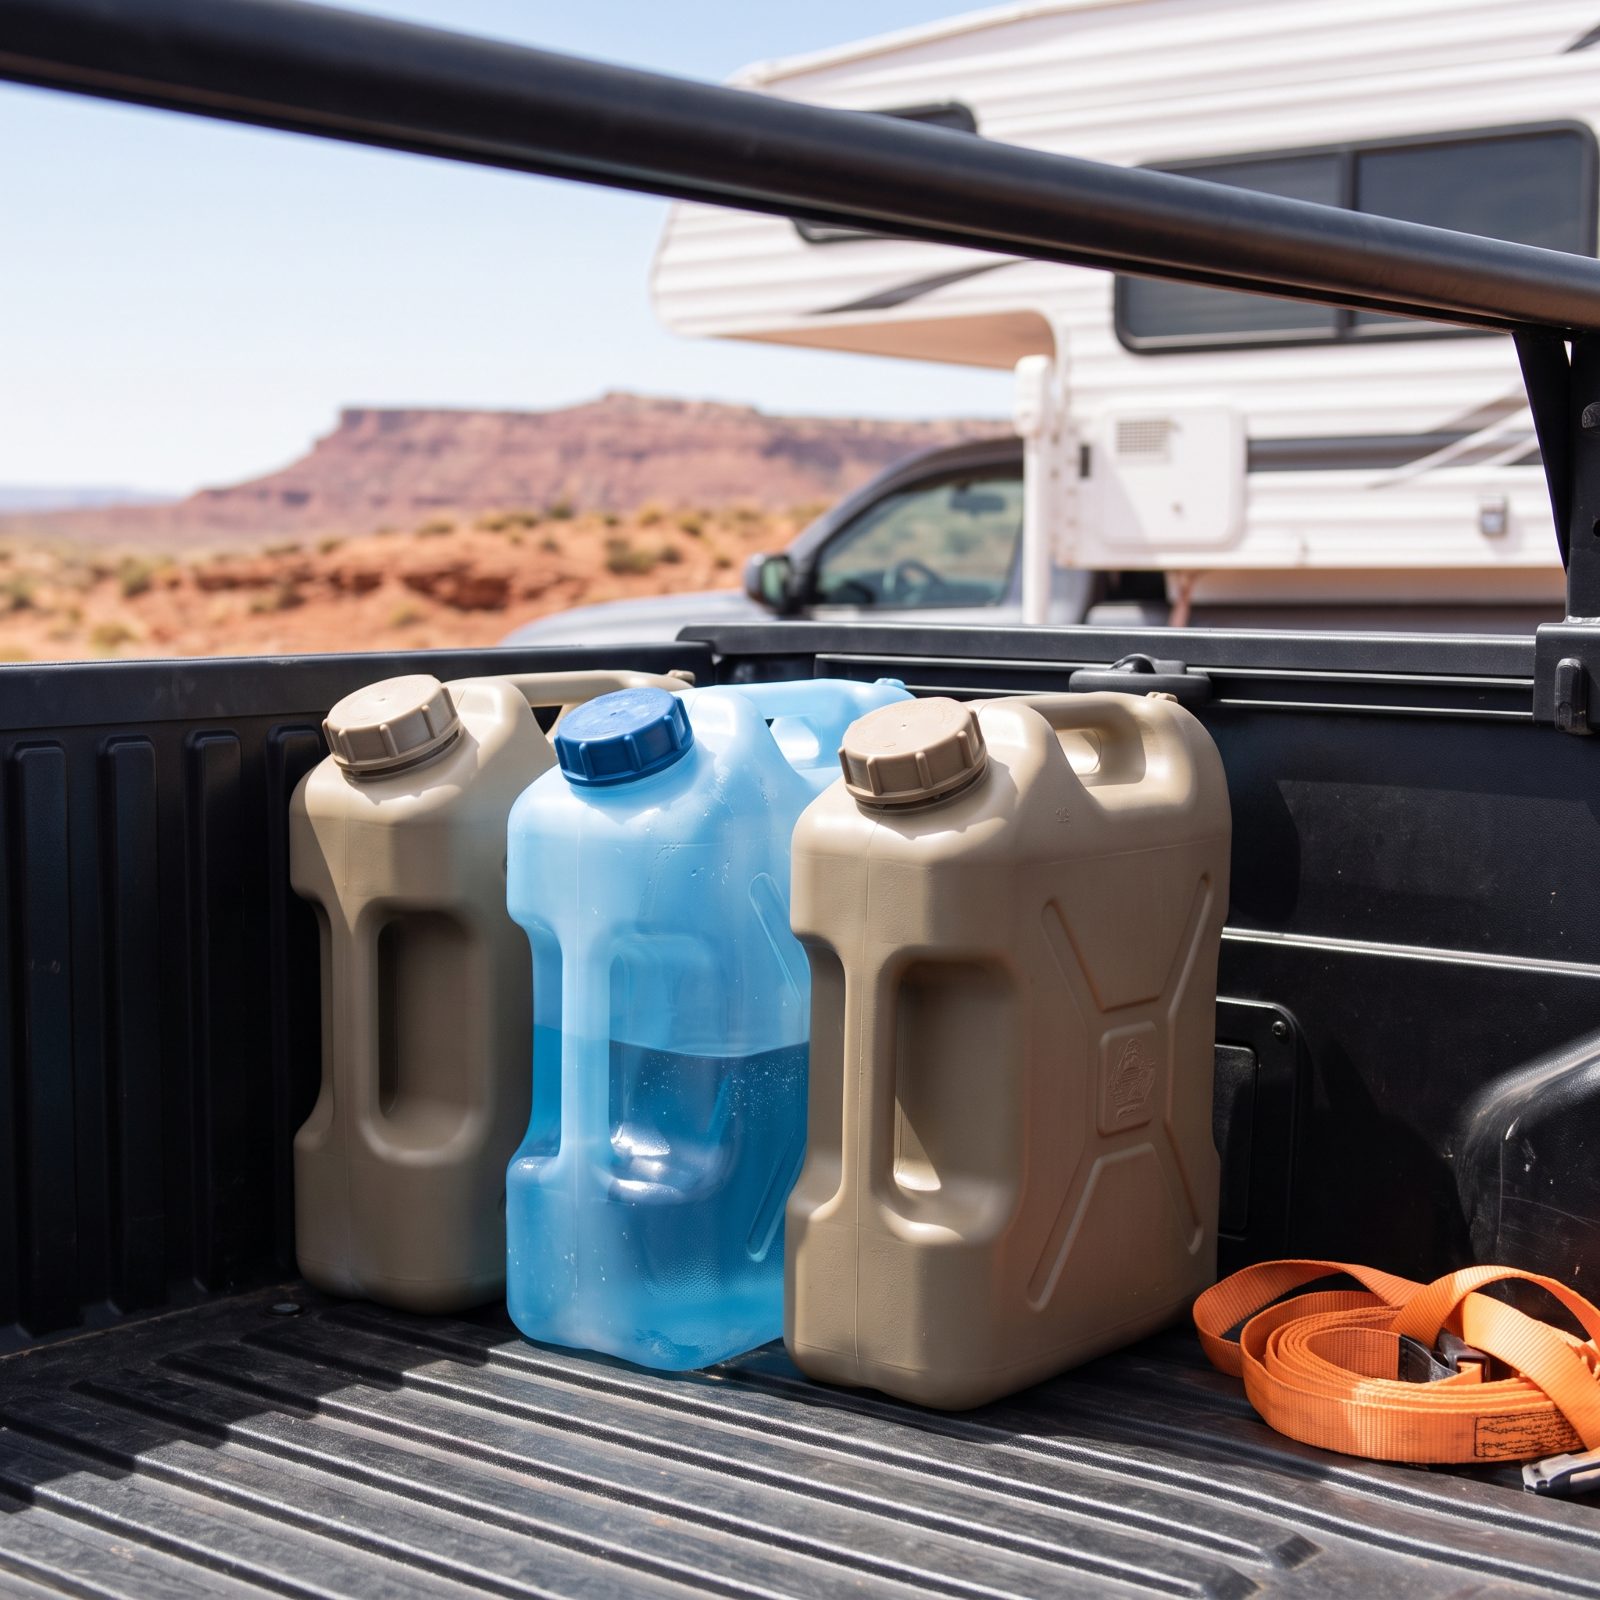
Your fresh tank is your working supply. Treat it like your only supply and one cracked fitting — or one bad guess at the math — leaves you with nothing to drink in a place where the nearest tap is forty minutes of washboard road away.
Keep a sealed reserve apart from the plumbing. A couple of blue water storage containers stashed in the truck bed, or a few gallons of bottled water in a bin, give you a hard floor you never touch unless something goes sideways. Enough to drink and cook for a day beyond your planned return buys you a margin that costs almost nothing and weighs next to nothing.
14. Use a Basin and Pause the Faucet Between Rinses to Conserve Water

A running faucet is the fastest way to empty a fresh tank you worked hard to fill. People leave it flowing through an entire sink of dishes out of pure habit — the same way they would at home, where water never runs out.
Switch to the two-basin method. Wash in one basin of soapy water, rinse in a second, and shut the tap off between every pass. Flicking it on and off instead of letting a steady stream run cuts your dish-water use down to a fraction. Same logic for hand-washing and brushing your teeth: wet, stop, lather, rinse. You’ll stretch a tank an extra day or two and never feel like you’re going without.
13. Confirm Local Rules Before Dispersing Any Gray Water
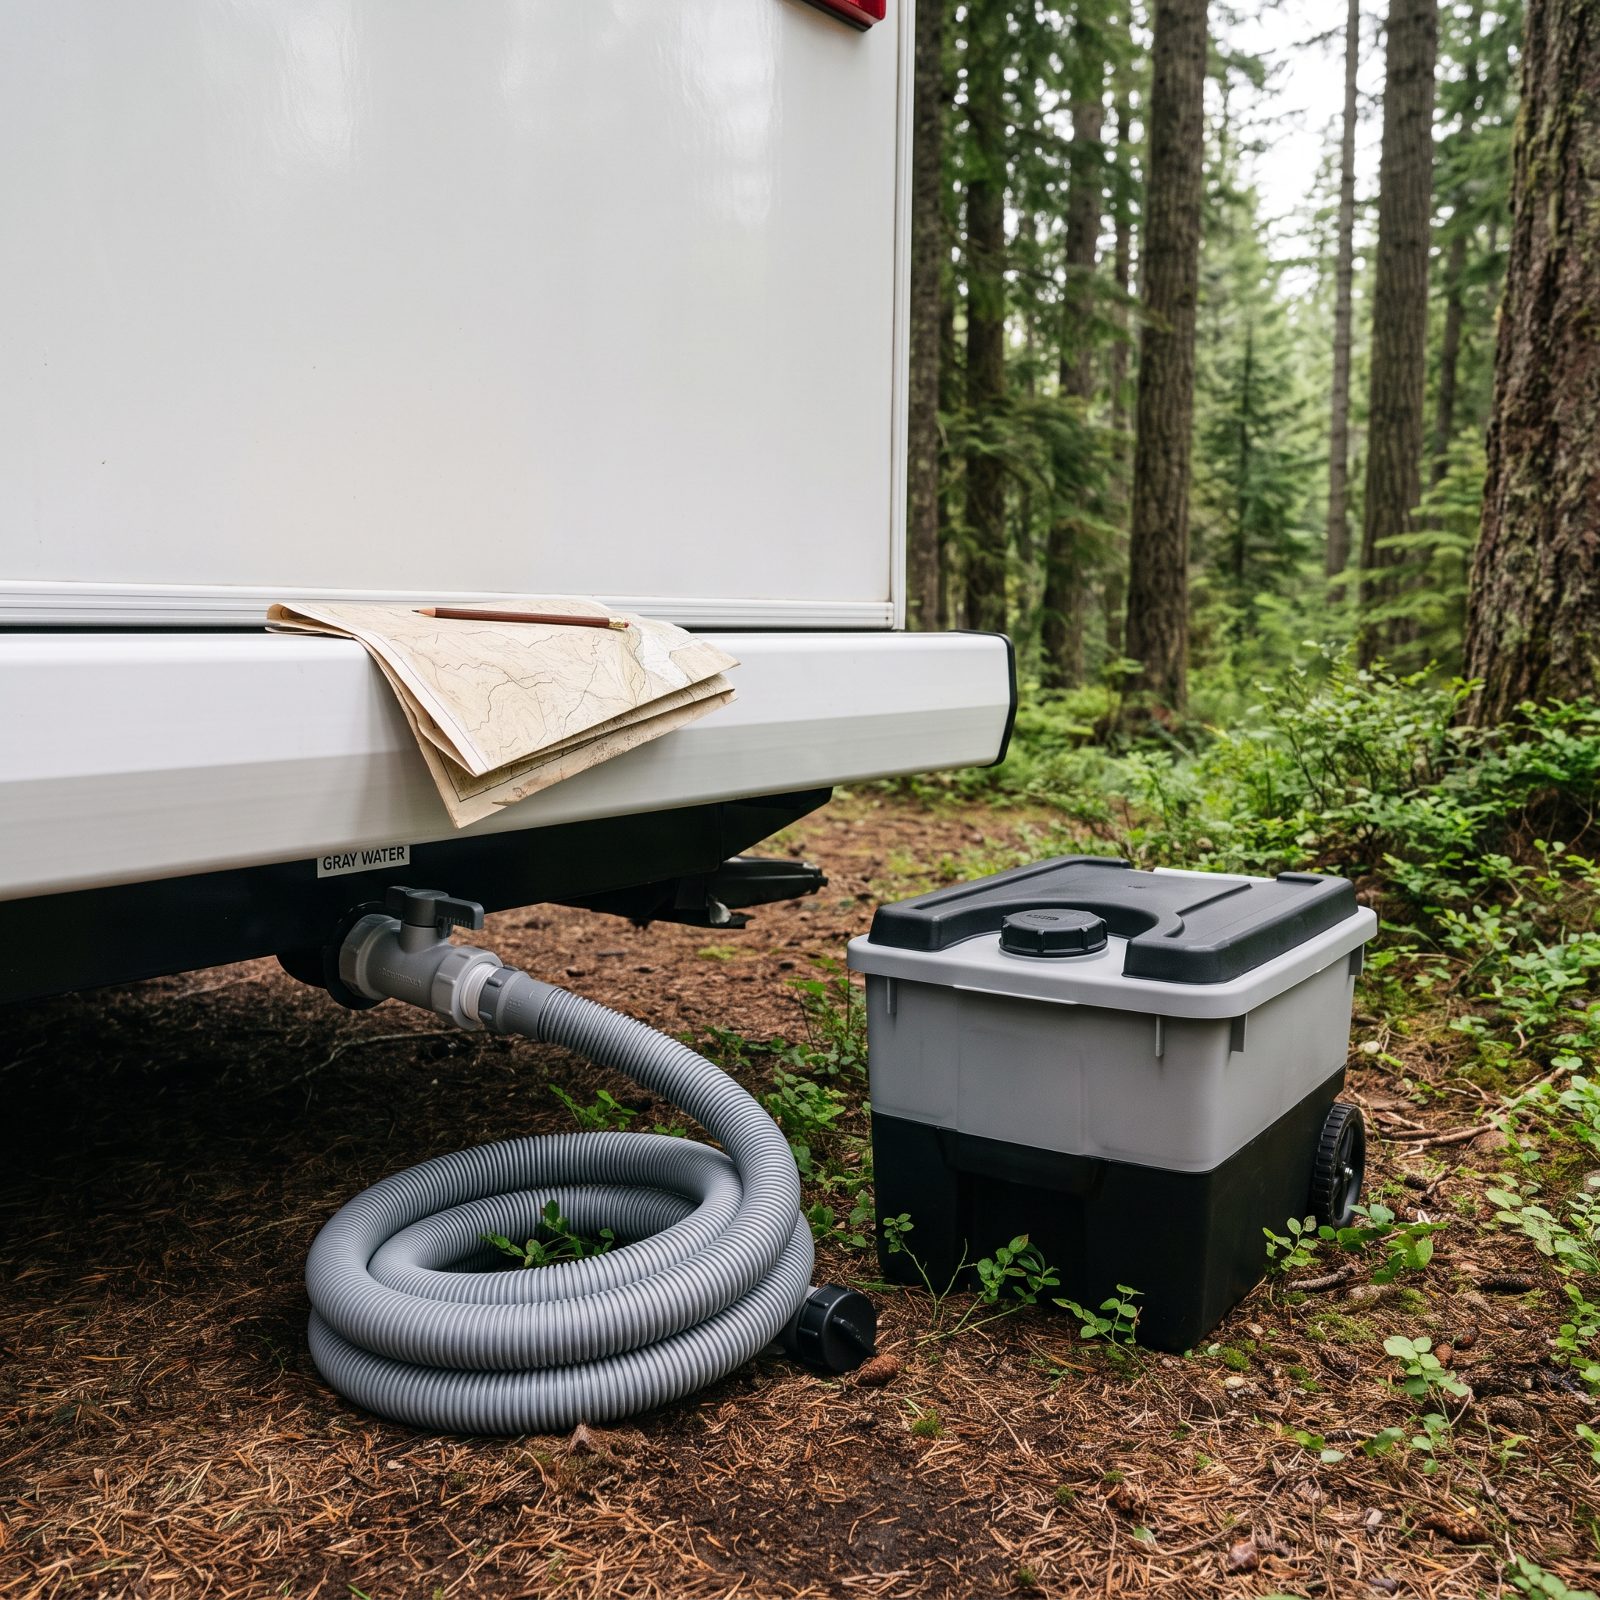
There’s a stubborn campfire myth that gray water is harmless — just soap and food bits, so you can let it drain onto the ground anywhere. On a lot of public land that’s flatly against the rules. A drain spot that stinks and draws animals ruins the site for the next person, and for the wildlife too.
Check the rules for the specific land you’re on before you open any valve. Many BLM and Forest Service areas require you to contain gray water entirely and haul it out. Where dispersing is allowed, it usually means biodegradable soap, well away from water sources, and spread thin rather than pooled. A wheeled portable tote keeps everything sealed until you reach a legal dump. Read the posted rules at the access point. Every time.
12. Track Gray-Tank Capacity From the First Day, Not When It Backs Up
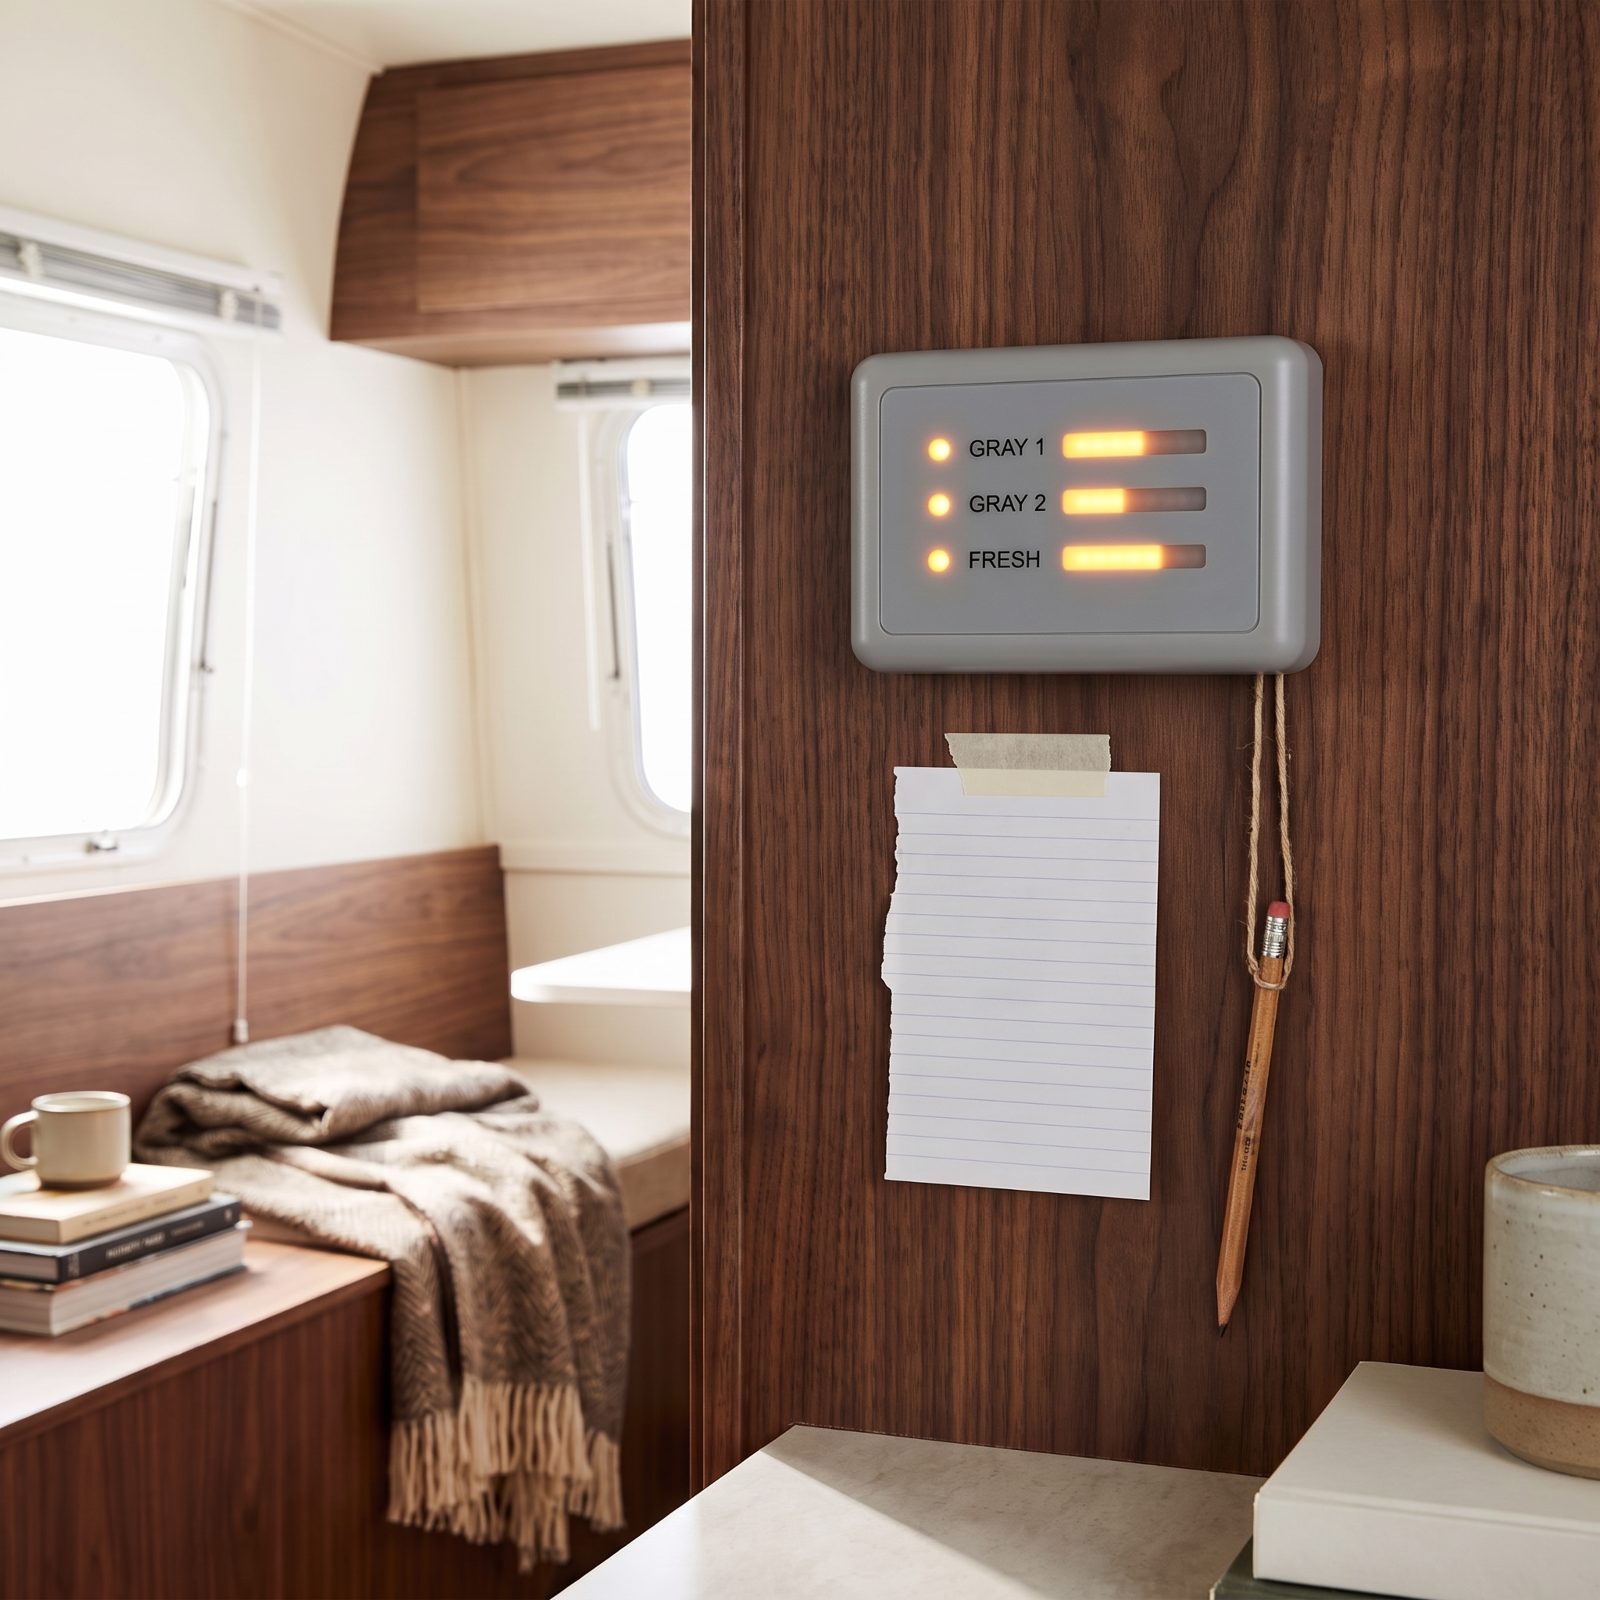
Nobody thinks about the gray tank until the shower stops draining and water starts standing around your feet. By then you’ve got a backed-up sink, a wet floor, and a mess you can only fix by driving to a dump station mid-trip.
So watch the level from day one. Glance at the monitor each morning, or keep a rough tally of how fast it climbs so you learn your real-world rate instead of the optimistic number in the manual. Monitors lie once gunk coats the sensors, so pair the readout with how the drains actually behave. At two-thirds full, start conserving and plan your dump run. Catching it early is the whole difference between a calm detour and a scramble.
11. Start With an Empty Black Tank and a Confirmed Dump-Station Plan
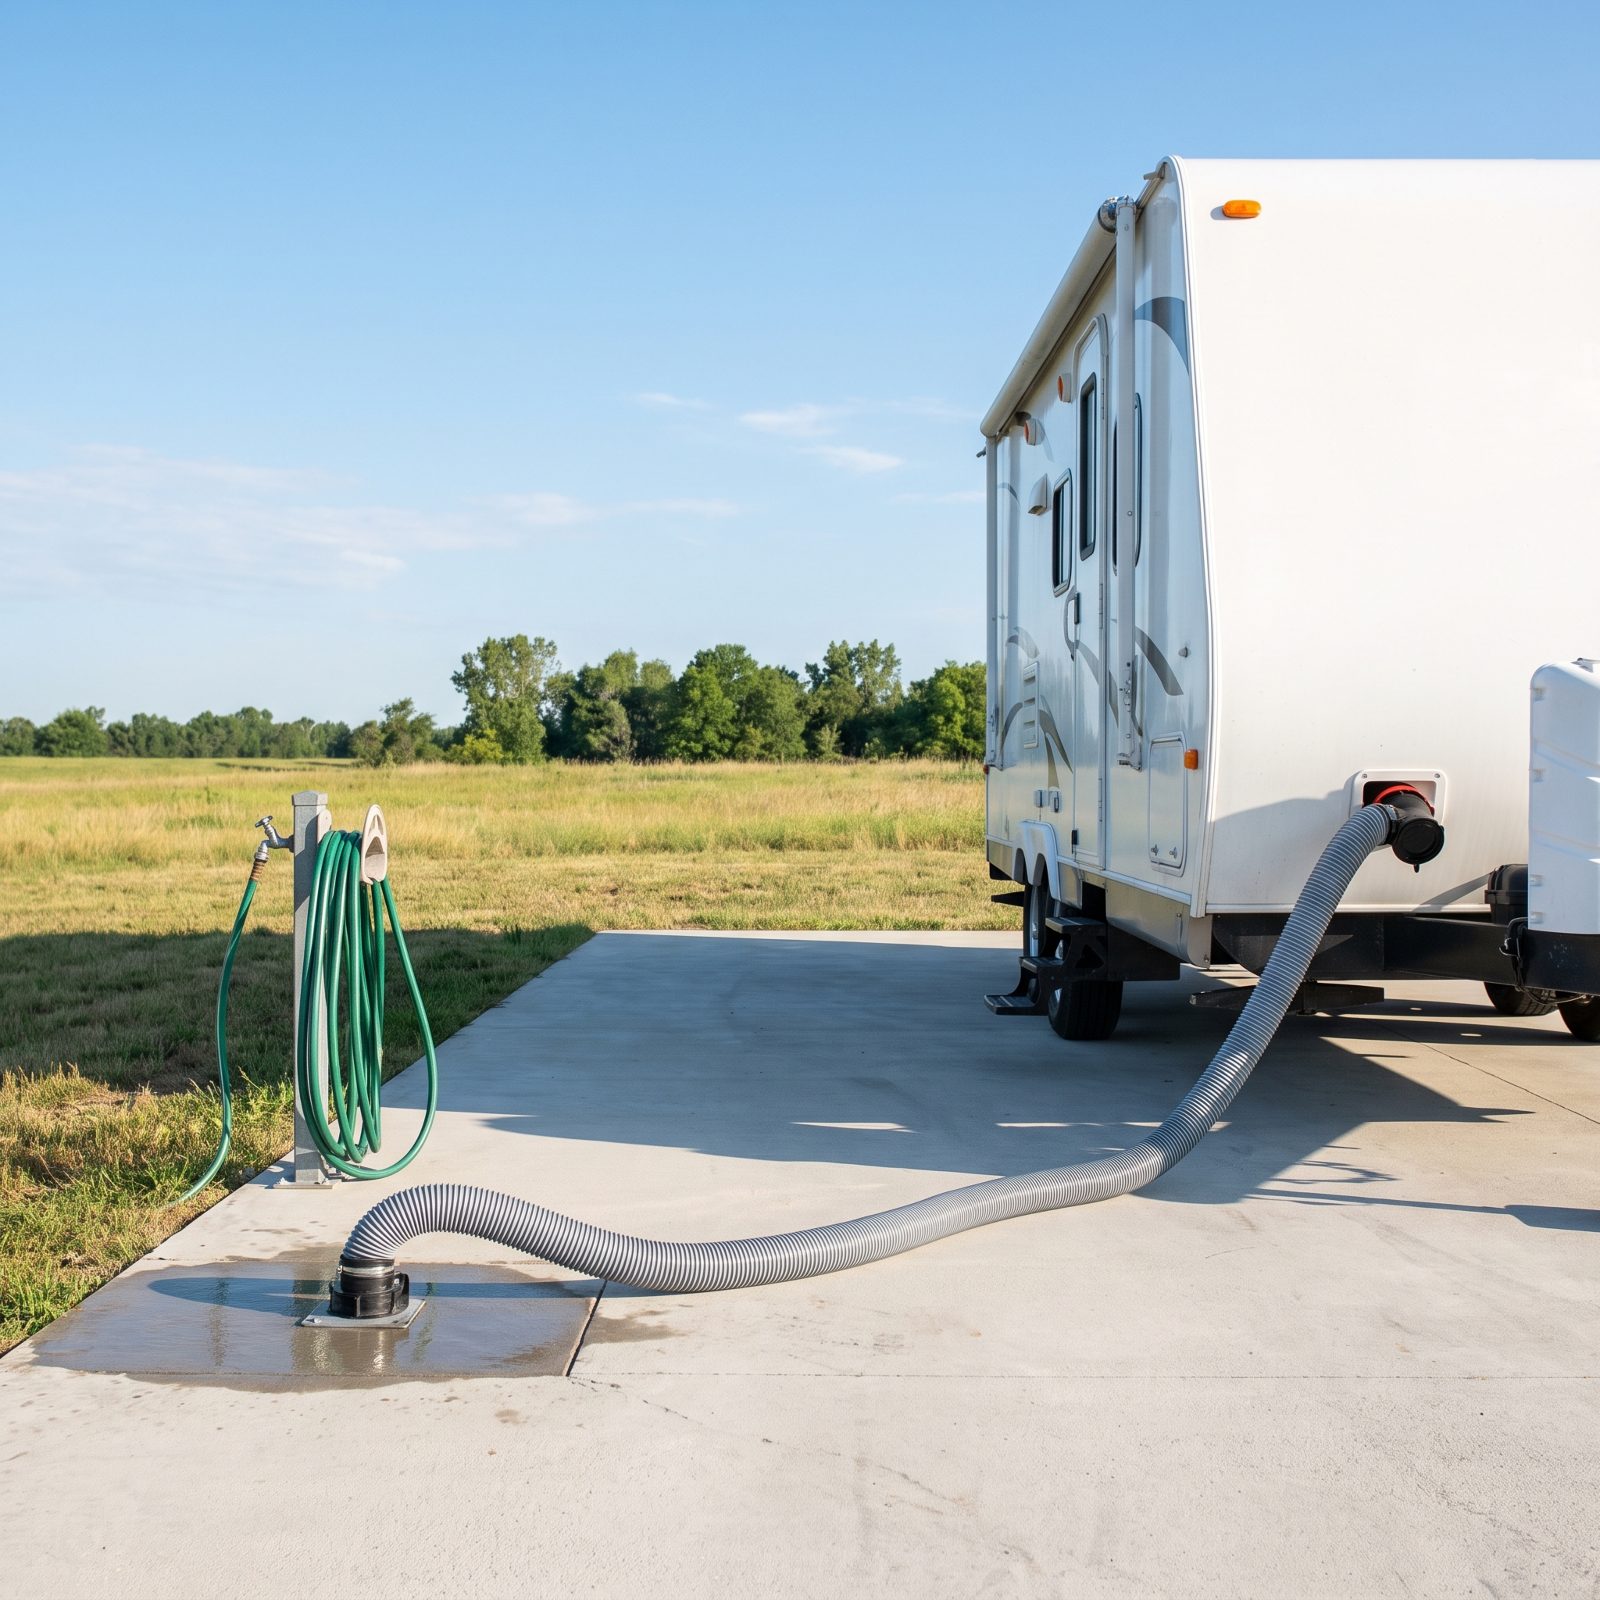
Roll into the backcountry with a full black tank and you’ve started a countdown you can’t pause. No hookups out there. Every flush is capacity you spent before the trip even began.
Dump and rinse the black tank the day you leave, so you set off empty with the whole allotment ahead of you. Then — before you go — know exactly where you’ll empty it on the way home. Pin the dump station, check its hours, and keep a backup, because rural ones close or run dry without warning. Apps like Campendium and iOverlander list them with recent notes from other RVers, which sure beats guessing in the dark.
10. Confirm Where You Can Refill Potable Water Along the Exit Route
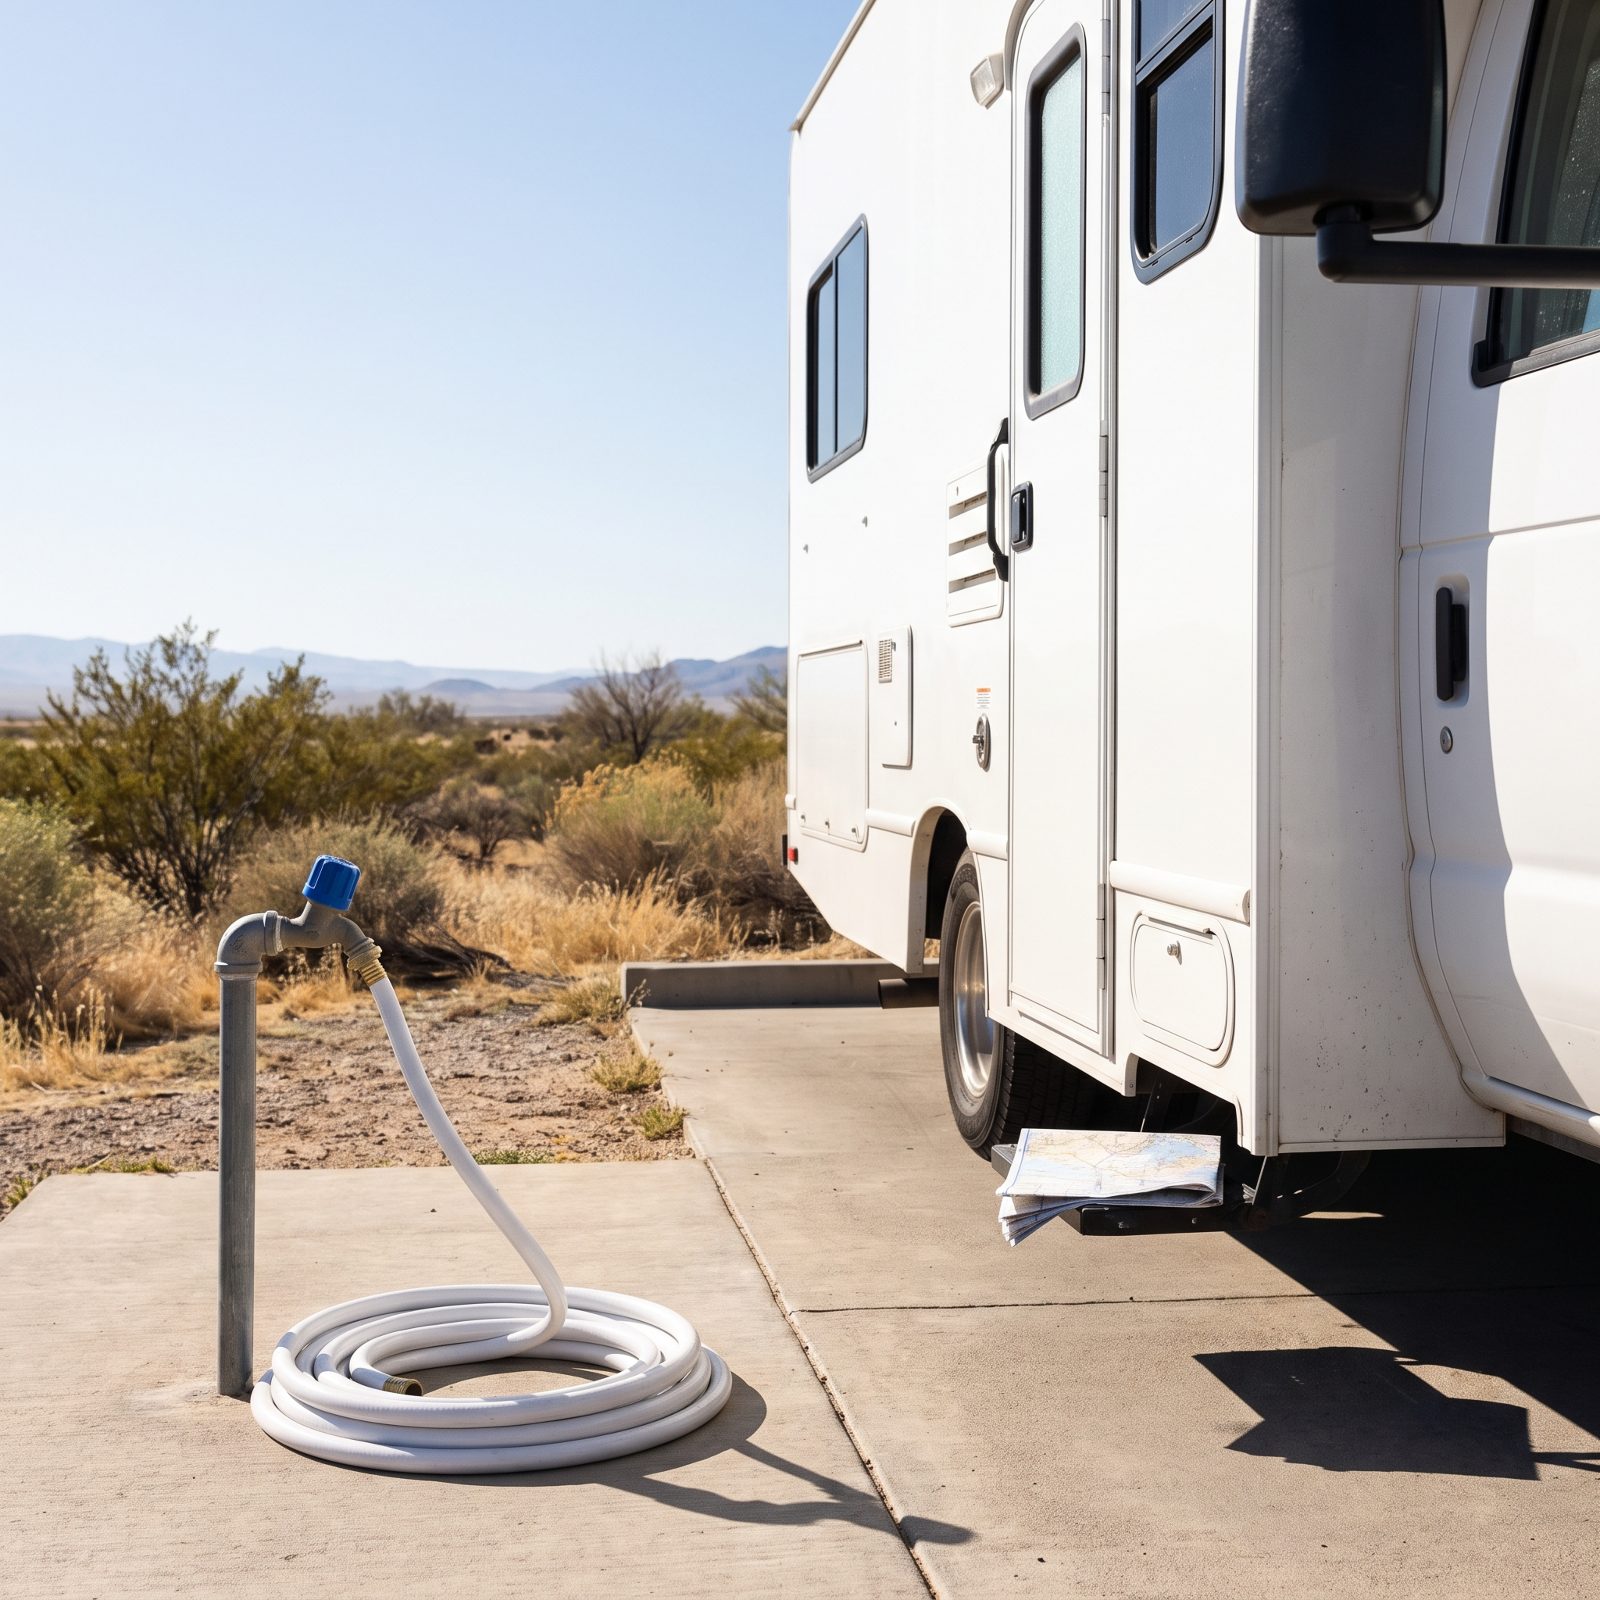
People obsess over where they’ll camp and never once stop to think about where they’ll top off water on the way. Then they’re low on day three, the return drive has no obvious tap, and the only fix is backtracking an hour to the last town.
Map your refills before you leave. Campgrounds, rest areas, visitor centers, even some gas stations offer potable fill — but not all of them, and not always from a hose you’d trust. Keep a drinking-water-safe white hose and a short list of confirmed fill points along your exit. A gallon weighs about eight pounds, so topping off strategically also saves you from hauling a brimming tank over rough roads the whole way.
9. Store Trash, Food, Toiletries, and Scented Items Away From Wildlife
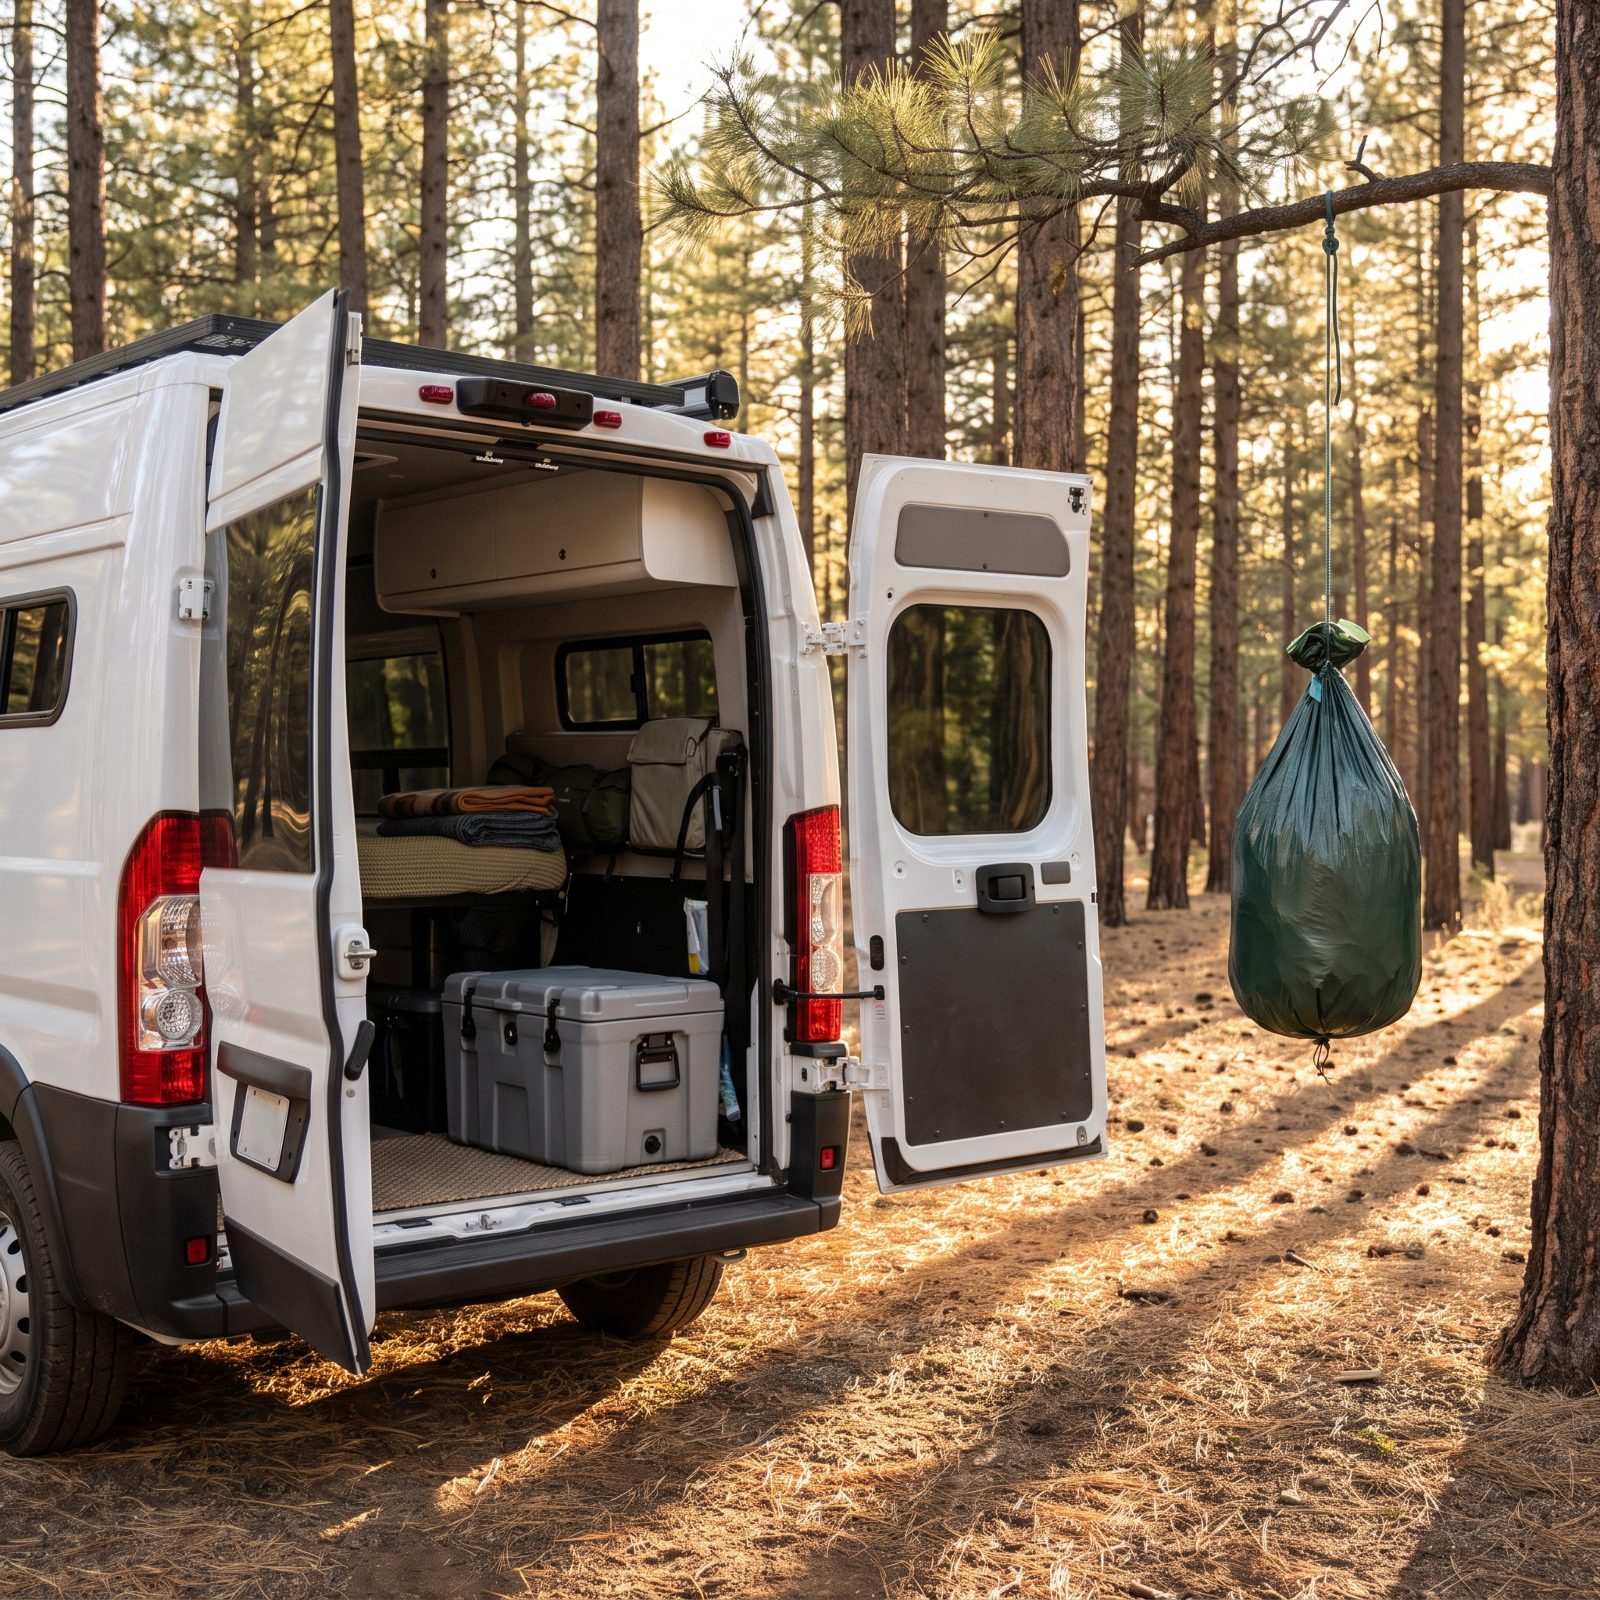
A boondocking site isn’t your backyard. It’s somebody’s foraging ground, and everything you brought that smells like dinner, toothpaste, or lip balm reads as an invitation. Leave a trash bag by the step overnight and you might wake to it shredded across the clearing — or worse, to a bear that now links your campsite with an easy meal.
Keep scented items sealed and far from where you sleep. In bear country that means hard-sided containers, a bear canister, or a sack strung from a sturdy branch. Food, trash, toiletries, cooking gear — all of it. Pack out every scrap. A clean camp protects you tonight and protects the next camper, and the animals, long after you’ve driven off.
8. Keep the Refrigerator Level and Check Its Temperature With a Thermometer
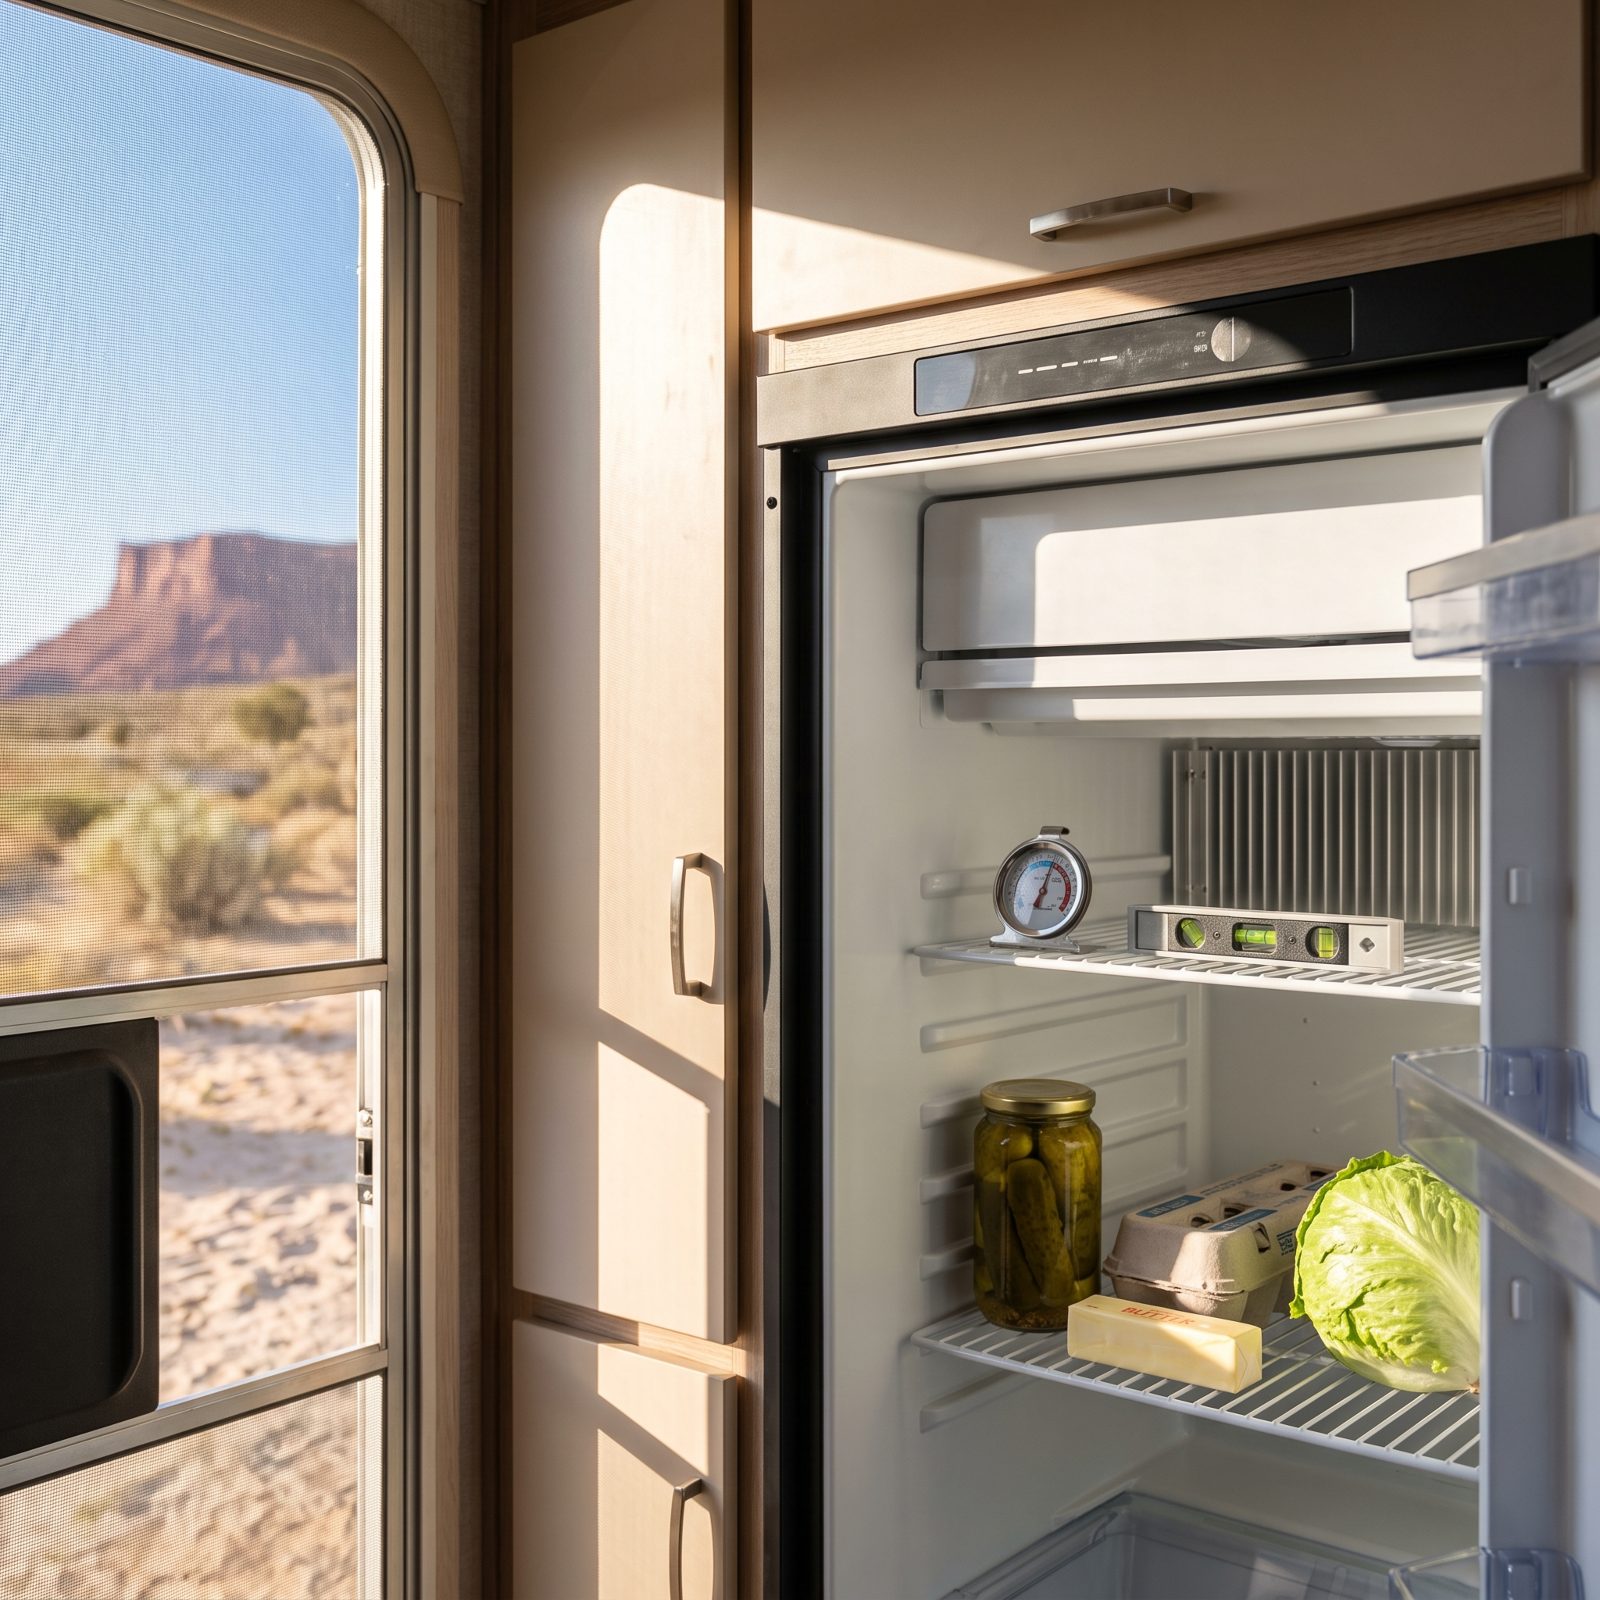
Absorption fridges, the kind in most RVs, cool by circulating ammonia through coils. Park on a tilt and that fluid pools where it shouldn’t, so the fridge keeps humming but barely cools. Off-grid, you won’t notice until the milk turns and the chicken goes questionable.
Level the rig first. A cheap stainless bubble level stuck near the door tells you side to side; your tongue jack handles front to back. Then drop a dial fridge thermometer on the middle shelf and actually read it — you want it under 40, and I mean read the dial, not the fridge’s own smug little display. Mine lied to me for a whole summer before I coughed up three dollars for the real thing.
7. Plan Simple Meals That Save Water, Fuel, and Dishwashing
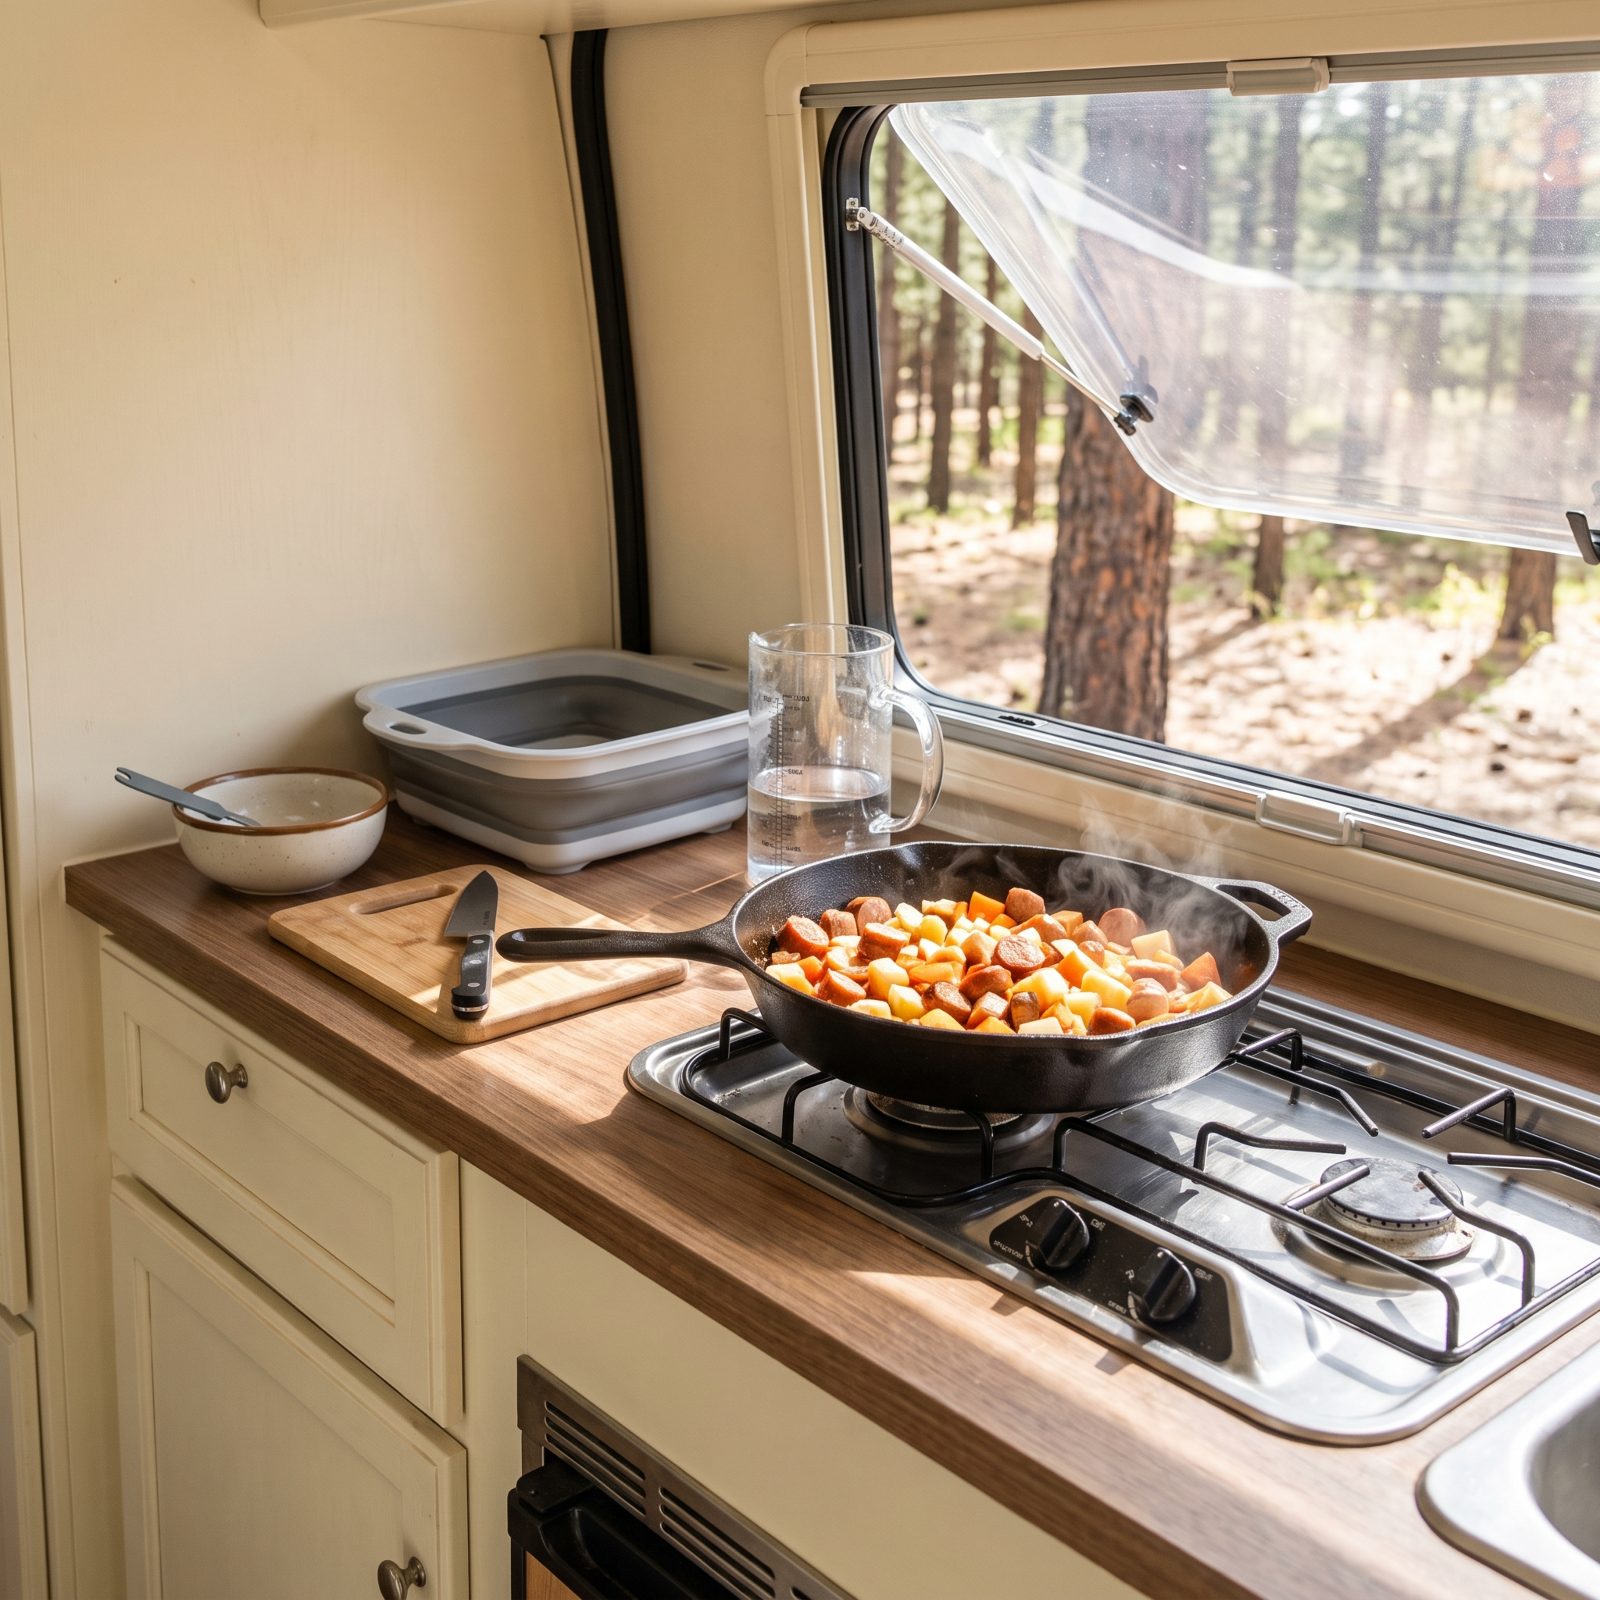
Boondocking has no dump station, no spigot, no endless hot water. Every elaborate three-pan dinner becomes gray water you have to haul out and a propane bill you pay in miles between refills. That dreamy campfire feast is how people fill their tanks in two days and drive home early.
Lean on one-pot meals, foil packets, and anything that cooks in the same vessel it’s served from. Pre-chop at home so you’re not rinsing a cutting board in the backcountry. A collapsible silicone wash basin lets you wash with a cup of water instead of a running faucet, and a cast-iron camp skillet handles breakfast, lunch, and dinner without multiplying your dishes.
6. Mount a Charged Fire Extinguisher Within Reach of the Main Exit
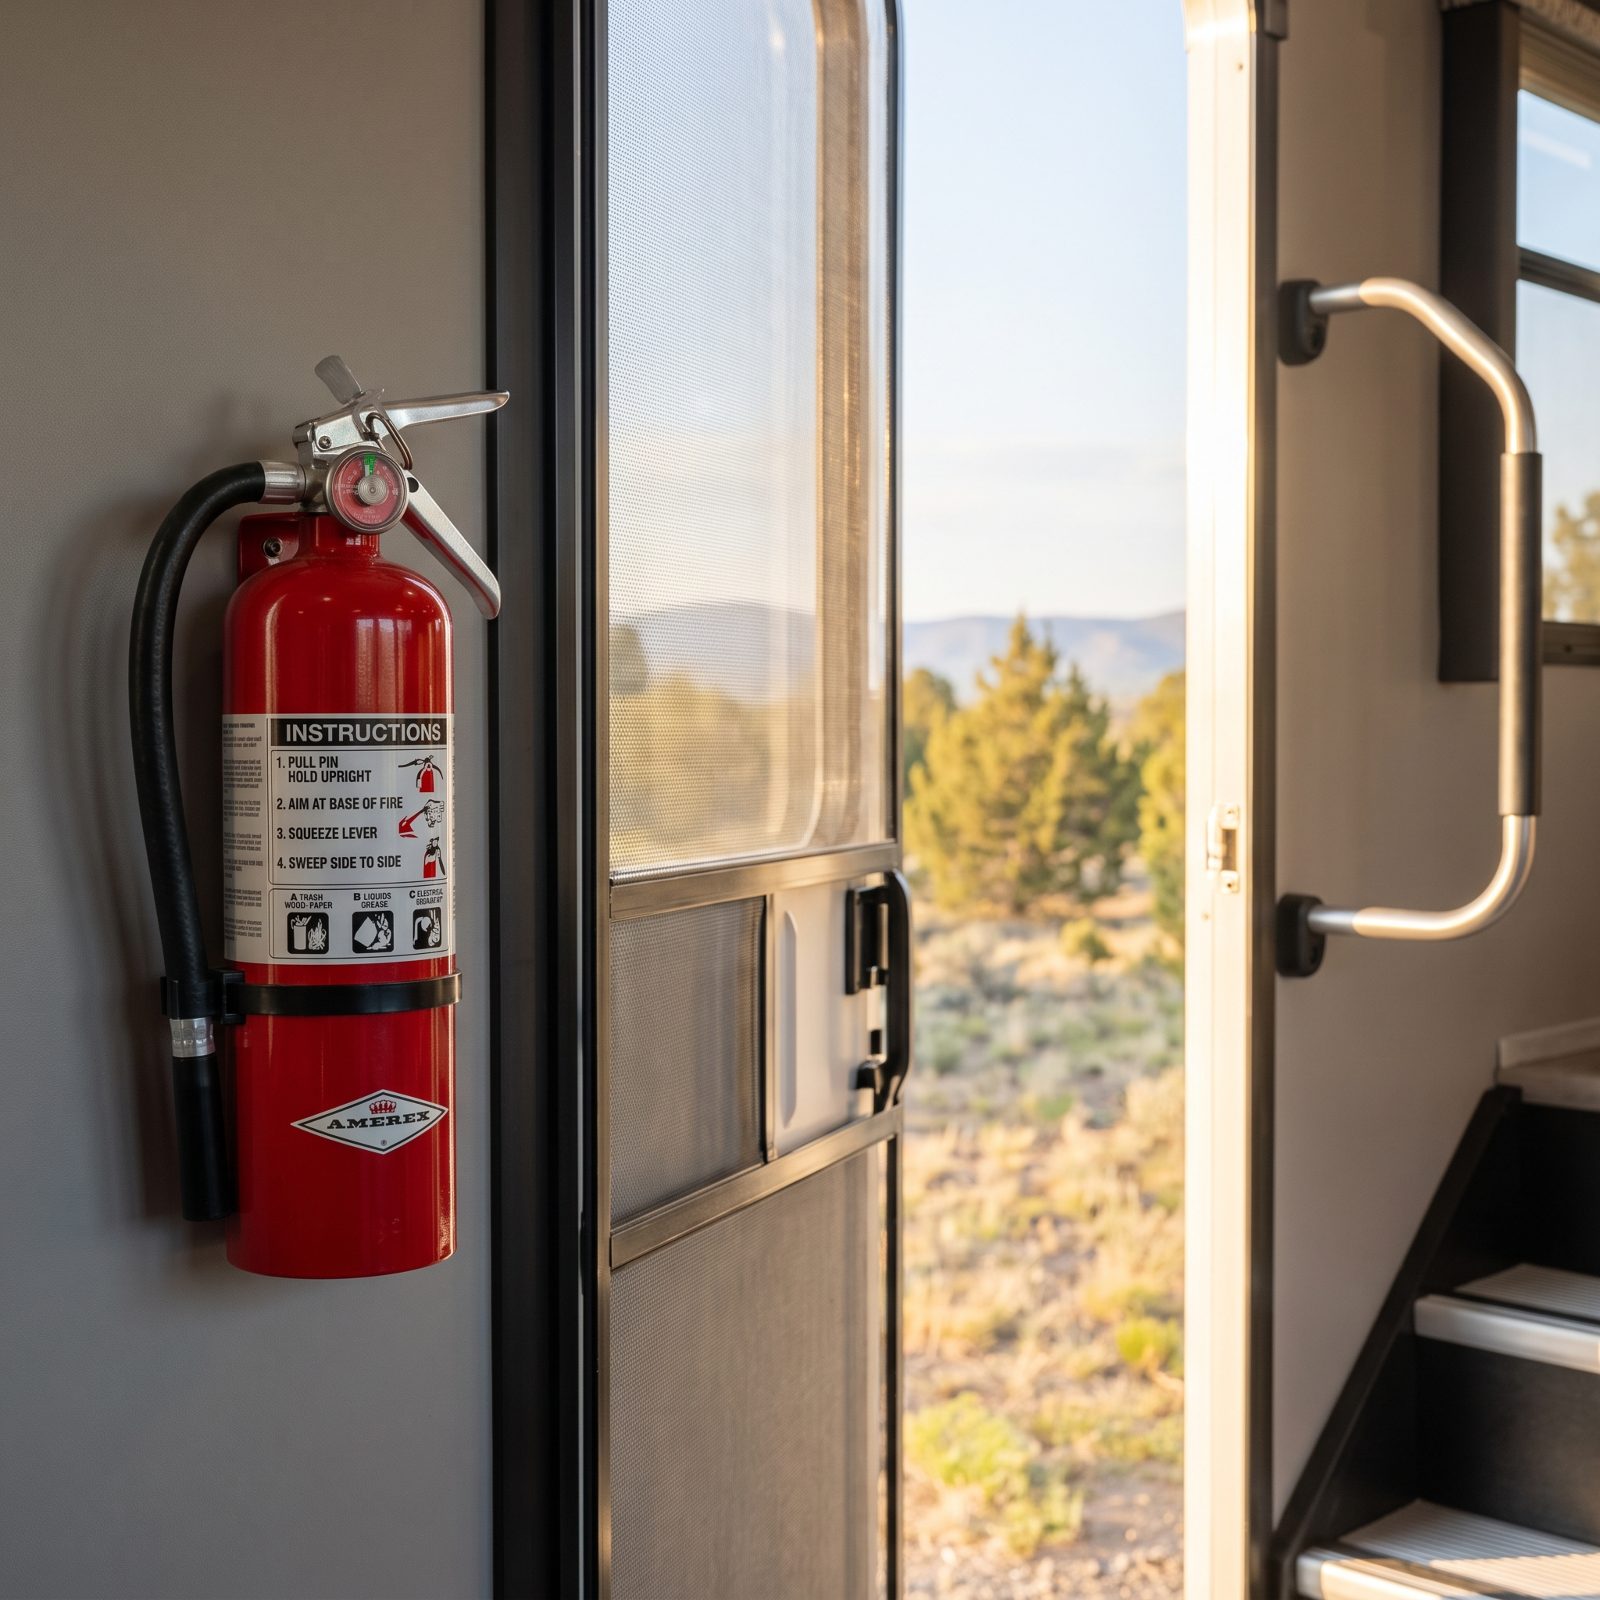
The extinguisher in most rigs is a tiny thing stashed under the sink or buried in a closet. In a real fire you have seconds, and seconds is not enough time to crawl across a smoke-filled rig digging for it.
Mount a full-size ABC-rated ABC fire extinguisher at grab height, within arm’s reach of the door you’d bolt out of. You want to grab it on your way to safety, not step deeper into the trouble to find it. Check the gauge reads green every month and give it a shake so the powder doesn’t cake at the bottom. Out here, with the nearest fire station a long way off, everything before the truck arrives is on you. You are the fire department.
5. Test Smoke, Propane, and Carbon-Monoxide Alarms Before Every Trip
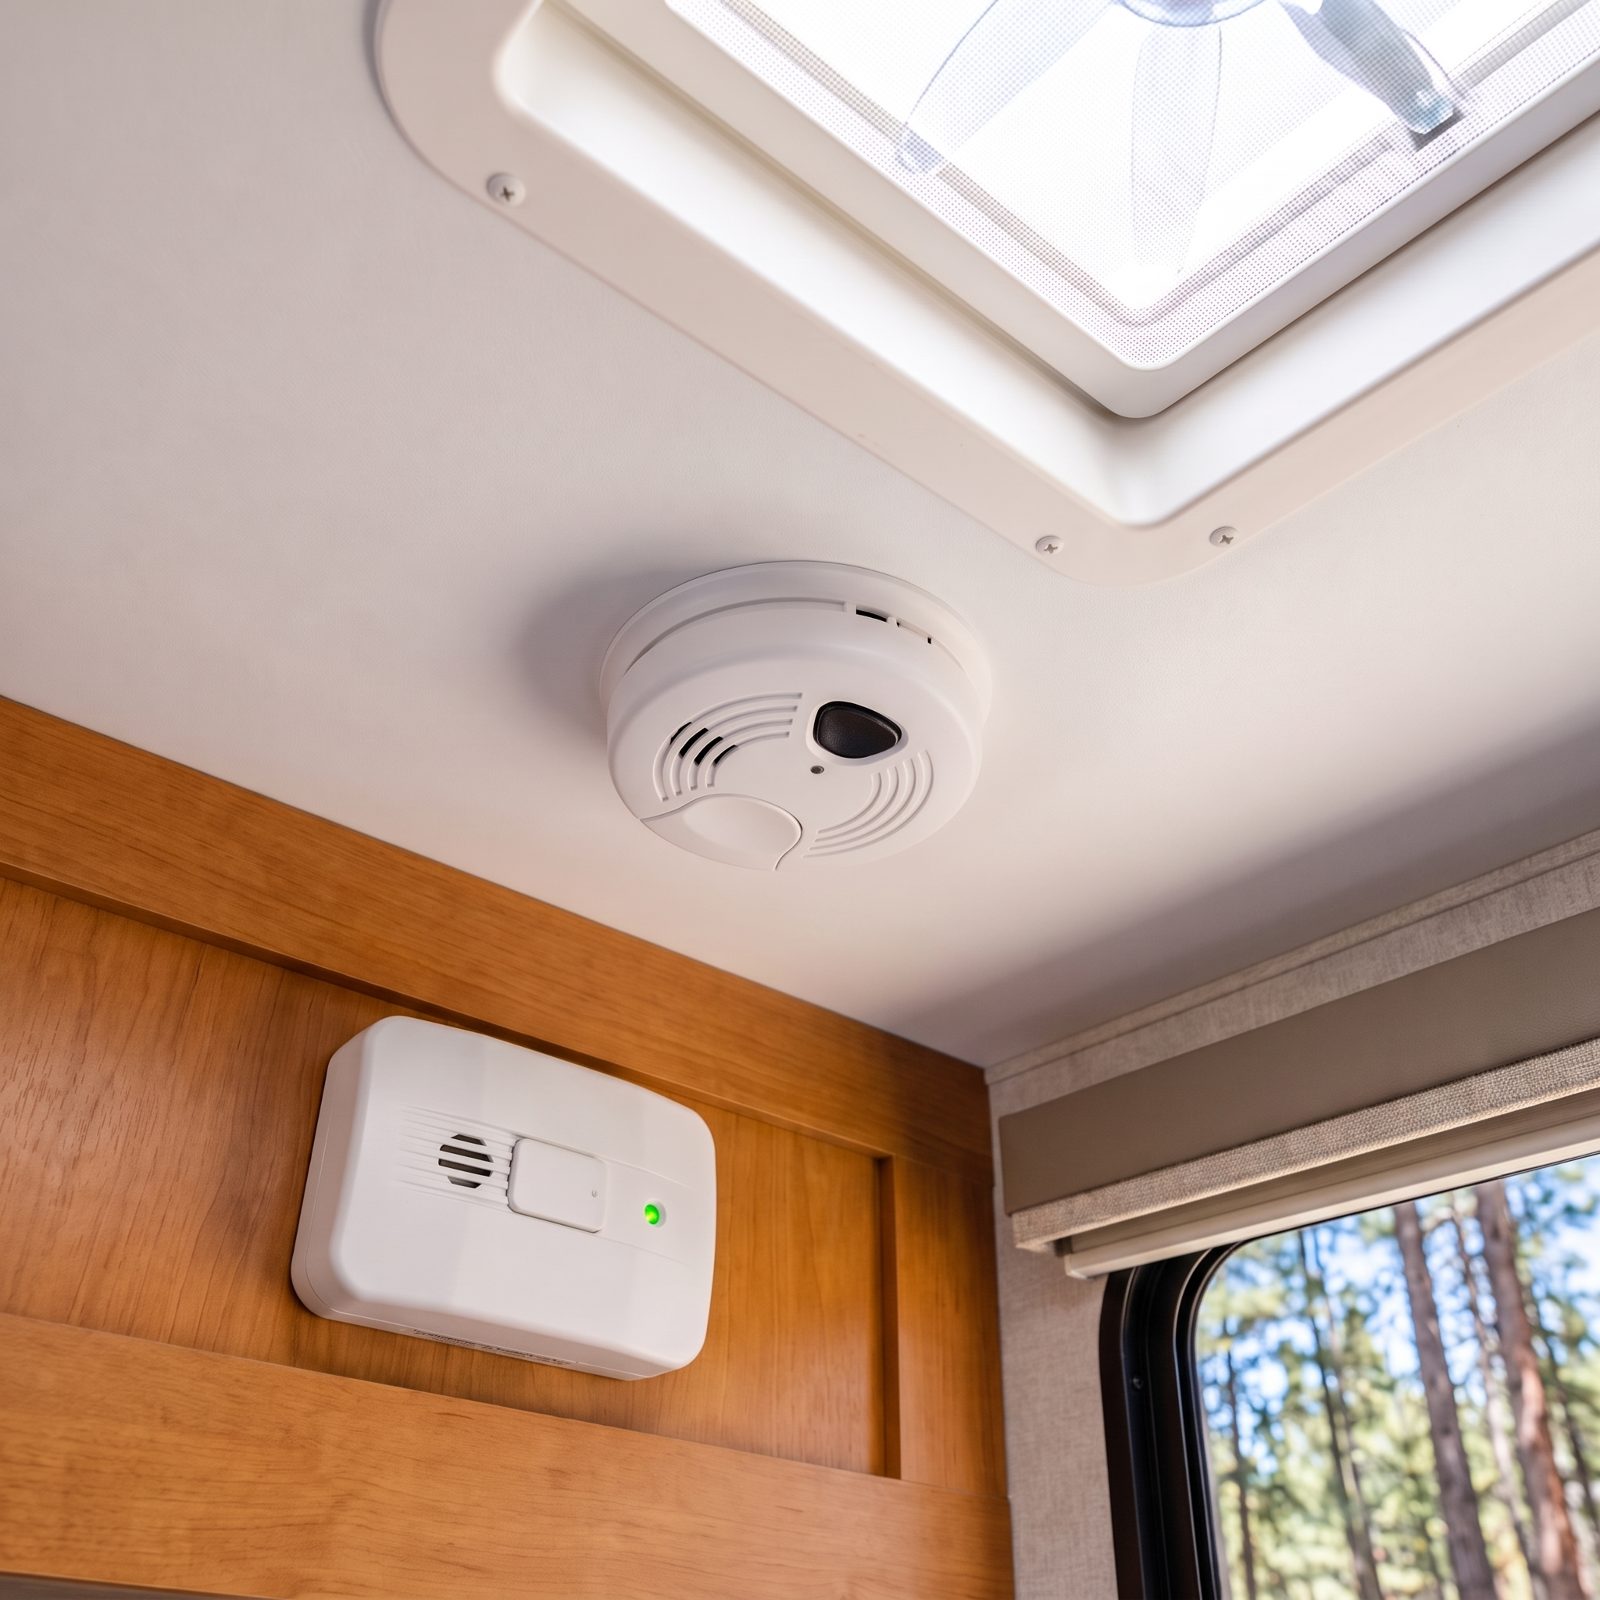
Dead alarm batteries are the quietest danger in any RV. Propane pools low and slips under your nose, carbon monoxide gives no warning at all, and both do their worst while you sleep. An alarm that chirped itself empty two trips ago protects nobody.
Run the test button on every unit before you leave the driveway: smoke, CO, and the propane detector down near the floor. Swap batteries at least once a season. And remember — propane detectors age out around five to seven years whether they look fine or not, so check the date stamped on the back.
4. Build a Real First-Aid Kit and Pack Extra Prescriptions for Delays

The gas-station first-aid tin with six bandages and a safety pin is not a plan. Off-grid, a sliced hand or a rolled ankle is a long drive from help, and a flat tire or a flooded wash can stretch a two-night trip into five.
Build a proper soft-sided first-aid kit with gauze, an elastic wrap, antiseptic, tweezers, nitrile gloves, and whatever your household actually uses. Then the part people forget: pack several extra days of every prescription in a clear zip pouch where you can grab it fast. Stuck behind a washed-out road for a few extra days, you’ll want your blood pressure meds with you, not back home on the counter. Keep copies of the prescriptions themselves too.
3. Set Hard Weather Limits So You Leave Before It Gets Dangerous
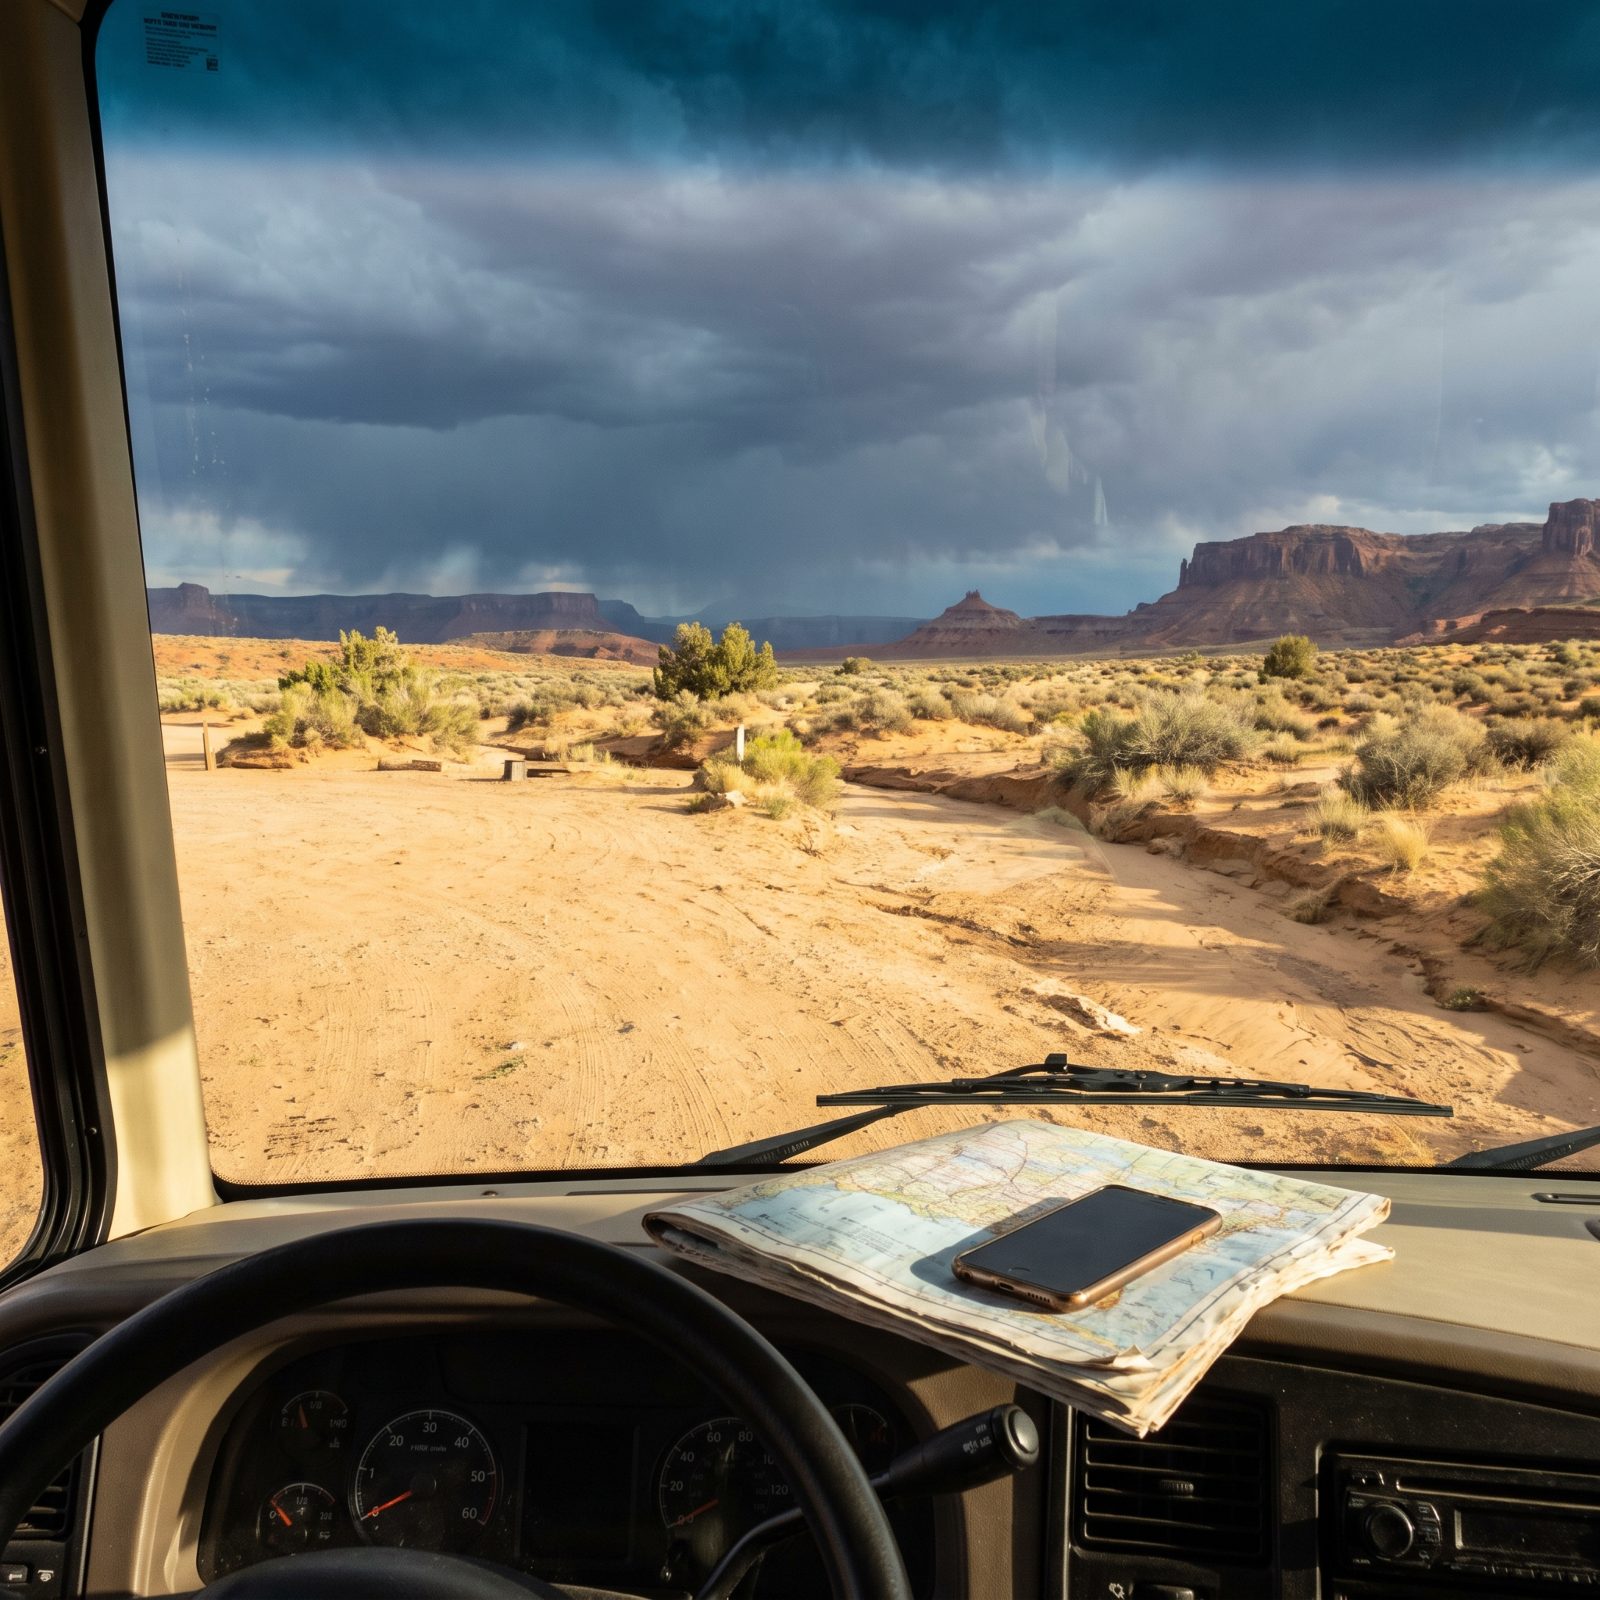
Boondockers love to wait out weather. The views are better after a storm, the dust settles, the air clears. But a dry wash that was a footpath at breakfast becomes a river by noon, and the dirt two-track you drove in on turns to grease that’ll bury your tires to the axle.
Decide your thresholds before you go, while you’re calm and not emotionally attached to the campsite. Flash-flood watch issued? You leave. Heavy rain forecast on clay soil? You leave. Hard wind gusts on an exposed plateau? Pack the awning and go. Check the forecast every evening on a downloaded weather app, and camp on high ground — never in or beside a wash, no matter how flat and tempting that sand looks.
2. Run a Pack-Down Checklist for Antennas, Vents, Steps, and Leveling Gear
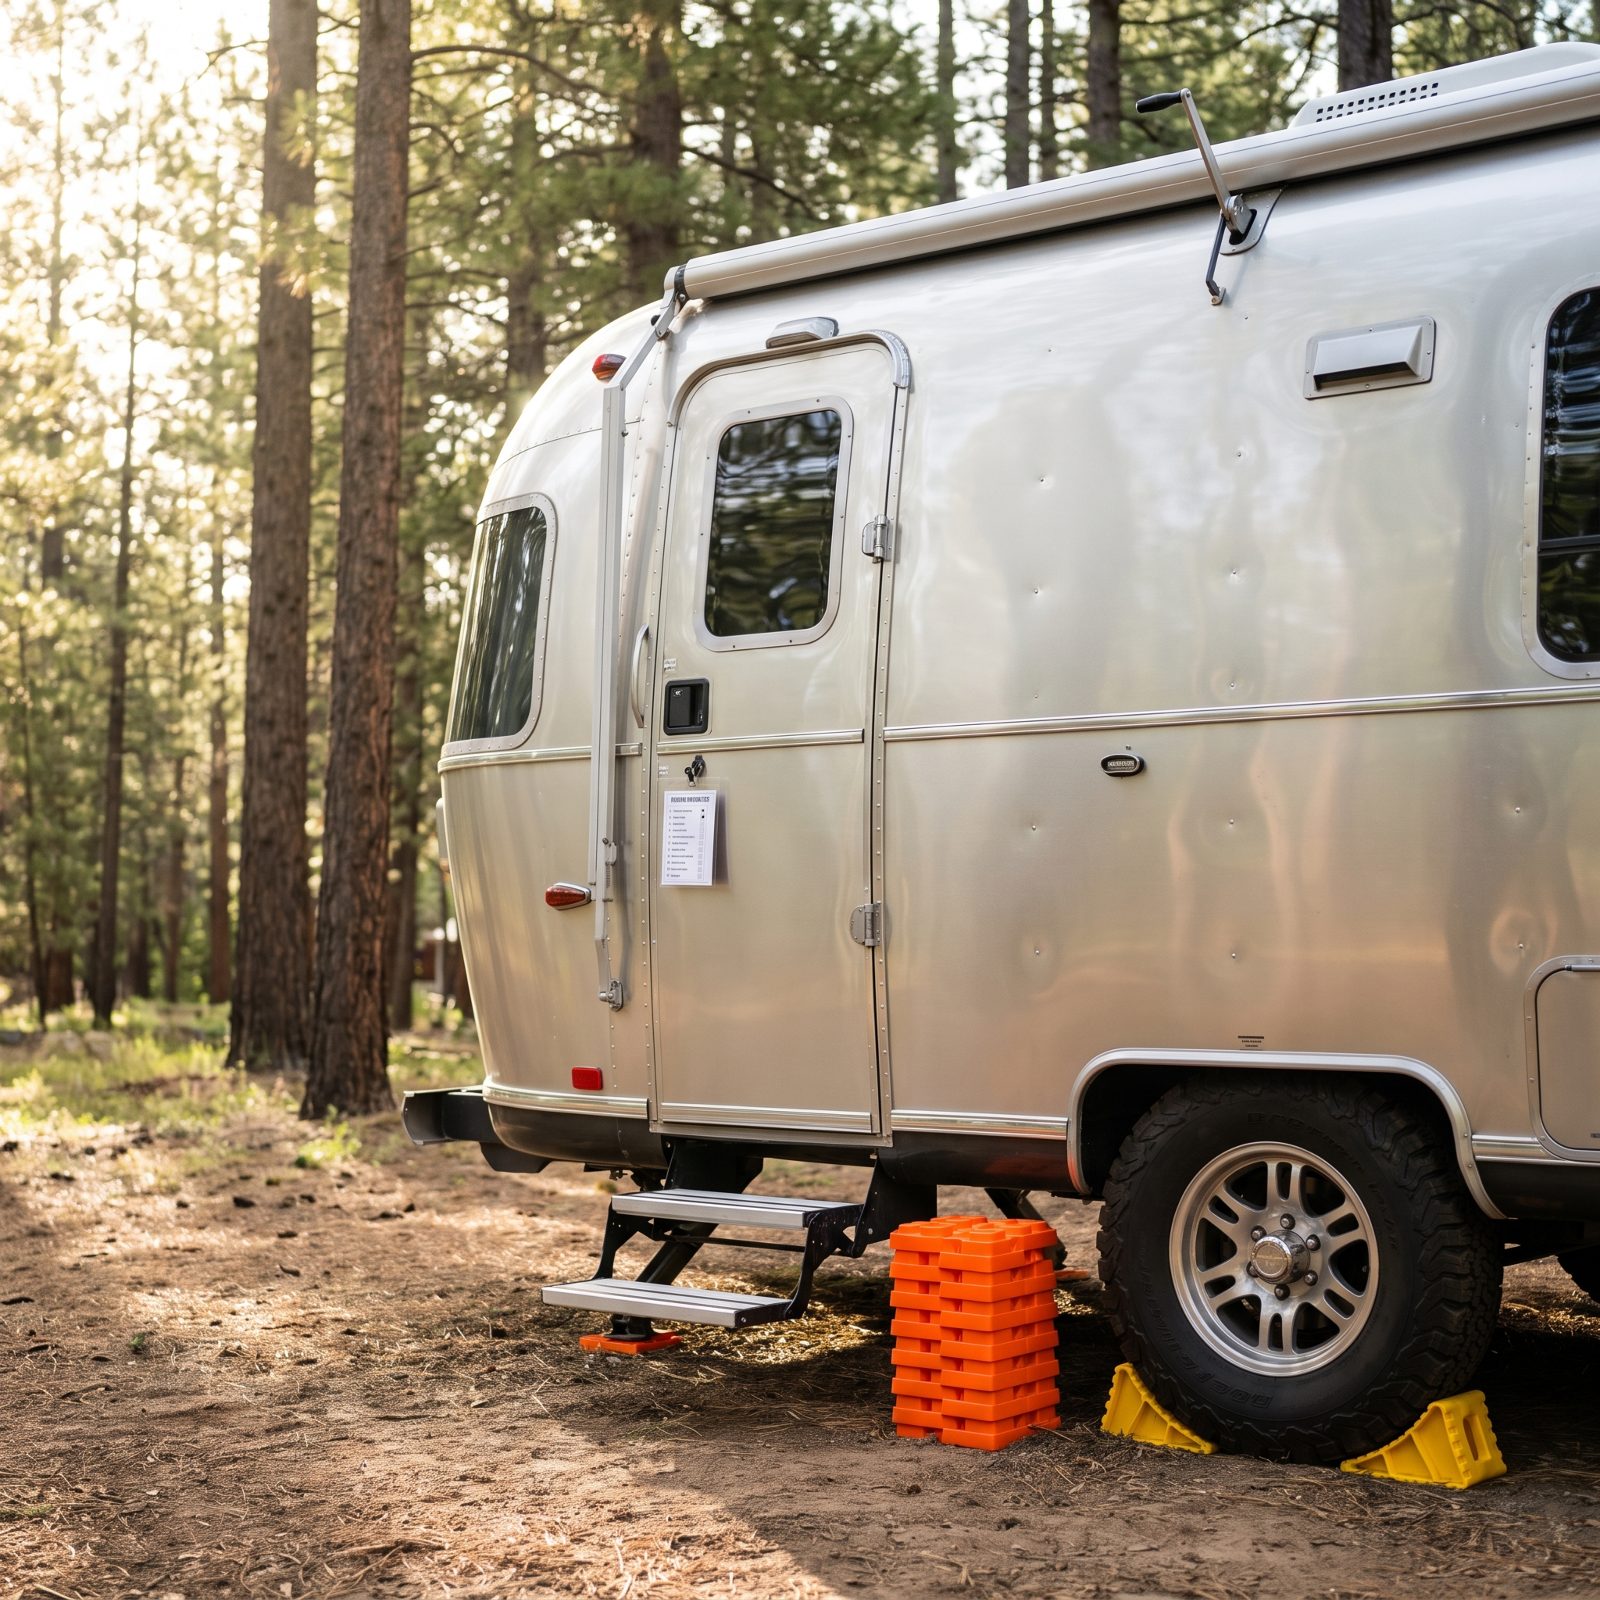
Everybody has their horror story, or has camped next to someone living theirs. The TV antenna sheared off on a low branch. The step left down and bent against a rock. Leveling blocks and chocks abandoned in the dirt, discovered three hundred miles later.
Pack-up is when your brain is already down the road, and that’s exactly when things get left out or torn off. A laminated checklist taped inside a cabinet fixes it. Antenna down. Vents and roof hatches closed. Steps retracted, TV and awning secured. Chocks and orange leveling blocks collected and stowed. Jacks up, hitch locked and pinned. Read it out loud every single time, even on trip two hundred. Especially trip two hundred, when you’re sure you don’t need it.
1. Walk the Site Before You Pull Out and Leave It Cleaner Than You Found It
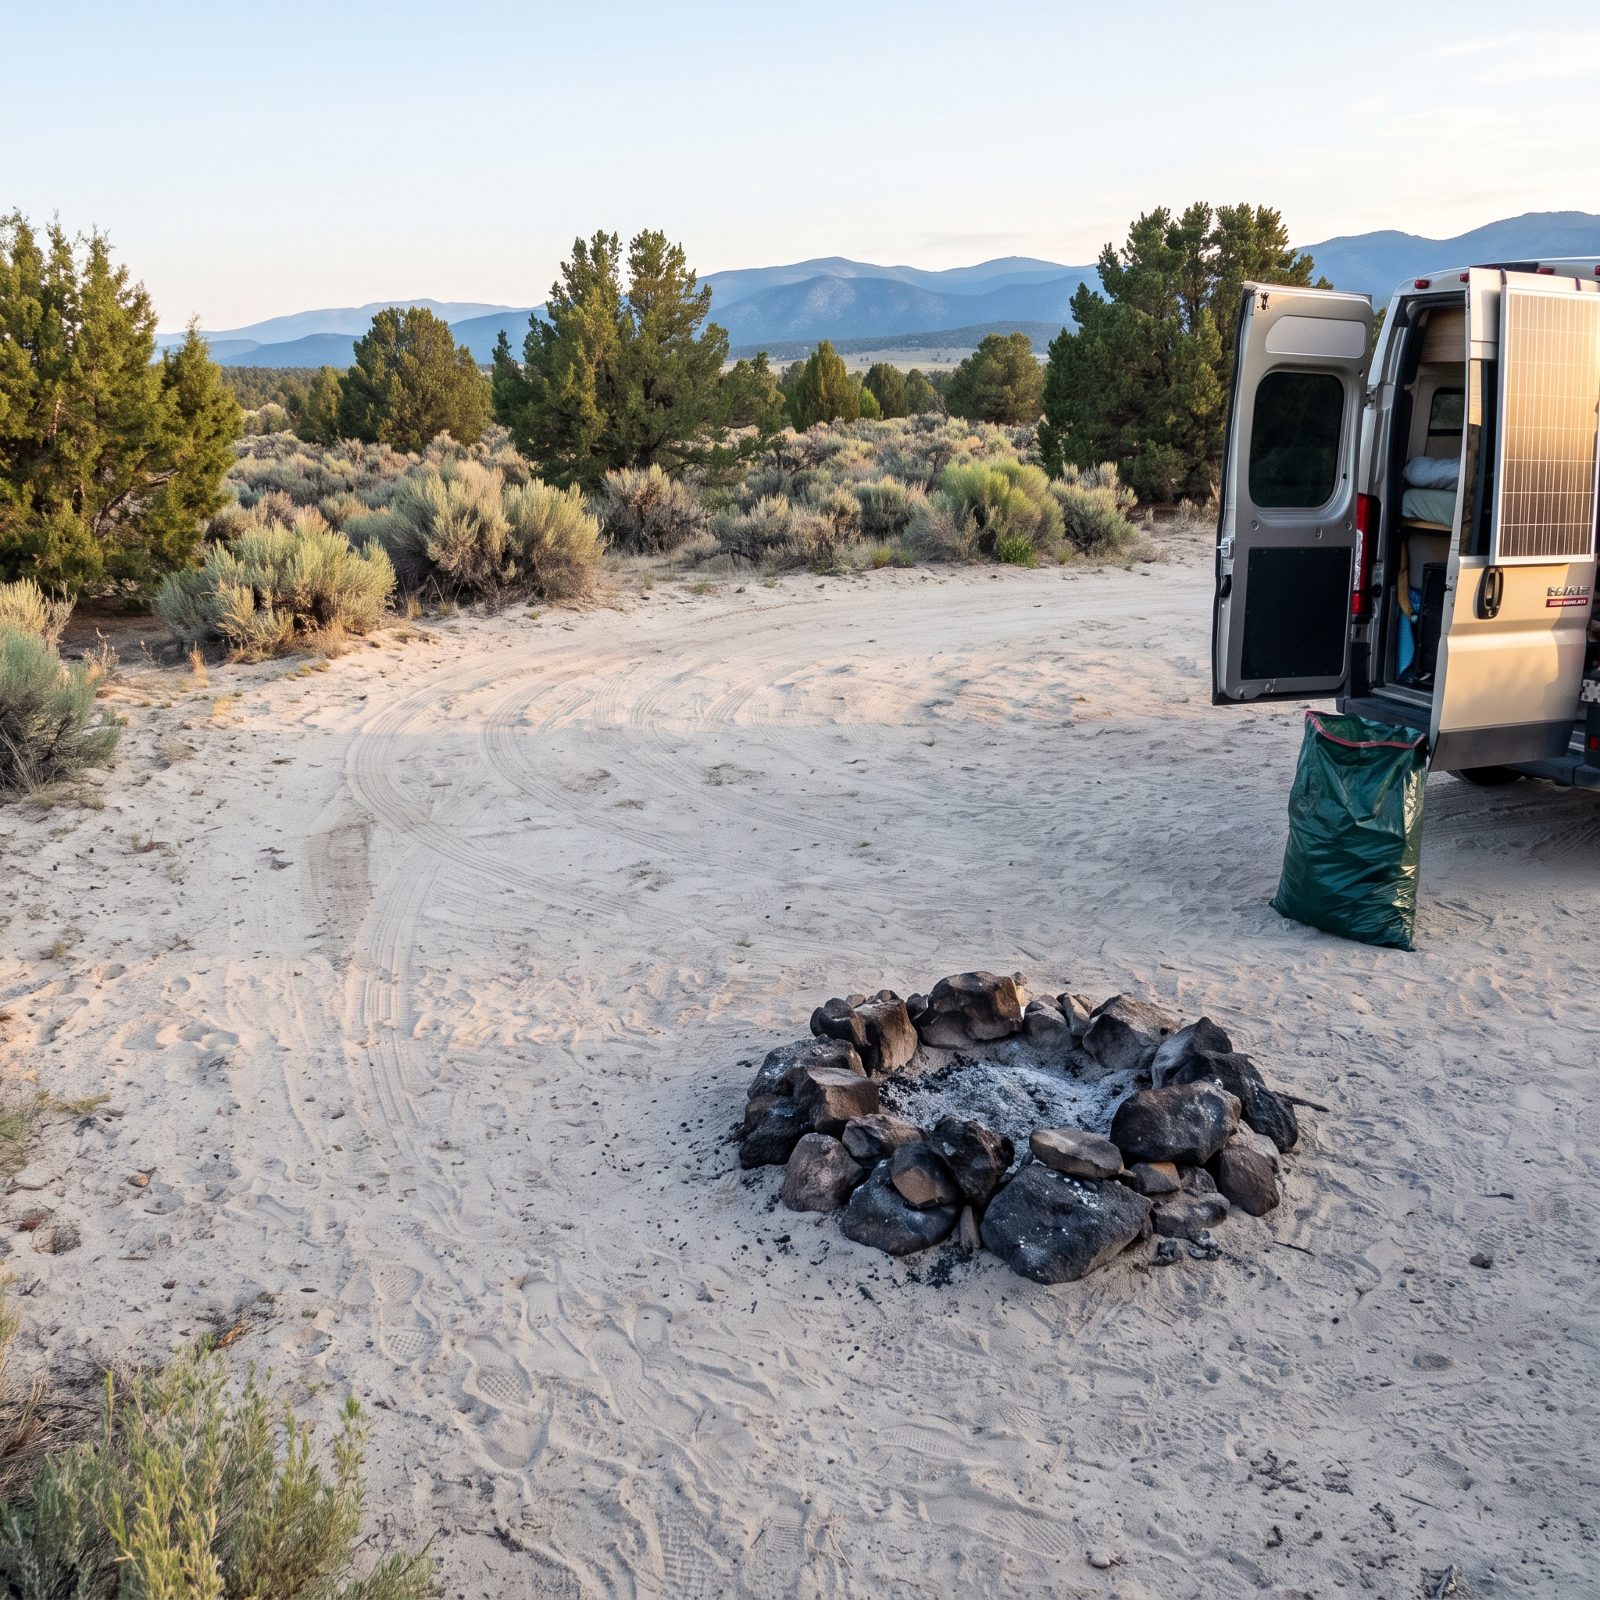
The last thing you do at a site matters more than anything else, because the next person’s whole trip starts with what you left behind. Boondocking stays legal on public land exactly as long as campers don’t trash it. Every abandoned fire ring, every bag of garbage, every rutted-up meadow is ammunition for the next closure.
Before you roll, walk the full site in a slow circle. Pick up the micro-trash — bottle caps, twist-ties, bits of foil that hide in the dirt. Make sure your fire is dead cold, stirred and touched with the back of your hand, not just “well, it looks out.” Scatter any leftover firewood, fill in your leveling ruts, and pack out everything, including the stuff that technically isn’t yours.
Leave it better than you found it. That’s the whole deal, and the reason these places still exist to camp on.