
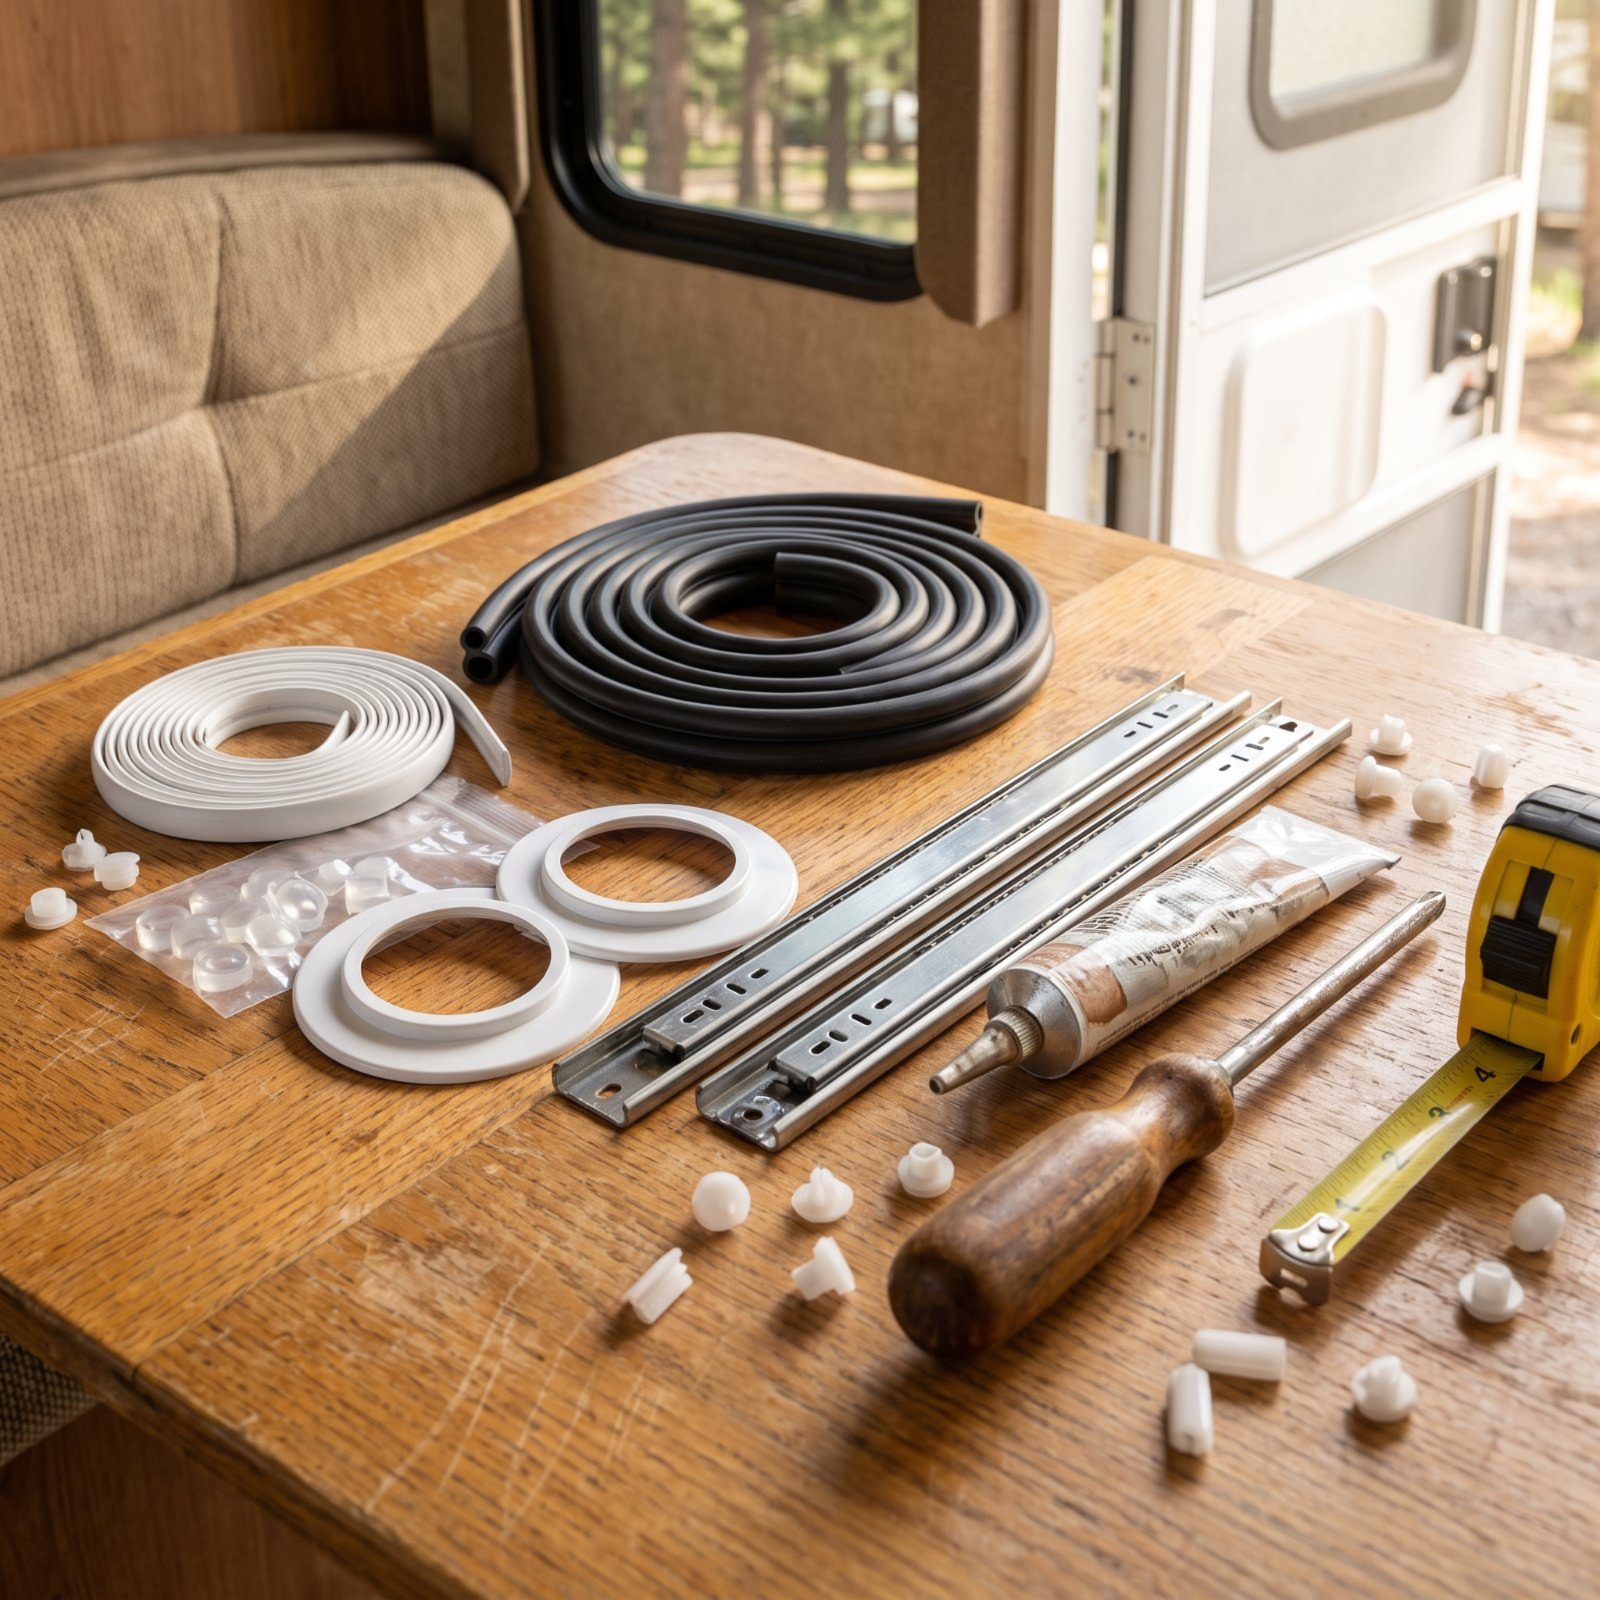
Nobody brags about a window seal. But the first rig that felt old to us wasn’t old because of the countertops. It rattled, the door never latched on the first pull, and a drawer sagged open on every downhill. That’s the stuff that wears you down trip after trip, long before the upholstery does. The good news? Most of it is a weekend of twenty-dollar parts and a screwdriver, not a gut job and a loan. These are the small, unglamorous repairs that take a tired 10-to-25-year-old trailer or motorhome and make it feel buttoned-up again. Start with whatever’s been annoying you most.
Please note that some of the images in this article were created with the assistance of AI.
39. Renew Flattened Window Bulb Seals and Fuzzy Channels

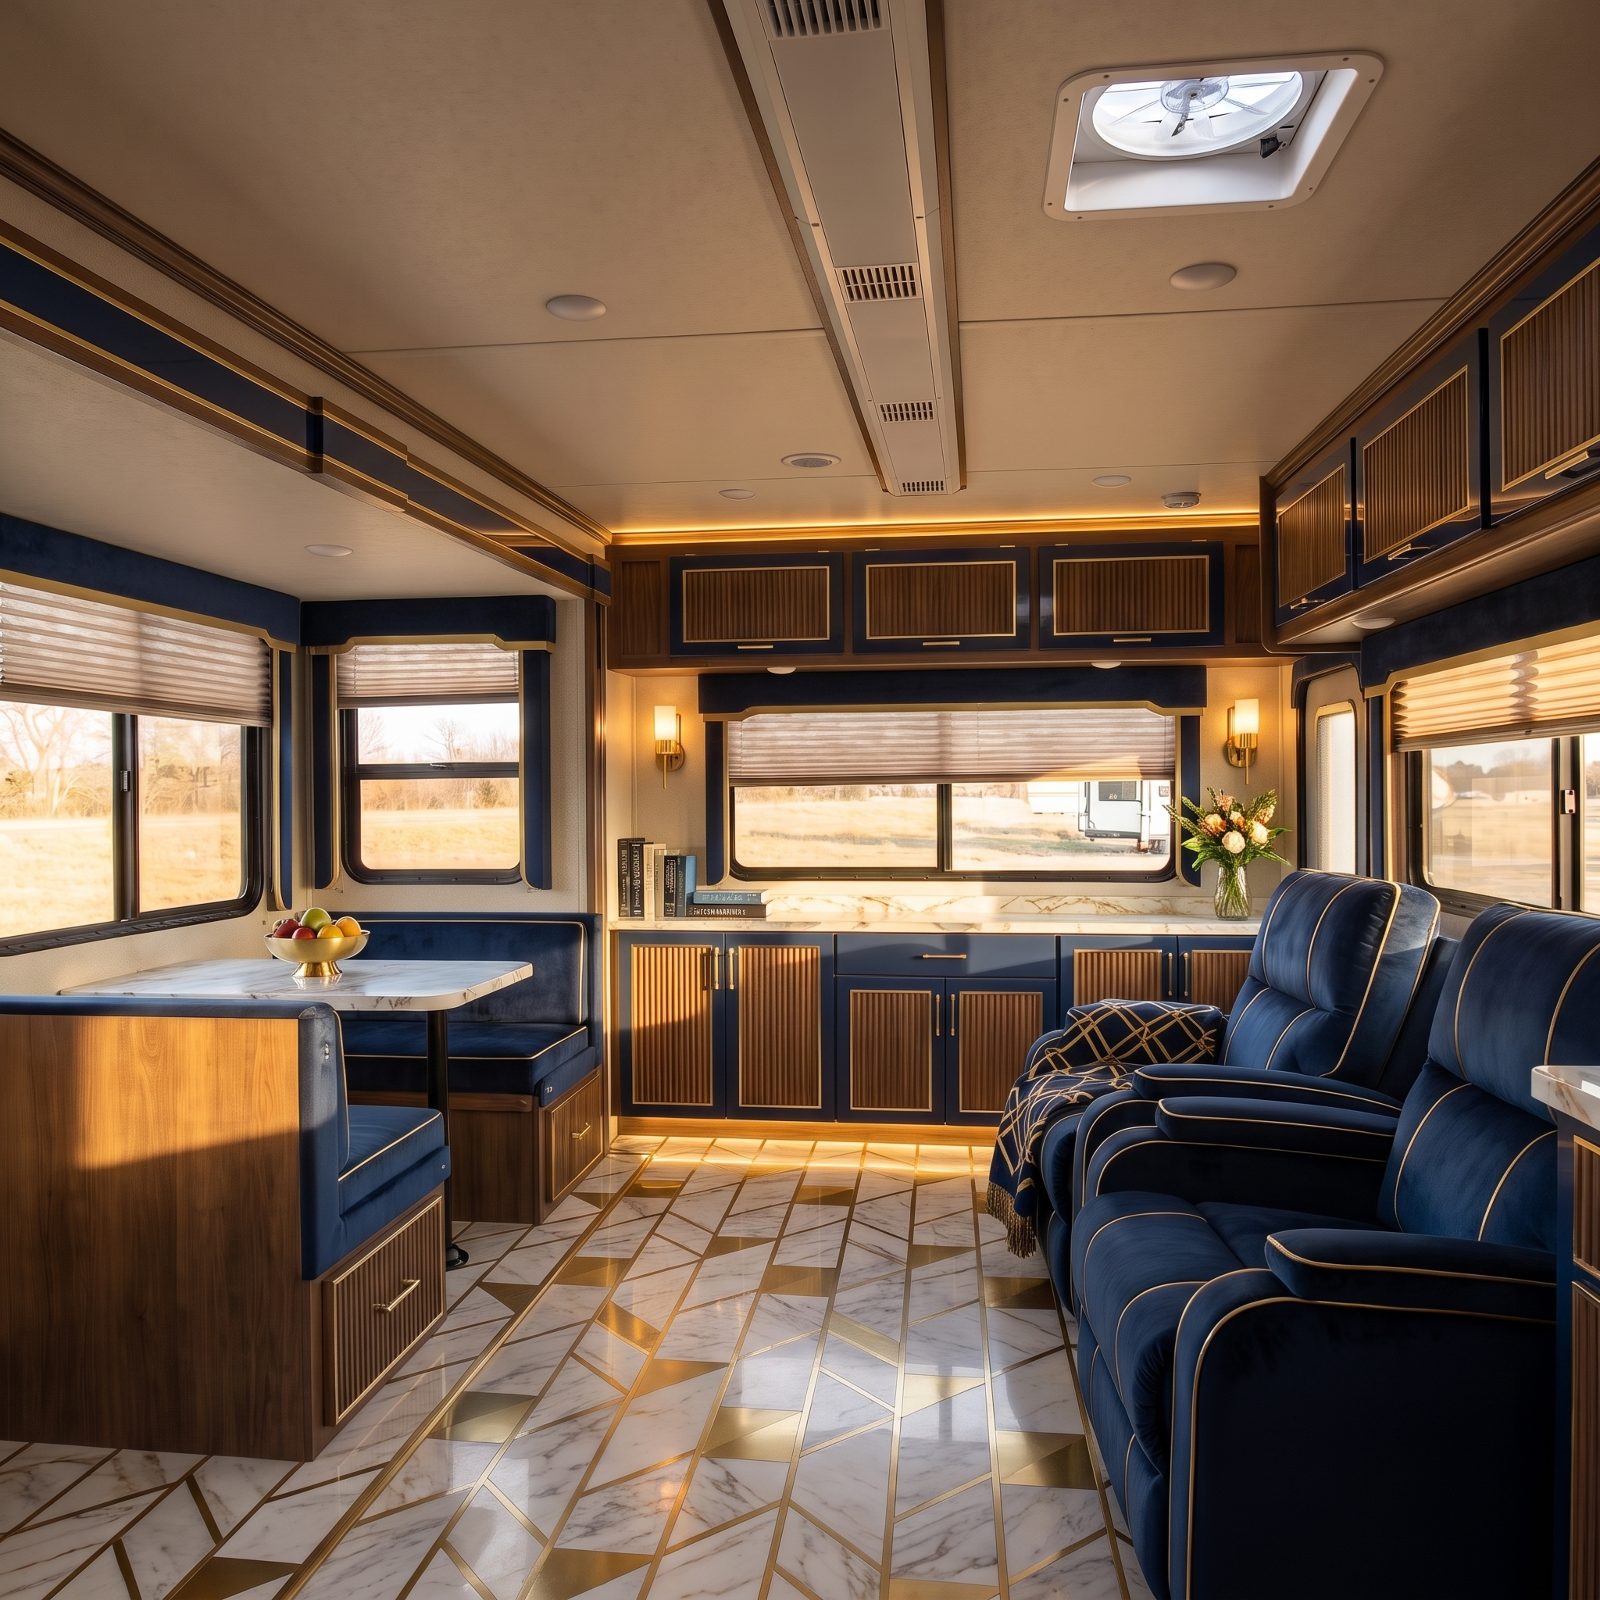
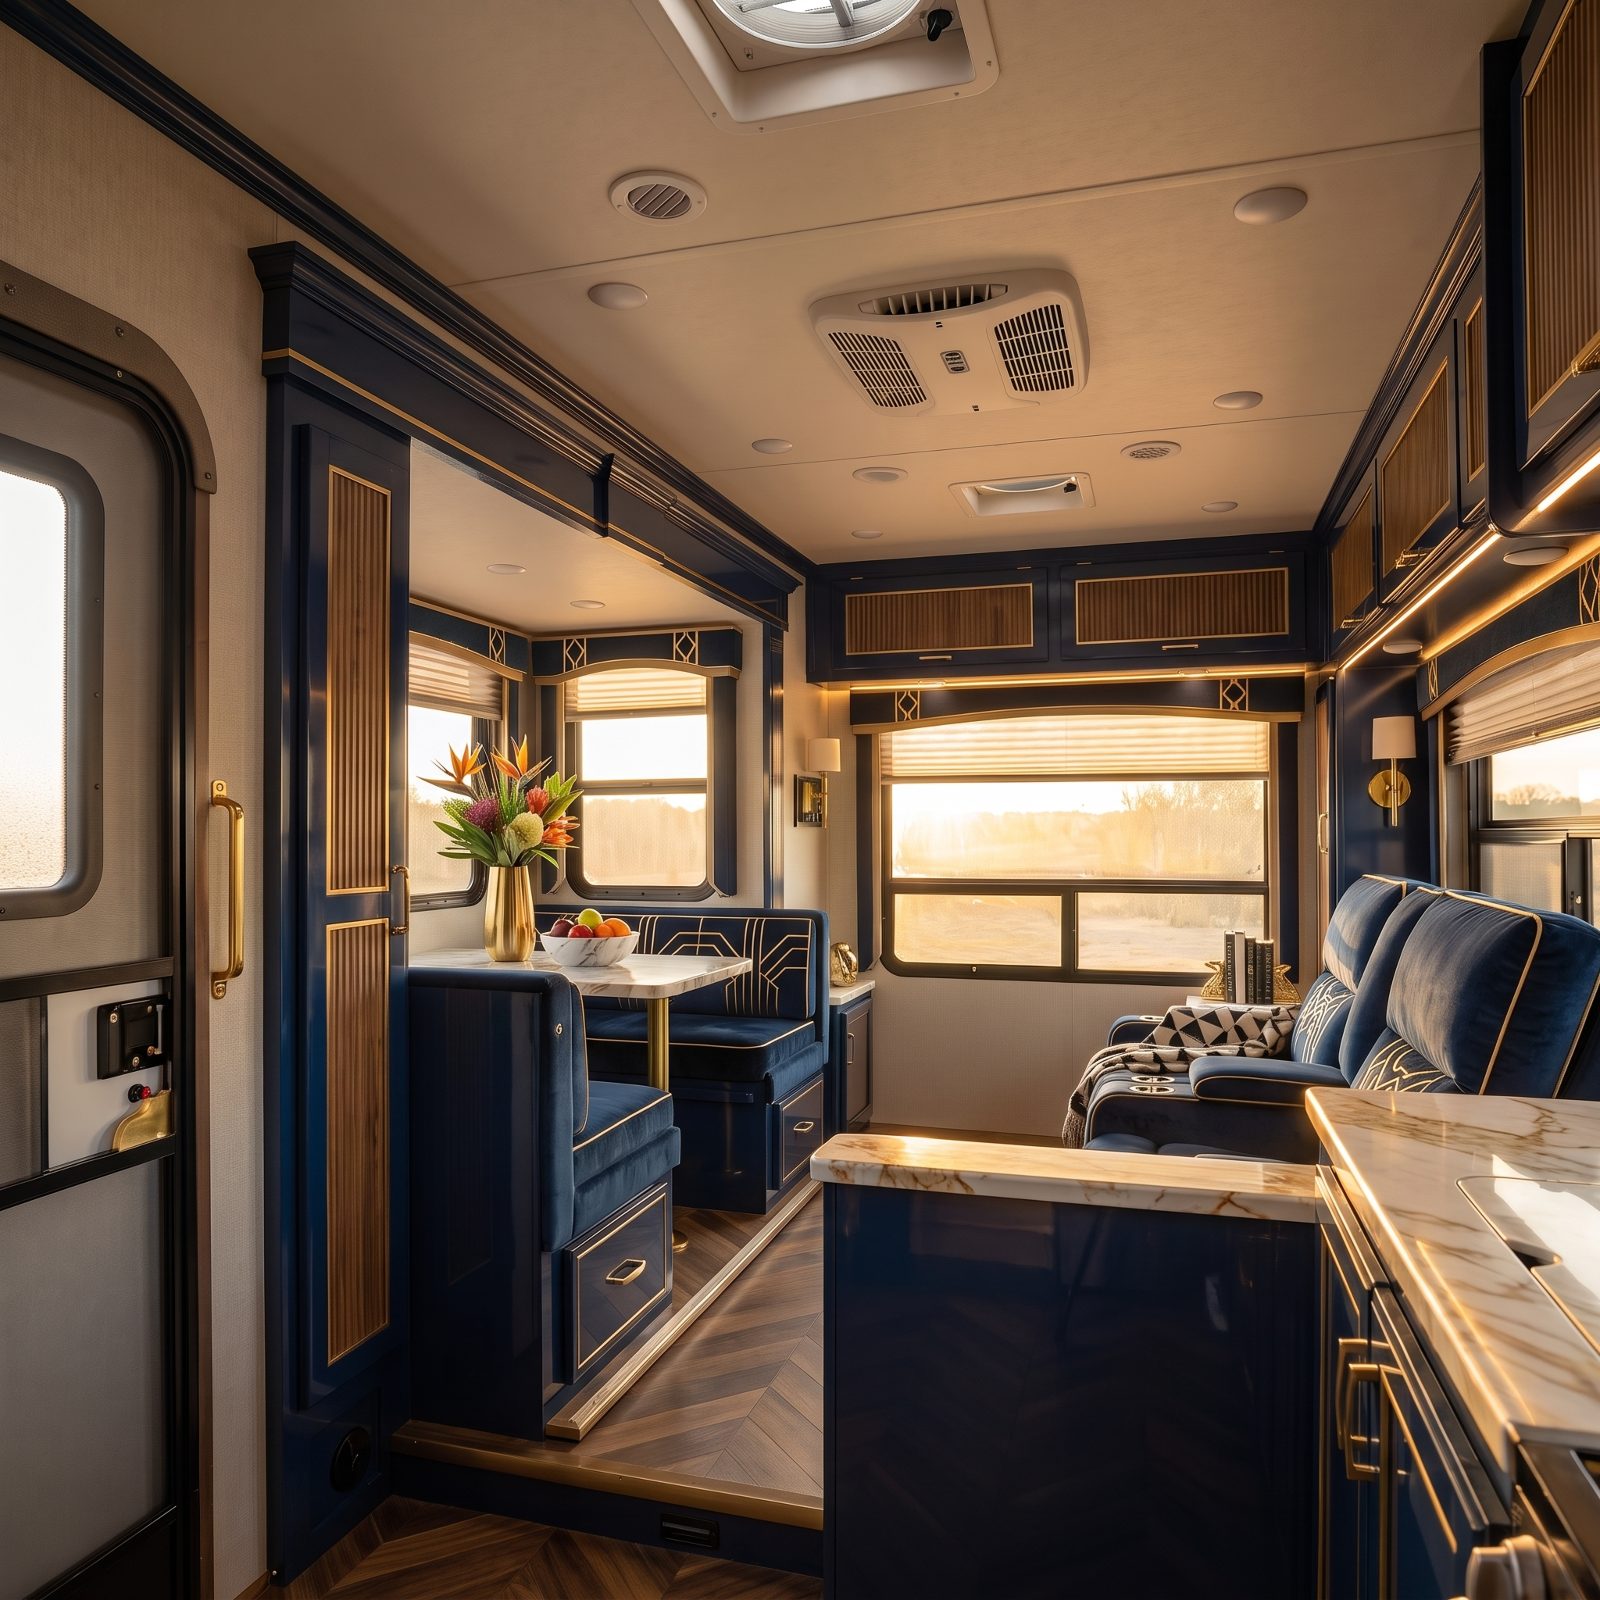
This is the one nobody checks until water finds the navy velvet dinette and recliner cushions sitting right under all those windows. The soft bulb rubber around windows like these, tucked beneath navy-and-gold valances, compresses over the years until it sits flat, and flat rubber doesn’t seal anything. Air whistles in on the highway. Rain wicks down the frame. On a cold morning the glass sweats because the warm cabin air is leaking right past it.
Bulb seal comes on a roll for a few dollars a foot, and the fuzzy weatherstrip that lines the slider channels is cheaper still. Both peel off and press on with nothing more than patience and a clean edge. Measure the old stuff before you buy, because profiles vary and the wrong bulb won’t seat.
38. Replace the Cracked Vinyl Screw-Cover Insert on Your Exterior Moldings
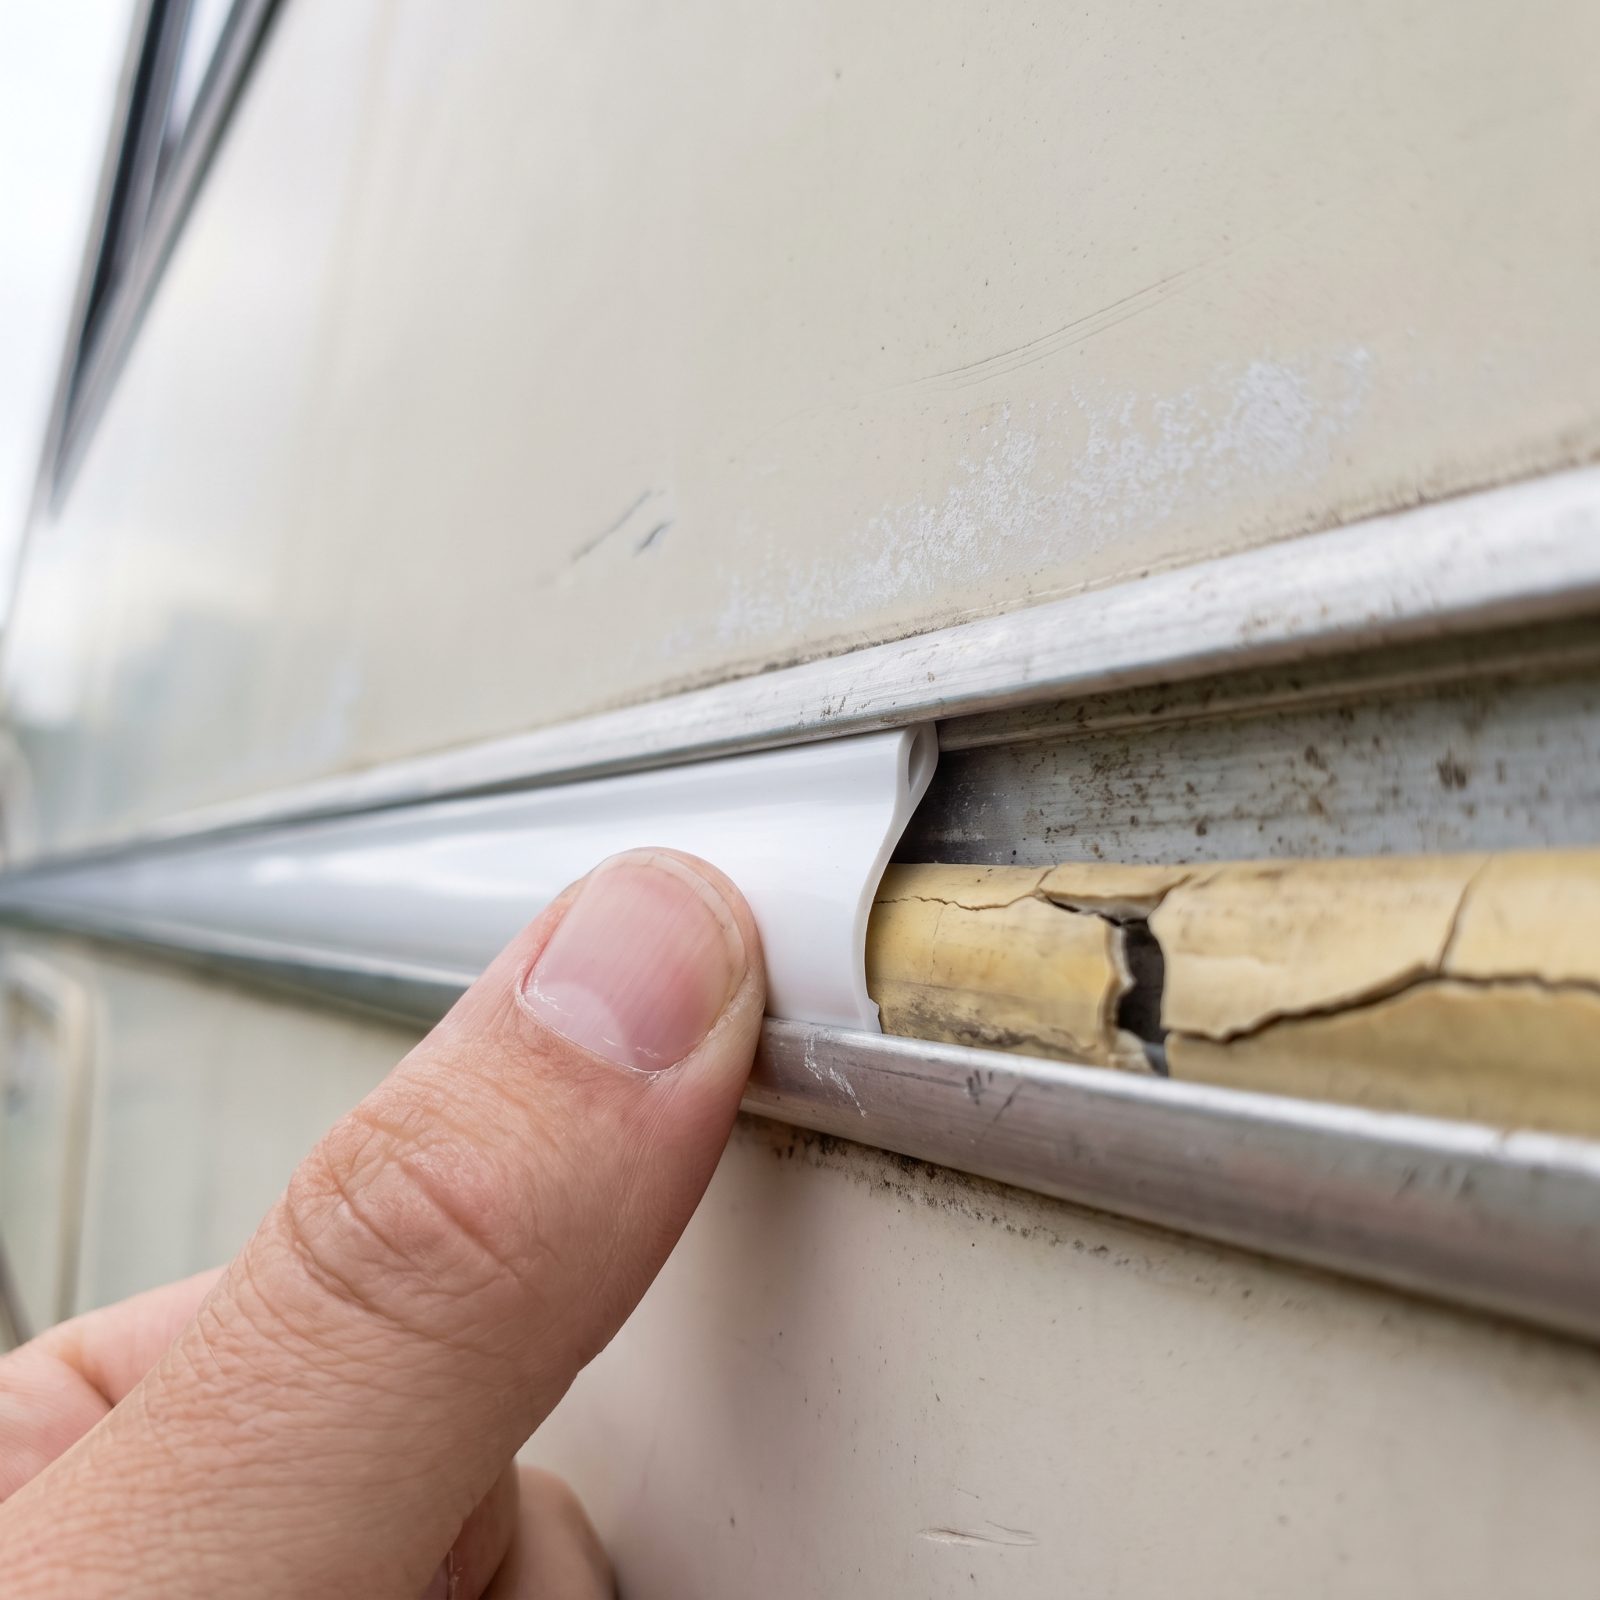
Run your hand along the trim strips on the outside of the rig and you’ll feel where the little vinyl insert has gone brittle, shrunk at the seams, and left the mounting screws staring out at the weather. That exposed screw is a leak waiting to happen, and a ragged strip outside is the single thing that makes an otherwise well-kept rig read as neglected from twenty feet away.
Sold by the foot in standard widths, usually around an inch, the insert snaps into the molding’s track. Buy extra. It shrinks over time, so run it slightly long and let it relax into place without pulling back from the corners.
37. Renew Worn Dinette Pedestal Sockets to Kill the Table Wobble

That wobble that makes your coffee shiver every time somebody slides into the booth? Nine times out of ten it isn’t the table. It’s the pedestal socket. The plastic or metal cup the pole drops into wears oval over the years, and once it’s loose, no amount of tightening the leg fixes it.
New sockets, both the floor cup and the one under the tabletop, run cheap and swap out with four screws each. Pull the pole, unscrew the old cup, and check whether the floor screws still bite into solid wood underneath — sometimes the subfloor is the real culprit. Then set the new one. The table goes from annoying to solid in about fifteen minutes.
36. Swap Yellowed Roof-Vent Garnish Rings for Crisp White Replacements
Nothing dates an interior faster than yellow plastic on the ceiling. Those garnish rings around the roof vents bake in UV for years and go the color of an old light switch. You stop seeing them because you look at them every day, and then a friend climbs in and their eyes go straight up.
Universal garnish rings for the common 14-by-14 vents cost a few bucks each. They clip or screw into the existing frame — no roof work, no sealant, nothing structural. It’s the cheapest lift in this whole list and the one that reads brightest from the first glance.
35. Replace a Scratched Screen-Door Slide Panel
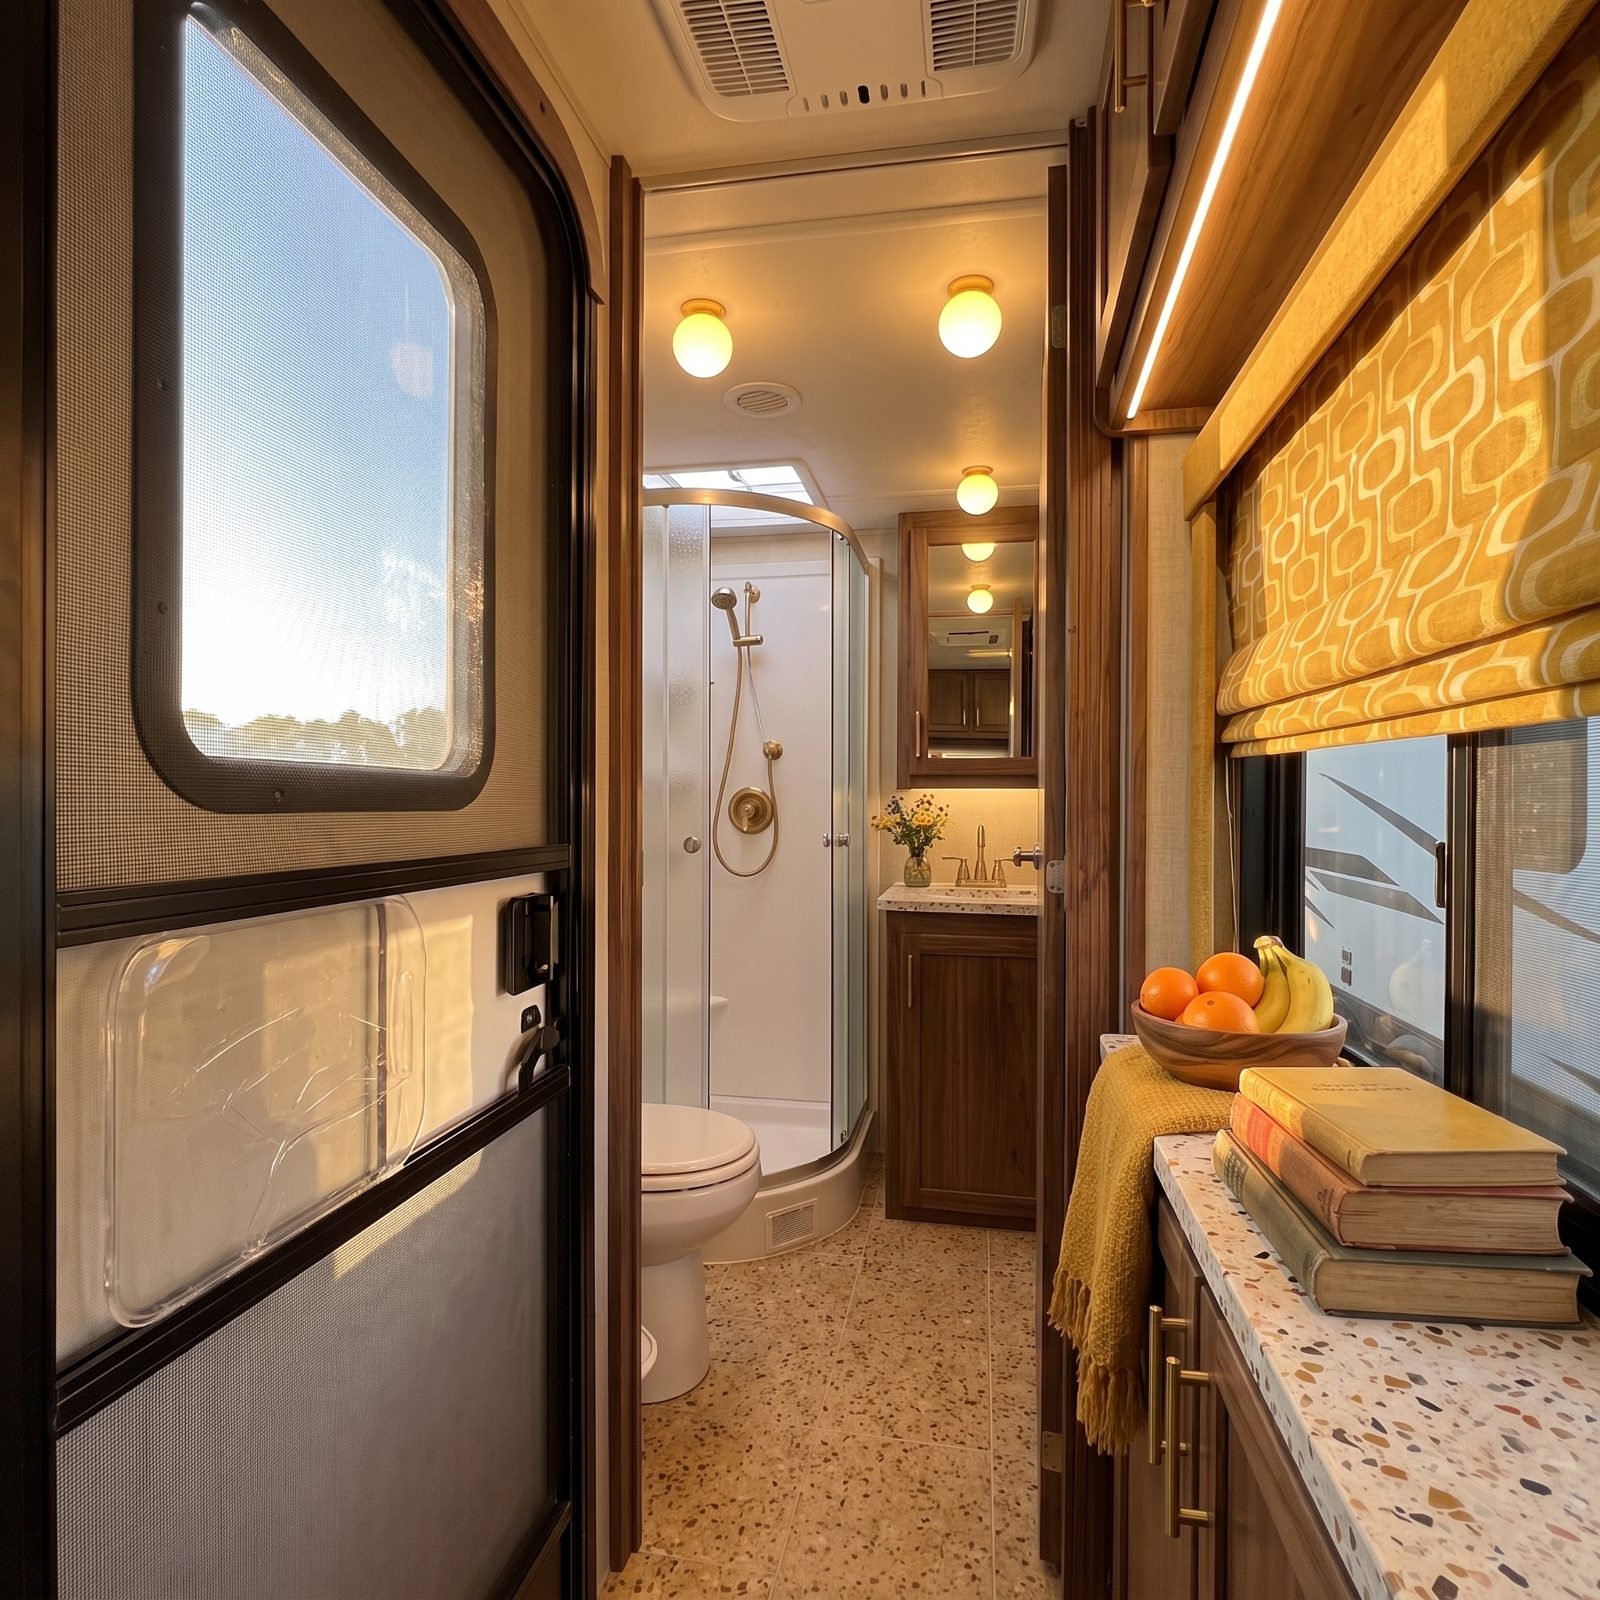
The screen-door slider — that little panel you push up and down to swap between mesh and glass — takes a beating. Kids slam it, pets claw it, and road grit grinds it hazy until you can barely see through the thing. A scratched, cloudy slider makes the whole doorway look tired.
Replacement slide panels are sold to fit the common screen door brands, and they drop into the same track the old one rides in. Match the door model first. Get it wrong and the panel either jams or rattles, and nobody wants to make that order twice.
34. Add Clear Cabinet Bumpers for a Firm, Cushioned Close
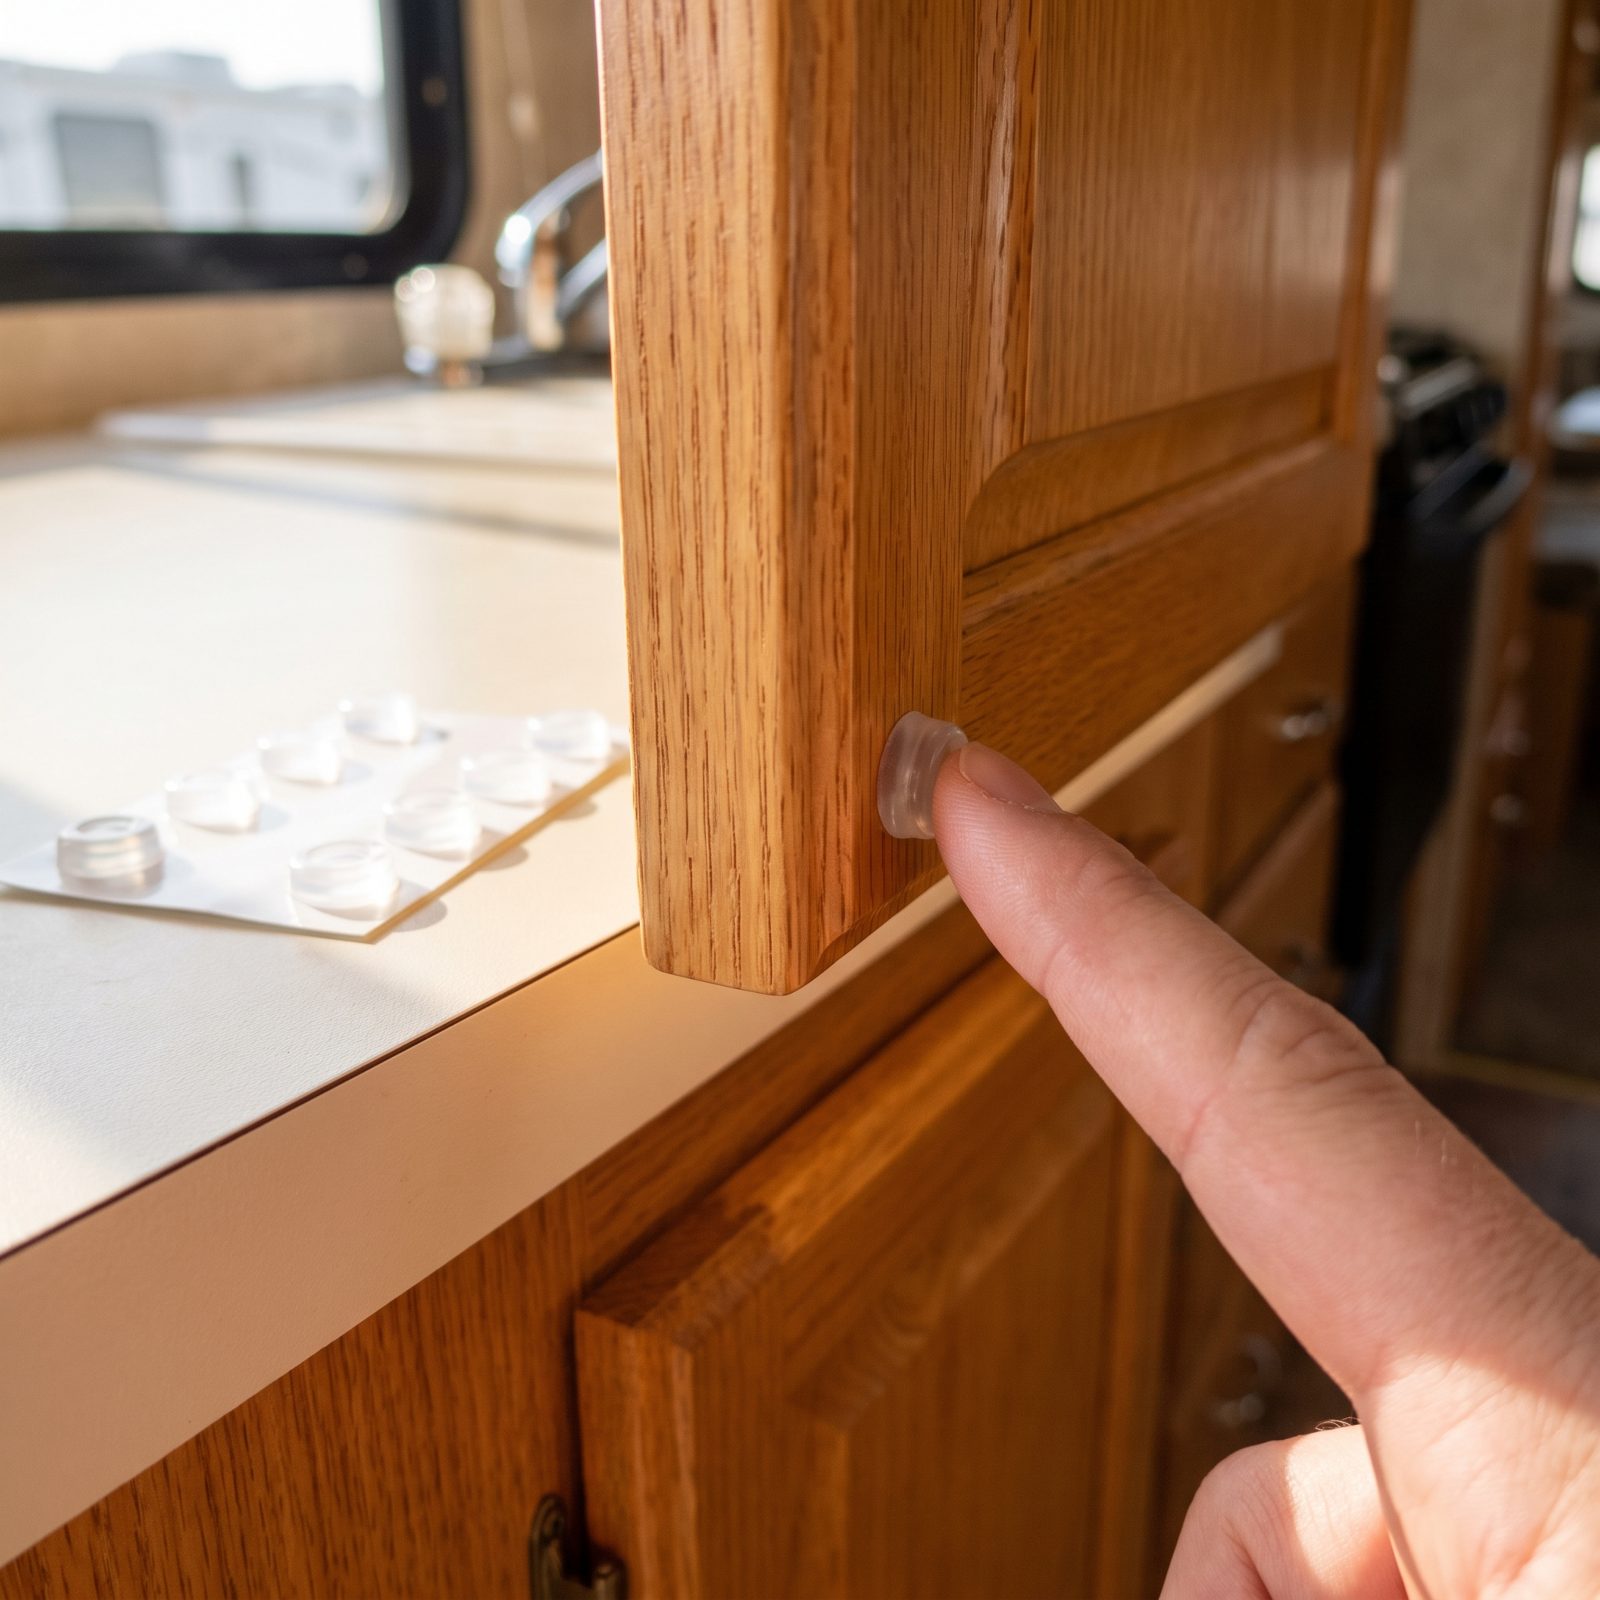
Drive a mile and listen. That sharp clack-clack-clack every time you hit a seam in the pavement is your cabinet doors slapping wood on wood because the old felt pads fell off years ago. Small sound. But it gets inside your head on a long haul.
A sheet of clear adhesive dome bumpers costs almost nothing. Stick one at the top and bottom corners of every cabinet door and drawer front, and the doors close with a soft thud instead of a bang. The rattle vanishes. The cabinets feel tight again, like a car door that shuts with weight behind it.
33. Adjust the Entry-Door Striker for a Solid, Effortless Latch
You know the door. The one you have to lift, lean on, and slam before it finally catches, every single time, until slamming it becomes muscle memory. That door isn’t broken. The striker plate just drifted out of alignment as the rig flexed down the road over the years.
Loosen the two screws holding the striker on the jamb, nudge it a hair in the direction the latch is missing, and snug it back down. Close the door and feel. A properly aligned striker lets the door swing shut and catch on its own weight, no shoulder required. It’s the difference between a rig that feels loose and one that feels sound, and it costs you nothing but ten minutes.
32. Replace Bent Drawer Slides That Stick or Sag
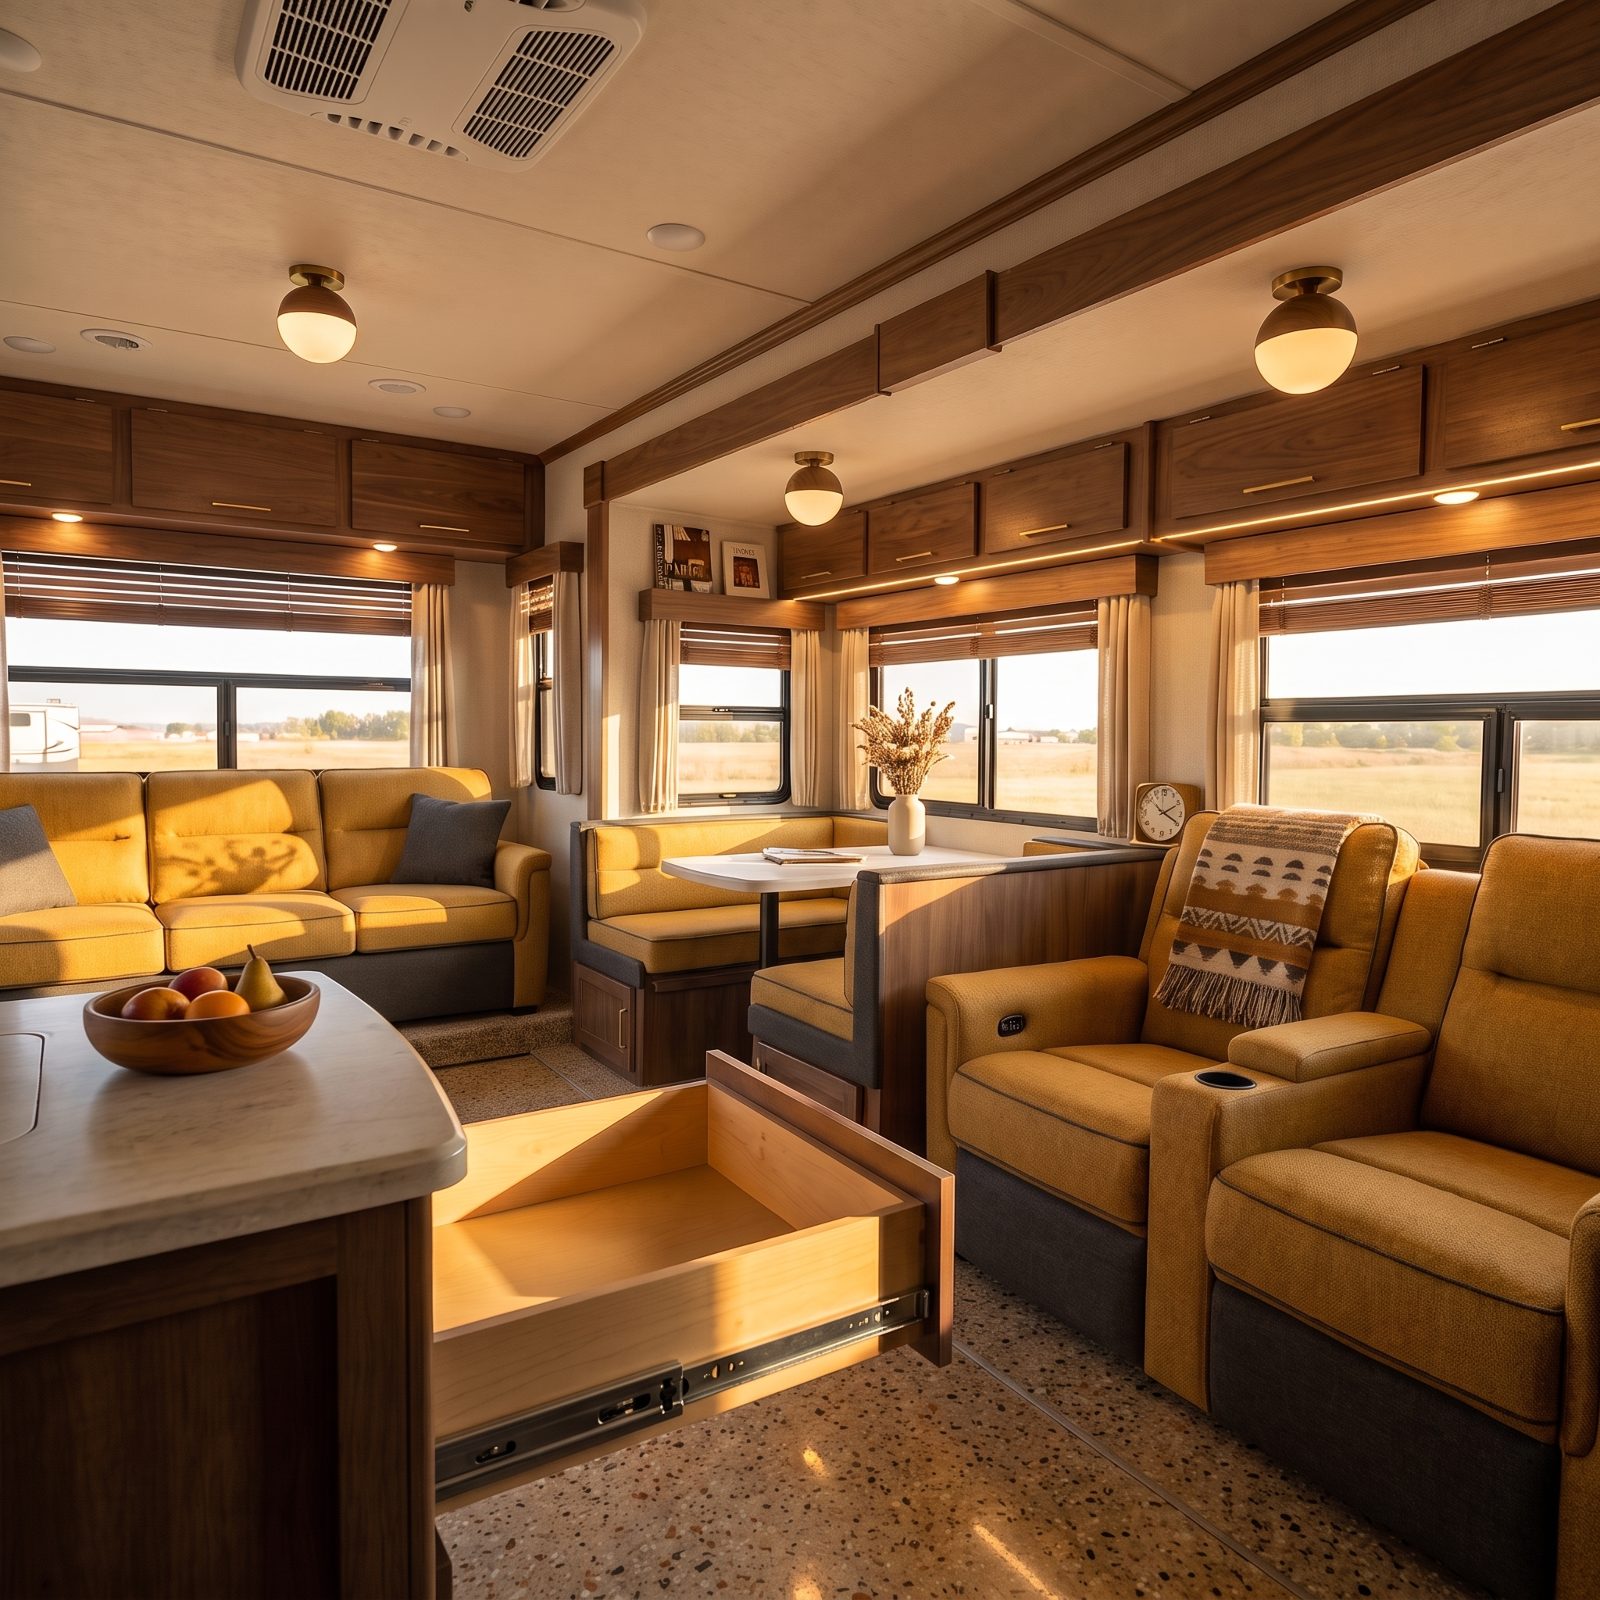
A drawer that sticks halfway, then drops its front edge, then refuses to close square, has a bent slide. Simple as that. The light-gauge slides in most trailers aren’t built for a drawer full of canned goods bouncing down a washboard road, and eventually one tweaks.
Side-mount ball-bearing slides are standard hardware, sold in pairs at any hardware store, sized by length. Measure the old ones, match the length, swap them. And while you’re in there, step up to full-extension slides so the back of the drawer finally comes all the way out. In a galley where every inch counts, reaching the dead space at the back of a drawer feels like finding storage you forgot you paid for.
31. Replace Missing Interior Screw Caps and Trim Plugs
Once you notice the little empty screw holes staring out of the trim and wall panels, you can’t un-notice them. The snap caps and flush trim plugs that hid the fasteners pop off over years of vibration and vacuum-hose bumps, and the bare screw heads make the inside look half-finished.
A variety pack of screw caps and trim plugs runs a few dollars and sorts into white, brown, and almond to match whatever your builder used. Walk the rig with a handful in your pocket one afternoon and press them in as you go. It’s tedious and completely boring, and it does more for how finished the cabin feels than almost anything else here.
30. Reattach Lifting Wall-Vinyl Seams With the Correct Seam Adhesive
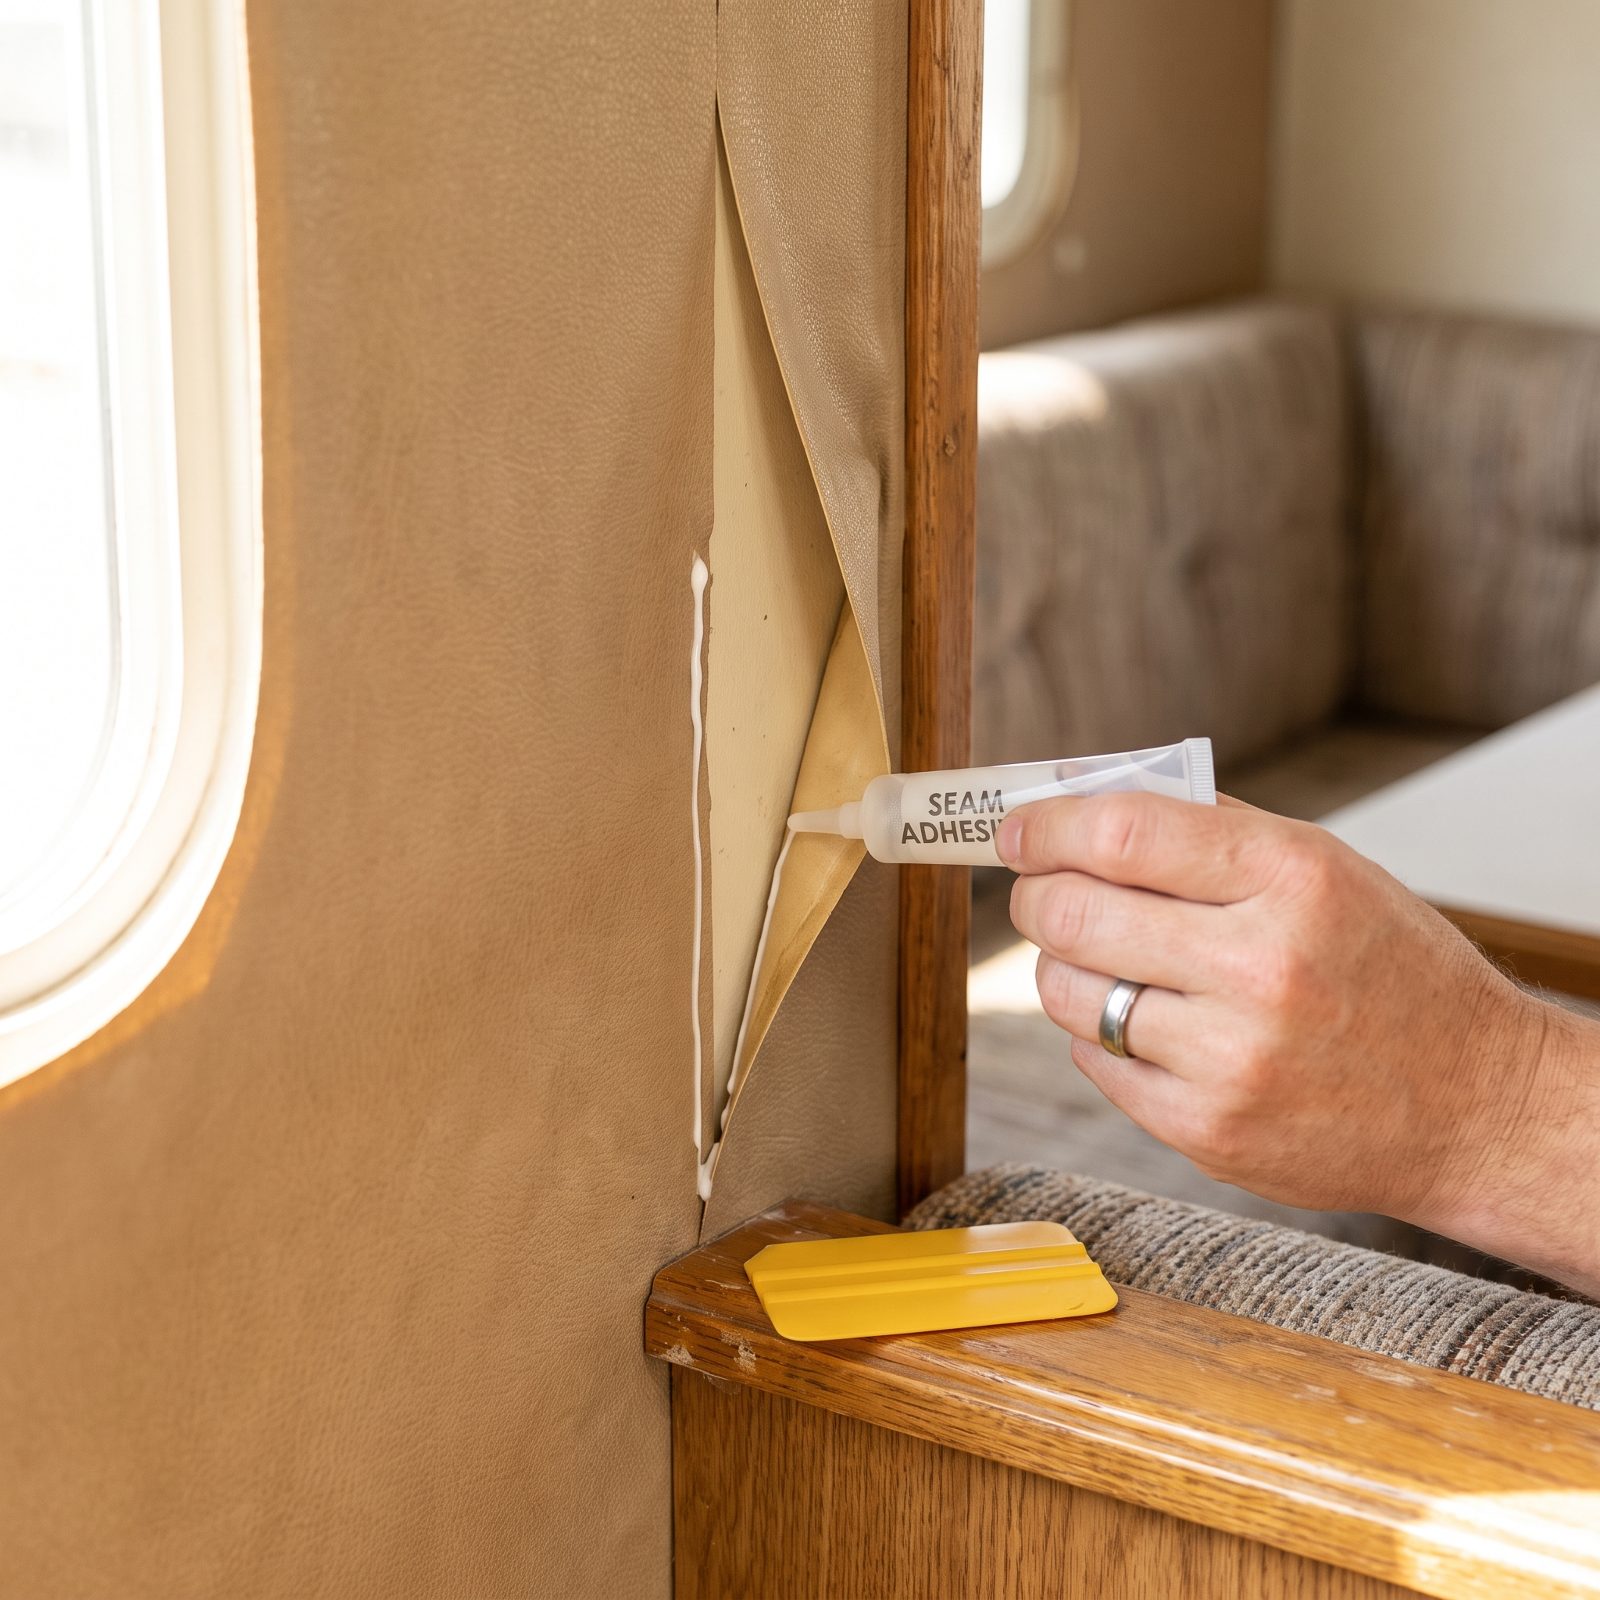
Most trailer interiors are wrapped in a printed vinyl paper, and over the years the seams lift — usually at corners, around windows, and above the galley where heat and steam work on the glue. A curling flap of wall covering is the surest sign of a rig that’s been left to its own devices.
Skip the general-purpose glue sitting in your junk drawer. Wall-vinyl needs a seam adhesive made for the job, applied in a thin bead behind the lifted edge and rolled flat so it doesn’t telegraph a ridge. Hold it with painter’s tape while it sets. Done right, the seam disappears and the wall reads as one piece again.
29. Install Clean Flooring Transition Strips Over Worn Edges
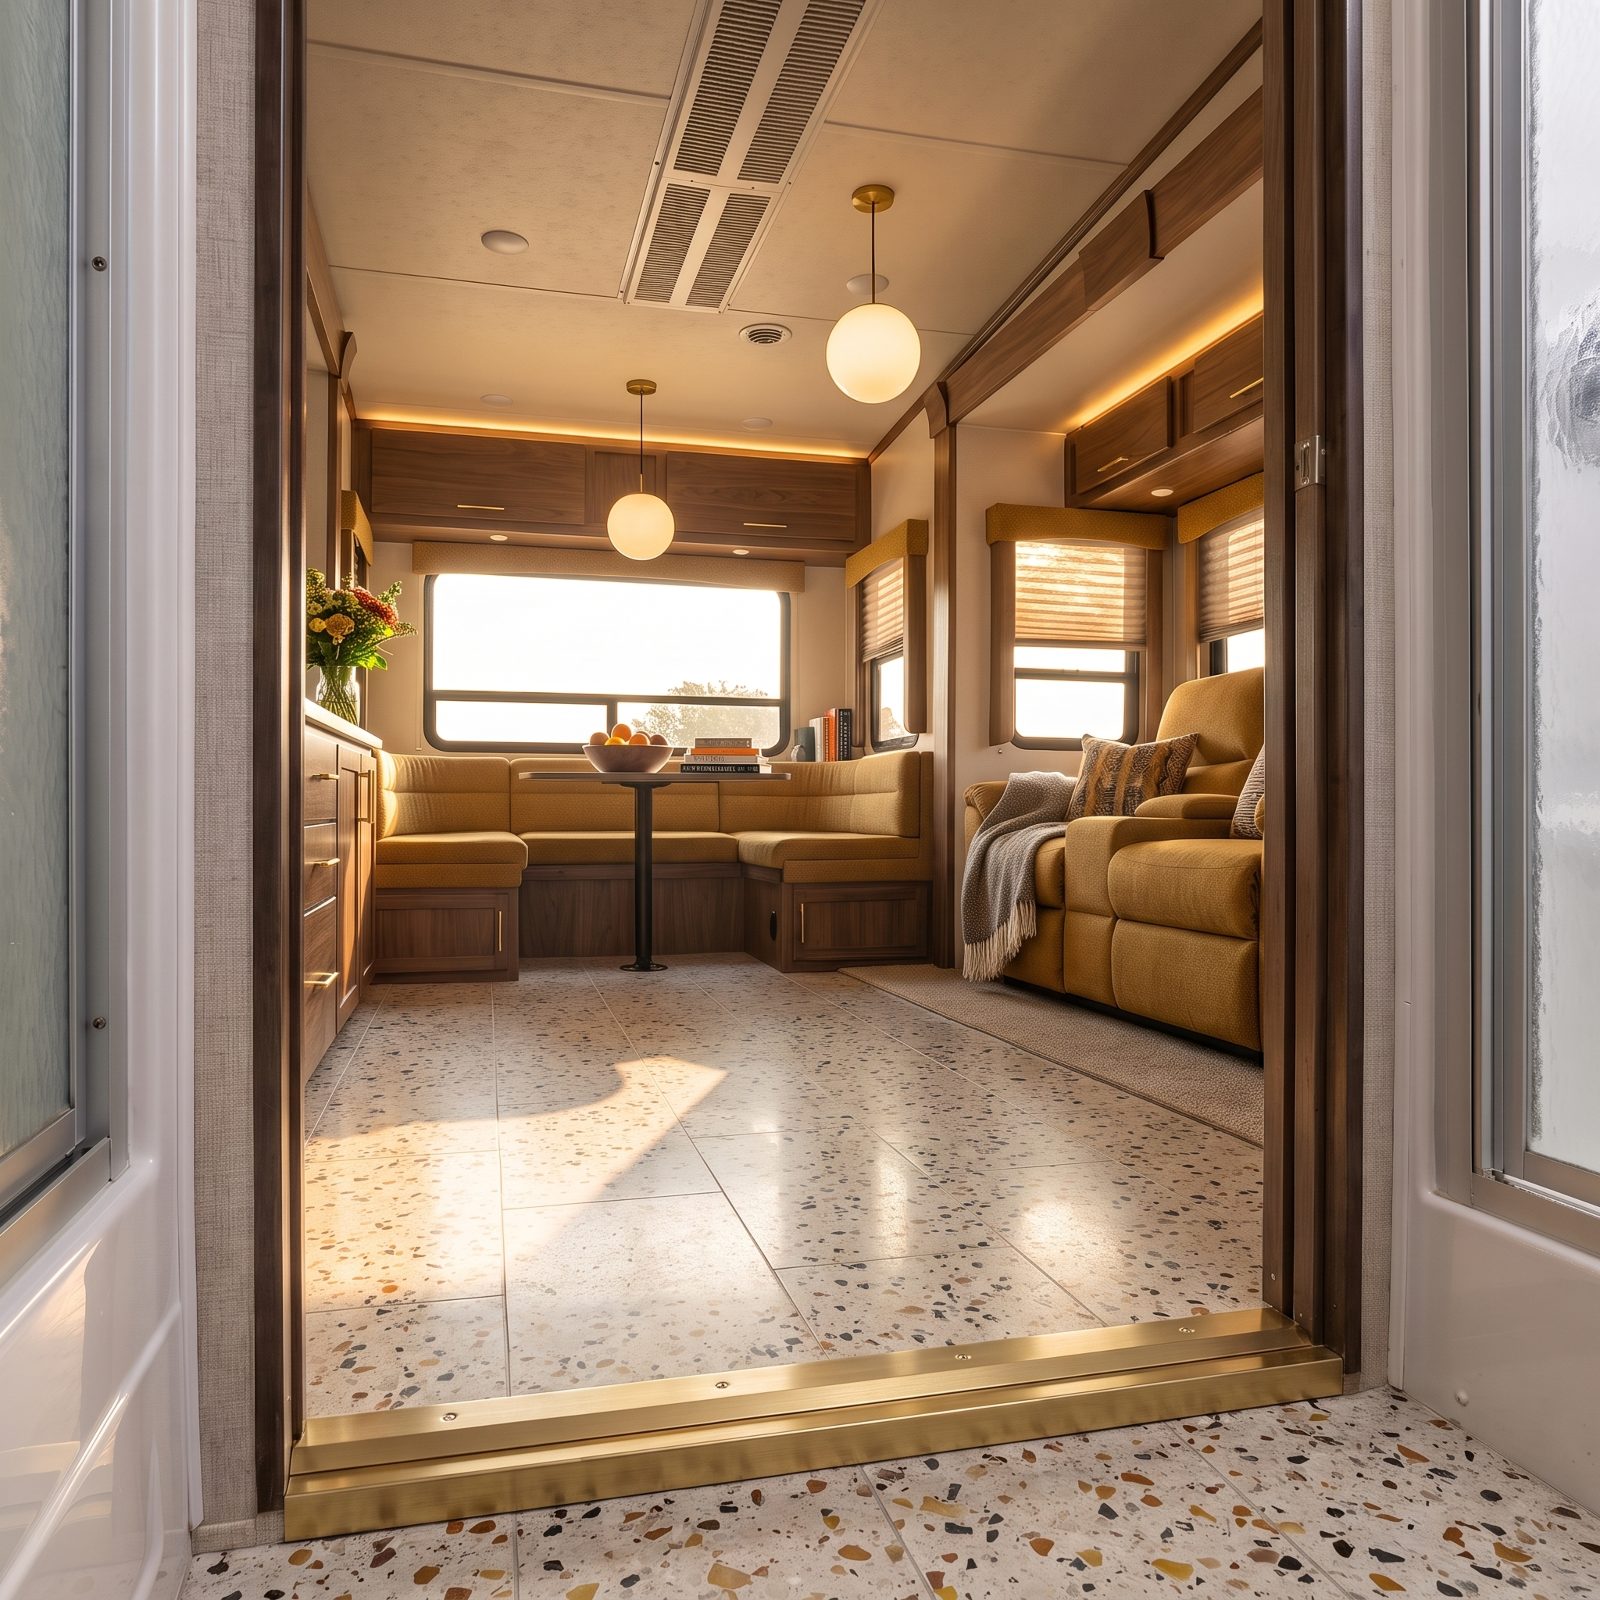
The worn edge where your flooring meets a doorway or slide is where the whole interior starts to look tired — fraying carpet, lifting vinyl, a gap that catches every bare toe. A length of T-molding or a flat aluminum transition strip hides all of it for the price of a decent lunch.
Measure the opening before you buy. RV thresholds run narrower than house ones, and the home-center strips are usually cut for 36-inch residential doorways, so plan on trimming. Screw it down into the subfloor, not just the flooring, and that tired edge suddenly reads finished instead of forgotten.
28. Replace Stiff Window Crank Operators and Worn Knobs
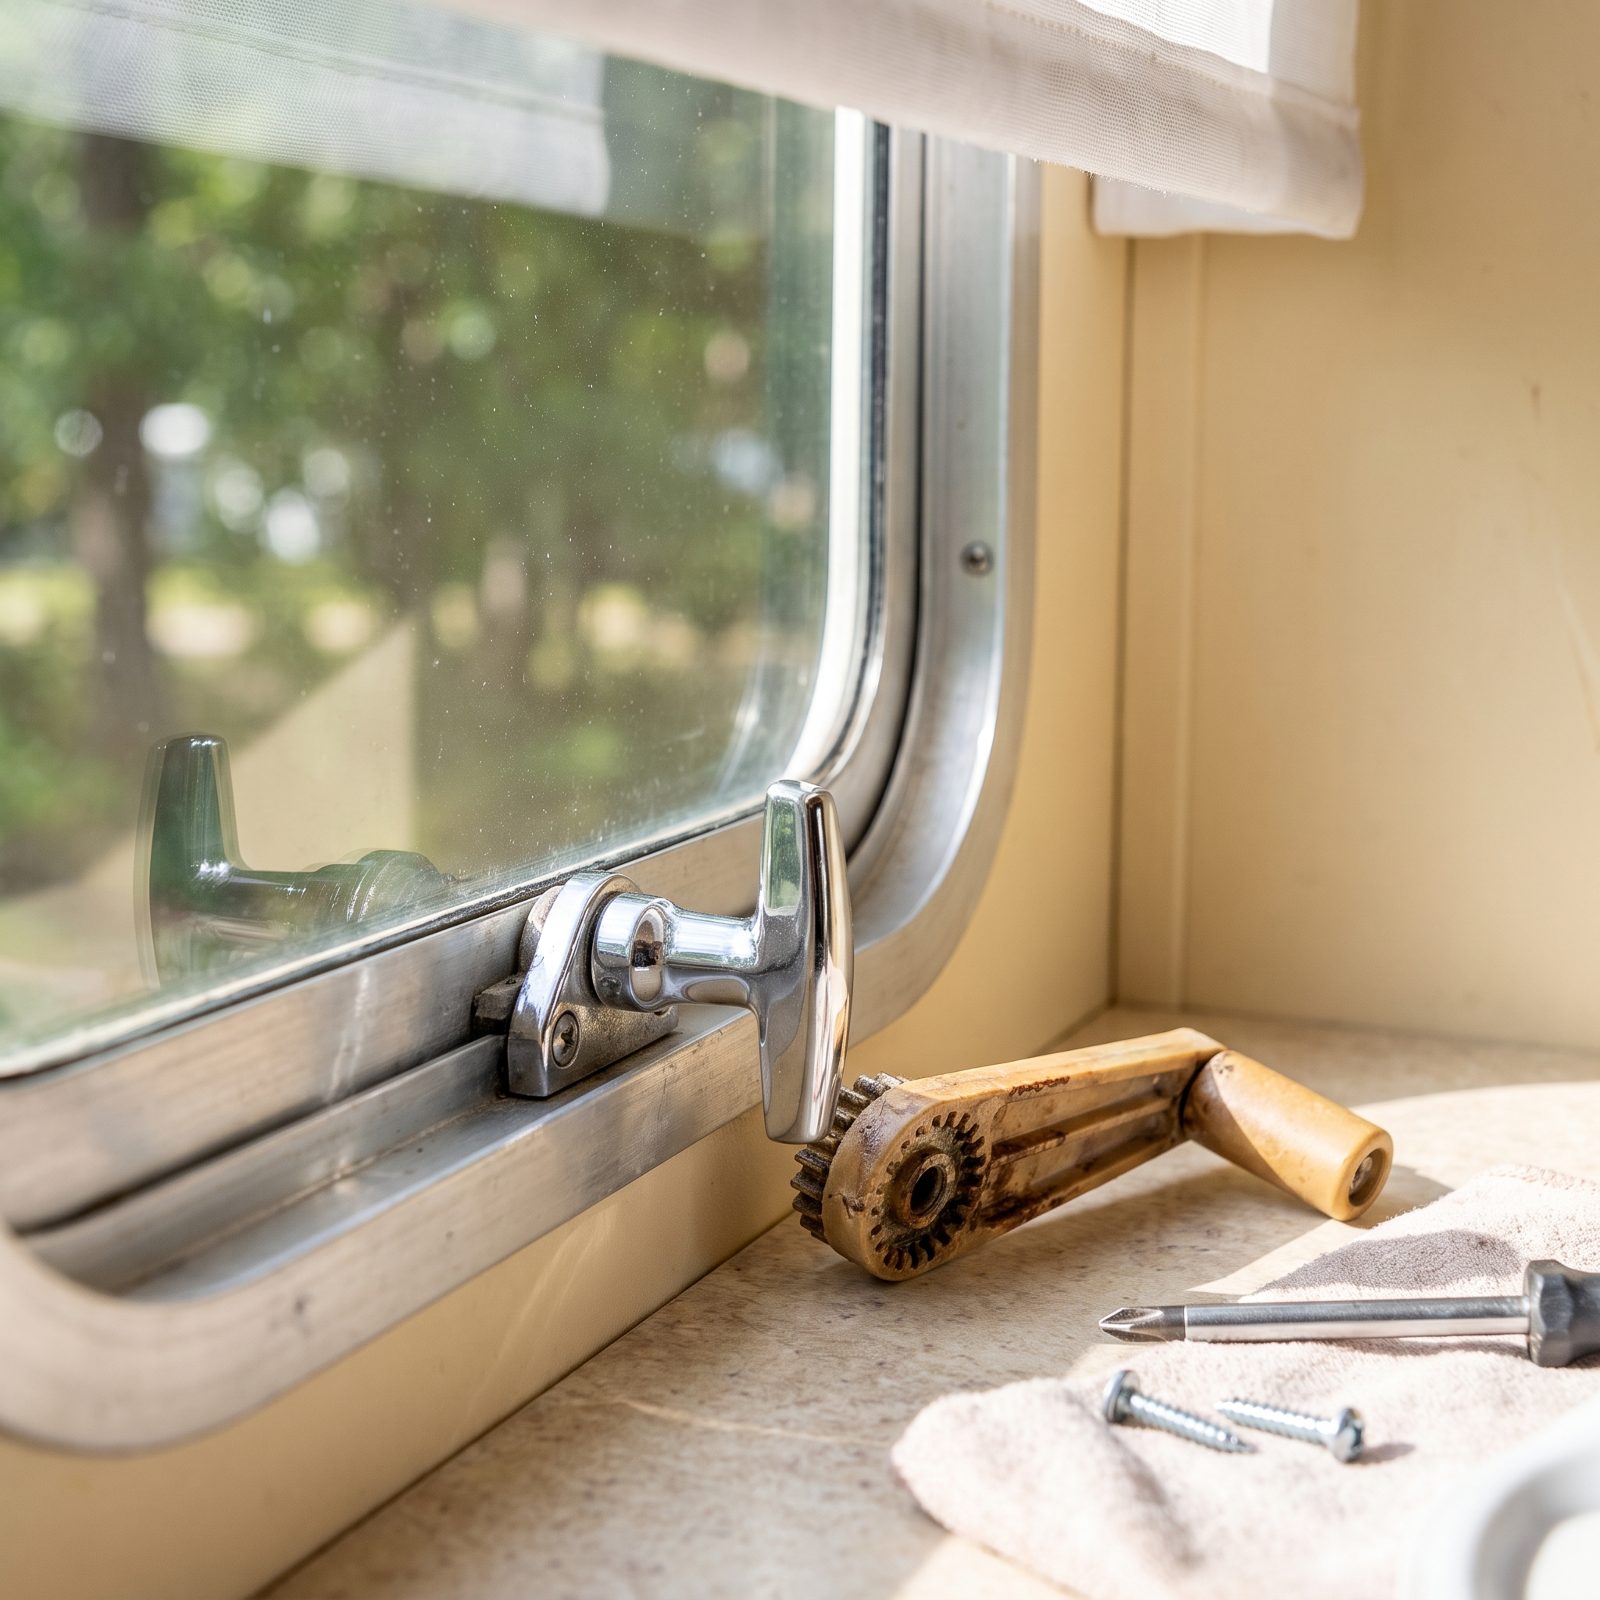
Stiff window cranks are one of those annoyances you stop noticing until a guest fights with one and you realize how bad it got. The gears inside those tan plastic operators strip and chalk over with age, so you muscle the window and still only get it half open.
Replacement operators run cheap and swap out in minutes with two screws. Match the arm length and the mounting pattern, because manufacturers used a handful of standard sizes and they are not all interchangeable. Upgrade the knobs while the screwdriver is out — a metal crank feels worlds better than the brittle plastic one the factory left you with.
27. Replace the Discolored Air-Conditioner Return Grille and Filter

Nothing dates a ceiling like a yellowed AC grille. Years of UV and cigarette-era residue turn that white plastic the color of old piano keys, and your eye goes straight to it every time you look up.
The grille usually pops off with a couple of thumbscrews. Order a replacement by brand and model (a brass-finish grille like this one ties right into gold cabinet hardware), wipe the ceiling ring while it is down, and drop in a fresh filter pad at the same time. The filter matters more than the looks, honestly. A clogged one makes the whole unit work harder and blow warmer — which you feel most on the hottest afternoon, the one time you actually need it to perform.
26. Update Rust-Spotted Furnace Register Grilles
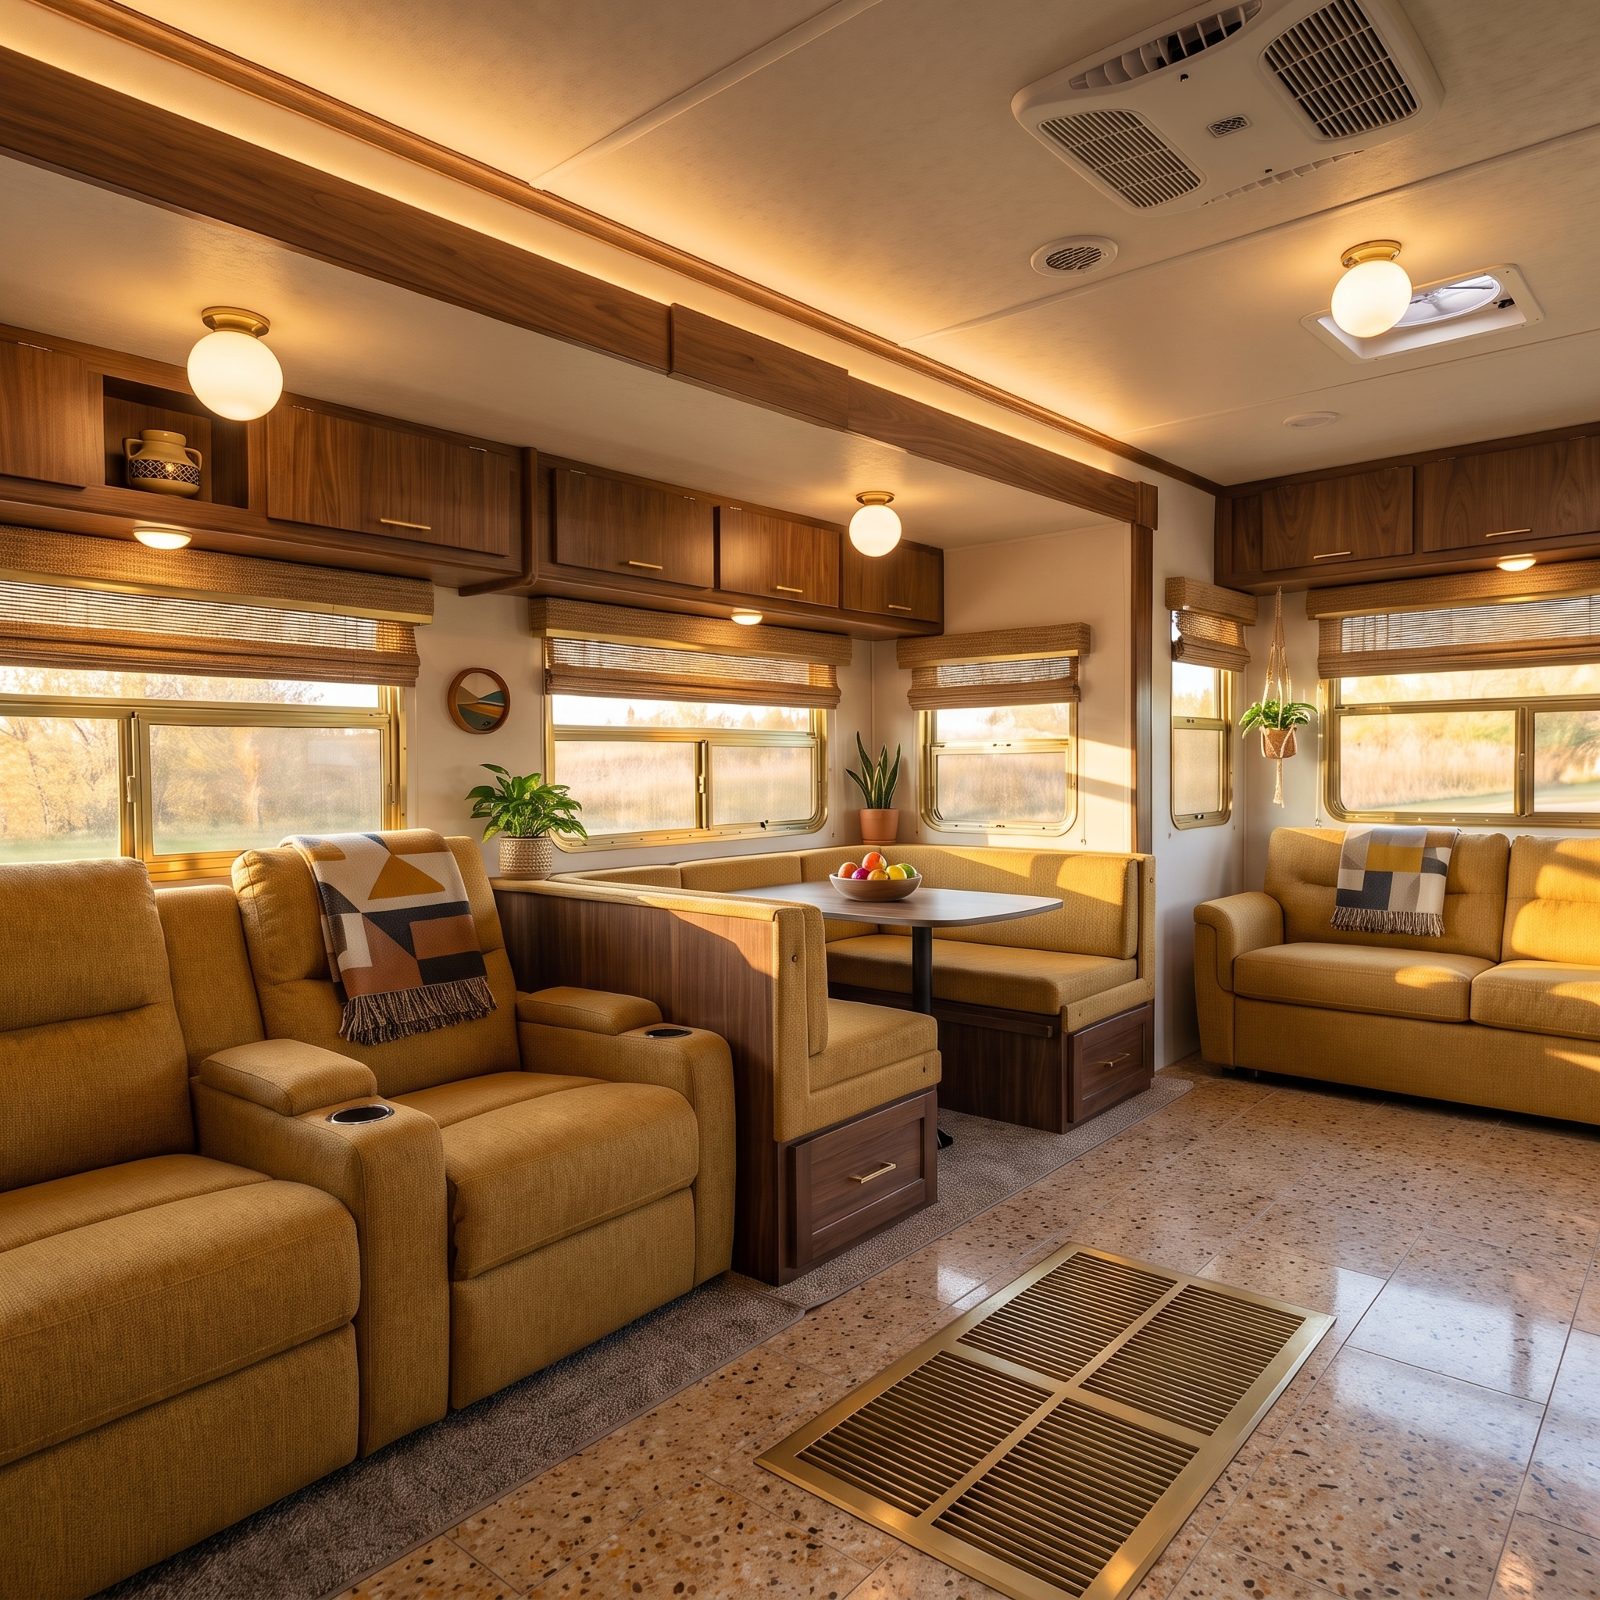
Floor registers take a beating — feet, dropped crumbs, mop water, the odd spilled drink that runs right down into the ductwork. The cheap plastic ones warp and the metal ones rust out at the louvers until they look like they belong in a basement.
Swap them for a solid brass floor grille, even an oversized, doormat-sized one like this that turns the aisle vent into a feature. It costs more than a basic register, but it sits flush with the floor. Get the adjustable kind and you can close off heat to a room nobody’s using, which stretches the furnace and your propane on a cold night.
25. Restore Chalky Fiberglass With an RV-Safe Oxidation Remover
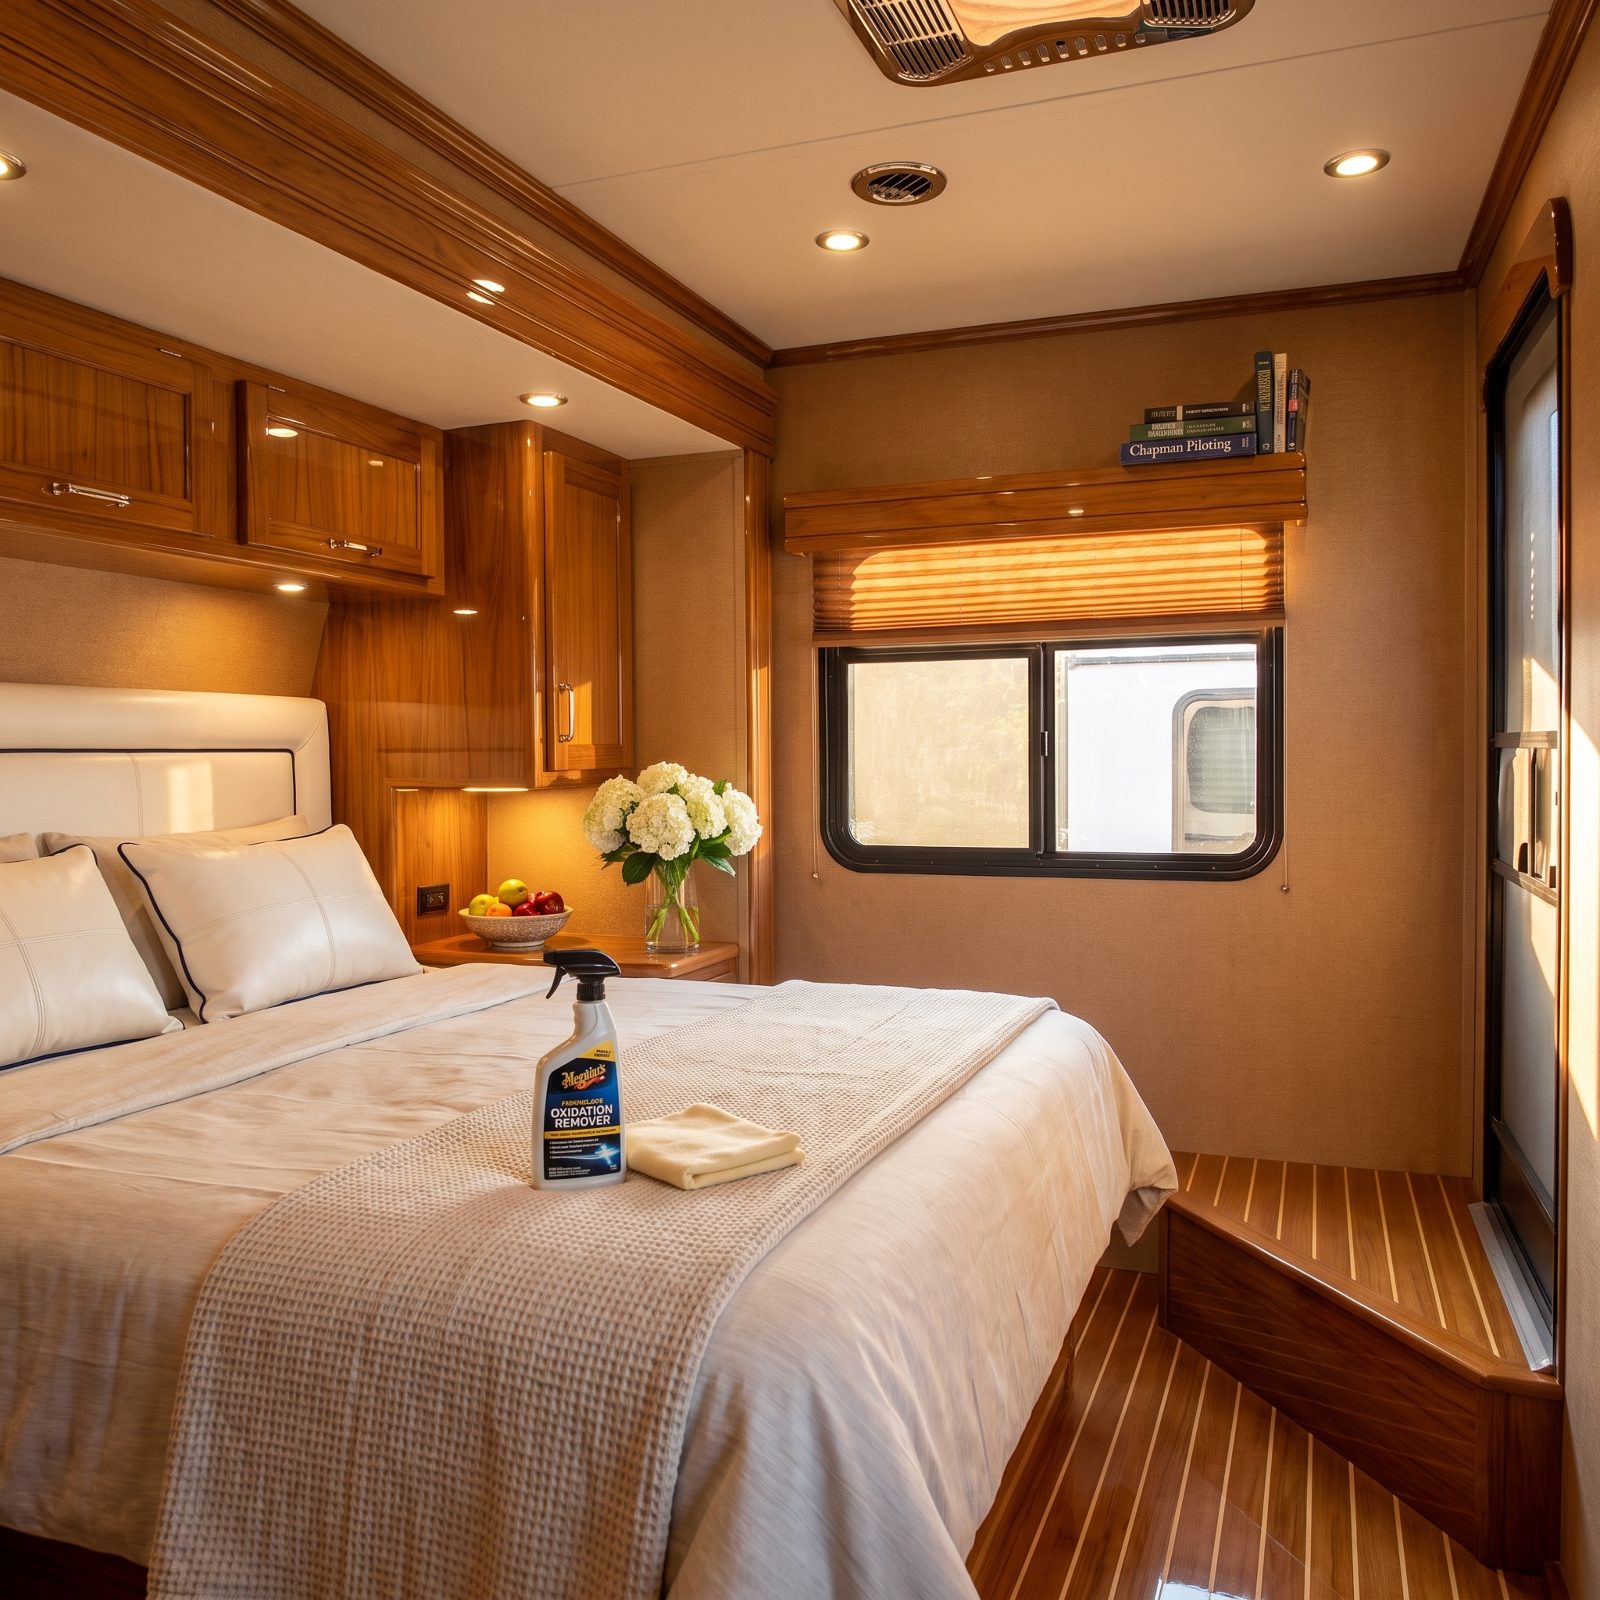
Run your hand down a sun-faded sidewall and it comes back with a white, chalky film. That is oxidation — the gelcoat breaking down under years of UV — and it is why an older rig can look dead from across the lot even when the bones are fine.
An RV-safe oxidation remover, worked in with a folded cloth, cuts through the haze and brings back a surprising amount of the original shine. Work a small section at a time, out of direct sun if you can, and seal it afterward with a UV wax so you are not back here next summer. Sweaty, slow, arm-aching work, no way around it. It also knocks a decade off how the trailer reads, and that is worth a Saturday.
The difference between a tired rig and a cared-for one is often one weekend with a buffer and a sore shoulder.
24. Replace Cloudy Clearance-Marker Lenses With Sealed LED Units
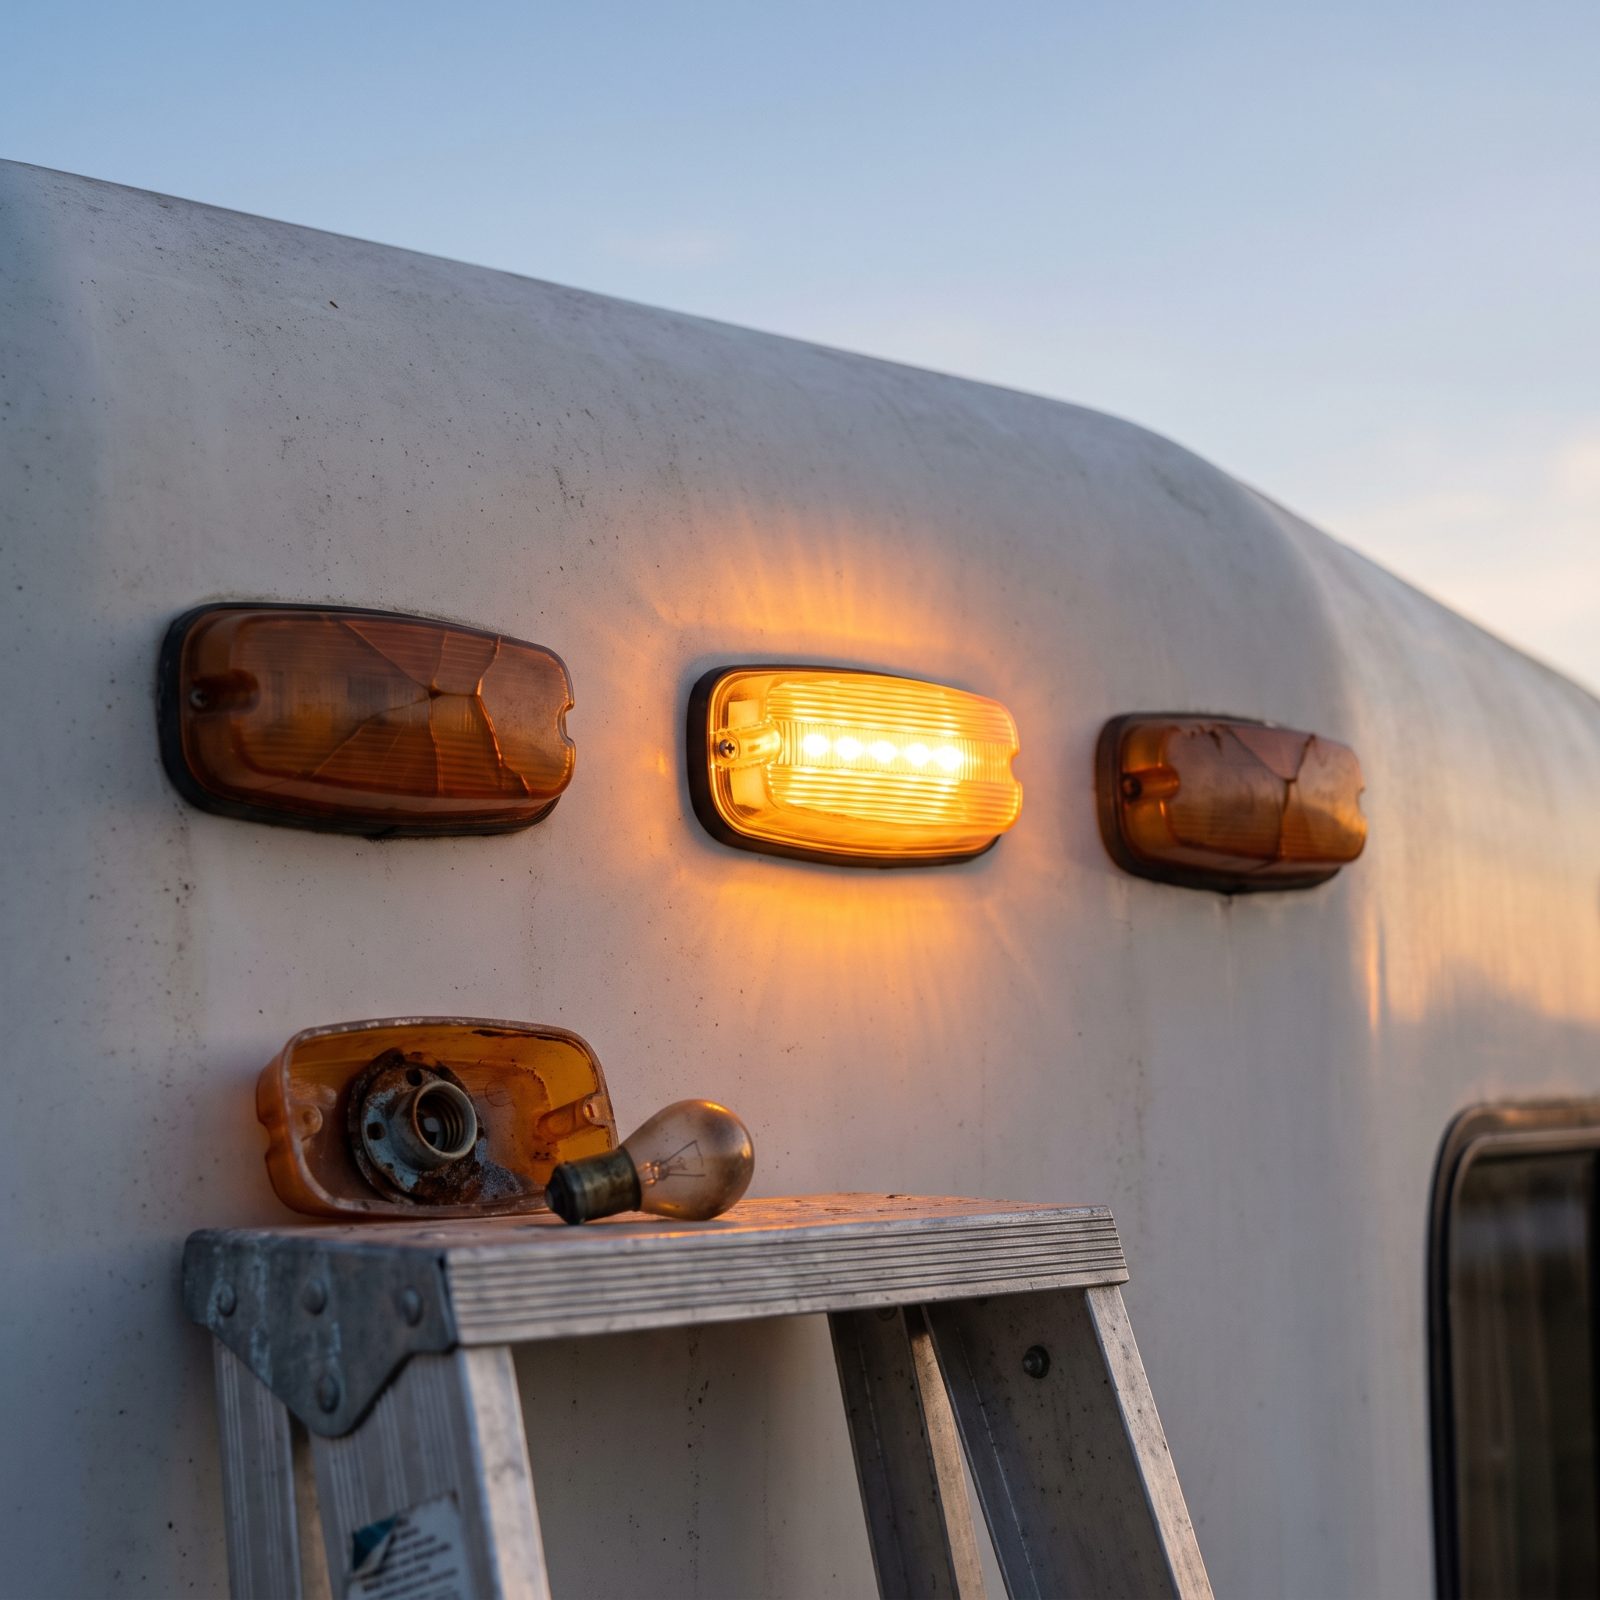
Those little amber marker lights on the outside of the rig crack, cloud over, and fill with dead bugs until the amber goes brown. Half of them have burned-out bulbs you never noticed, because when are you ever standing behind your own rig at night?
Sealed LED replacements fix both problems at once. They draw almost nothing, last for years, and the lens is bonded shut so moisture and ladybugs stay out. There is a legal angle too — those lights are required for a reason, and a dark marker is exactly the kind of thing that catches a trooper’s eye on a dusk highway. Match the base footprint and you are usually looking at two screws and a wire tap per light.
23. Replace a Cloudy Illuminated Entry Grab Handle
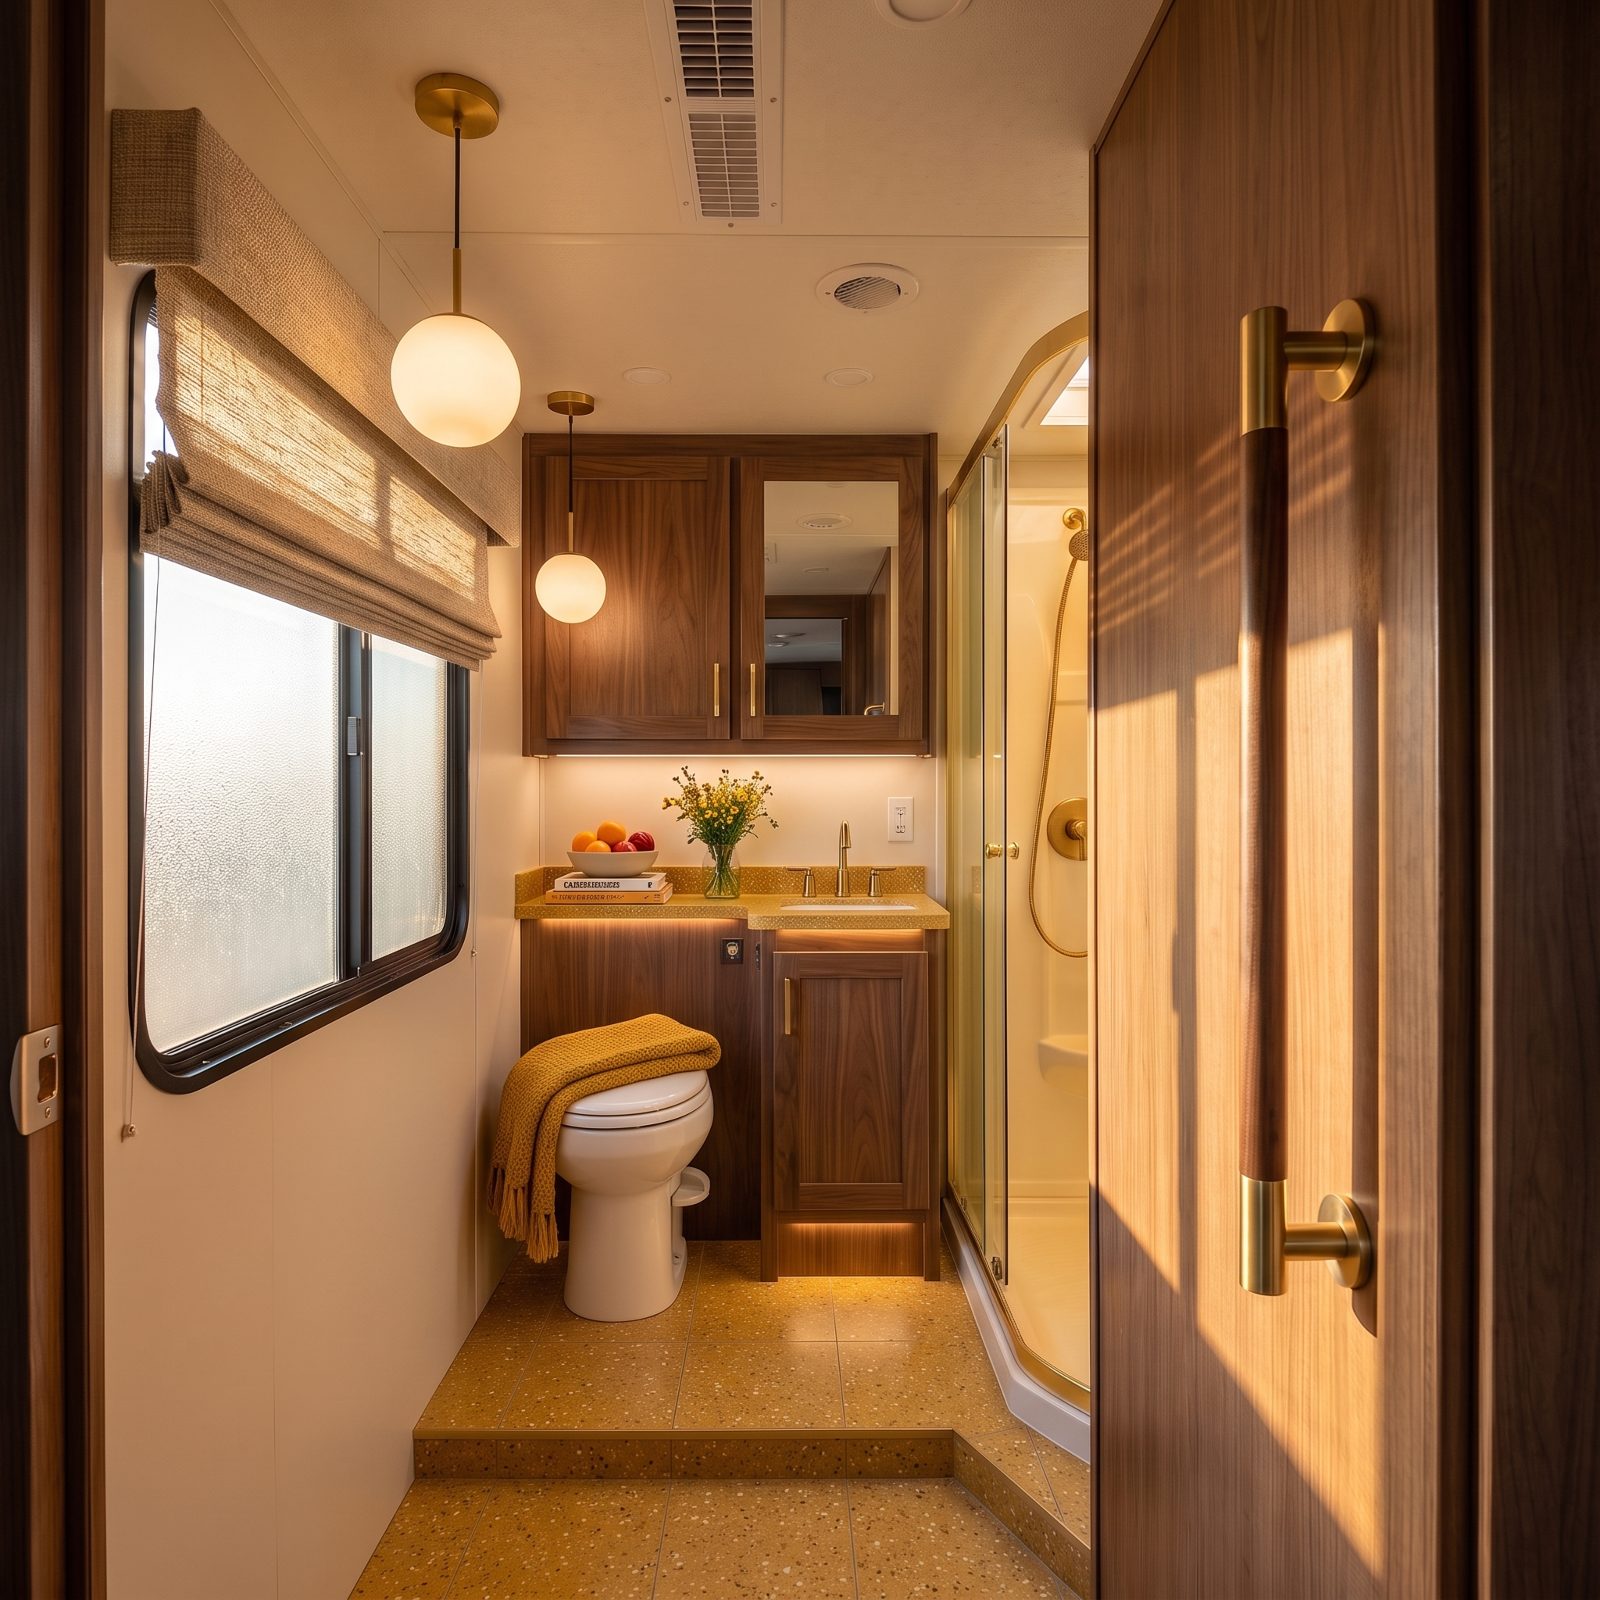
The grab handle at your entry door is the first thing a hand reaches for, and on an older rig it is usually the saddest-looking part of the whole doorway. The plastic yellows, the finish dulls to a brownish film, and half the time it wobbles loose.
New door pulls arrive in warm wood with solid brass posts and cleaner mounting rosettes. Go longer. More handle means more to grab on a wet entry step, which matters a little more every year, no offense intended. Measure the post spacing before you buy so you know whether the old screw holes will line up or need filling. Either way it is a short job with an outsized payoff the next time you reach for the door.
22. Replace Sun-Bleached Baggage-Door Latches
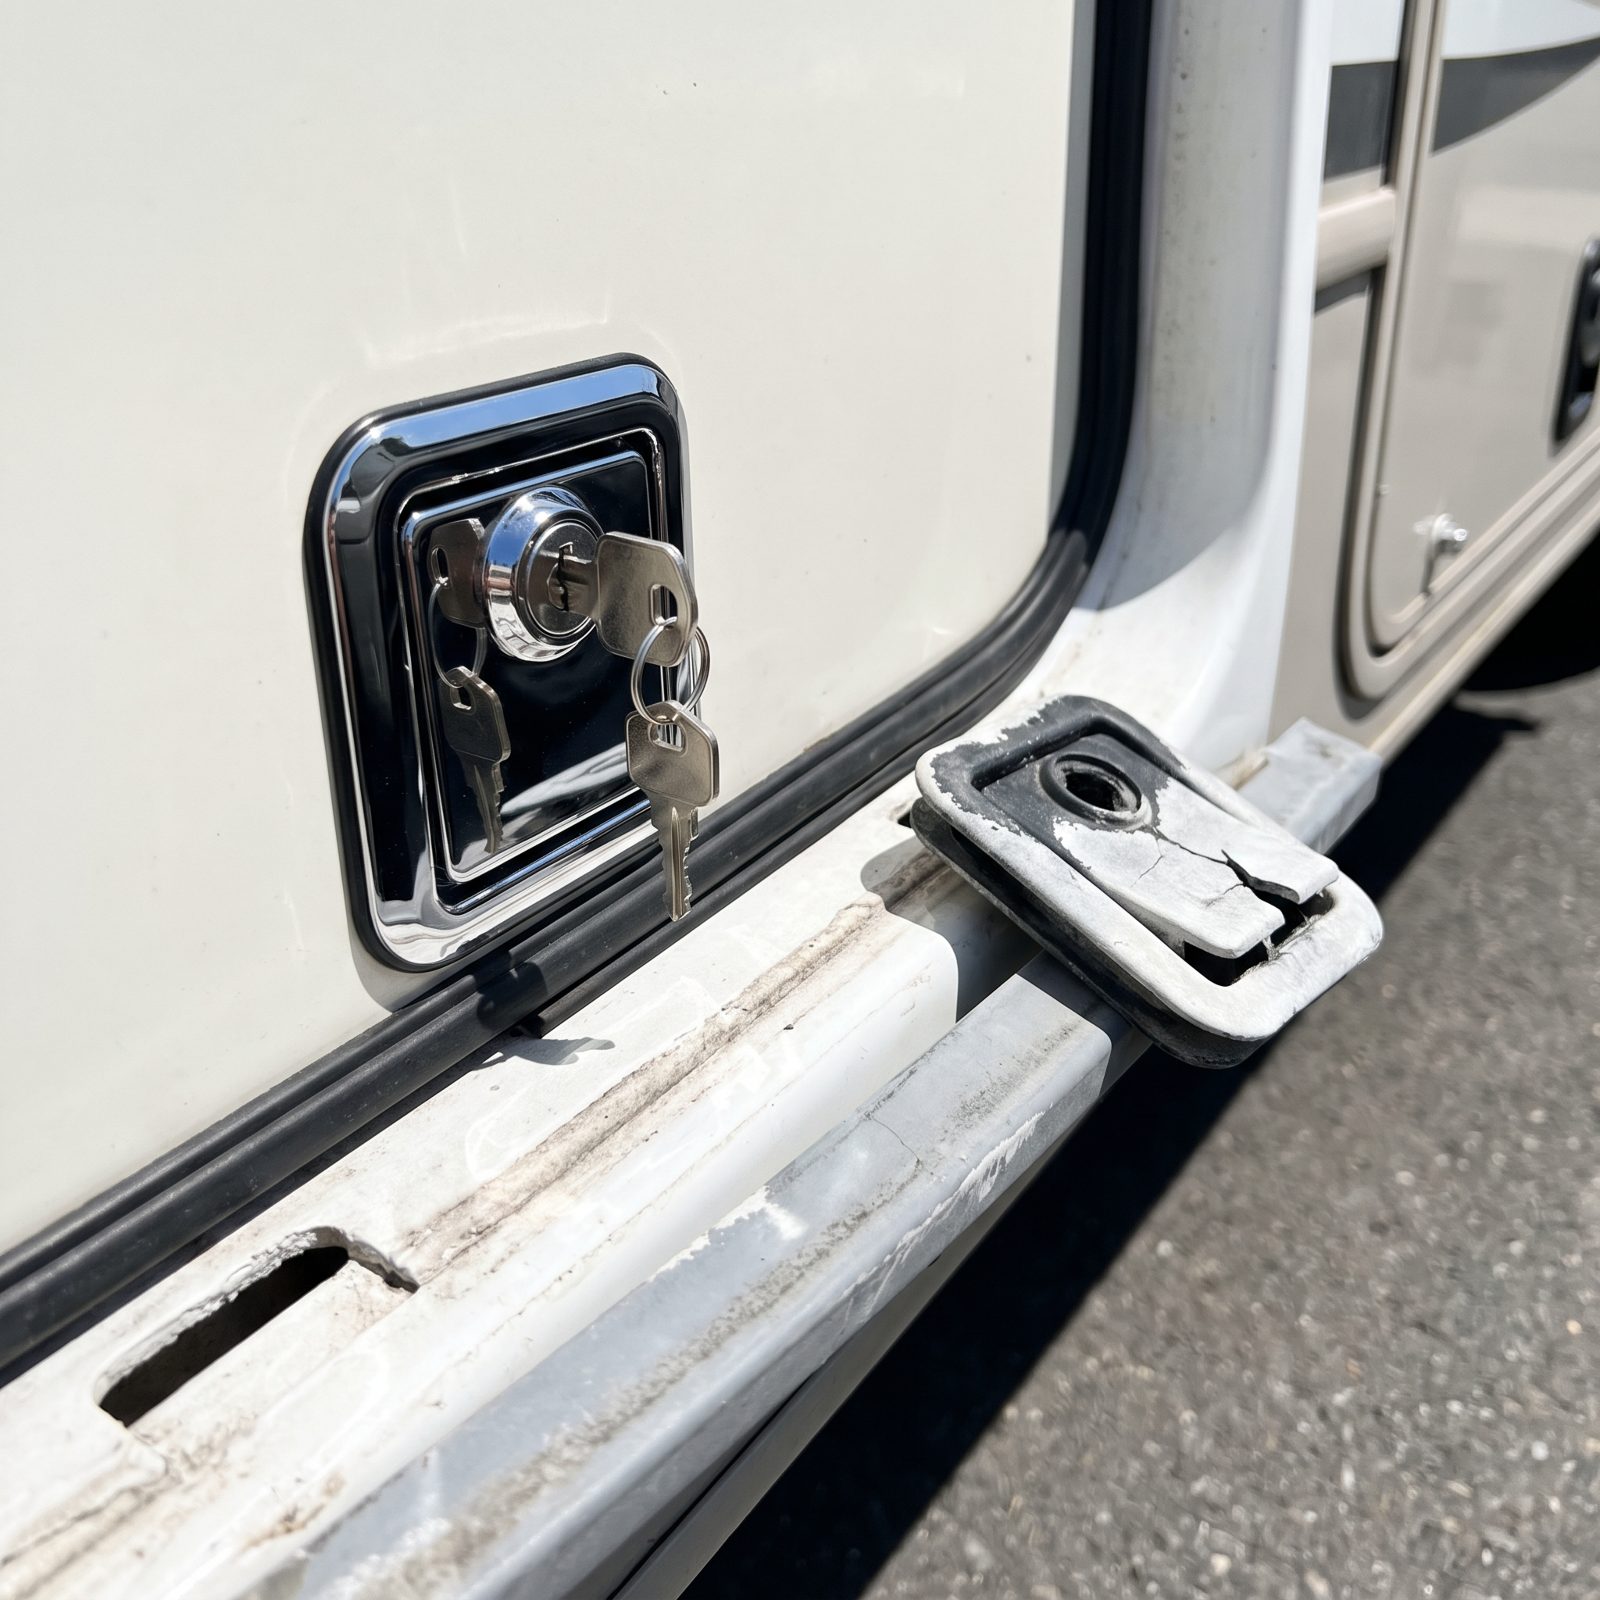
Baggage-door latches sit in full sun their entire lives, so the black plastic bleaches to a dusty gray and the paddle eventually cracks right in your hand. A cracked latch is not just ugly — it stops sealing, and a storage bay that pops open on the highway is a very bad morning.
Flush-mount paddle latches come in standard sizes and swap out with a few screws from inside the door. Buy them keyed alike if you can, so one key runs every bay instead of the sad ring of mystery keys most of us end up carrying. Crisp lines across the whole lower half of the rig, instantly.
21. Renew Crushed Seals Around Exterior Storage Compartments
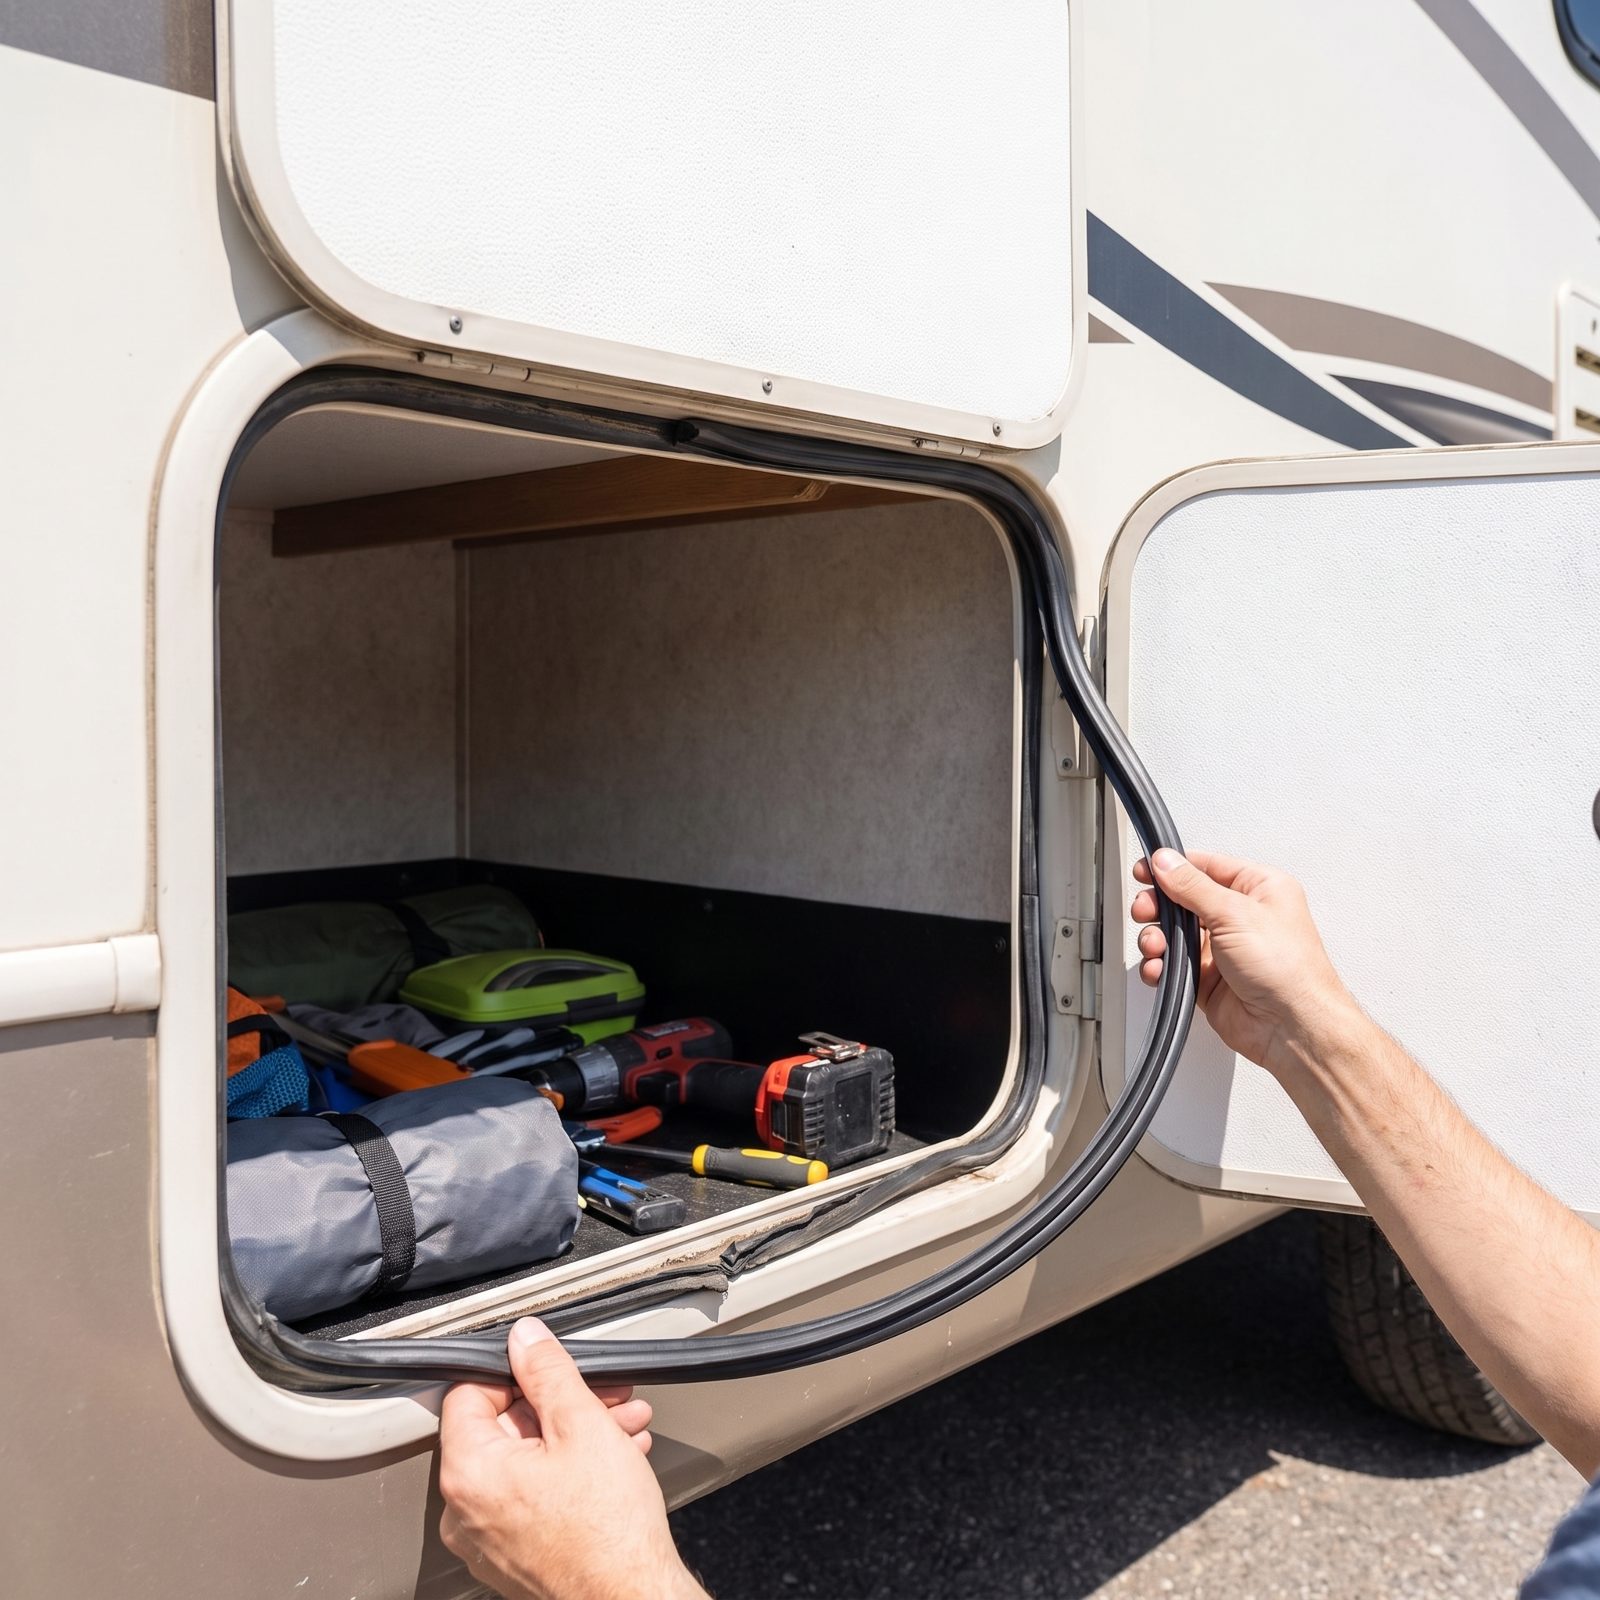
Pop a storage bay and run a finger along the door seal. Flat, cracked, or crumbling? That is where road dust and rain have been sneaking in for years, which is why your tools came out gritty last trip.
Bulb-style weatherstripping sells by the foot and presses into the existing channel or glues to a clean frame. Degrease the surface first so the new seal actually sticks. The one mistake everyone makes is slapping it onto a dirty, greasy channel and then watching it peel off within a month.
20. Replace a Cracked Fresh-Water Fill Hatch
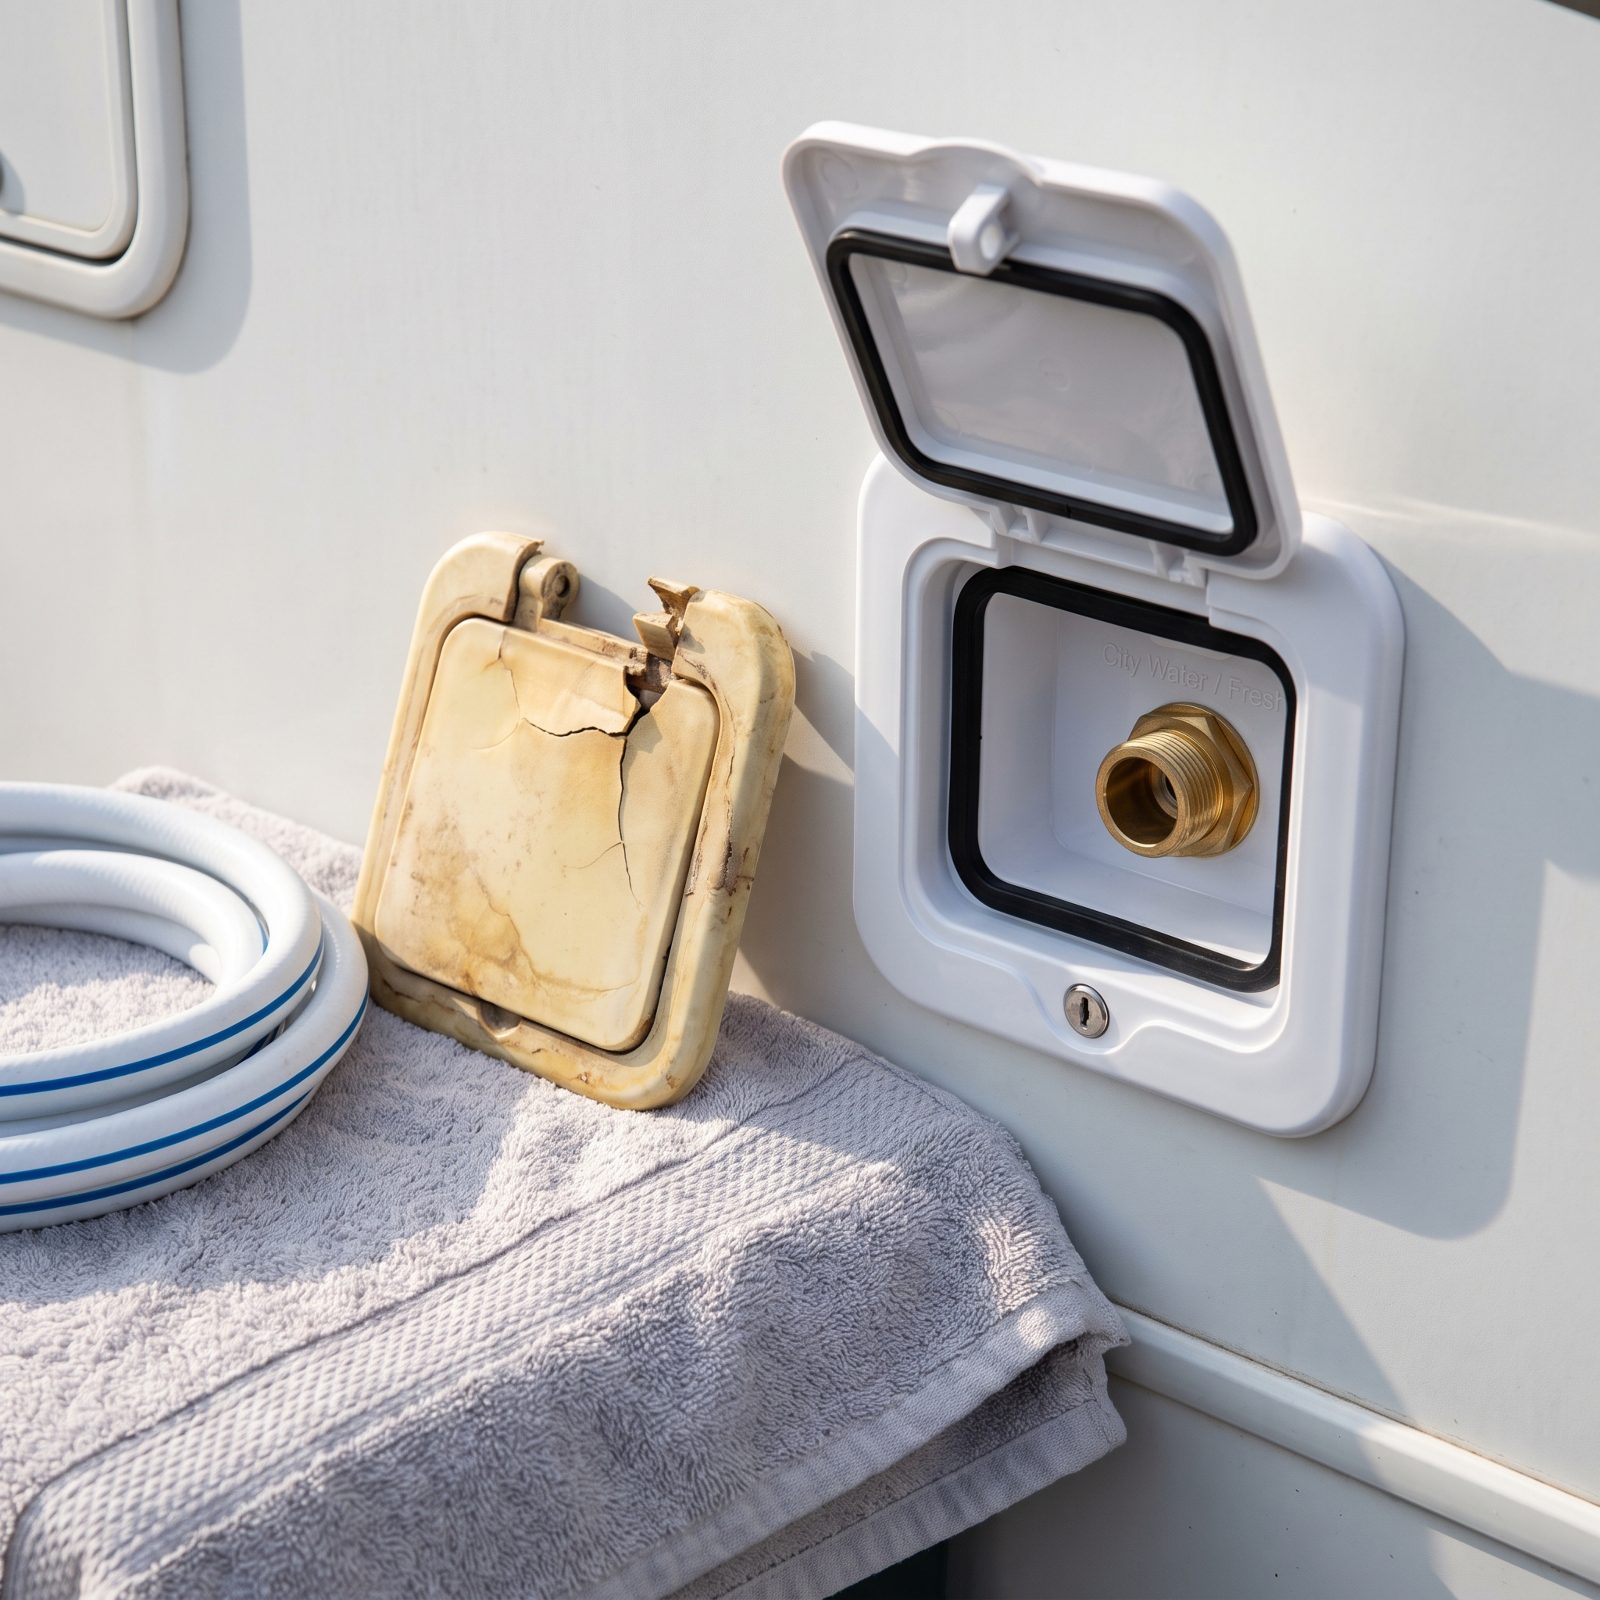
The fresh-water fill hatch is small, but a cracked one lets dirt, bugs, and road grime sit right against the inlet you drink from. Those lid hinges snap in the sun, and then the thing flaps open on the highway or just hangs there looking broken.
Replacement hatches are cheap and match common cutout sizes, so you usually reuse the hole. Pop the old one out, lay a bead of sealant behind the new flange, and screw it in. A clean, closing hatch over your drinking-water fill is a small thing that says the whole rig gets looked after. And it keeps the wasps out of a spot you really, really do not want wasps.
19. Update the Yellowed Entry-Door Window Frame and Shade

Nobody notices the entry-door window until they notice nothing else. That little frame yellows faster than anything in the rig because it bakes in direct sun every single day, and by year eight the polished stainless trim has dulled under a film the color of weak tea.
You’ve got two honest routes. A non-abrasive stainless polish and a soft microfiber cloth will lift the tint cheap. Or, if your model still has parts, swap the whole frame-and-shade cassette — it costs more but looks like it rolled off the lot yesterday.
18. Add New Nonslip Treads to the Entry Steps
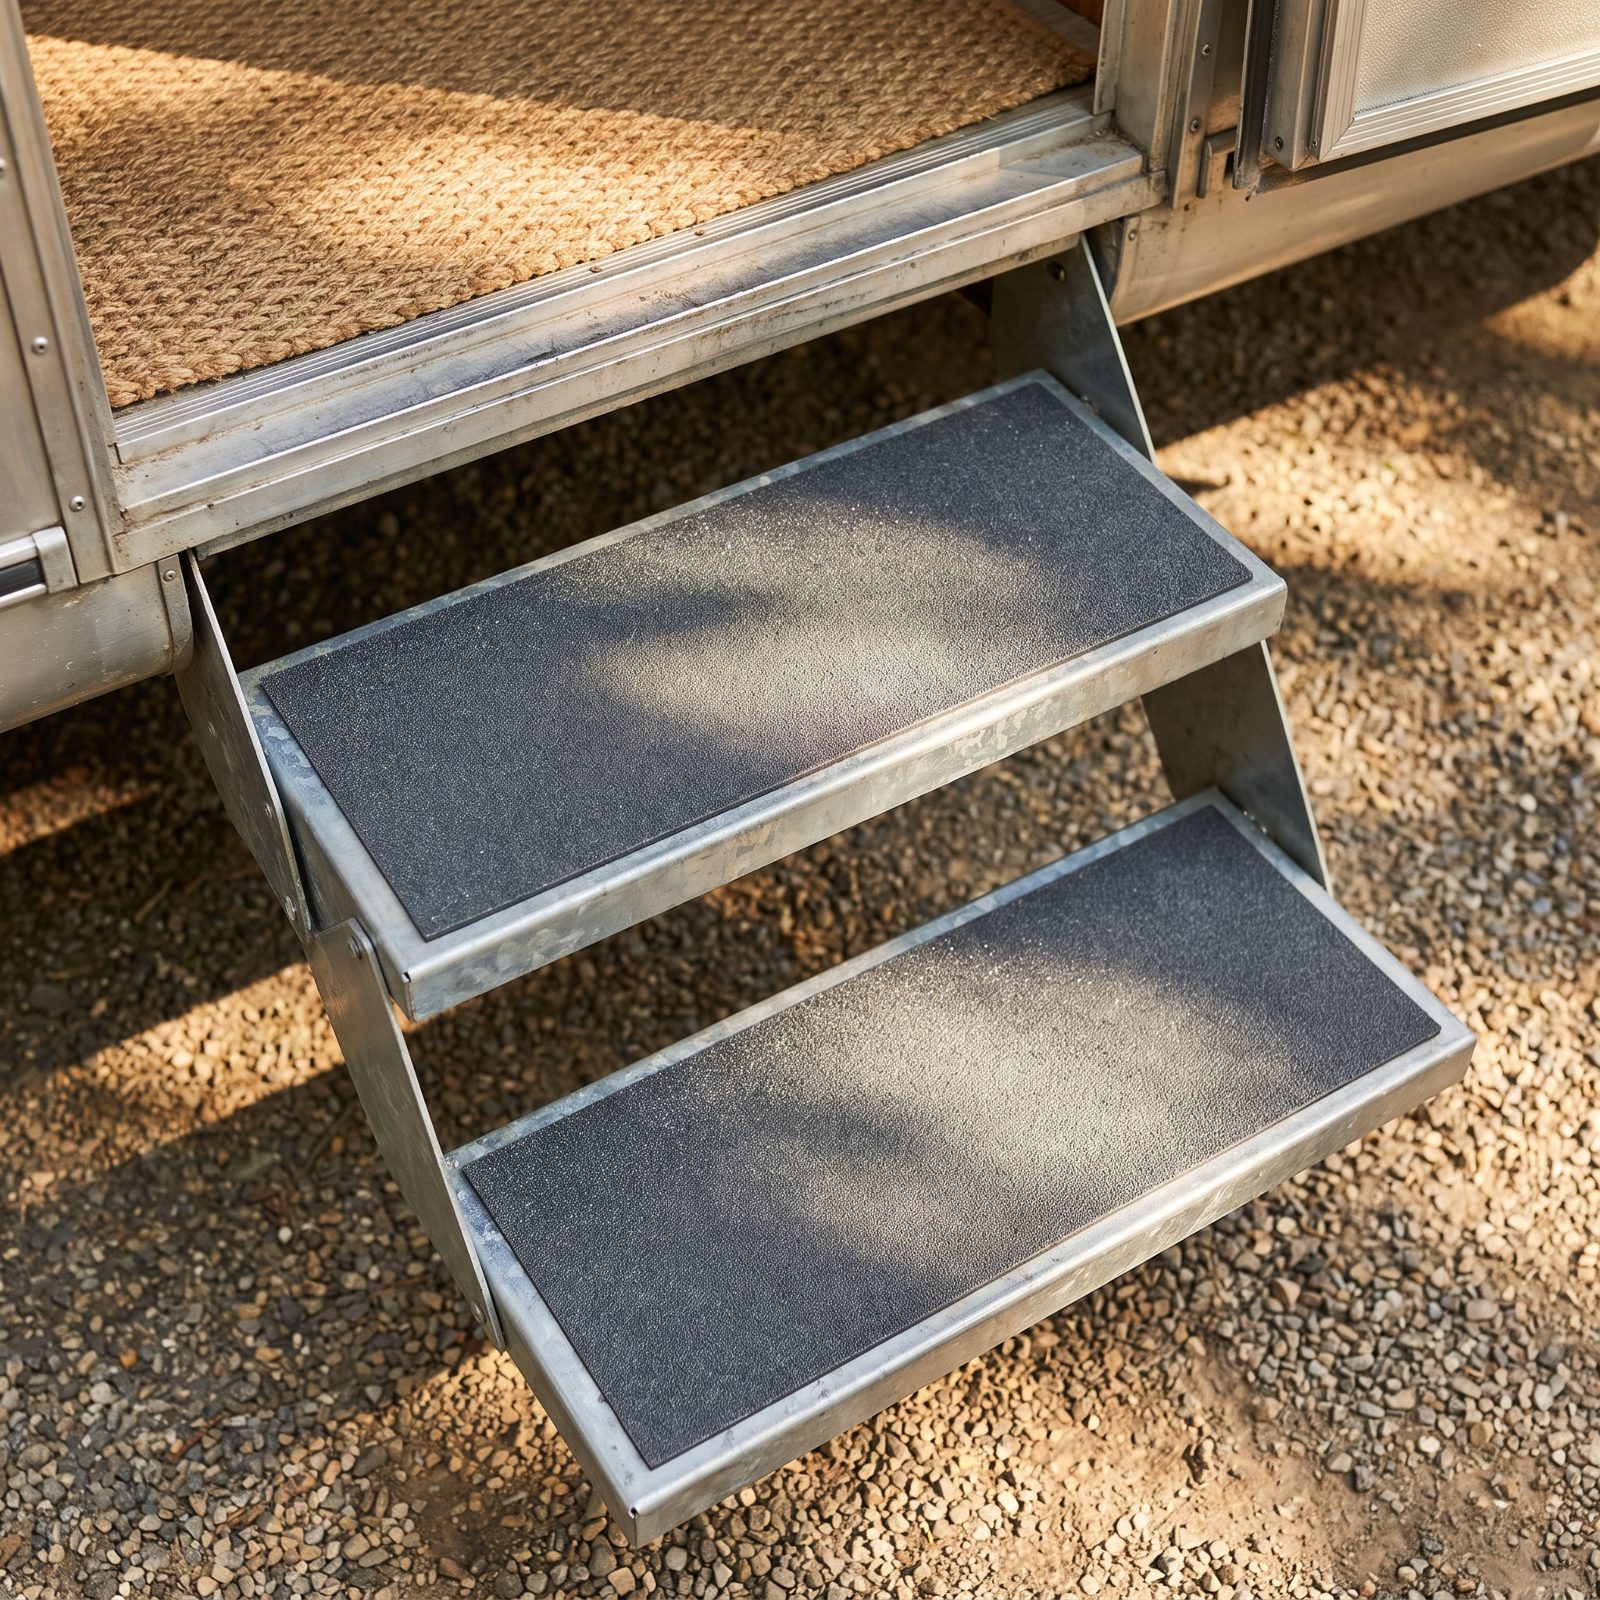
Wet metal RV steps are an ankle injury waiting for a rainy morning. The factory grip wears flat in a few seasons, and that’s exactly when you’re climbing up with coffee in one hand and a dog leash in the other.
Black gritty nonslip tread pads solve it with style. A set covers a two- or three-step unit, and the textured surface gives wet shoes something solid to grip.
17. Replace a Frayed Awning Pull Strap
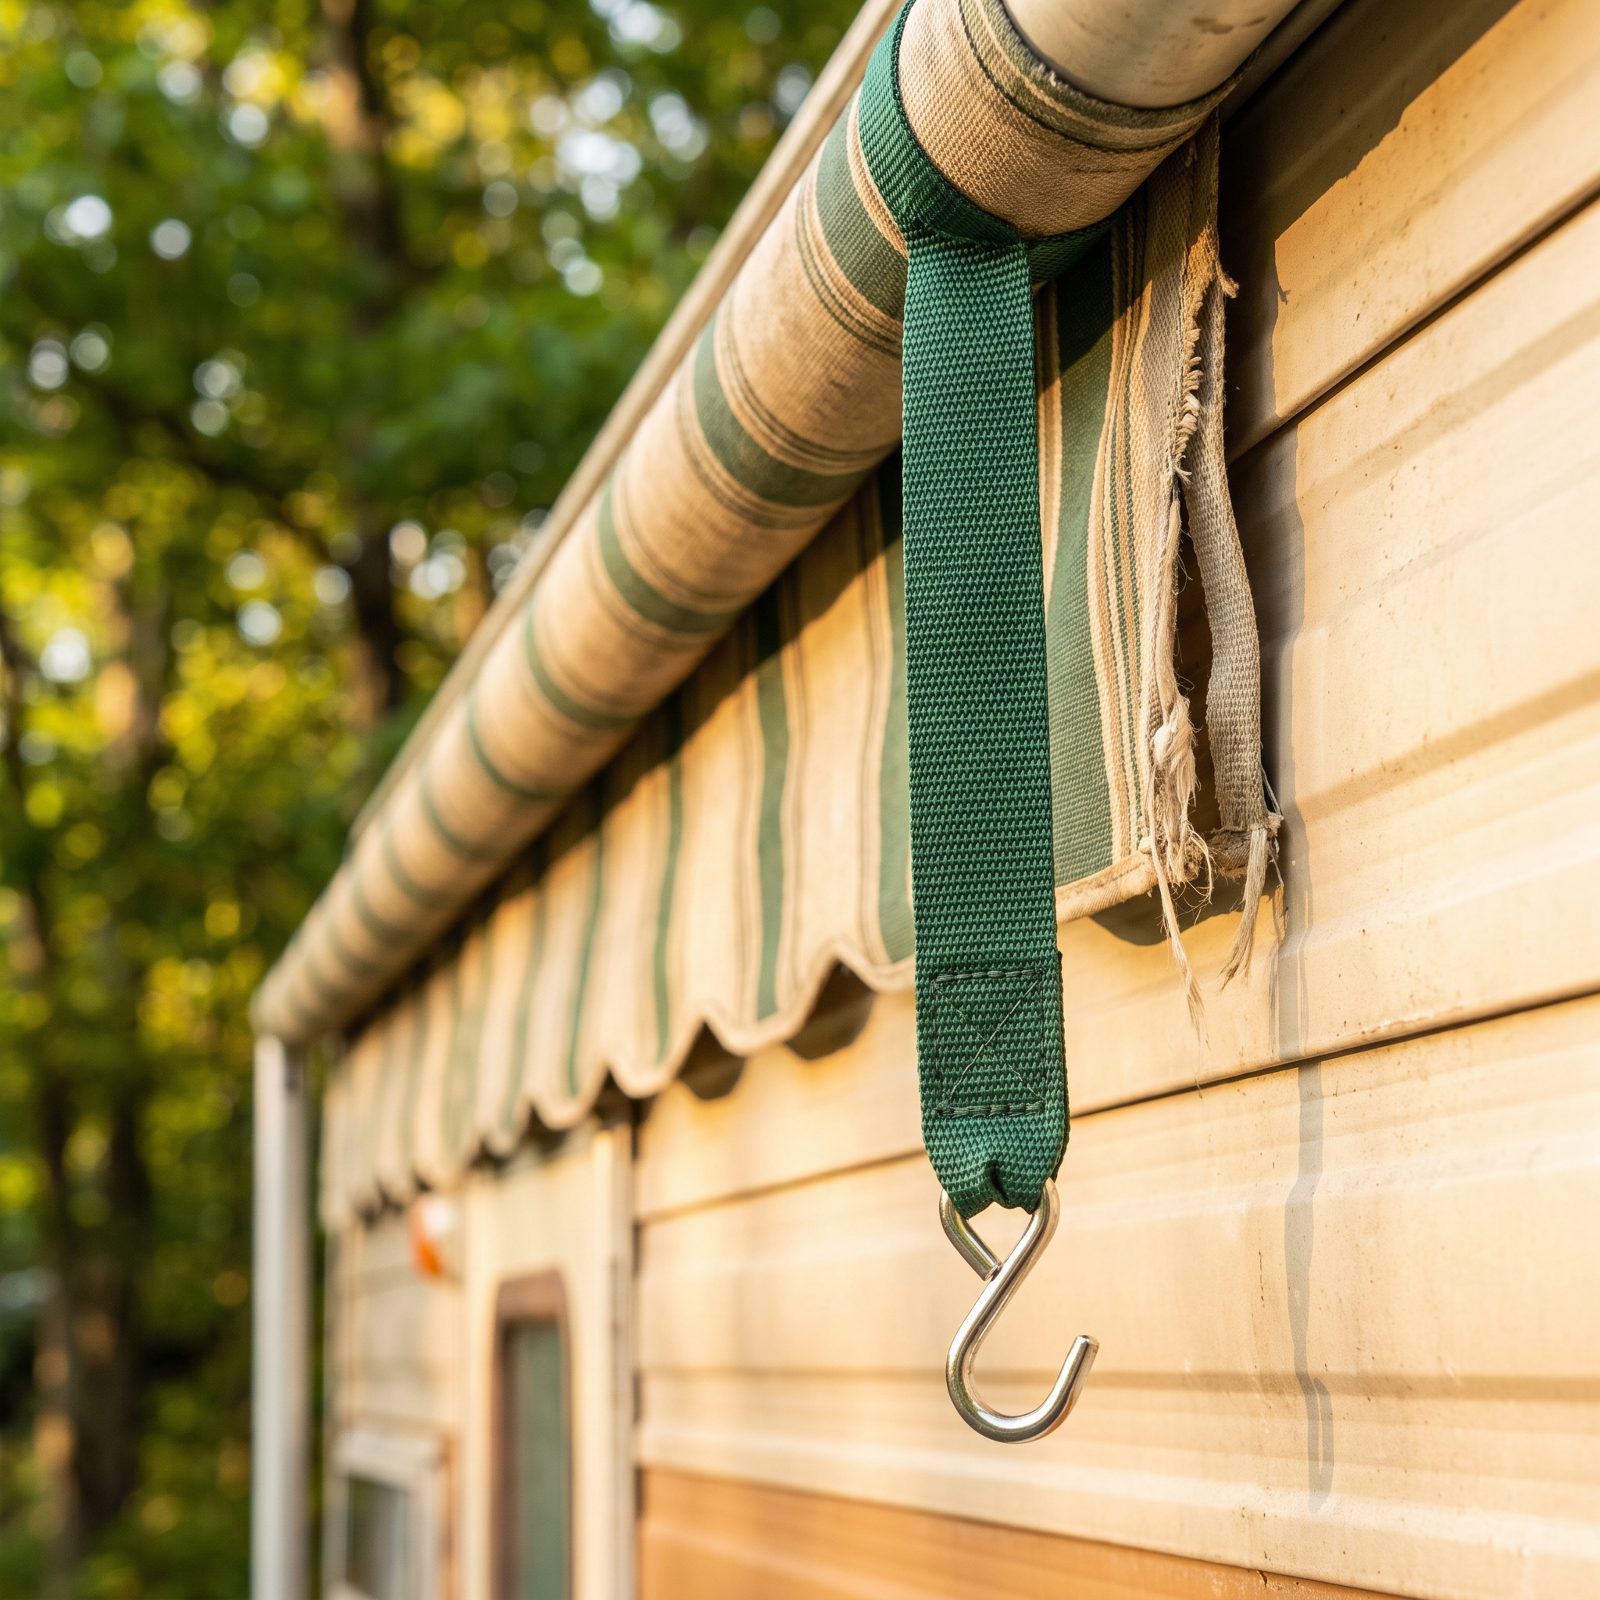
That green awning pull strap dangling from the rolled-up awning is the thing you grab a hundred times a trip. And the day it finally snaps is always the day a storm is rolling in and you need the awning stowed five minutes ago.
Replacements cost a few dollars. Most are universal nylon webbing with a hook, cut to length. The whole swap takes less time than brewing a pot of coffee, and it kills one small daily irritation you’ve probably stopped even seeing.
16. Swap Dated Cabinet Pulls for Coordinated Modern Hardware
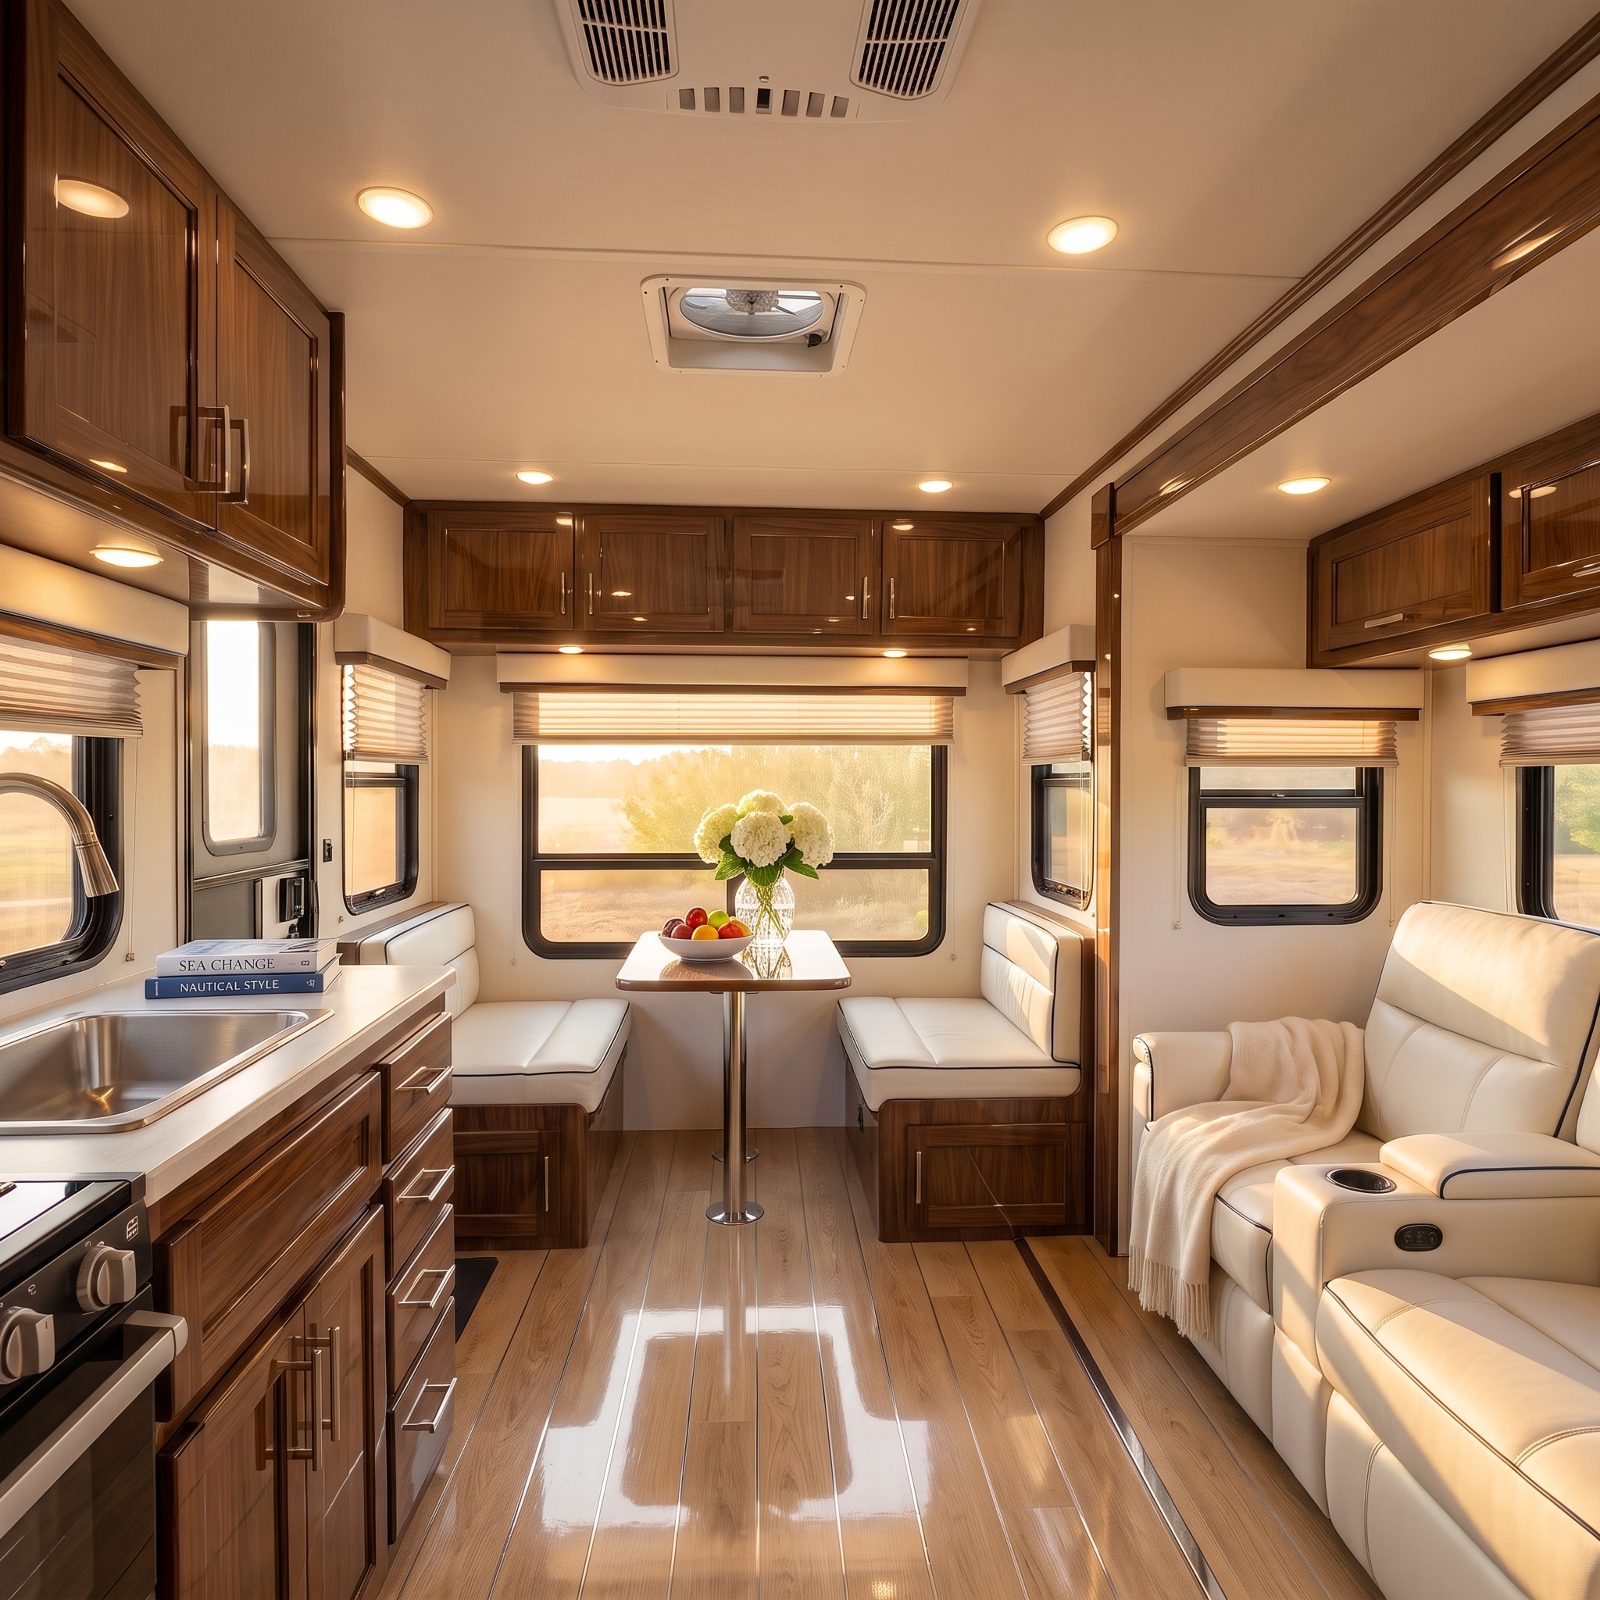
Cabinet hardware is the cheapest way to drag an interior out of its original decade. Those dated plastic knobs read “rental from a long time ago” the second you walk in, and nobody’s cabinets ever came with good pulls.
Here’s the catch everyone learns on install day: measure your existing hole spacing before you buy. RV cabinets use standard bar-pull centers, but mix them up and you’re drilling fresh holes into thin laminate doors that chip.
15. Install a Lightweight Peel-and-Stick Kitchen Backsplash
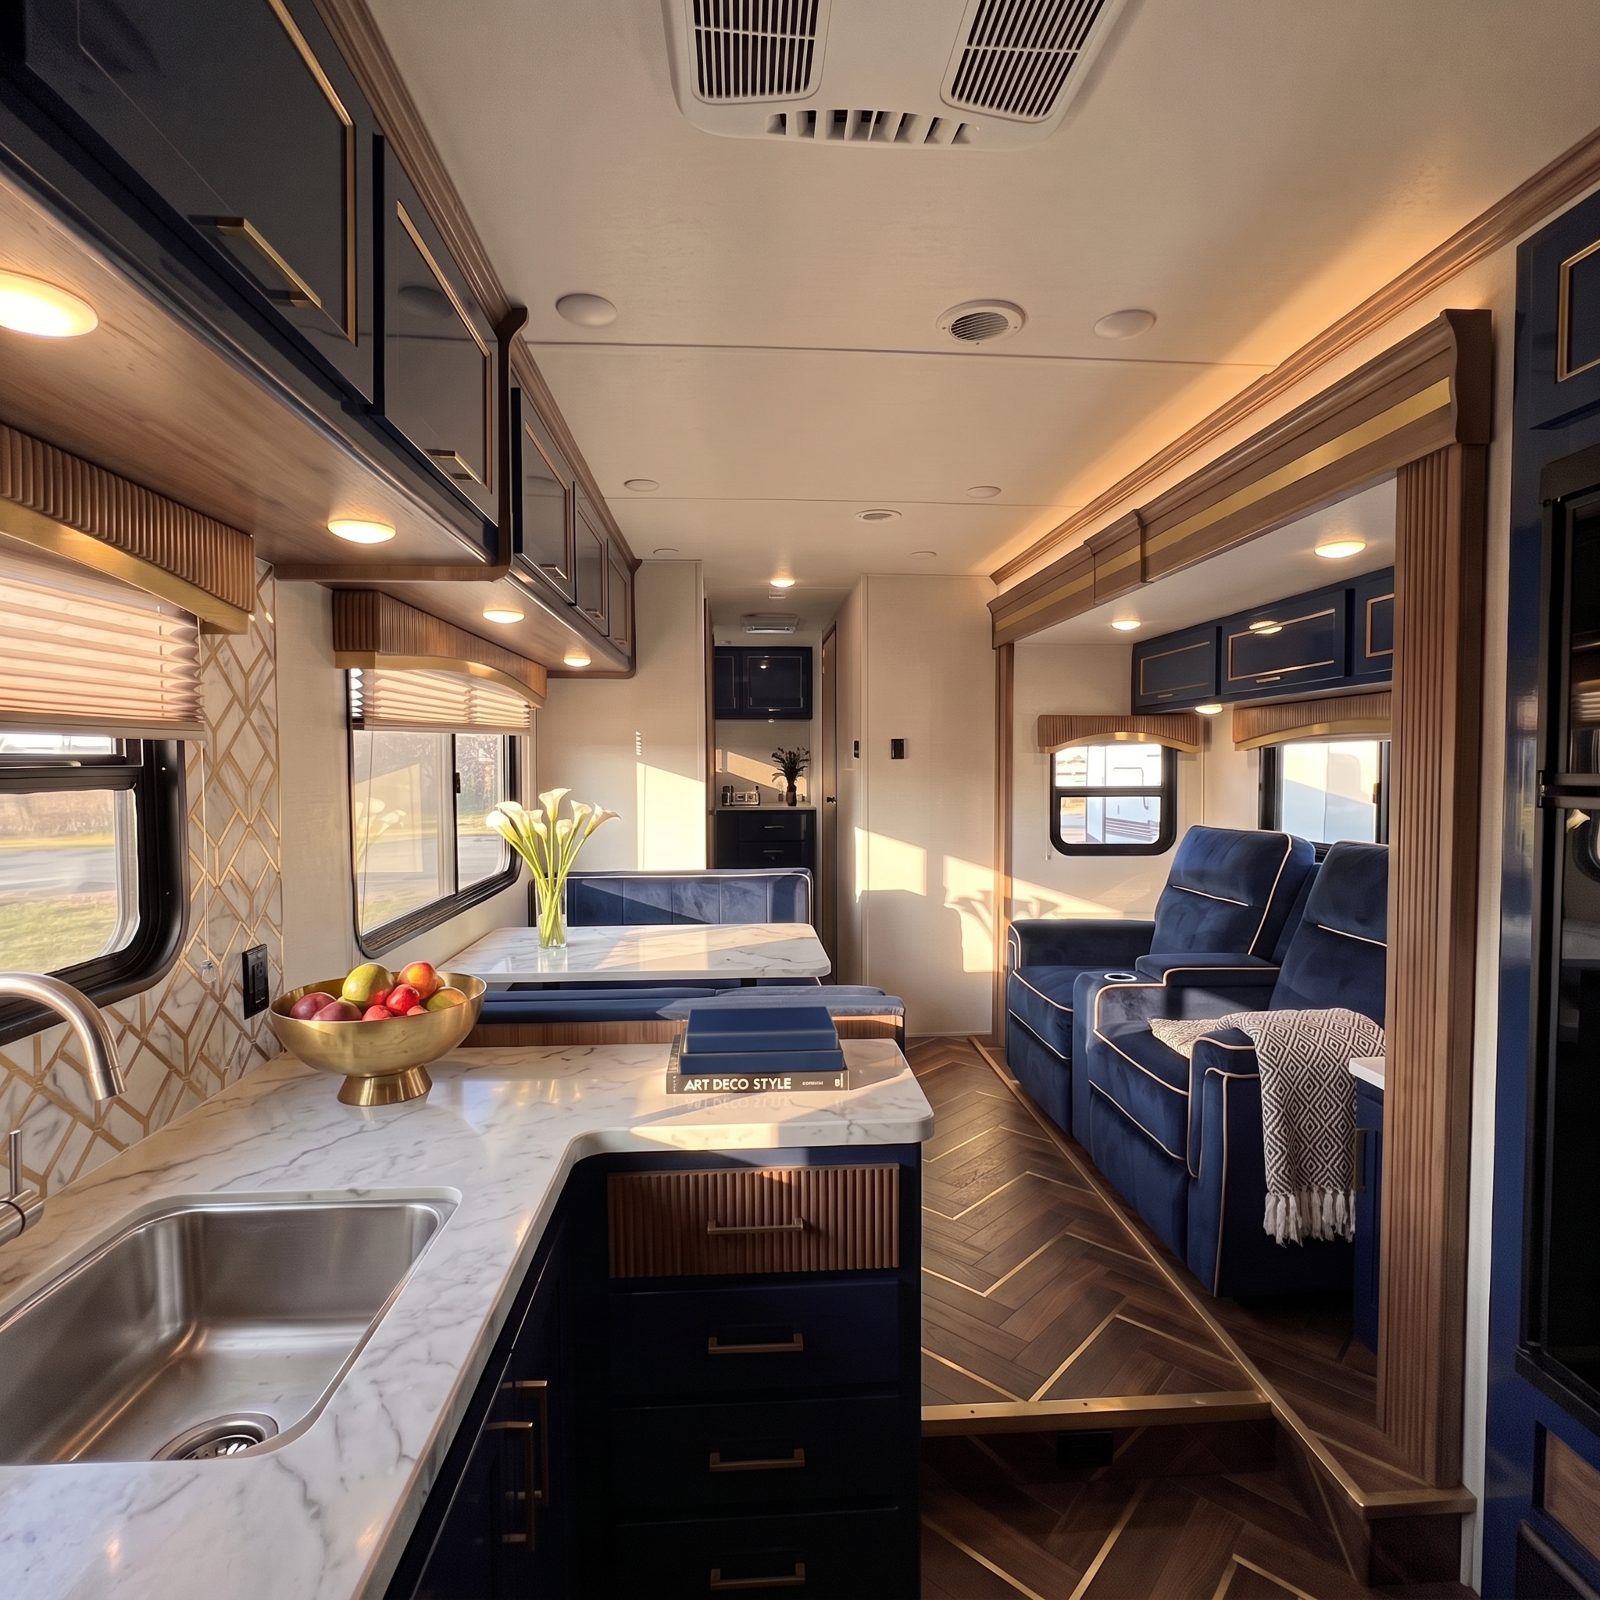
The galley wall behind the sink takes water splashes, soap spots, and years of wiping until the original finish looks tired. A peel-and-stick backsplash covers all of it for the price of a tank of gas.
Weight matters in an RV, so skip the gel tiles that add pounds. Thin vinyl sheets weigh almost nothing and won’t stress the wall. Clean the surface with degreaser first — adhesive and old grime do not get along.
The trick people miss: press the edges down hard with a plastic smoothing tool, then seal the seam along the countertop behind the sink with a bead of clear silicone so water can’t lift it.
14. Wrap a Worn Laminate Countertop With Heat-Resistant Architectural Film
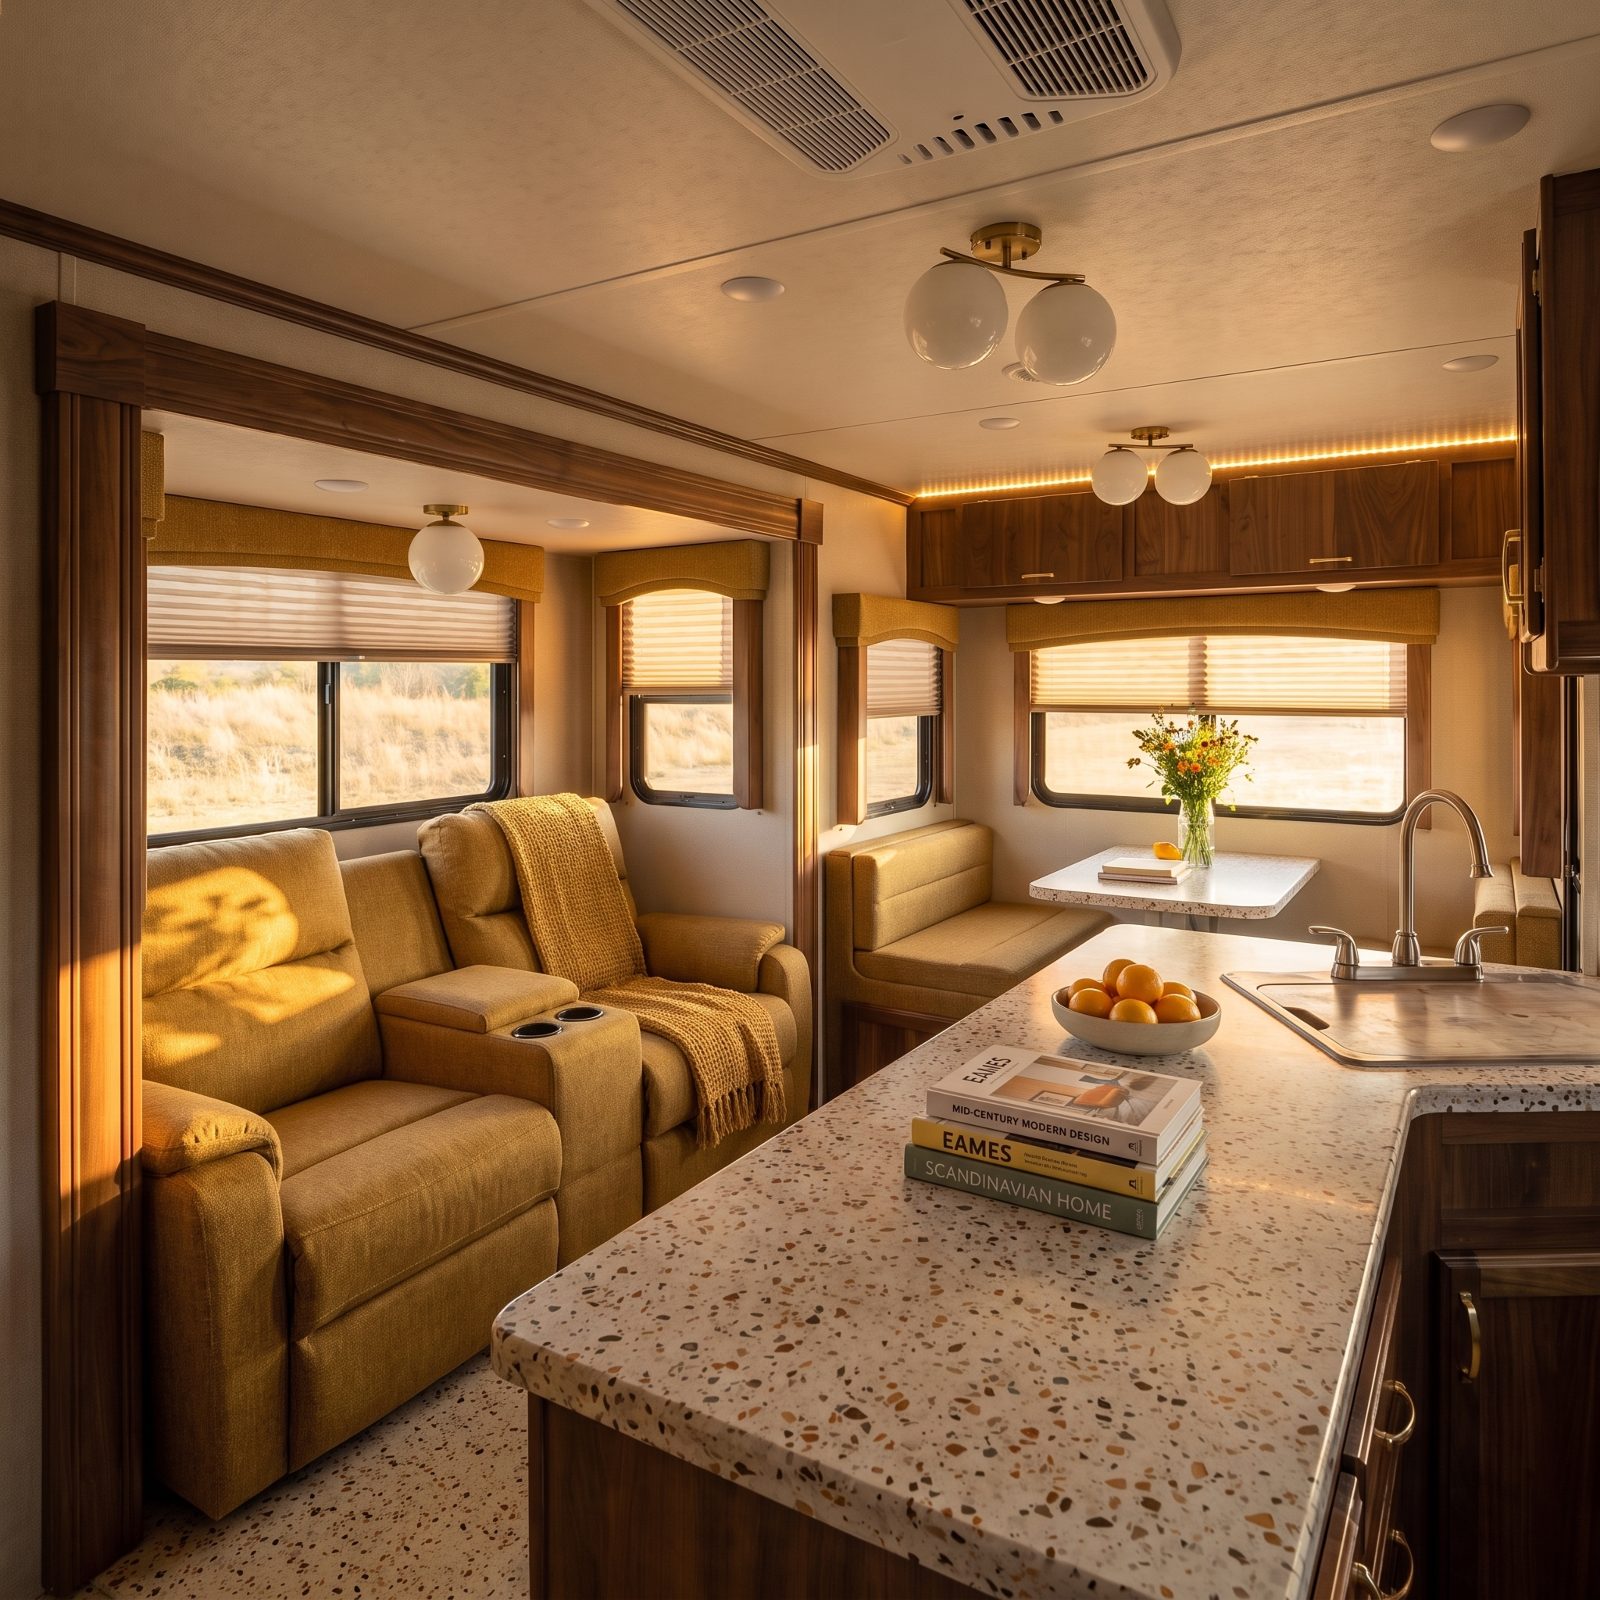
A scratched, dated laminate counter is one of the loudest giveaways of an aging rig, and full replacement means pulling the sink and cooktop. Vinyl film skips all that.
Now the restraint part. Use film rated heat-resistant, and never set a hot pan straight on it regardless. Most of these wraps handle warm, not scorching. A cheap decorative one near a cooktop will bubble and peel, leaving you worse off than the scratches.
13. Refinish the Dinette Tabletop and Seal Its Edges

The dinette table lives harder than any surface in the rig. Elbows, coffee rings, puzzle nights, kids doing homework — all of it landing on the one spot everyone gathers around.
The edges are where old tables die first. That thin banding chips and swells with moisture. Sand it smooth, refinish the top, and seal the whole perimeter with edge banding or a bead of finish. Skip the edges and water creeps under the laminate within a season, undoing everything you just did.
12. Remove Bulky Upholstered Valances to Expose More Window

Those padded fabric valances crowning every RV window are the single most dated thing in most older rigs. They eat an inch or two of glass at the top, trap dust, and announce the exact year the coach rolled off the line.
Pull them. The window instantly feels taller, more light gets in, and the whole cabin reads lighter. Fill the mounting screw holes with a dab of color-matched filler and you’d never know they were there.
The fastest way to make an old RV feel newer is to let more daylight in, and the valances are standing in the way.
11. Replace Bent Mini Blinds With Compact Roller Shades
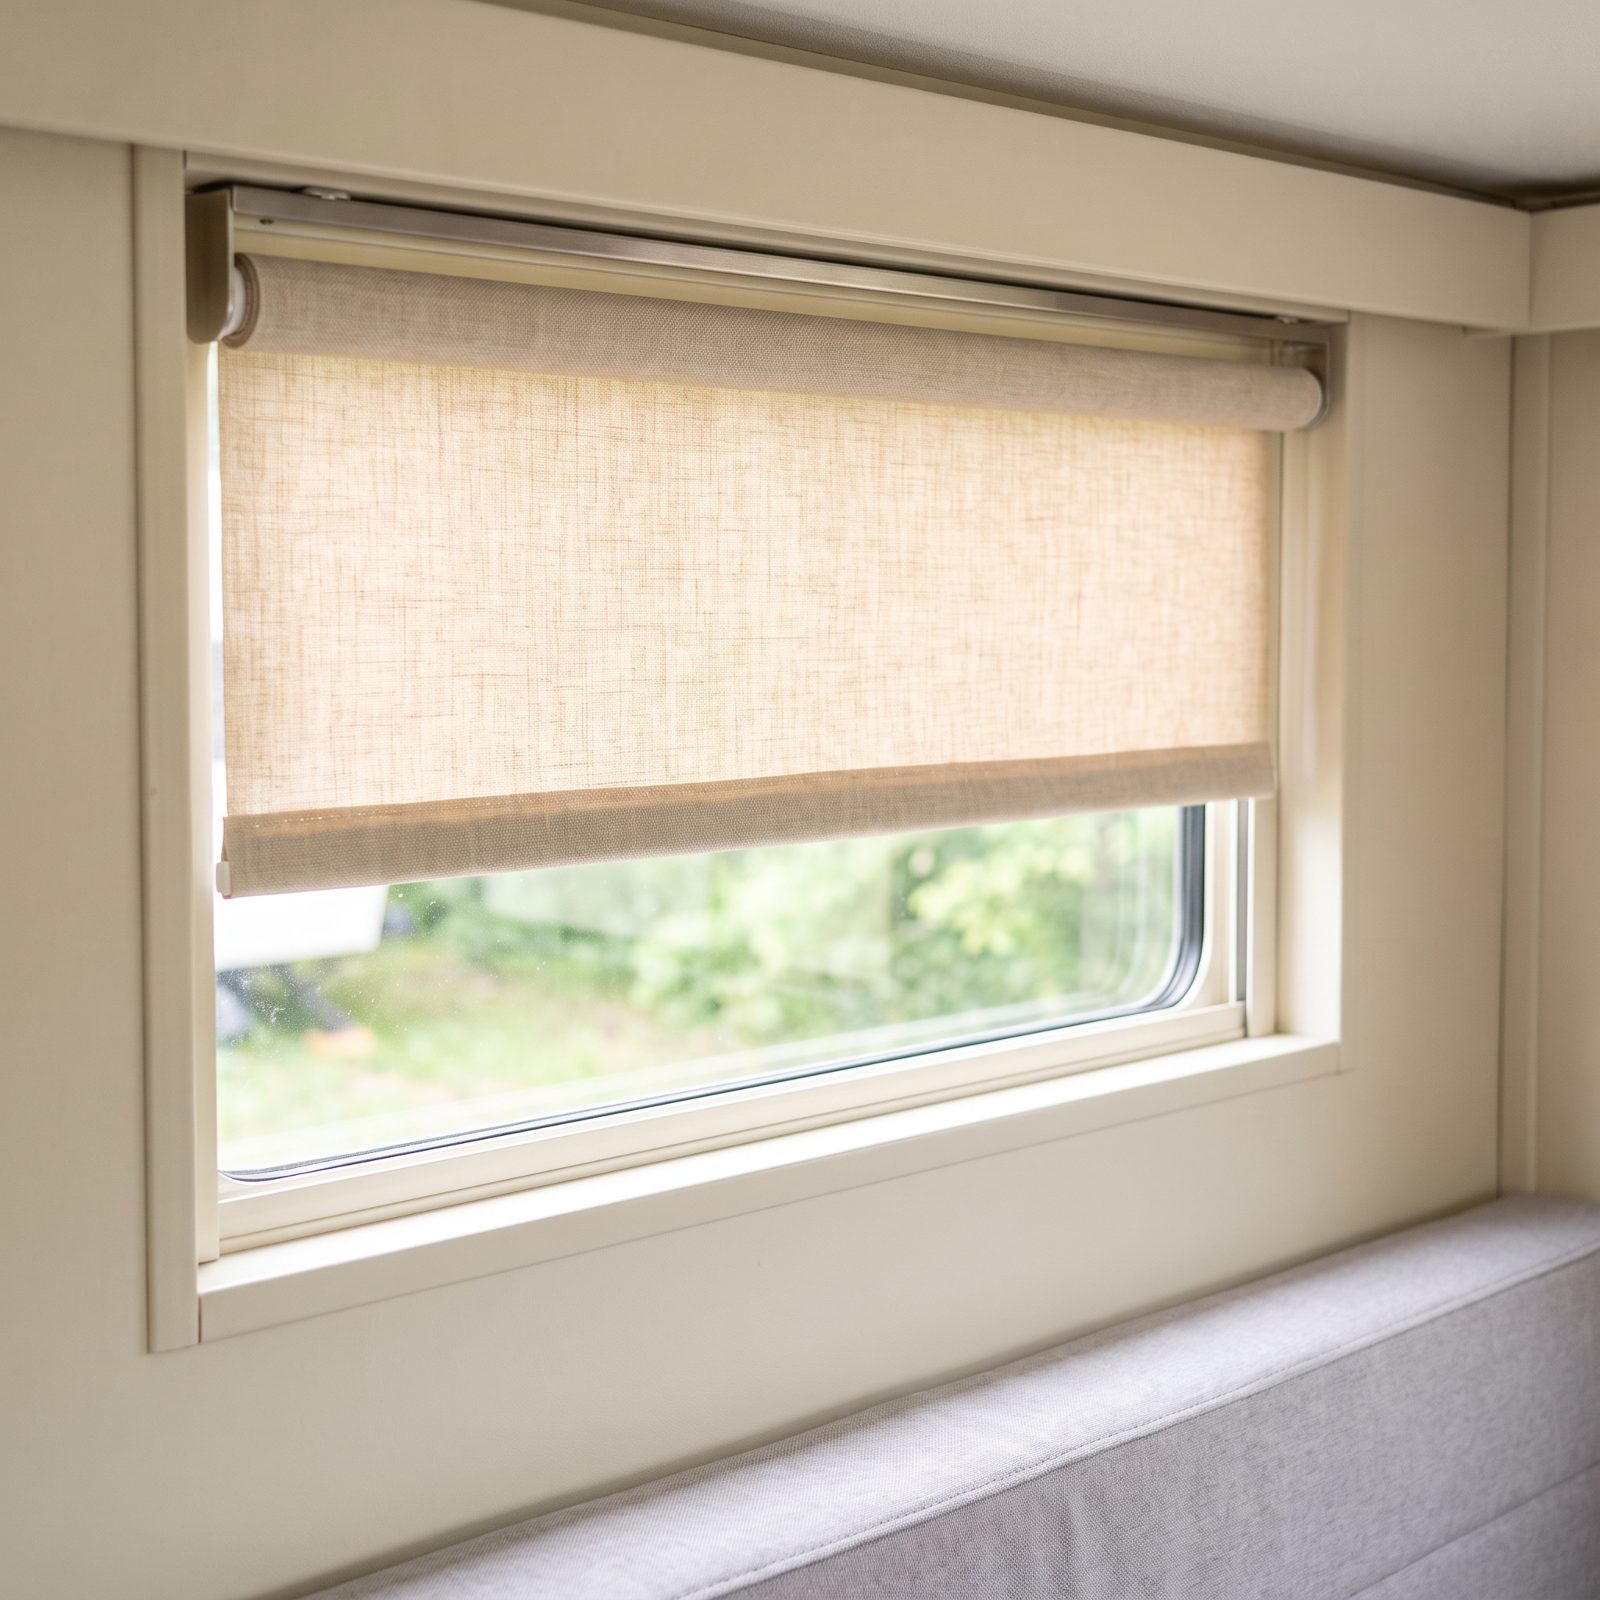
RV mini blinds exist to get bent. One good travel day with a slat pinched in the window track and you’ve got a crooked row of aluminum that rattles down every back road for years.
Compact roller shades fix it and declutter the window at the same time. No slats to dust, no cords to tangle, just a clean roll of fabric. Cordless versions are worth the few extra dollars if grandkids or pets share the rig.
Measure the inside window frame carefully — RV windows run oddball sizes, and a shade an eighth-inch too wide won’t drop straight.
10. Fit Tailored Slipcovers Over Dated Dinette and Sofa Fabric

That brown-and-mauve southwestern upholstery pattern was everywhere in the 90s, and it’s still bolted into countless rigs because reupholstering an RV dinette is a genuine project.
Tailored slipcovers sidestep the whole thing. They wash, they come off for guests or messes, and a snug fit in a solid color reads intentional instead of improvised. That loose, baggy throw-blanket look is what makes slipcovers seem cheap. Get the fit right.
9. Replace Collapsed Dinette Cushion Foam With High-Density Inserts
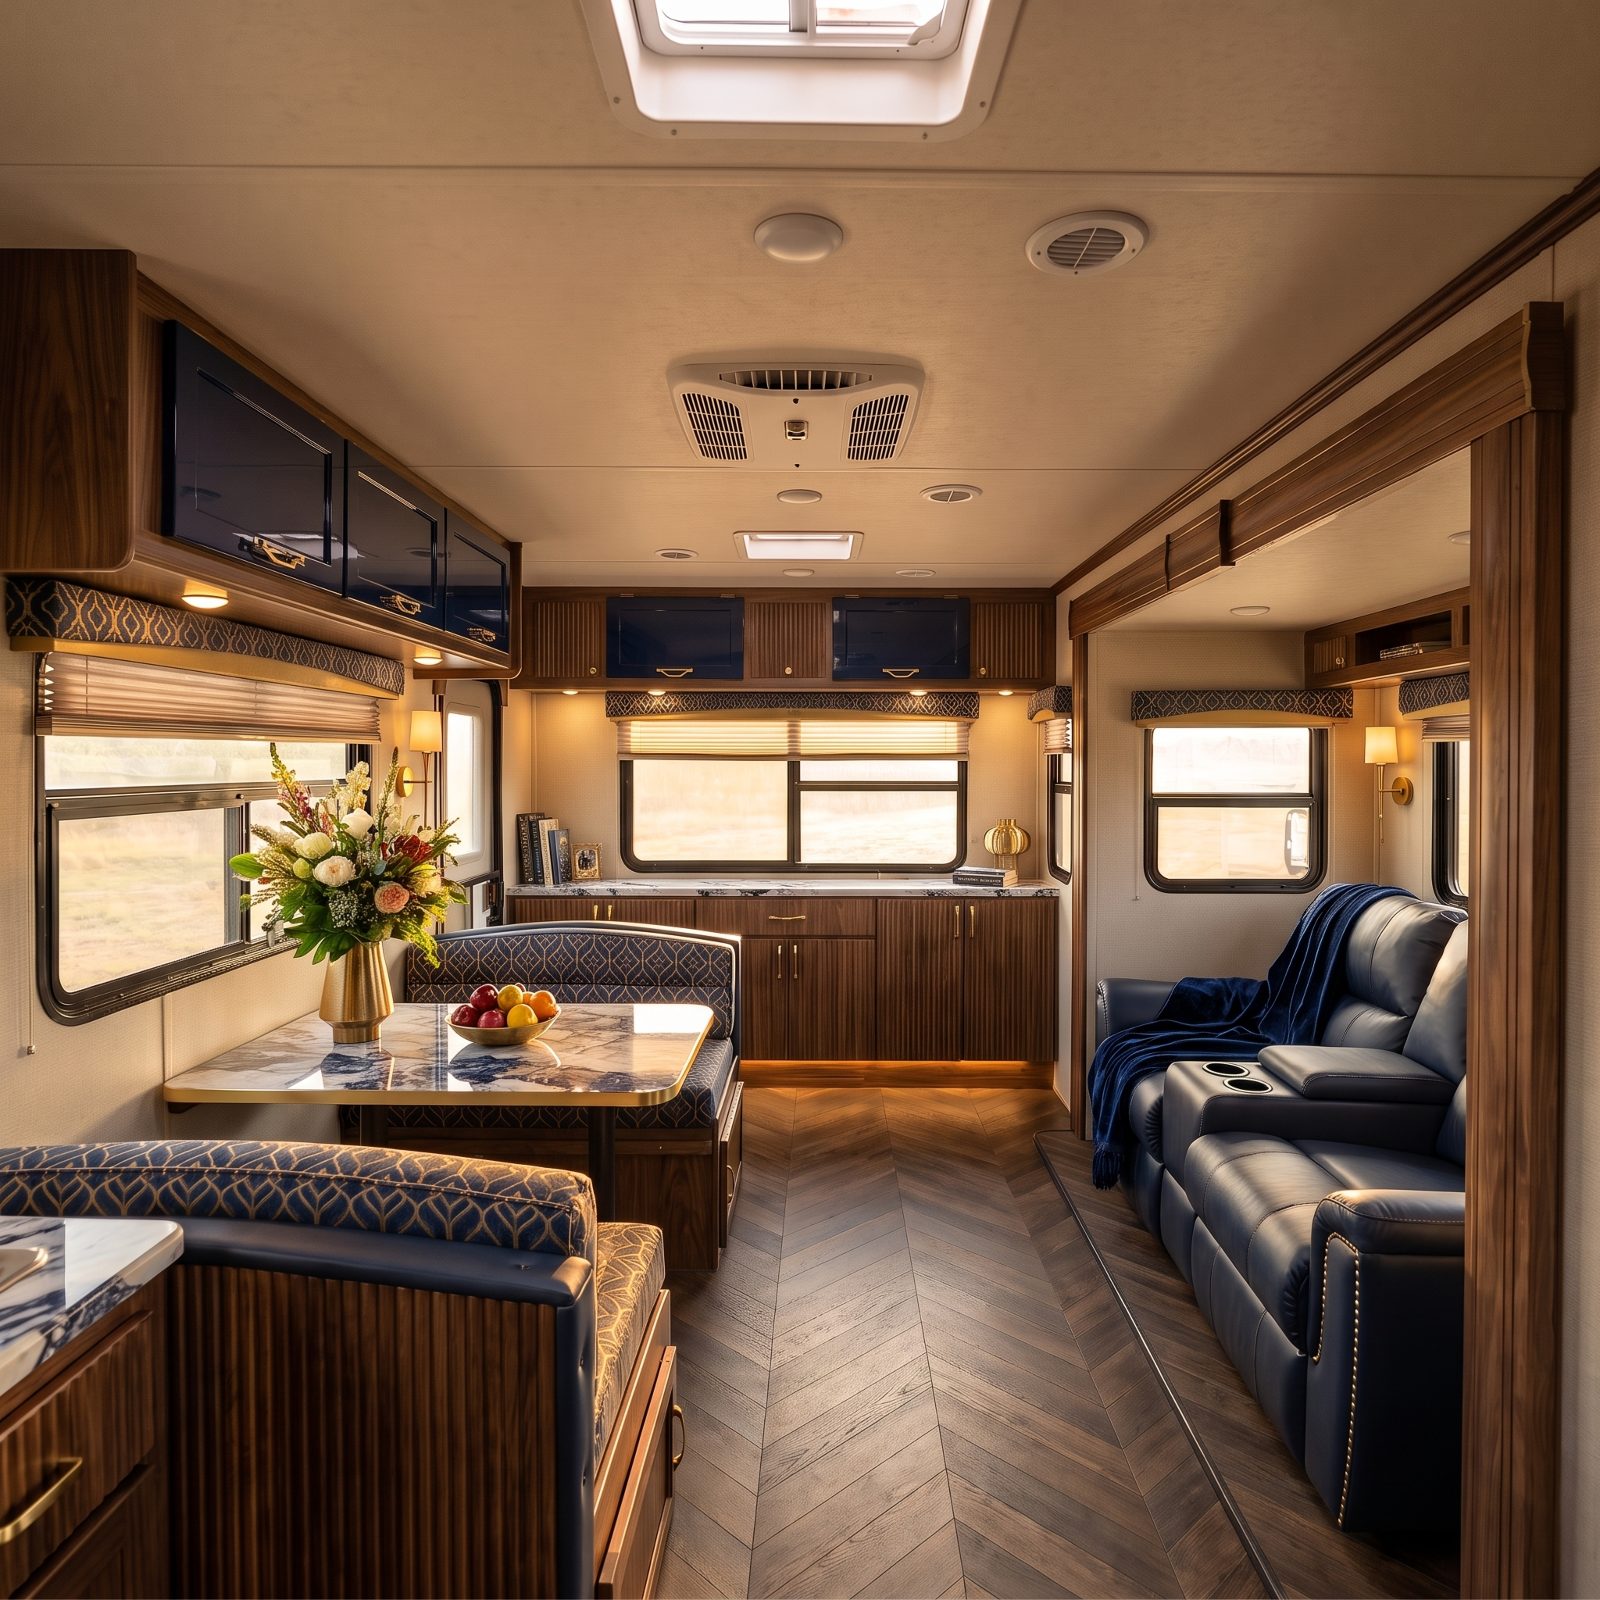
You know the dinette that swallows you. The one where the foam gave up a decade ago and now you’re basically sitting on plywood with a fabric hat on it. That slow sag might be the single worst thing about an older rig, and almost nobody fixes it because it feels like upholstery work.
It isn’t. A foam shop will cut high-density inserts to your exact cushion dimensions, and you slide them into the existing covers. Firmer foam holds its shape through years of road vibration instead of pancaking, so the bench that doubled as a bed stops feeling like a park picnic table.
8. Swap Dim Ceiling Fixtures for Warm-White LED Pucks
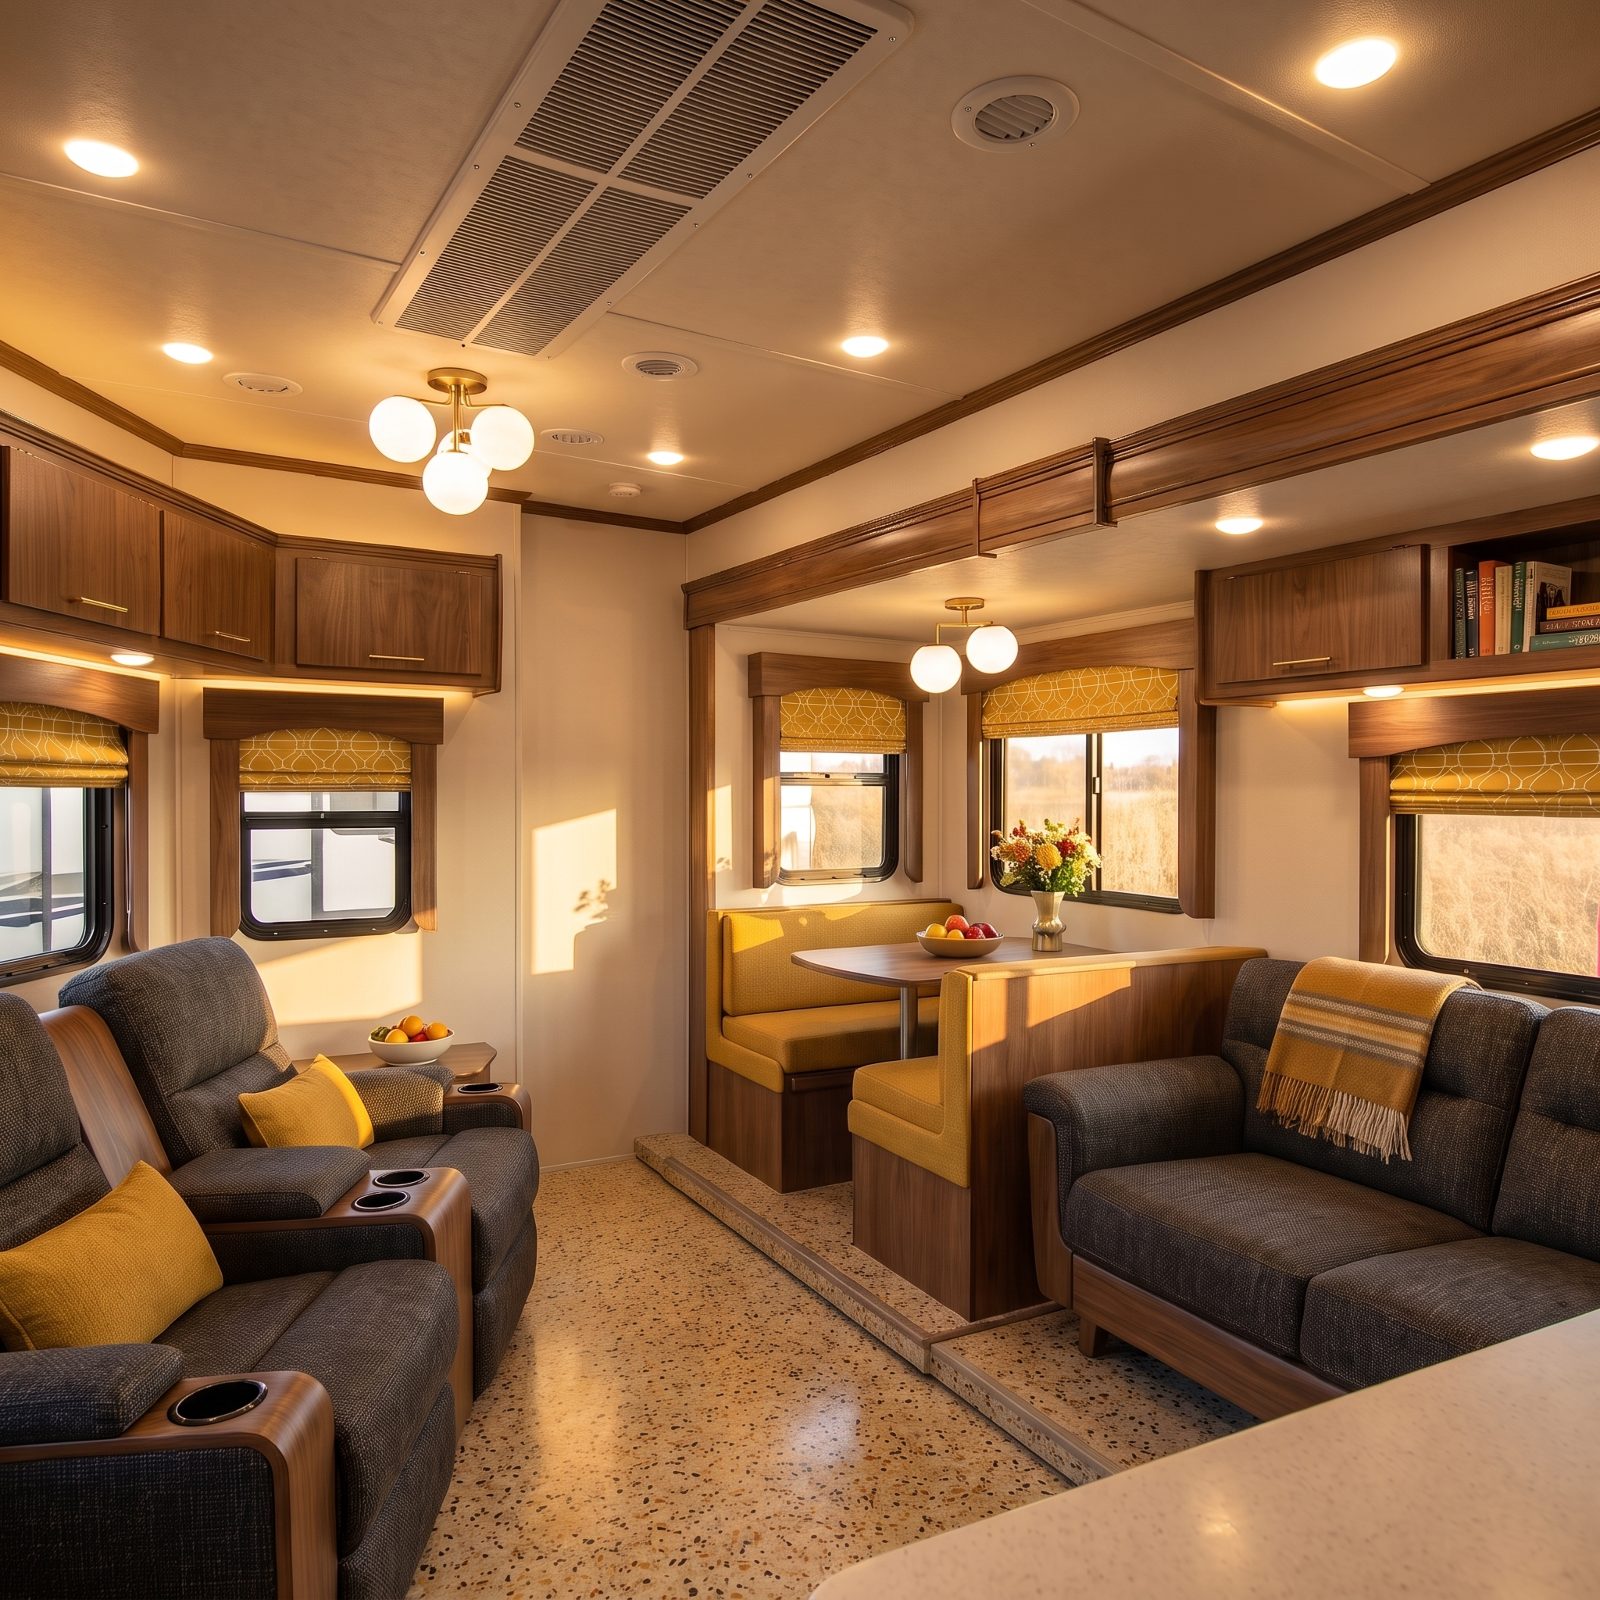
Old RV ceiling lights have two settings: off, and sad. Those boxy incandescent fixtures pull real power from your battery and throw a dull yellow glow that makes everyone look slightly ill.
Drop-in LED pucks fix both problems at once. They sip a fraction of the amperage, which matters a lot when you’re boondocking off a single battery, and warm-white models (look for around 2700K to 3000K) give you light that reads cozy instead of clinical. Most swap into the existing hole with the same two screws. No rewiring, no cutting.
7. Hide LED Task Strips Under the Kitchen Cabinets
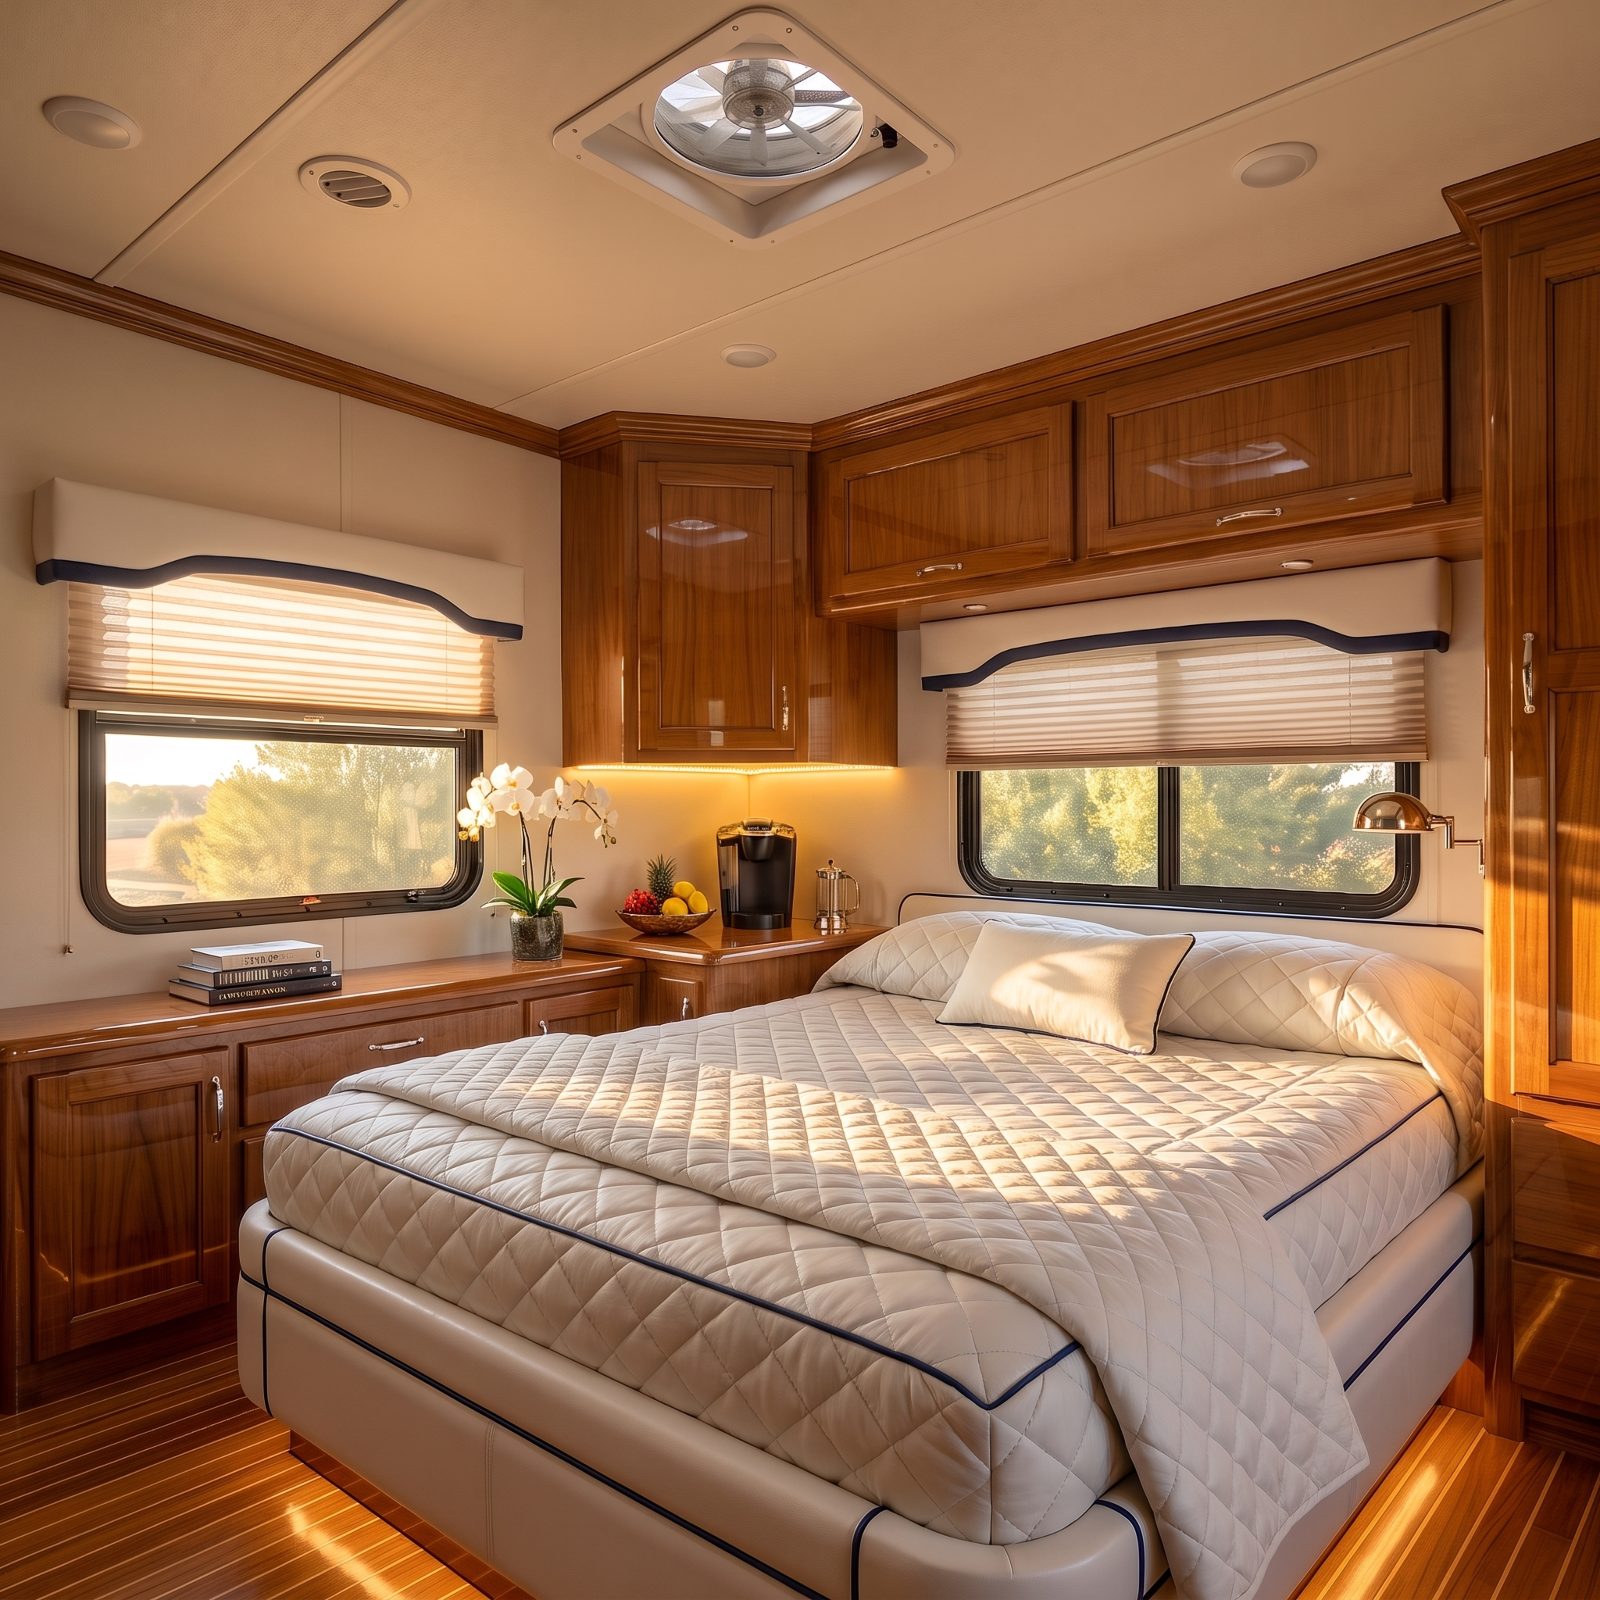
Here’s the upgrade that makes the galley feel ten years newer for pocket change. A stick-on LED strip under the upper cabinets throws light directly onto the counter where you actually chop and pour, instead of casting a shadow of your own hand over the cutting board.
Run it off the 12-volt system or a USB battery pack. Tuck it behind the cabinet lip so you never see the diodes, only the glow. And the difference at night, when you’re trying not to blind your partner sleeping four feet away? Night and day.
6. Trade the Dead Charging Outlet for a 12-Volt USB-C Unit

That old 12-volt accessory socket, the cigarette-lighter hole, is a relic. Your phone doesn’t want it and your laptop laughs at it.
A panel-mount USB-C unit with Power Delivery drops into roughly the same opening and wires to the same 12-volt feed. Now you charge a phone and a tablet at real speed without clogging an inverter outlet or hunting for a dongle. One warning though: buy one rated for actual PD wattage, not a cheap unit that says USB-C but trickles power like it’s doing you a favor. The fast ones cost a few dollars more and earn it.
5. Replace Yellowed Switch and Outlet Plates With Fresh Covers
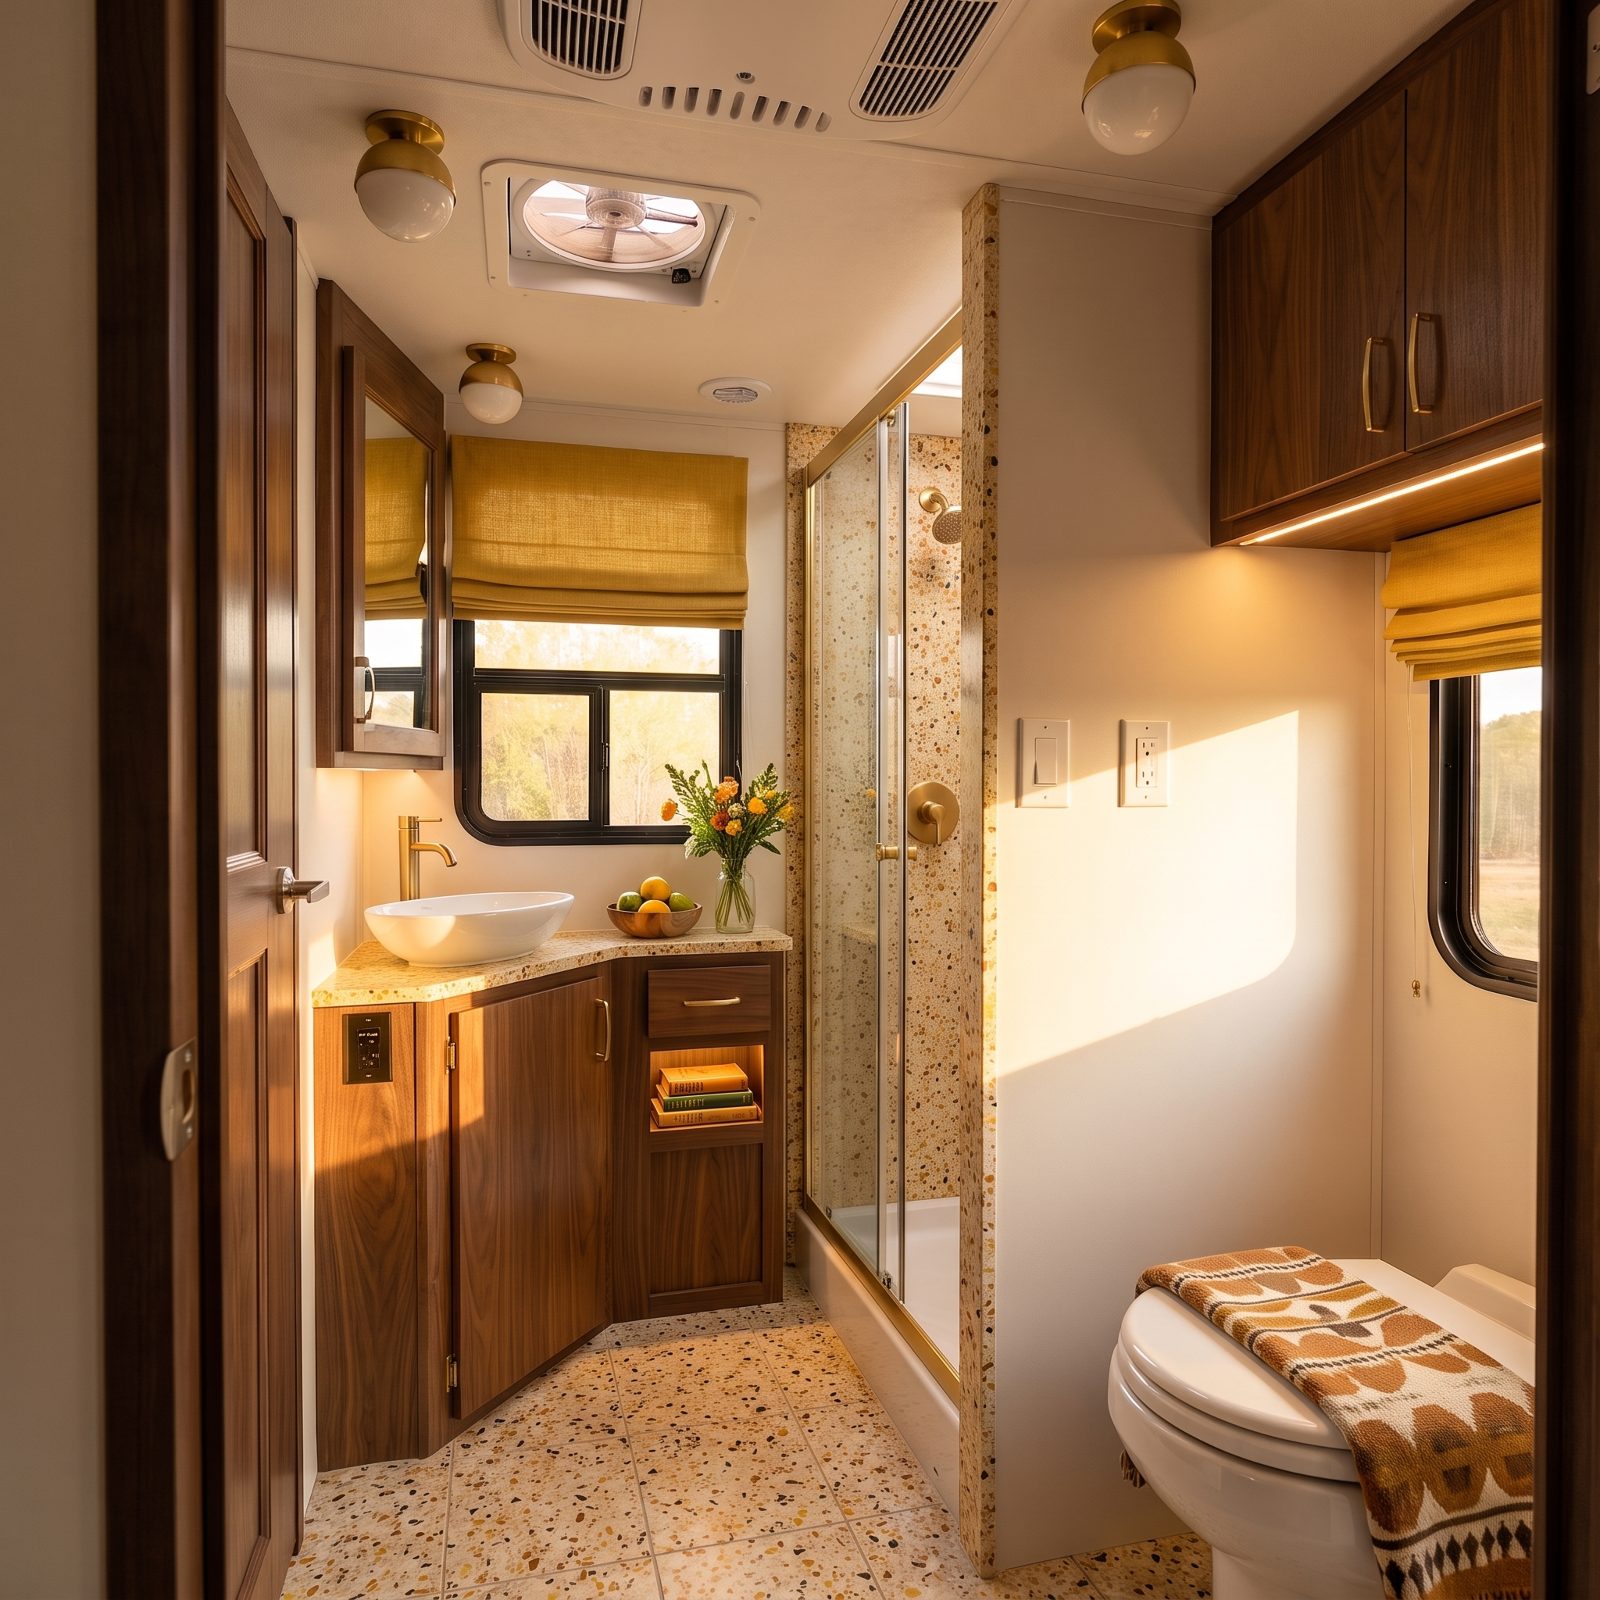
Nothing dates an interior faster than switch plates the color of old piano keys. Sun and cooking grease turn white plastic that sickly amber, and once you notice it, you can’t stop.
A sleeve of matching new covers runs a few dollars at any hardware store. Ten minutes with one screwdriver and the whole cabin looks cleaner, because your eye reads crisp edges as newness. Cheapest, fastest before-and-after in the entire rig.
4. Install a Digital Thermostat You Can Actually Read
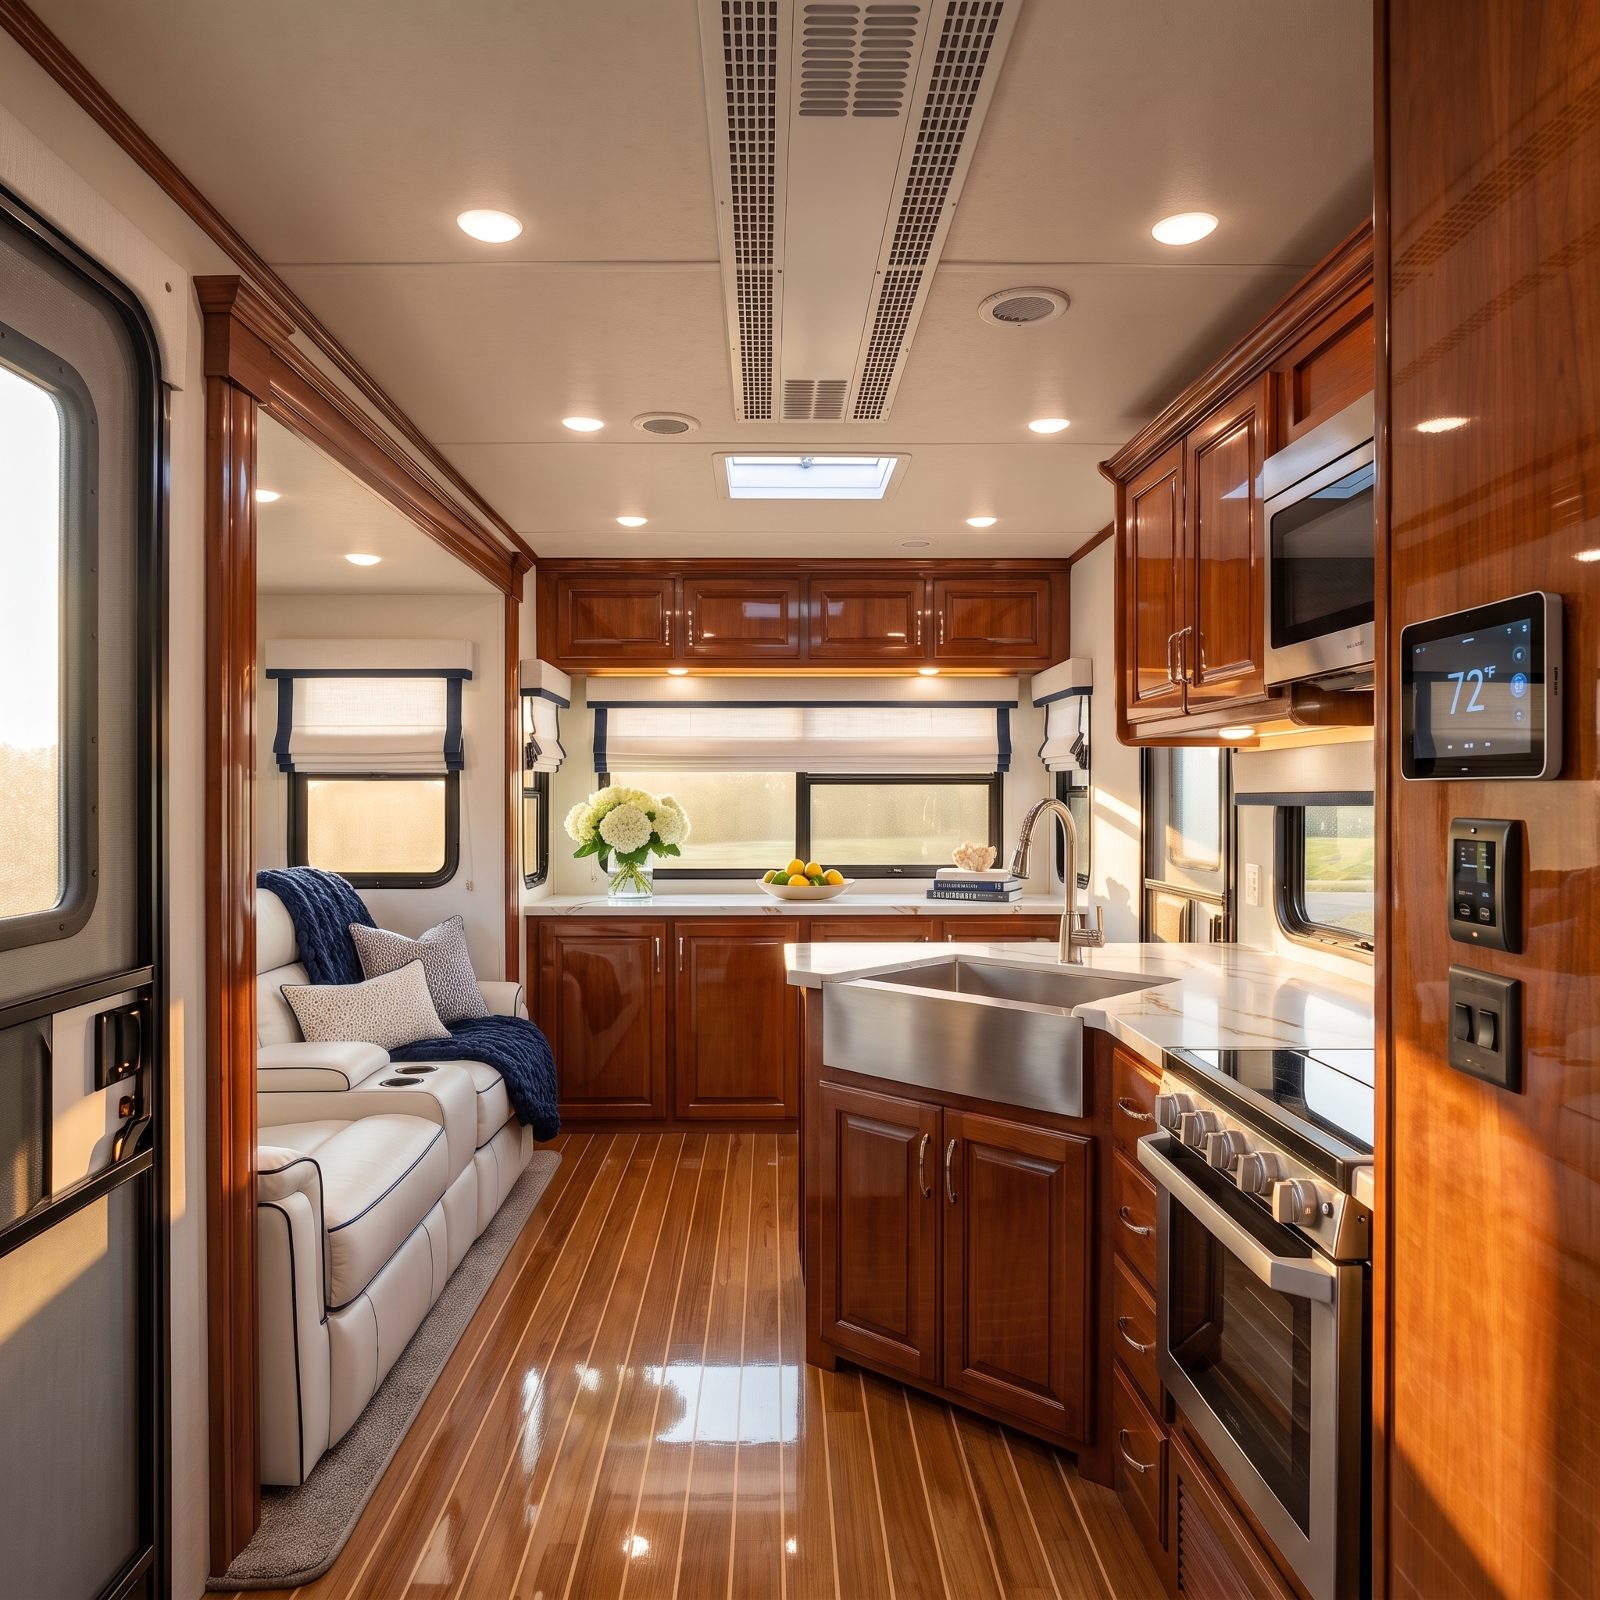
Squinting at a scratchy analog dial to guess whether it’s set to 68 or 76 gets old fast. Older RV thermostats were vague on purpose, and half the time they’d kick the furnace on at three in the morning for reasons known only to them.
A digital RV thermostat gives you a real number, a backlit display, and separate control of the furnace, A/C, and fan. Match it to your existing unit’s wiring (two-stage, heat pump, whatever you’ve got) and the swap is a handful of labeled wires. You’ll finally stop fighting the box on the wall.
3. Retire the Worn Entry Lock for a Keyless RV Model

An uncomfortable truth about older RV locks: a huge number of them shipped with the same handful of keys, so a stranger with a matching code can open your door. That alone is reason enough to swap it.
A keyless RV-compatible deadbolt replaces the standard cutout, runs on batteries, and lets you punch a code instead of fumbling for keys with your arms full of firewood. No more handing a worn key across the campsite when someone needs in. Just buy one made for RV door thickness, because a residential model won’t seat in the thinner panel.
2. Upgrade to a Compact High-Arc Kitchen Faucet
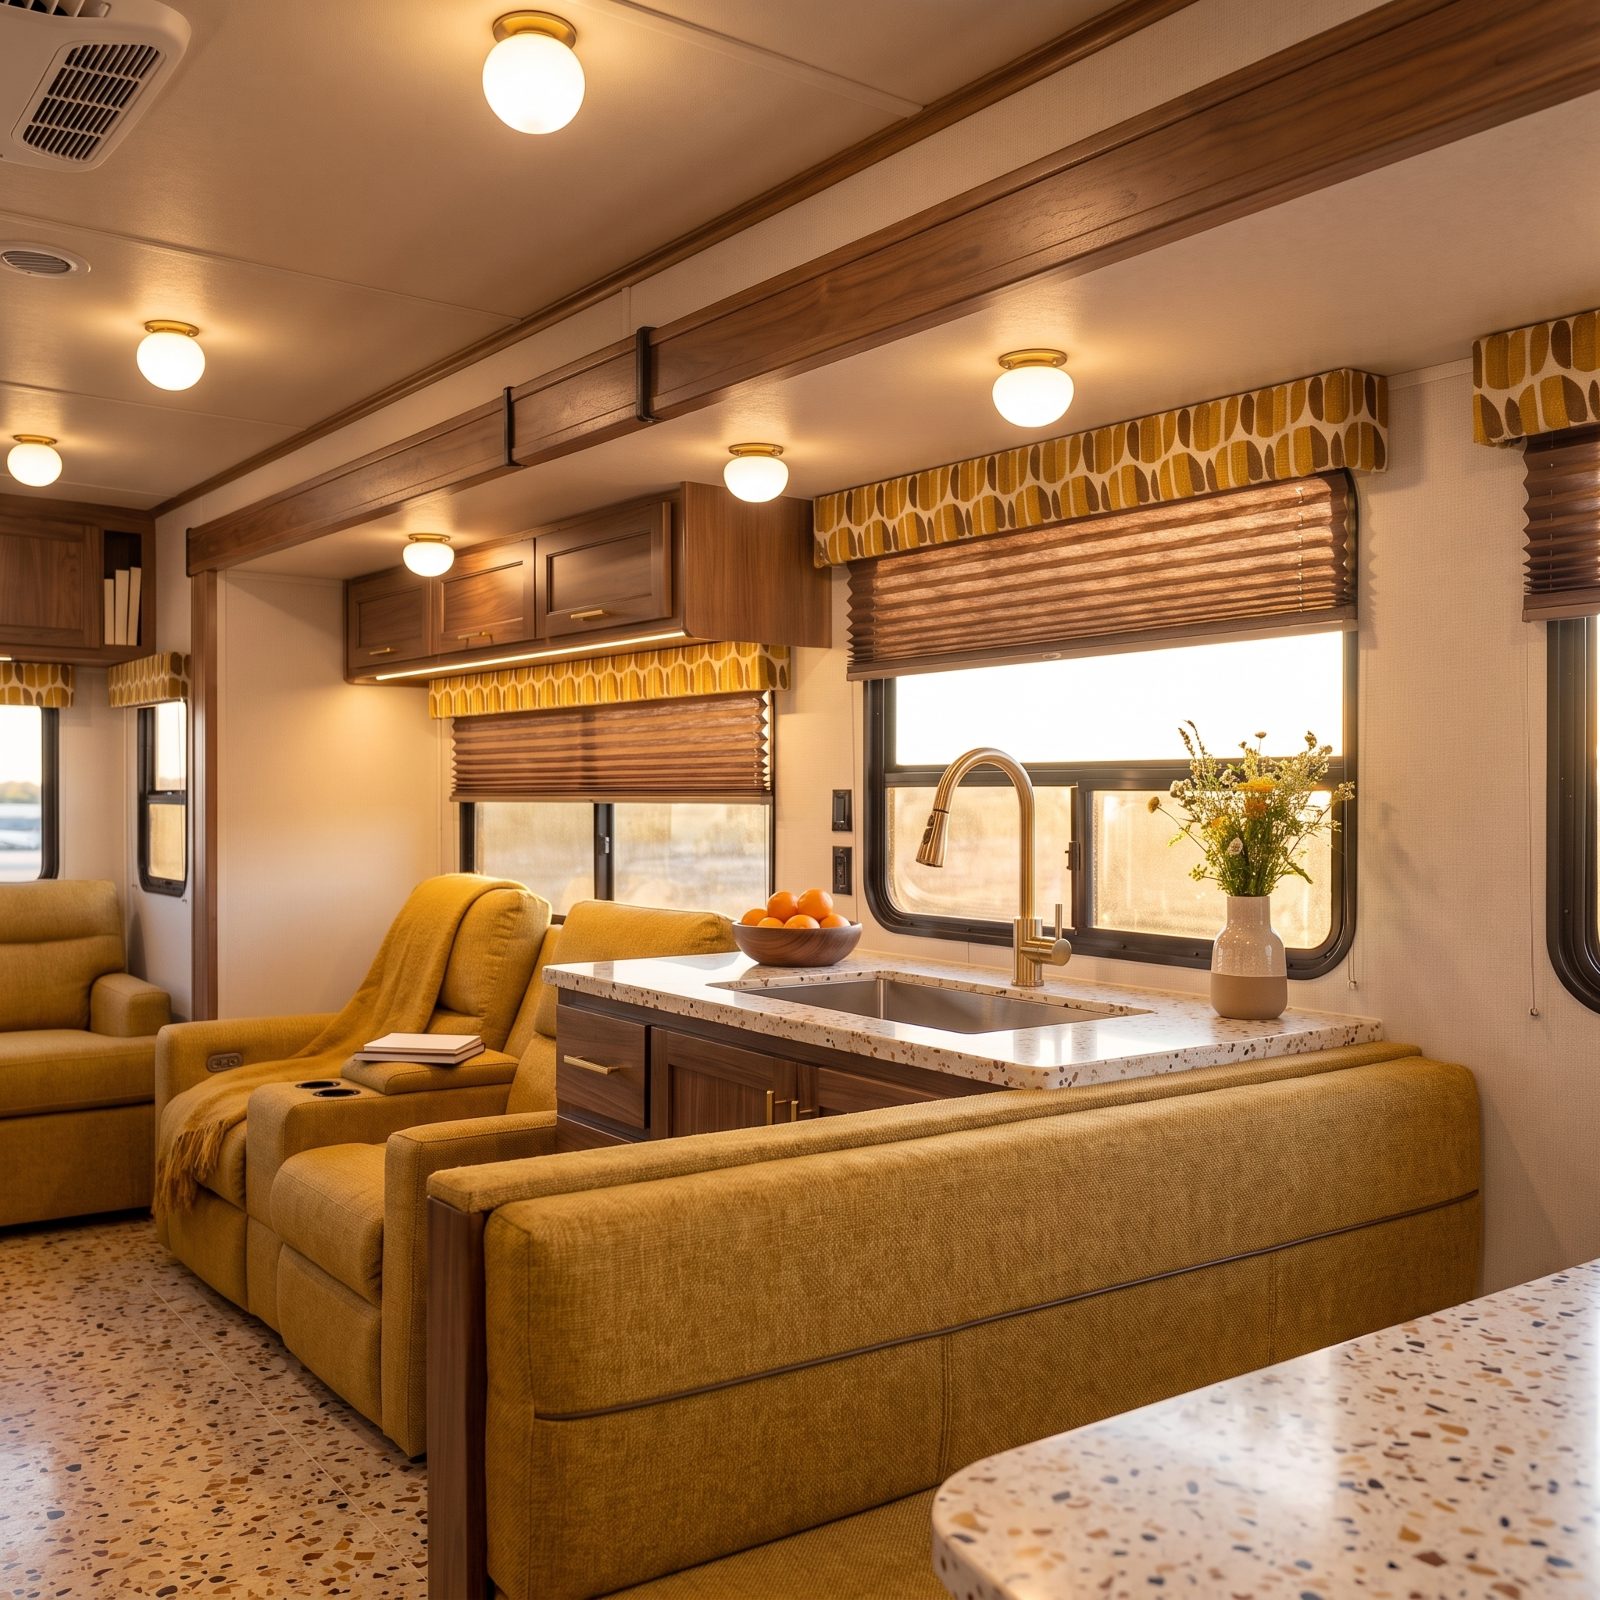
The faucet most older rigs came with is a stubby little thing that barely clears the sink, which means you can’t fit a stockpot under it without tilting. Cooking in a galley is cramped enough without that fight.
A compact high-arc faucet raises the spout so you can actually wash a tall pot, and a pull-down sprayer makes rinsing dishes faster in a shallow basin. Stick with RV-rated faucets built for low water pressure and the standard single-hole mount. The arc buys you room without adding bulk the counter can’t spare.
1. Drop In a Fresh Skylight Dome for Brighter Bathroom Light

RV bathrooms are small, windowless caves, and the one thing saving them is the skylight above the shower. Except that dome has been baking in the sun for years and now it’s the color of weak tea, filtering out much of the light it used to let in.
Replace just the inner dome, the clear acrylic bubble below the outer one, and the brightness comes roaring back. Match the size and bolt pattern to what’s already there. The outer dome handles weather, so swapping the inner one is a low-stakes job that makes the cave feel like a room with a window again.