
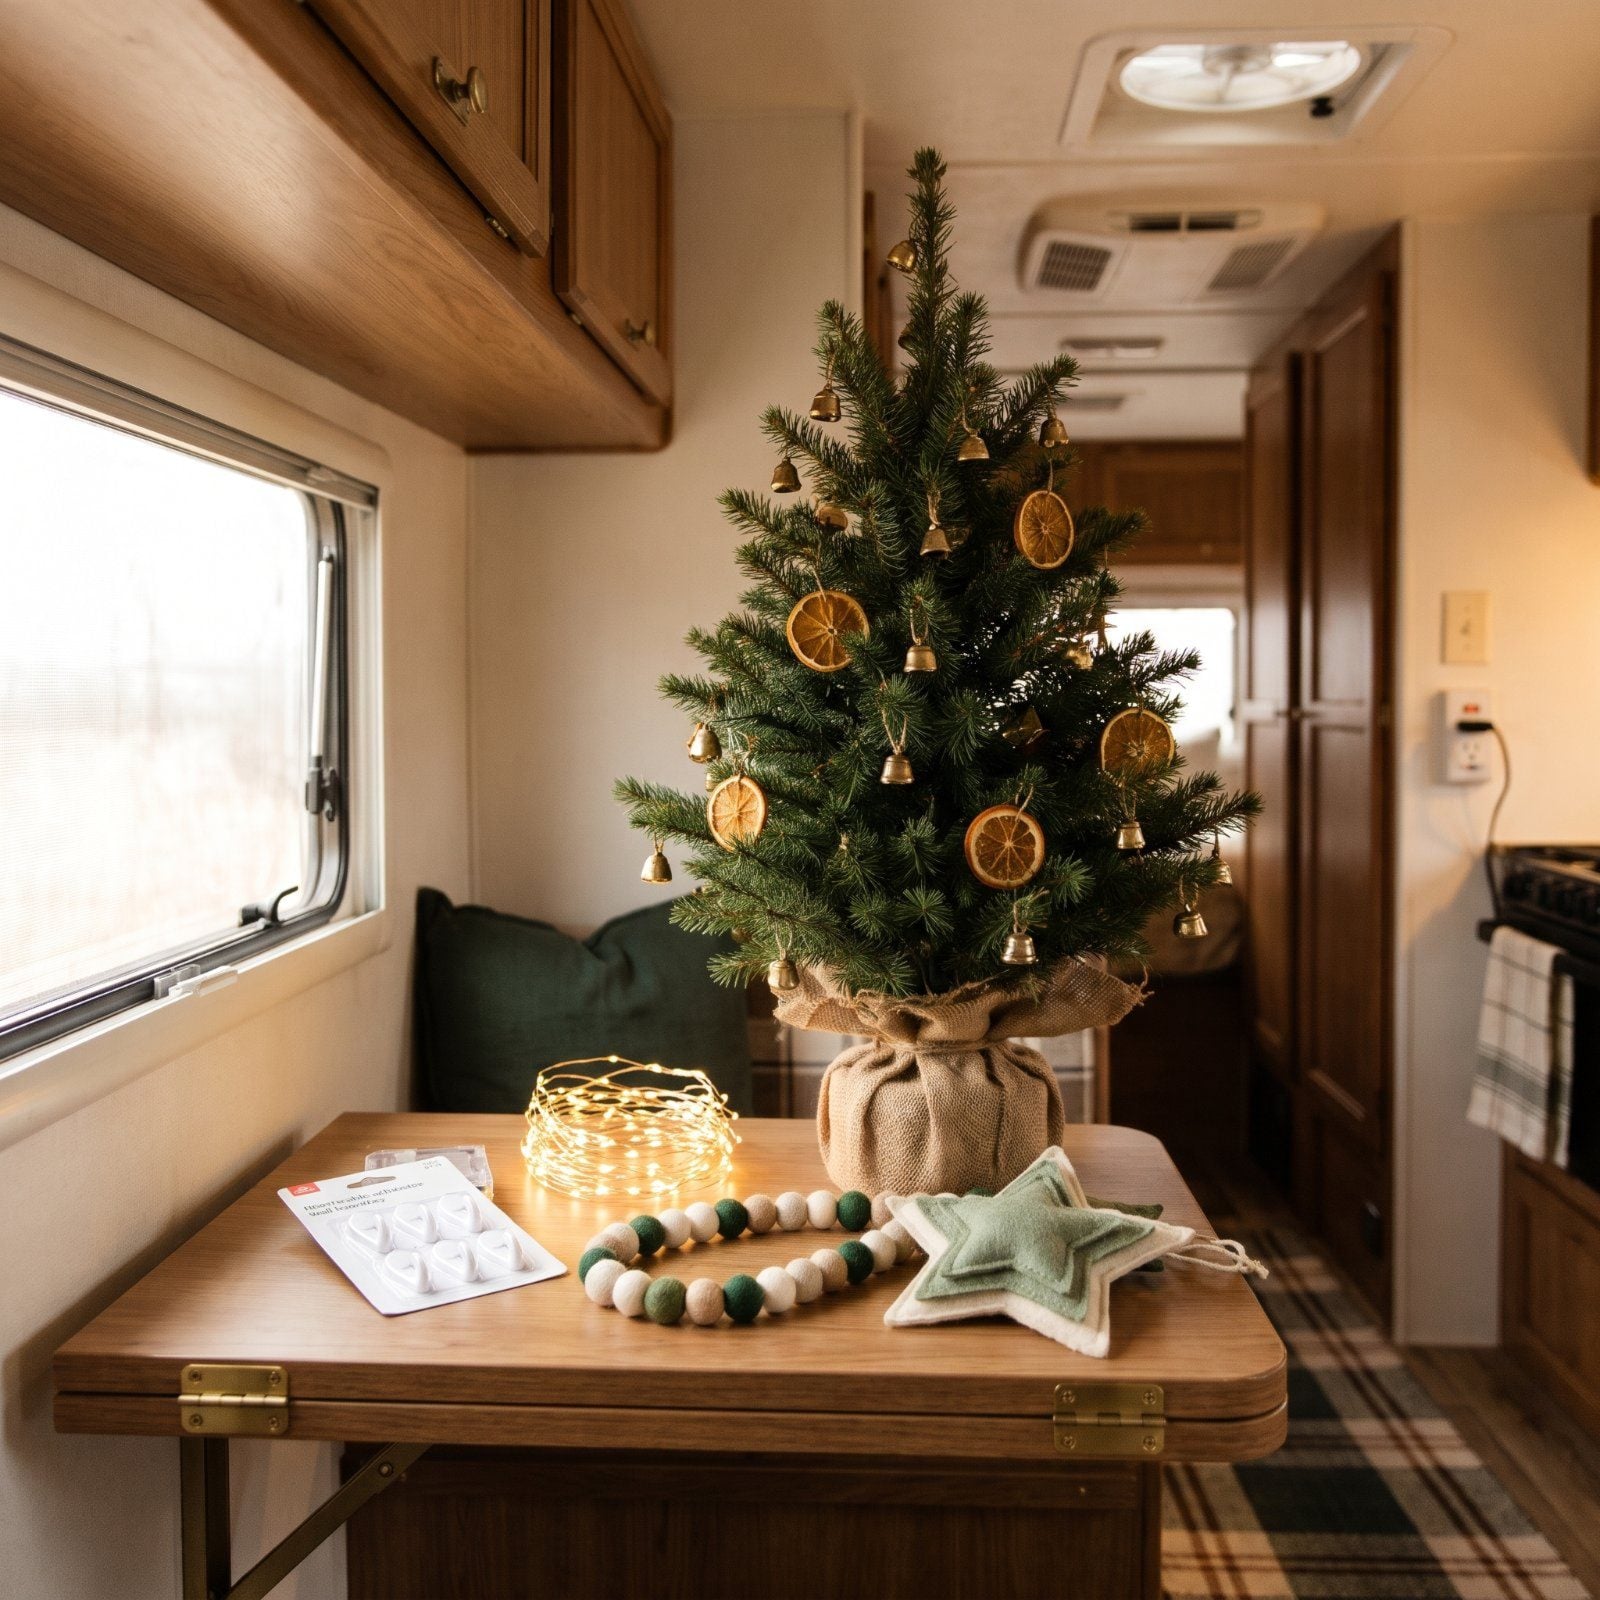
A travel trailer at Christmas is a strange kind of magic. Twenty feet of living space, and somehow you still want a tree. Trouble starts when that tree lands square in front of the one window you’re supposed to climb through in an emergency. Most of these slips happen because a house-sized instinct gets dropped into a space the size of a walk-in closet, and the house-sized instinct always wins the first round. The fixes are small, cheap, and mostly about where things go. Here are the ones worth catching before you string a single light.
Please note that some of the images in this article were created with the assistance of AI.
26. Parking the Tree in Front of Your Emergency Exit
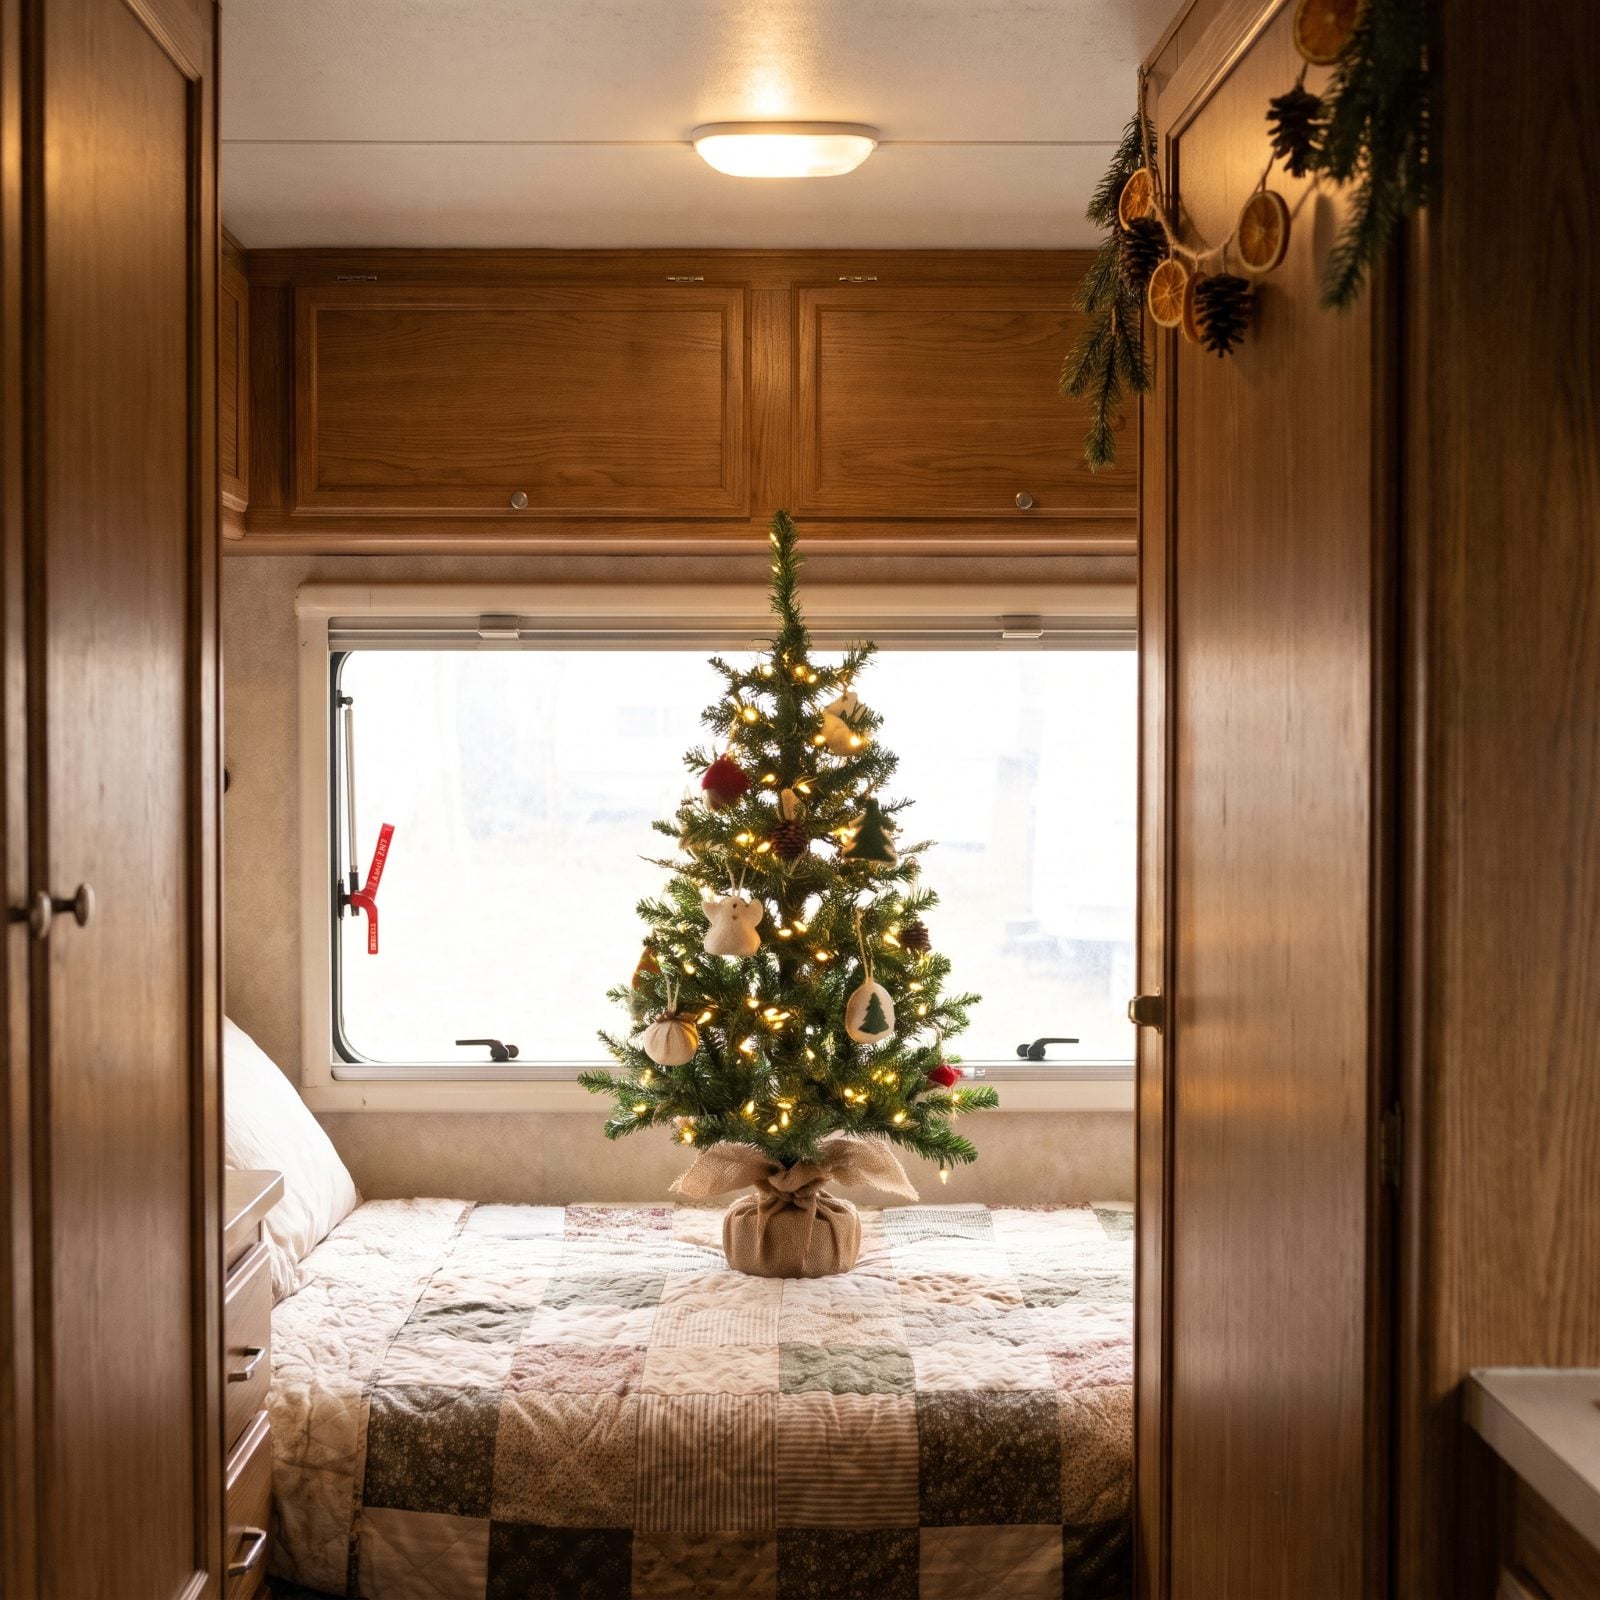
Every RV has at least one designated emergency exit — usually a window with a red release latch, almost always in the bedroom or over the rear bed. It’s also the most tempting flat spot for a tree.
Block it and your single fastest way out becomes a decoration stand. In a trailer fire you have seconds, not minutes, and wrestling a tree out of the way isn’t part of any plan worth having.
Find your egress window before you decorate anything. Keep a clear, grab-and-go path to it, and put the tree on a counter, a dinette, or a cabinet top nowhere near that latch. Tabletop trees exist for exactly this reason.
25. Buying a Tree Sized for a House, Not a 7-Foot Ceiling
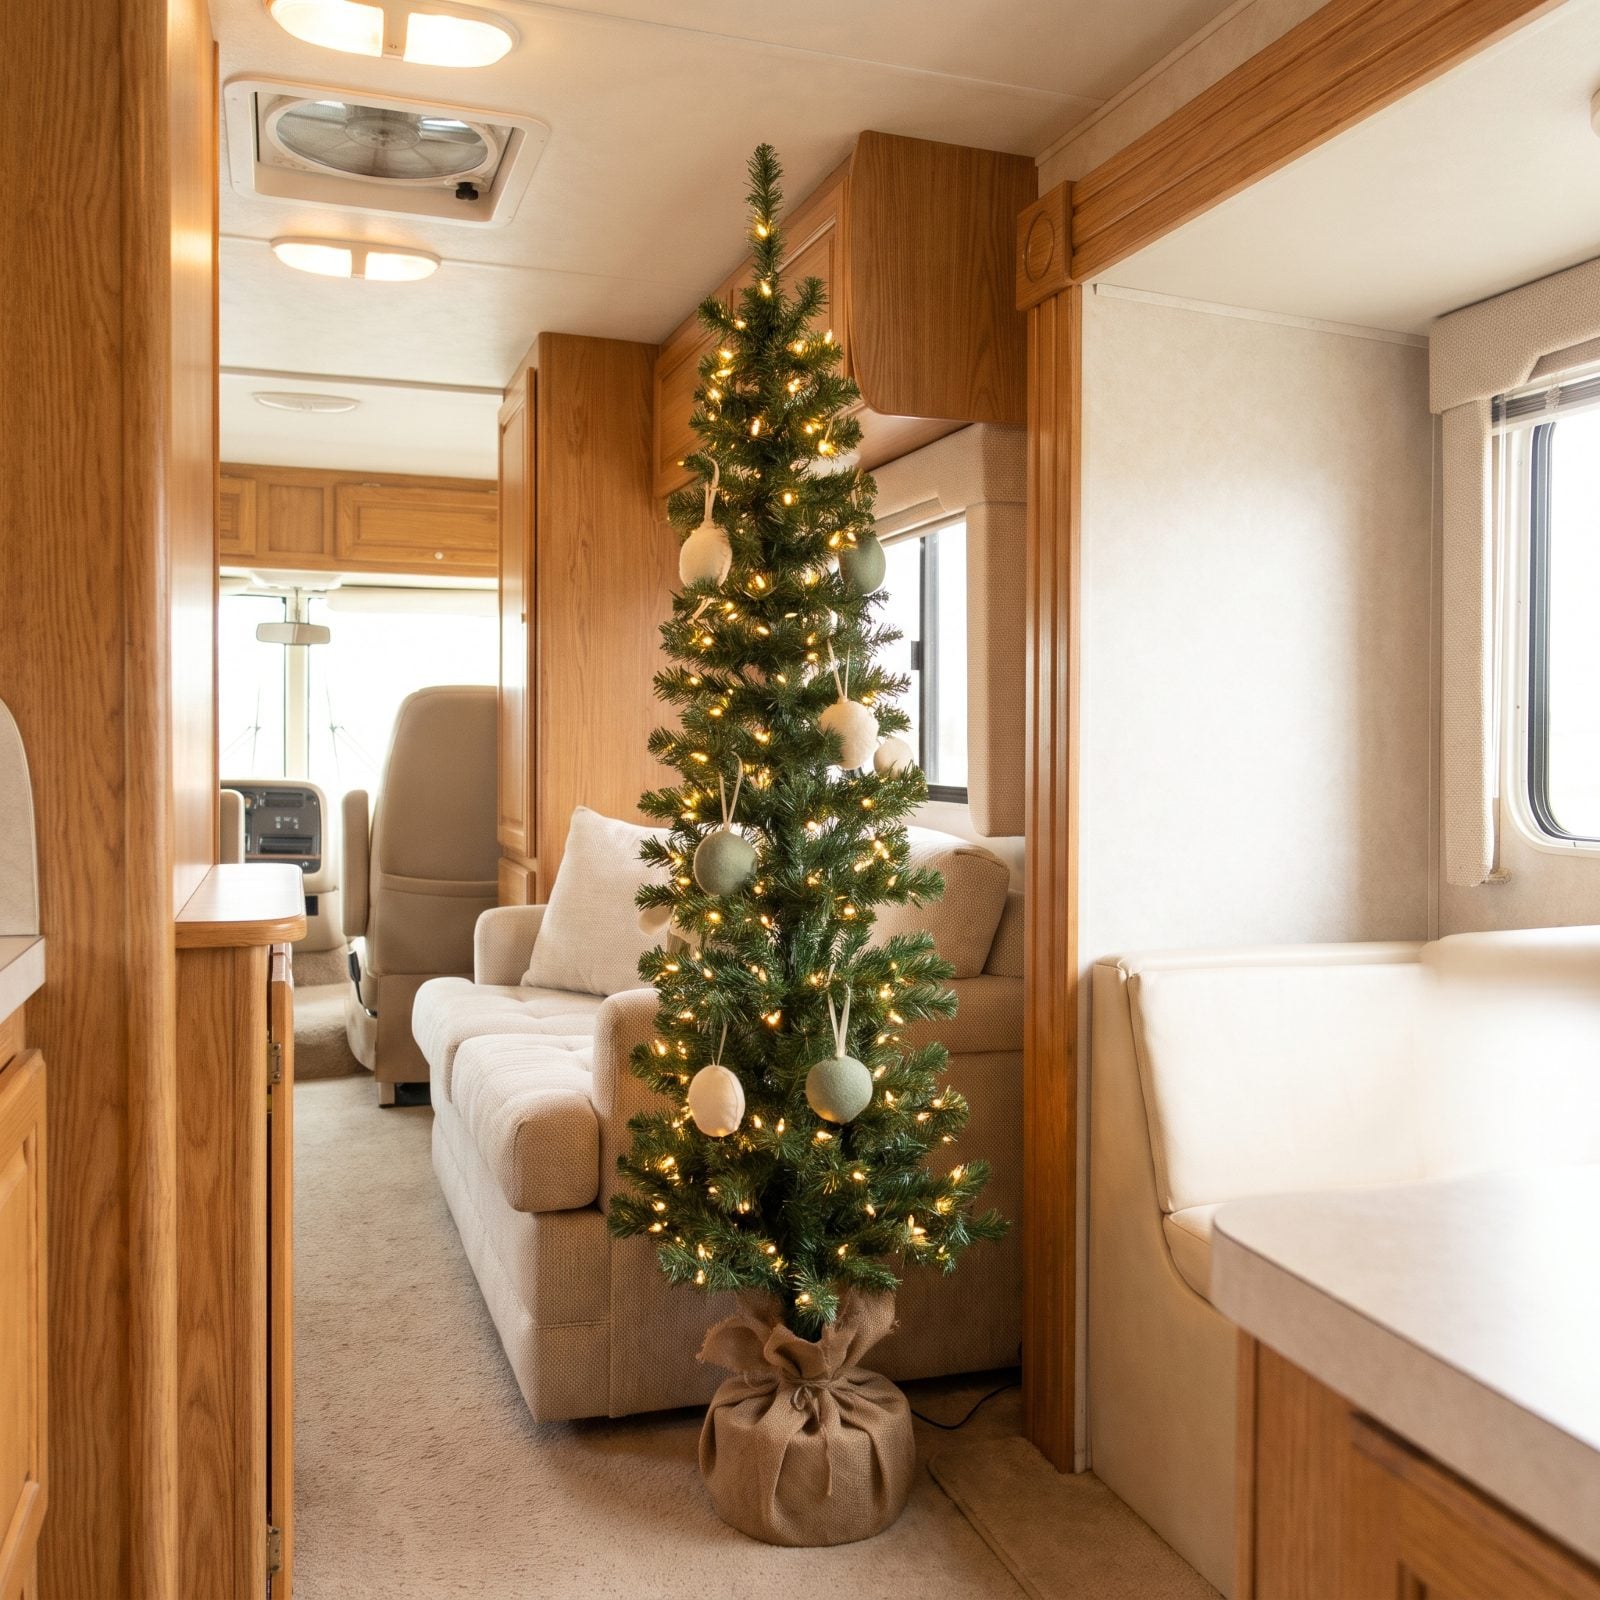
A 6-foot tree in a 20-foot trailer isn’t festive — it’s furniture you have to squeeze past every time you reach the fridge.
Full trees eat the aisle, crowd the slide, and shed needles into every vent and seam. Within a week you’re annoyed with the thing you were supposed to love.
Go slim and go tabletop. A pencil tree or a 2-to-3-foot countertop version gives you the shape and the lights without stealing your walking room. Weight the base so it doesn’t tip when the trailer settles, and pick one that collapses flat for storage under a bench.
24. Forgetting Everything’s Loose When You Hit the Highway
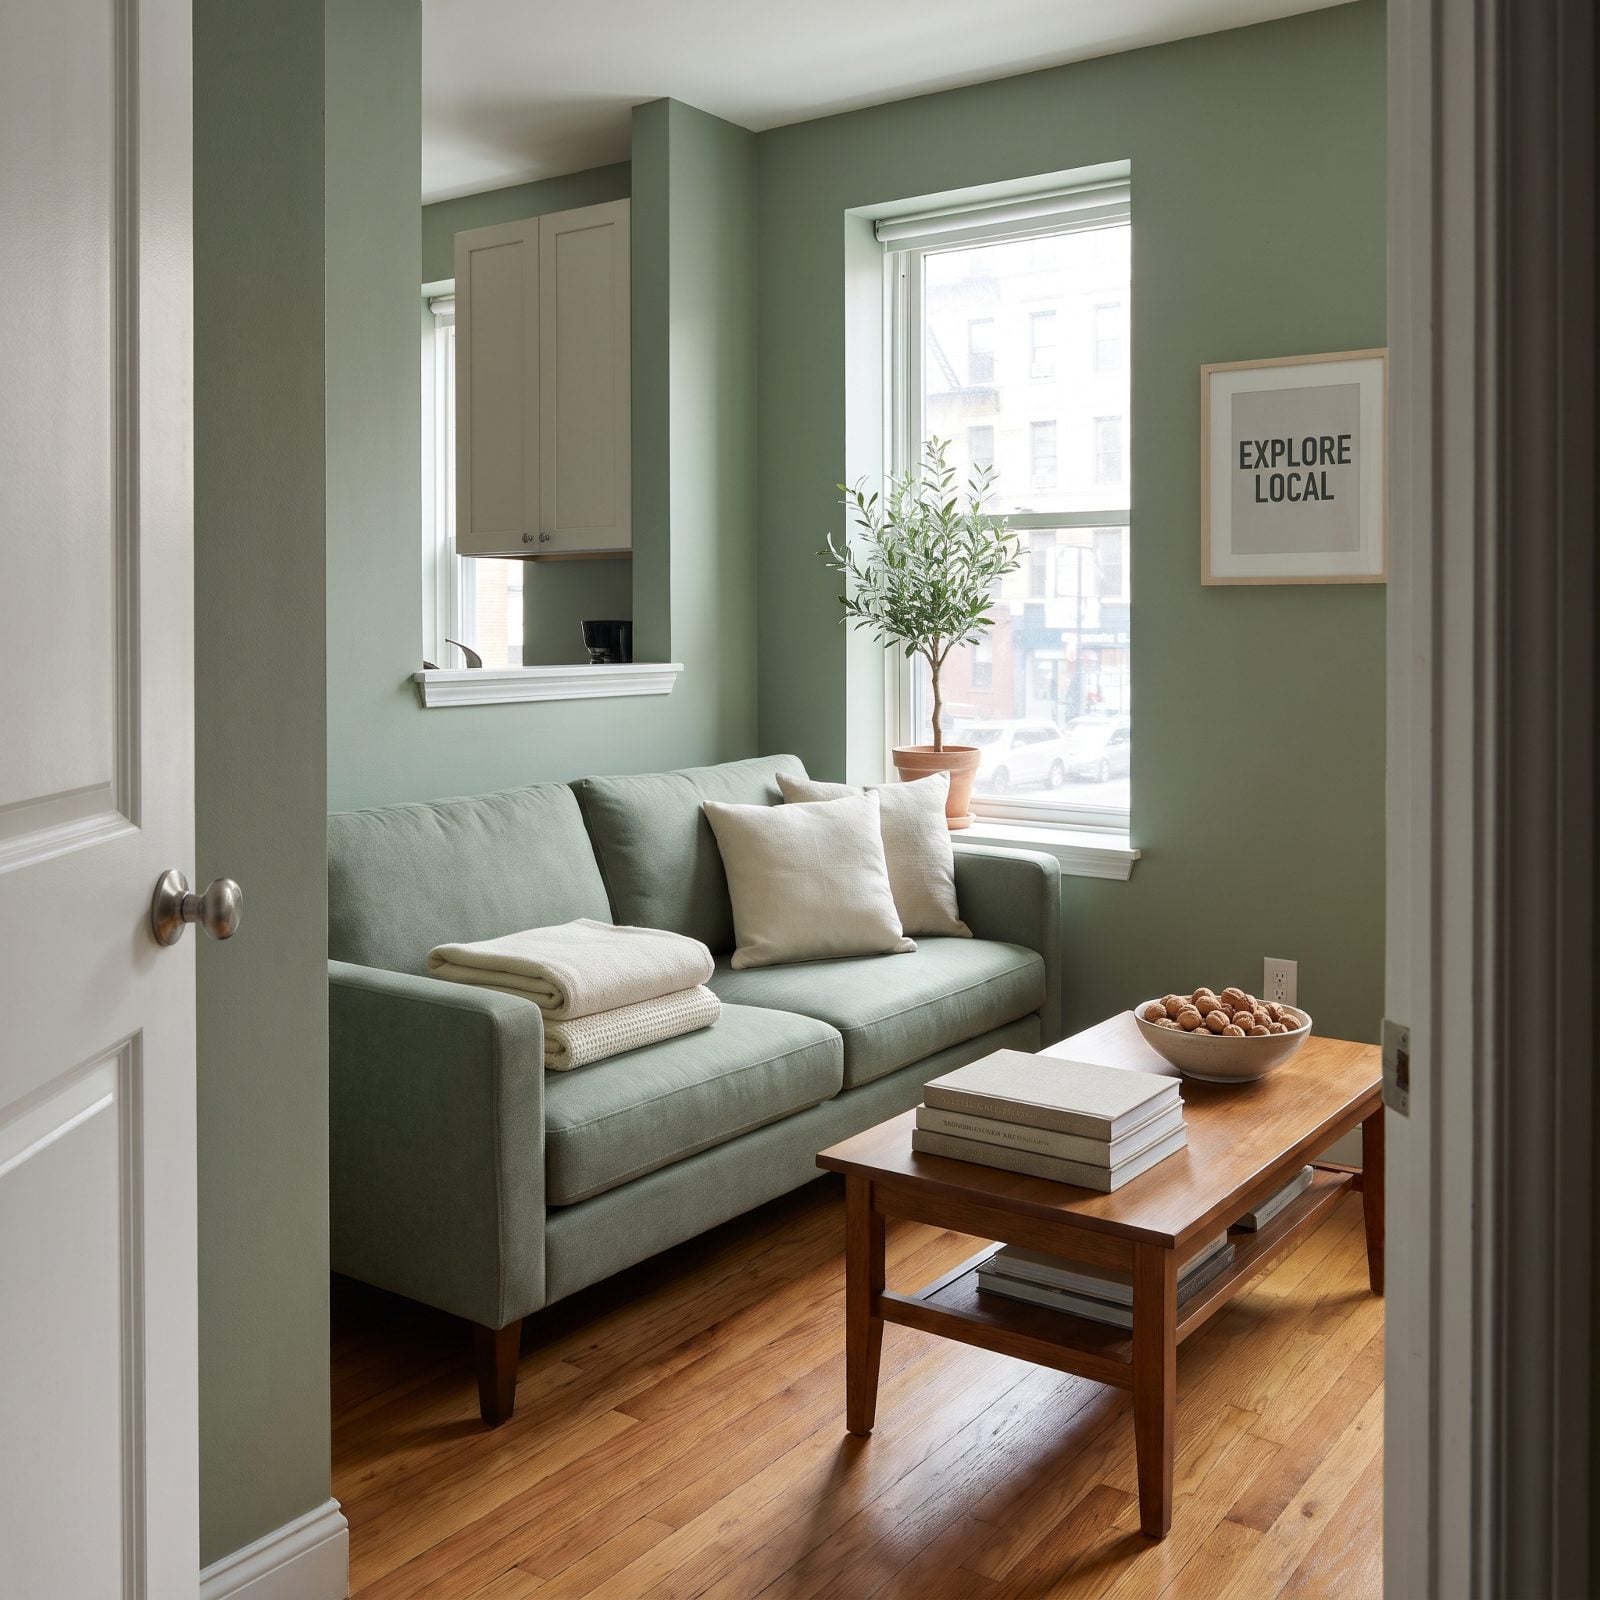
Things that look charming parked become projectiles the second you’re rolling. A trailer going down the interstate shifts, sways, and bounces, and that terracotta pot by the window becomes a floor full of soil and shards by the first off-ramp.
Here’s the simple rule: if it can’t survive a hard brake, it gets put away before you move. Take the framed print off the wall and lay it flat, wedge the potted plants into a padded bin, pack the coffee-table books into a soft-sided tote.
Give yourself a ten-minute “travel mode” ritual before every drive. Same muscle as latching cabinets and stowing the coffee pot — just extended to the plants, books and décor.
23. Running Everything Off One Overloaded Outlet
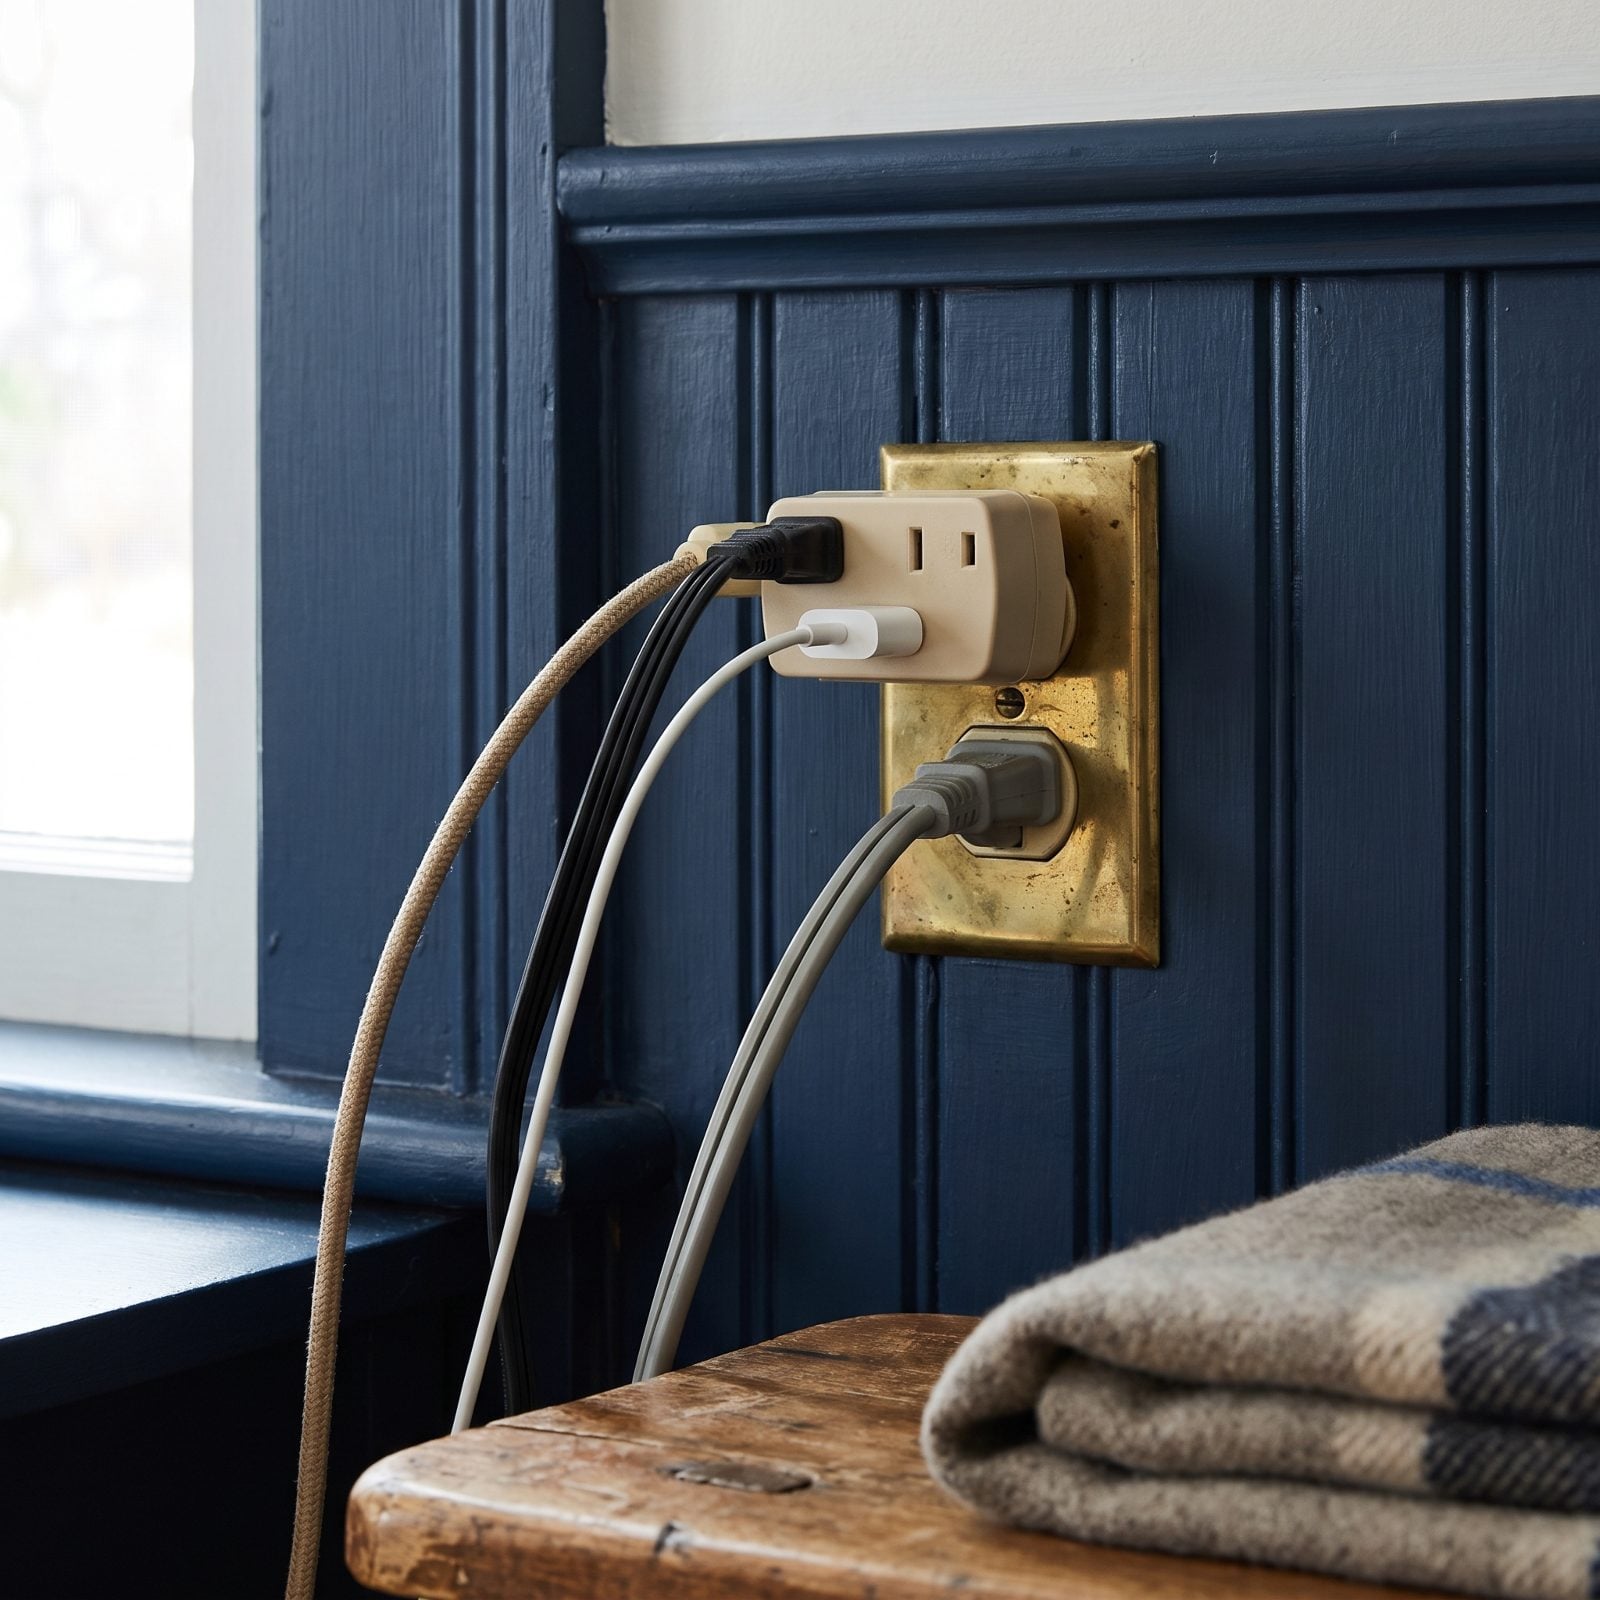
RV electrical systems are smaller than what you’ve got at home. That one outlet by the dinette wasn’t built to run a space heater, a coffee maker, and three light strands daisy-chained off a splitter.
Overload it and you trip a breaker on a good day. On a bad day you heat up a connection you can’t see behind the paneling — and that’s the one that keeps me up at night.
Switch to LED decorations. They sip a fraction of the power, so you can run a surprising amount off very little. Spread your plugs across different outlets and circuits, skip the chain of cheap splitters, and let one modest power strip with built-in protection do the work instead of a nest of adapters.
22. Stringing Outdoor Lights on Indoor Cords
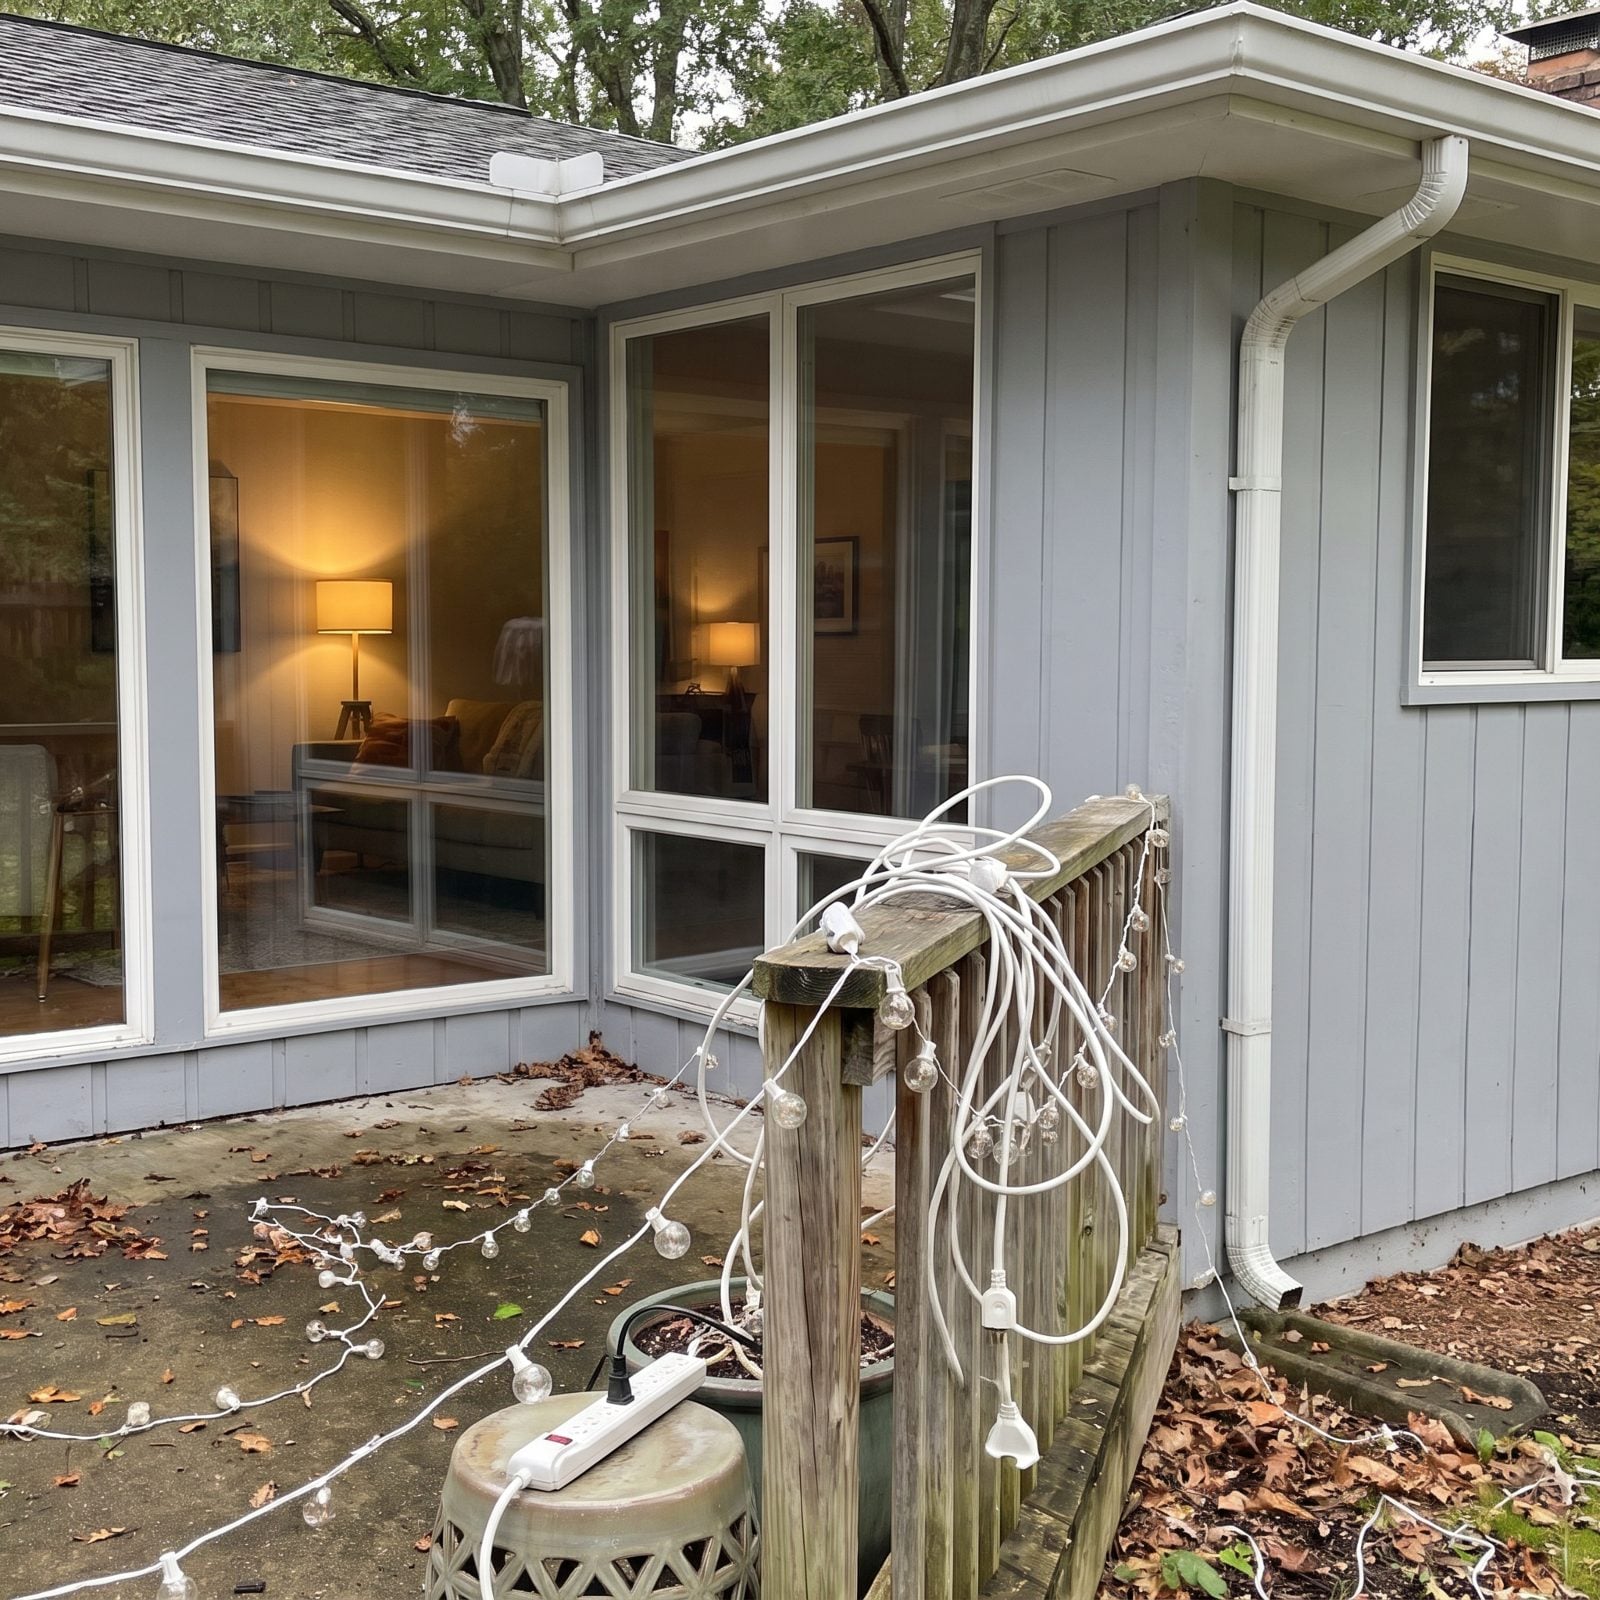
Indoor strands and the cords feeding them were never built to sit in dew, rain, or the mud under your awning. Water finds the connection, and now you’ve got a shock risk — or a tripped GFCI at the pedestal every single morning, which gets old fast.
Use only lights and extension cords rated for outdoor use, and keep the plug connections off the wet ground. A cheap cord cover, or even a plastic container flipped over the junction, keeps the weather out.
Plug into a GFCI-protected outlet, which most campground pedestals already have. That’s your automatic cutoff if moisture gets somewhere it shouldn’t.
21. Clinging to Hot Incandescent Bulbs in a Tiny Space
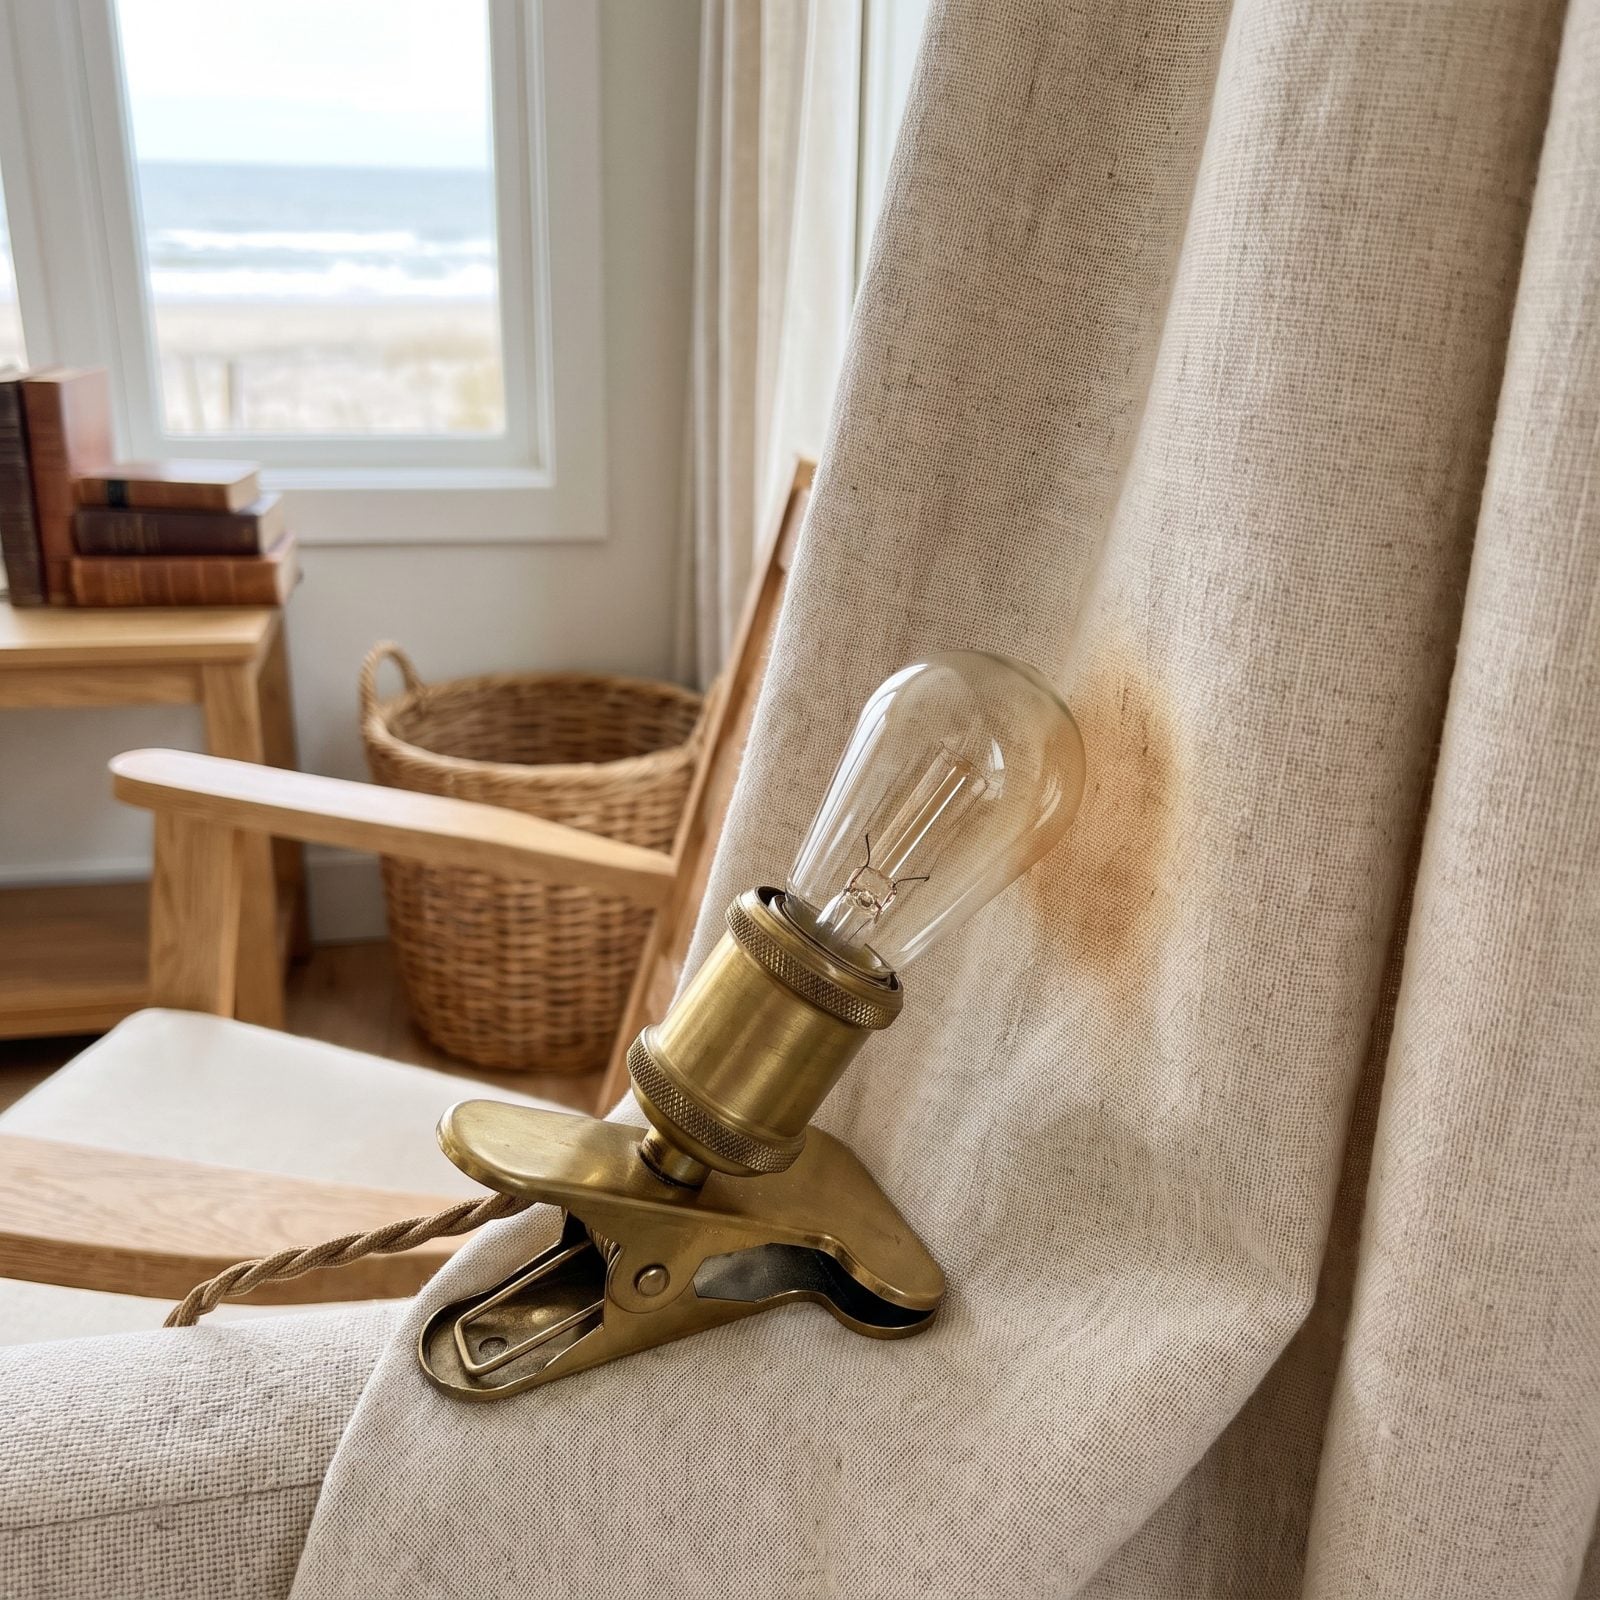
Old incandescent string lights get genuinely hot. In a house that’s fine. Press them against a curtain, a cushion, or vinyl paneling in a cramped camper and that heat has nowhere to go.
LEDs run cool to the touch, draw less power, and last for years. There’s almost no reason left to run hot bulbs in a confined space.
Still got a box of the old warm-glow strands you love? Retire them to outdoor use on a cold night and switch the interior over to LED. Your cushions, your curtains, and your breaker will all thank you.
20. Draping Twinkle Lights Across the Cooktop
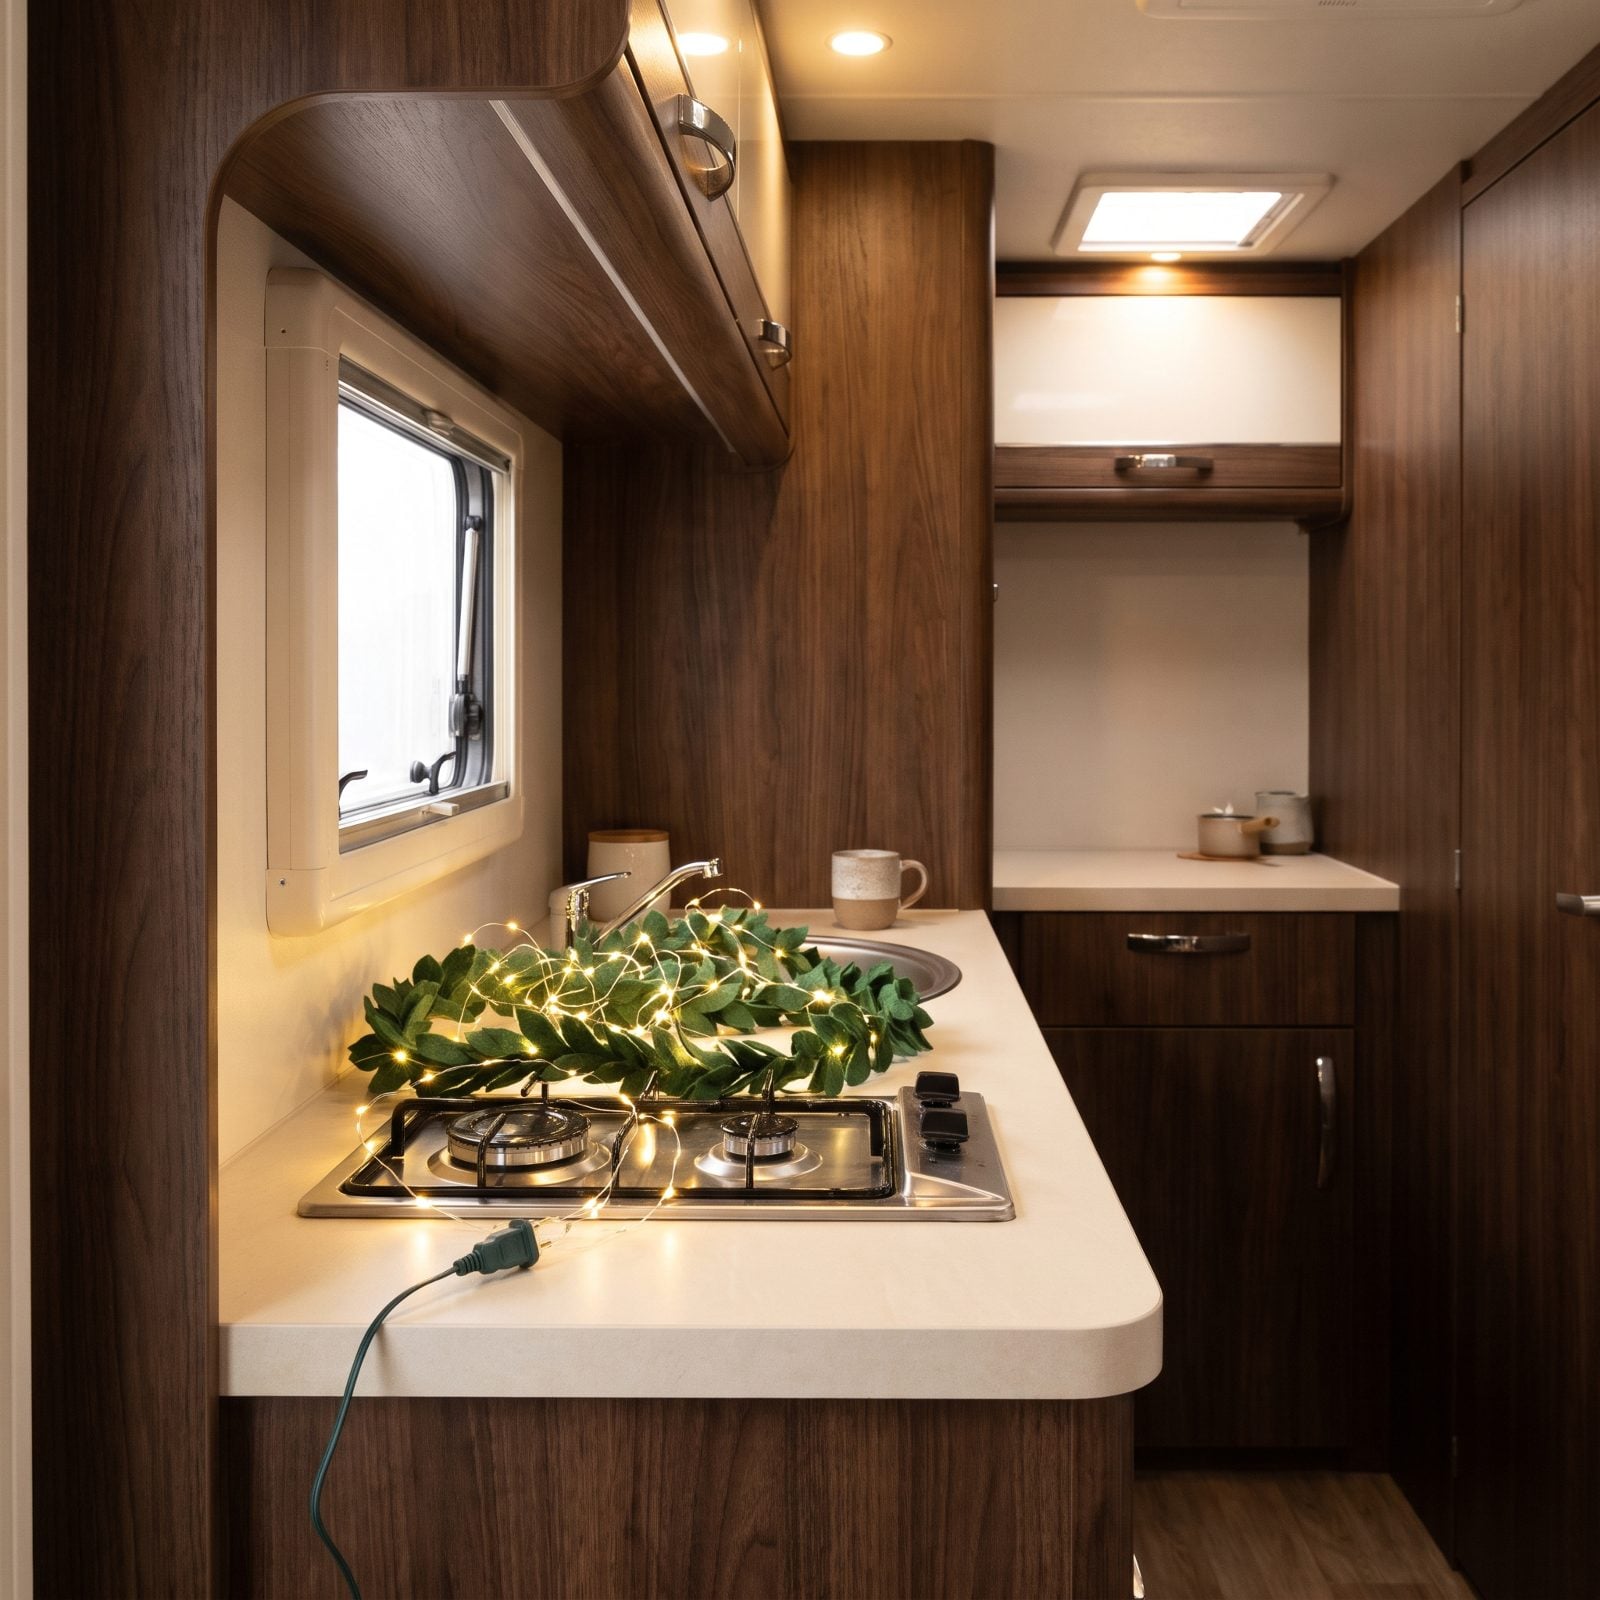
RV galleys are tight, so the lights and garland tend to migrate toward the only open rail — which is often right above the two-burner stove. Then you light the burner and the greenery is hanging over an open flame.
Fake pine and plastic ribbon catch fast, and in a galley the size of a phone booth there’s nowhere to back away from it.
Keep a hard no-decoration zone around the cooktop and oven vent. Move the garland to the cabinet faces on the far side of the galley, or above the dinette instead. The kitchen can stay festive. Just not directly over the flame.
19. Letting Light Cords Vanish Into the Slide-Out
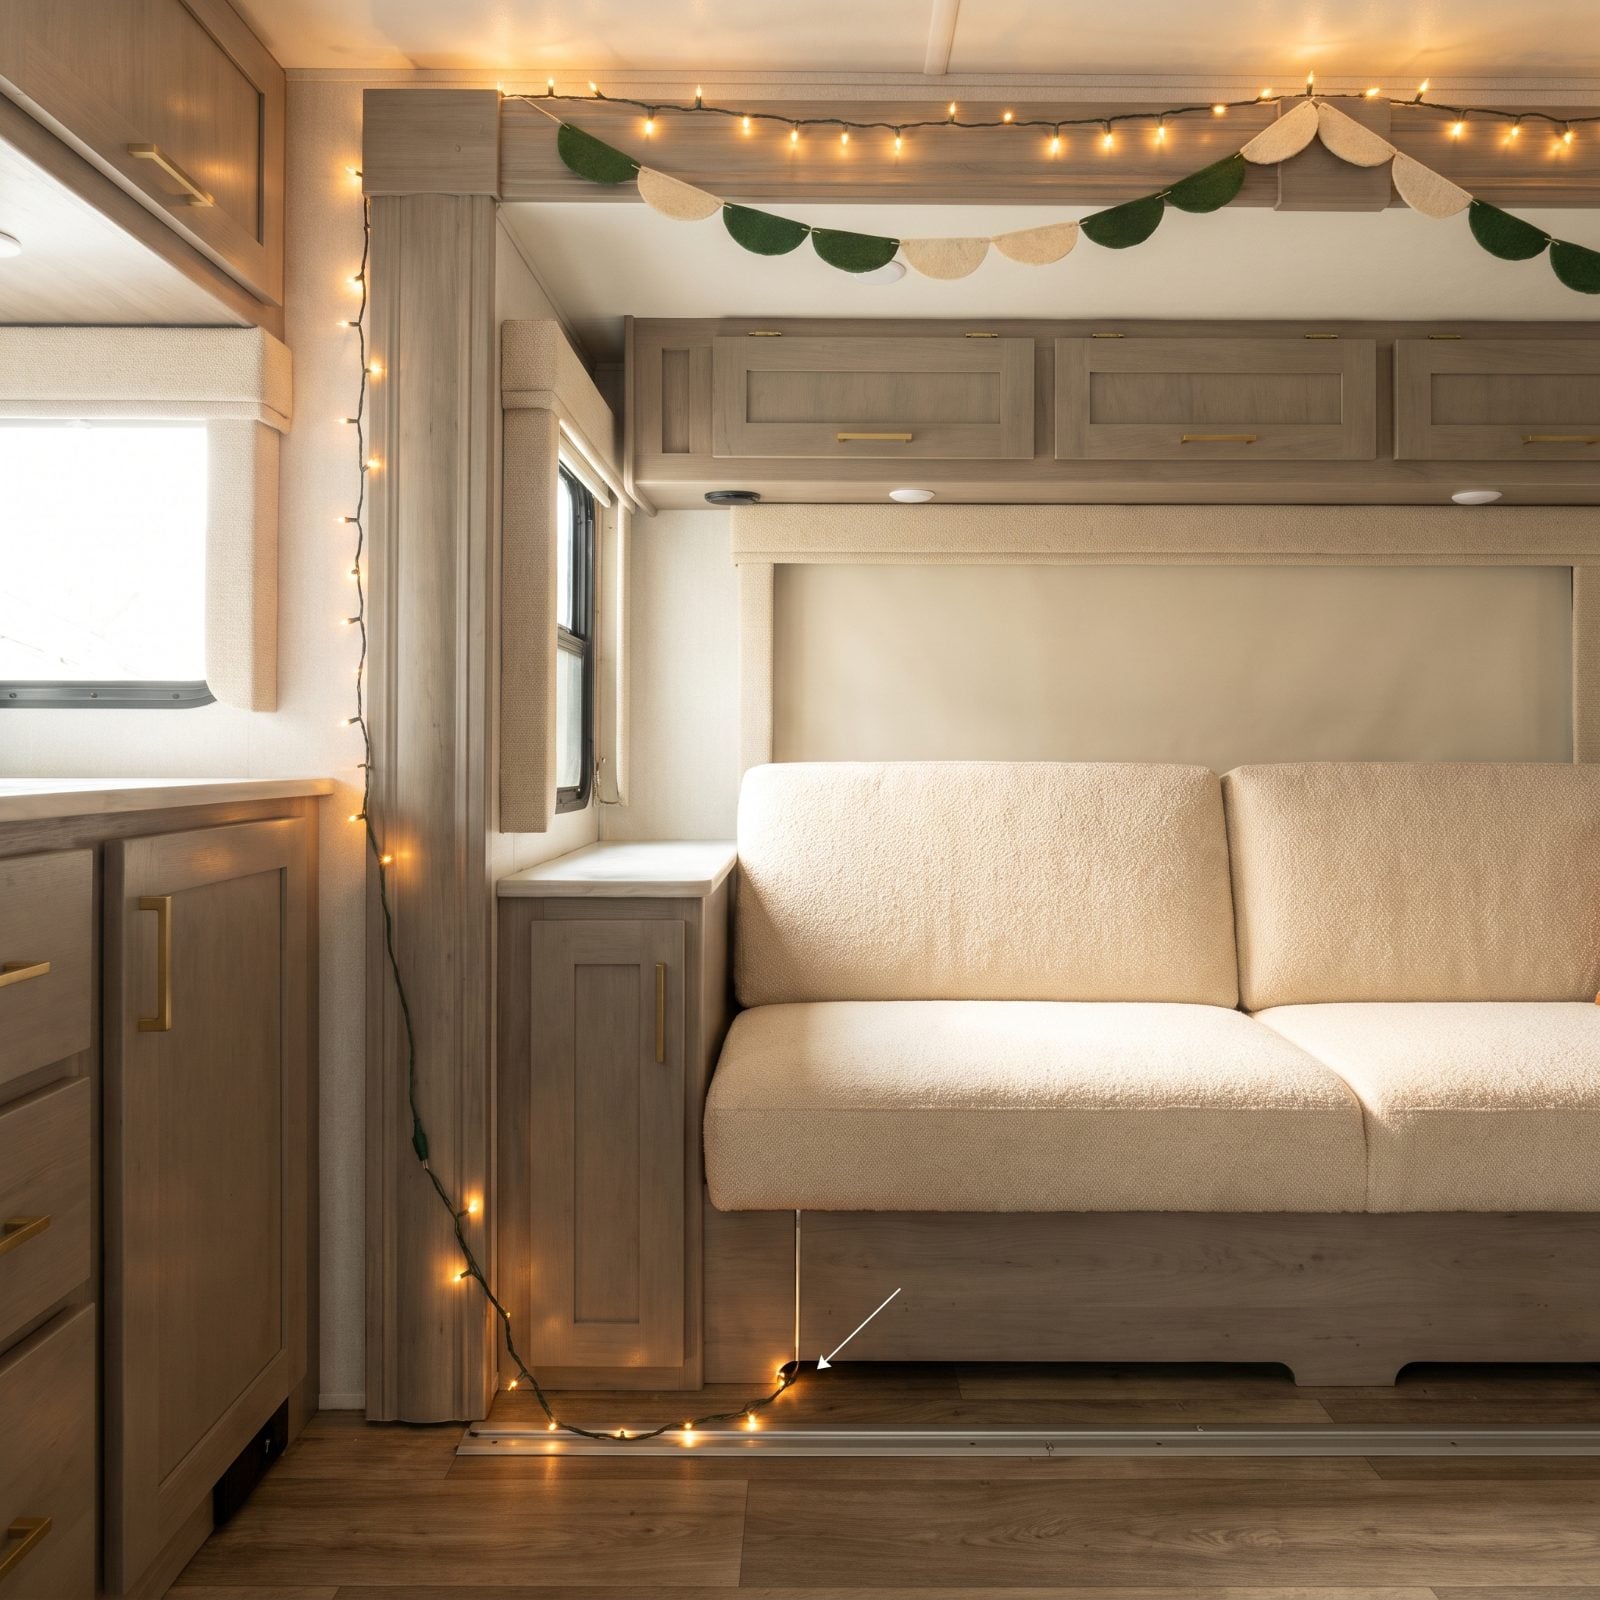
Slide-outs are quiet little guillotines for anything in their path. Run a light cord across the seam and the next time you bring the slide in, the mechanism pinches, crushes, or severs it.
A damaged cord is a short-circuit and a fire risk hiding right inside your wall gap, and you often won’t spot the nick until something goes wrong.
Route every cord along the fixed walls, never across a slide seam, a slide track, or the floor gap where the room moves. Before you pull the slide in, do a quick cord check the same way you’d check for a coffee cup left on the counter.
18. Stringing a Trip Wire of Cords Across the Floor
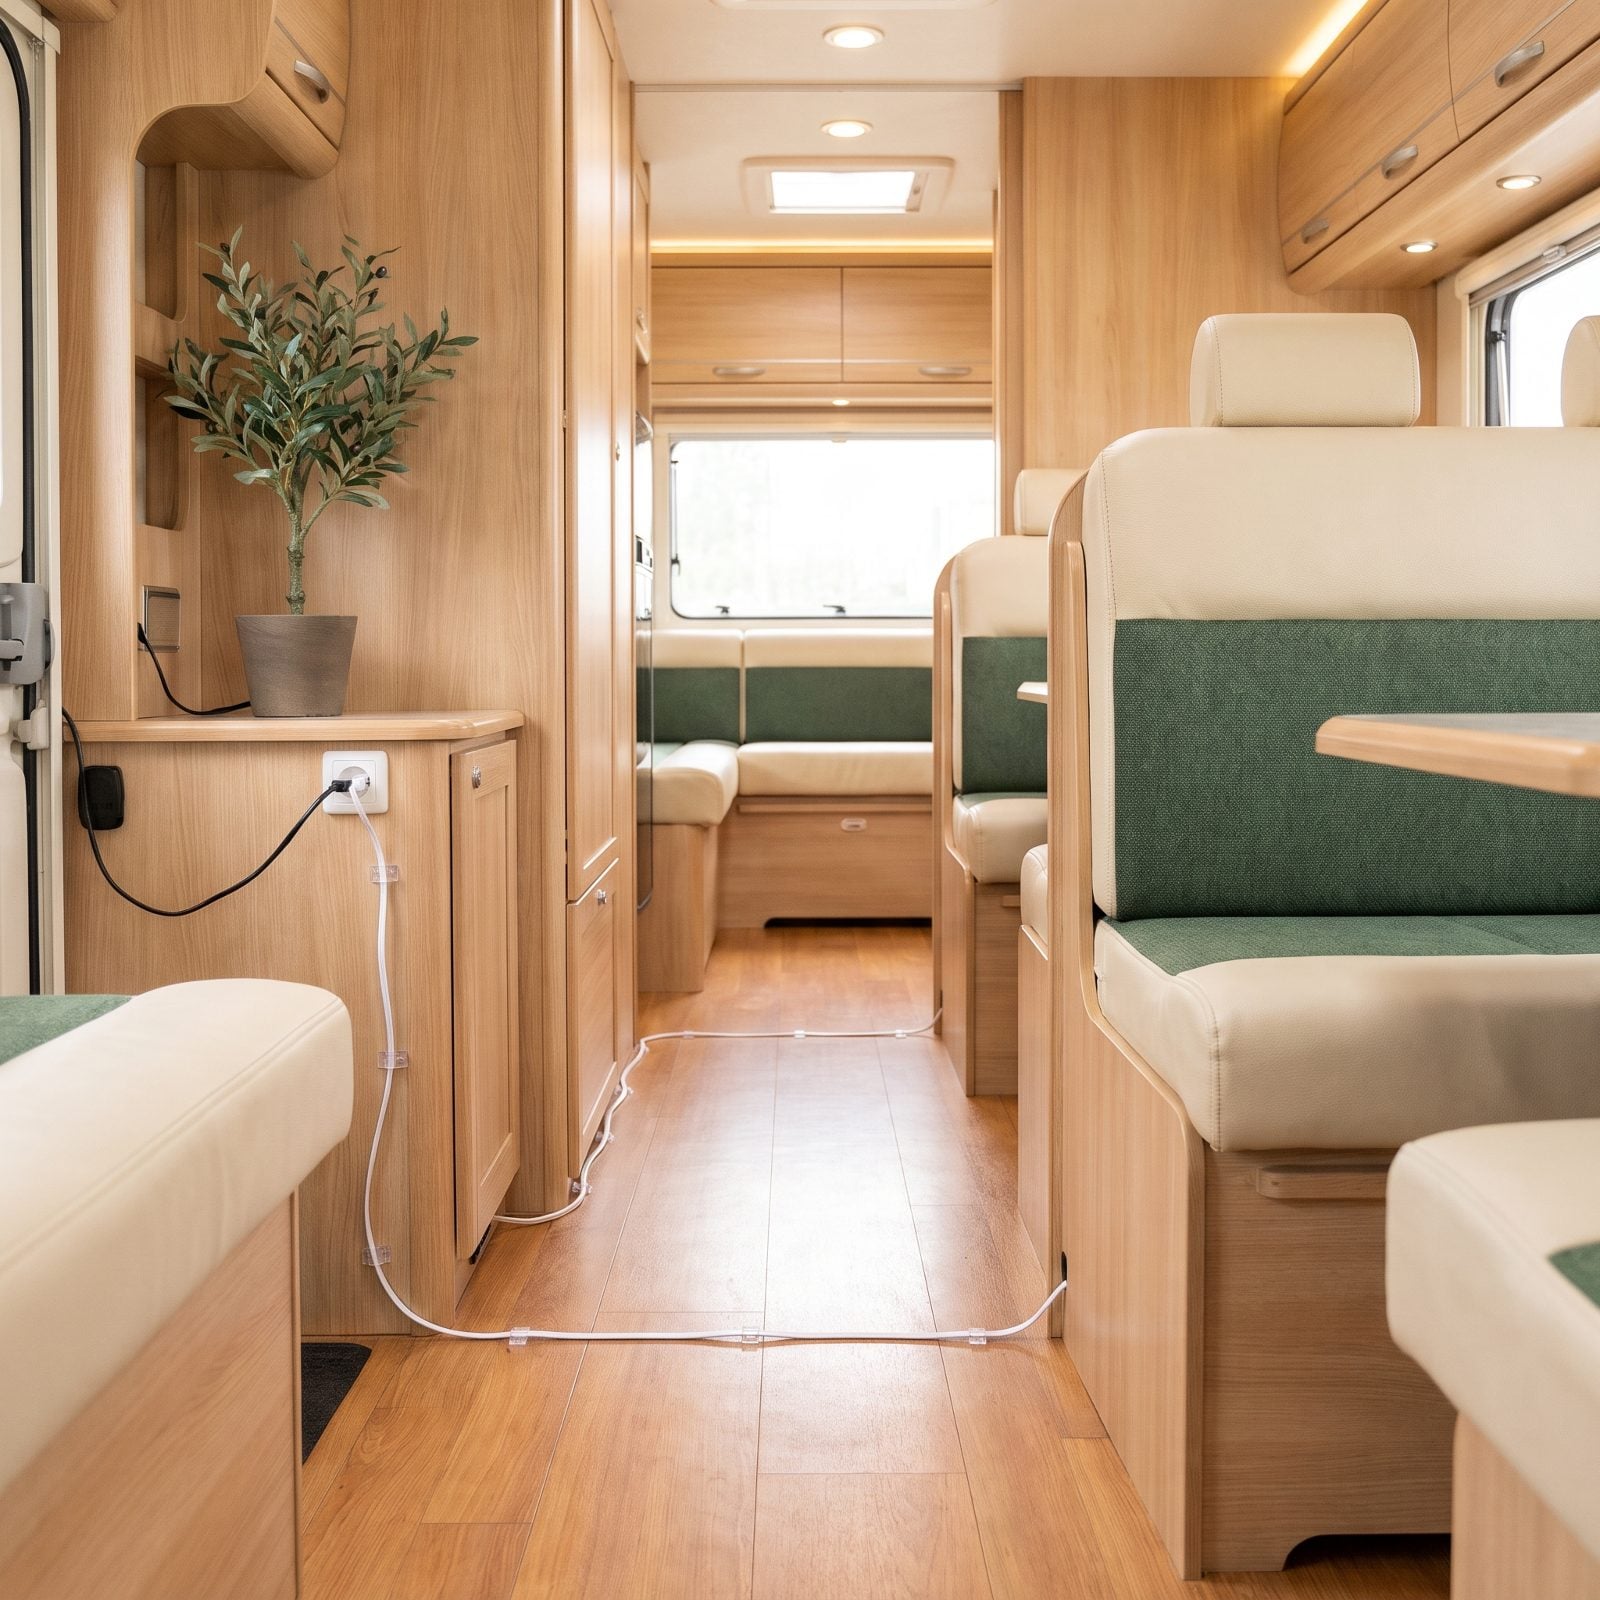
An RV living area can look wide open until a cord snakes across it. Run a floor lamp’s cord over the rug and across the walkway to an outlet on the far side of the room and you’ve built a trip hazard in the dark, on the exact path you walk to the kitchen at 2 a.m. Falls onto a hardwood floor are no joke, especially for anyone navigating at night without the lights on.
Keep cords hugging the baseboards and walls, held down with removable adhesive clips. Plug the lamp into the nearest outlet rather than running a cord across the floor to a prettier one. And if a cord absolutely must cross a walkway — it doesn’t. Find another plug.
17. Lighting Real Candles Inside a Tin Box
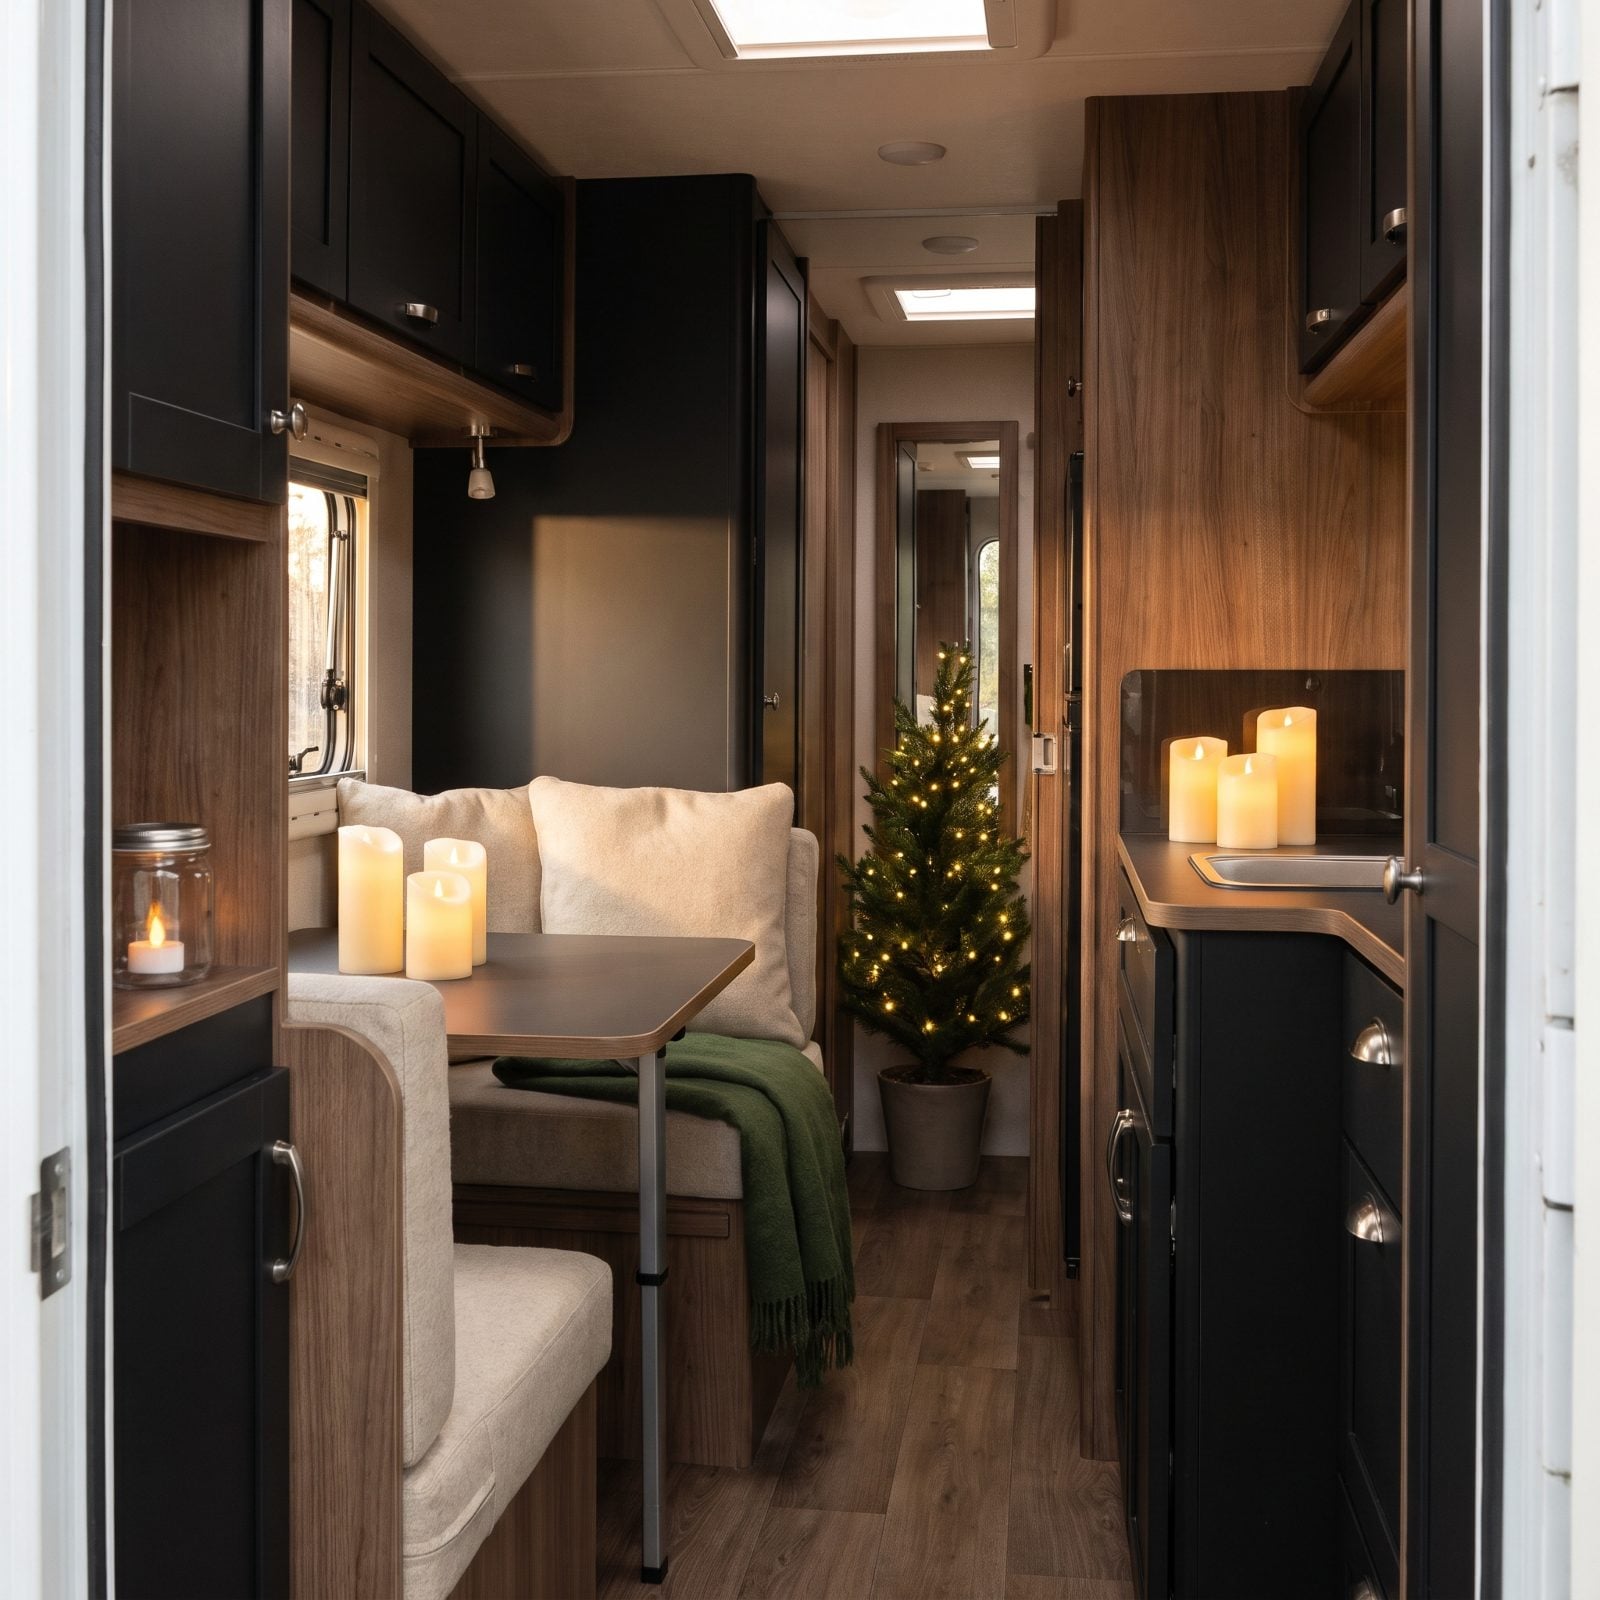
An RV is a small sealed box full of fabric, propane, and things that burn. A lit candle in that environment is a risk wildly out of proportion to the little flicker of ambiance it buys you.
A bump, a breeze from the vent, a curtain that swings — and the whole rig goes up faster than you’d believe. Carbon monoxide is the quieter danger lurking behind anything with a flame.
Flameless LED candles have gotten genuinely good. The wax-shell ones flicker and glow convincingly, run on a battery, and you can leave them on while you’re out without a second thought. For scent, lean on a reed diffuser or a warmer that doesn’t involve fire.
We held out on fake candles for years because we thought they looked cheap. The new ones changed our minds, and honestly? We don’t miss scraping wax off the dinette.
16. Stuffing Garland and Gift Boxes Over the Heating Vents
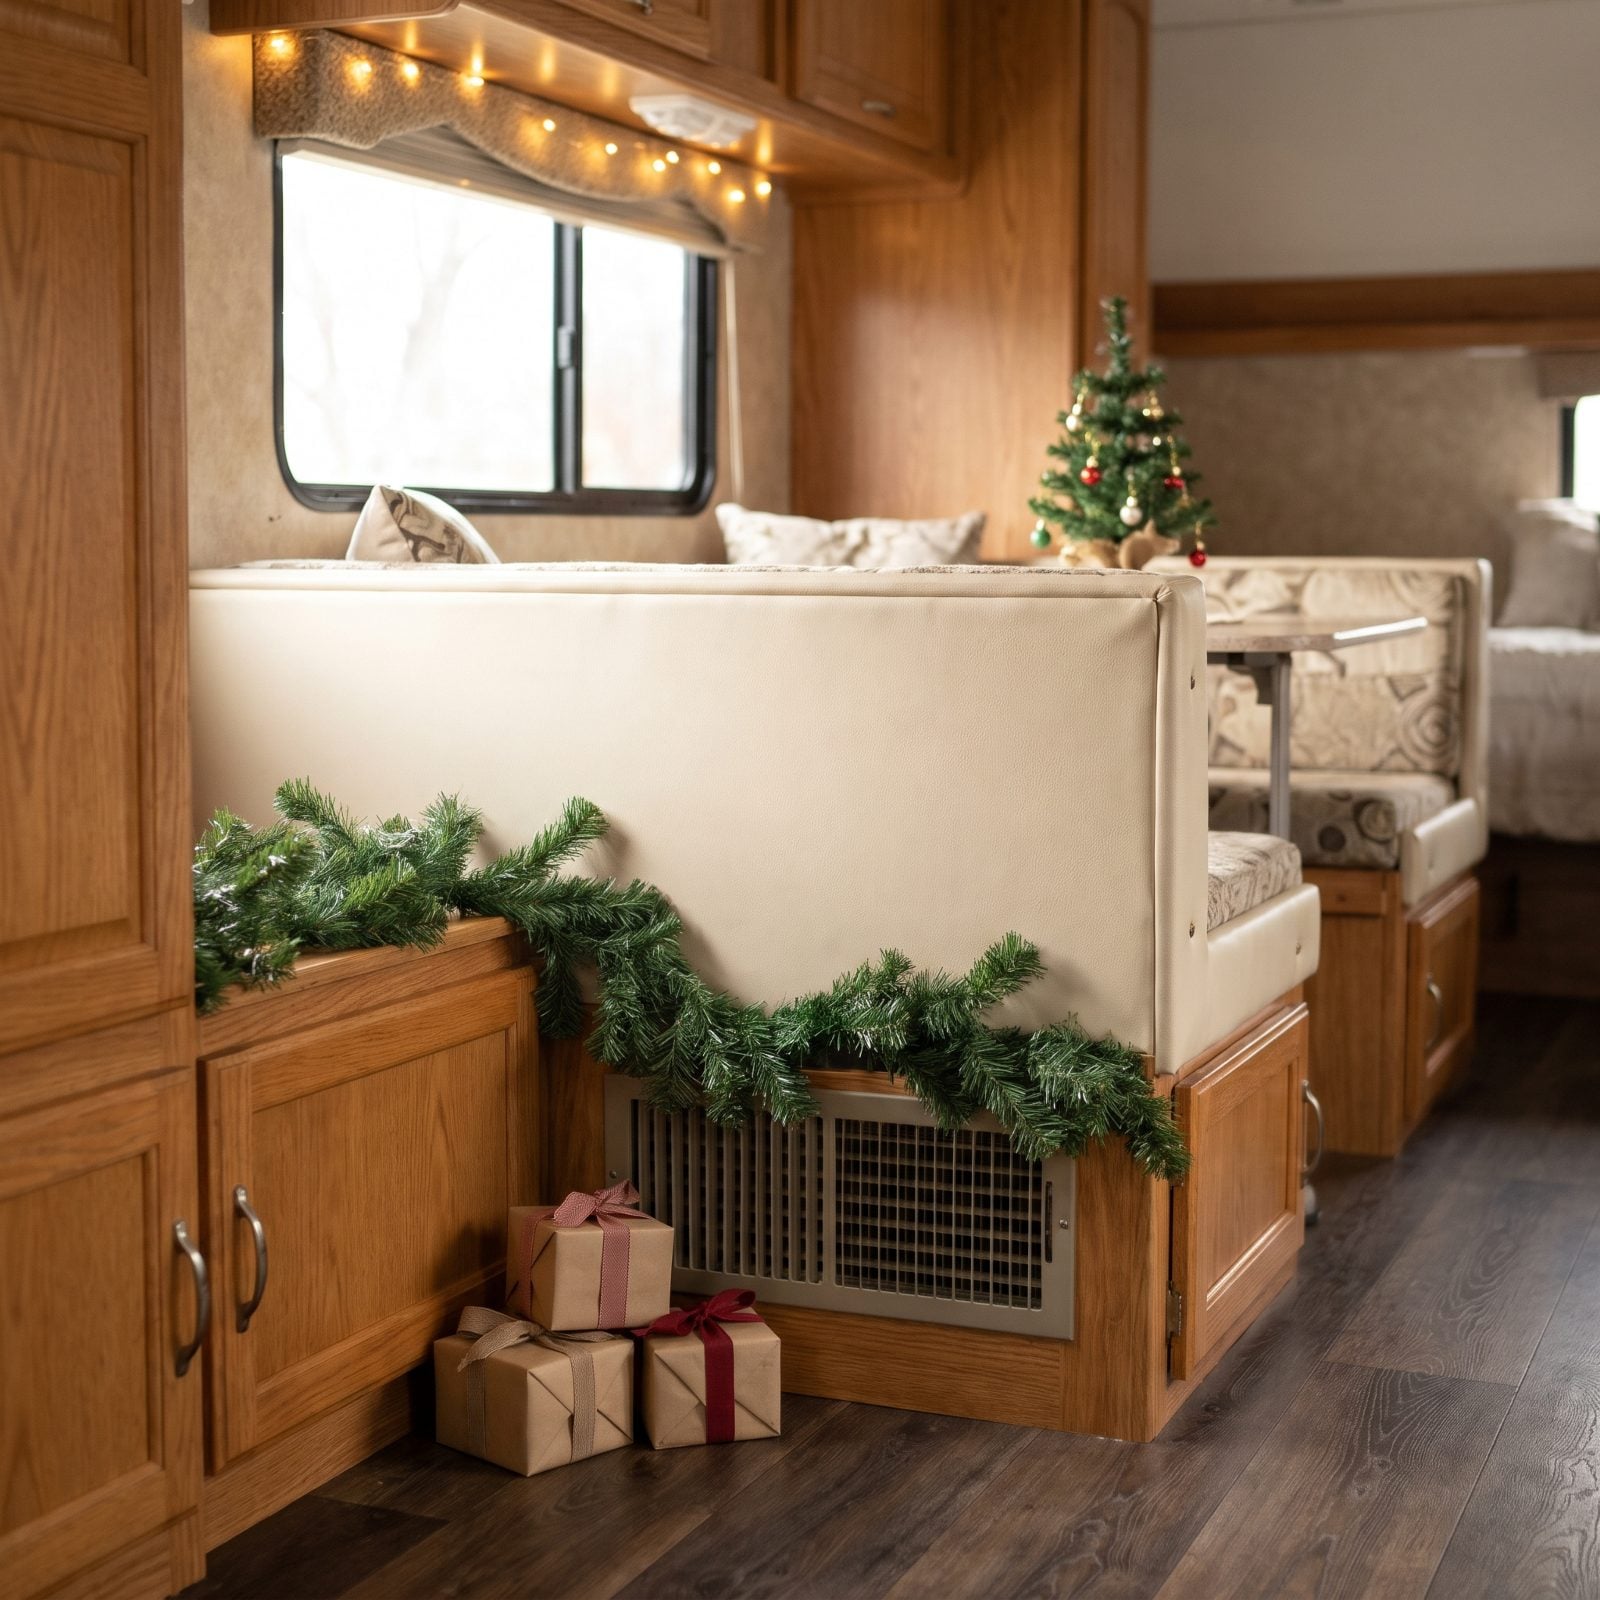
Most RV furnaces push heat through small floor registers or toe-kick vents under the cabinets, and those vents sit right where a stack of wrapped gifts or a pile of garland naturally lands. Cover them and the warm air has nowhere to go. That end of the rig stays cold, and the furnace works harder to make up for it.
Watch the return air intake too, usually a grille near the furnace itself. If the furnace can’t pull air back in, it can overheat and trip its high-limit switch, shutting off on the coldest night of the trip. Dried greenery and wrapping paper parked against a hot register aren’t a pairing you want either.
Before you set anything on the floor or under a cabinet, find every supply and return vent and mark it in your head as off-limits. Gifts can stack on the bed or the dinette bench until morning.
15. Draping Tinsel or Foam Snow Over the Smoke and CO Detectors
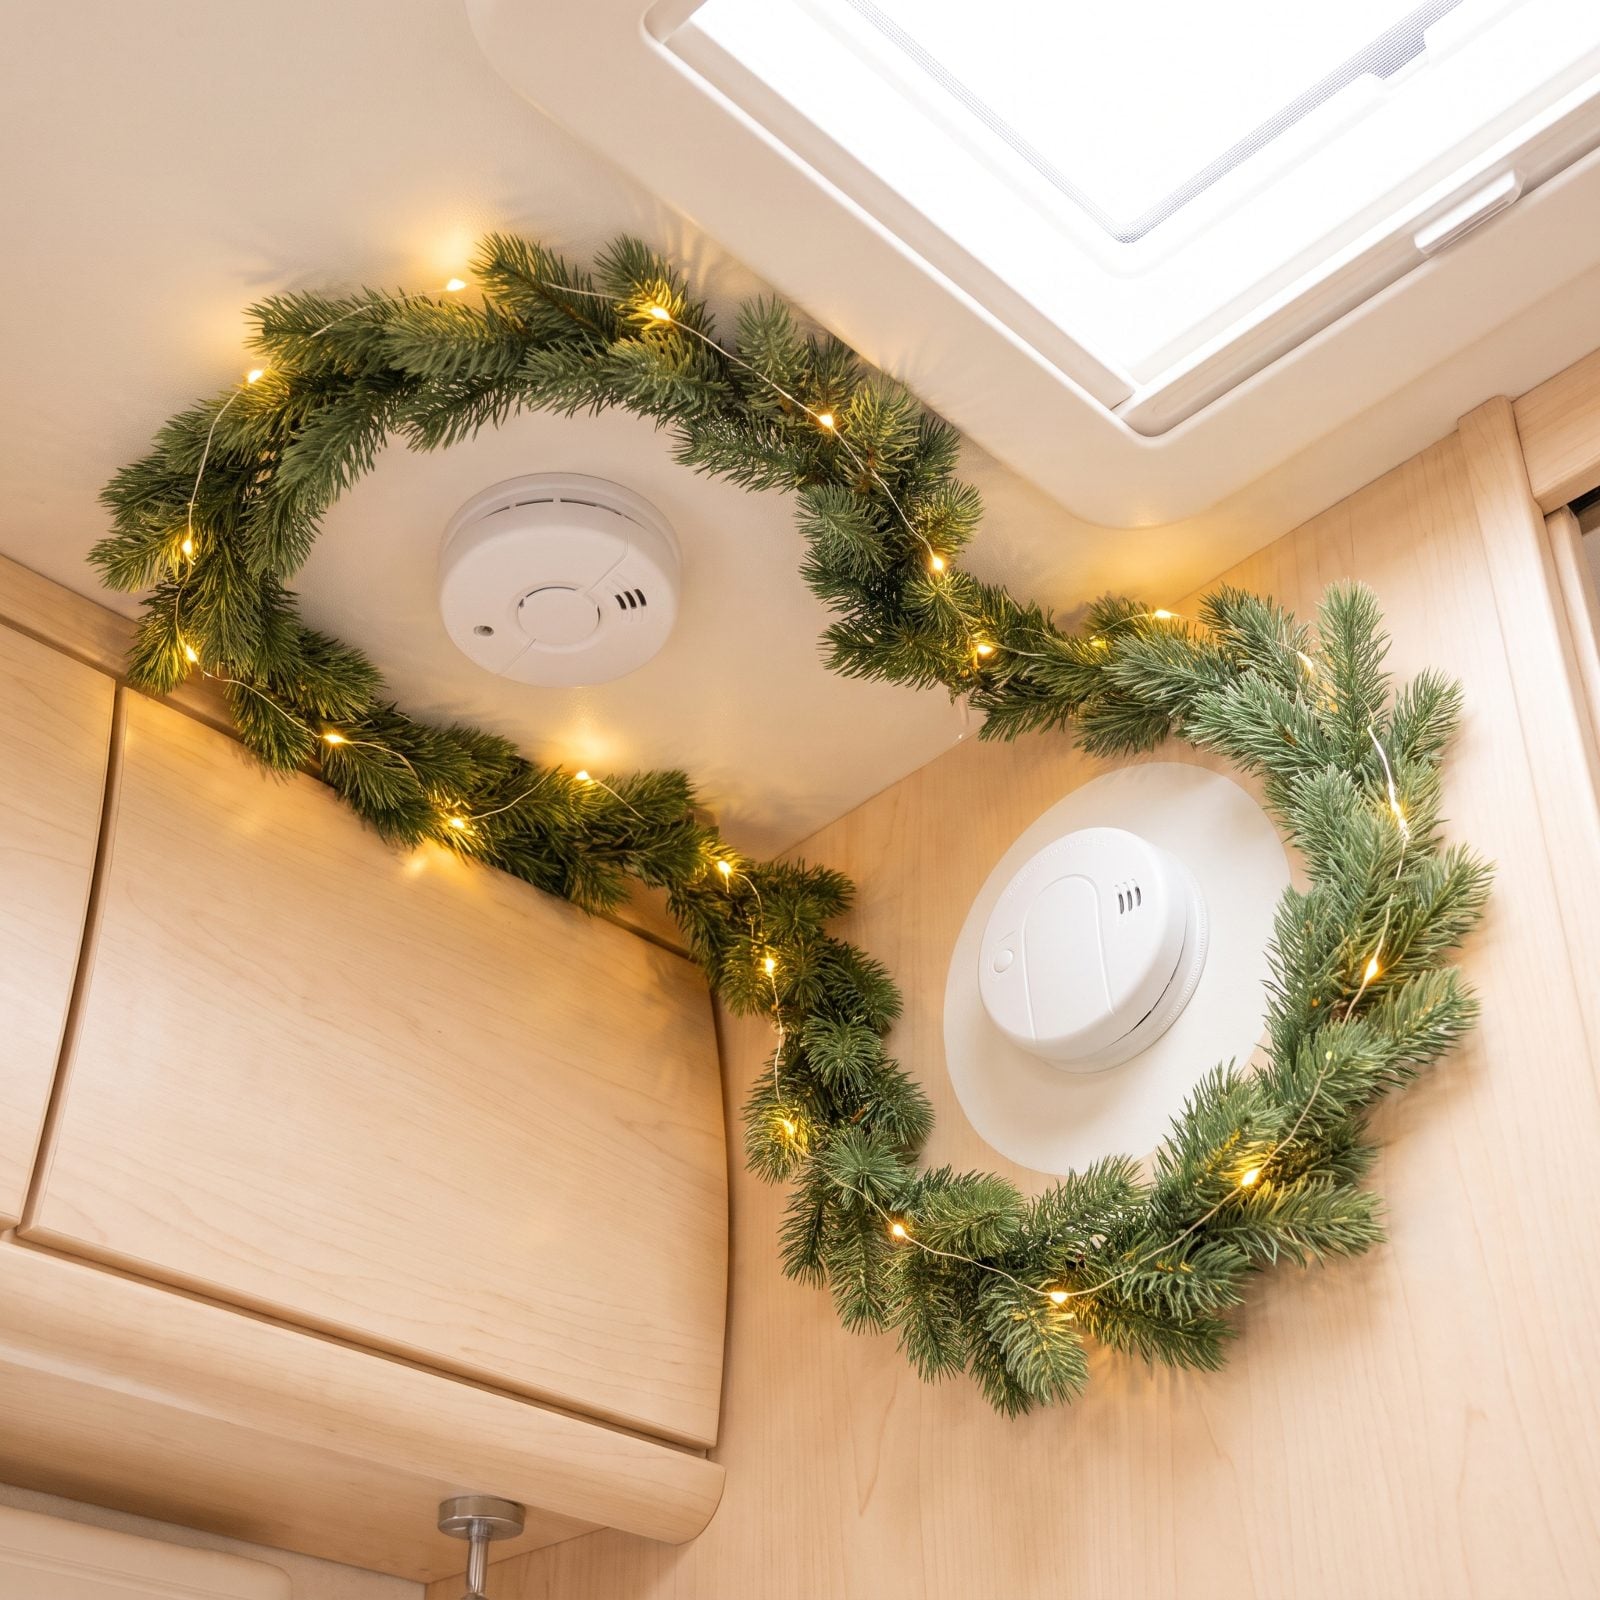
Smoke detectors live on the ceiling, and that makes them an easy anchor point for a garland swag or a strand of tinsel. Foam snow and spray-on frost go wherever the can points. The trouble is that a detector needs open air to sense anything. Wrap it, coat it, or tuck it behind decor and you’ve muffled the one device built to wake you up.
The LP gas detector deserves its own warning. It usually sits low on the wall near the floor, because propane is heavier than air, and many aerosols use hydrocarbon propellants that can set it off. Spray snow on the windows with the door open, well away from that detector, or skip the can entirely and use reusable window clings.
Leave a clear ring of space around every alarm in the rig, and press each test button once the decorating is done.
14. Burying the Fire Extinguisher Behind a Holiday Display
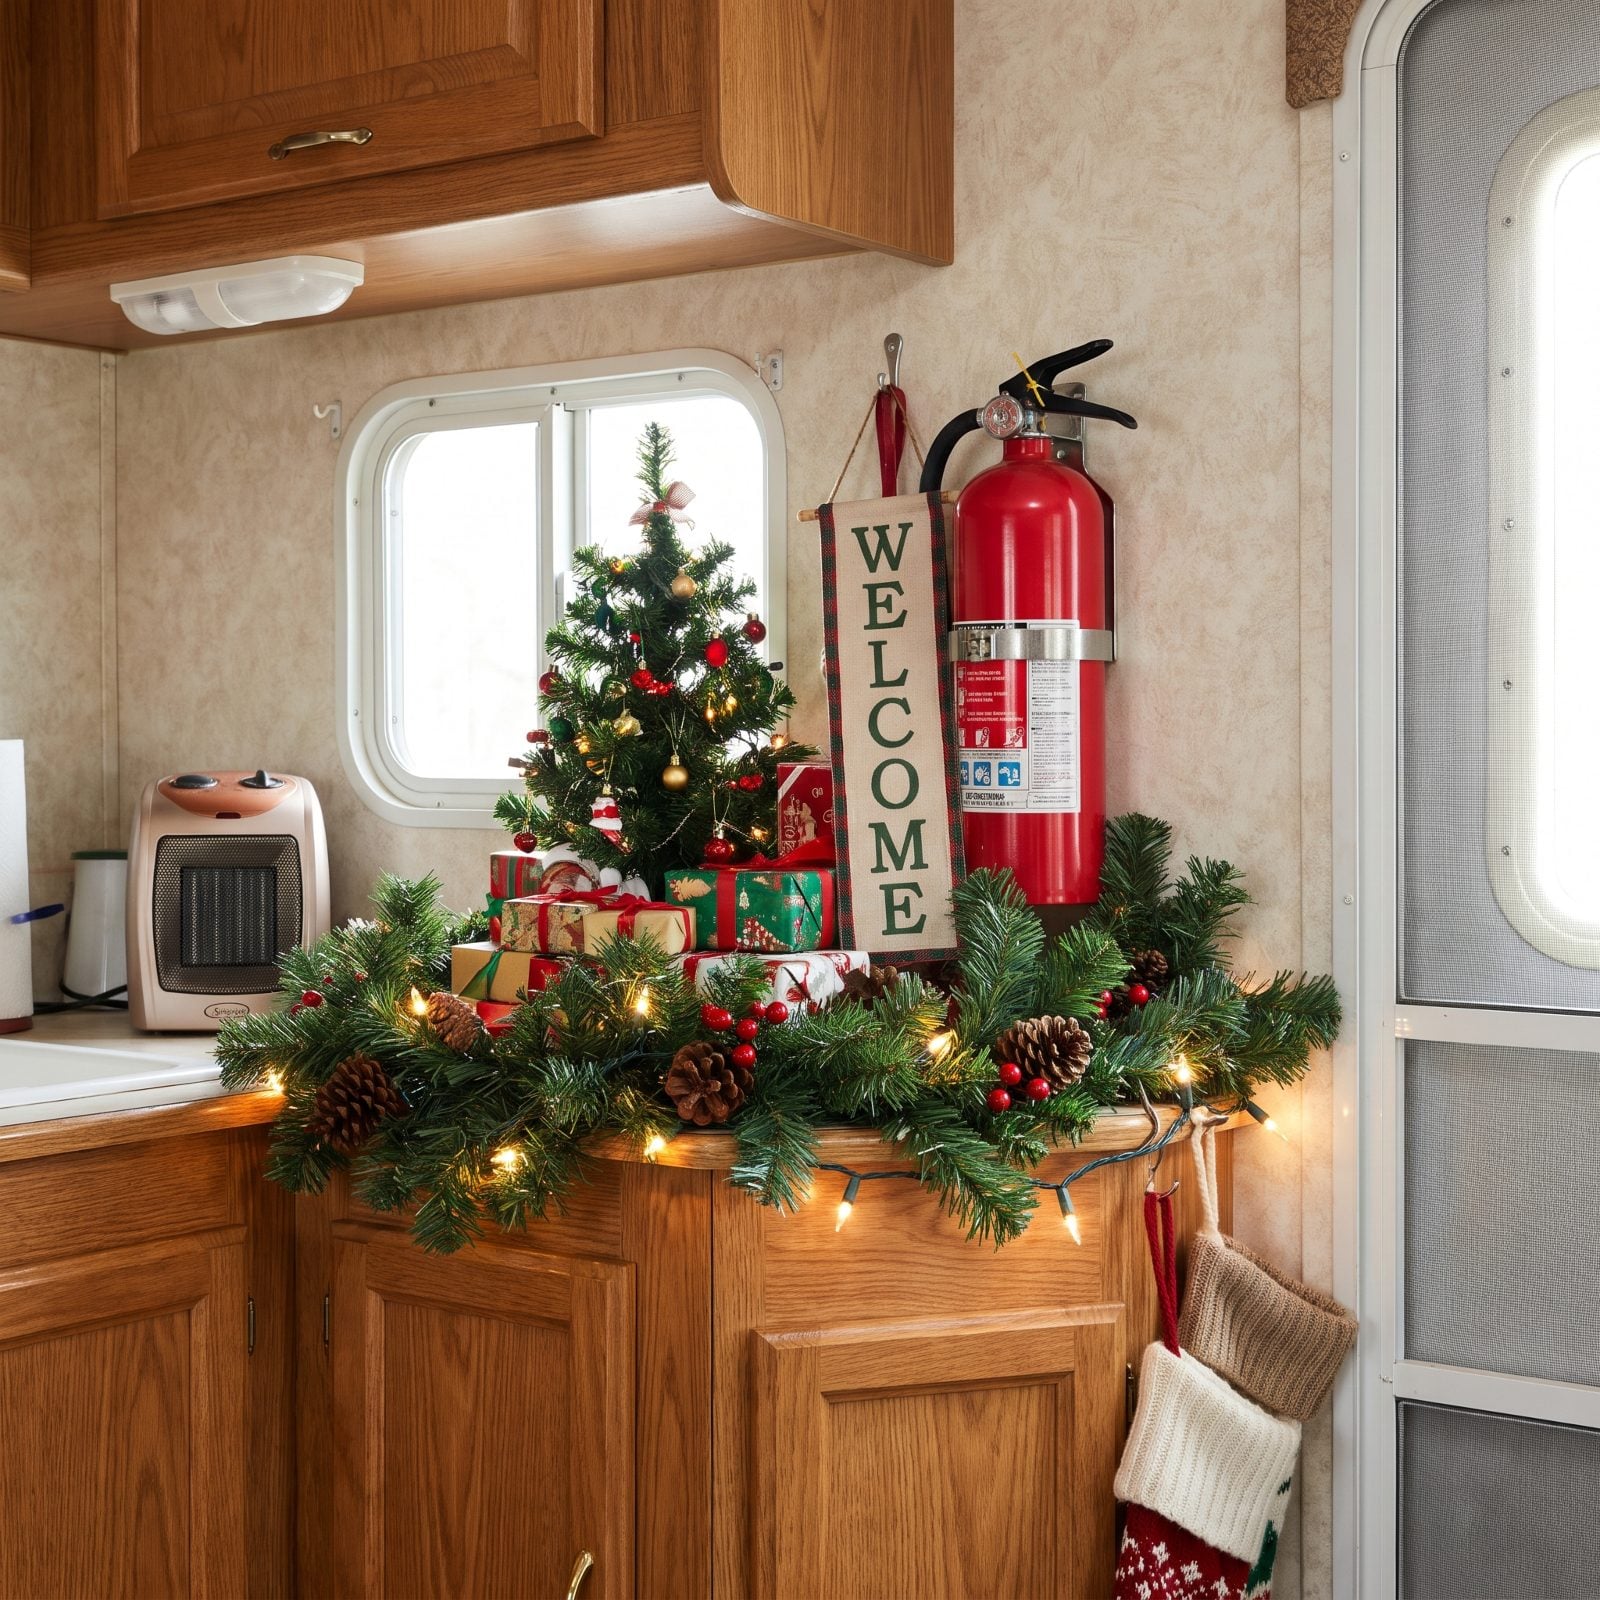
The fire extinguisher in most RVs is mounted near the entry door, and that’s exactly where the welcome display goes: the stockings, the little sign, the garland framing the doorway. Before long the red canister is hidden behind velvet and pine.
In a fire, nobody goes hunting for an extinguisher. You reach for where it’s supposed to be, and if your hand lands on a stocking, you’ve lost time you don’t have. Holiday decor and dry greenery also add fuel to the space, so the season is a good time to make that extinguisher easier to grab, not harder.
Leave the bracket and the canister completely uncovered, and decorate around it with some breathing room. Everyone in the rig, guests included, should be able to point to it without thinking.
13. Lining the Dashboard With Decor You Can’t See Around
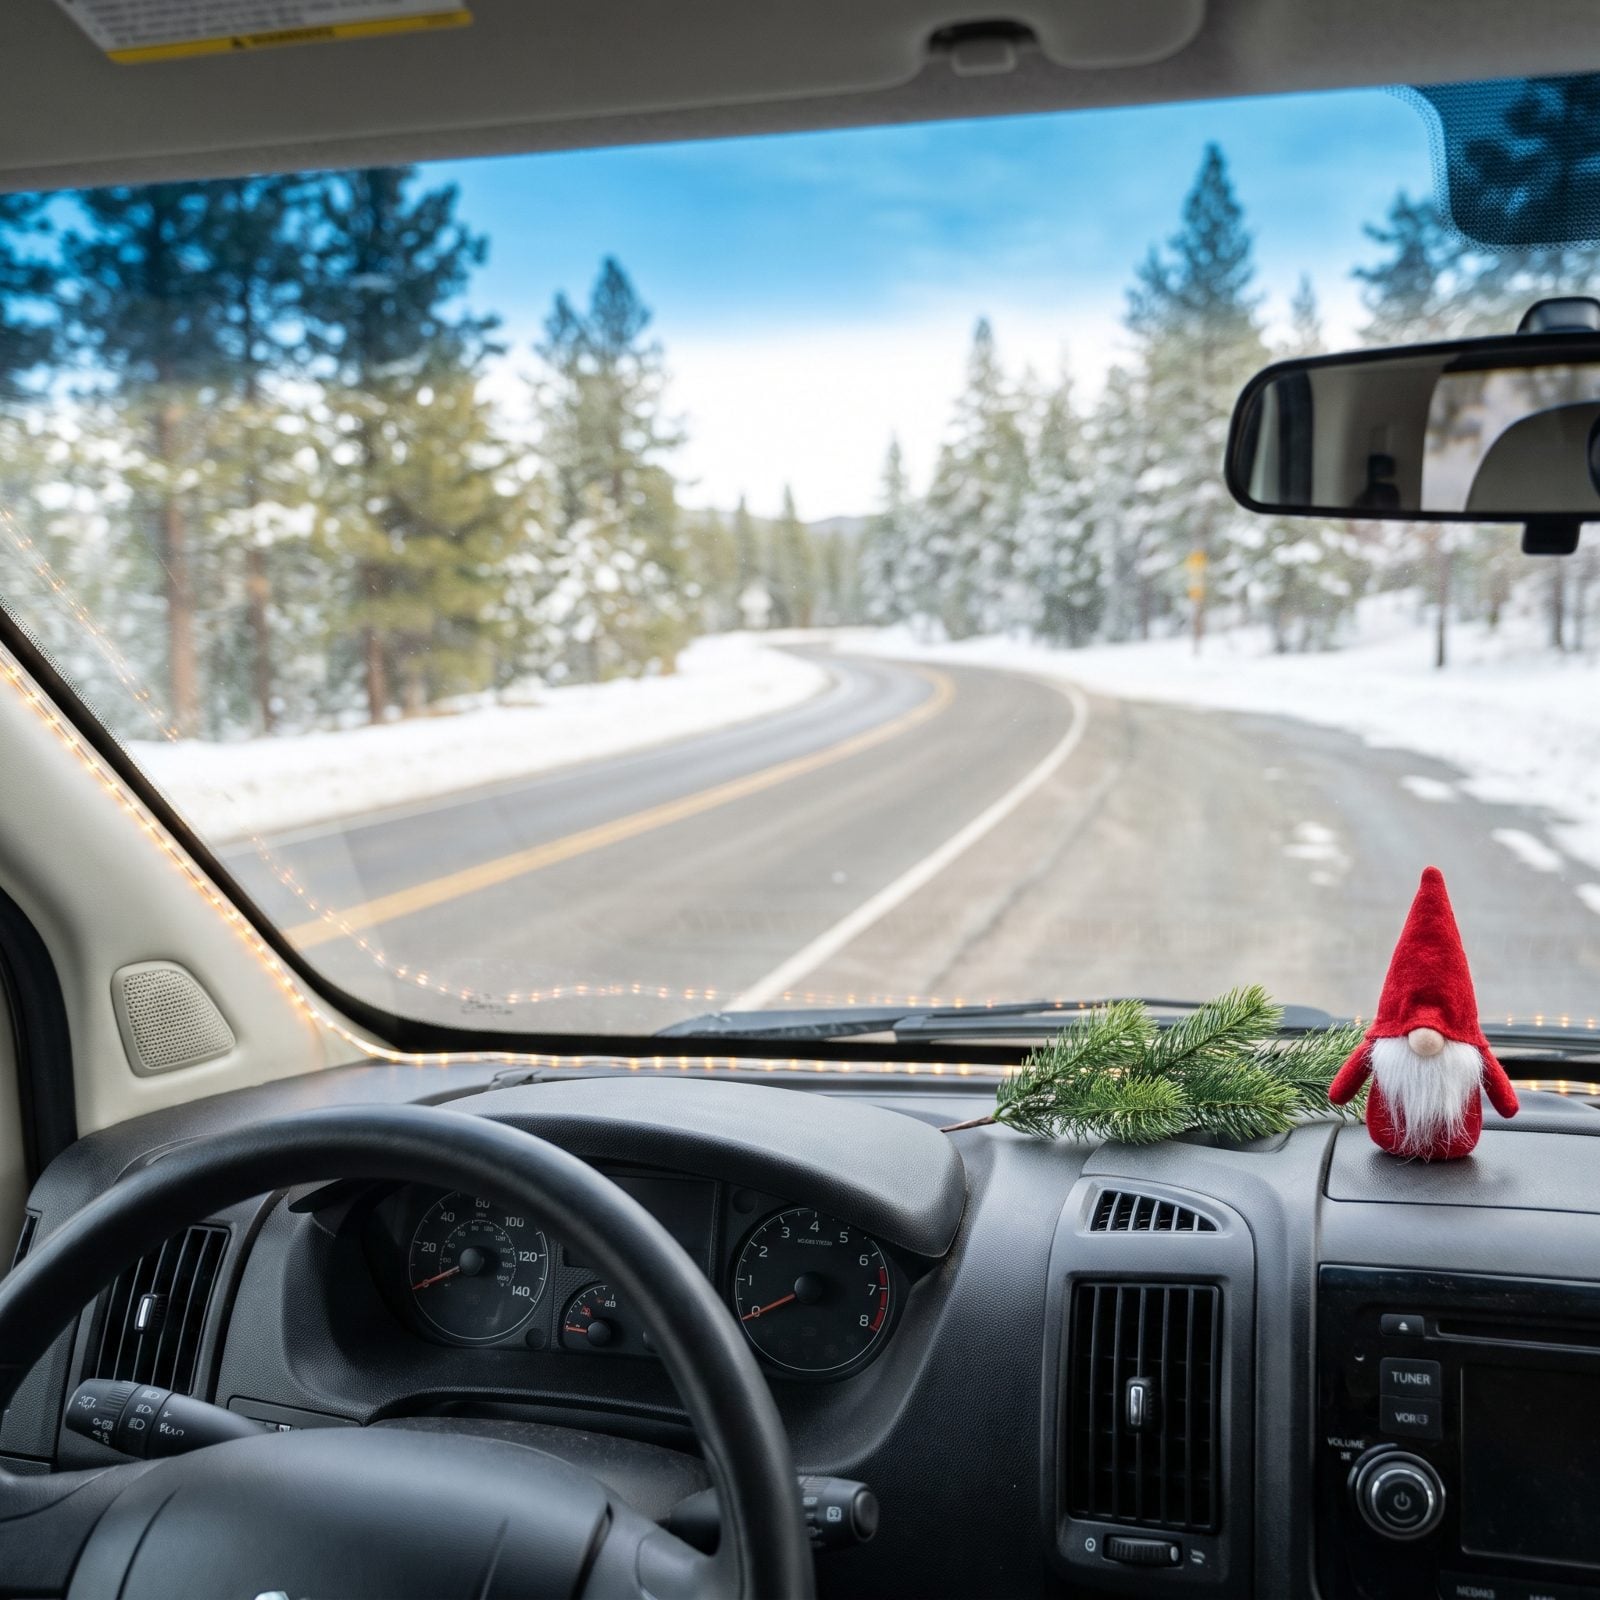
The windshield is the biggest window in a motorhome, so it gets decorated: a string of fairy lights draped along the top of the dash at the base of the glass, a little gnome and a sprig of pine and berries tucked into the console tray. From inside at a campsite it looks festive. From the driver’s seat on travel day, it’s a collection of new blind spots.
The pillars on either side of the windshield already hide more than most drivers realize, especially in turns and at intersections. Thicken them with greenery and a pedestrian or a car can disappear behind them. Lights are worse after dark, when they reflect in the glass and throw glare right where you need to see. Anything piled on the passenger side can also end up in the airbag’s path.
Treat the windshield and pillars as travel-day decor-free. Lights and greenery can come down in a minute before you pull out and go back up once you’re parked.
12. Driving Nails Into Thin Walls Without Knowing What’s Behind Them
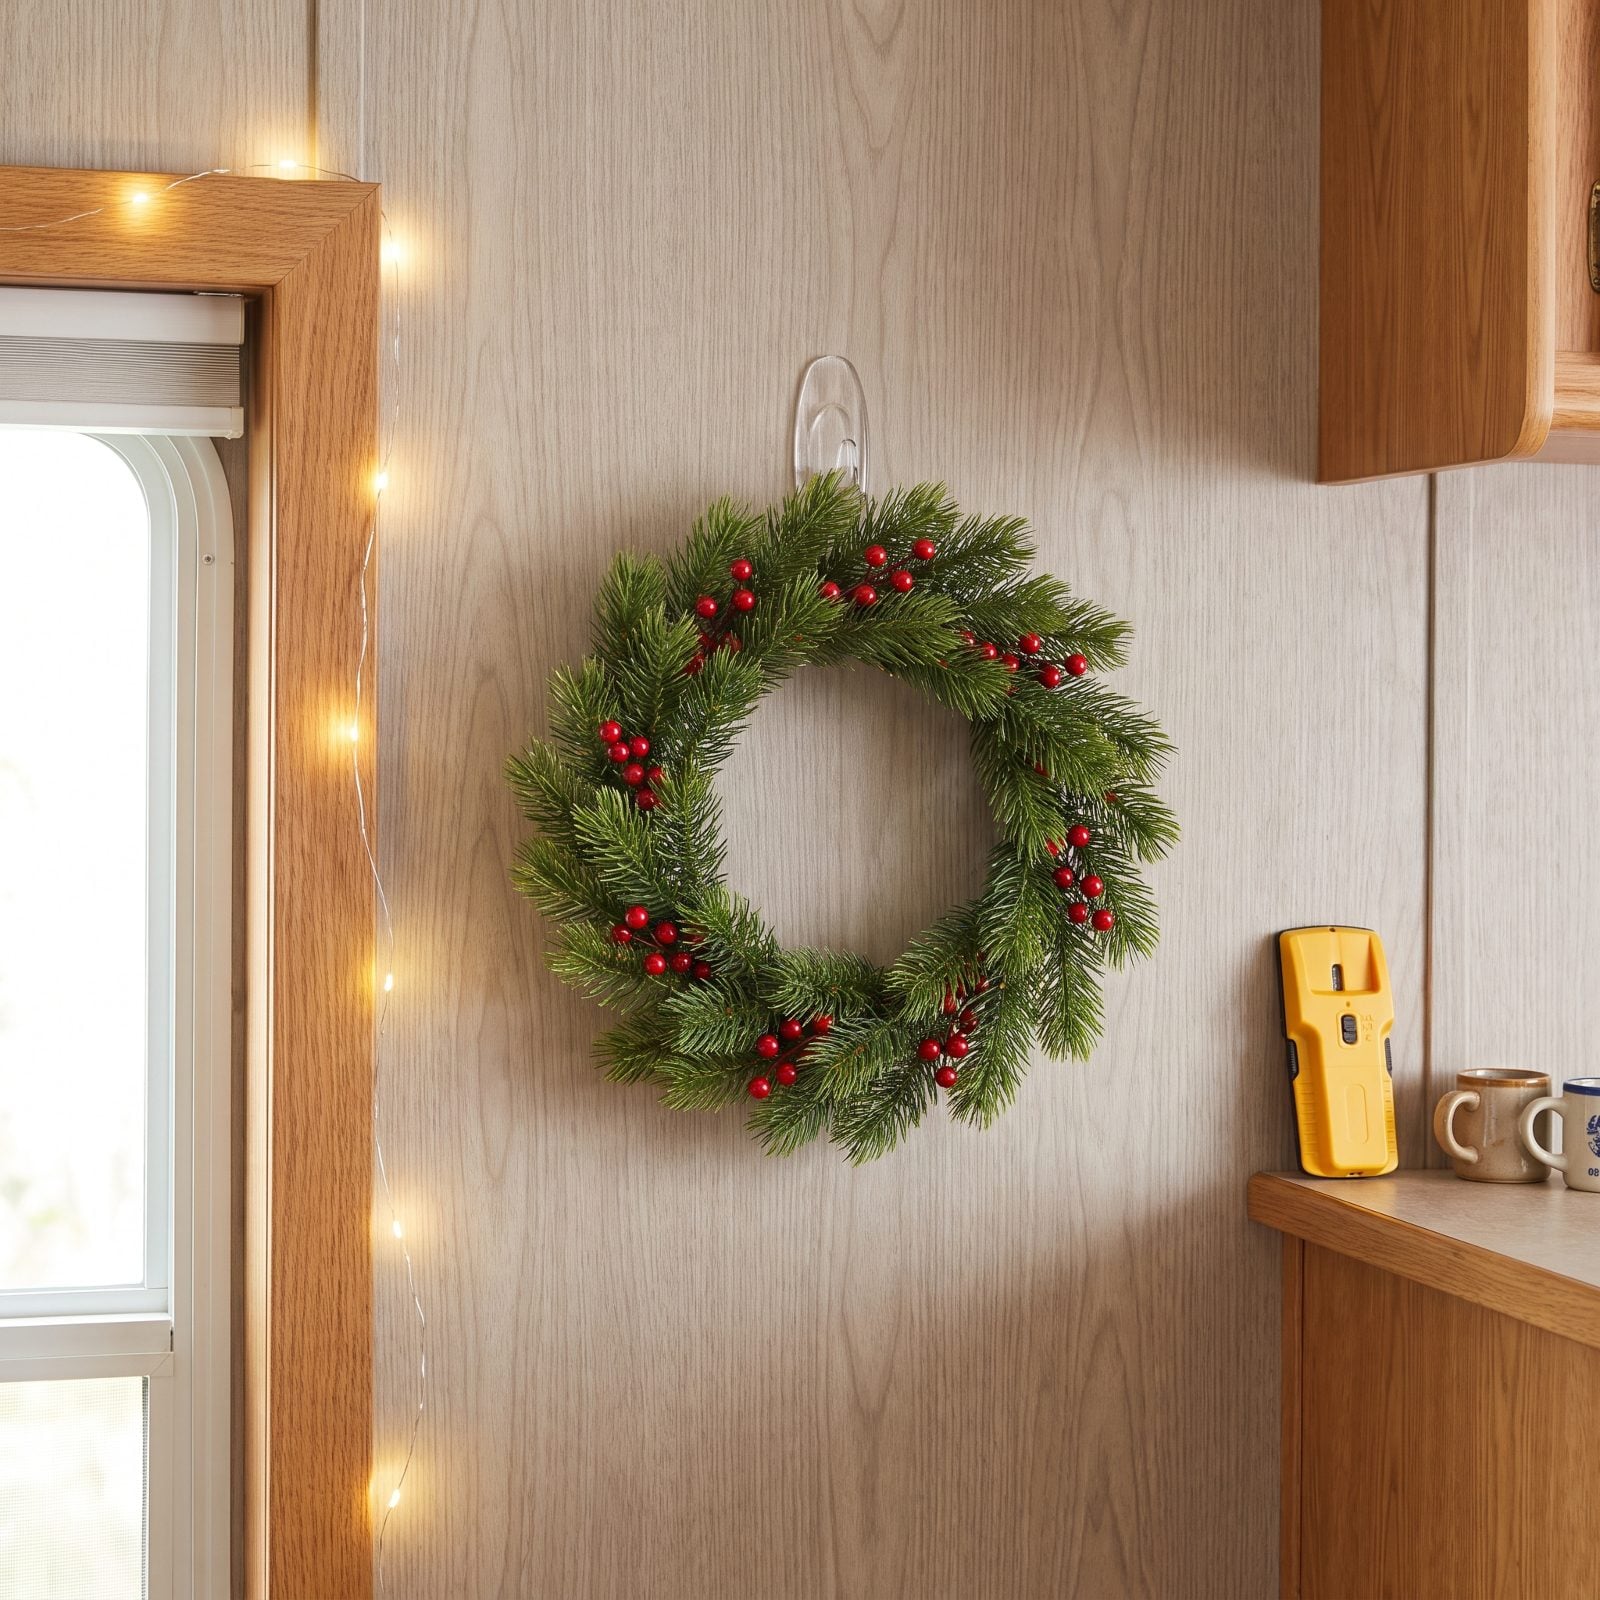
RV interior walls aren’t drywall. Many are thin paneling, often vinyl-covered, over a framework that can hide wiring, plumbing runs, and ductwork in places you’d never guess. A nail that would vanish into a house wall can punch straight through, split the panel, or nick a wire you didn’t know was there.
On exterior walls, a hole that goes too deep can also become a path for moisture, and water damage in an RV wall is the kind of repair nobody wants in January.
Skip the hammer. Removable adhesive hooks, tension rods, and clip-on hangers do nearly everything a nail would. Test any adhesive in a hidden spot first, since some will peel the vinyl skin right off the panel when you remove them. Check the weight rating on the package and stay well under it.
11. Hanging a Heavy Wreath Off a Flimsy Cabinet Door
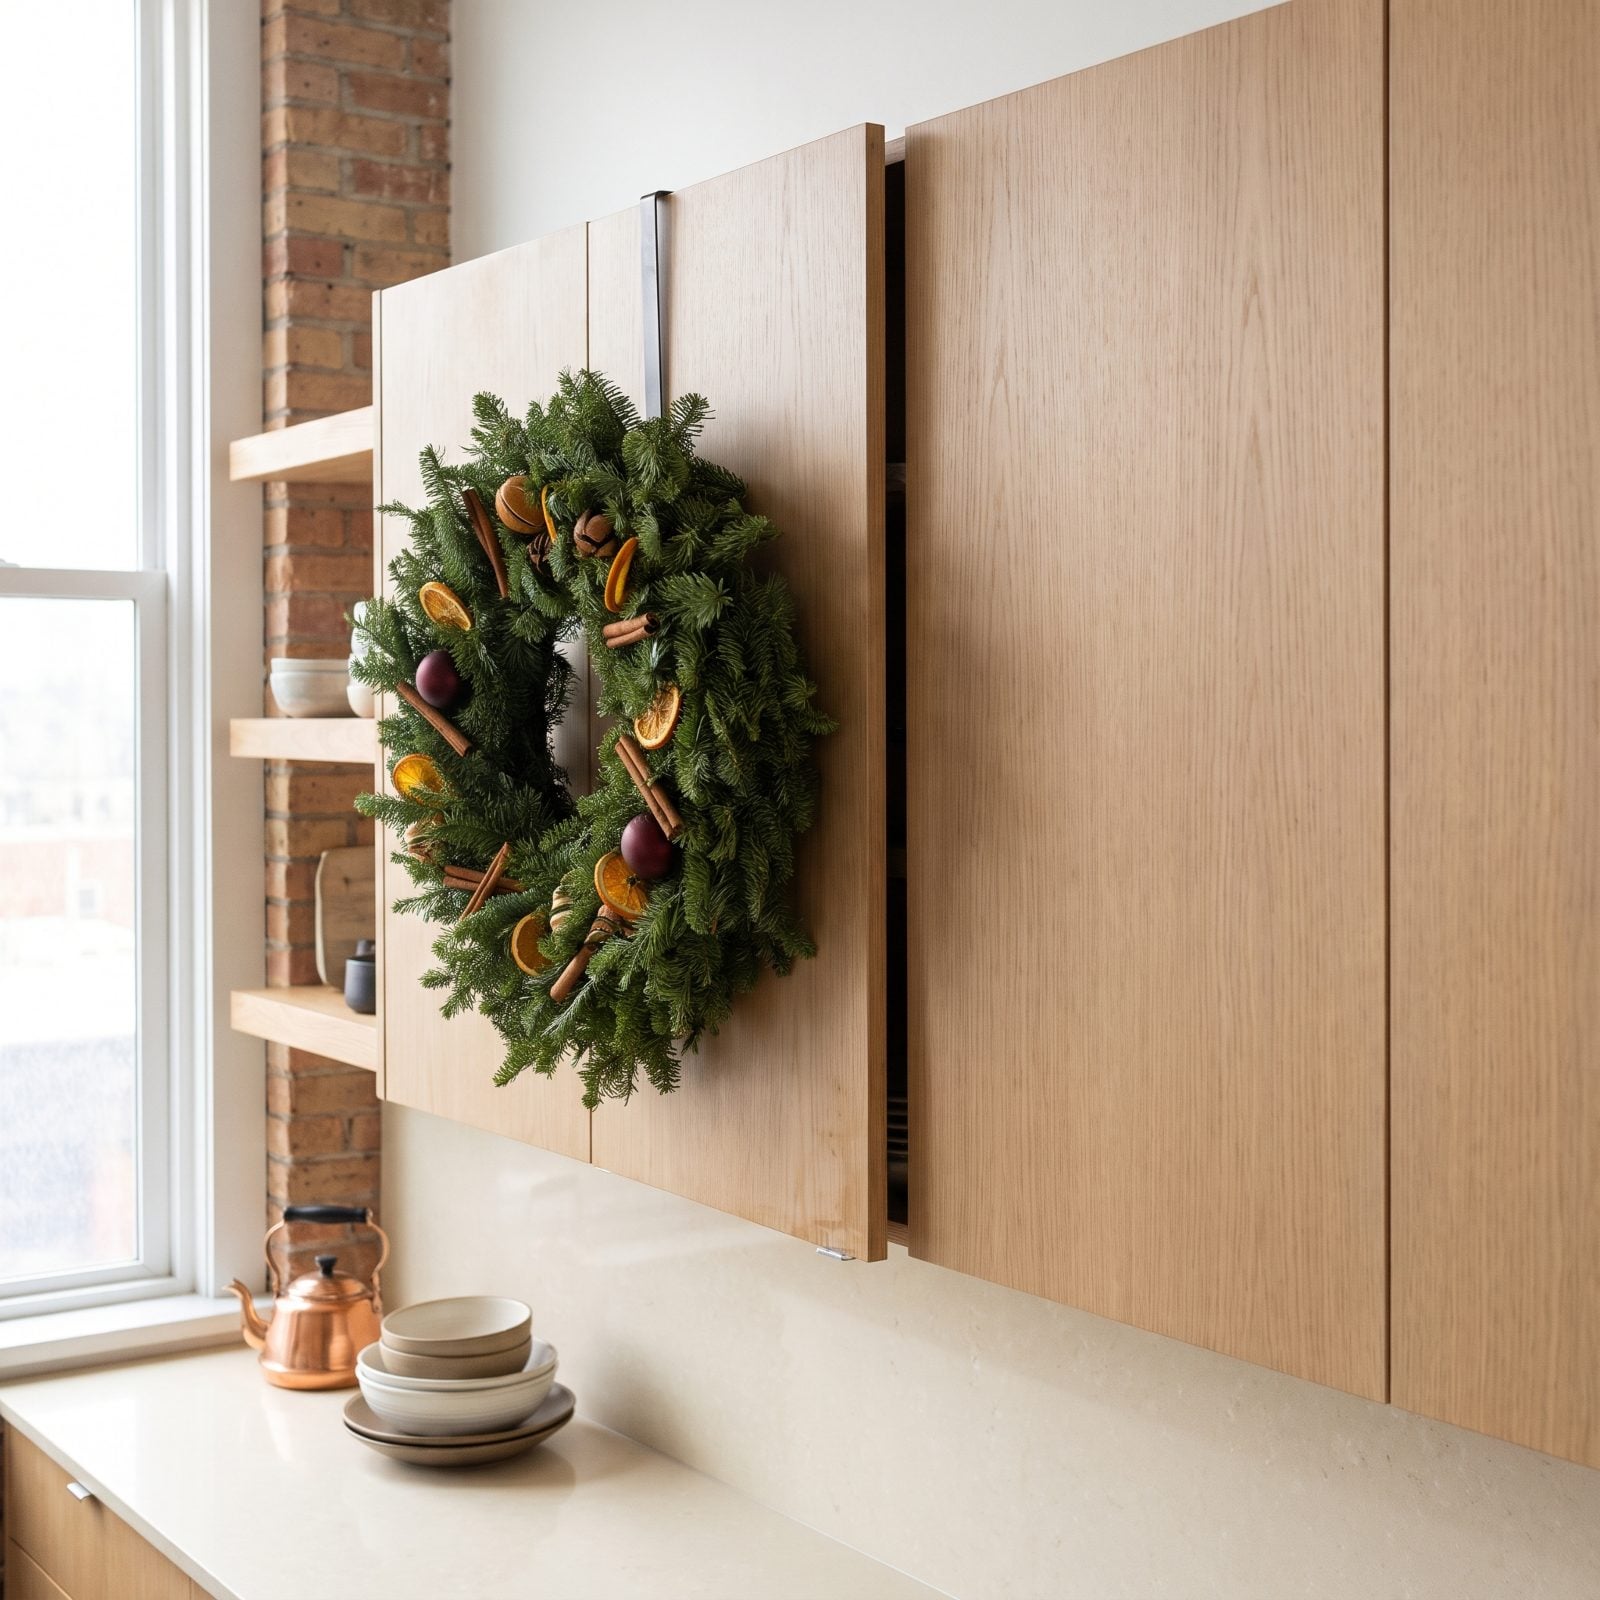
An over-the-door hook looks like the perfect wreath solution, and on a solid entry door it usually is. Kitchen cabinet doors are a different animal. They’re lightweight, the hinges are small, and the screws holding them often bite into thin face frames that don’t have much to grip.
Hang a big, heavy wreath there and every time someone opens the cabinet, it swings and bangs against the door and the frame beside it. Over a few weeks the extra weight can loosen the hinge screws or strip them outright, leaving you with a sagging door that won’t latch, which is a bigger problem than it sounds in a kitchen you use every day.
Go small and light. A mini wreath of faux greenery or a simple ribbon bow weighs almost nothing. If you love a full-size wreath, hang it on the outside of the entry door or on a solid wall with a hook rated for the weight.
10. Setting Heavy Ceramic Pieces on Open Shelves That Move
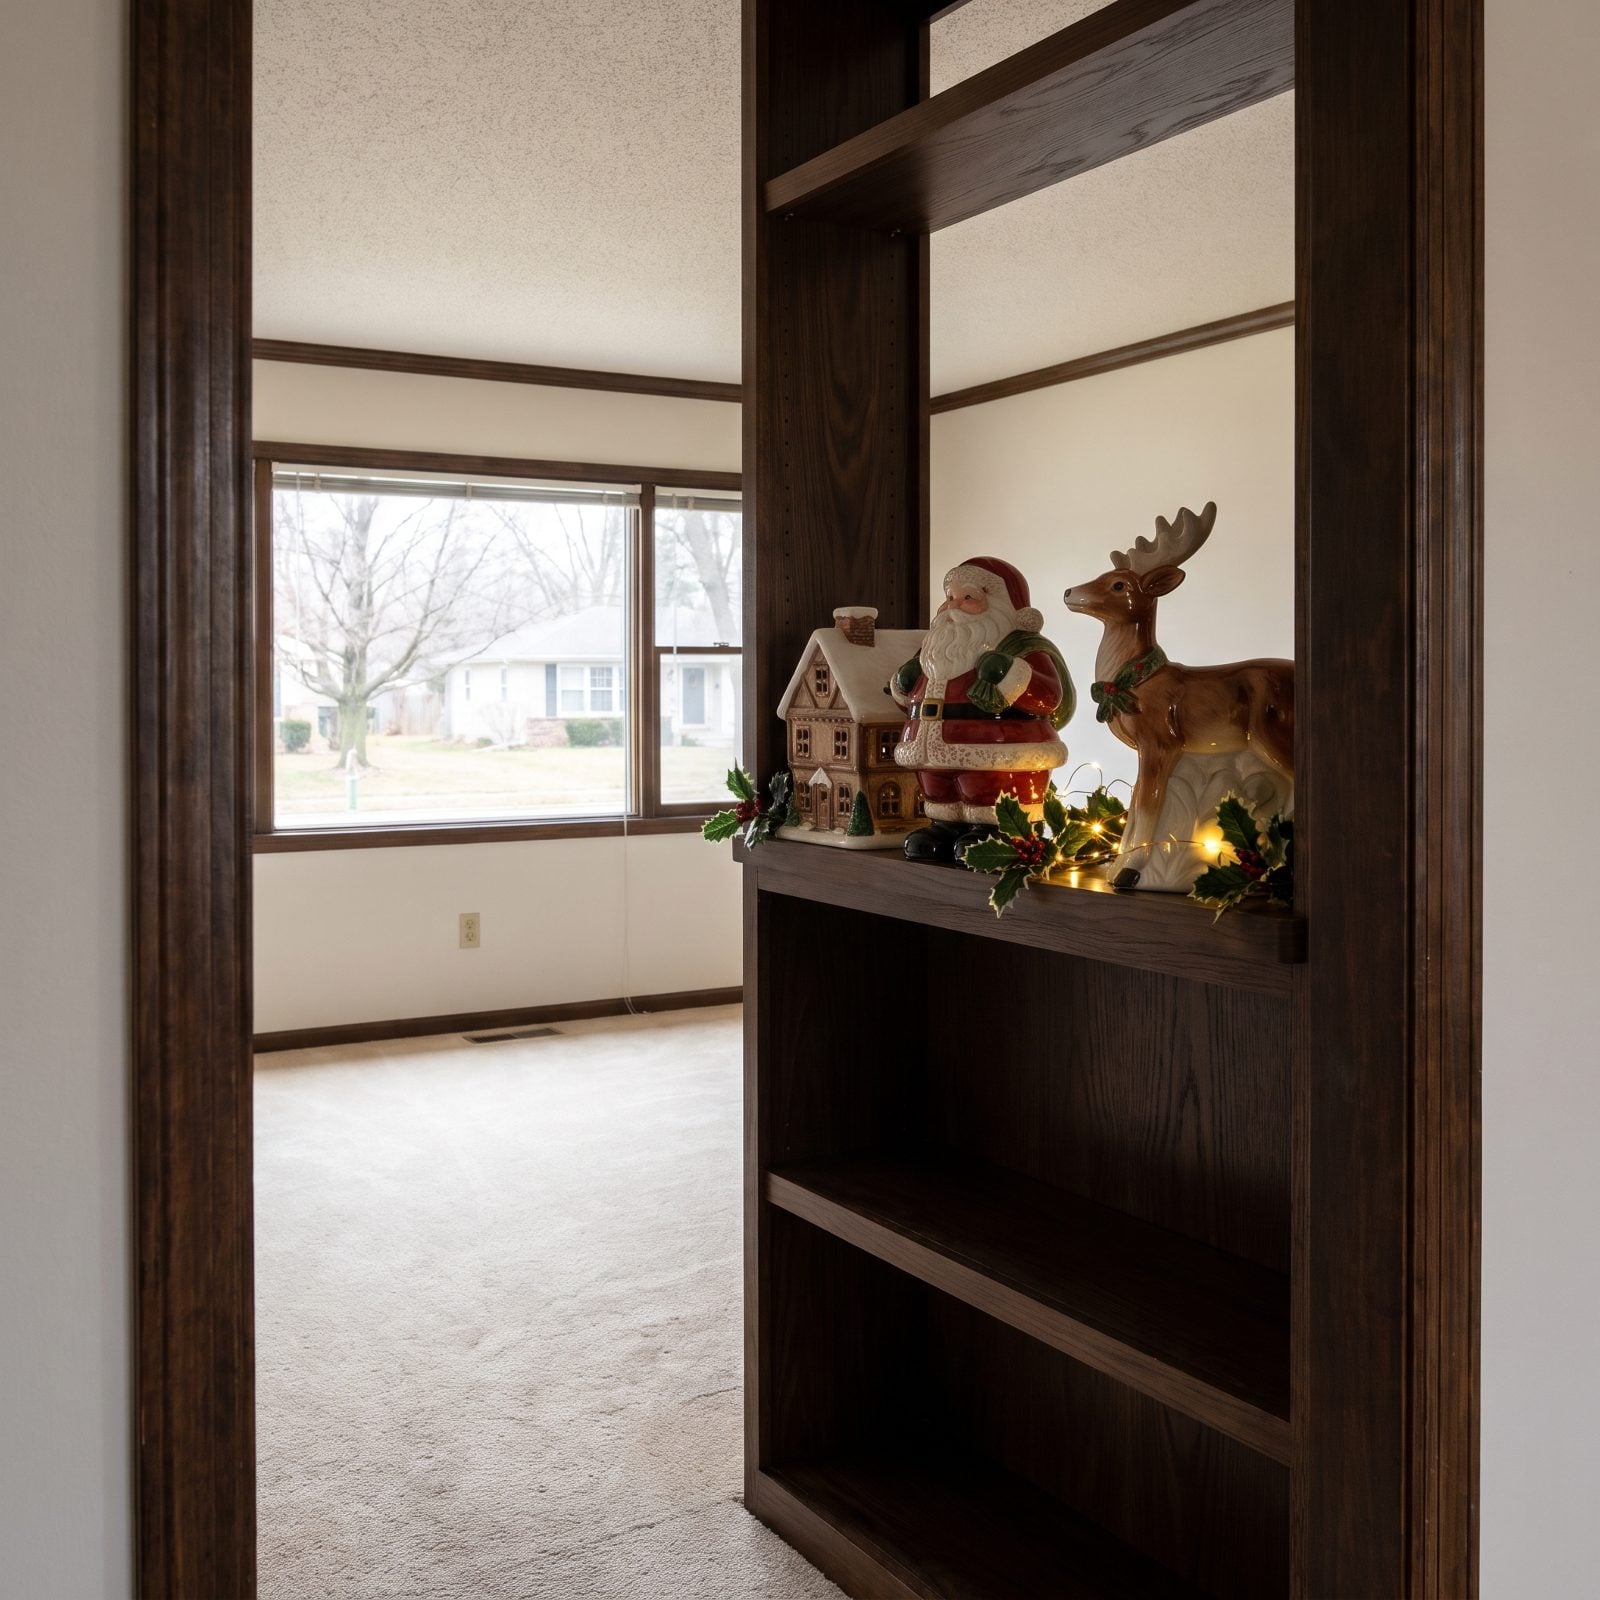
Even parked and leveled, an RV moves. Someone walks from the bedroom to the kitchen and the whole floor flexes a little. A slide-out runs in or out. Wind rocks the coach on its jacks, and the kids jumping off the dinette bench certainly don’t help. Open shelves feel stable until a ceramic snowman inches toward the edge one shimmy at a time.
Heavy, breakable pieces are the worst combination for that kind of motion. They slide, they topple, and when they land on a hard floor they shatter into pieces you’ll be finding for weeks.
Anchor anything that stays out with museum putty or a dab of removable gel, lay non-slip liner on the shelf, and favor shelves with a lip or rail. Better still, swap the ceramics for wood, felt, or other unbreakable versions and keep the heirloom pieces packed safely for a home holiday.
9. Crowding the Counter Until There’s Nowhere to Cook
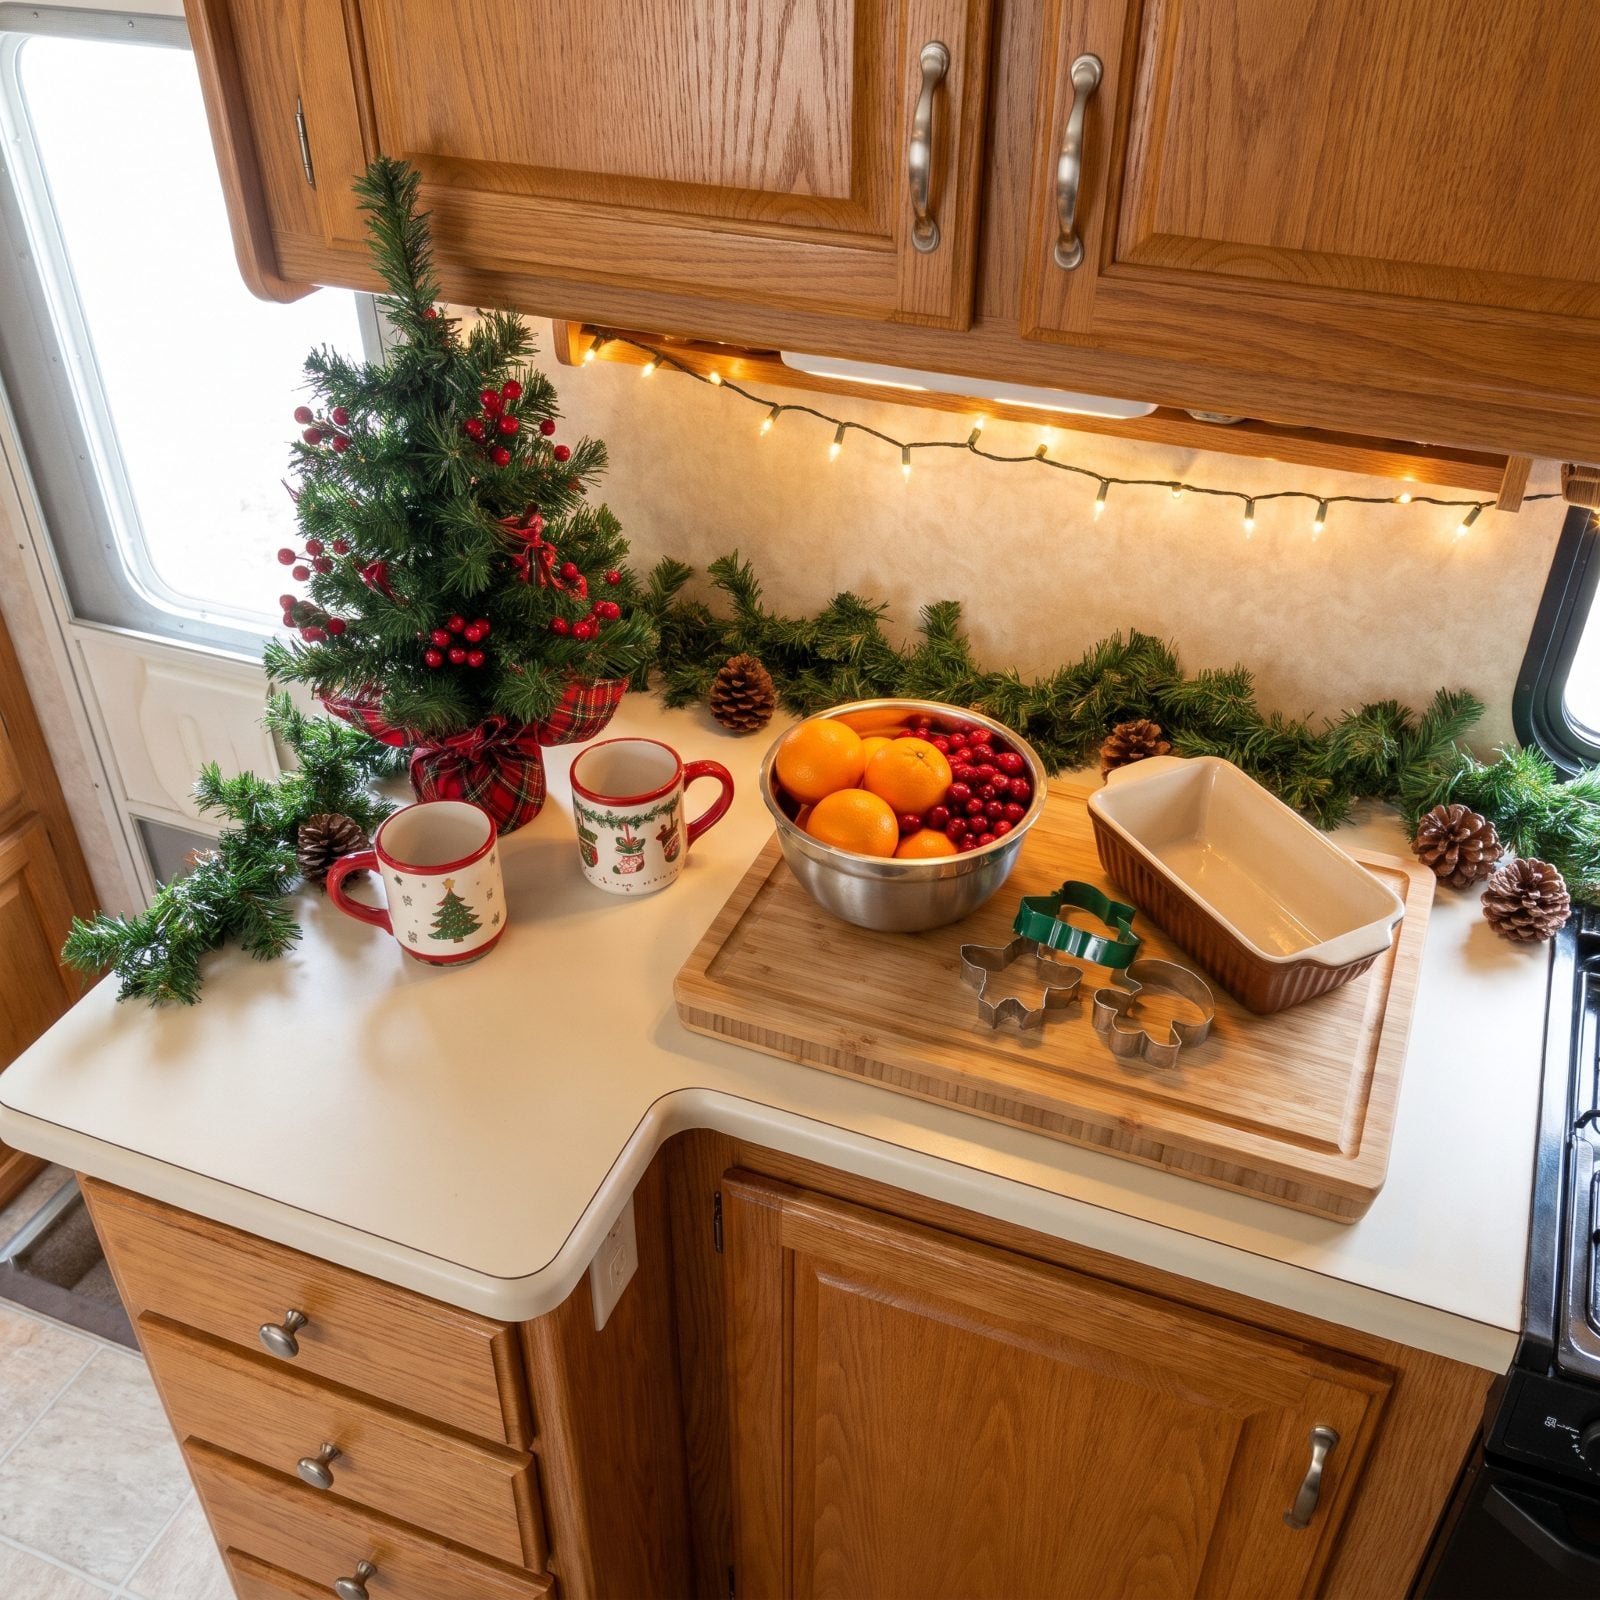
The trouble with the kitchen counter is that it does more jobs than it looks like it can. It holds the coffee maker, the dish rack, the cutting board, and it’s the only landing spot for a hot pan coming out of the oven. Decorations that move in for the season compete with all of that every time you start a meal.
The fix is to make your counter decor mobile. Arrange the little tree, the candles-that-aren’t-candles, and the greenery on a single tray. When it’s time to cook, the whole display lifts off in one move and parks on the bed or the dinette, and the counter is fully yours again.
A tray also corrals small pieces that would otherwise get knocked into the sink, and it makes packing up before travel day a one-trip job.
8. Giving the Whole Dinette to an Oversized Christmas Village
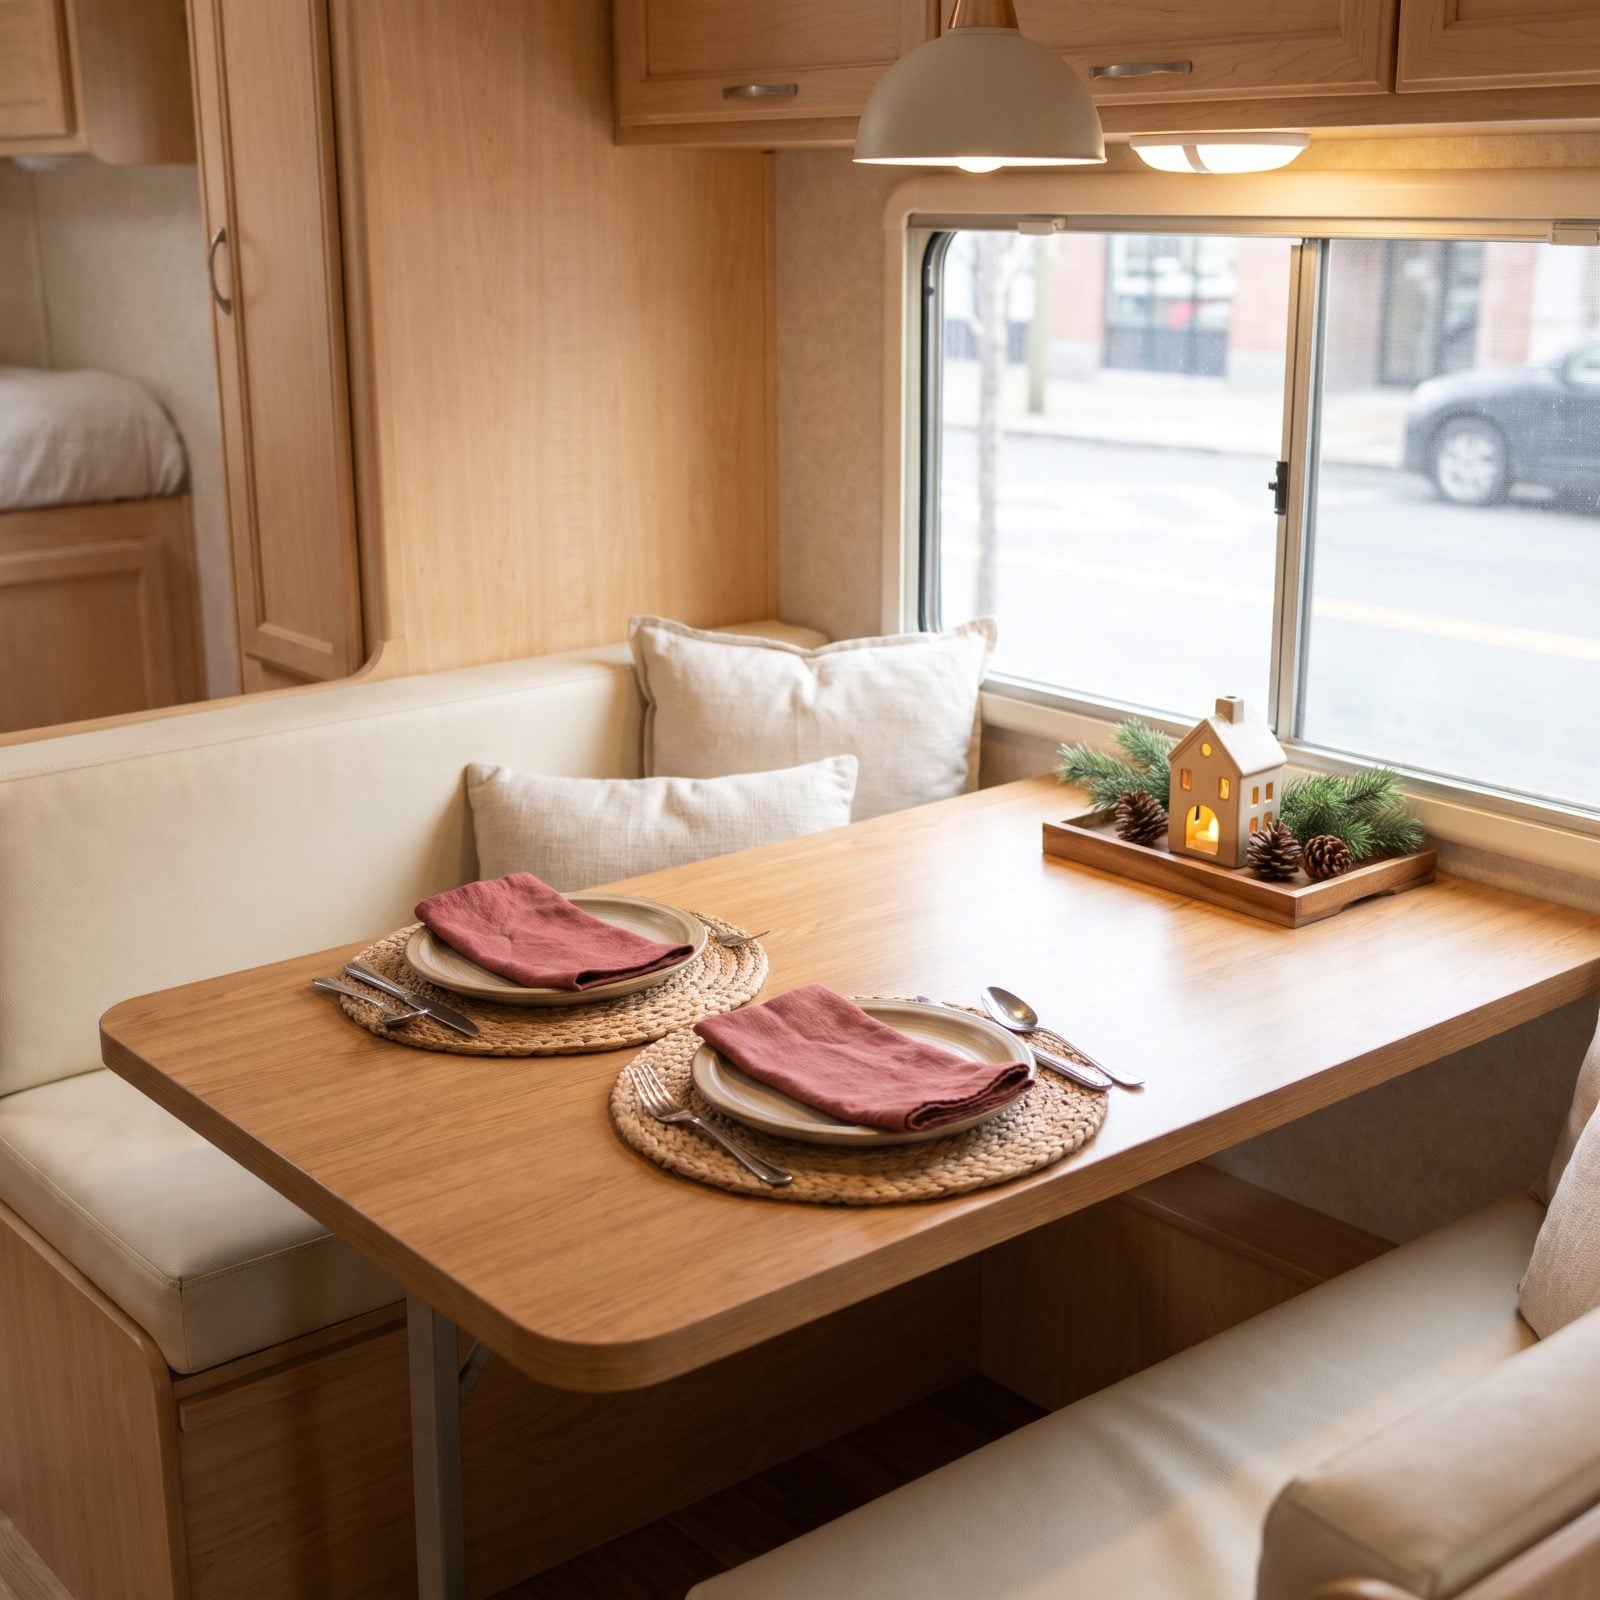
A Christmas village is a beautiful thing, and a full-size collection can easily take over an entire dinette table. The problem is that the dinette is rarely just a table. It’s where you eat, where the laptop goes, where the card games happen, and in plenty of rigs, it’s also the guest bed.
Hand it all over to tiny houses and a lit-up ice rink and the household has nowhere to sit down together. Breakfast moves to laps on the couch. Then a visitor arrives and the village has to be dismantled at bedtime and rebuilt in the morning.
Scale the village to the space instead. Pick a few favorite buildings and set them on a single shelf, a window sill, or a narrow board along the back of the table. A small tray-sized scene still delivers the magic and leaves the dinette doing its everyday job.
7. Lining the Walkway With Floor Decor That Shrinks the Aisle
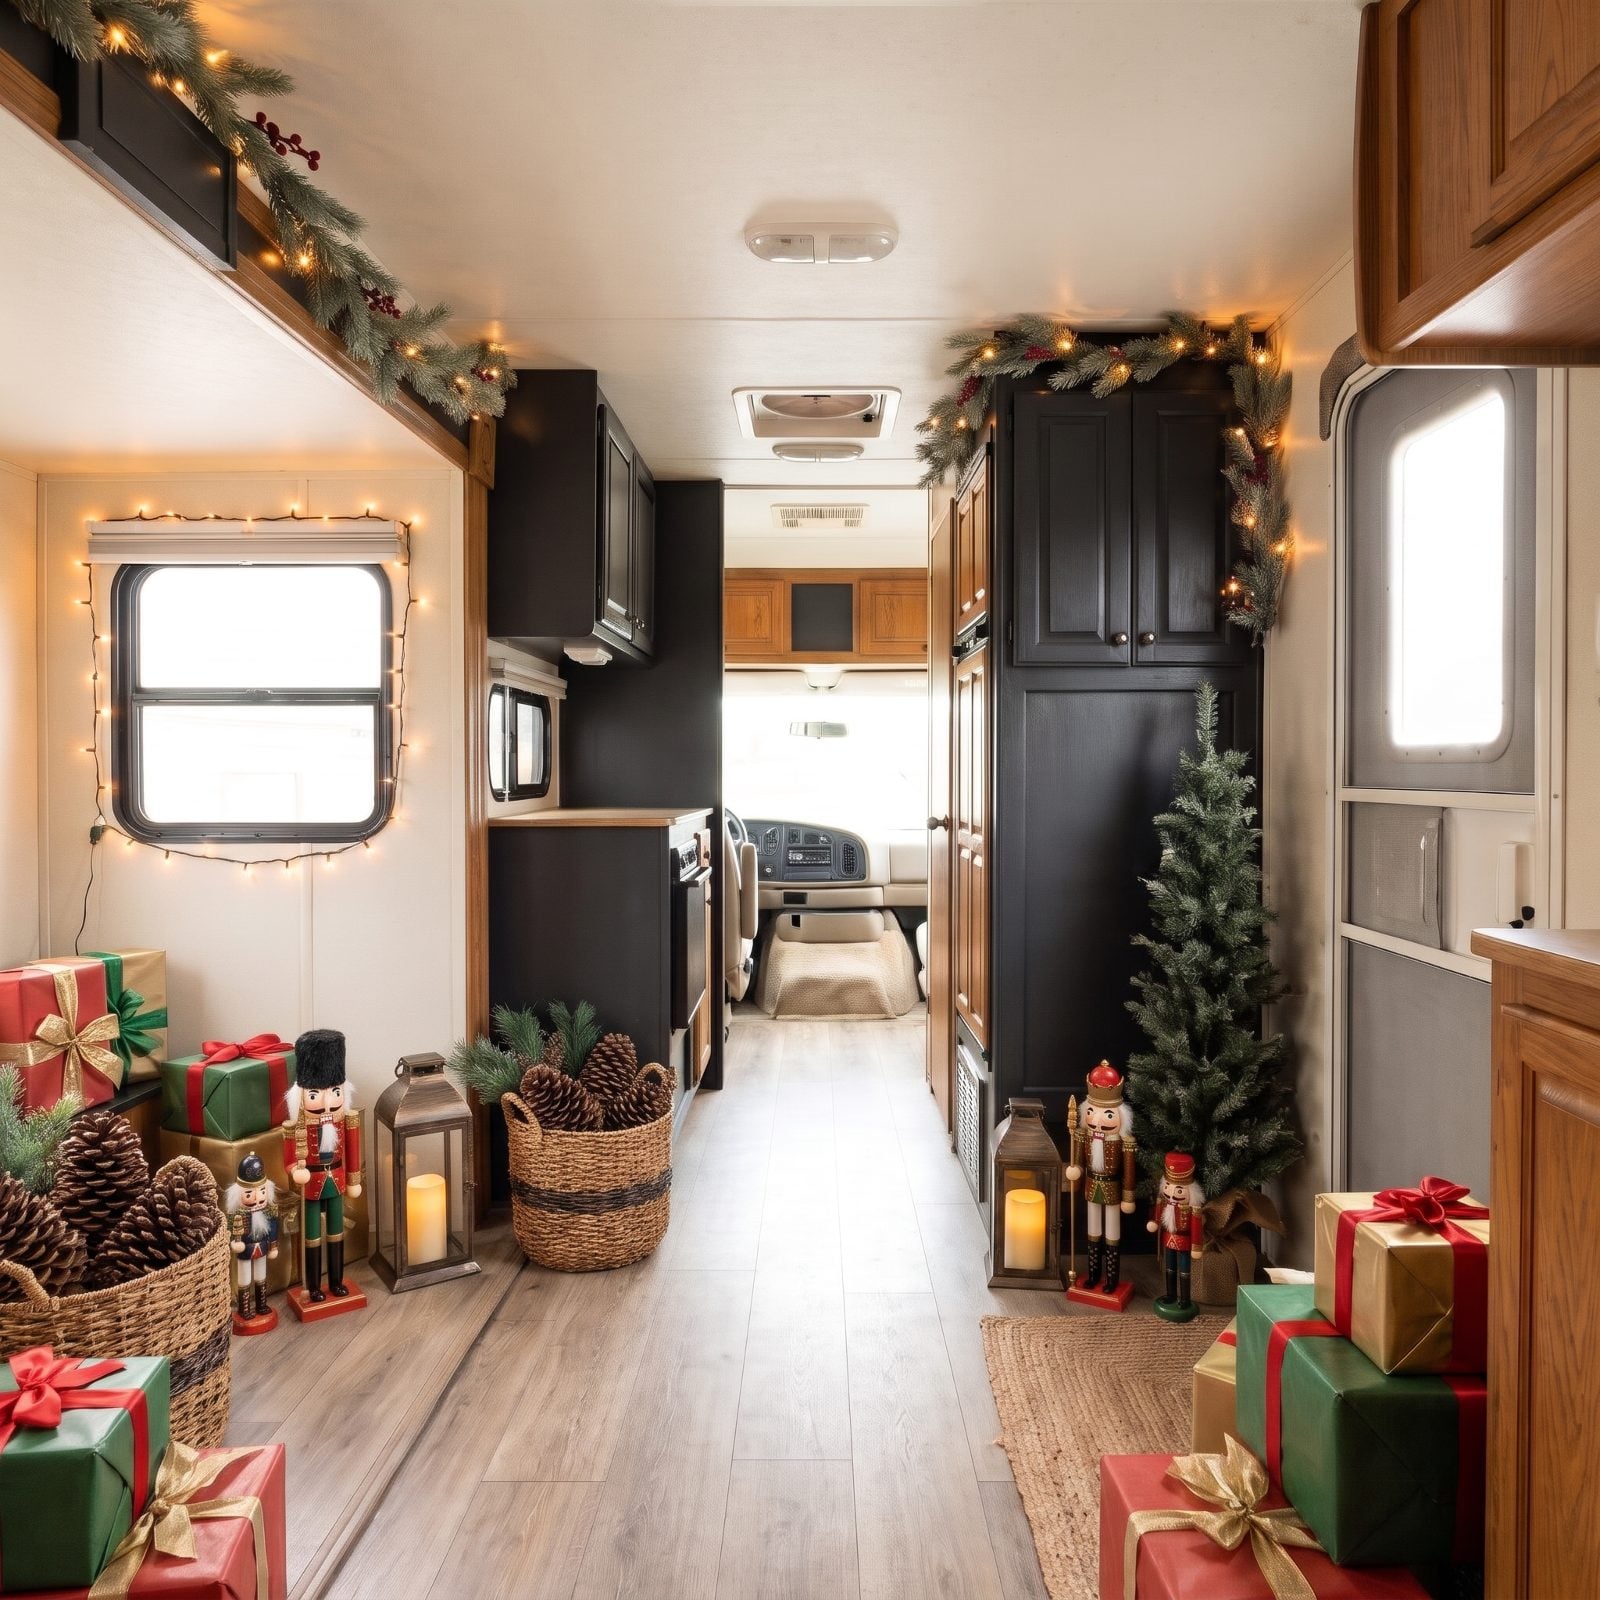
Floor decor is everywhere at the holiday store: tall nutcrackers, lantern clusters, baskets of pinecones, a stack of faux presents. In a house they fill an empty corner. In an RV there are no empty corners, so they end up along the aisle, and an aisle that was already tight becomes a sideways shuffle.
Every inch matters here. A narrower walkway means bumped shins, toppled decorations, and a harder time getting out quickly in an emergency. The entry steps and the area right inside the door are especially bad spots, since that’s where everyone is juggling bags and boots.
Keep the floor clear from the door to the bedroom. If a floor piece means a lot to you, give it a true dead corner that no foot ever crosses. Otherwise, move the look up onto the walls and shelves, where it doesn’t take away from the space you need for walking.
6. Ignoring Vertical Space When Every Counter Is Already Spoken For
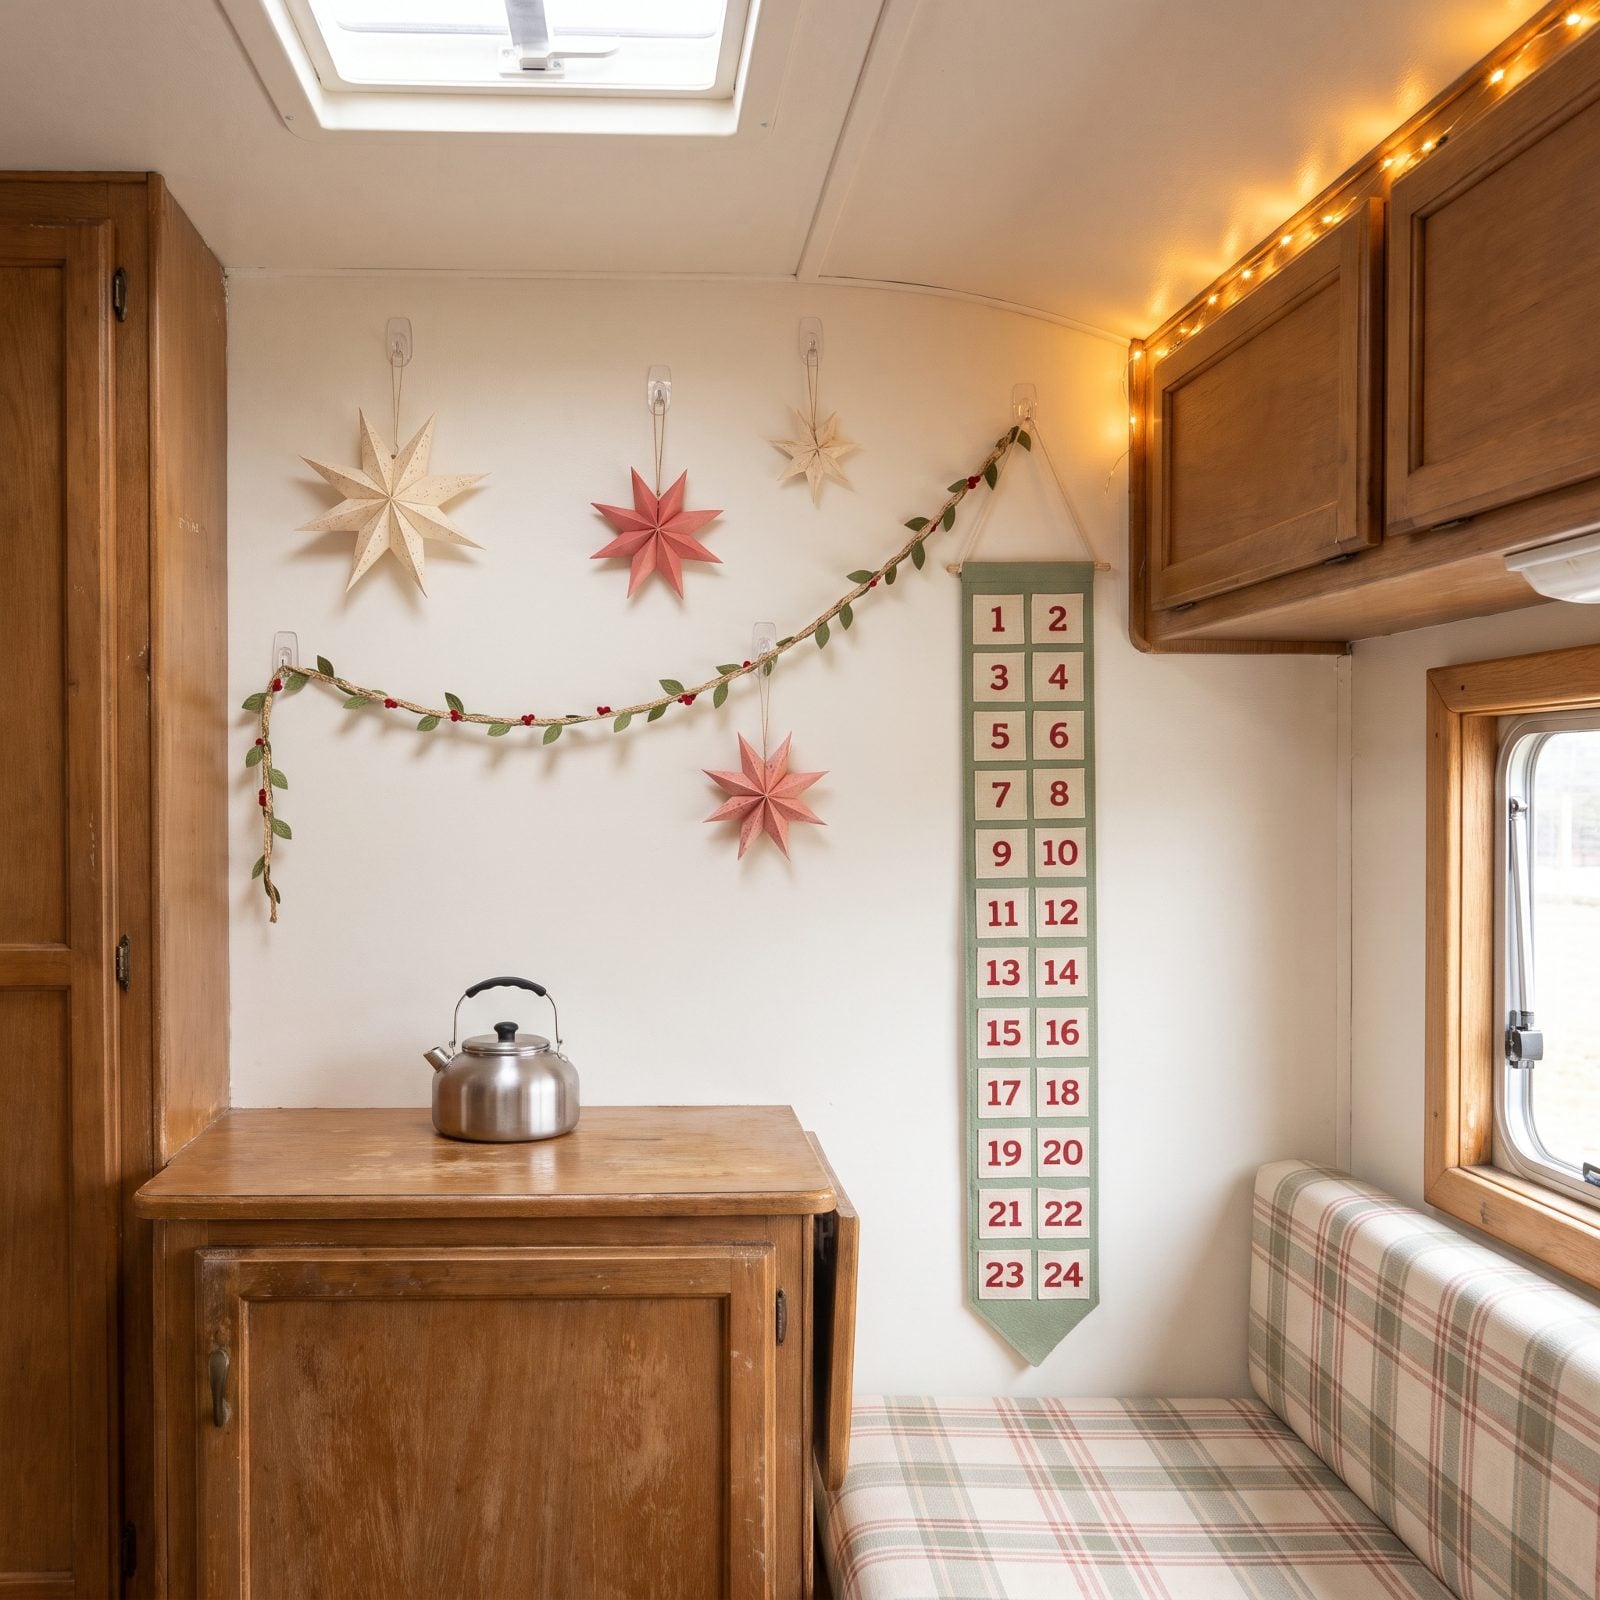
You keep reaching for flat surfaces that don’t exist. The dinette table, the galley counter, that little shelf by the door. In a rig that measures its counters in inches, every candle and ceramic village piece you set down is stealing room you need for coffee and dinner prep.
Walls and ceilings don’t move, so use them. Lightweight paper stars, fabric garland, and a felt advent banner all go up on removable adhesive hooks and leave your workspace alone. Hang a strand of warm fairy lights along the upper cabinet seam and the whole rig reads festive without a single ornament crowding the counter.
5. Buying Decor With No Clue Where It Lives in January
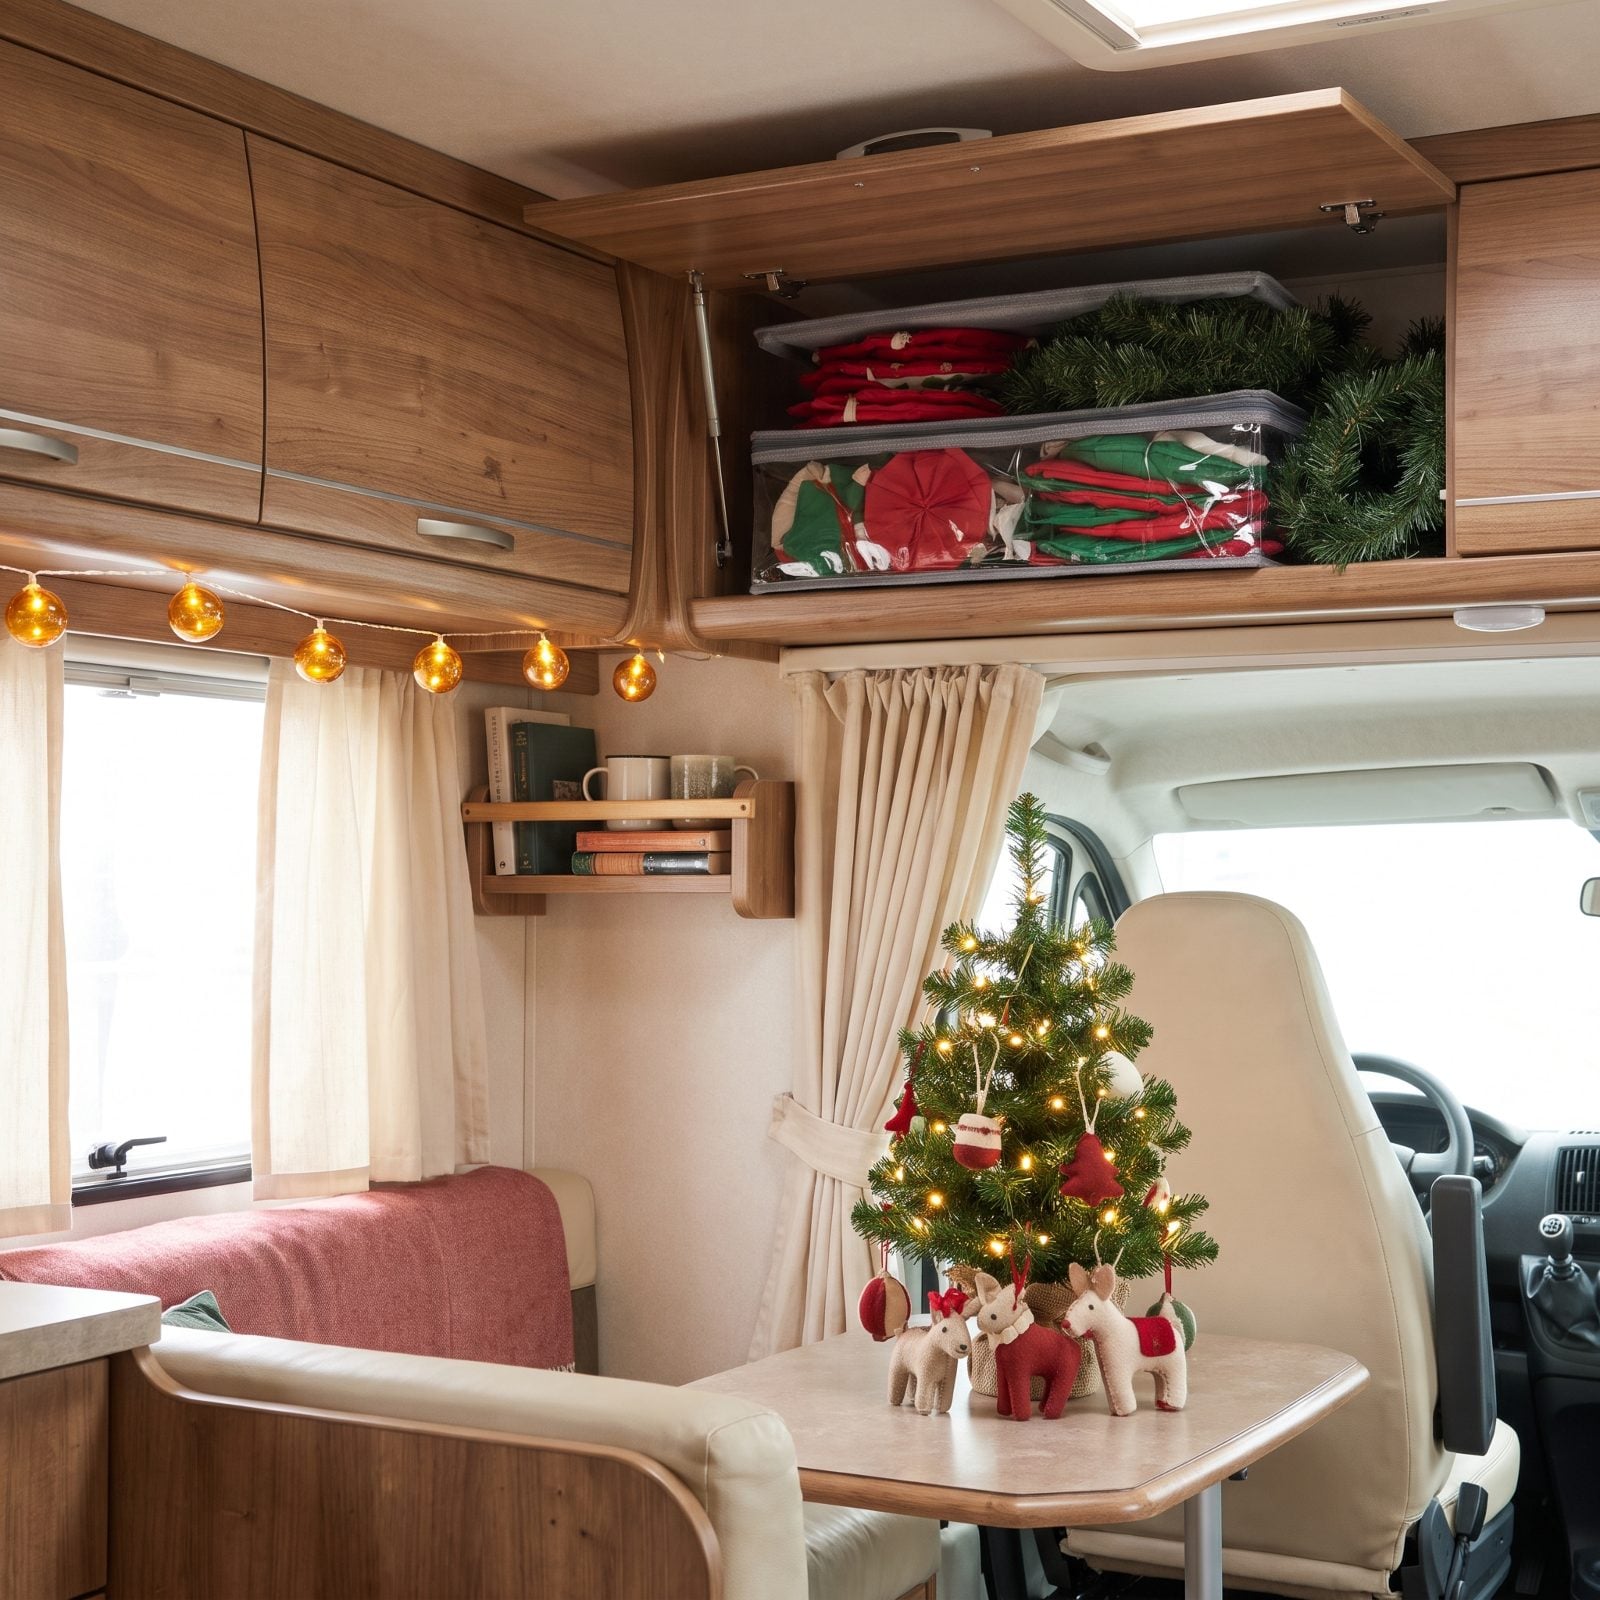
Picture the first week of January. The tree comes down. Now where does it go? If the answer is “I’ll figure it out,” what you’ll actually do is shove a rigid plastic bin into a space that was never going to hold it, and then something gets left behind at the campground.
Shop for teardown before you shop for the holiday. Collapsible fabric ornaments, folding greenery, and a tabletop tree that flattens can all live in one slim nesting box that slides into a shallow cabinet. Learned this the hard way, and here’s the lesson: anything that won’t fold or nest becomes a storage problem you resent by spring.
4. Cramming Every Box Into One Overhead Bin
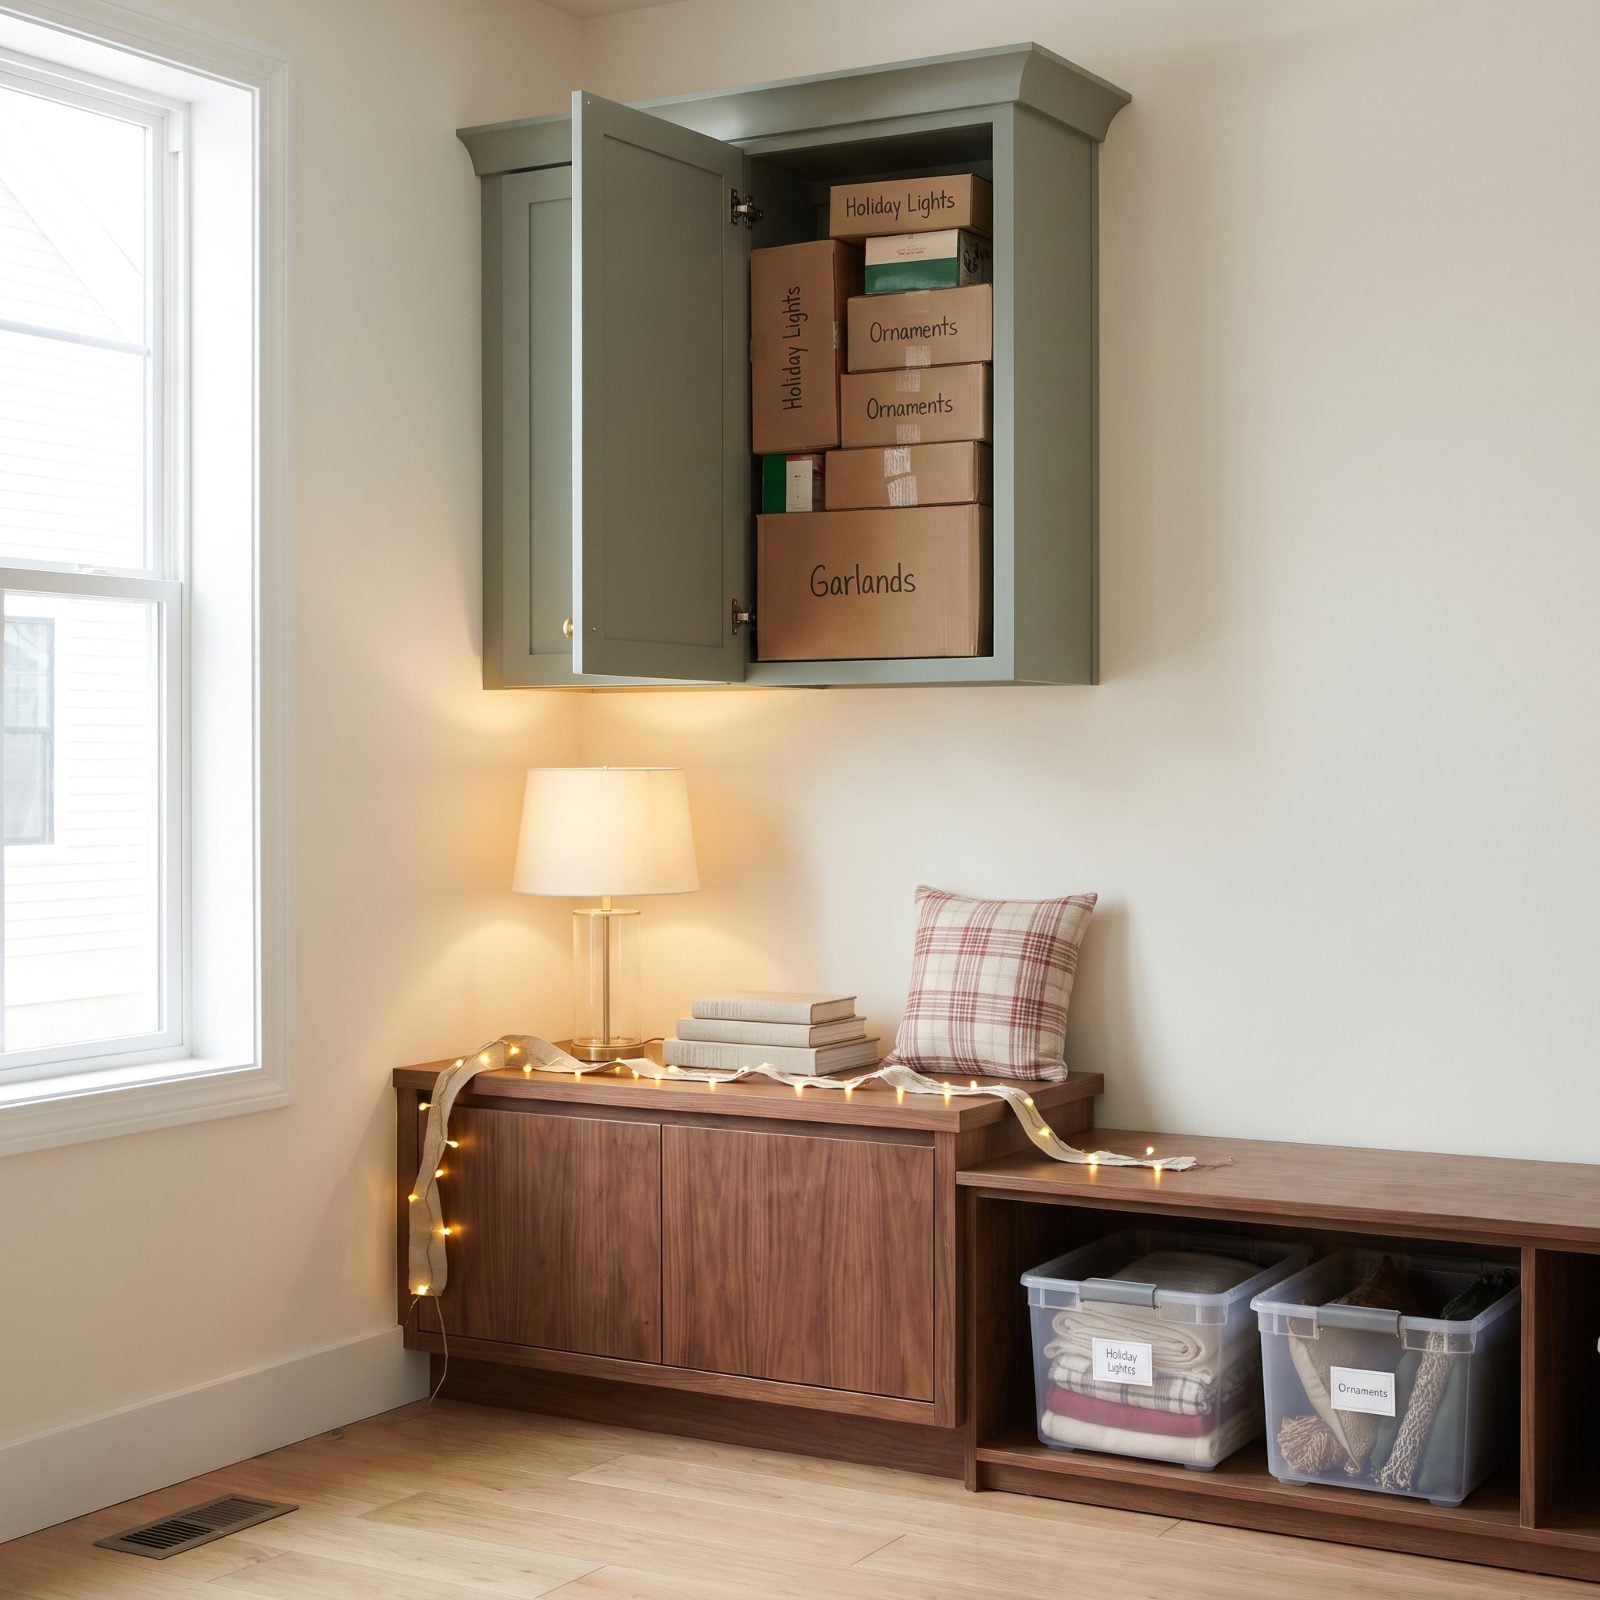
One stuffed overhead cabinet fails you twice. Weight sitting up high over a single wheel well throws off how the rig handles and sits. And the day you crack that latch on a curve, a whole Christmas worth of boxes comes down on whoever’s standing in the aisle.
Spread the load. A few light items up high, heavier stuff low in an under-dinette drawer or a basement bin, weight centered and down near the floor where it belongs.
3. Driving Ground Stakes In Without Thinking About What’s Under the Site
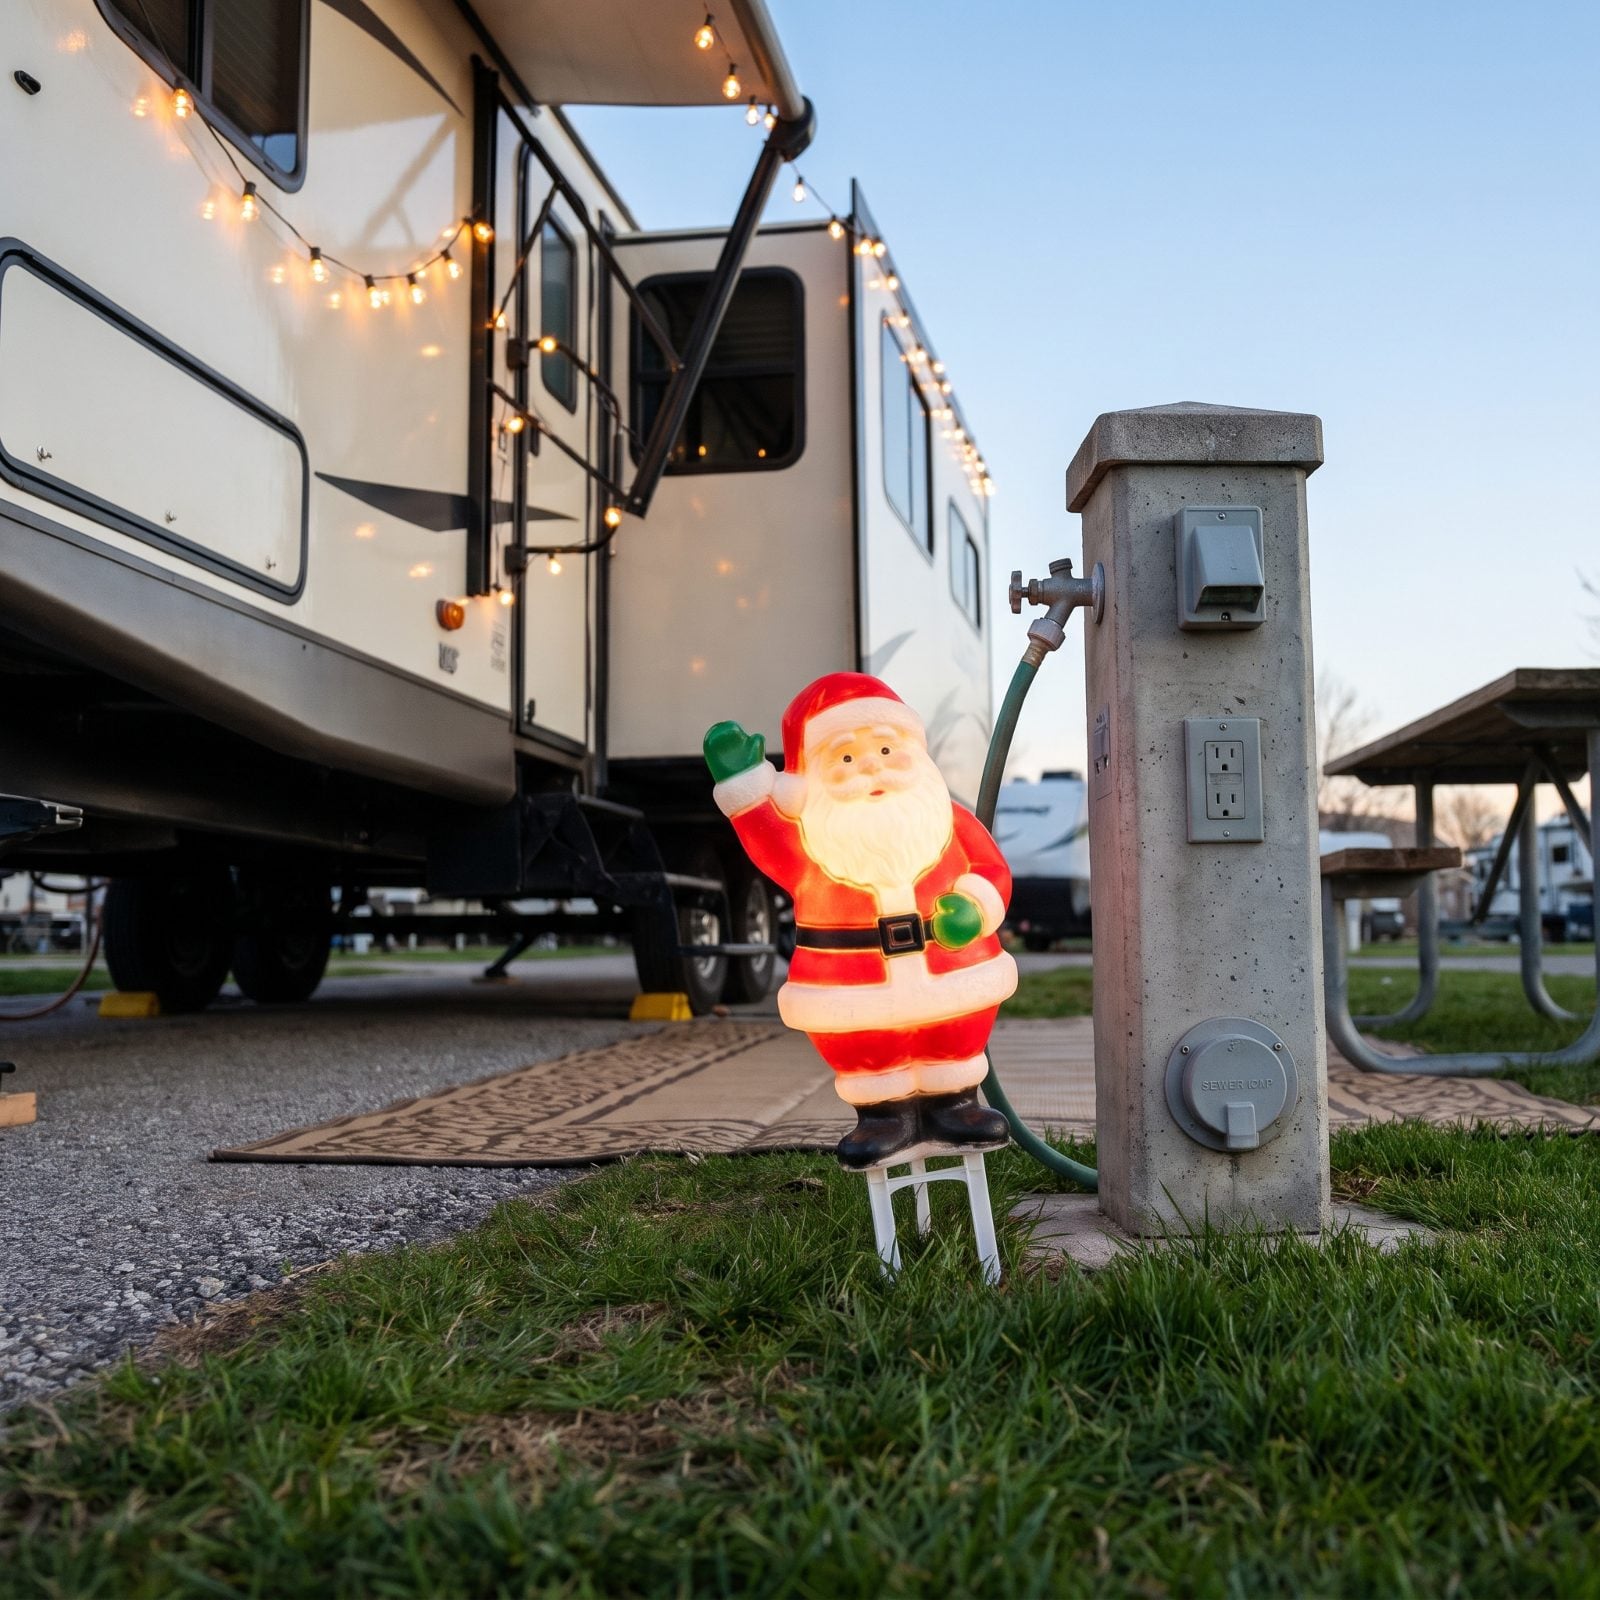
That lighted Santa stake looks harmless going into soft turf. But campground sites run shallow water lines, low-voltage wiring, and sometimes sewer laterals just under the surface. Punch a stake through the wrong spot and your cheerful display turns into a very expensive, very wet afternoon.
Before anything goes in the ground, look. Trace where your water, electric, and sewer run from the pedestal and keep stakes well clear. Not sure? Skip the stakes entirely — weigh decorations down with a sandbag or tie them to your existing site setup.
2. Leaving Inflatables to Ride Out the Wind on Their Own
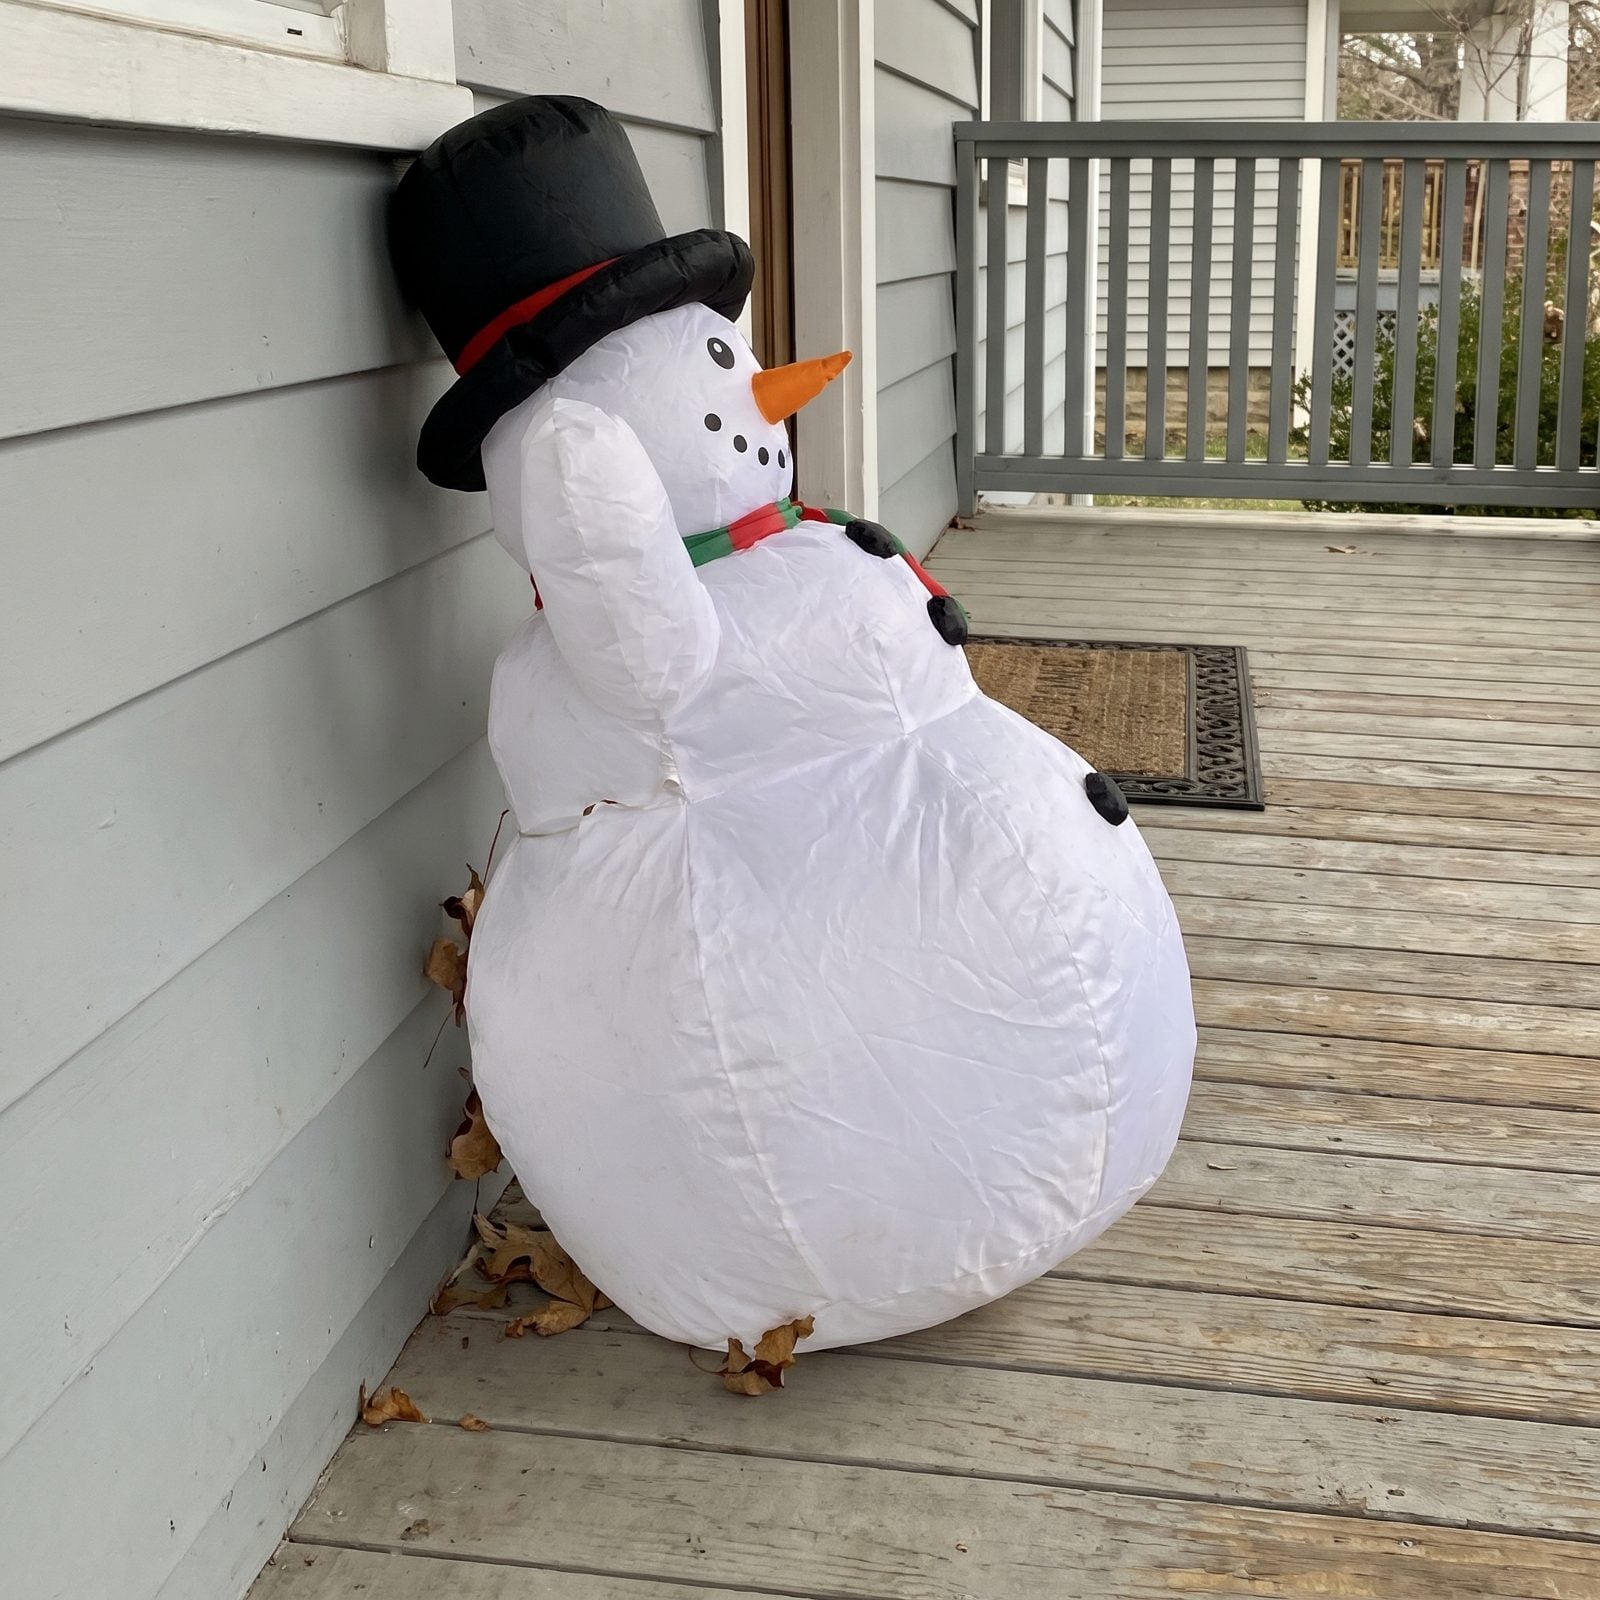
An unsecured inflatable is just a kite waiting for its moment. One gust catches a six-foot snowman and suddenly it’s cartwheeling across three sites or wedged under someone’s slide-out. Open campgrounds funnel wind in ways your backyard never did.
Anchor it like you mean it. Use every stake loop the manufacturer gave you, add tie-down straps to stable points, set sandbags on the base skirt. Go with a small, family-scale inflatable over the giant one, and deflate and stow it overnight or whenever a front rolls through. Thirty seconds of securing beats chasing a snowman down the road in your slippers.
1. Clipping Garland to the Awning You’ll Want to Roll Up Later
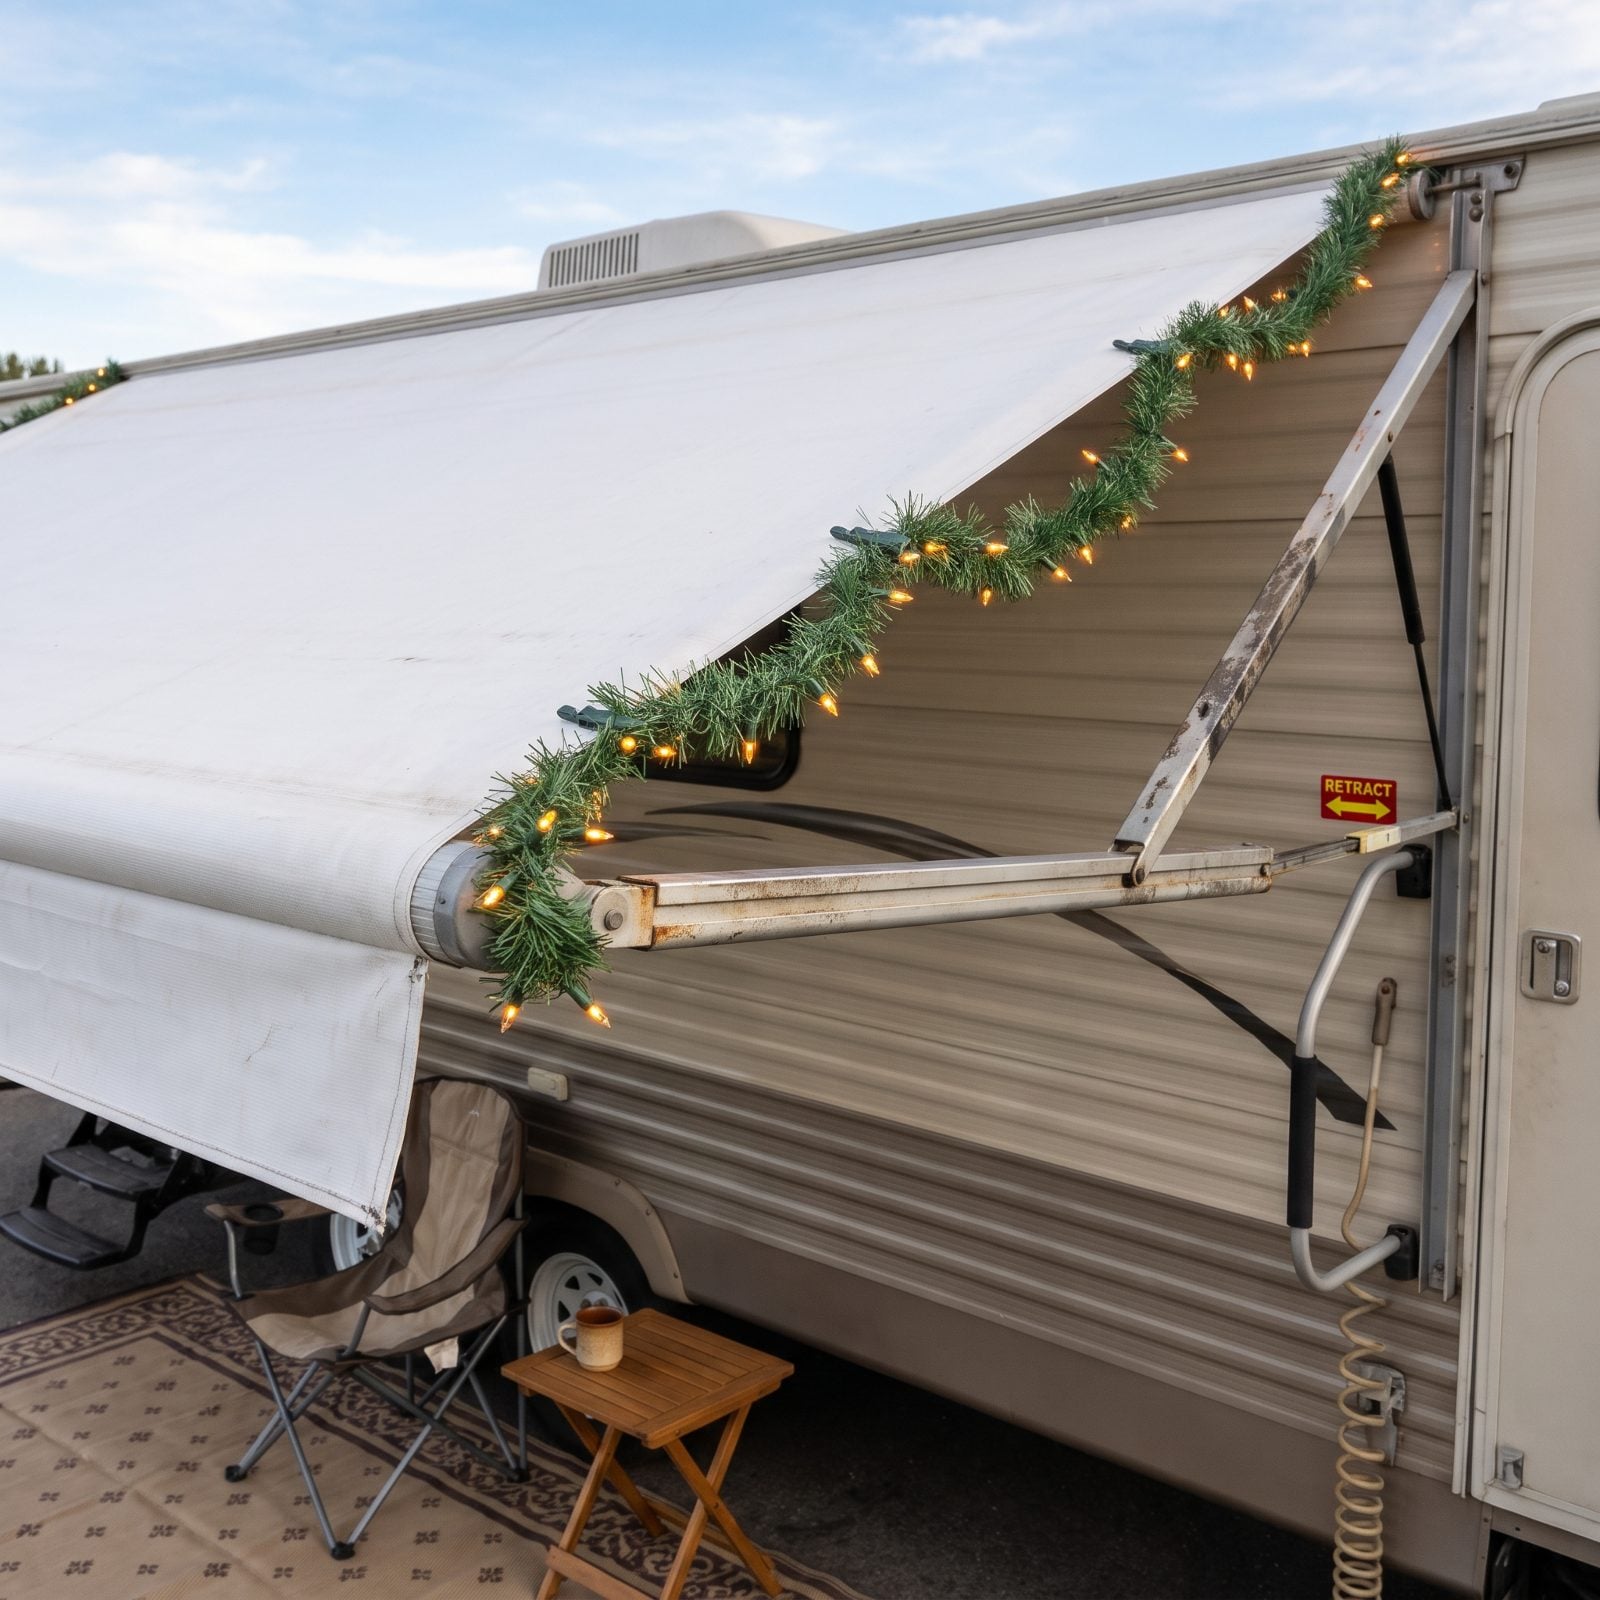
This is the one that sneaks up on everyone. You festoon the awning with lights and greenery, it looks great, and then a wind advisory hits at 11pm. Now you can’t retract the awning without a wrestling match in the dark — and a loaded awning left out in a storm is how awnings die.
Decorate so you can still roll it up in under a minute. Clip lights and lightweight garland near the front bar only, use quick-release hooks, and never route anything through the arms or roller. The awning is temporary. The second the weather turns, it needs to come in clean. Retracting it for anything over 20 mph, decorations or not, is a habit nobody regrets.