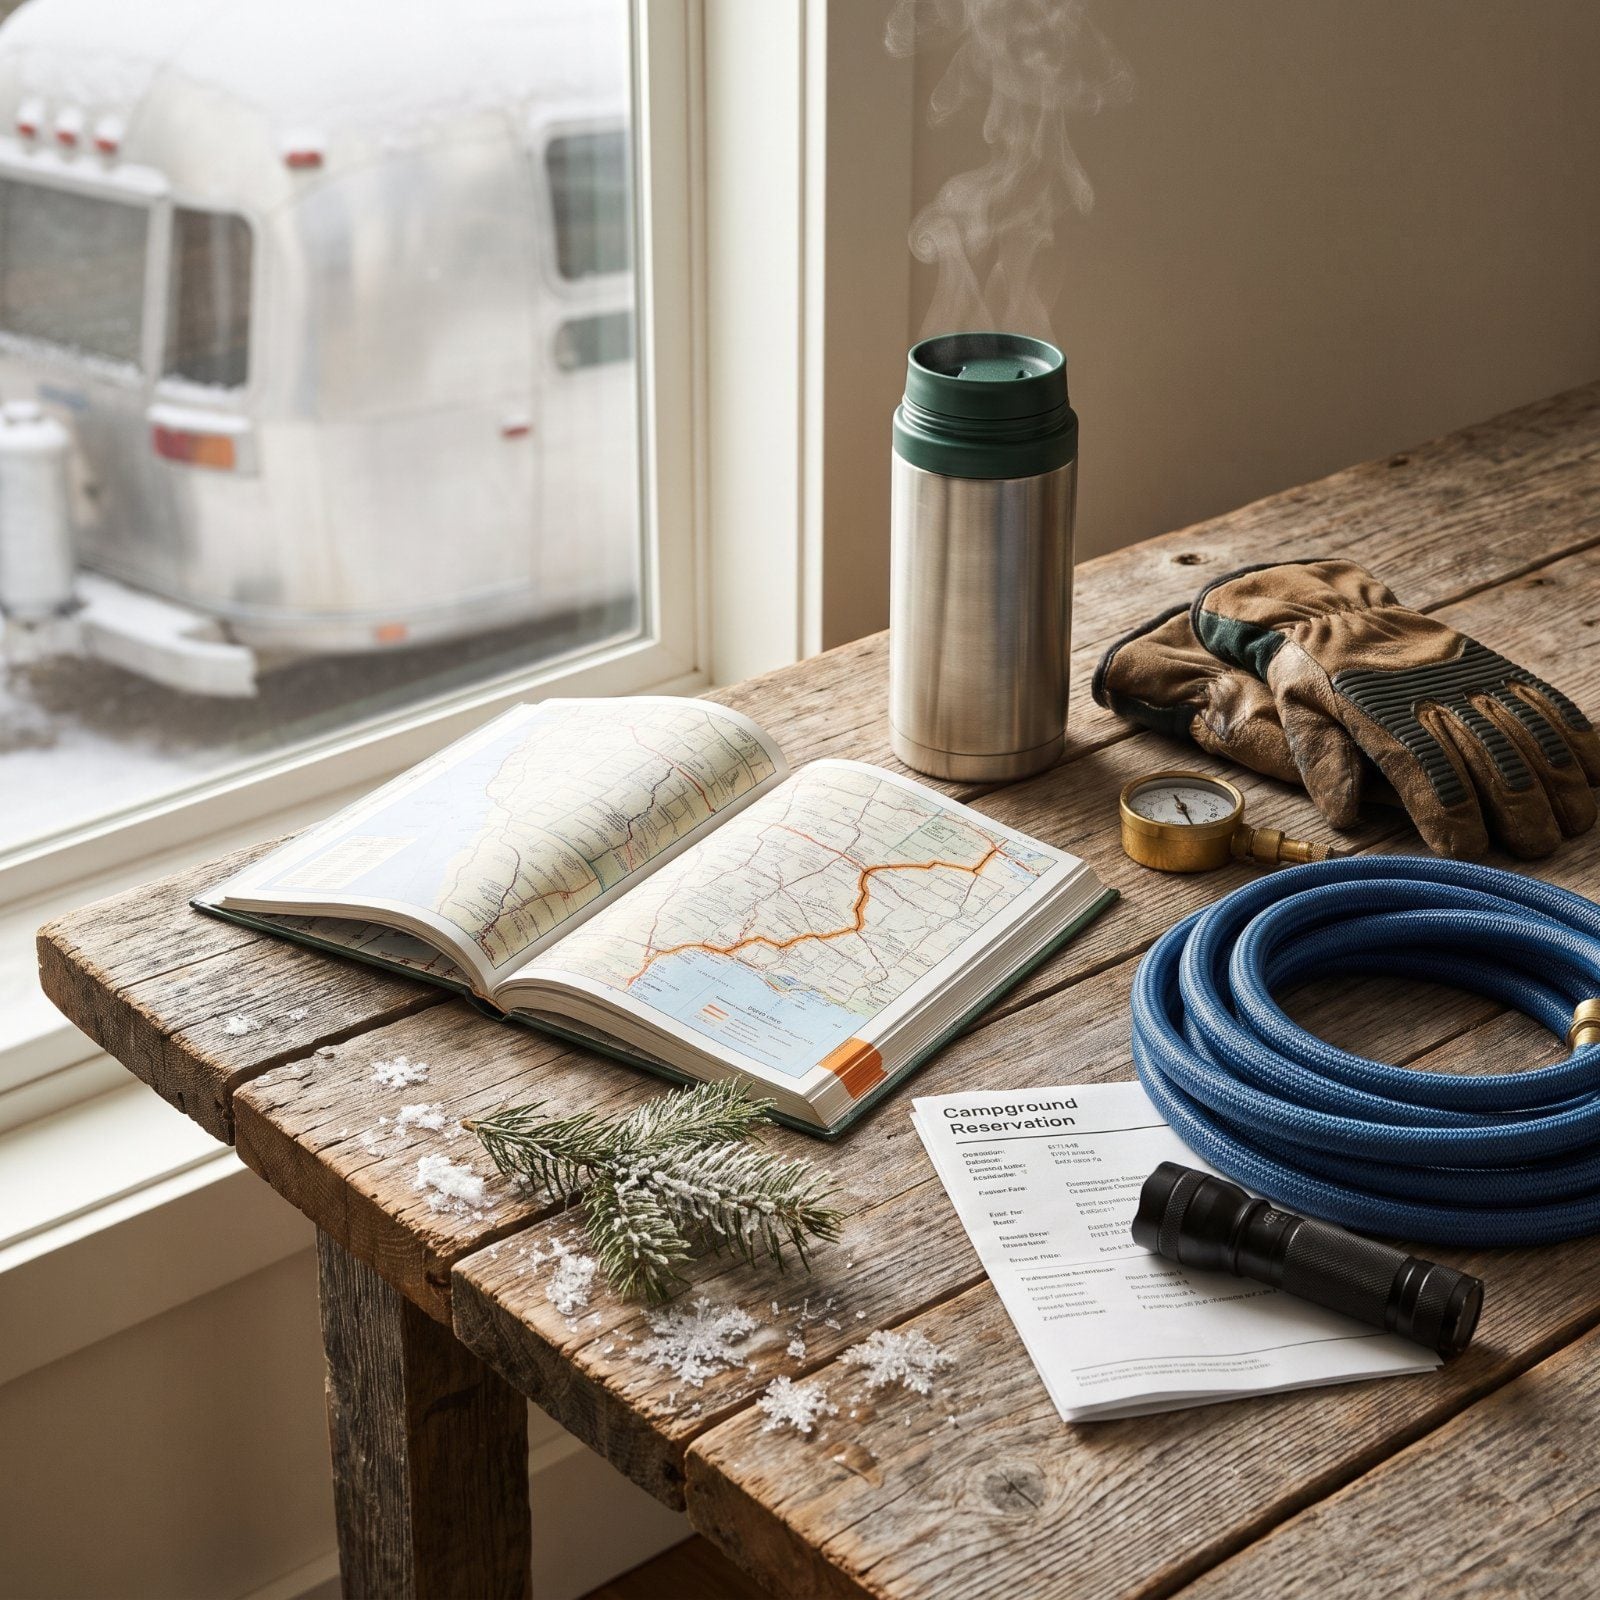
Cold doesn’t forgive a missing step. A furnace that quits at 2 a.m. because nobody cleared the exhaust vent, a campground gate locked for the season, a water spigot buried and bone dry — these aren’t bad luck, they’re skipped checks. Work through this list in order and you’ll pull in to a site that works instead of a problem to solve in the dark with numb fingers.
Please note that some of the images in this article were created with the assistance of AI.
43. Confirm the Campground Is Winter-Open
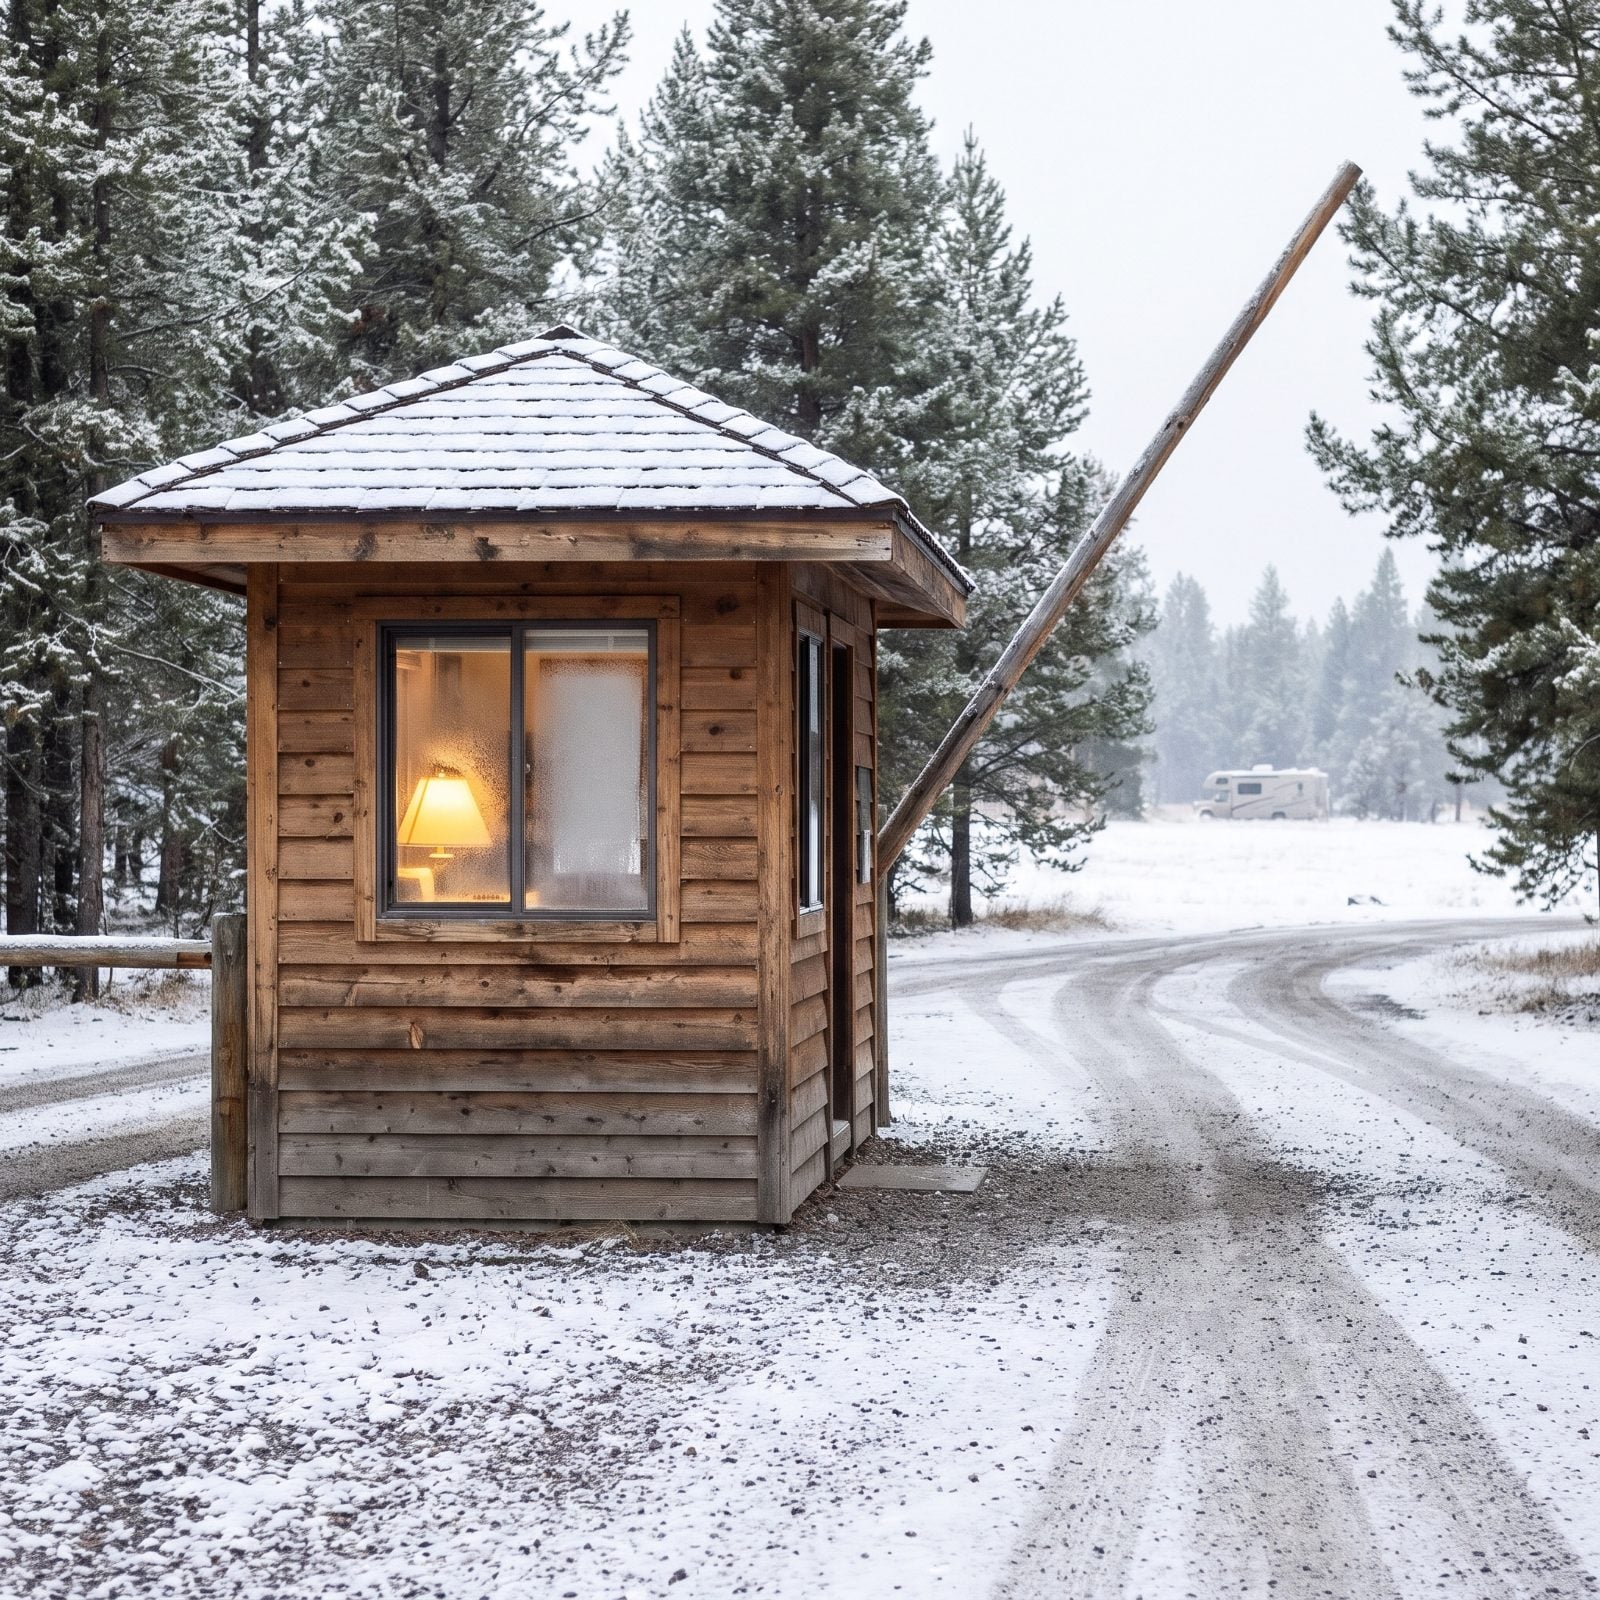
A listing that says “open year-round” and a park that is actually staffed in January are two different animals. Plenty of places that claim winter operation shut the loops you want and leave one lonely section open — or close the whole thing the week of a storm and update the website never.
Call. Not email, call. Ask a human whether the specific site you booked is accessible this week, not whether the park “operates” in winter, and ask when the office is physically staffed. A park that’s technically open with nobody on site means no help when your slide freezes.
42. Confirm the Available Electrical Amperage
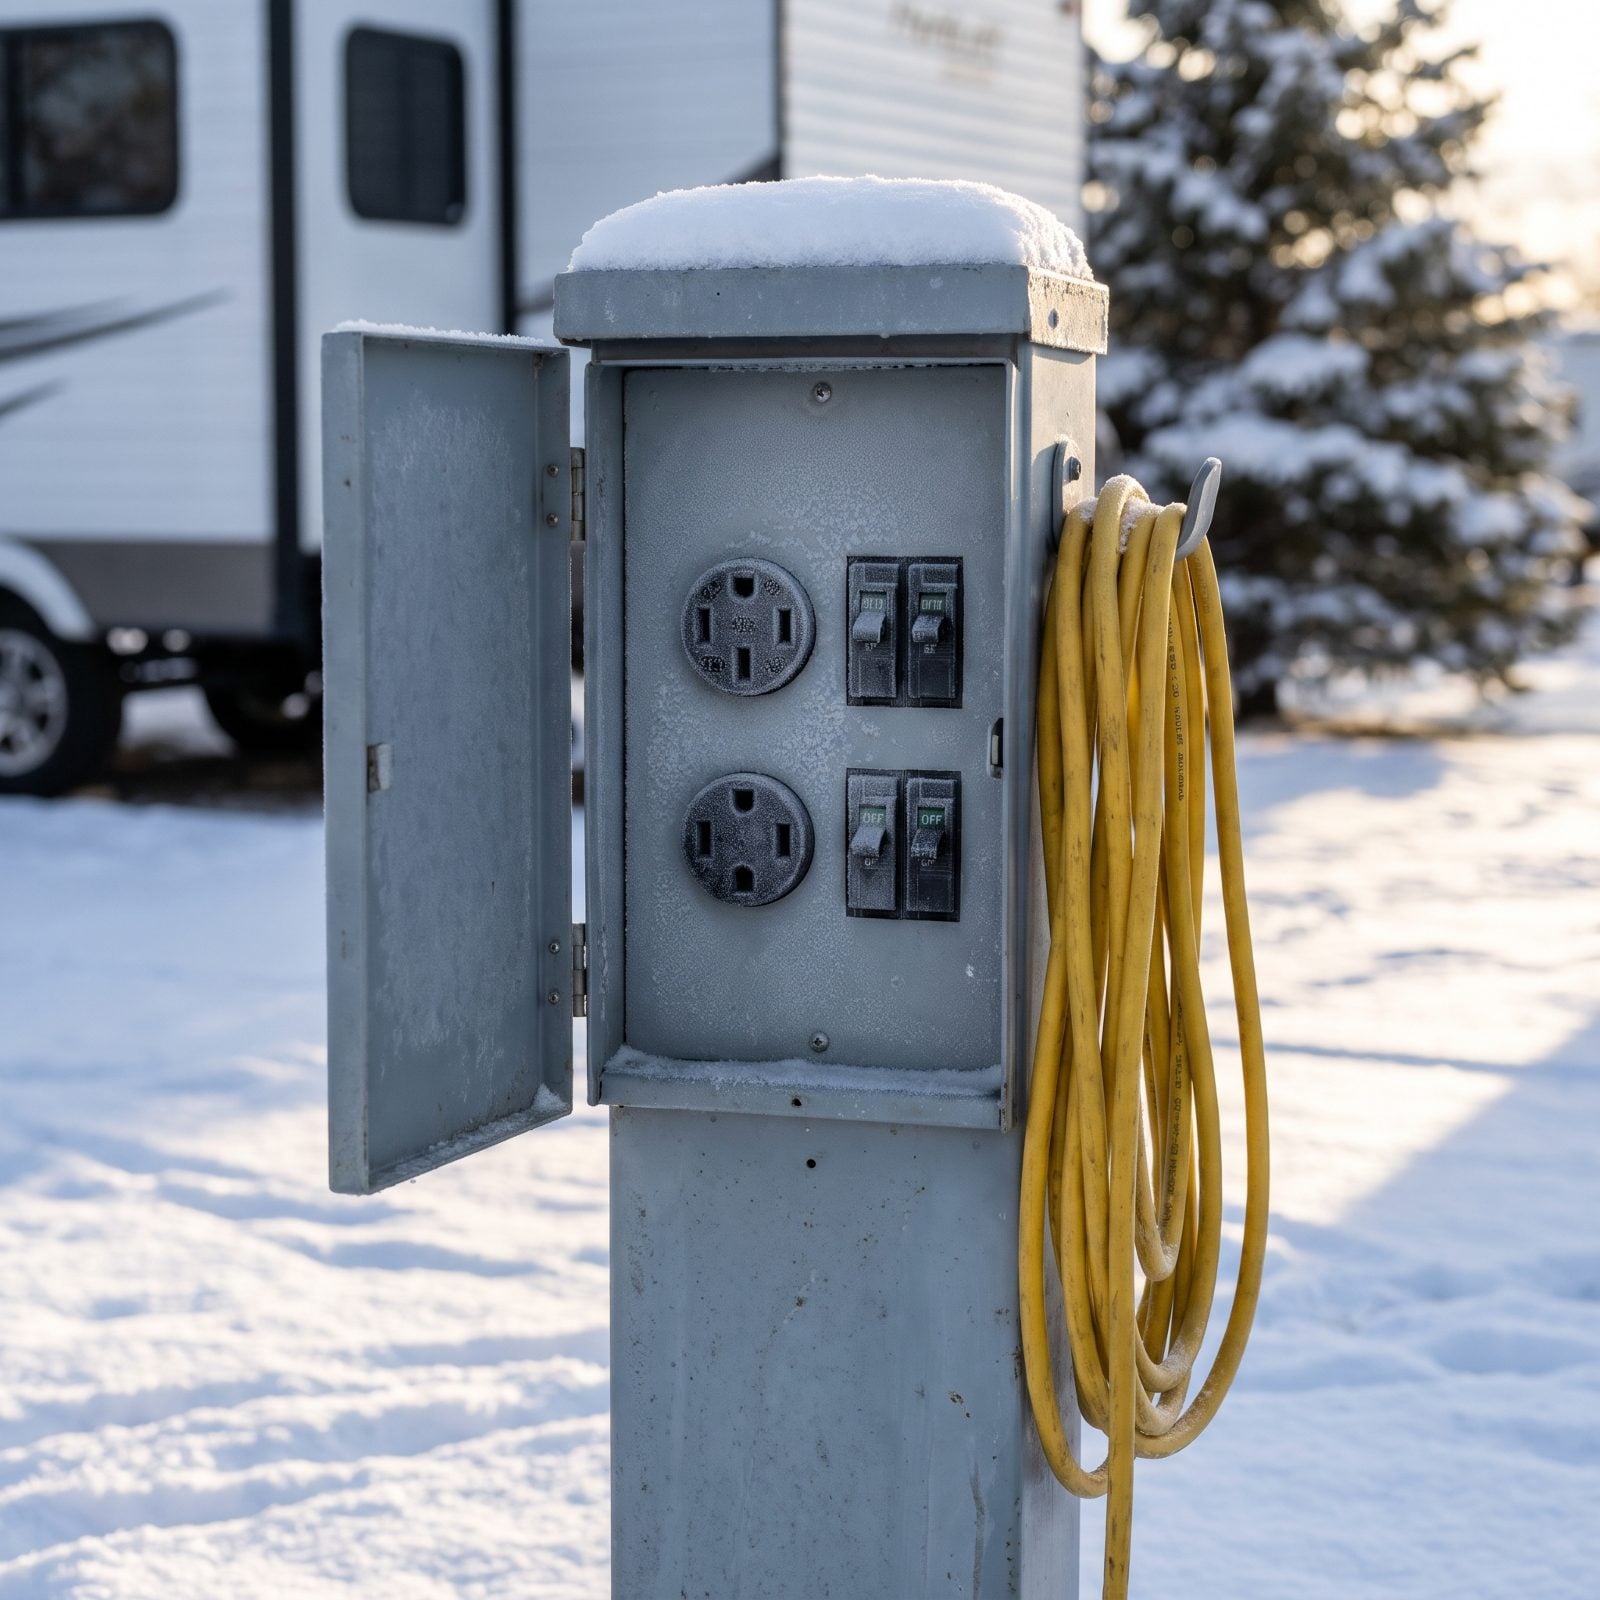
Thirty amps feels like plenty until you run an electric space heater, the furnace blower, the water heater, and a coffee pot at once on a sub-freezing morning. Then the breaker trips and you’re resetting a frozen pedestal in your slippers.
Find out what the site actually delivers: 50-amp, 30-amp, or a tired household outlet pretending to be a hookup. Do the math on your heat load before you arrive — a space heater alone eats a serious chunk of what a 30-amp line can give you.
Winter is the one season your RV’s electrical headroom disappears, because heat is hungry.
If the site is only 30-amp, plan to lean on propane for heat and treat electric as backup.
41. Ask About Winter Water Availability
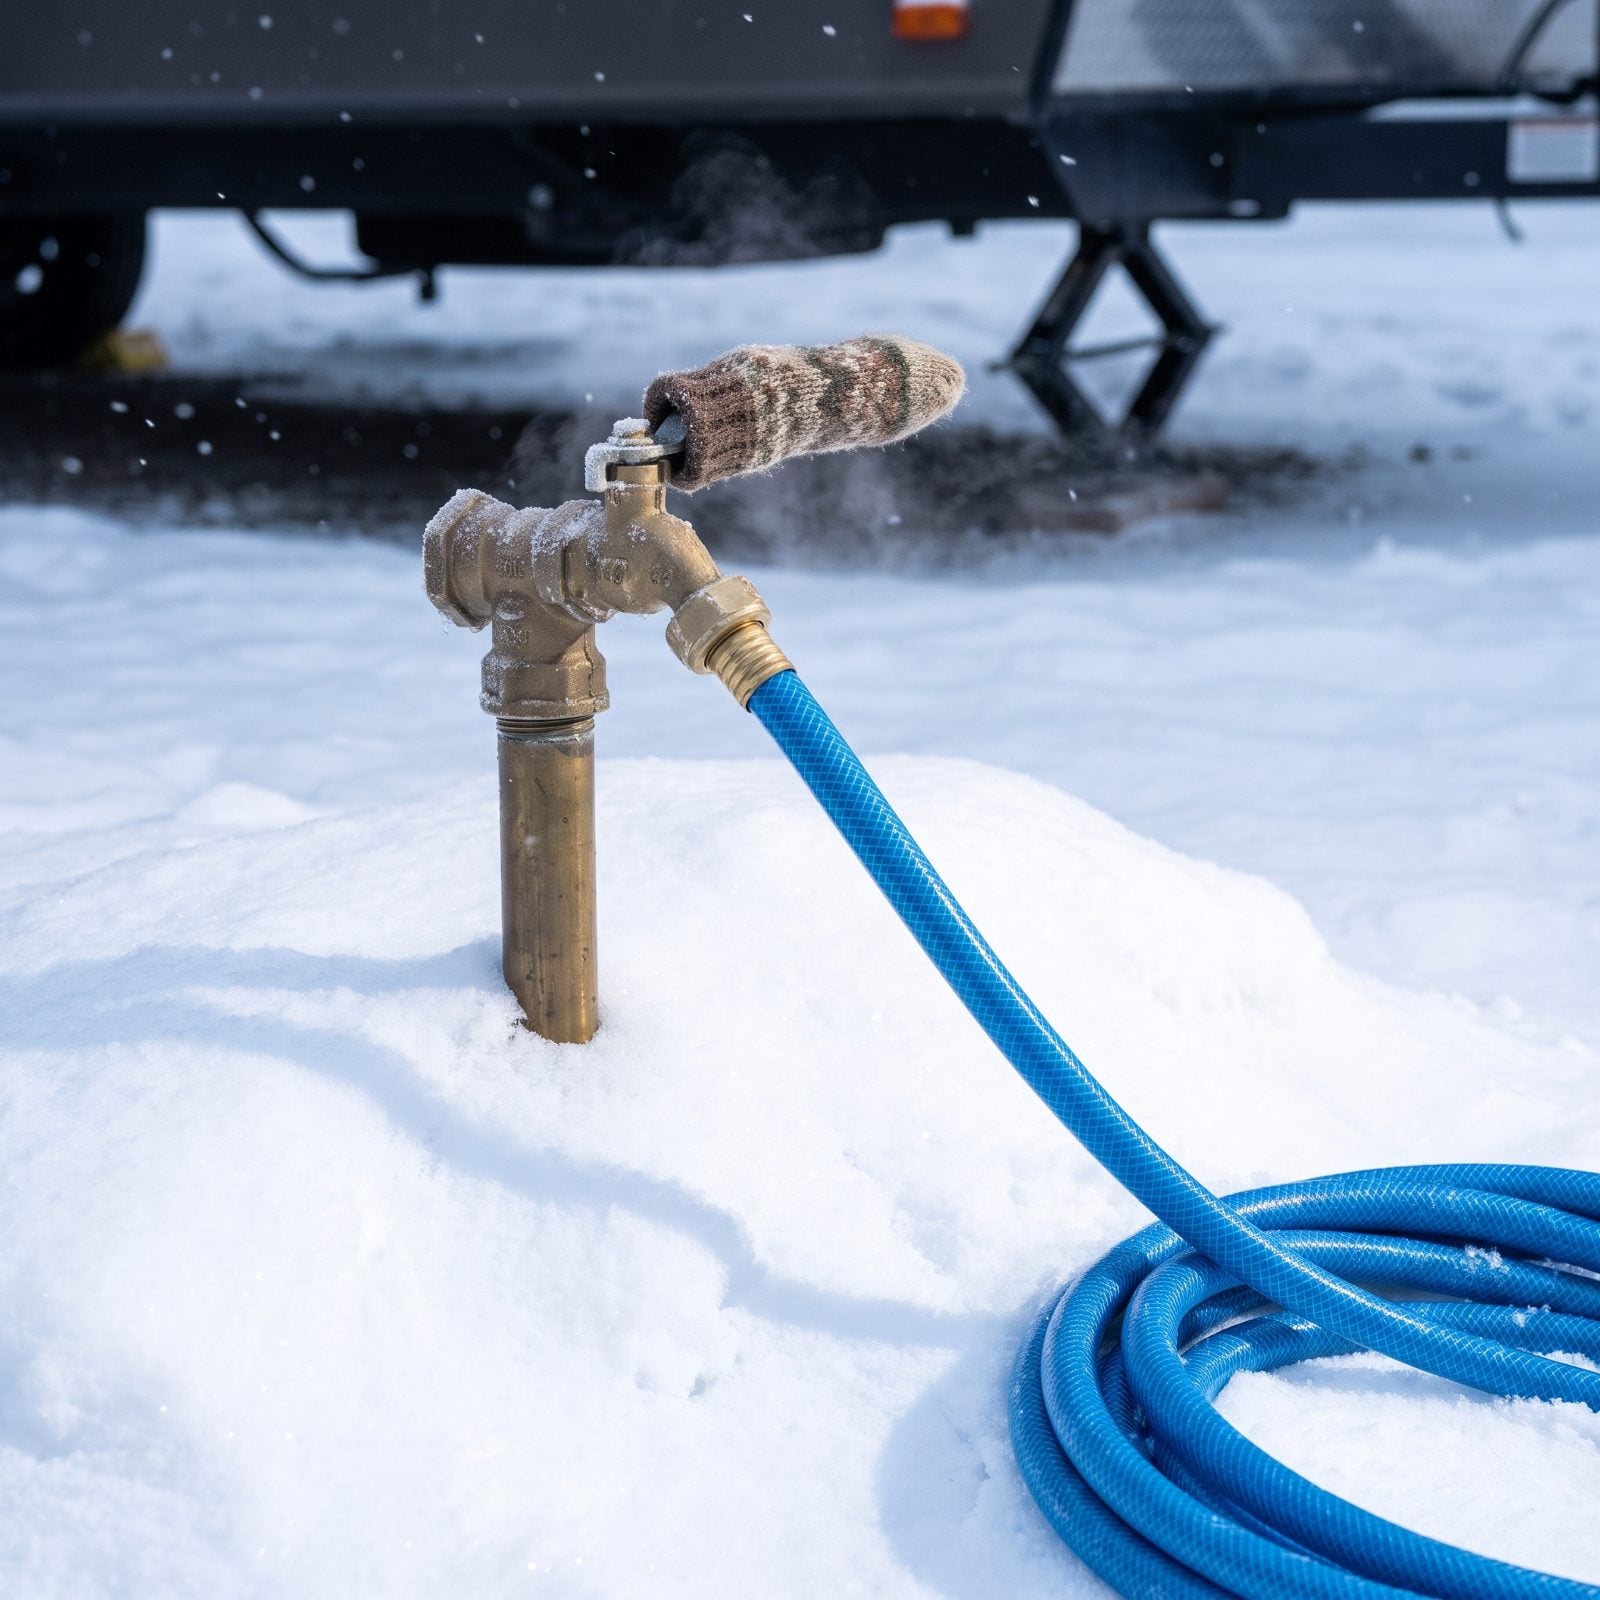
Most parks shut off site water in winter to keep their own pipes from bursting. You pull in expecting a spigot and get a capped, drained stub. Now you’re hauling jugs from a central frost-free tap a hundred yards away, in the dark, across ice.
So ask two things: is there water at the site or only at a central fill station, and is that station heated? Then plan your tank. Arriving with a full fresh-water tank buys you days of independence and turns a dead spigot into an inconvenience rather than an emergency.
40. Verify Dump Station Access
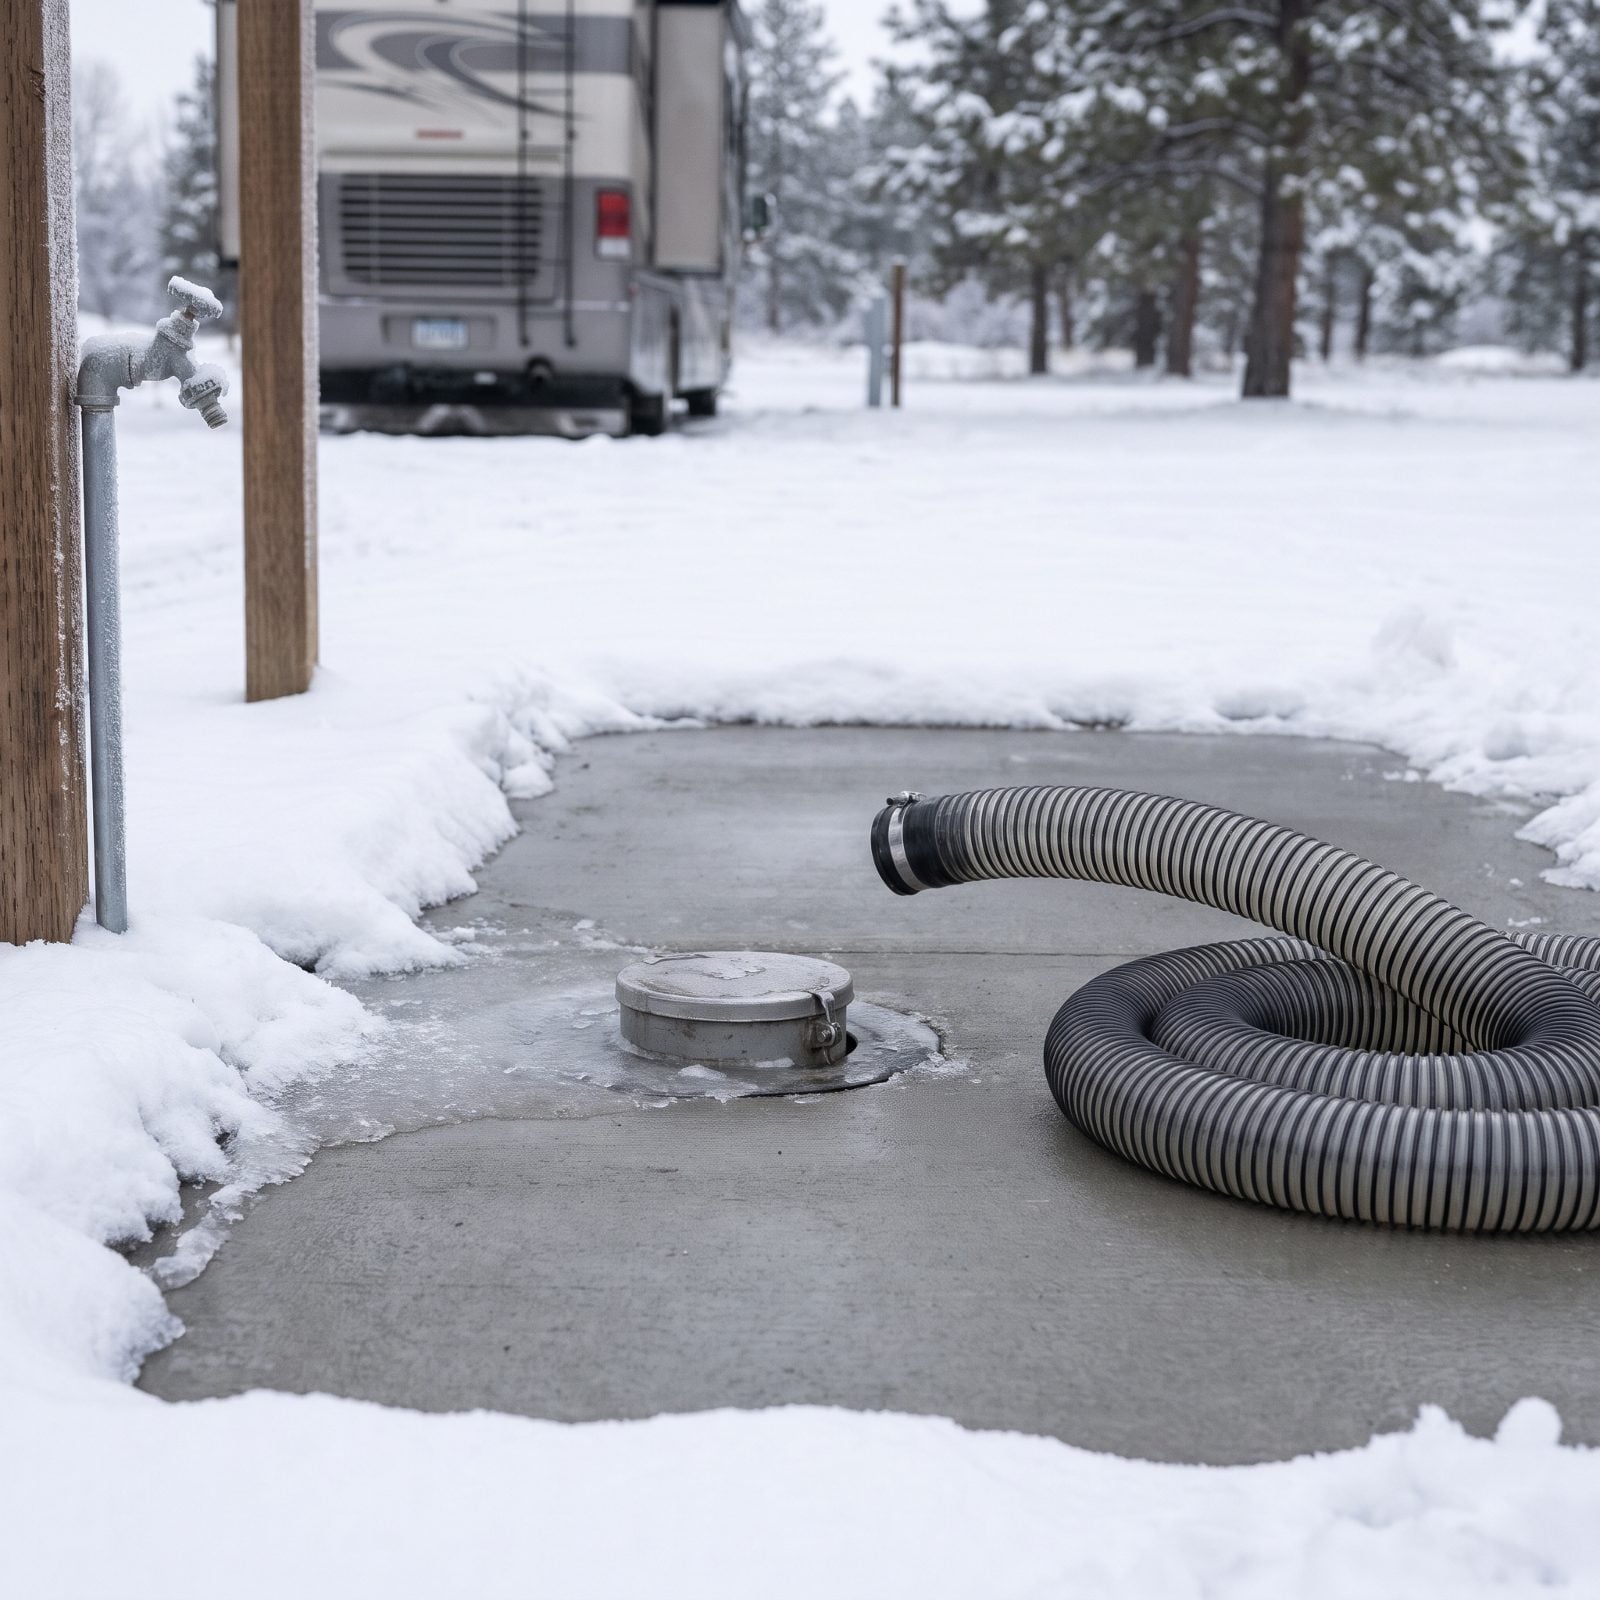
This is the one people skip, and it’s where winter trips go sideways. Lots of campgrounds close their dump station for the season even when the sites stay open, because the water used to rinse it freezes the whole works solid. You fill your tanks over a week, drive to dump, and find it winterized shut.
Confirm the on-site station is operating. If it isn’t, scout the nearest open dump before you leave home — travel centers, some gas stations, and a few rest stops keep theirs running through the cold.
Keep your black and gray tanks closed and dump only when full. That stretches your time between visits and gives you a stronger flush. A trickle of gray water freezes into a standing ice stalagmite under your valve, and anyone who has ever chipped one off will tell you to just wait for the full tank.
39. Confirm Campground Snowplowing Procedures
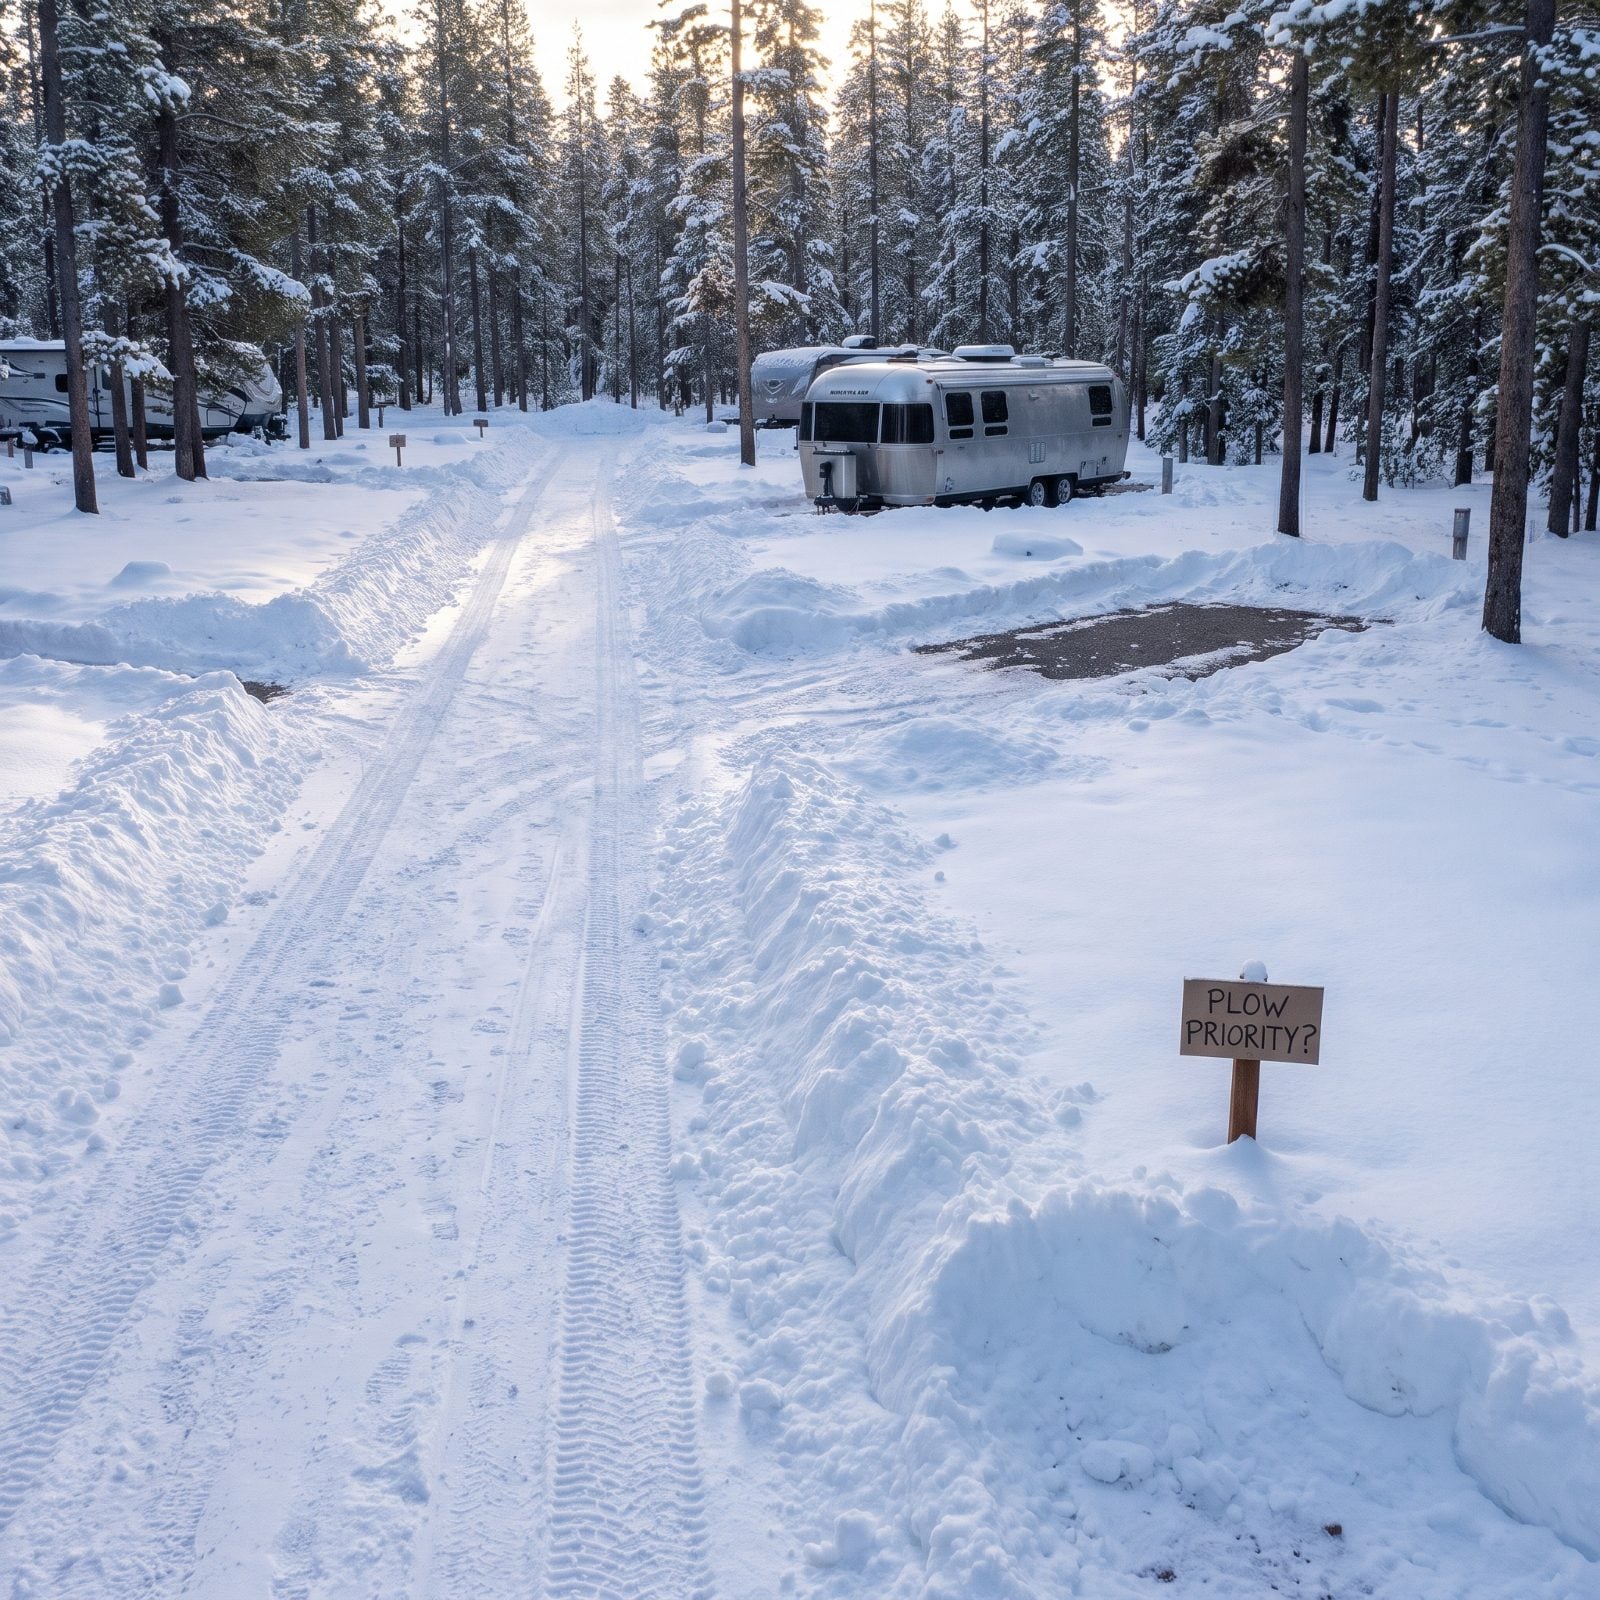
A plowed main road and a plowed site are not the same thing. Plenty of parks clear the loop so emergency vehicles can get through, then leave your individual pad buried. You arrive, can’t back in, and spend an hour shoveling in the headlights.
Ask who plows what, how soon after a storm, and whether your site gets cleared or you do. If it’s on you, a folding shovel and a bag of traction grit belong in the truck before you leave.
38. Check Highway Closures and Chain Rules

Mountain passes close on their own schedule, and “the weather looks fine here on the coast” tells you nothing about the summit two hours up the road. States run chain-control checkpoints where they turn back rigs that show up unequipped, and a travel trailer makes you look exactly like the rig they worry about.
Pull up the state DOT road-conditions site the morning you leave, not the night before. Does your class of vehicle need chains, and do they want them on the trailer axles too? Rules differ by state, and most RVers get this wrong.
Carry real tire chains that fit, not a canvas sack of heavy, rusty plain-link chain dumped by the door, and know how to put them on before you need to. The driveway at home on a mild, snow-free day beats the shoulder of a pass in a storm.
37. Map a Daylight Arrival Route

Backing a trailer into an icy site in the dark is how awnings get bent and tempers get short. Winter steals your daylight, and a trip that runs easy in July leaves you setting up by flashlight in December.
Work backward from sunset. Figure out when the light goes at your destination, subtract your drive time, add a cushion for slow roads and stops, and set your departure from there. Aim to be parked and leveled with an hour of daylight to spare.
The last hour of setup in winter is worth three hours of driving. Guard it.
36. Choose a Bad-Weather Detour

The plan is the pass. The backup is the long way around. You want both decided before you’re sitting at a closed chain-control gate with a line of trucks behind you, making the call in a panic.
Pick a lower-elevation alternate that skirts the worst summit, even if it adds an hour or two, and note the fuel stops on it — the scenic valley route often means long gaps between stations. Then set a go or no-go cutoff time with yourself and mean it.
35. Schedule a Furnace Inspection
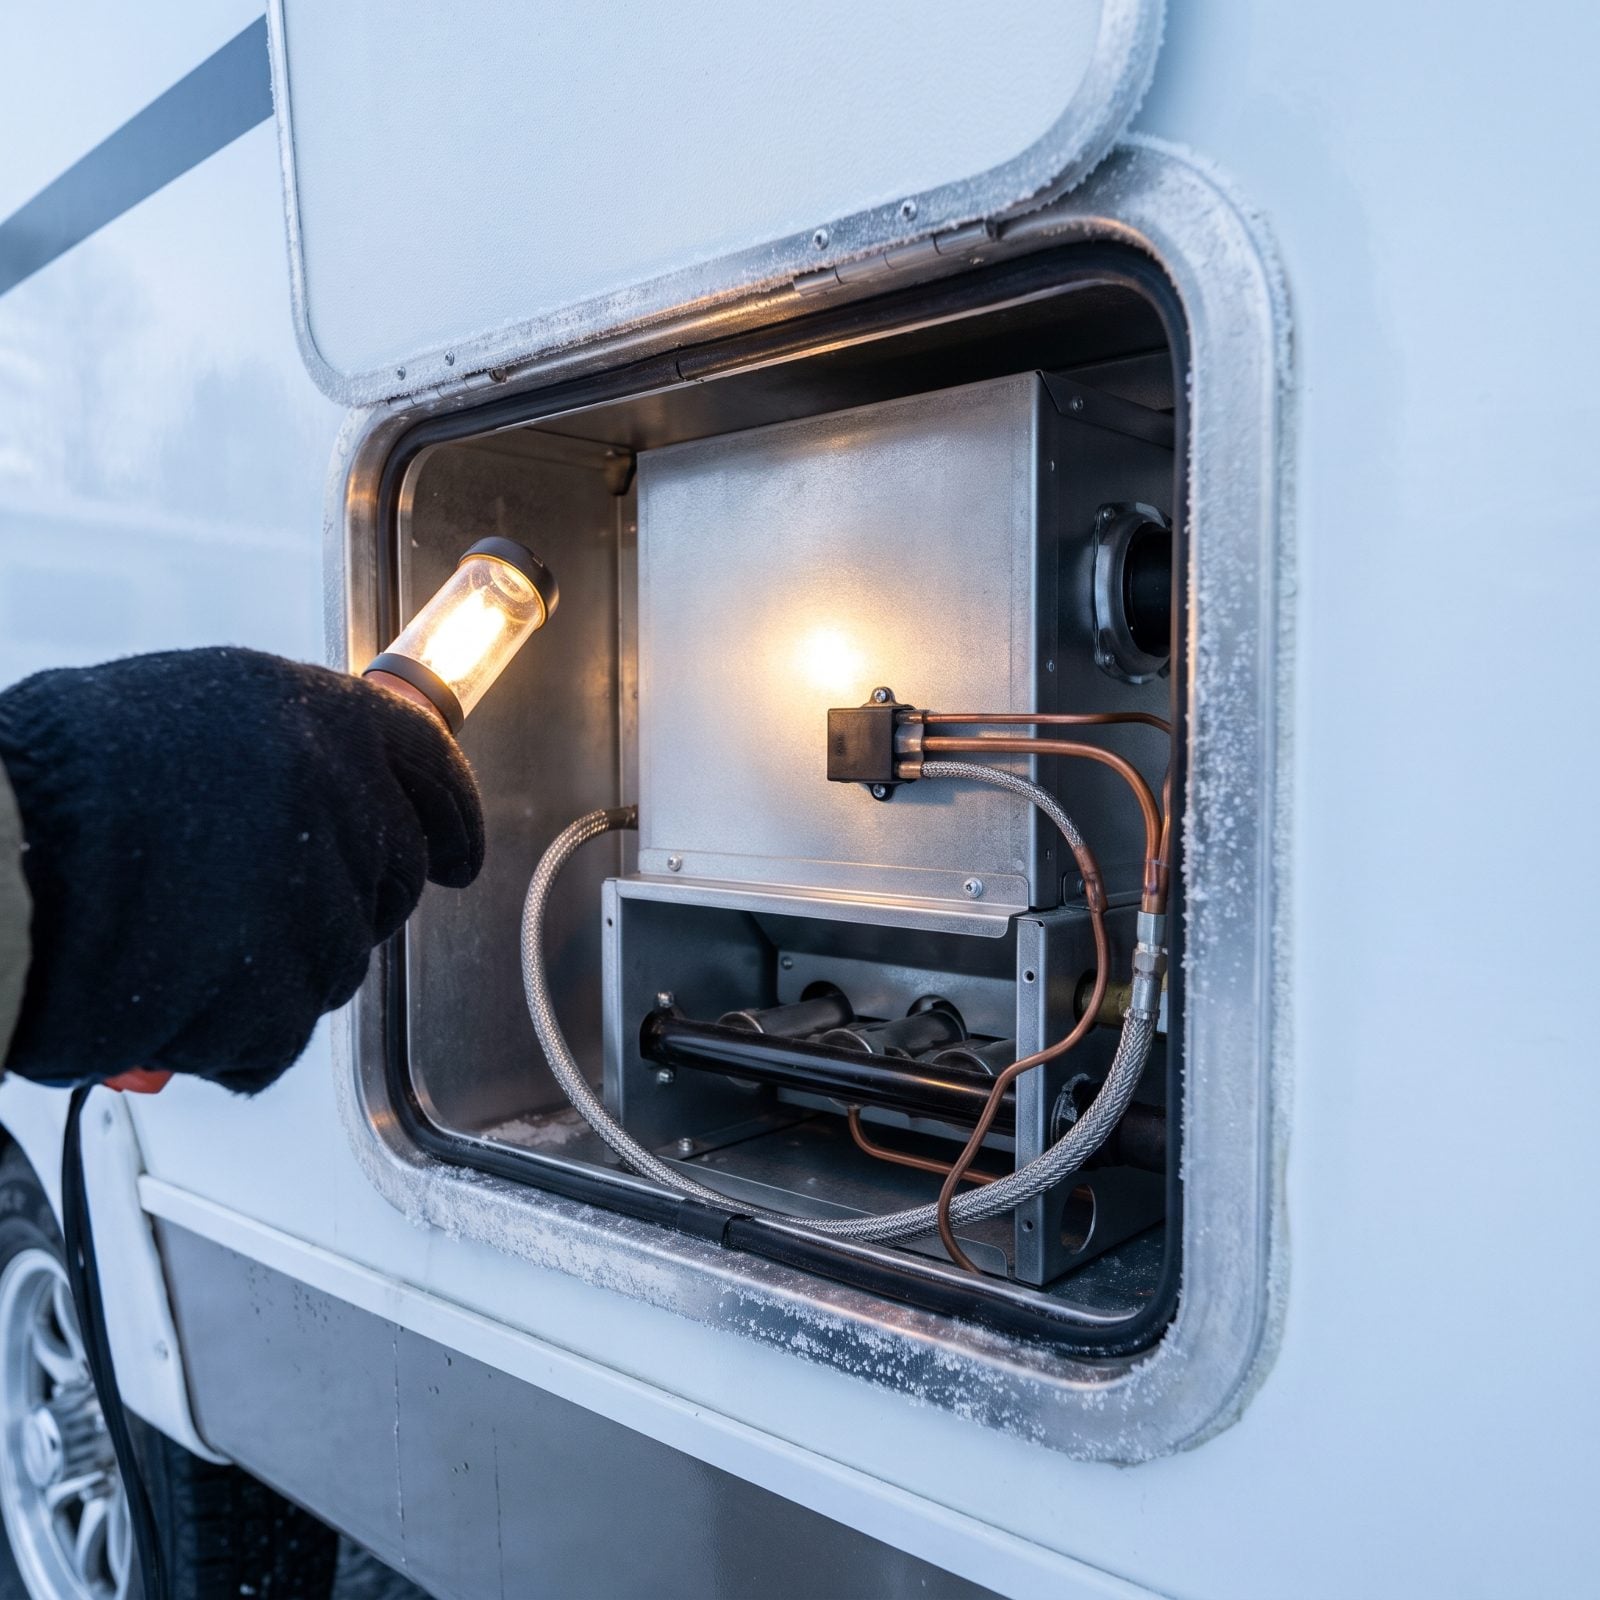
Your furnace sat idle all summer, and furnaces that sit collect dust, bugs, and the occasional mouse nest right in the combustion path. The first cold night is a lousy time to discover it won’t light — or worse, that it’s burning dirty.
Get it inspected before the trip by someone who services RV propane appliances. They’ll check the burner, the gas pressure, the blower, and the sail switch that keeps it from running without airflow.
And here’s the real reason: a furnace burning incompletely produces carbon monoxide. That’s not a comfort issue, it’s a safety one. Spend the money. I don’t say that about much.
34. Clear the Furnace Exhaust Vent
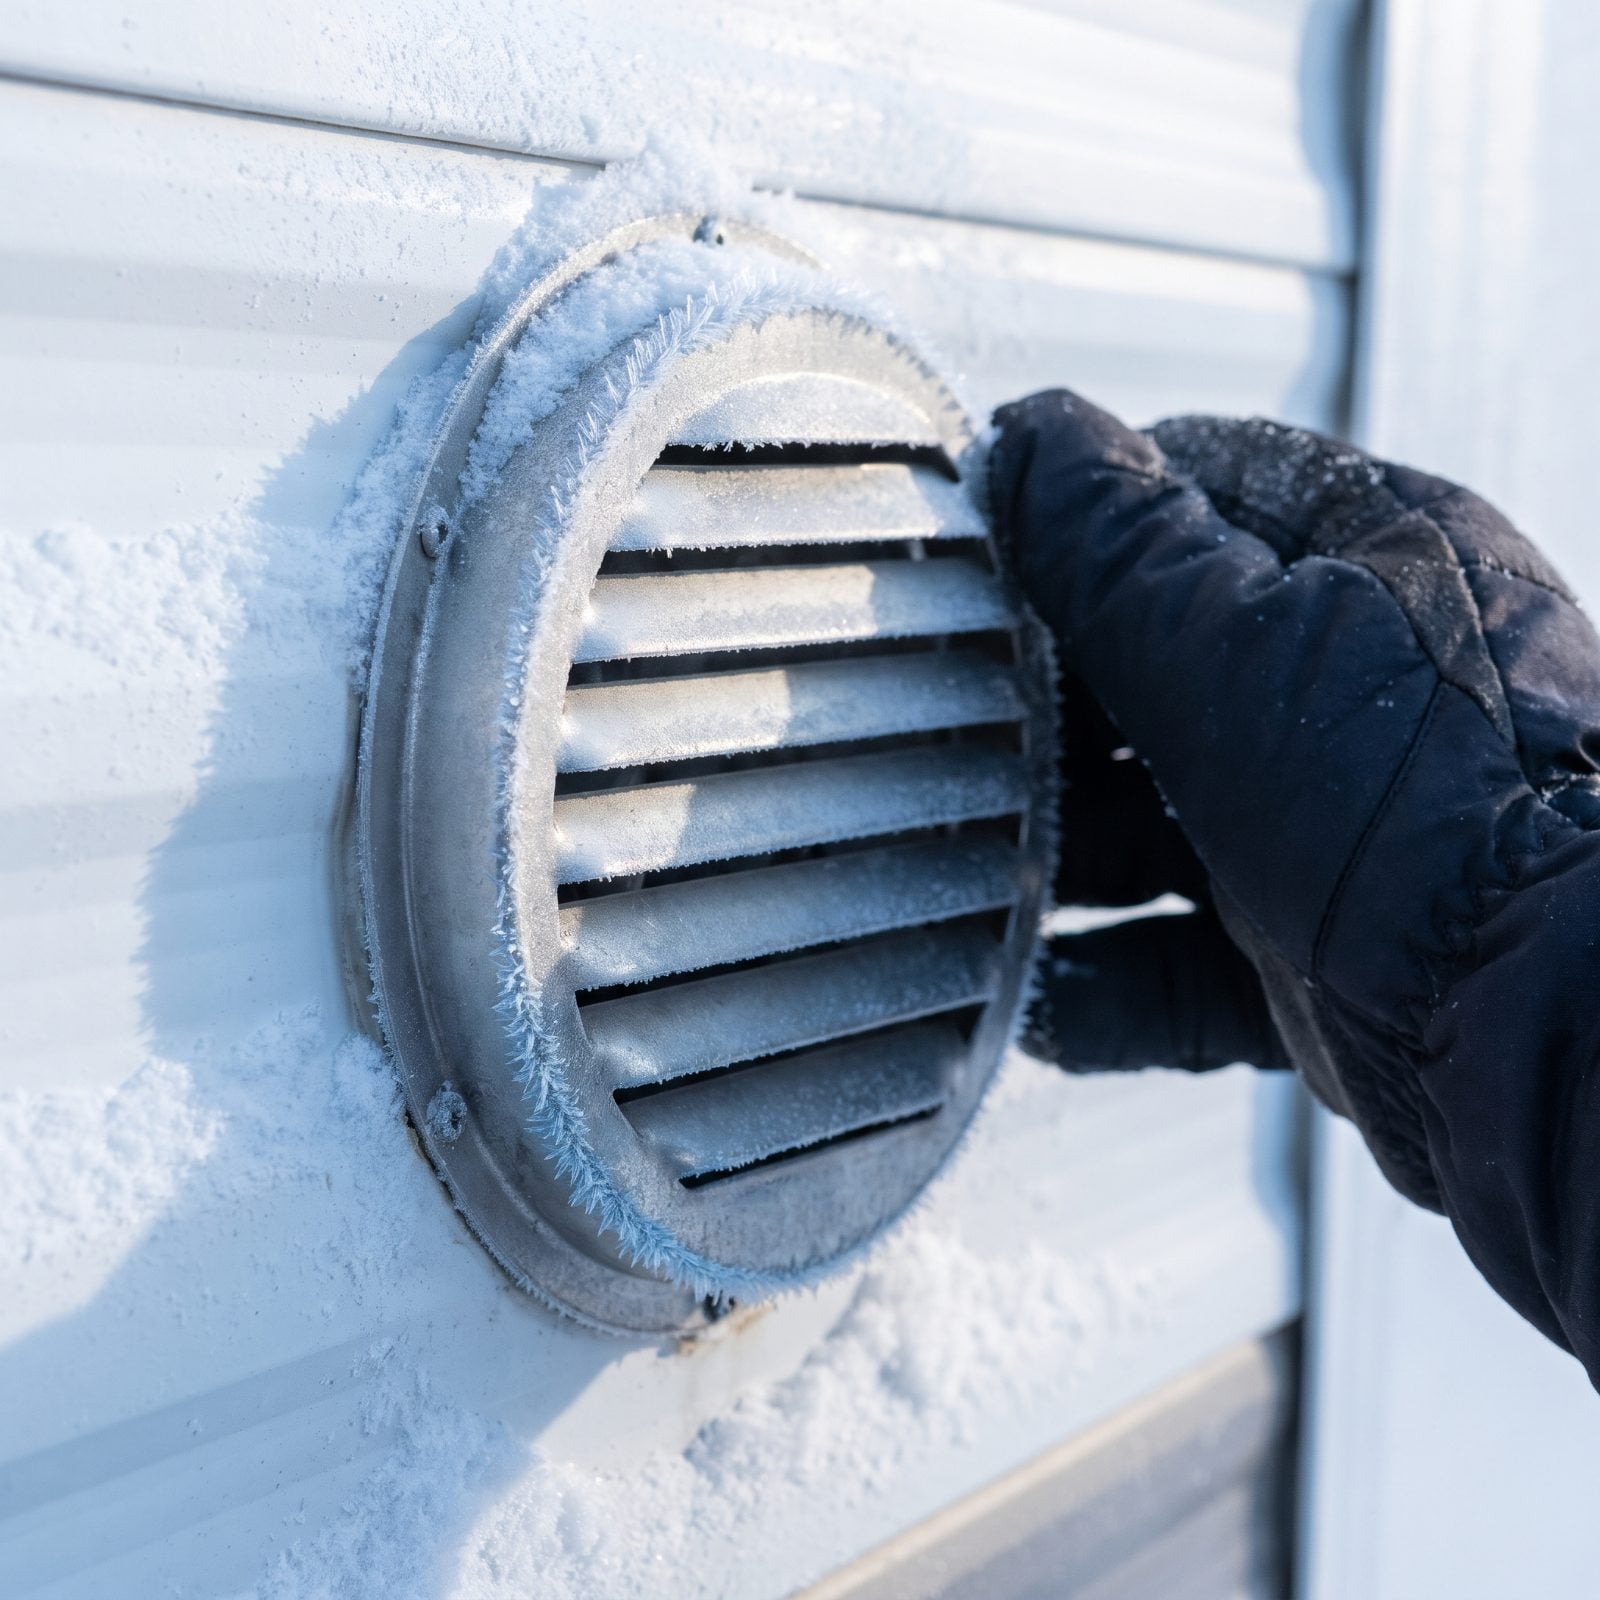
This is the check that can actually hurt you, so do it last — and do it every single day of the trip. The furnace exhaust vent on your sidewall has to breathe. Block it with a snow drift, with ice, with a bank the plow pushed up against your rig, and the combustion gases have nowhere to go but back toward you.
Walk the outside of the RV and find the furnace vent, usually a louvered cover low on the wall. Clear a generous arm’s-length of space around it. Check it after every snowfall and again after wind reshapes the drifts overnight.
A working carbon monoxide detector is your backstop, not your first line. Test it before you leave and again when you set up. But the vent is the thing that keeps the detector quiet. Keep it clear.
33. Test the Propane System for Leaks
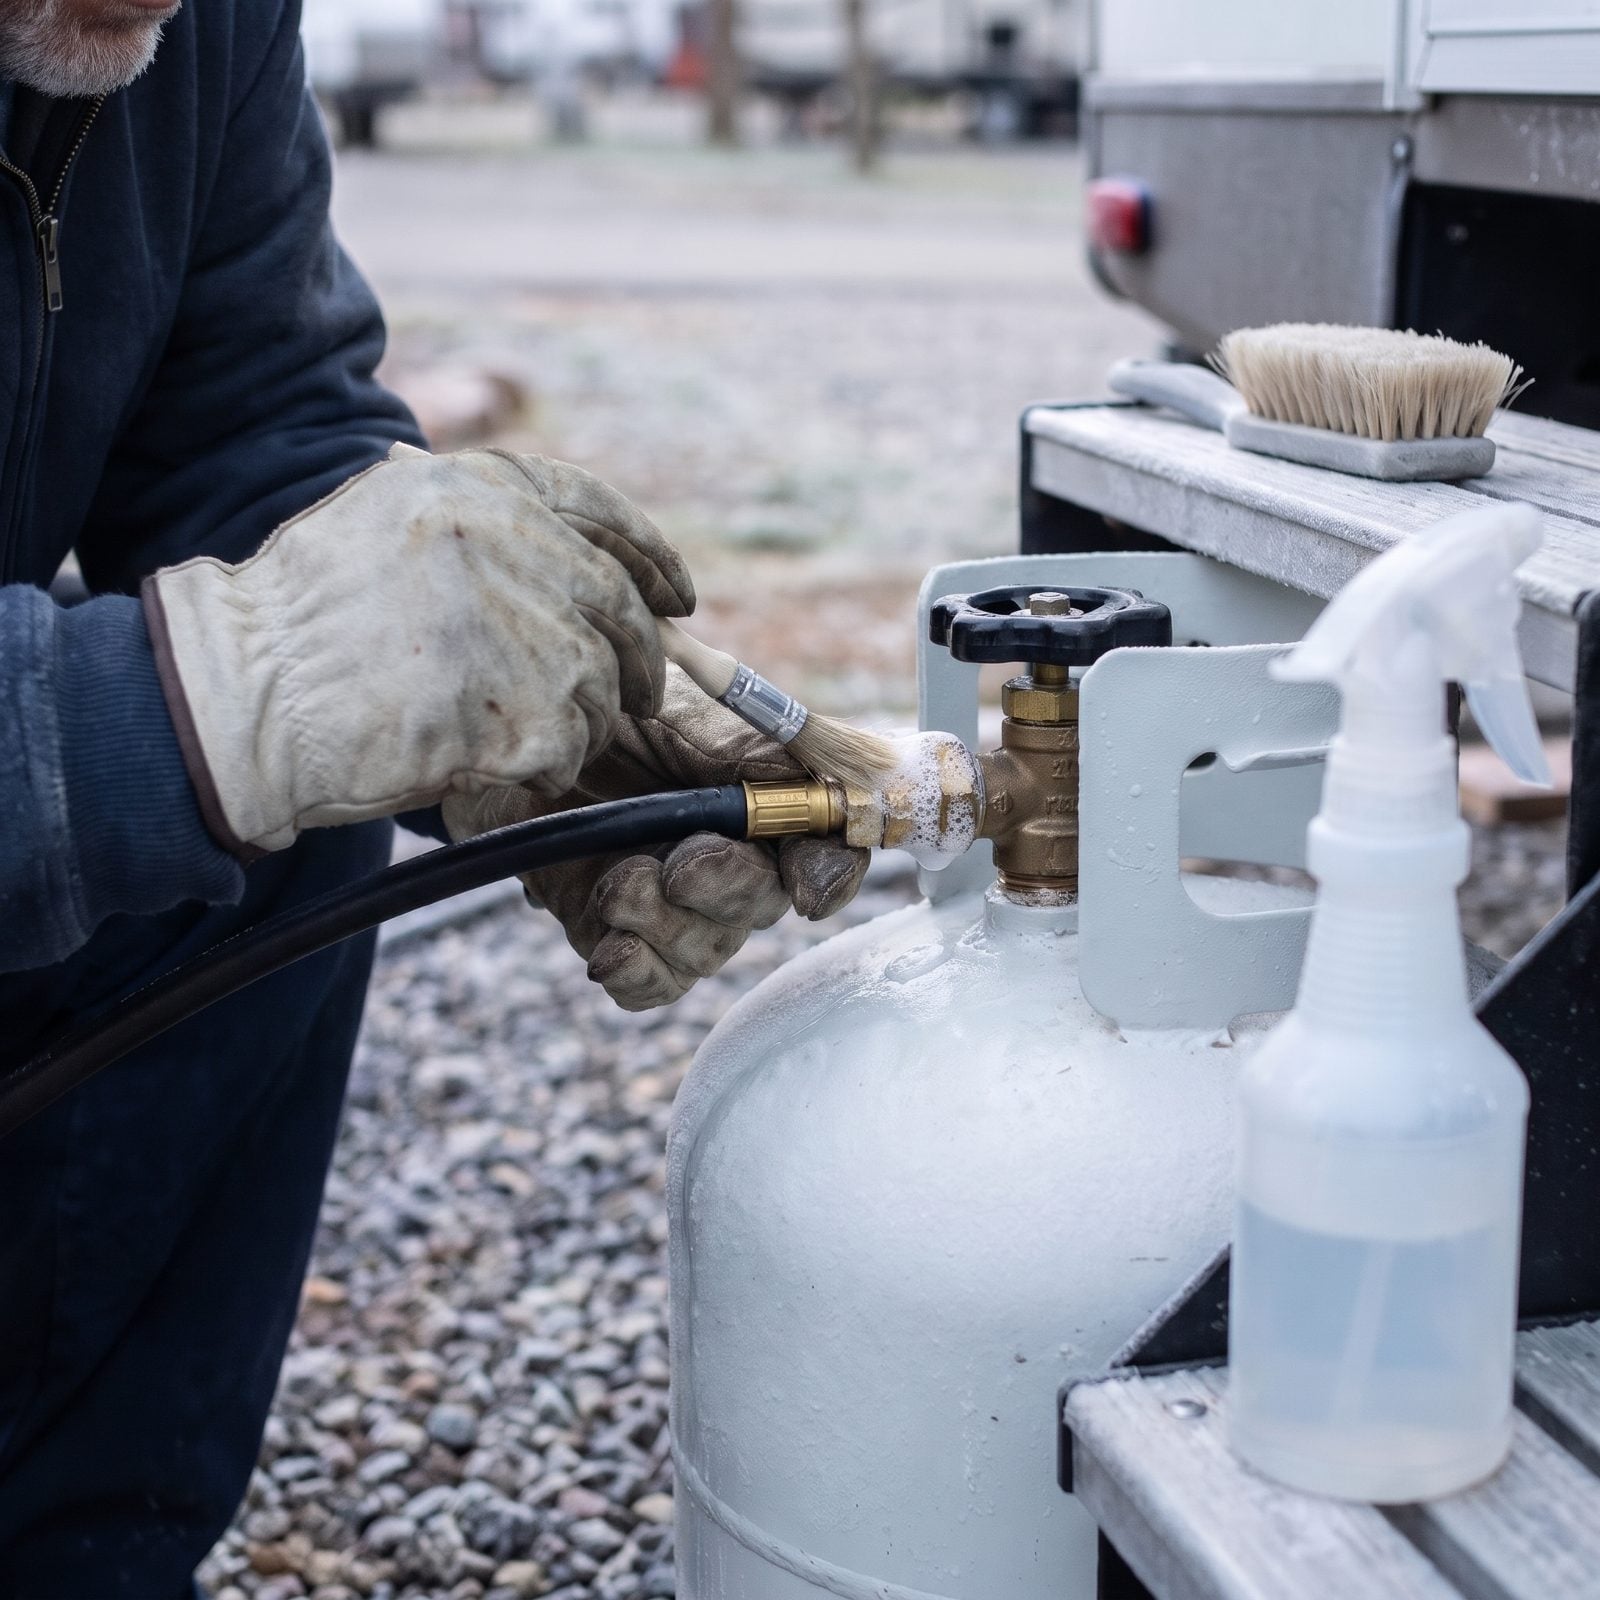
Cold shrinks fittings. A joint that sealed fine in July can weep gas on a freezing morning, and the one place you’ll never smell it is tucked in a basement bay with the furnace running. So test before you trust it.
Mix a little dish soap with water, brush it over the brass fitting on the tank valve, then watch. Bubbles growing where you painted mean gas escaping. No special tool, no guessing. A slow leak at the regulator can burn through a full tank in half the usual time — a soapy brush catches it in thirty seconds.
32. Inspect the Propane Regulator
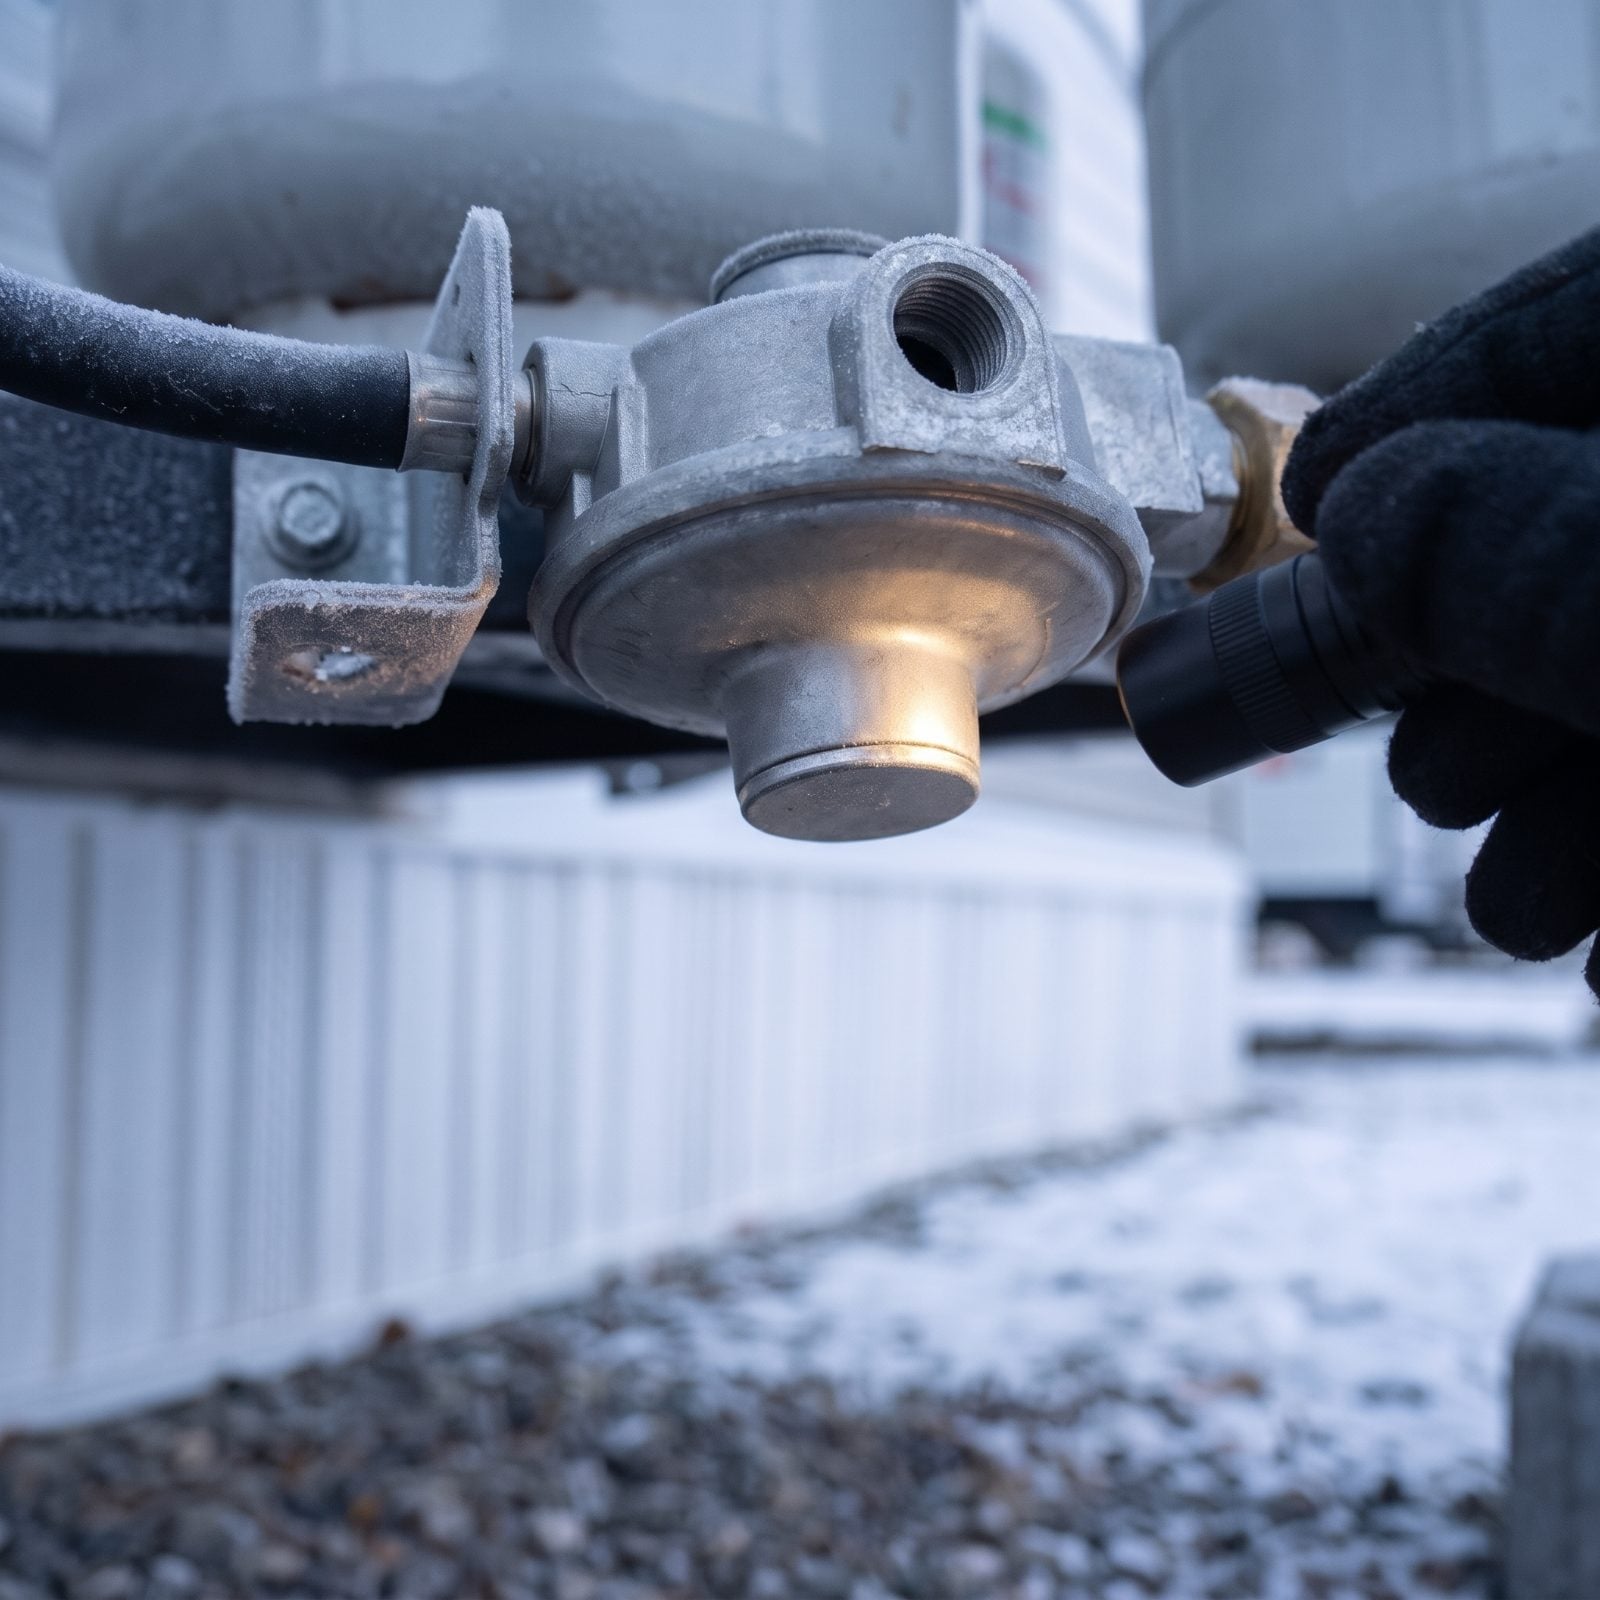
The regulator is the unglamorous little part that drops tank pressure down to something your furnace can actually use. In winter it earns its keep, and it fails in winter-specific ways.
Look at the vent — that open threaded port on the side of the housing. It has to stay clear. Snow, ice, or a wasp nest left over from last summer blocks it, the regulator can’t breathe, and you get pressure swings and a furnace that quits in the small hours when you need it most. While you’re down there, check the die-cast metal diaphragm cover for cracks.
Regulators are cheap, and they do age out. If yours is a decade old or you hear it hum and sputter, swap it before the trip. Not during.
31. Test the Carbon Monoxide Detector
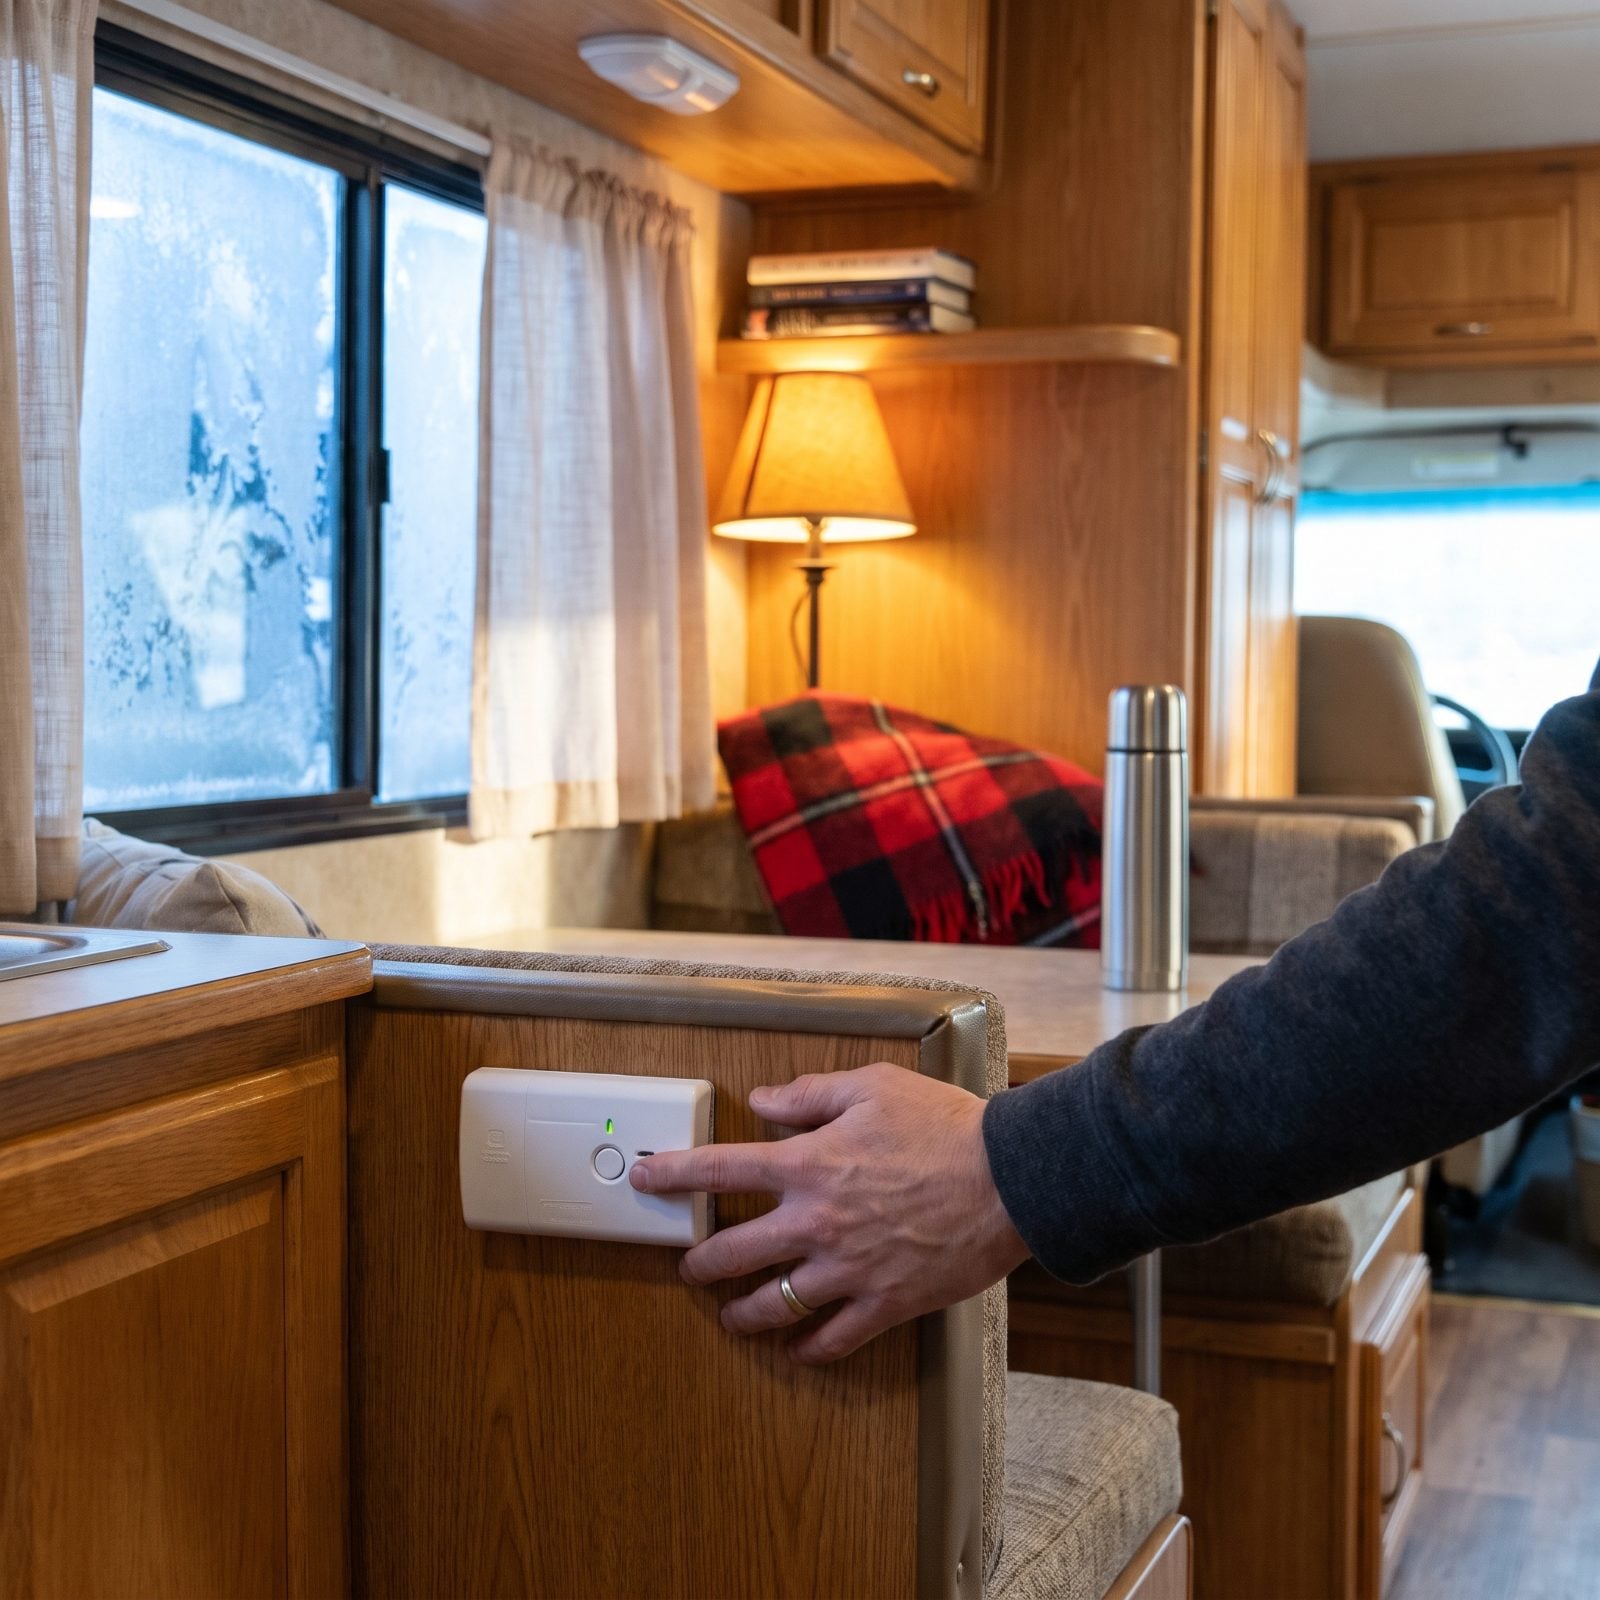
This is the one that actually kills people, so I’ll be blunt about it. A furnace running all night in a sealed, well-insulated RV is exactly the setup that turns a small exhaust problem into a fatal one. You won’t wake up. That’s the whole danger.
Hold the test button down until it shrieks, then let go. A chirp or silence means a dead battery or a dead unit. But here’s what most people miss: these detectors expire. There’s a manufacture date stamped on the back, and the sensor degrades over a handful of years whether it’s been beeping or not. Check that date. If it’s past, the test button is lying to you.
30. Check the Fire Extinguisher Gauge
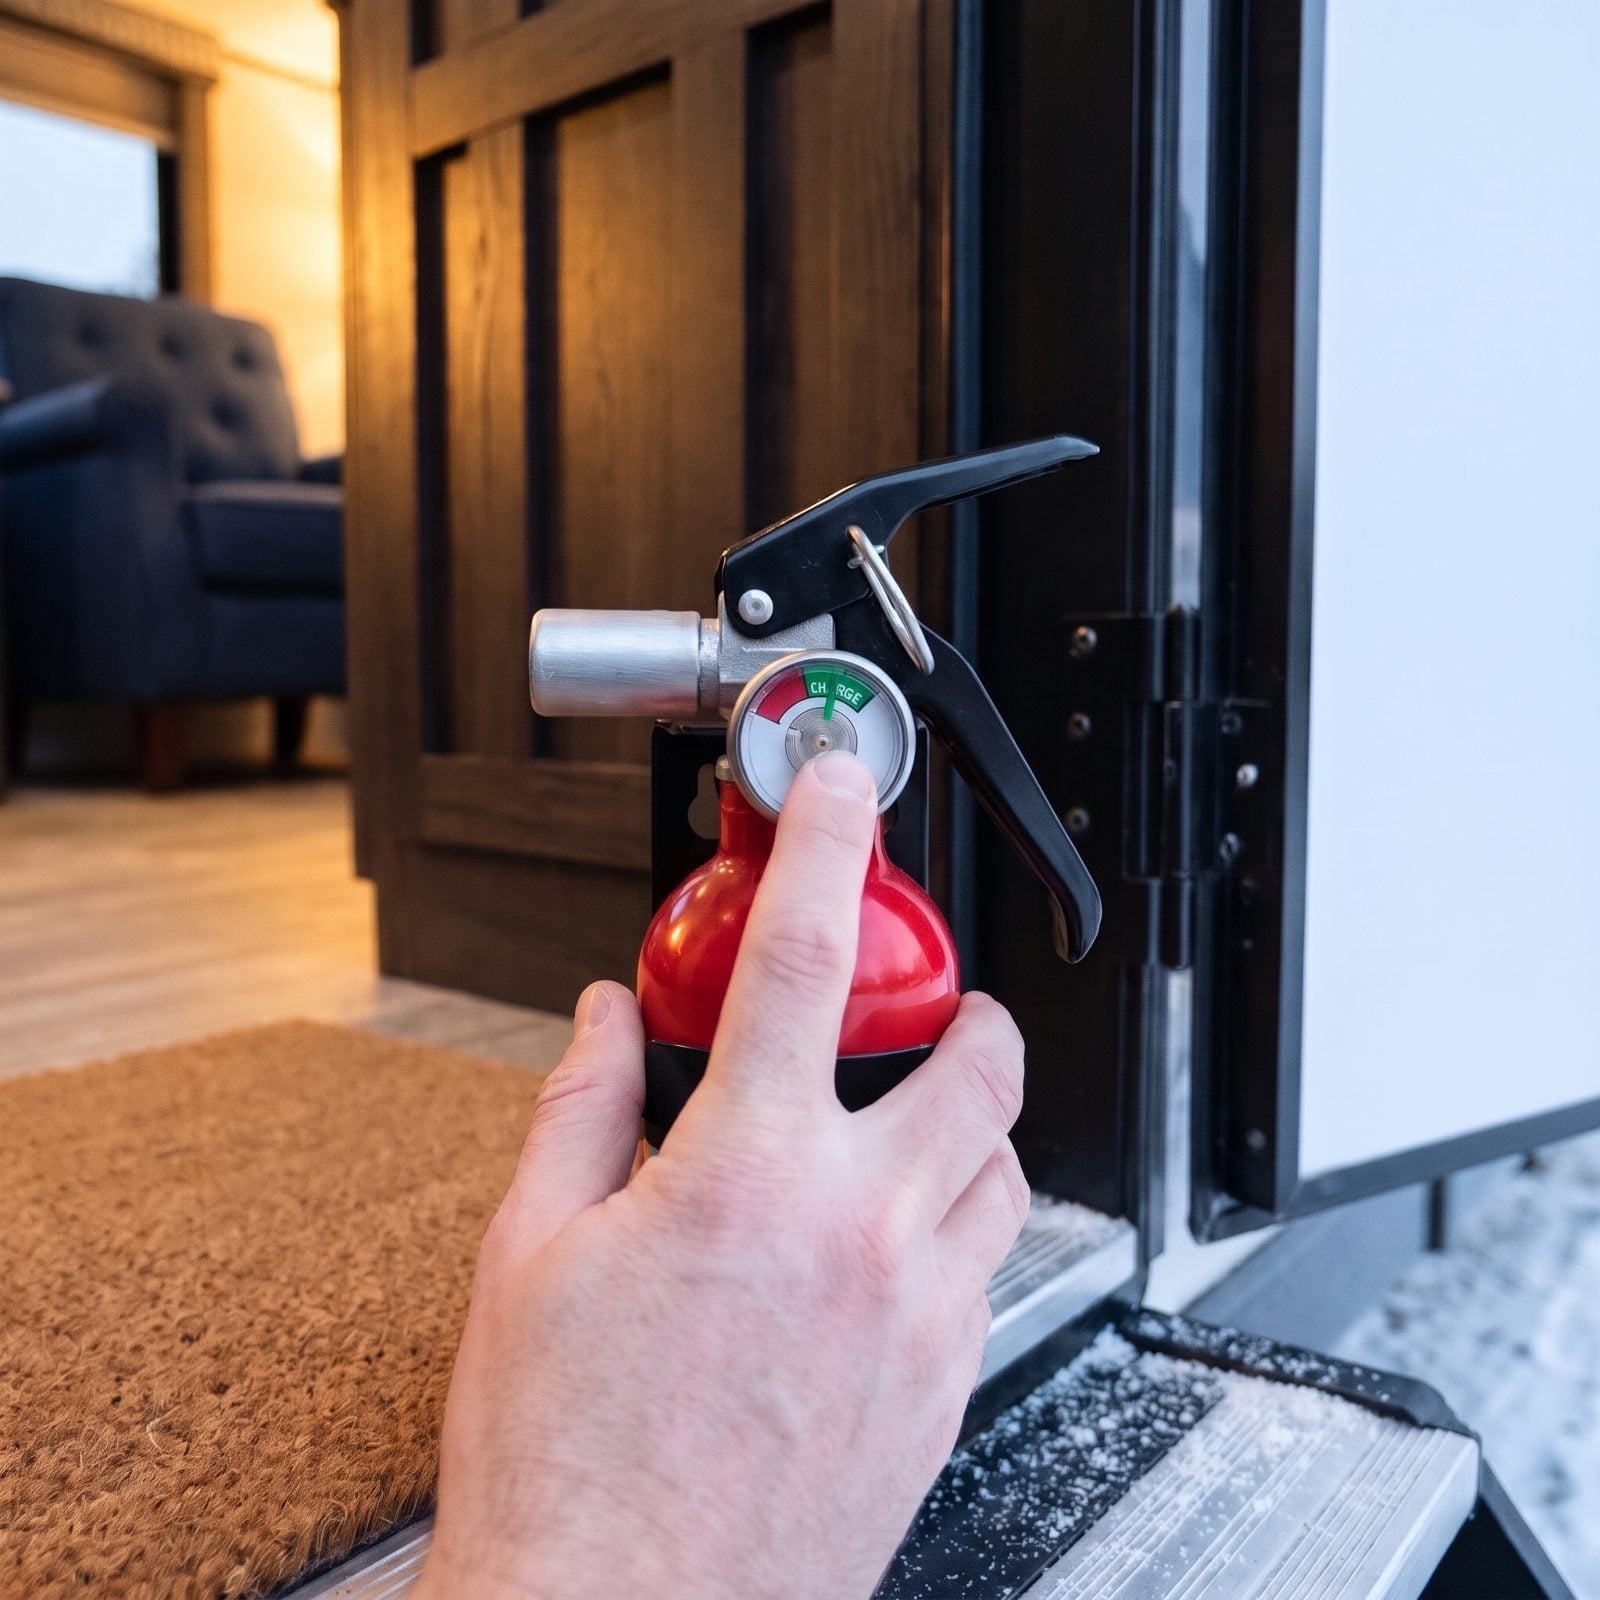
Most RV extinguishers are the small dry-chemical kind, and they have a quiet habit of failing without telling you. The powder settles and cakes into a brick at the bottom, so when you squeeze the handle you get a sad little puff and nothing else.
Two checks. First, press a fingertip on the center of the gauge; it should feel firm and push back, and once you lift your finger the needle should sit in the green CHARGE zone. Second, pull the thing out of its bracket, give it a firm shake, and whack the bottom a few times with your palm to loosen the powder. Every trip.
29. Load-Test the House Batteries
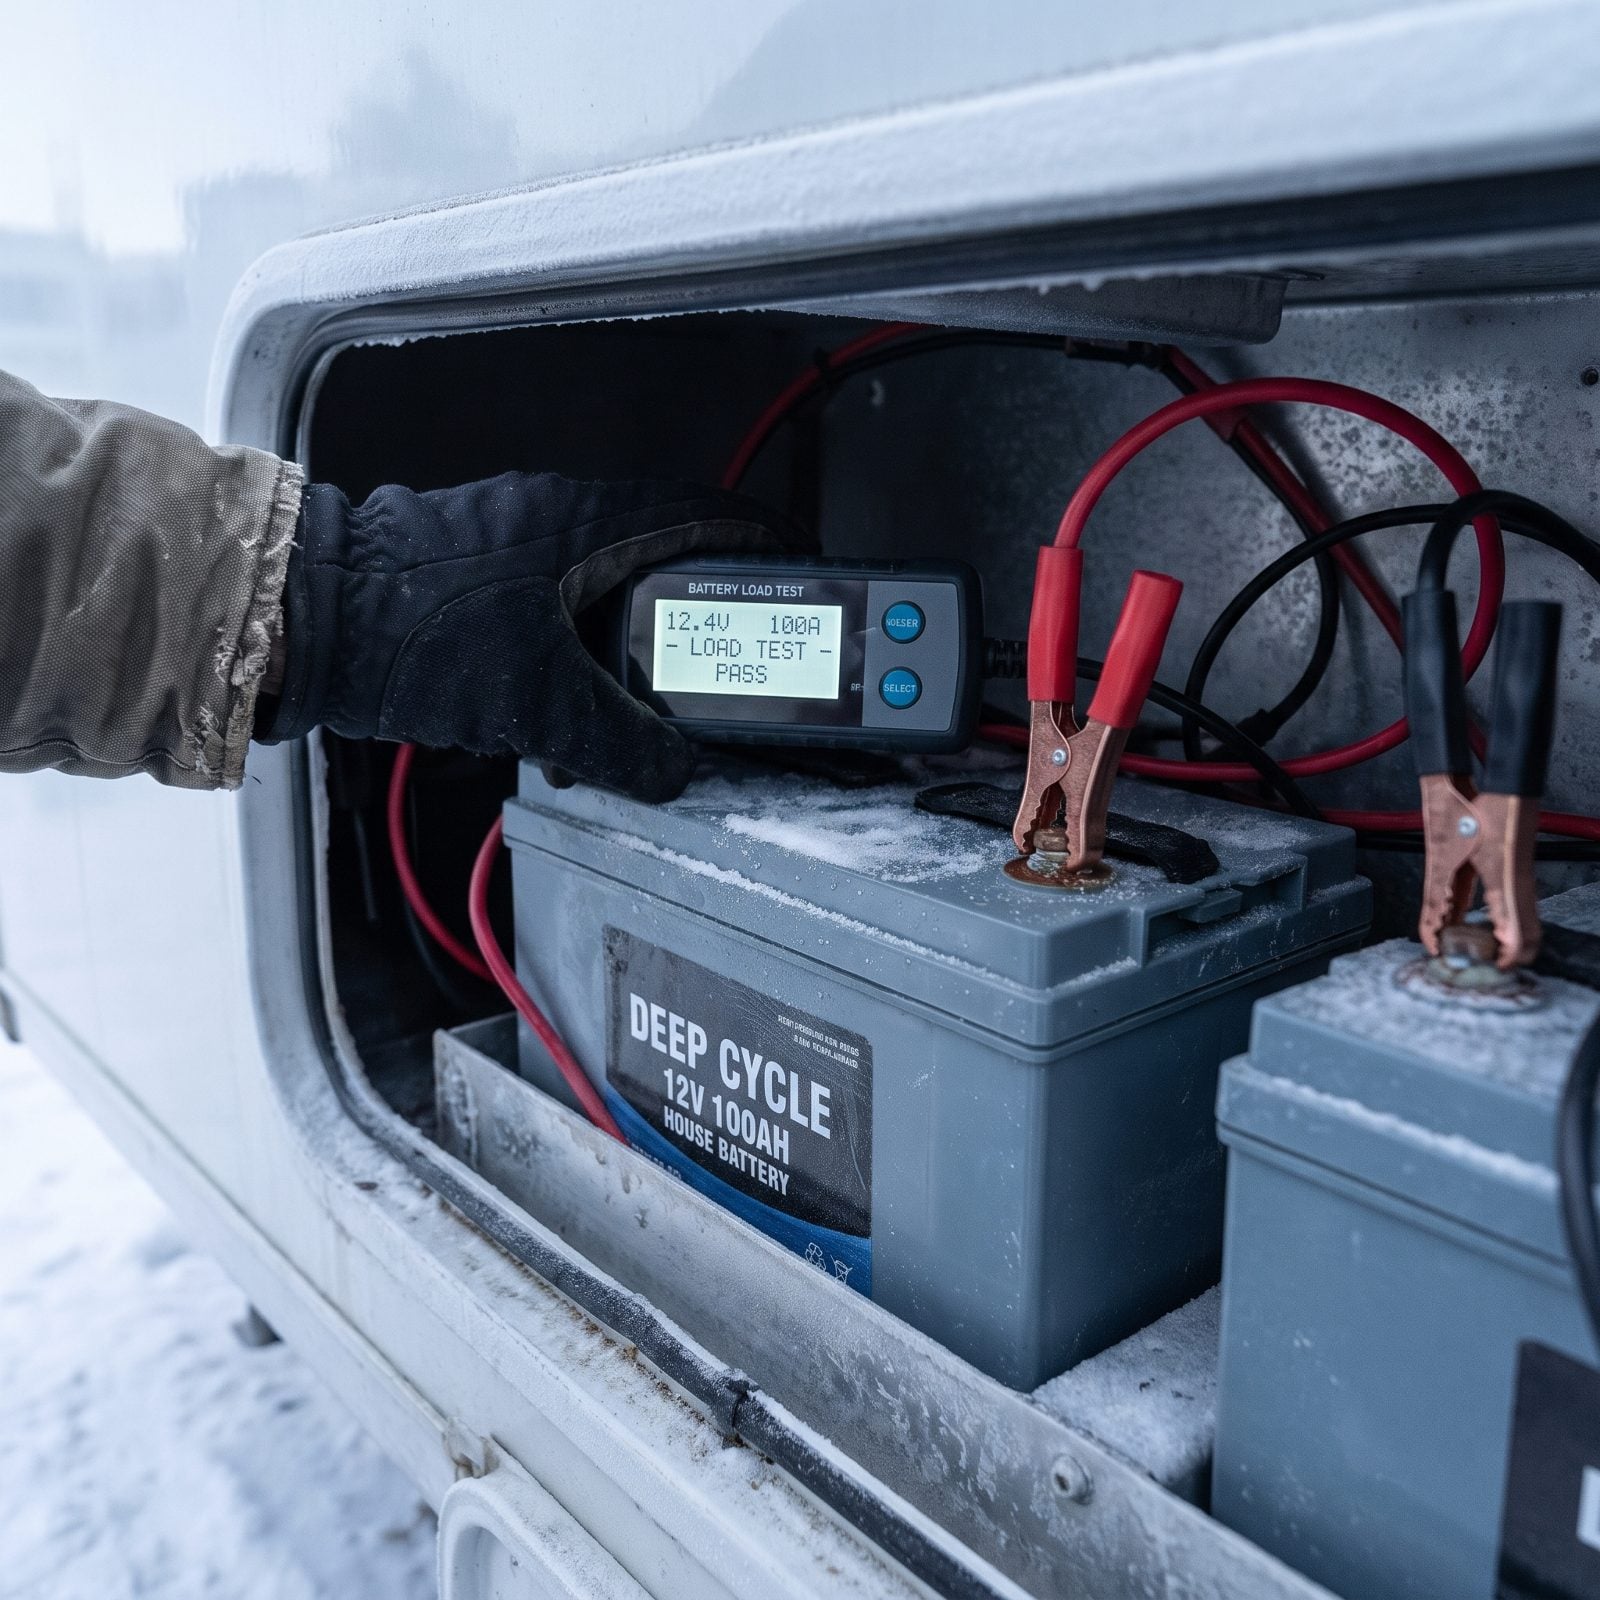
Here’s the cruel math of winter camping. Cold strips a big chunk off a lead-acid battery’s usable capacity, right when your furnace fan is pulling power all night long. A battery that coasted through a summer weekend can leave you cold and dark before sunrise in December.
A resting voltage reading tells you almost nothing. You have to put a load on it. A cheap carbon-pile or digital load tester shows what the battery actually delivers under draw, and that’s the only number that matters. If it sags hard and recovers slow, it’s done.
Skip this and you could spend a very long night in a very cold trailer doing arithmetic on how many hours are left until sunrise.
28. Cold-Start the Generator
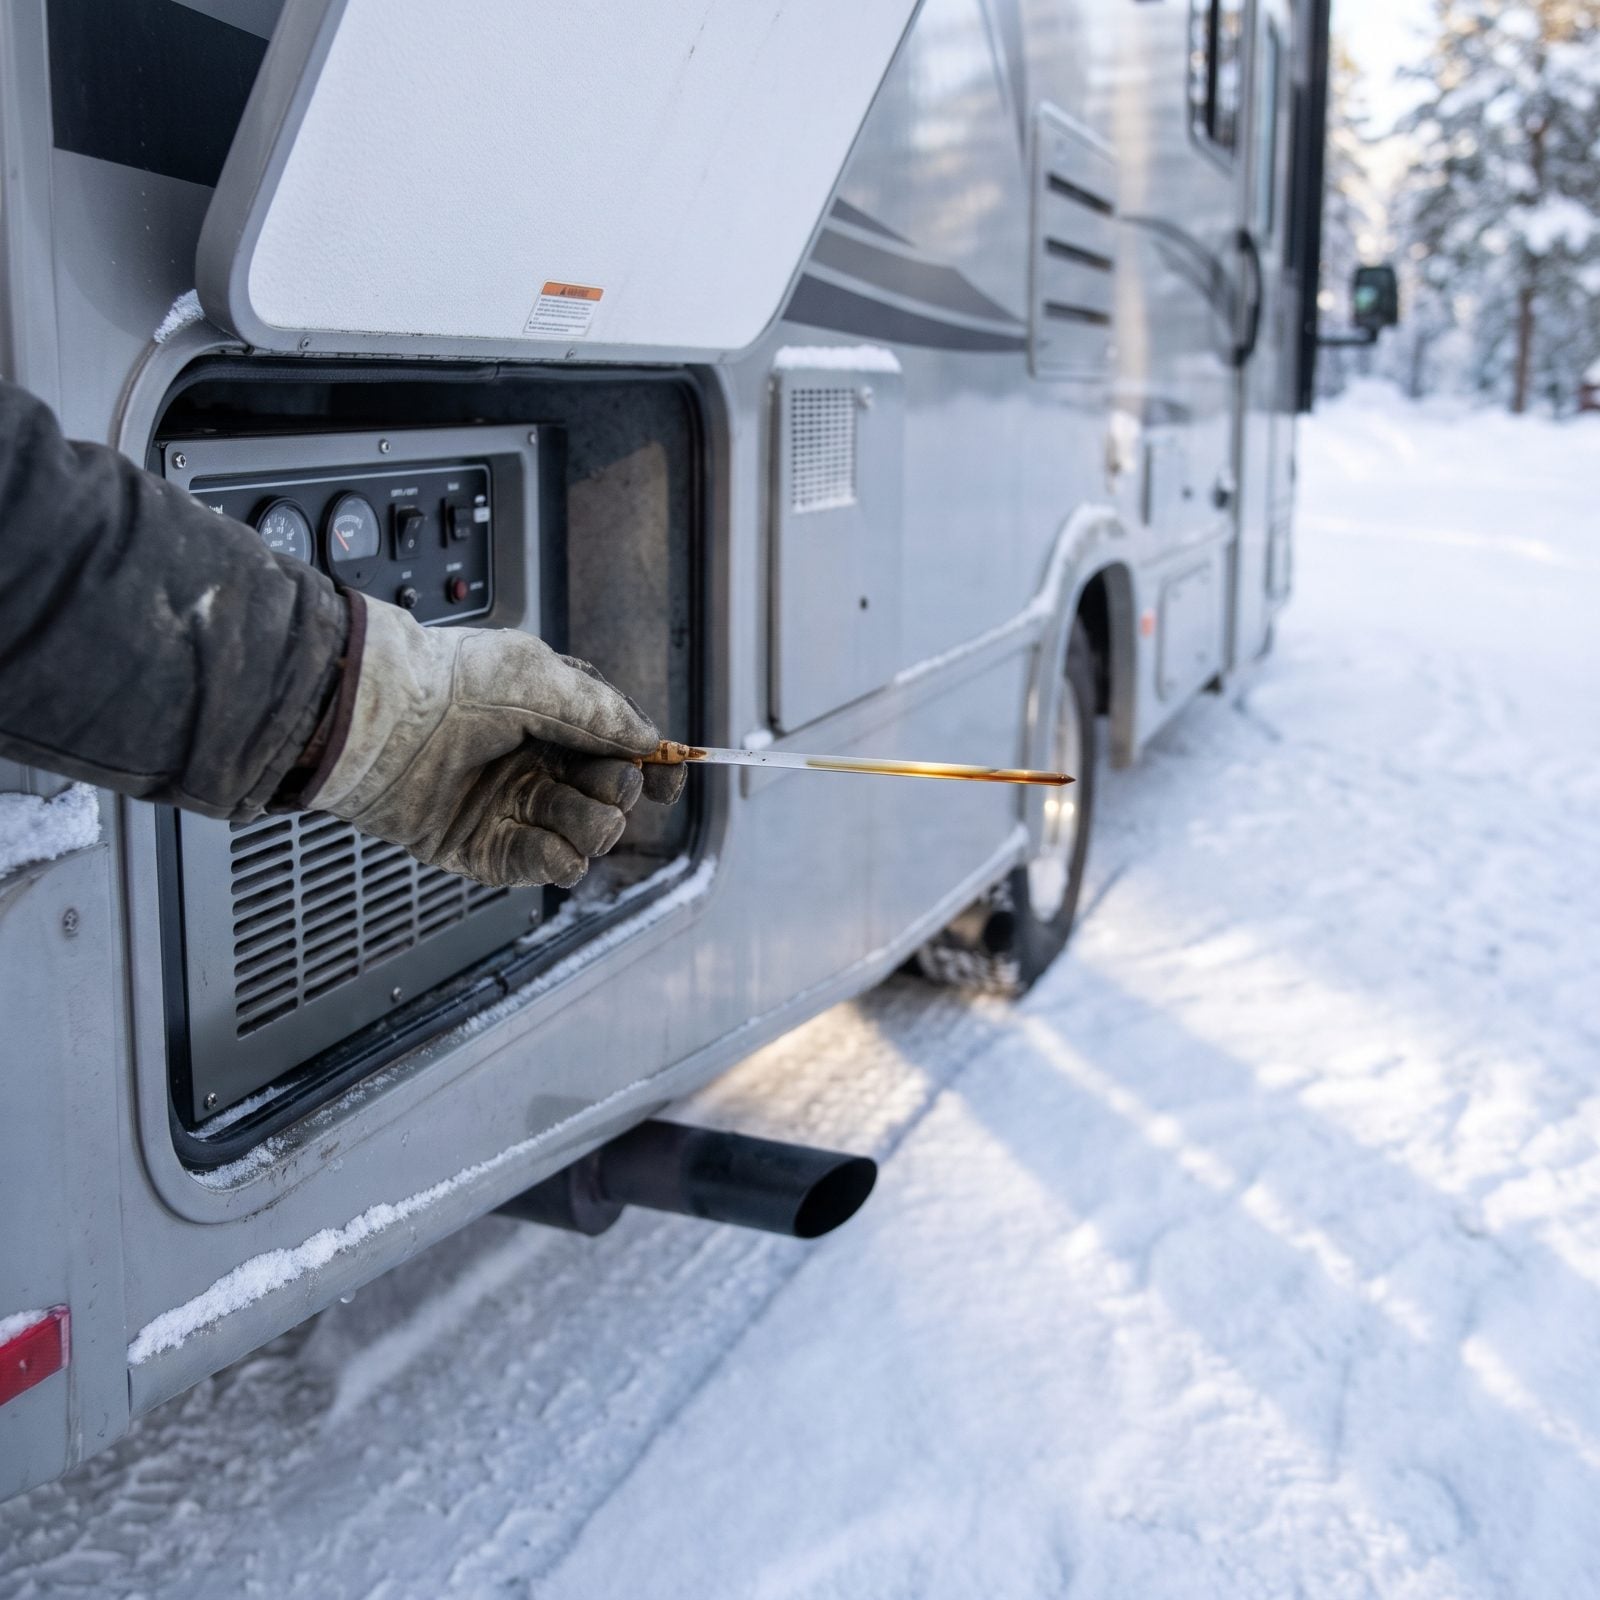
Generators that sat idle all summer get temperamental in the cold. Thick oil, a weak starting battery, and stale fuel all gang up on a January morning, and the time to discover that is in your own driveway — not at a boondocking spot with a frozen water tank.
Run it under a real load, not just idle. Flip on the furnace and a couple of outlets and let it carry weight for a solid fifteen or twenty minutes. Check the oil first, though, since cold thickens it and a low level bites harder in winter.
And the obvious one that bears repeating: only run it outside, with the exhaust pointed away from your rig and your neighbors. Never while parked in an enclosed space. Carbon monoxide doesn’t care how careful you usually are.
27. Replace Damaged Door Weatherstripping
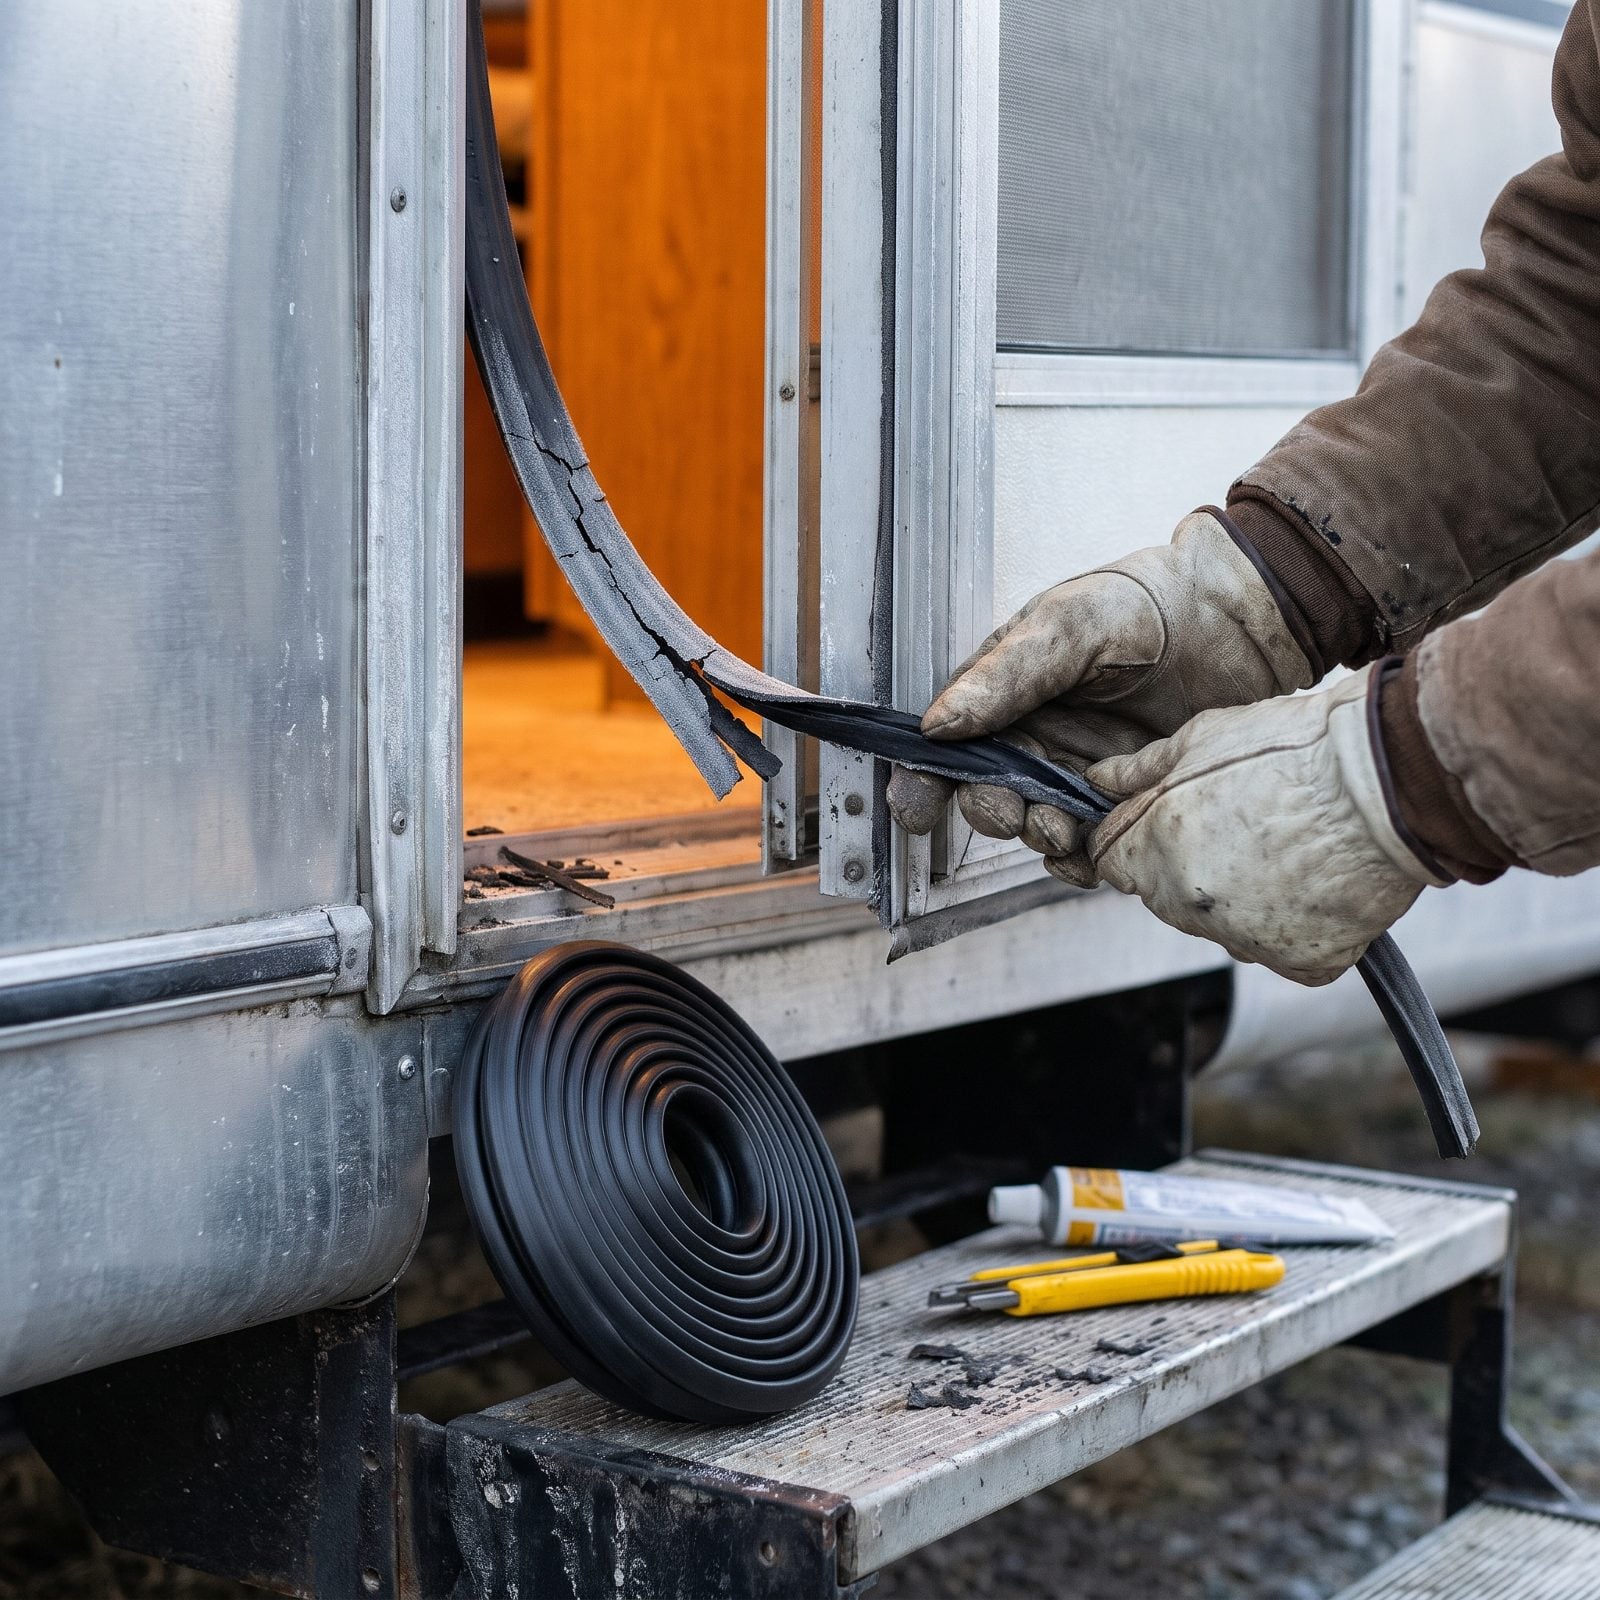
You feel this one before you see it. Sit inside on a cold night and run your hand slowly around the door edge. Where the cold streams in, the seal has quit.
Old weatherstripping goes hard, cracks, and flattens until it stops doing its one job. A finger-wide gap pours heat out and can drop the whole cabin a few degrees, which means your furnace runs more, which means your batteries drain faster. It all connects.
Peel off the old stuff, clean the frame, press on new bulb-type seal. Twenty minutes, a few bucks, done.
26. Check Exterior Compartment Seals
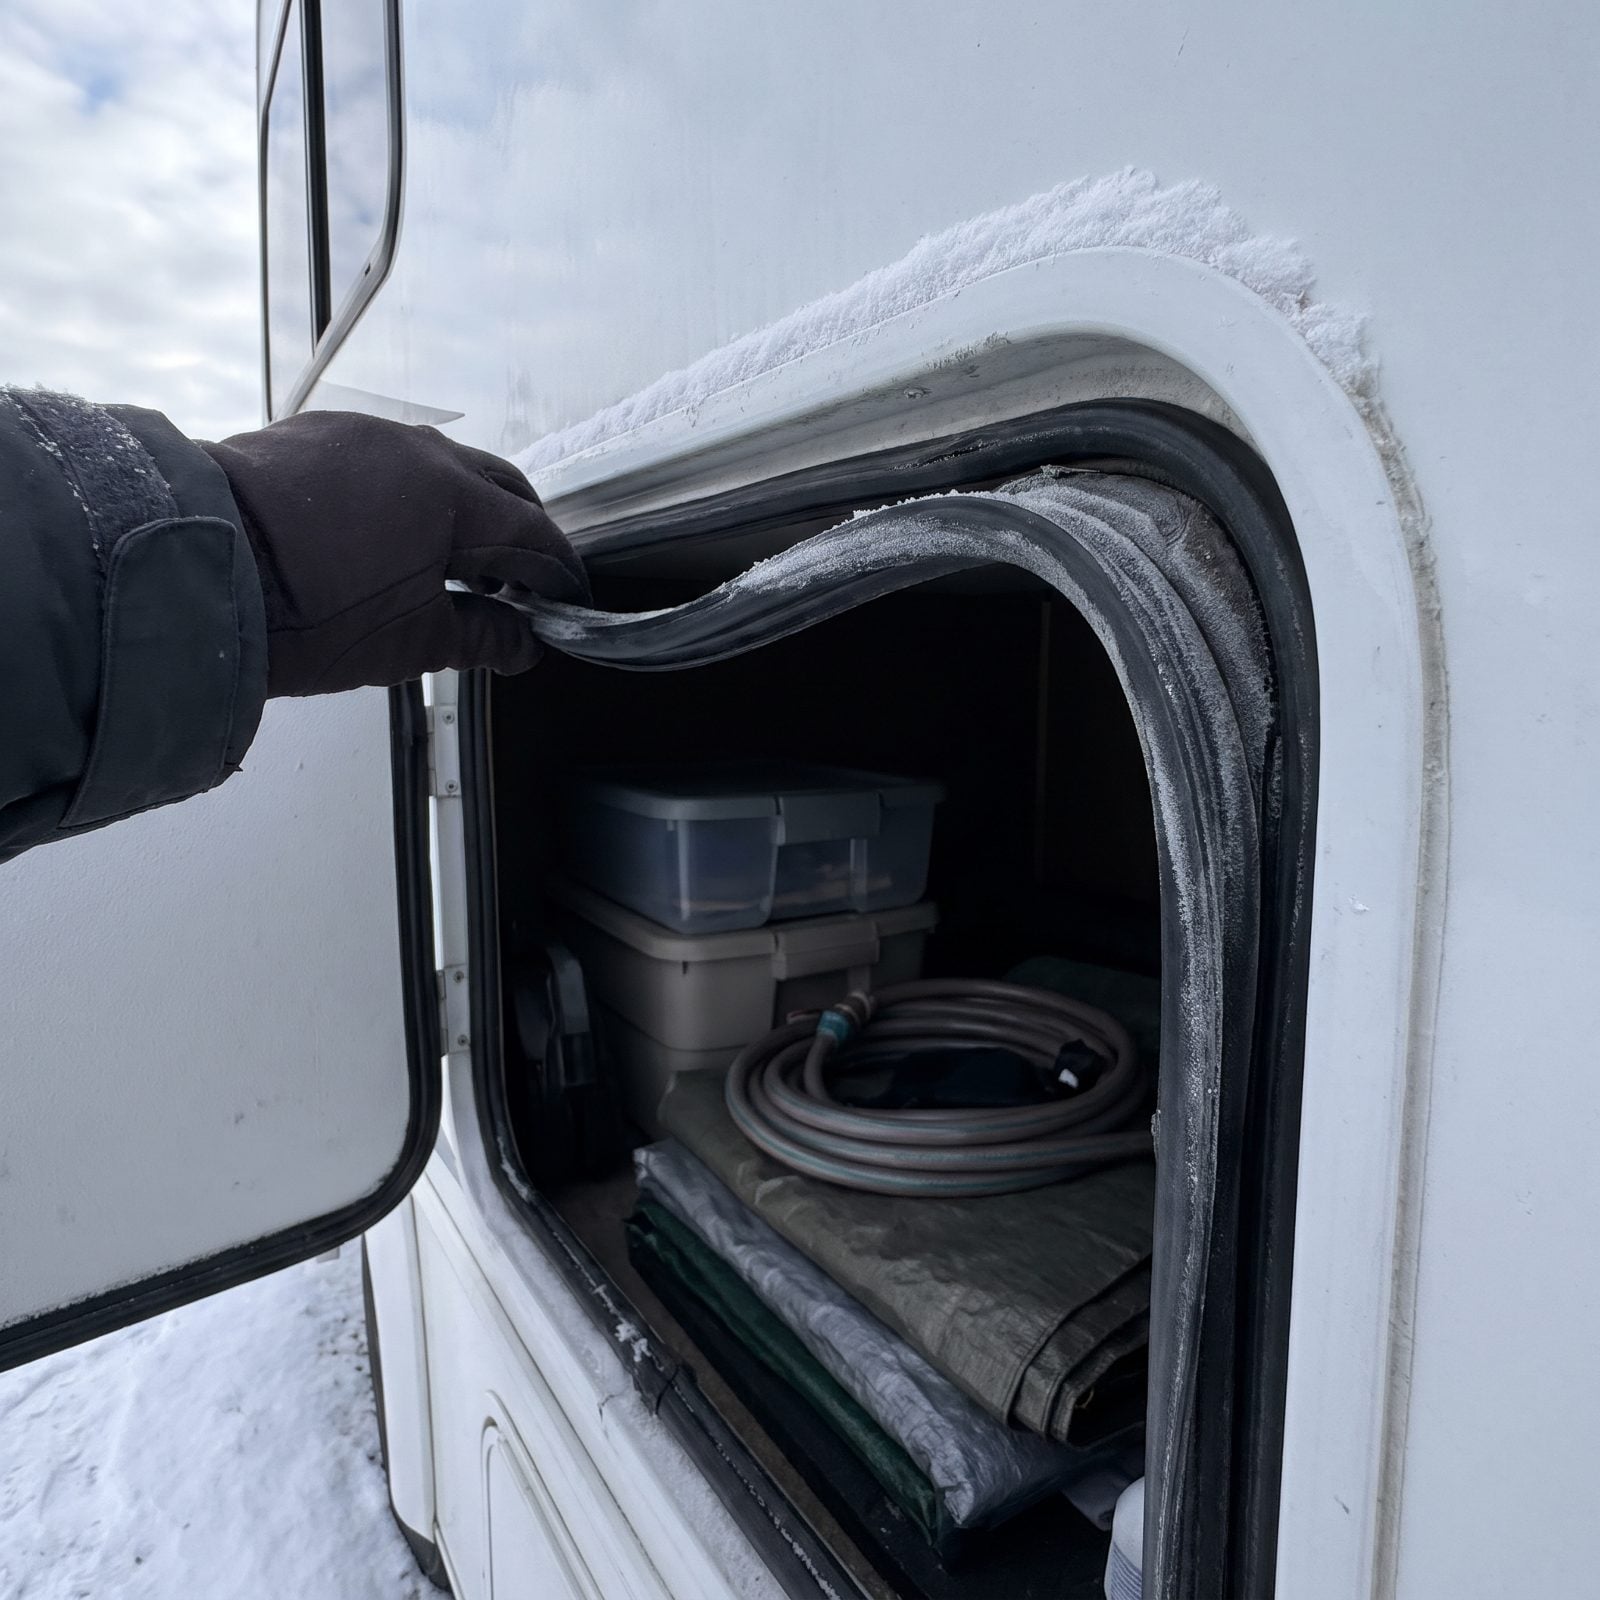
The basement bays are easy to forget, since you only crack them open to grab the leveling blocks. But in winter they matter more. A lot of RVs route water lines and tanks through those same spaces, and a bay that lets in cold air lets in freeze risk right alongside it.
Run a finger around each gasket, hunting for compressed, cracked, or missing sections where the seal no longer touches the door. Here’s a quick trick: shut the door on a sheet of paper and pull. Drag is good. Easy slide means a gap.
While you’re in there, give the hinges and latches a shot of dry lube. Cold stiffens everything, and a latch that won’t close is a bay that won’t seal.
25. Test the Fresh-Tank Heater
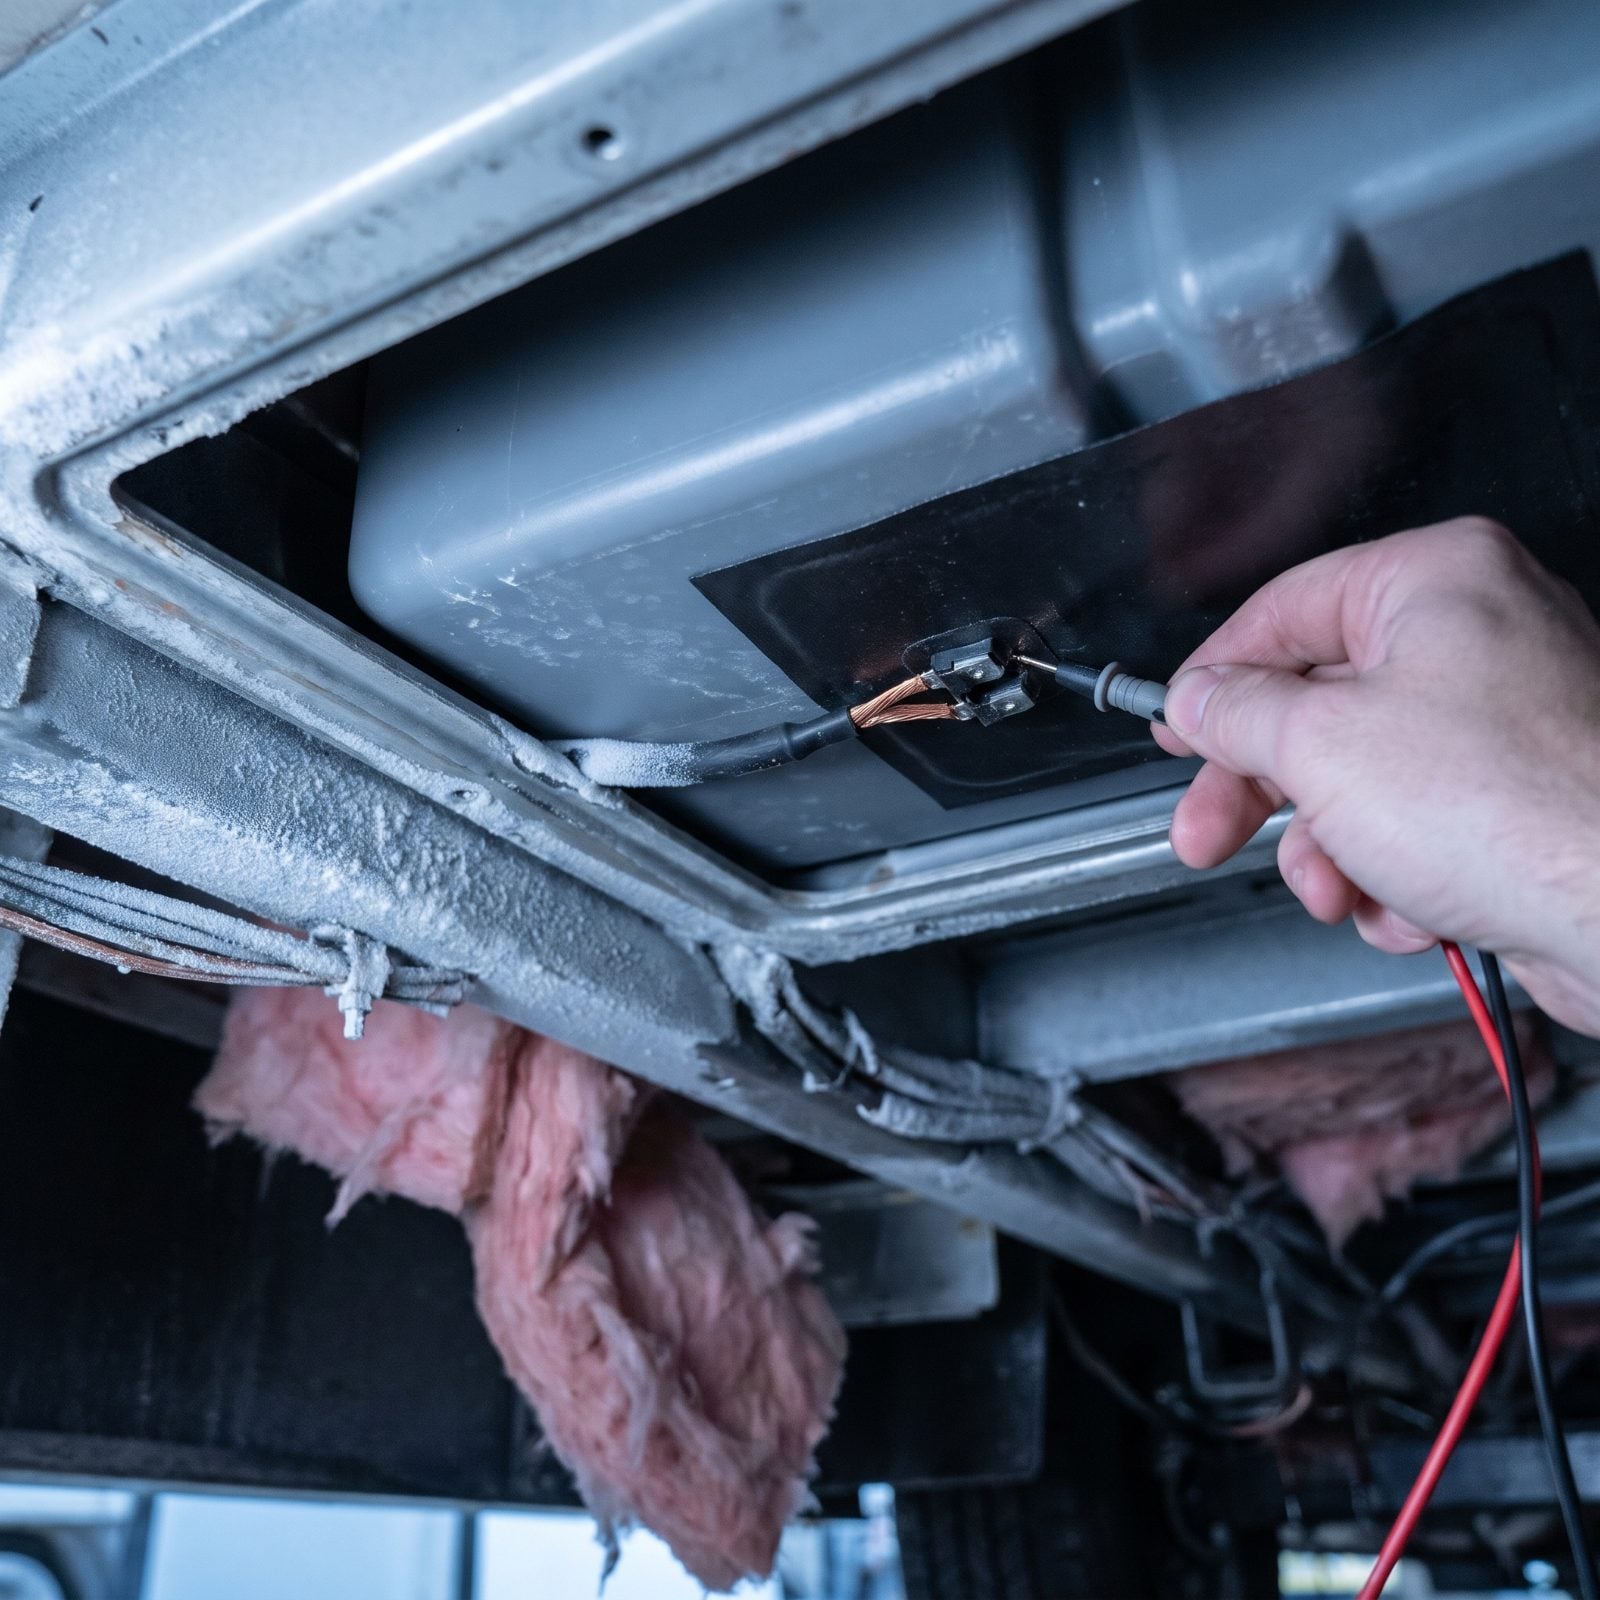
If your rig came with tank heaters, winter is the week they stop being optional. A frozen fresh tank is a dry trip at best. At worst it’s a cracked tank and a repair bill that wrecks the holiday.
Switch the heater on, wait twenty minutes, then feel the tank bottom or the lines near the pad. Warmth means it’s working. Nothing means a blown fuse, a bad pad, or a switch that’s lying to you. A multimeter at the connector settles the question fast.
Most of these run off your house batteries, and they draw hard. One more reason that battery check earlier in this list isn’t optional either.
24. Insulate Exposed Plumbing Lines
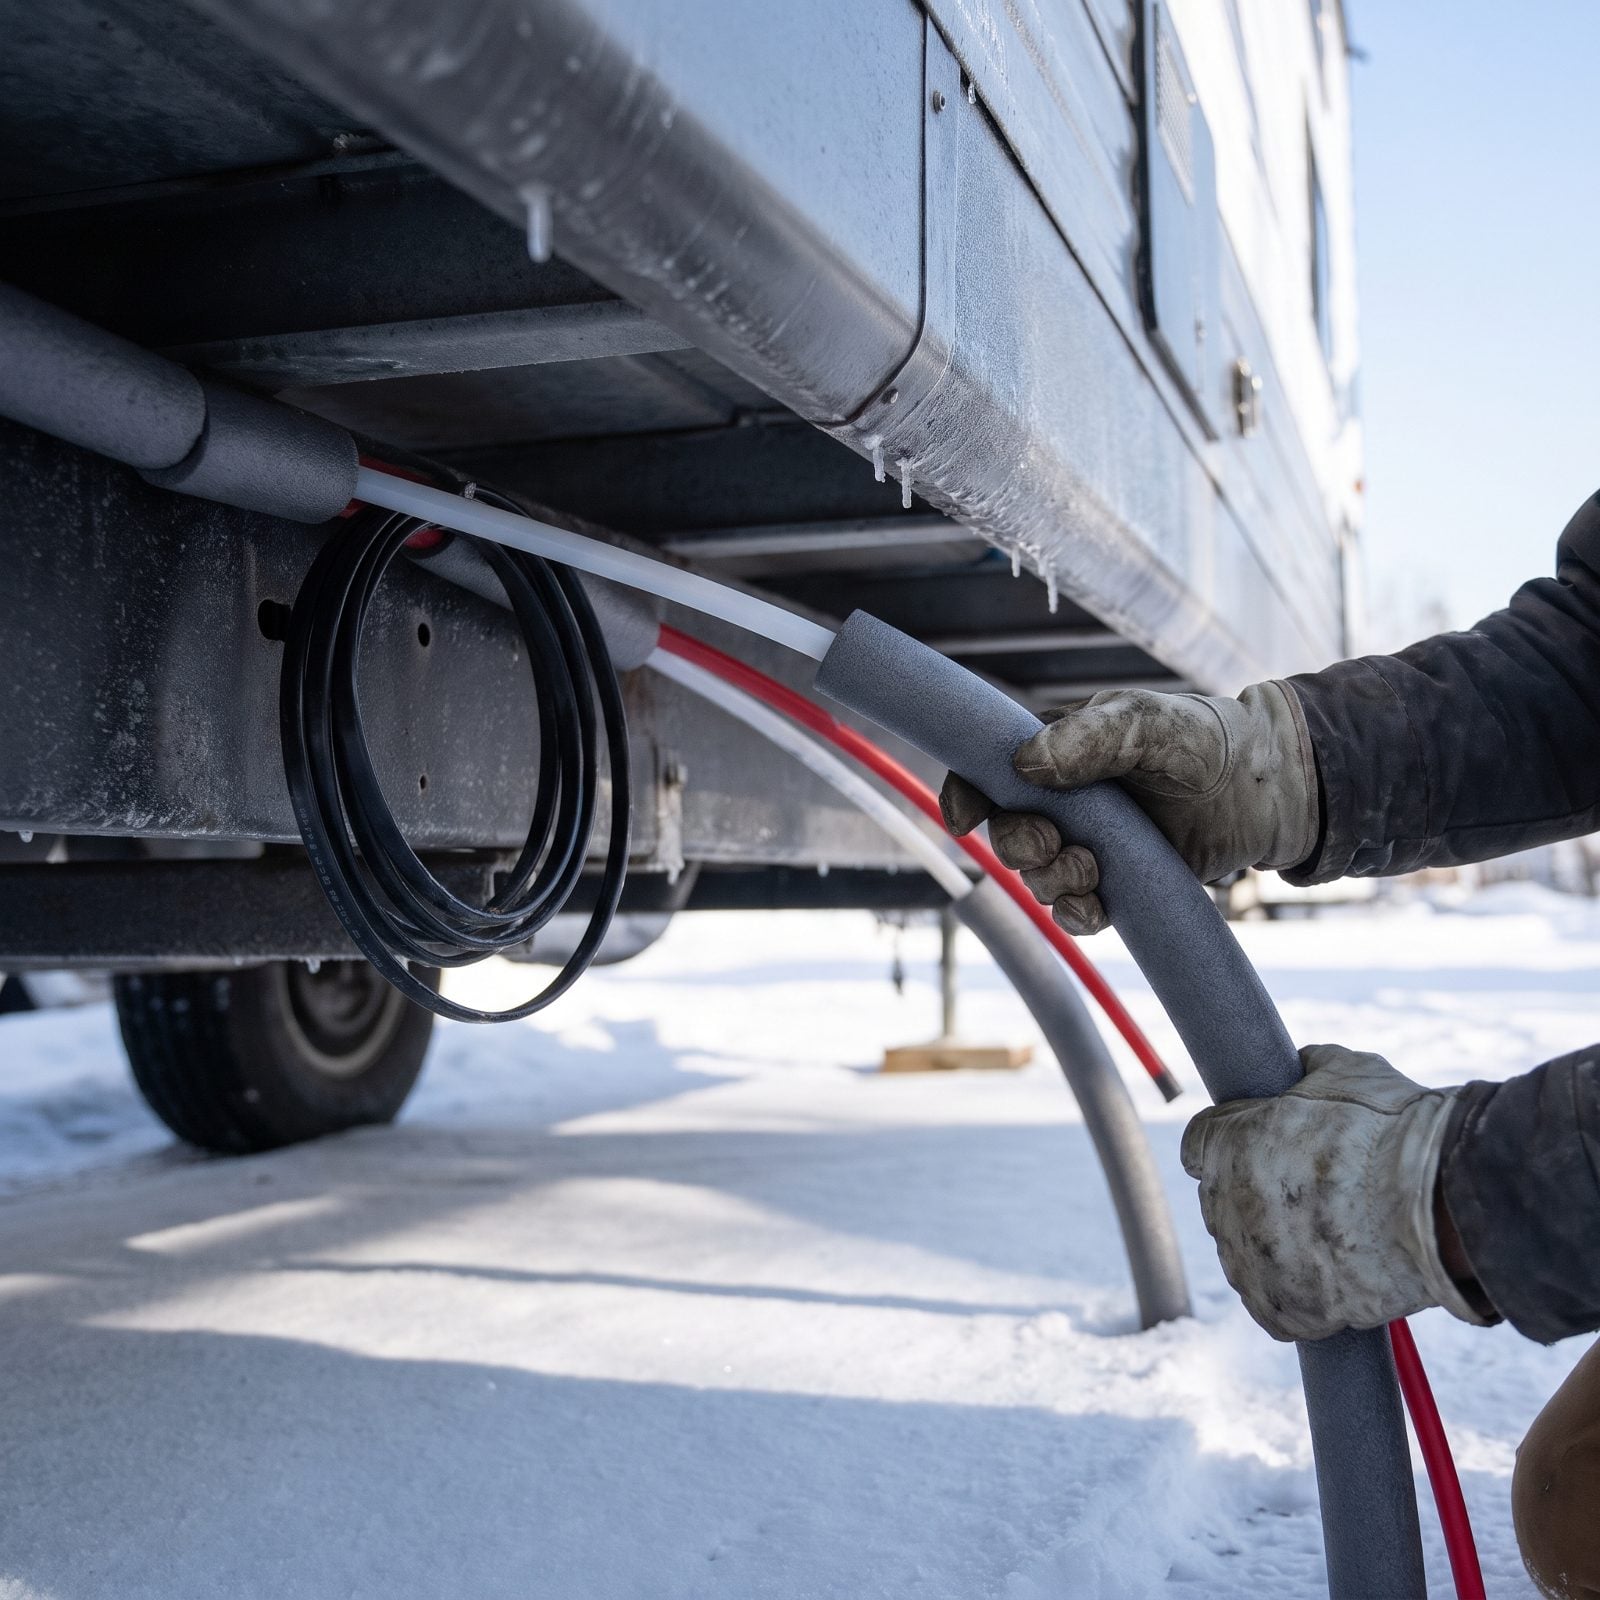
The water heater and tanks get all the attention, but it’s the skinny exposed runs of pipe between them that freeze first. Wind finds them, they hold almost no volume, and a solid plug of ice can split a line in a single still, cold night.
Sleeve every exposed line you can reach with foam pipe insulation, then tape the seams. For the runs fully out in the weather, add self-regulating heat tape underneath the foam — it only draws power when things get cold, so it won’t bleed your batteries the rest of the time.
Don’t forget the low point drains and the external shower lines. Those stub ends are the first casualties. I’ve replaced more than one after learning that lesson the expensive way.
23. Test the Heated Water Hose
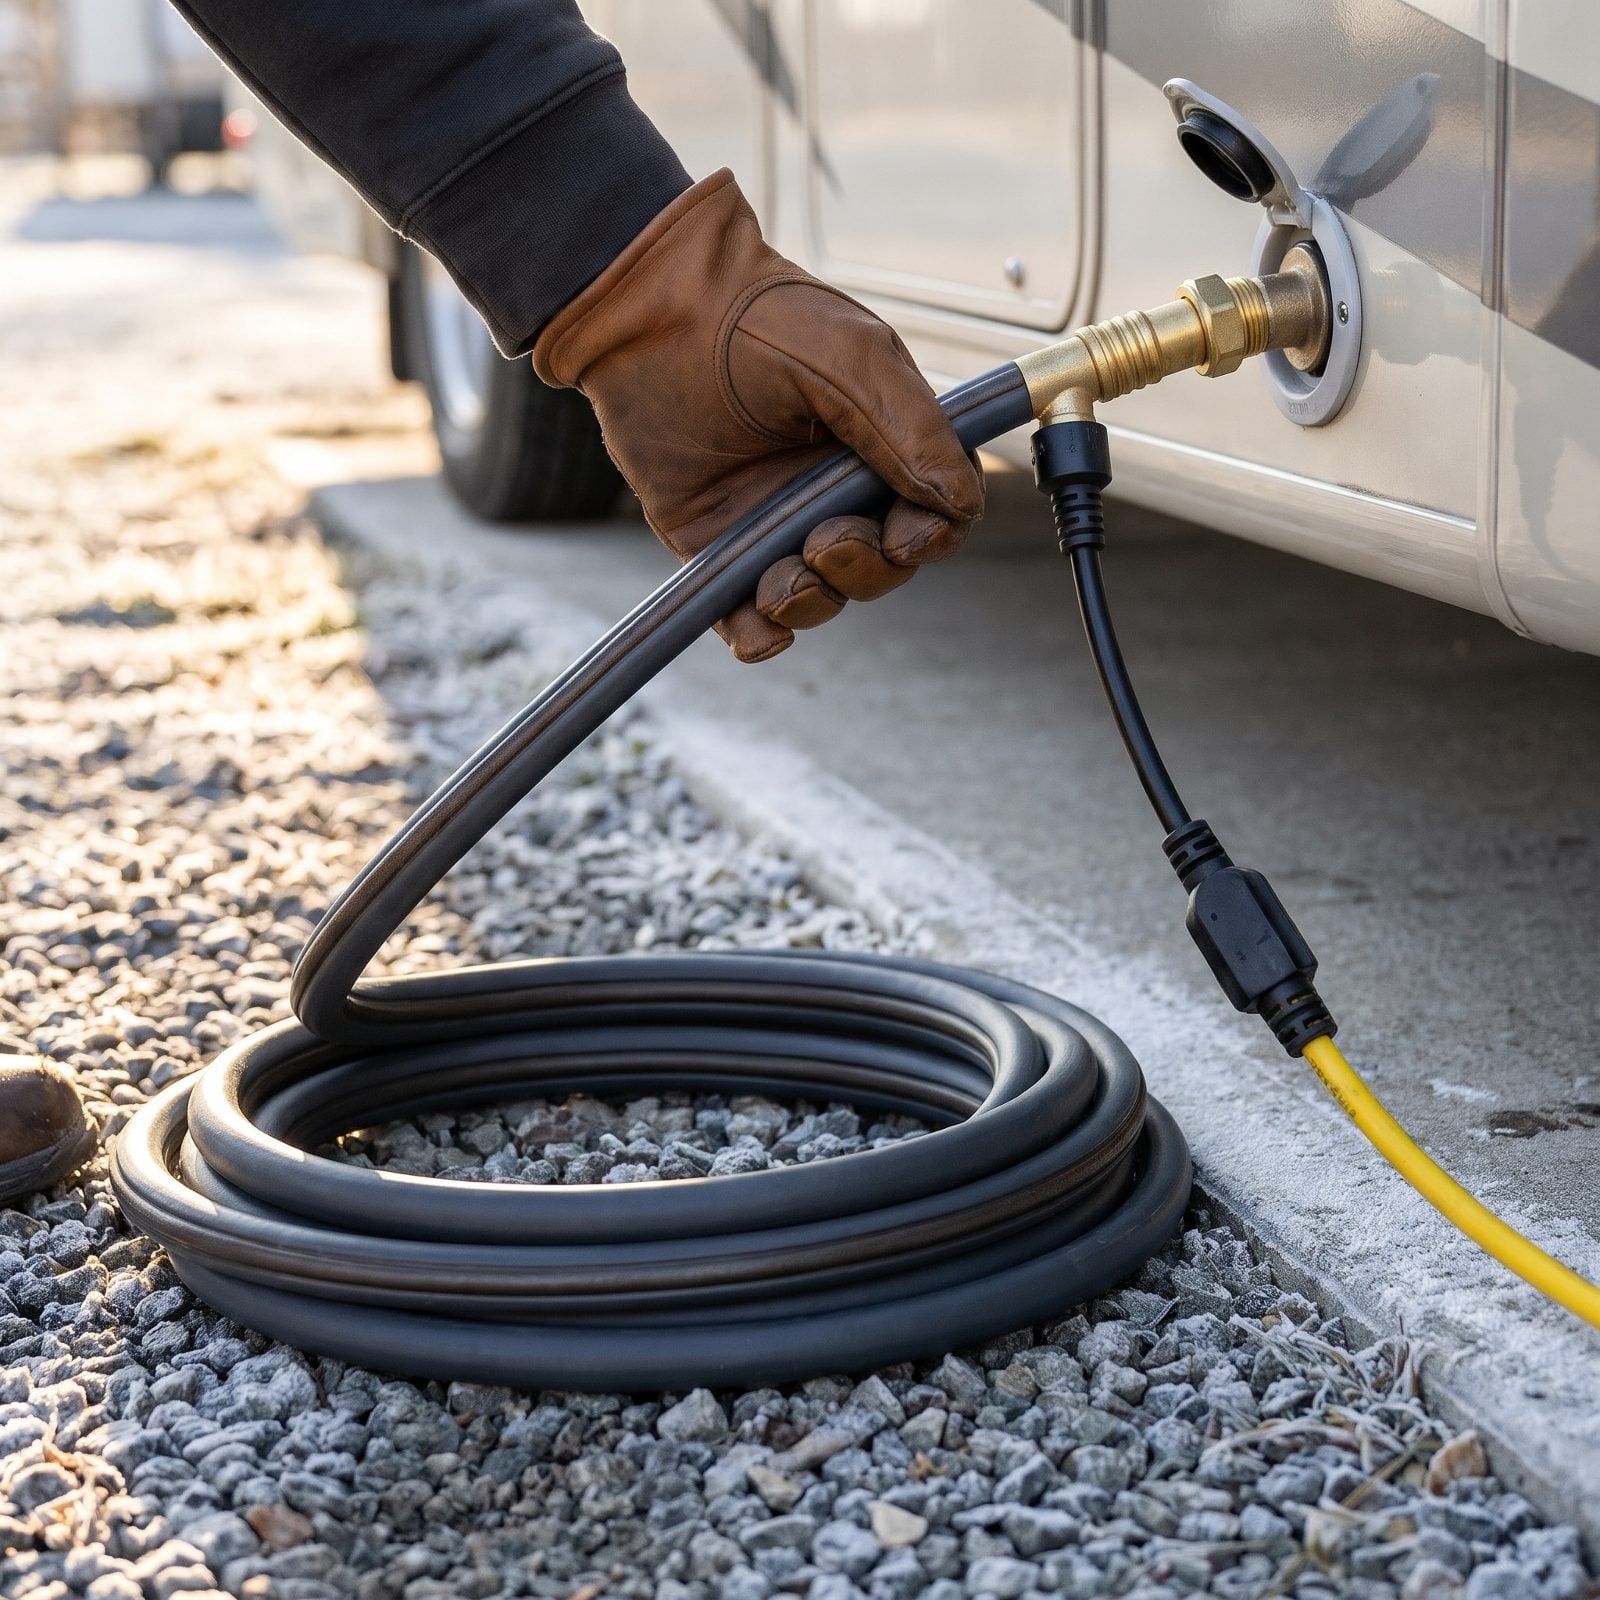
A heated hose that worked fine last February can quit on you without a single warning. The element breaks somewhere inside the jacket, you plug it in, nothing happens, and you don’t find out until the first hard freeze splits your line at three in the morning. Test it as soon as you hook up at the site, before the overnight freeze arrives.
Connect it to the pedestal spigot, plug it into the outlet, wait fifteen minutes, then run your gloved hand down the full length. You’re feeling for even warmth. No dead stretches, no hot spots that signal a failing element. Flex the hose near both end fittings too — that’s where the wire cracks first, and the one spot people never check.
22. Pack an Insulated Pressure Regulator
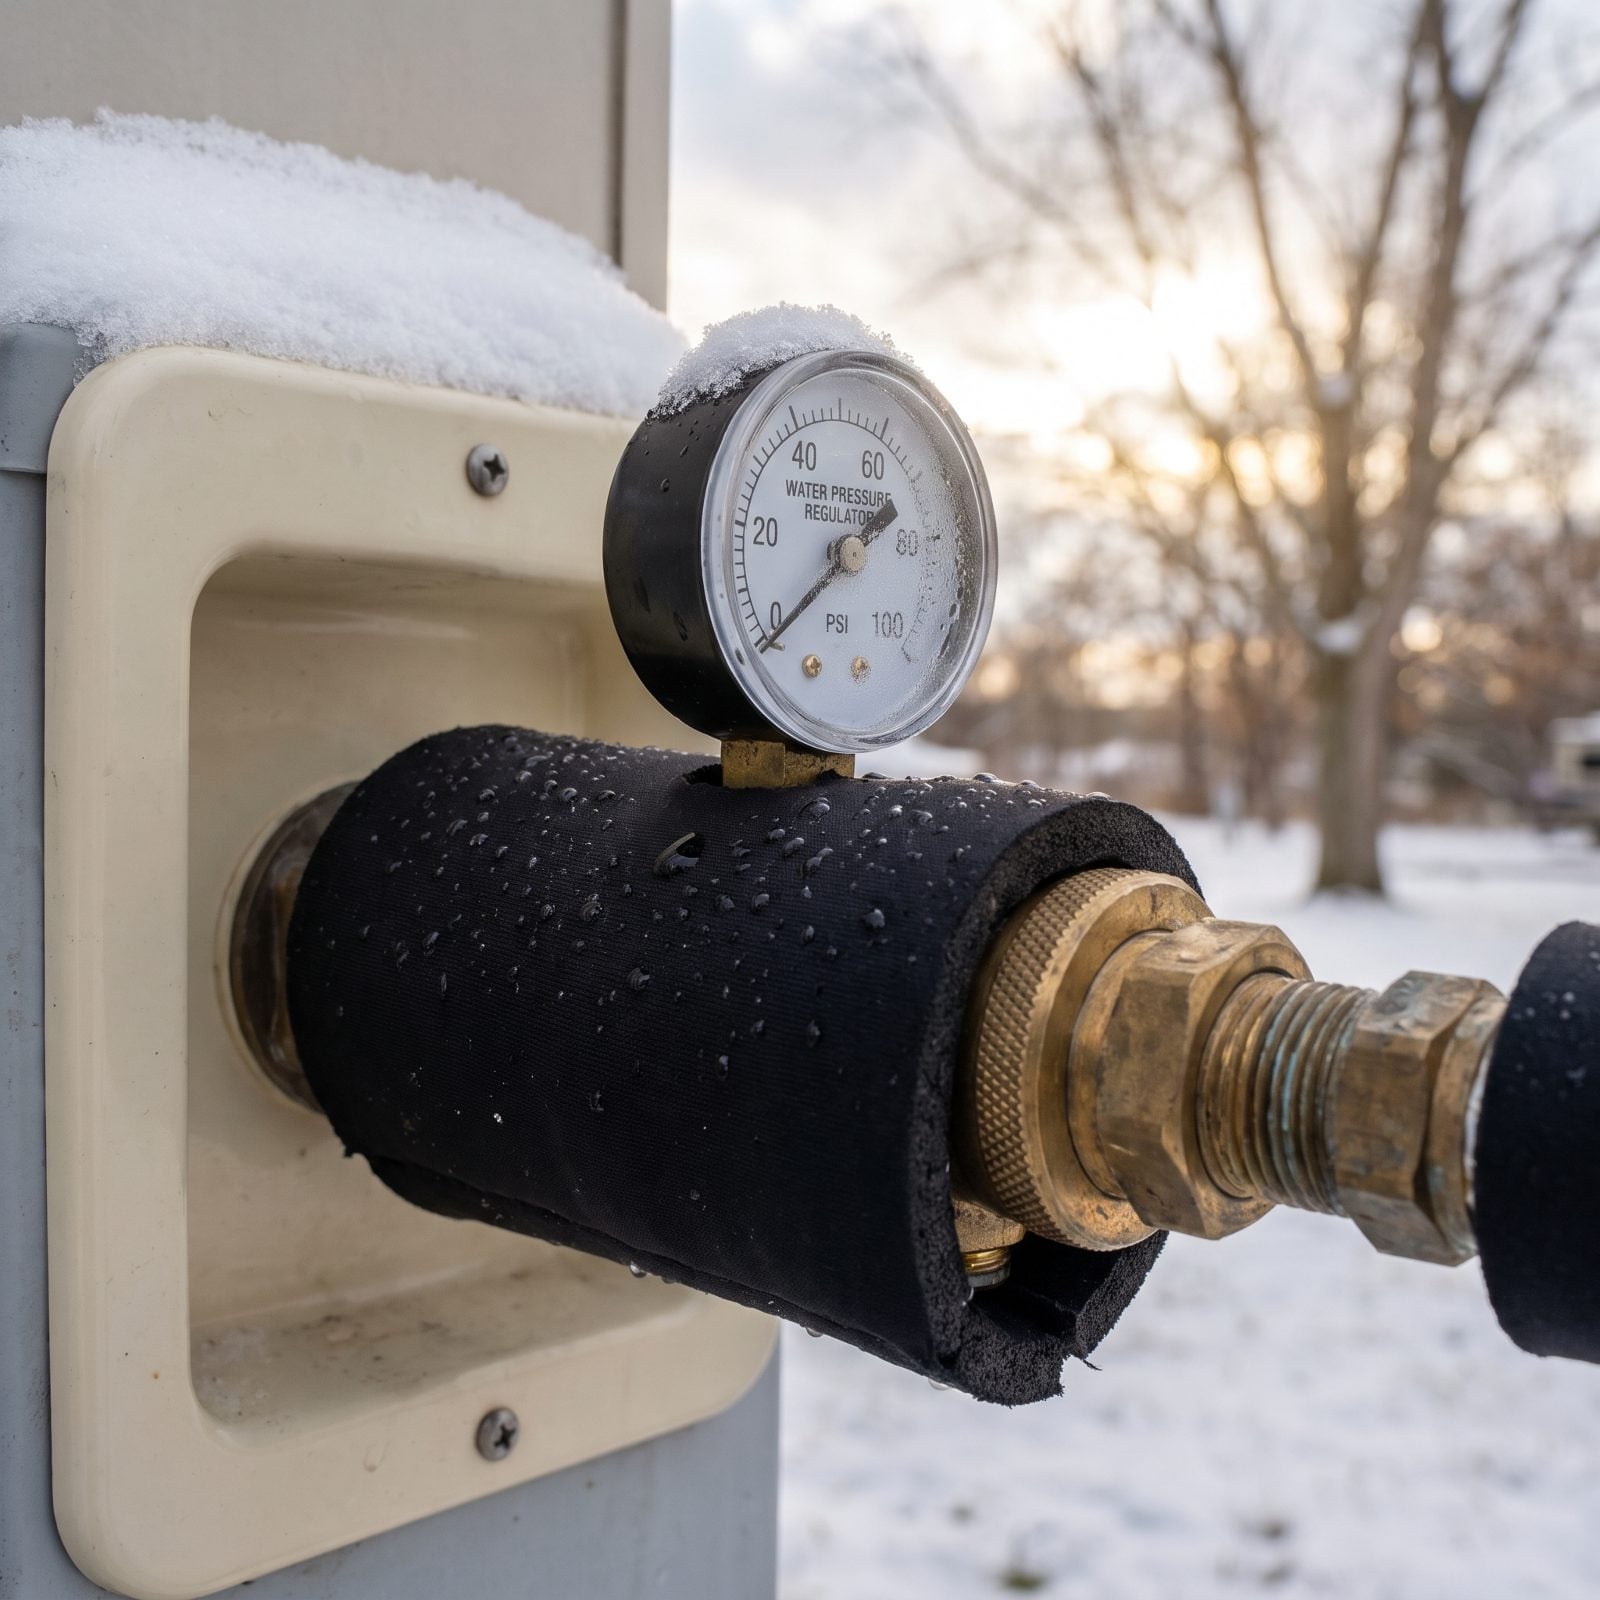
That little brass regulator is the part everyone forgets sits outside in the cold. Water pools in its chamber, freezes, and cracks the body — and now you’ve got a leak at the connection and a part most campground stores won’t stock in December.
A neoprene sleeve around the regulator body is a good start, but it leaves the brass fittings on the hose side bare, so wrap that fitting in foam pipe insulation too. Then check the gauge once you’re hooked up: if the needle sits outside the usual 40–60 PSI range, something’s off. Keep a backup regulator in the rig. They’re cheap, they fail quietly, and swapping one in a snowstorm is nobody’s idea of a holiday.
21. Test-Fit the RV Skirting
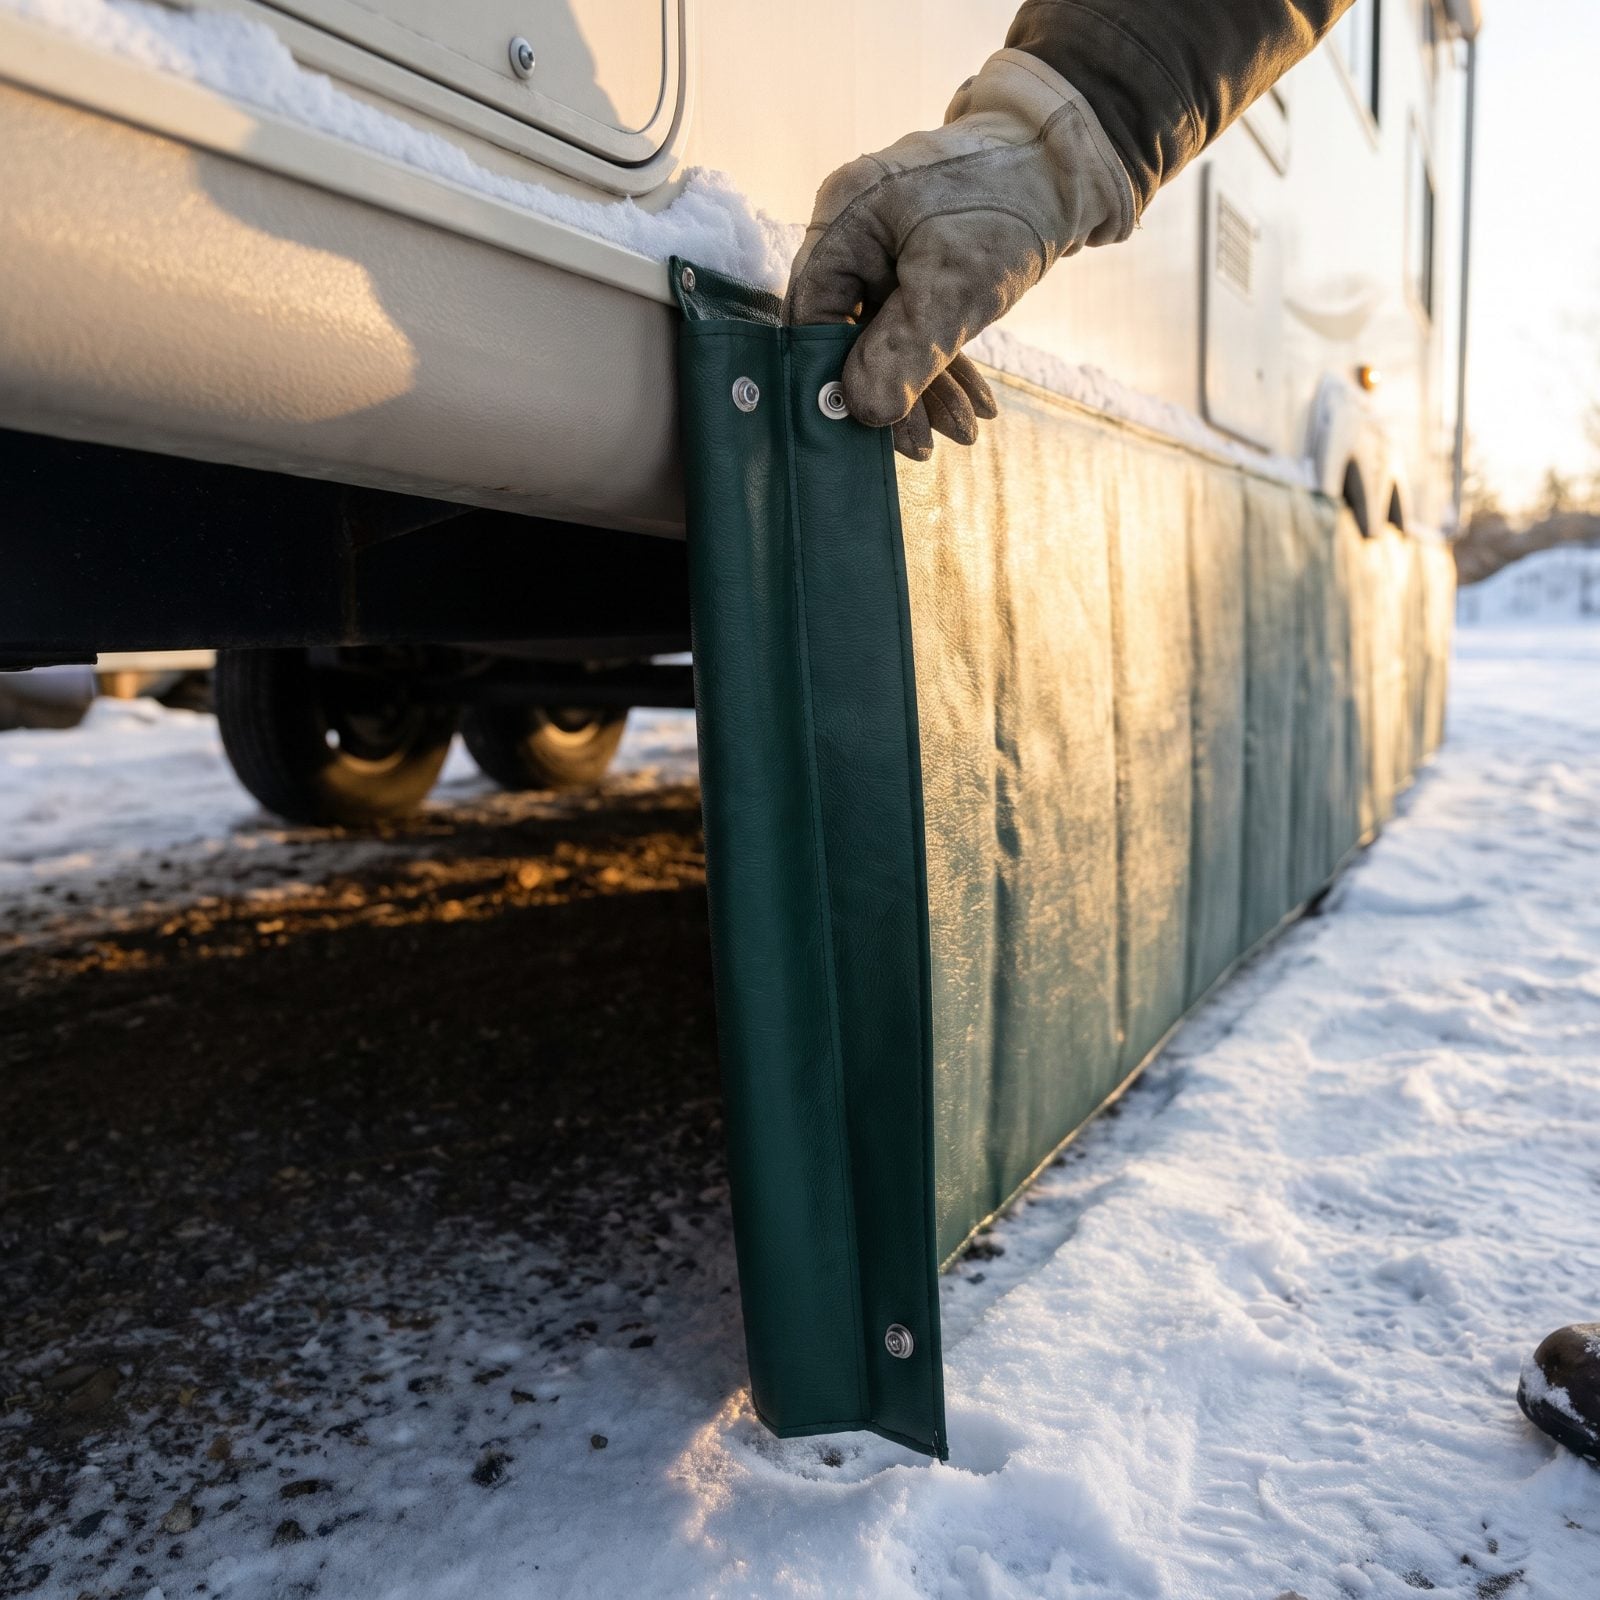
Skirting is the single biggest thing you can do to hold heat under an RV in winter. It traps a buffer of warmer air around your tanks, lines, and underbelly, and cuts the wind that would otherwise strip heat off everything plumbing-related.
Don’t wait until you’re parked on frozen ground to find out your snaps won’t line up or a panel runs short. Lay it all out at home, attach every fastener, and walk the perimeter looking for gaps where wind can funnel through. The corners especially — that’s where fit goes wrong and where the cold sneaks in.
20. Fit Insulated Roof-Vent Pillows
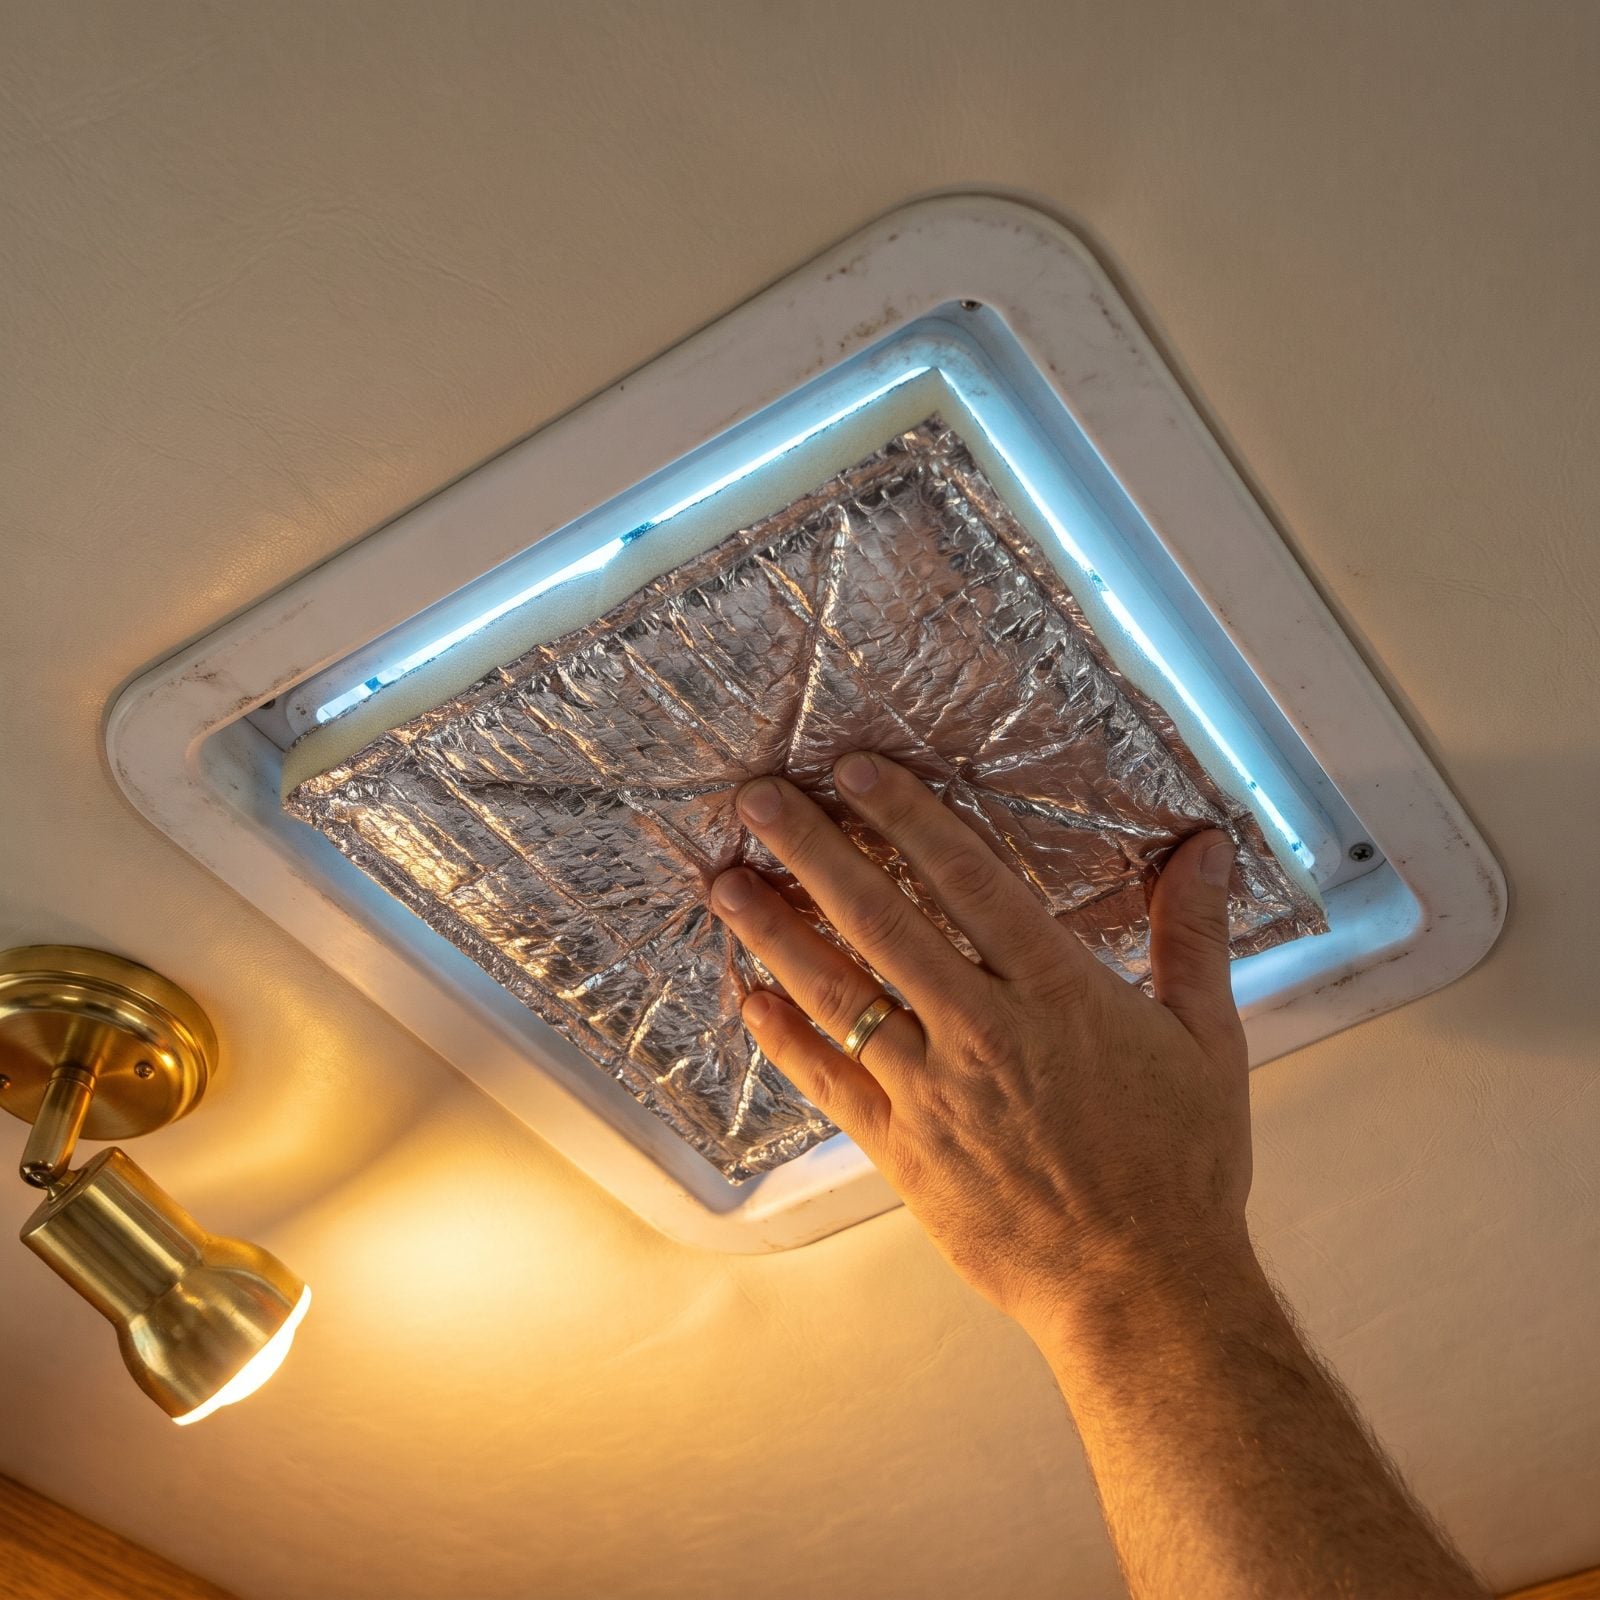
Heat rises, and your roof vents are the exit door. A standard RV vent is a thin plastic lid with almost no insulation value, so on a cold night you lose a surprising amount of warmth straight up through the ceiling — and get condensation dripping back down for your trouble.
Fit reflective insulated pillows into each opening and press firmly so the edges seal against the frame. Run your fingers around the perimeter, feeling for cold leaks. But don’t seal the whole rig airtight. Keep one vent slightly cracked or run your fan low for a few minutes a day, or you’ll wake up to wet windows and a damp mattress.
19. Add an Under-Mattress Airflow Layer
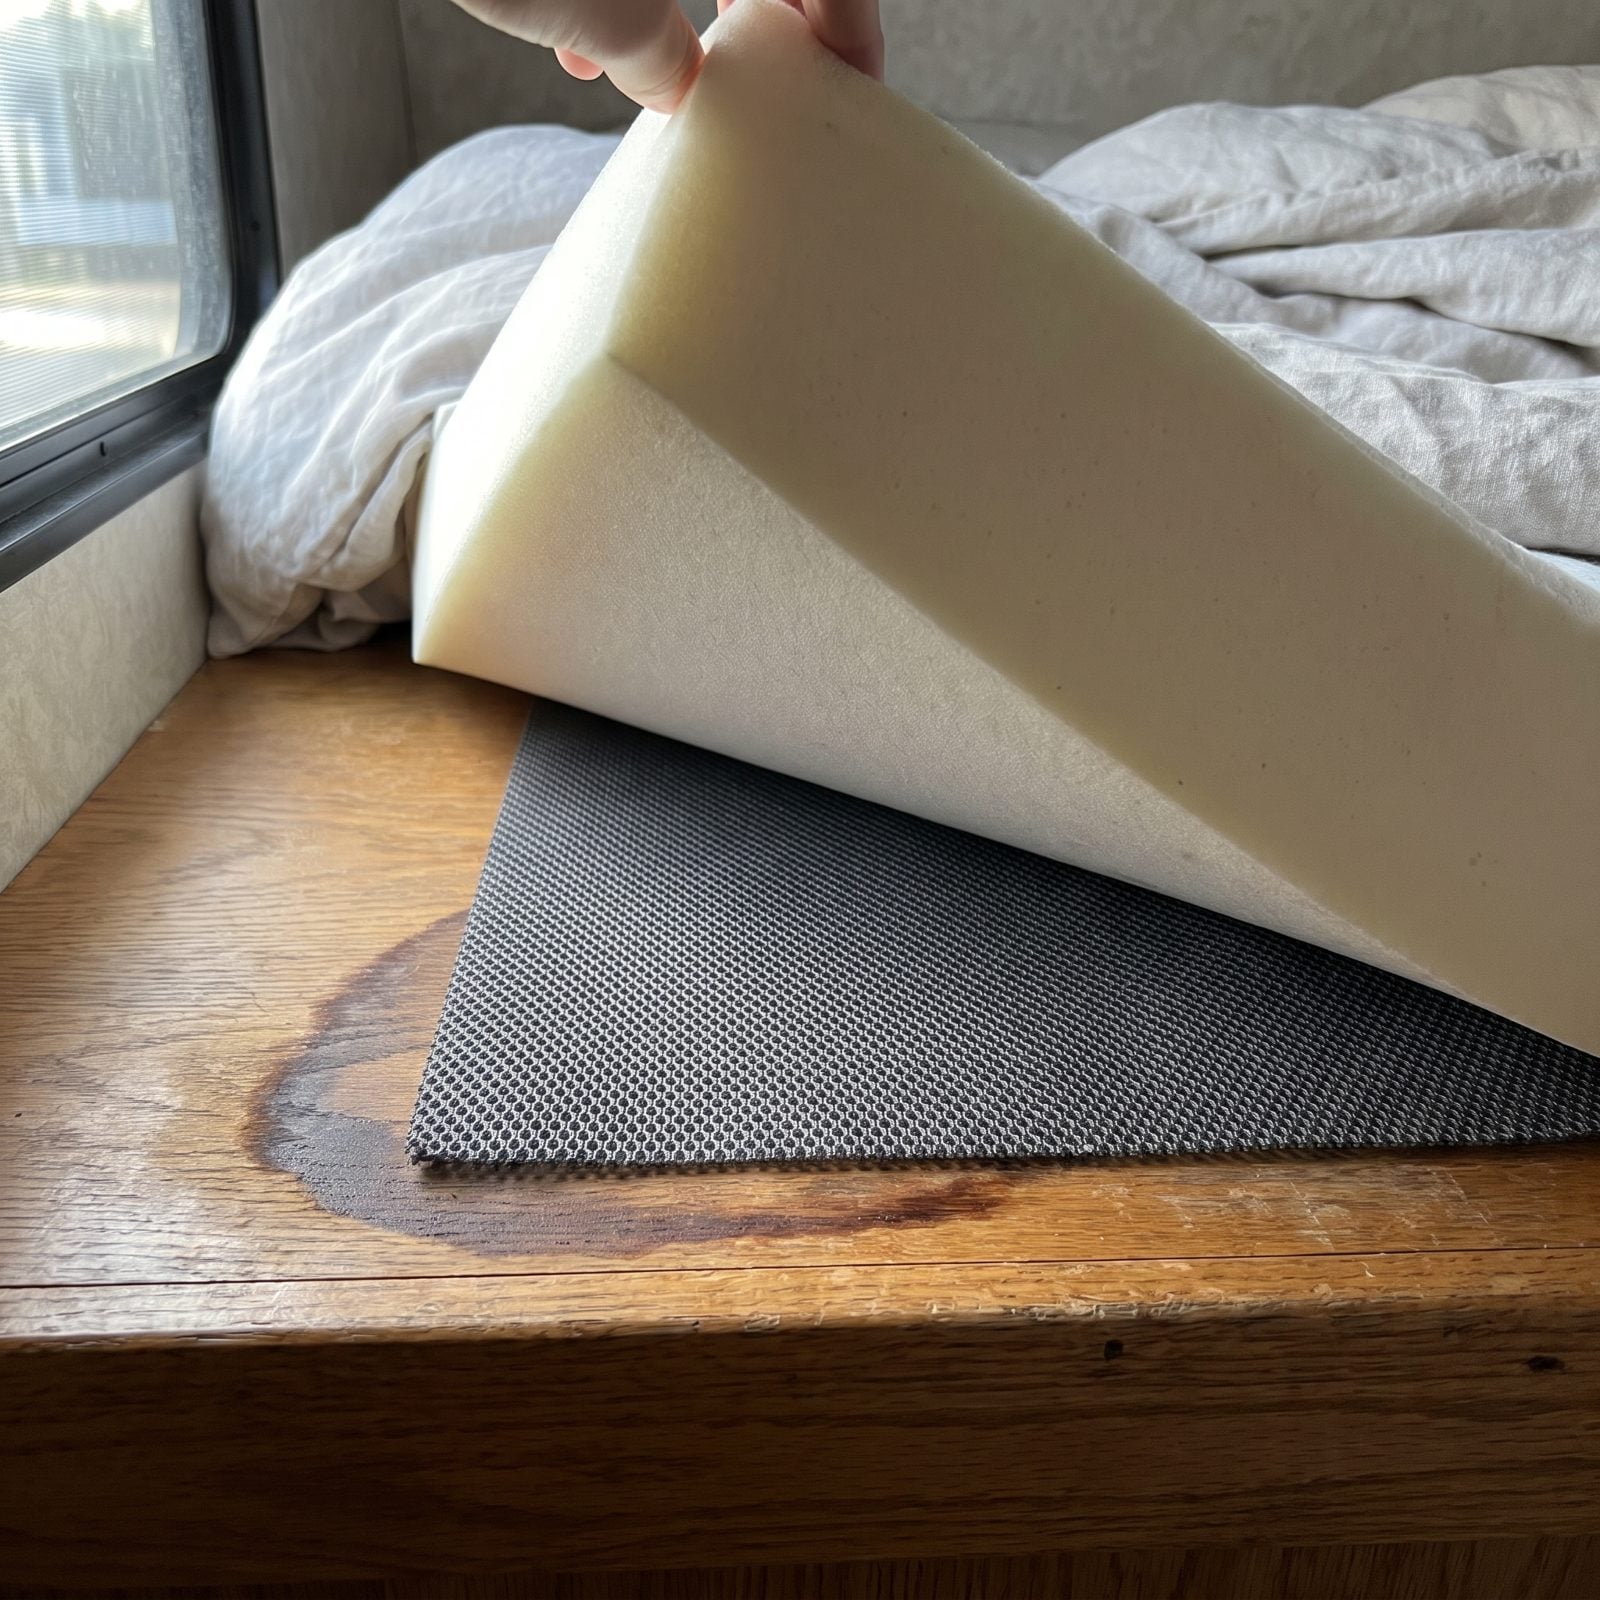
Almost nobody thinks about this one until they lift the mattress in spring and find black mould staring back. In cold weather, warm humid air from your body meets the cold platform under the mattress, and the moisture condenses right there with nowhere to go.
Slide a ventilated spacer mesh — the honeycomb kind — between the mattress and the base so air can move underneath. Before the trip, lift a corner and check the current platform for dark staining or a damp smell. If it’s already there, you’ve found your proof this matters.
18. Measure Every Tire’s Tread Depth
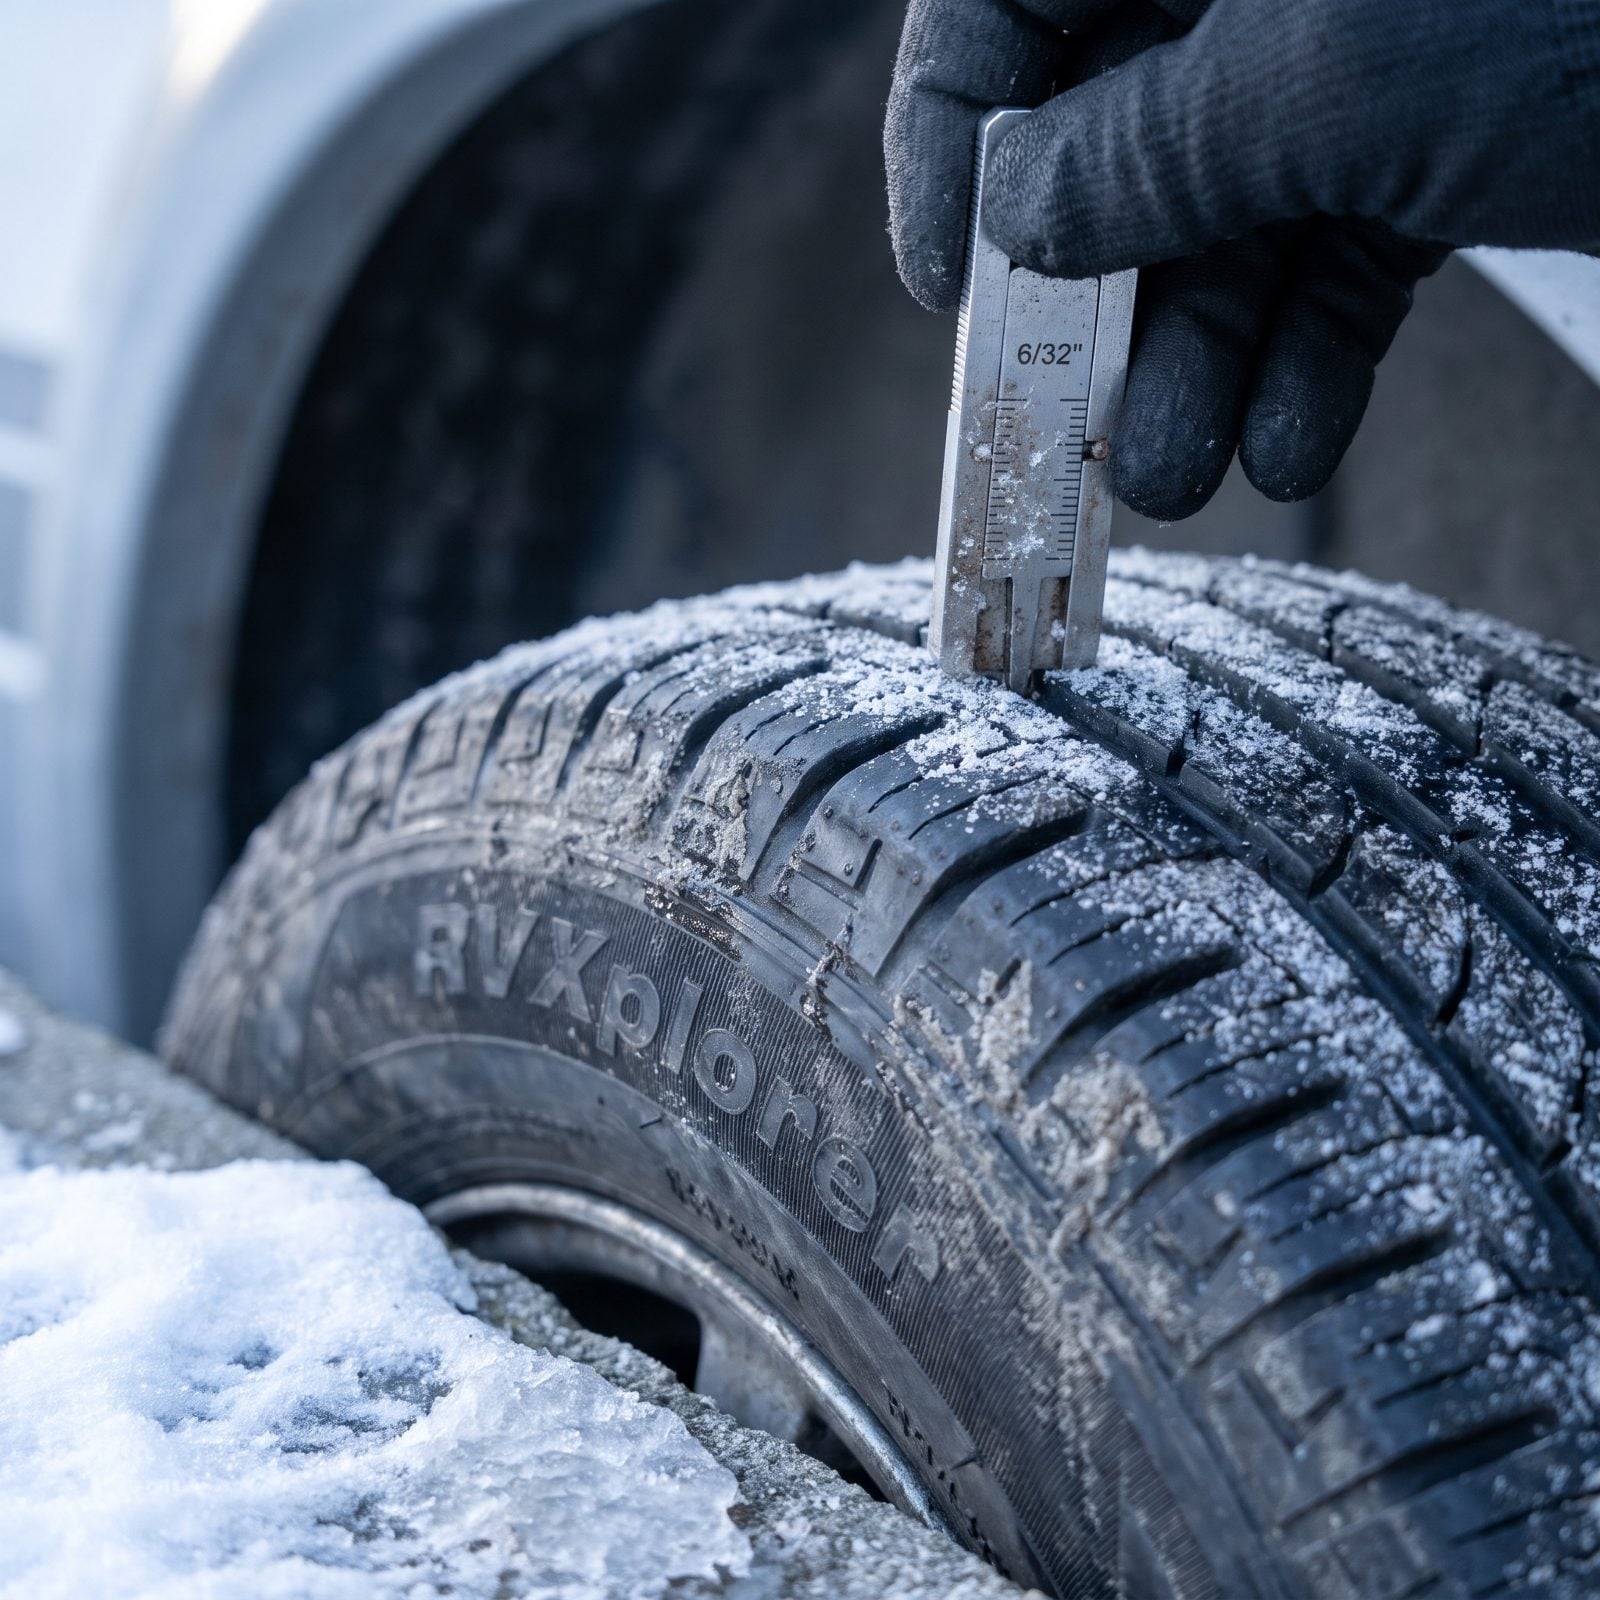
Winter is the worst time to learn your tires are done. Cold roads, wet slush, and the weight of a loaded RV all demand grip you simply don’t have on worn rubber. Bald tires on a frosty grade is how a holiday turns into a story you tell from a hospital bed.
Use a tread gauge on each tire, measuring at several points around and across, because tires wear unevenly. Anything near 4/32 of an inch is marginal for winter. And while you’re down there, hunt for sidewall cracks and read the DOT date code. RV tires often age out before they wear out — a six-year-old tire can look perfect and still be dangerous.
17. Test-Fit Tire Chains or Cables
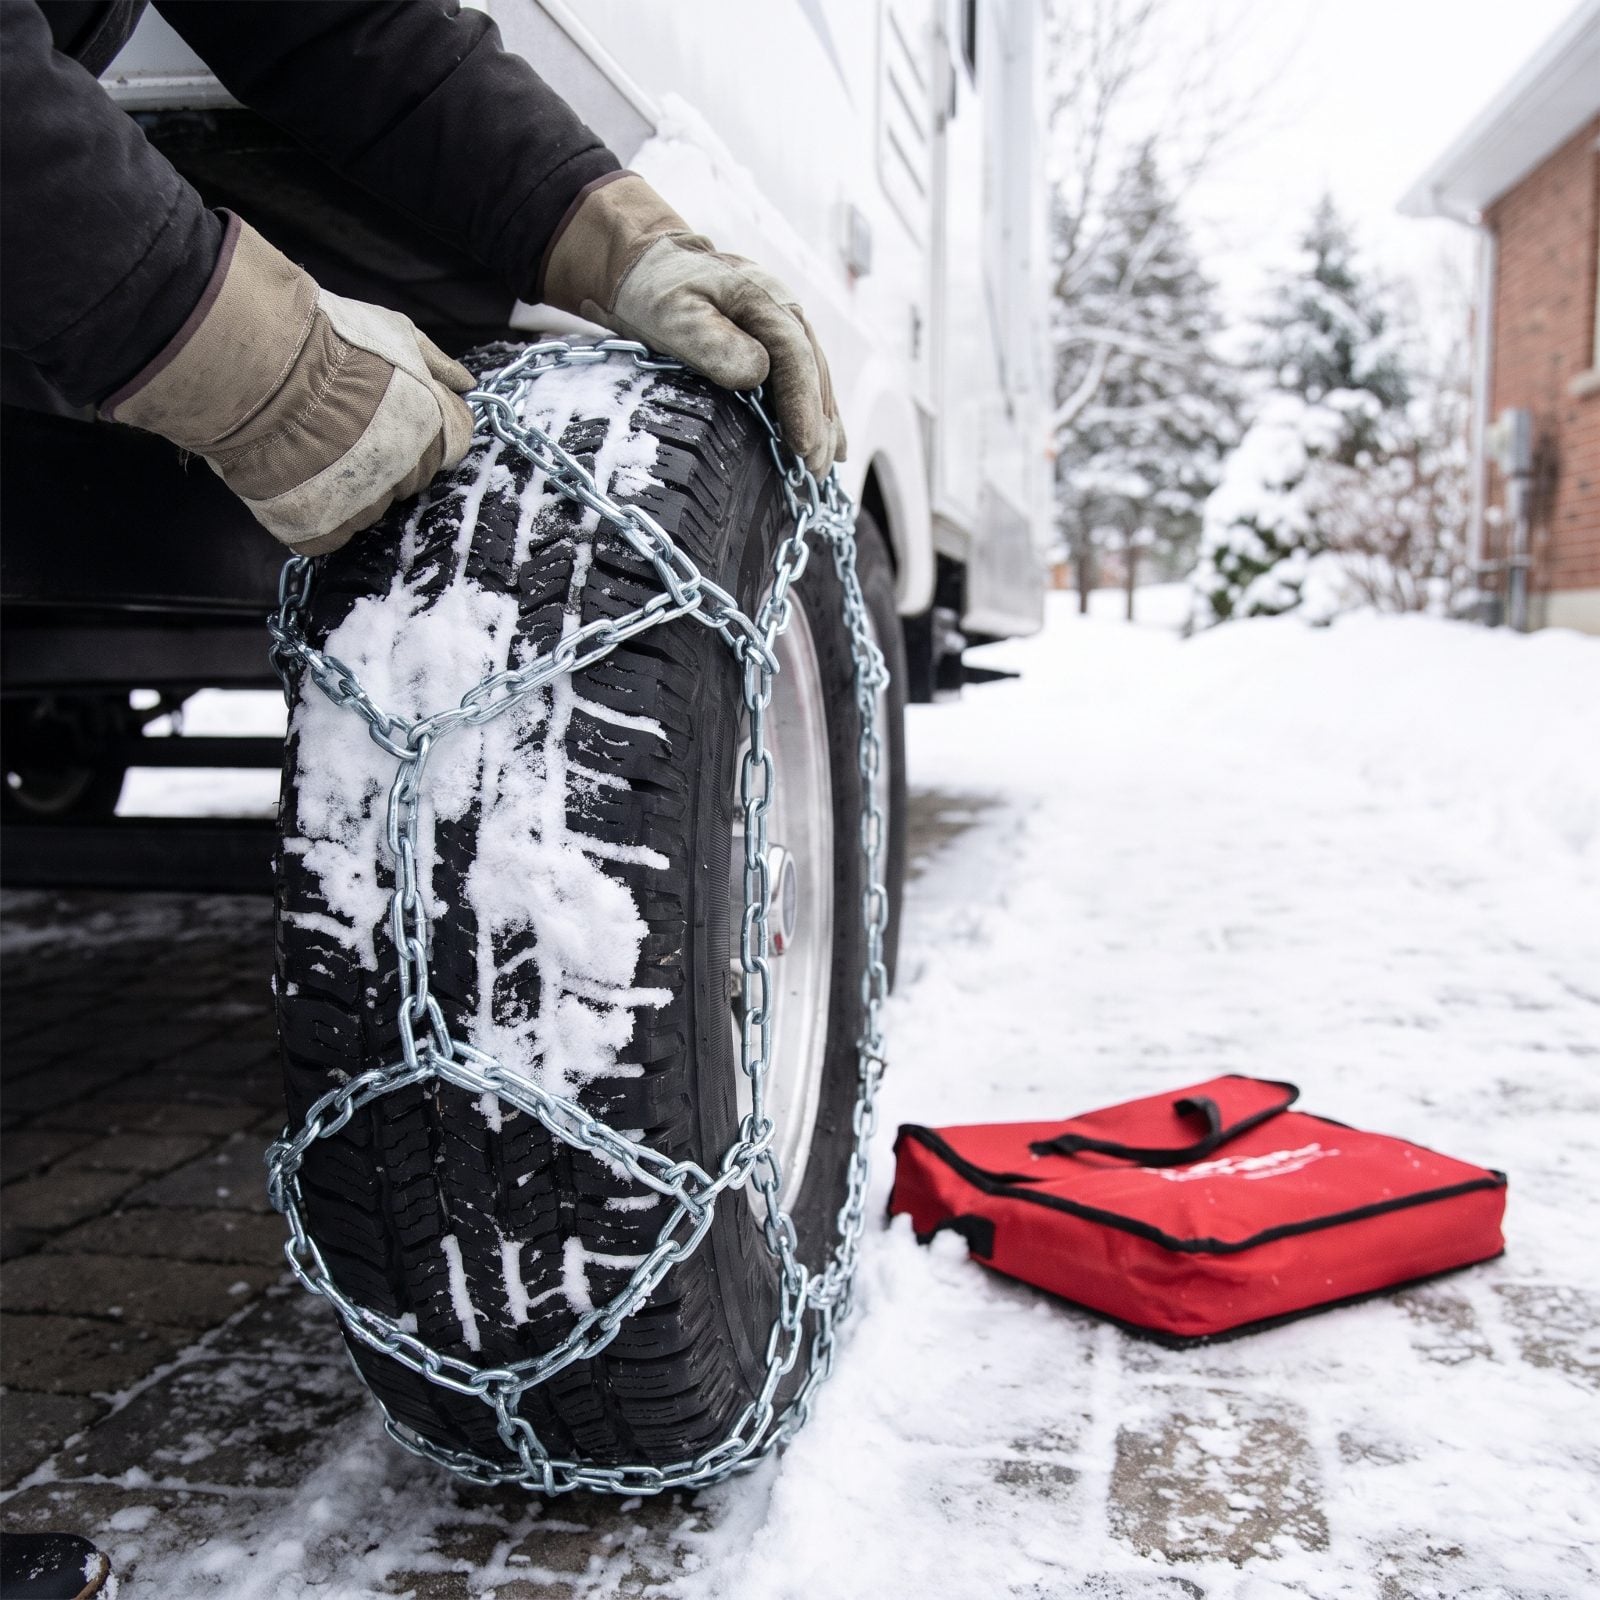
A chain requirement on a mountain pass is not the moment to open the bag for the first time. RV tire sizing is fussy, and plenty of folks buy chains that technically fit but leave too little clearance between the tire and the rig’s bodywork or brake lines.
Lay them out in your driveway on a dry day and practice the full install — including the part where you crawl behind the tire in the cold. Confirm clearance all around once they’re tensioned. Then time yourself. Knowing it takes you twelve minutes instead of two changes how early you pull over.
16. Test the Coolant Freeze Point
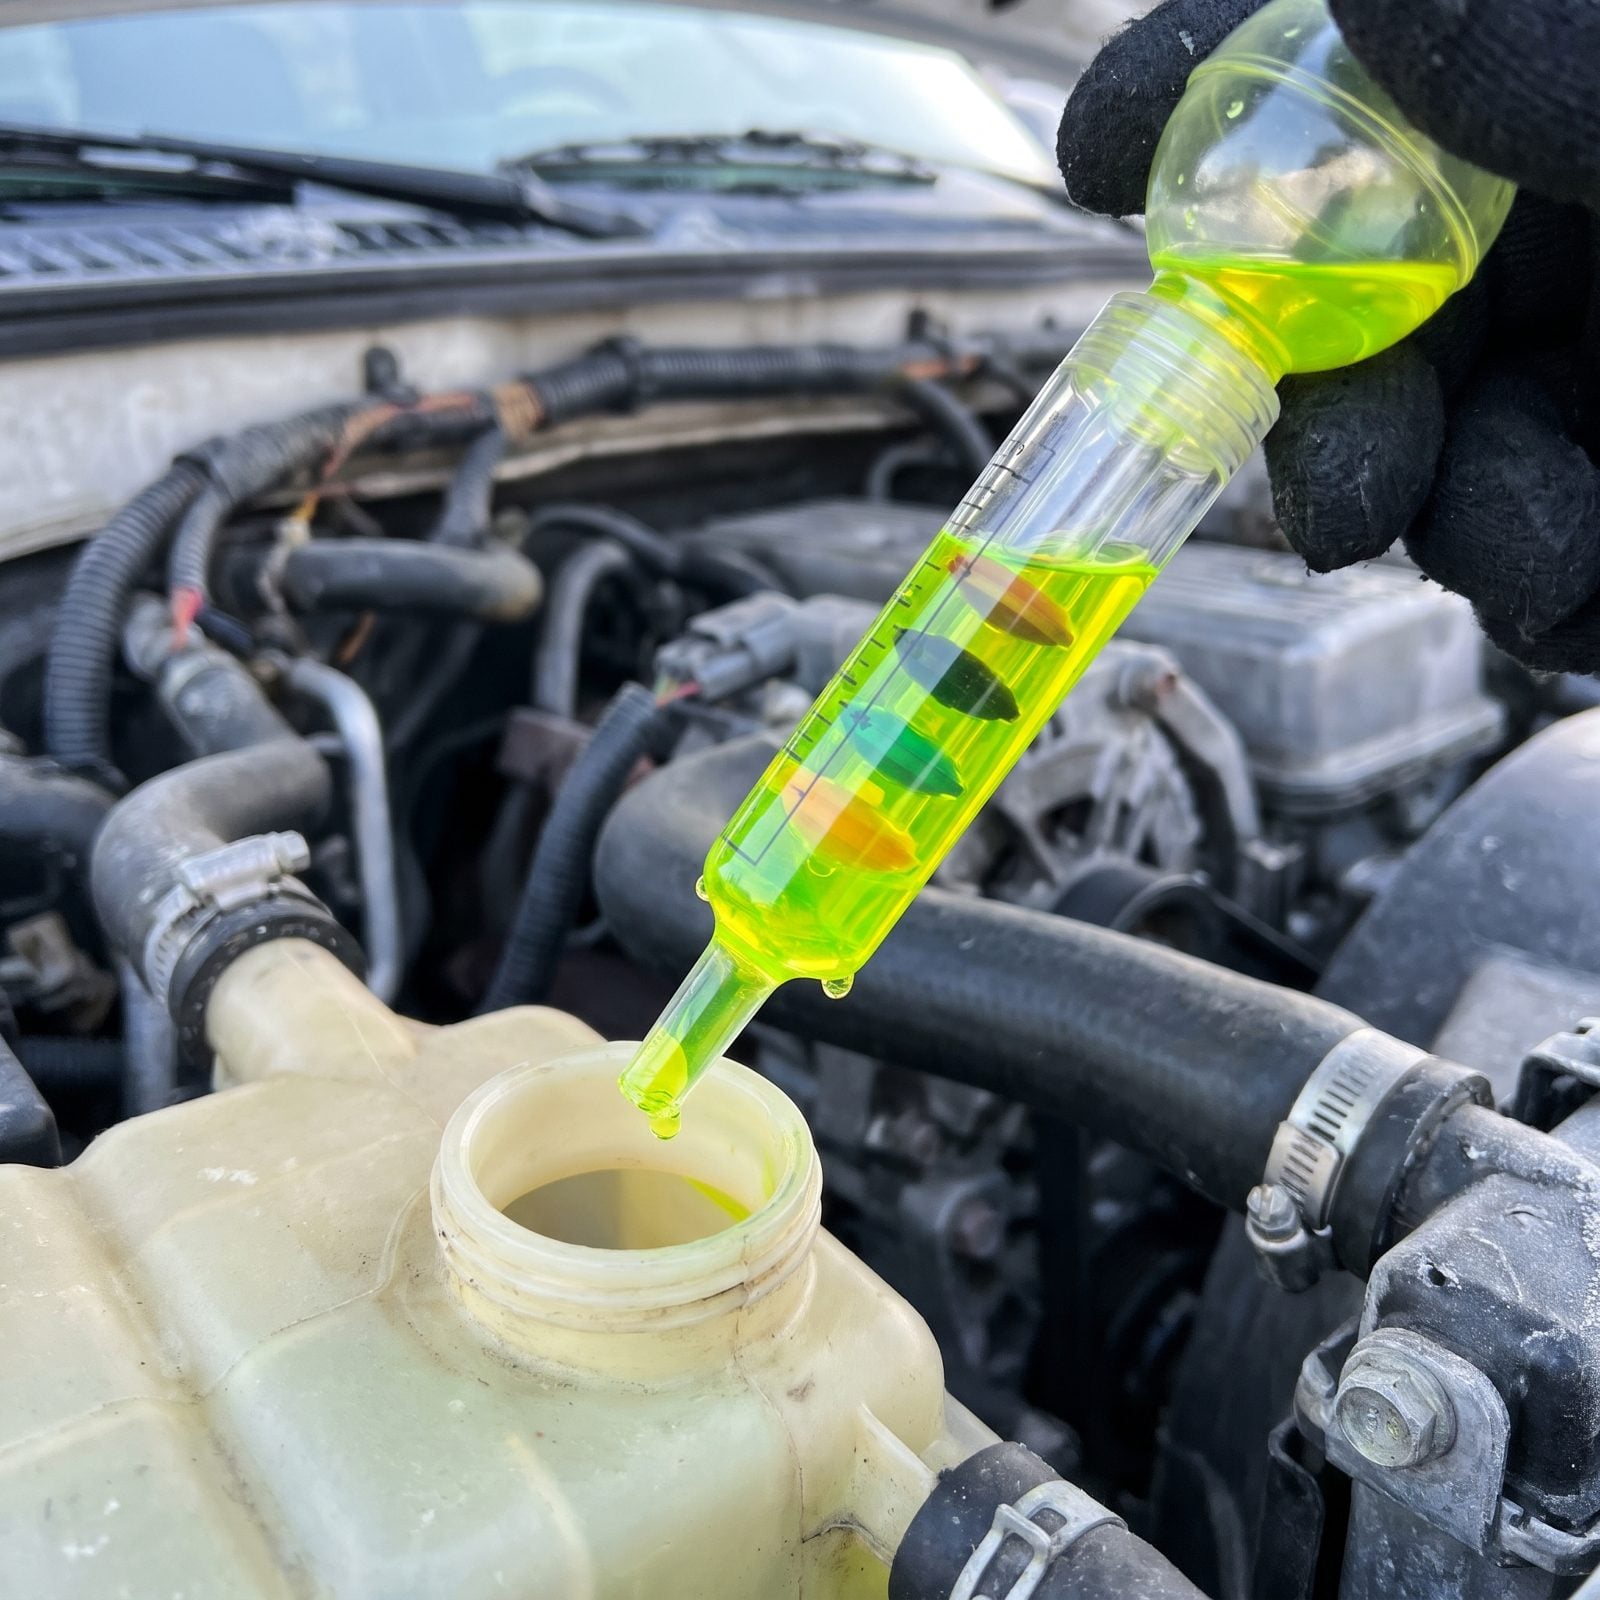
Everybody tops off coolant. Almost nobody checks whether the mix will actually survive the temperatures they’re driving into. Diluted coolant freezes higher than you’d think, and a frozen block or cracked radiator in January is a wallet-emptying repair far from home.
Draw a sample with a cheap float tester or refractometer, read the freeze point against the coldest overnight low on your route, then let the sample drain back into the reservoir. Won’t protect past that with margin to spare? Adjust the mix before you go, not at a gas station with numb fingers. Check the reservoir level while the engine’s cold, and give the hoses a squeeze for soft or bulging spots while you’re in there.
15. Add Freeze-Resistant Washer Fluid
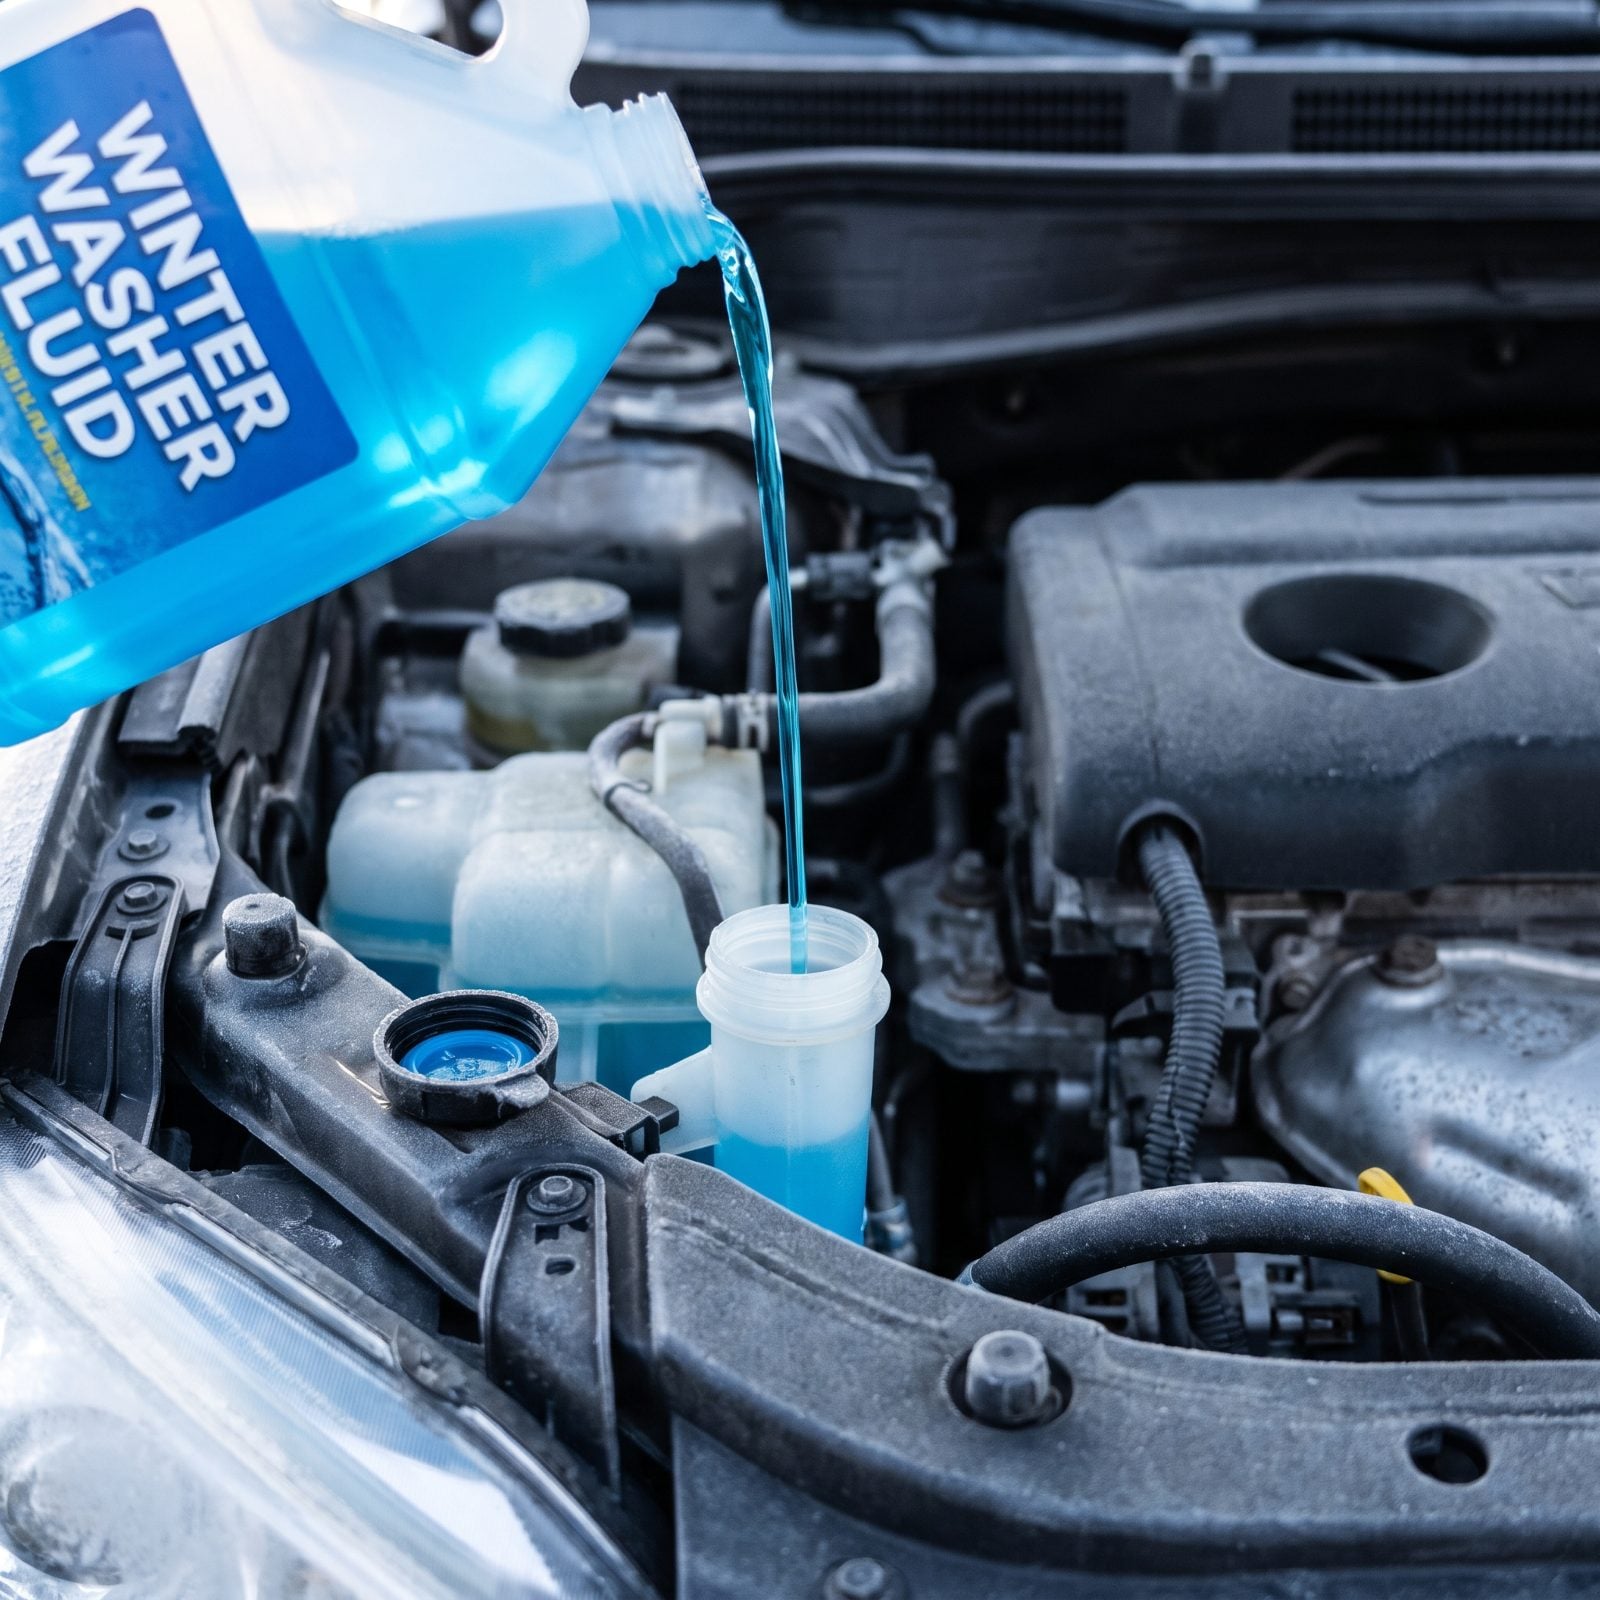
Summer washer fluid freezes solid and takes your pump and lines with it. Worse, a slushy half-frozen jet smears grimy road spray across a cold windshield and suddenly you’re blind at 65. Not dramatic. Just dangerous.
Drain or run down whatever’s in there and fill with winter fluid rated well below your coldest expected temperature. Run the washers for a few seconds afterward to push the new fluid all the way through the nozzles. Toss a spare jug in the storage bay too — salt-and-slush season drains a reservoir faster than you expect.
14. Test the Chassis Battery
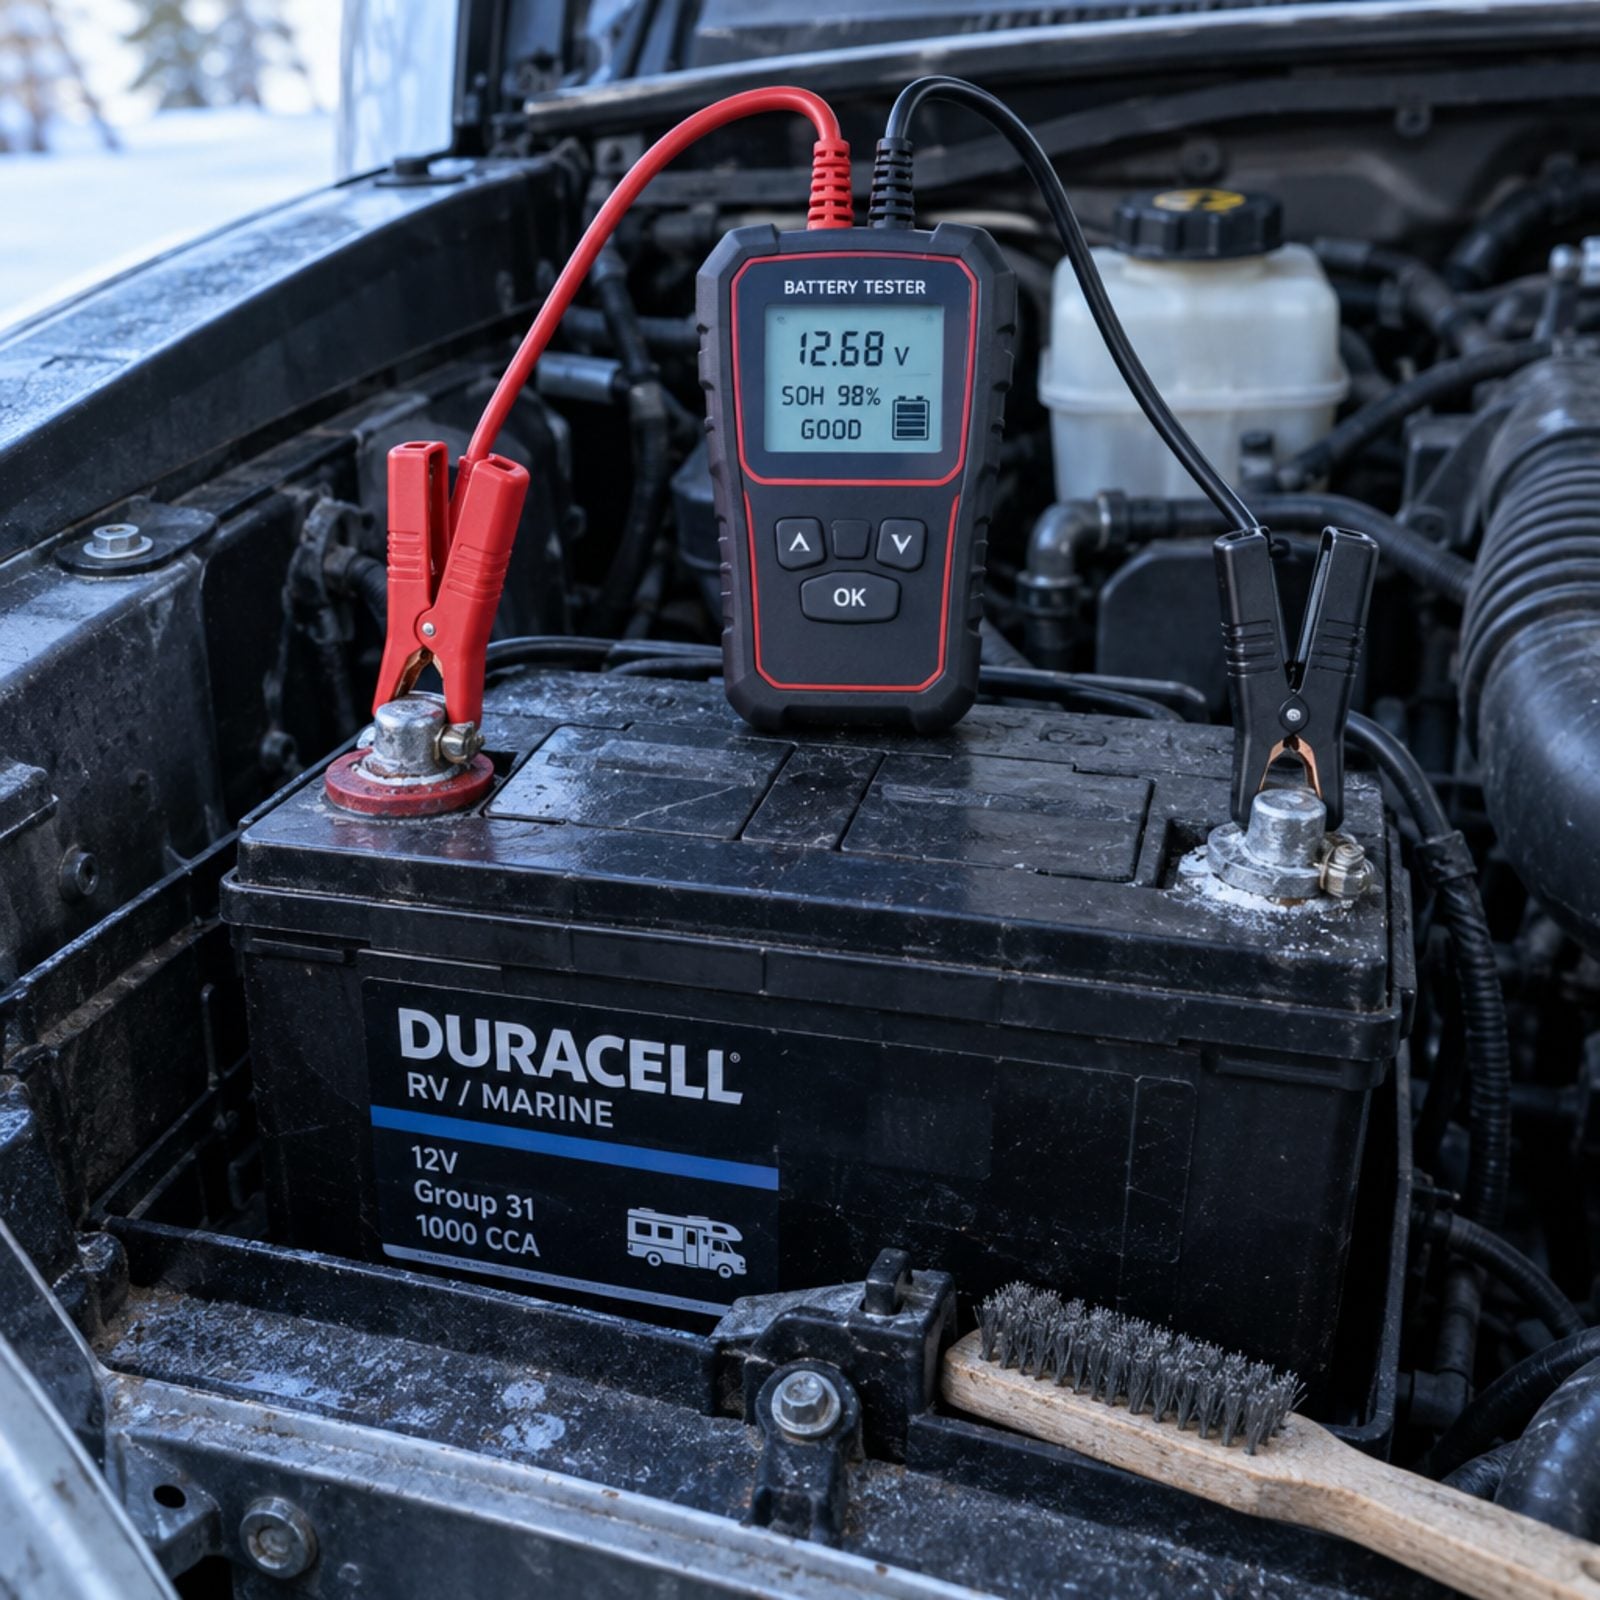
Cold murders weak batteries. One that cranked fine in October can sit at half its usable power once the temperature drops below freezing, and a marginal battery simply won’t turn the engine over on the coldest morning of the trip.
Clip the battery tester’s red clamp onto the positive terminal, then attach the black clamp to the negative terminal before you check the voltage reading; with only one clamp on, the reading means nothing. A healthy, fully charged battery should show about 12.6 to 12.7 volts at rest; anything much lower means it needs a charge or a closer look. Clean any white or blue corrosion off the terminals with a wire brush, then tighten the clamps. A loose, corroded connection fakes a dead battery and sends people buying parts they don’t need.
13. Inspect the Engine Block Heater
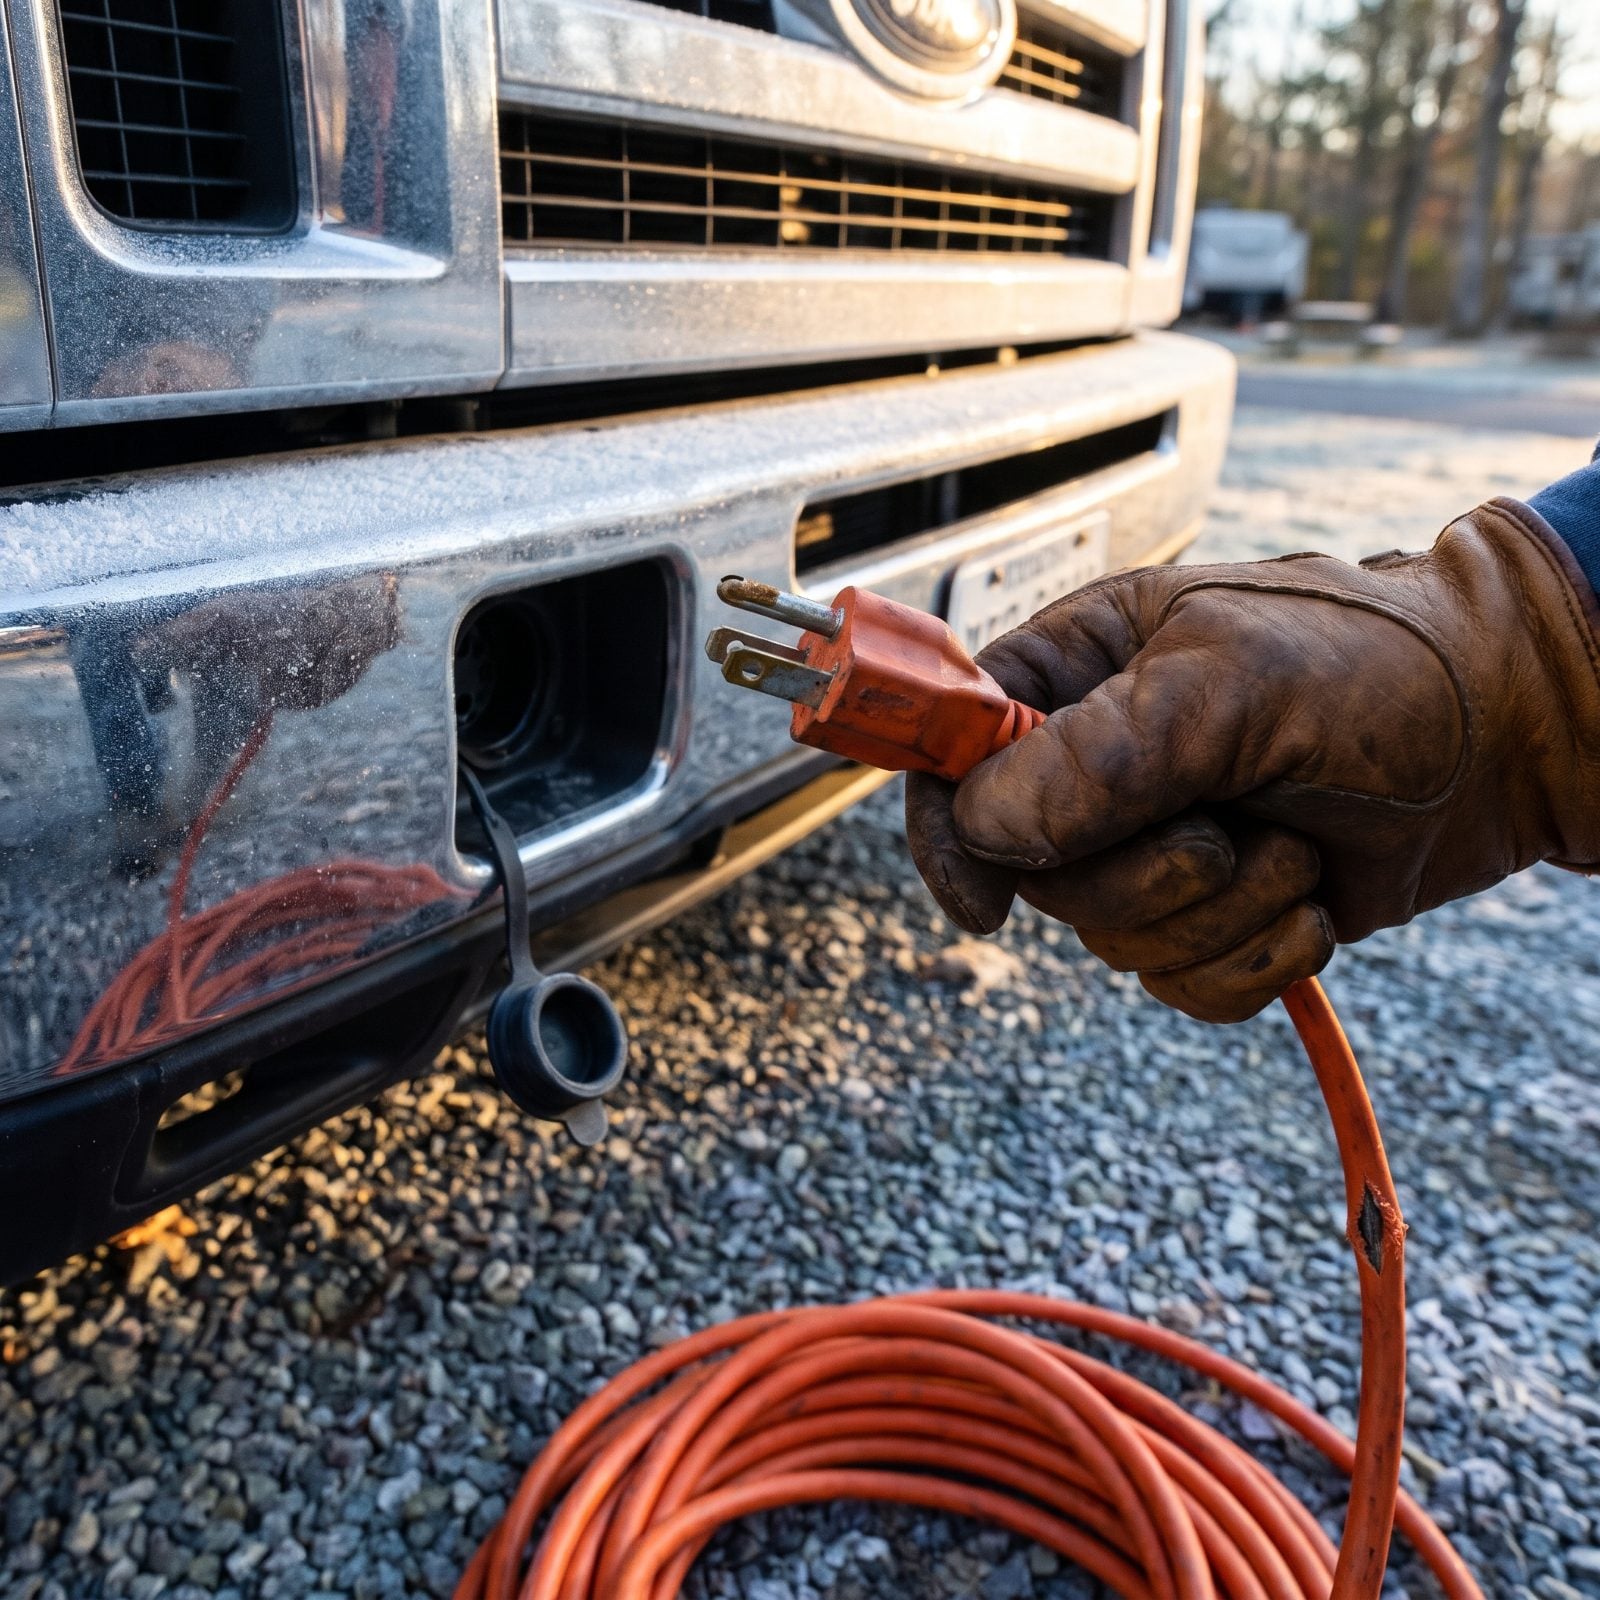
A block heater is the difference between a diesel that fires on the first try at 10 degrees and one that cranks, coughs, and stalls while your coffee goes cold. People skip the inspection because the cord lives behind the grille, and nobody looks there until something goes wrong.
Pull the cord out and run your fingers along the whole length, feeling for cracked insulation, a stiff spot, or green corrosion on the prongs. Plug it into a known-good outlet for twenty minutes, then touch the lower radiator hose. It should feel warm. No warmth means the element is dead and you’re buying one before you leave, not after.
12. Buy Diesel Anti-Gel if Needed
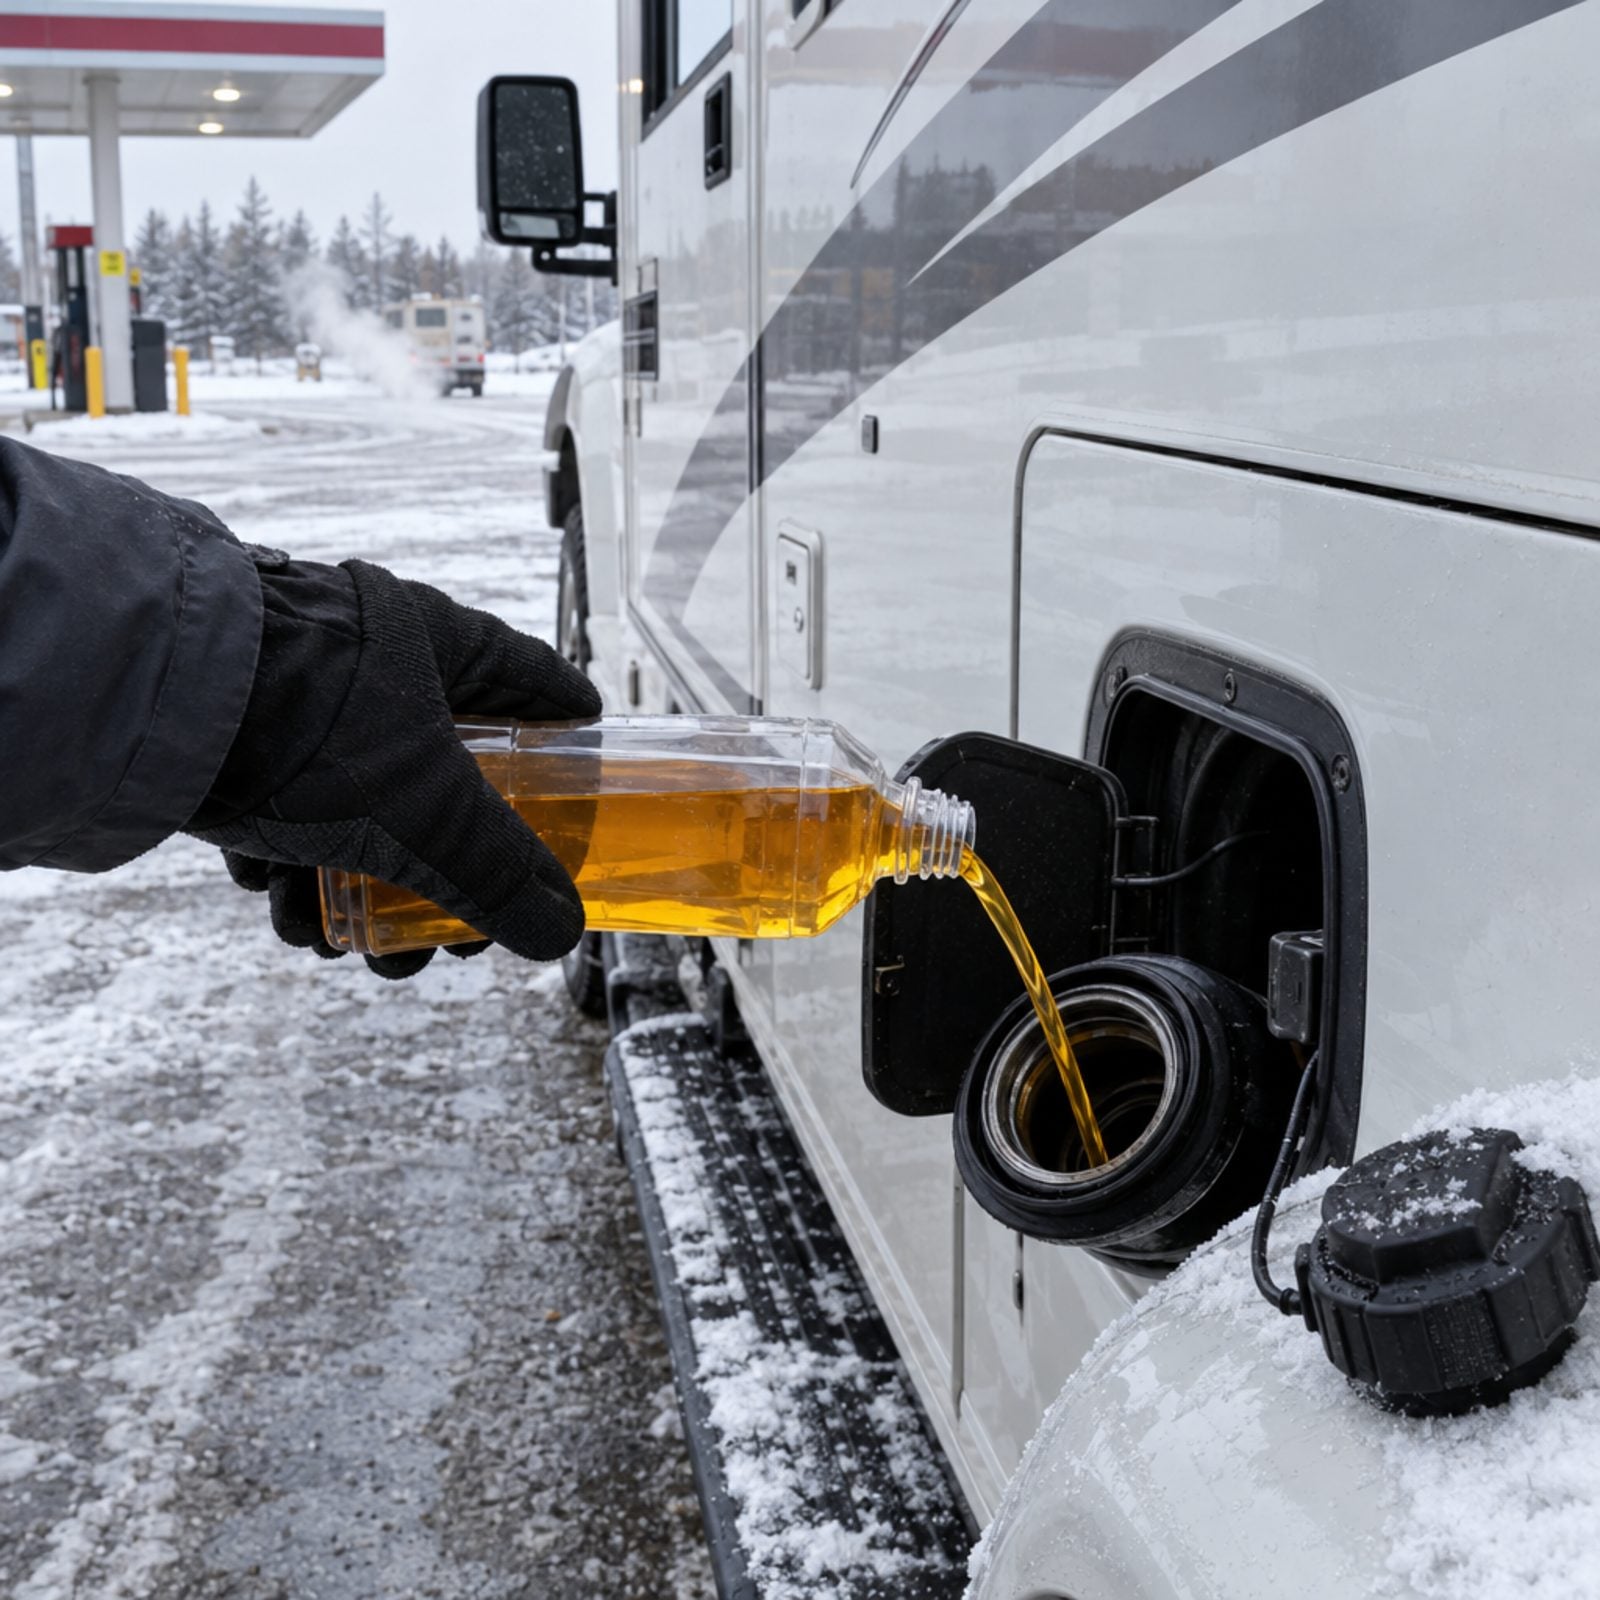
Diesel gels. Below about 15 degrees the paraffin wax in the fuel starts to crystallize, and those crystals plug your fuel filter solid. You don’t find out until the engine starves and dies on a mountain grade.
If your route drops into real cold and you can’t be sure the fuel you pump is already treated for winter, carry a bottle of anti-gel and add it before you fill, so the pump’s turbulence mixes it in. Match the dose on the label to your tank size. Don’t guess.
Here’s the part most people miss: anti-gel only works as a preventative. Once fuel has already gelled, pouring it in does nothing. You’ll need an emergency reviver and a lot of patience. Treat early or not at all.
11. Test the Backup Heat Source
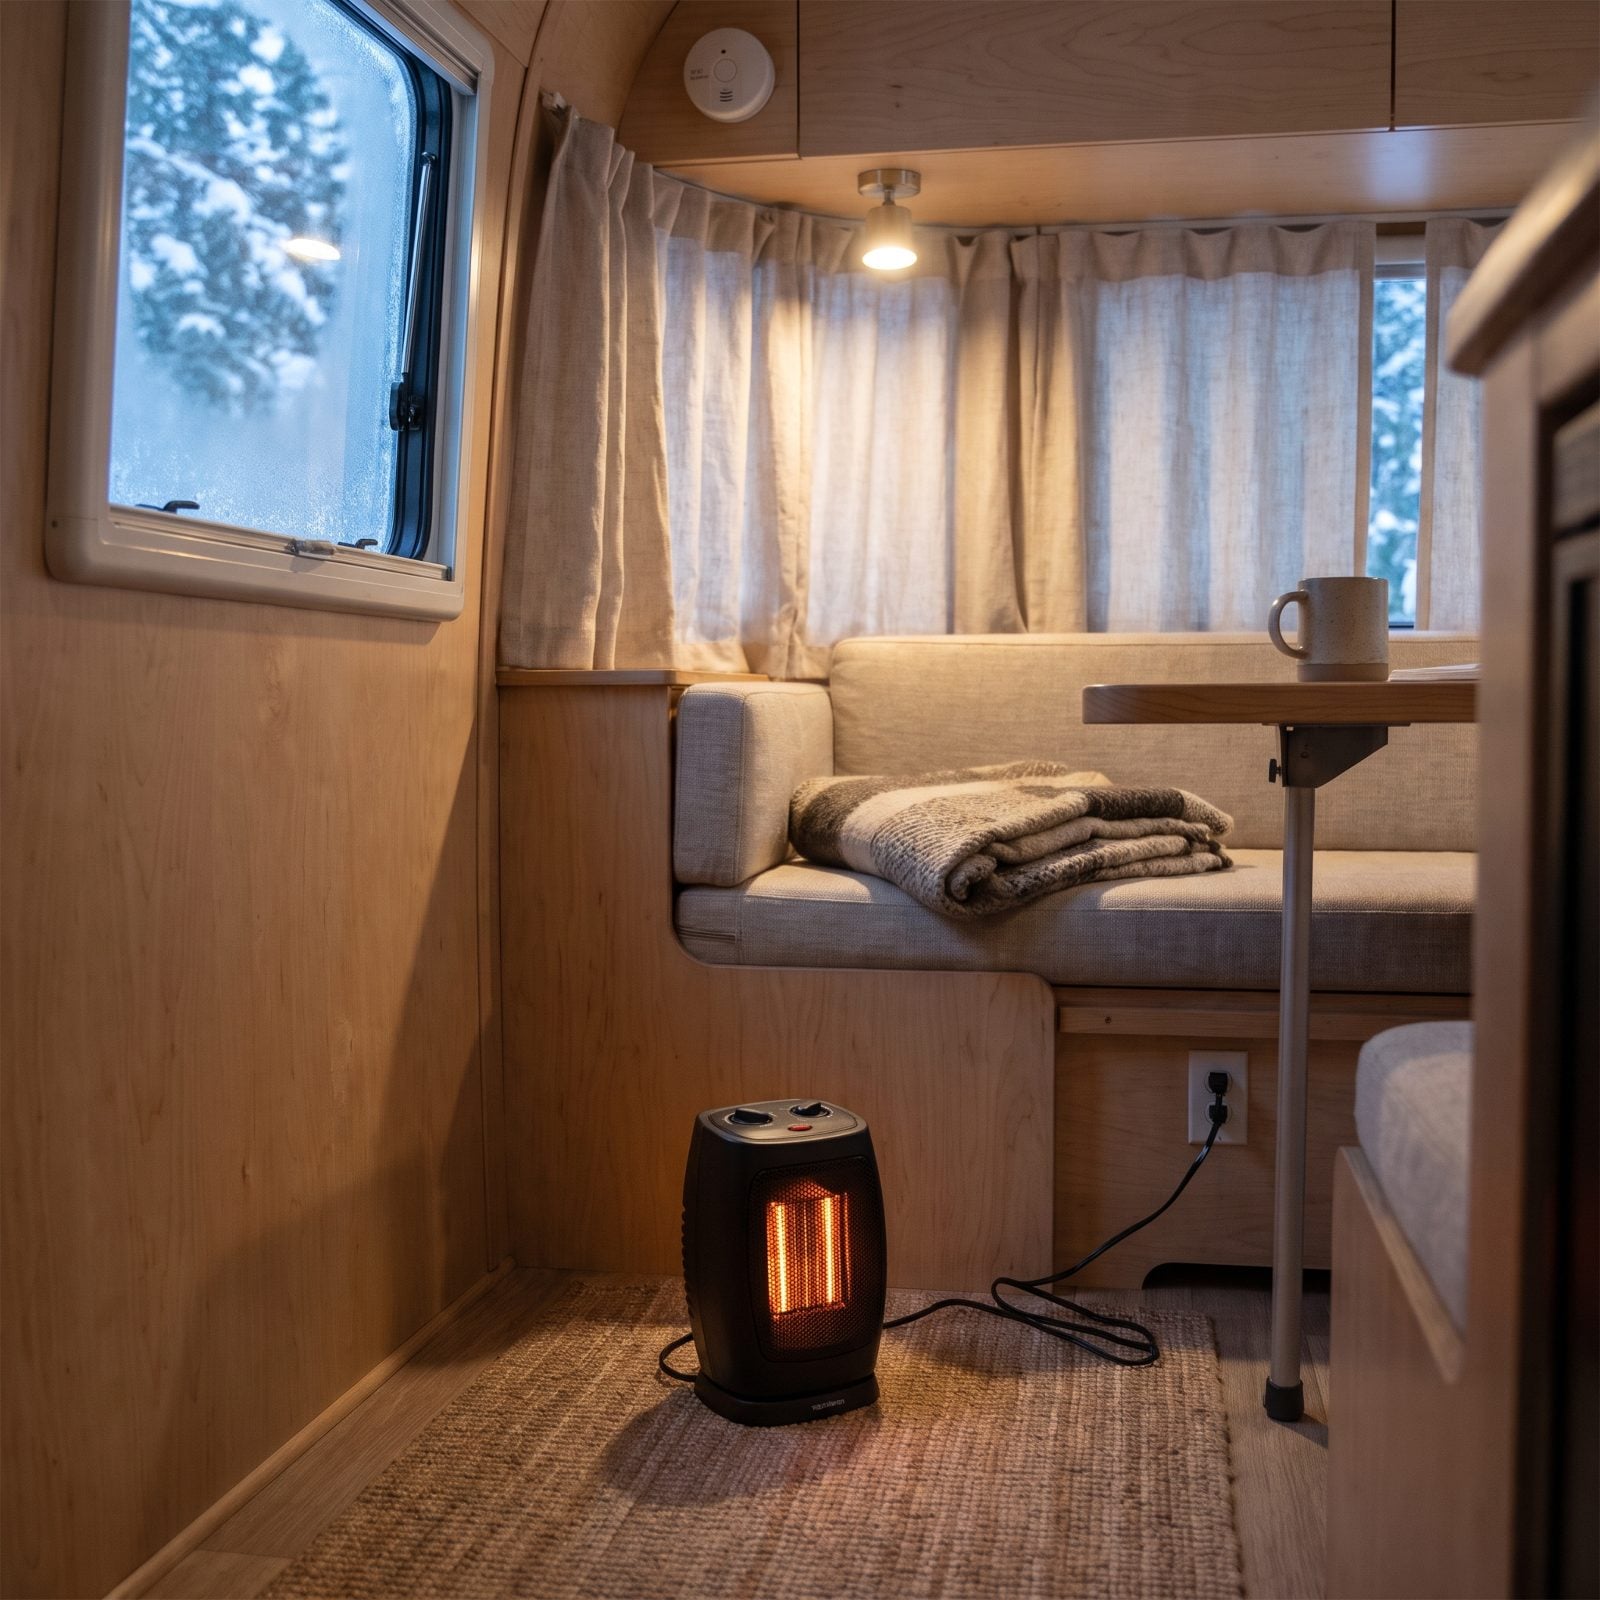
Never leave on a winter trip with one way to stay warm. Furnaces fail. Propane runs dry at the worst hour. If your only plan is the built-in heater, a single breakdown turns a cozy night into a genuine emergency.
Test your backup before you go, not when you need it. Run a small electric space heater for an hour on shore power and confirm it holds the cabin temperature. Check that it has a tip-over switch and an overheat cutoff, and that the breaker it’s on can carry the load without tripping.
Keep it clear of cushions, curtains, and bedding by at least three feet, and never run one while you sleep. Test your carbon monoxide detector the same day. If it chirps, you replace the battery now.
10. Pack Headlamps and Spare Batteries
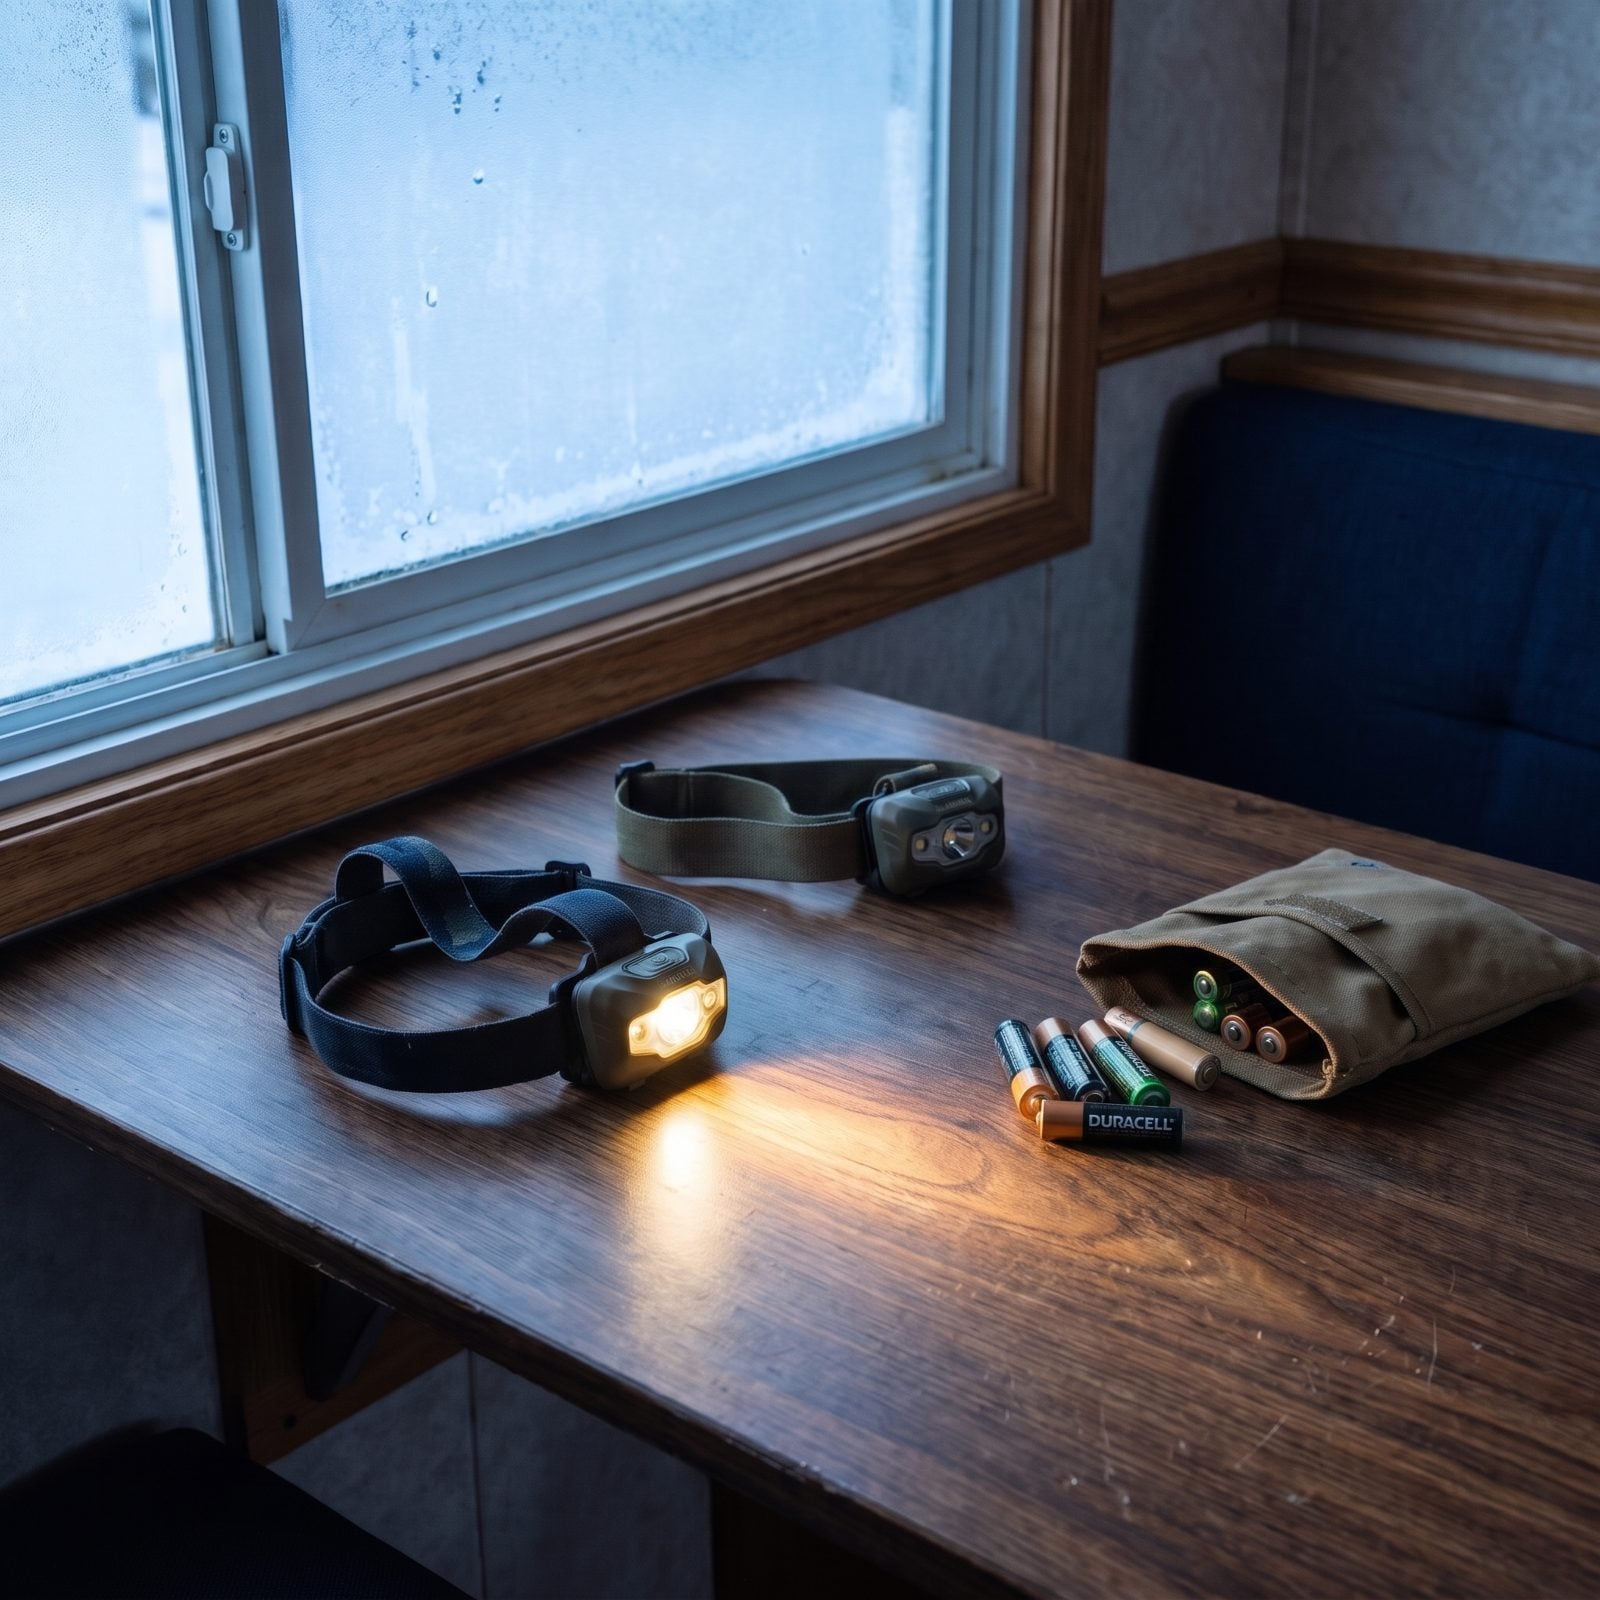
Winter nights start at four in the afternoon and run long. The second you need both hands for anything, with a flashlight clamped in your teeth, you’ll wish you had a headlamp instead. Hitching a trailer in the dark, checking a tank gauge, finding a dropped lug nut in the snow — all of it goes easier with light pointed where you’re actually looking.
Pack at least two headlamps and double the batteries you think you need. Cold kills battery life fast, so what reads full at home drains much quicker in the field.
9. Pack a Compact Snow Shovel
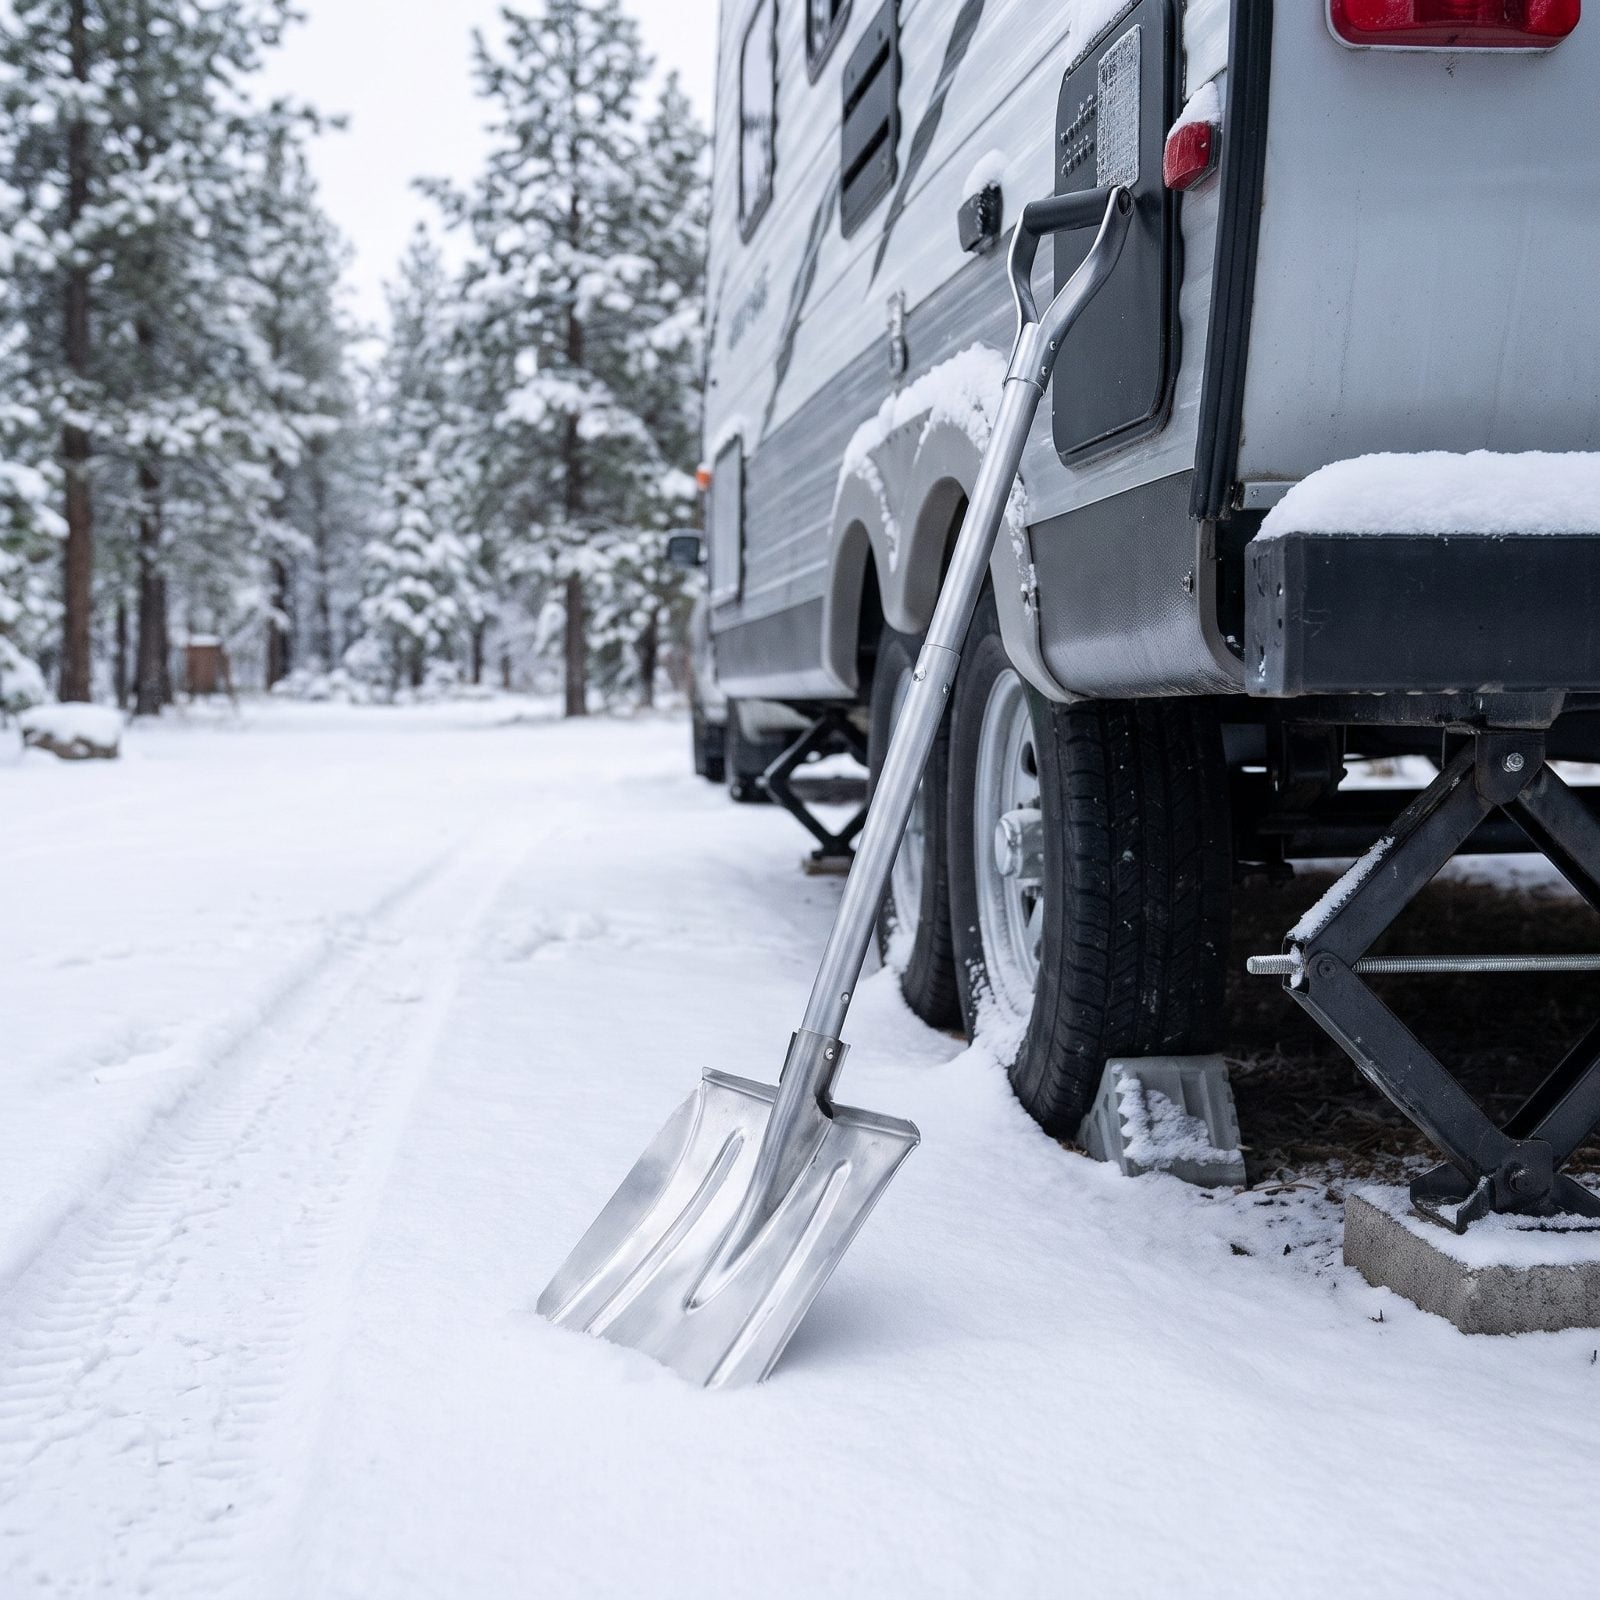
You don’t think you need a shovel until your rig is sitting in four inches of overnight snow and your tires won’t bite. A compact folding model lives under a dinette bench and weighs almost nothing. The full-size garage shovel? It doesn’t fit, and you’ll leave it home.
Get one with a metal blade, not plastic. Plastic cracks the moment it hits packed ice or a frozen clump, usually right when you’re already behind schedule.
Beyond digging out, you’ll use it to clear a path to the hookups, scrape the picnic table, and knock snow load off the slide-out roofs so they retract clean. A slide buried under heavy wet snow can strain the motor or refuse to move at all.
8. Review the Full Route Forecast

Checking the weather at your destination is not the same as checking your route. The pass between here and there is where winter does its real damage, and it often sits a few thousand feet higher than either end of your drive.
Pull the forecast for every major town and mountain crossing along the way, not just the start and finish. Look at overnight lows, snowfall timing, and wind. A crosswind on an open high plain pushes a tall rig around harder than most folks expect.
And check chain and traction laws for every state you’ll cross. They change by elevation and by storm, and a closed pass can add a full day you didn’t budget for.
7. Fill Every Propane Cylinder
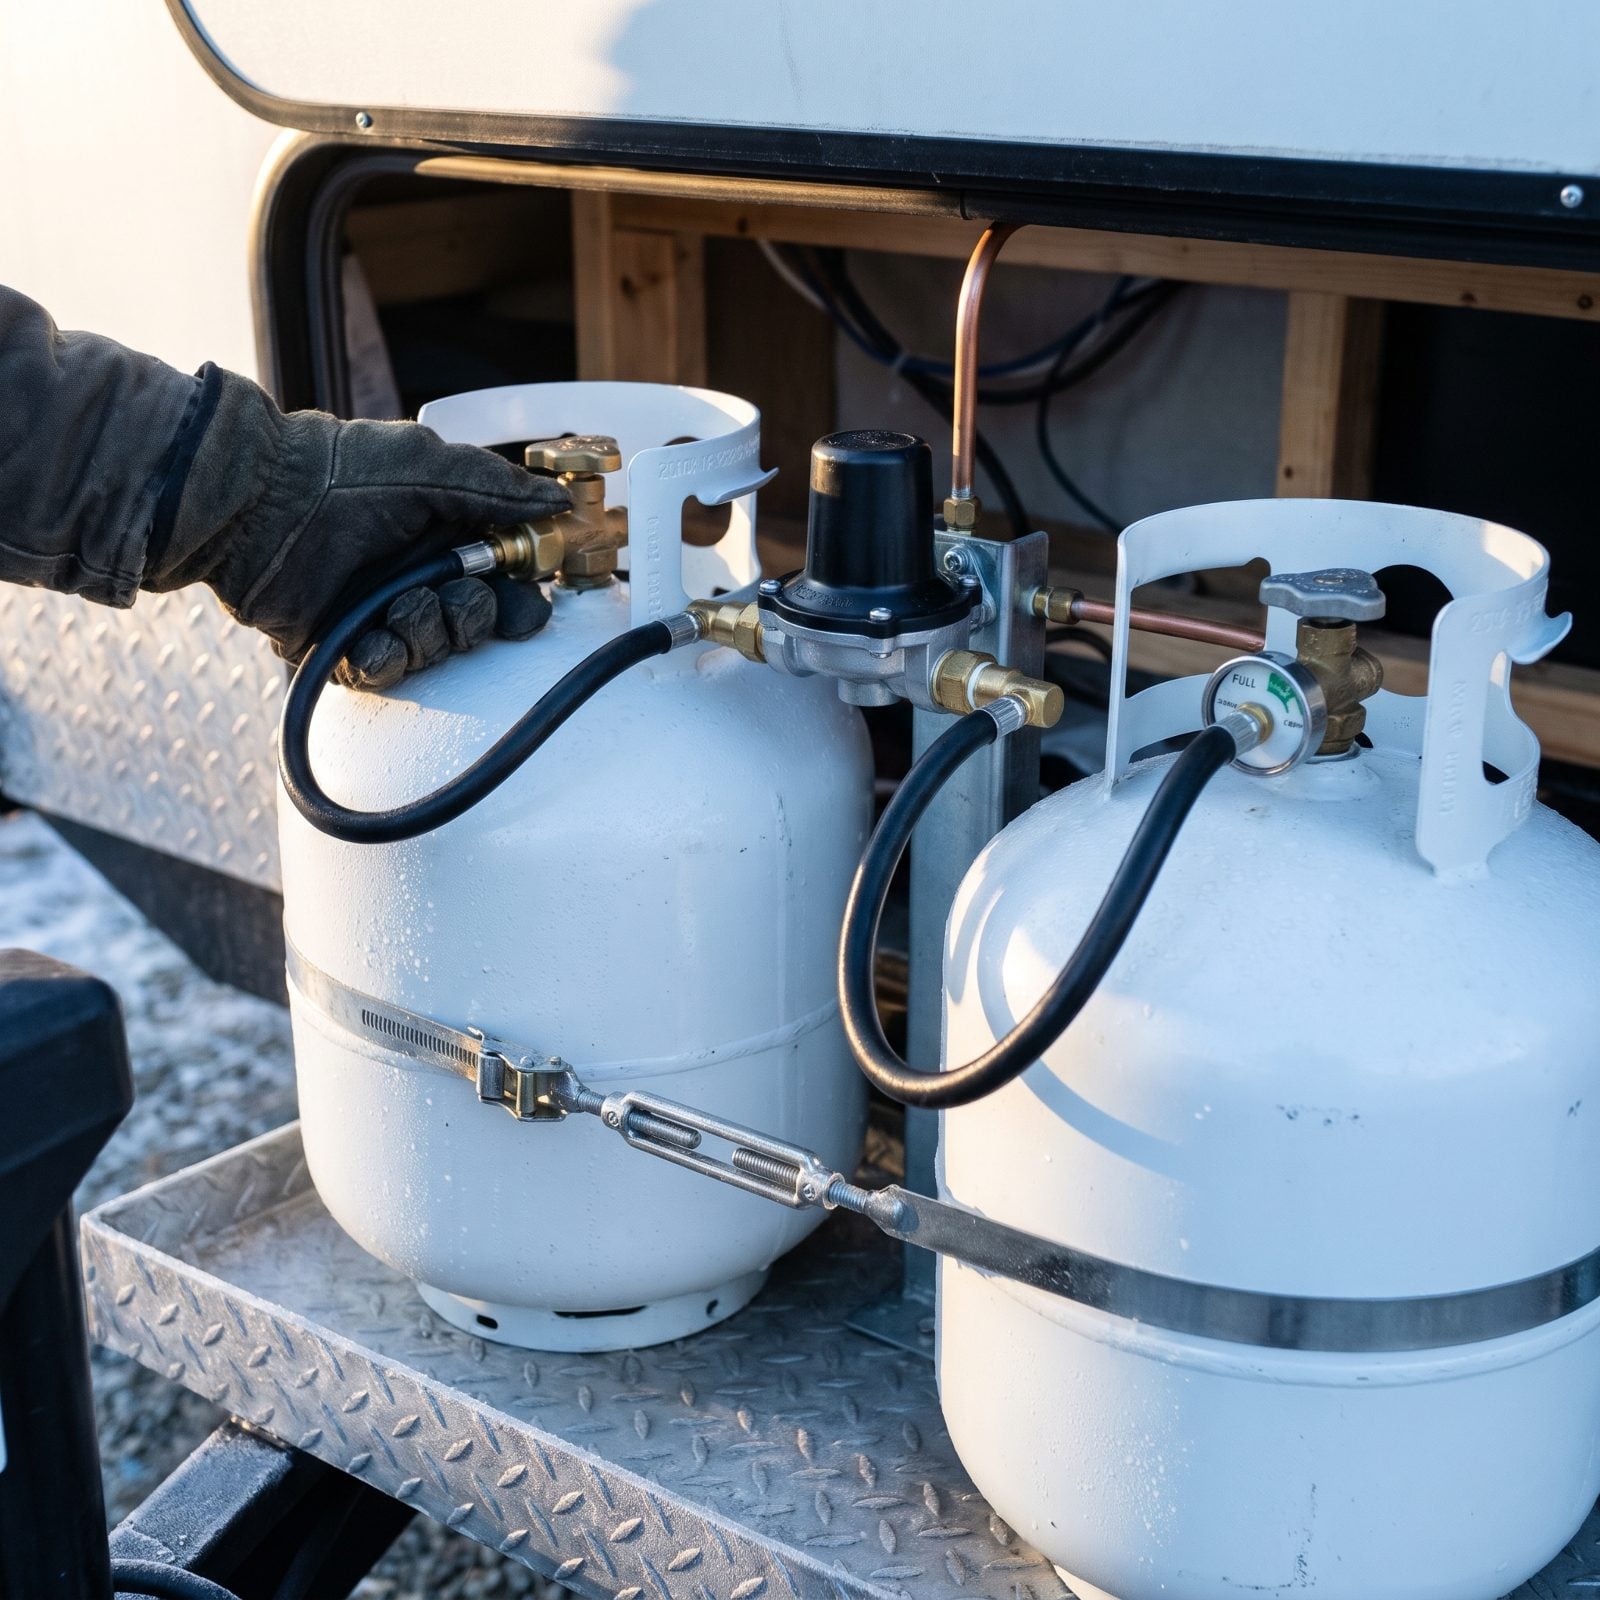
Winter burns propane at a rate that shocks people. A furnace cycling all night through a cold snap can empty a cylinder in a day or two, and the refill stations near good winter campgrounds keep short hours or close entirely in the off-season.
Fill both tanks to full before you leave, even the one that still shows half. A tank that reads half in the warmth of your garage reads lower once the liquid propane contracts in the cold, and a partly full tank can’t vaporize gas fast enough on a brutal night to keep the furnace fed.
Check the rubber pigtail hoses and the regulator while the compartment is open. Cracked hoses stiffen and leak in the cold.
6. Winterize the Outdoor Shower
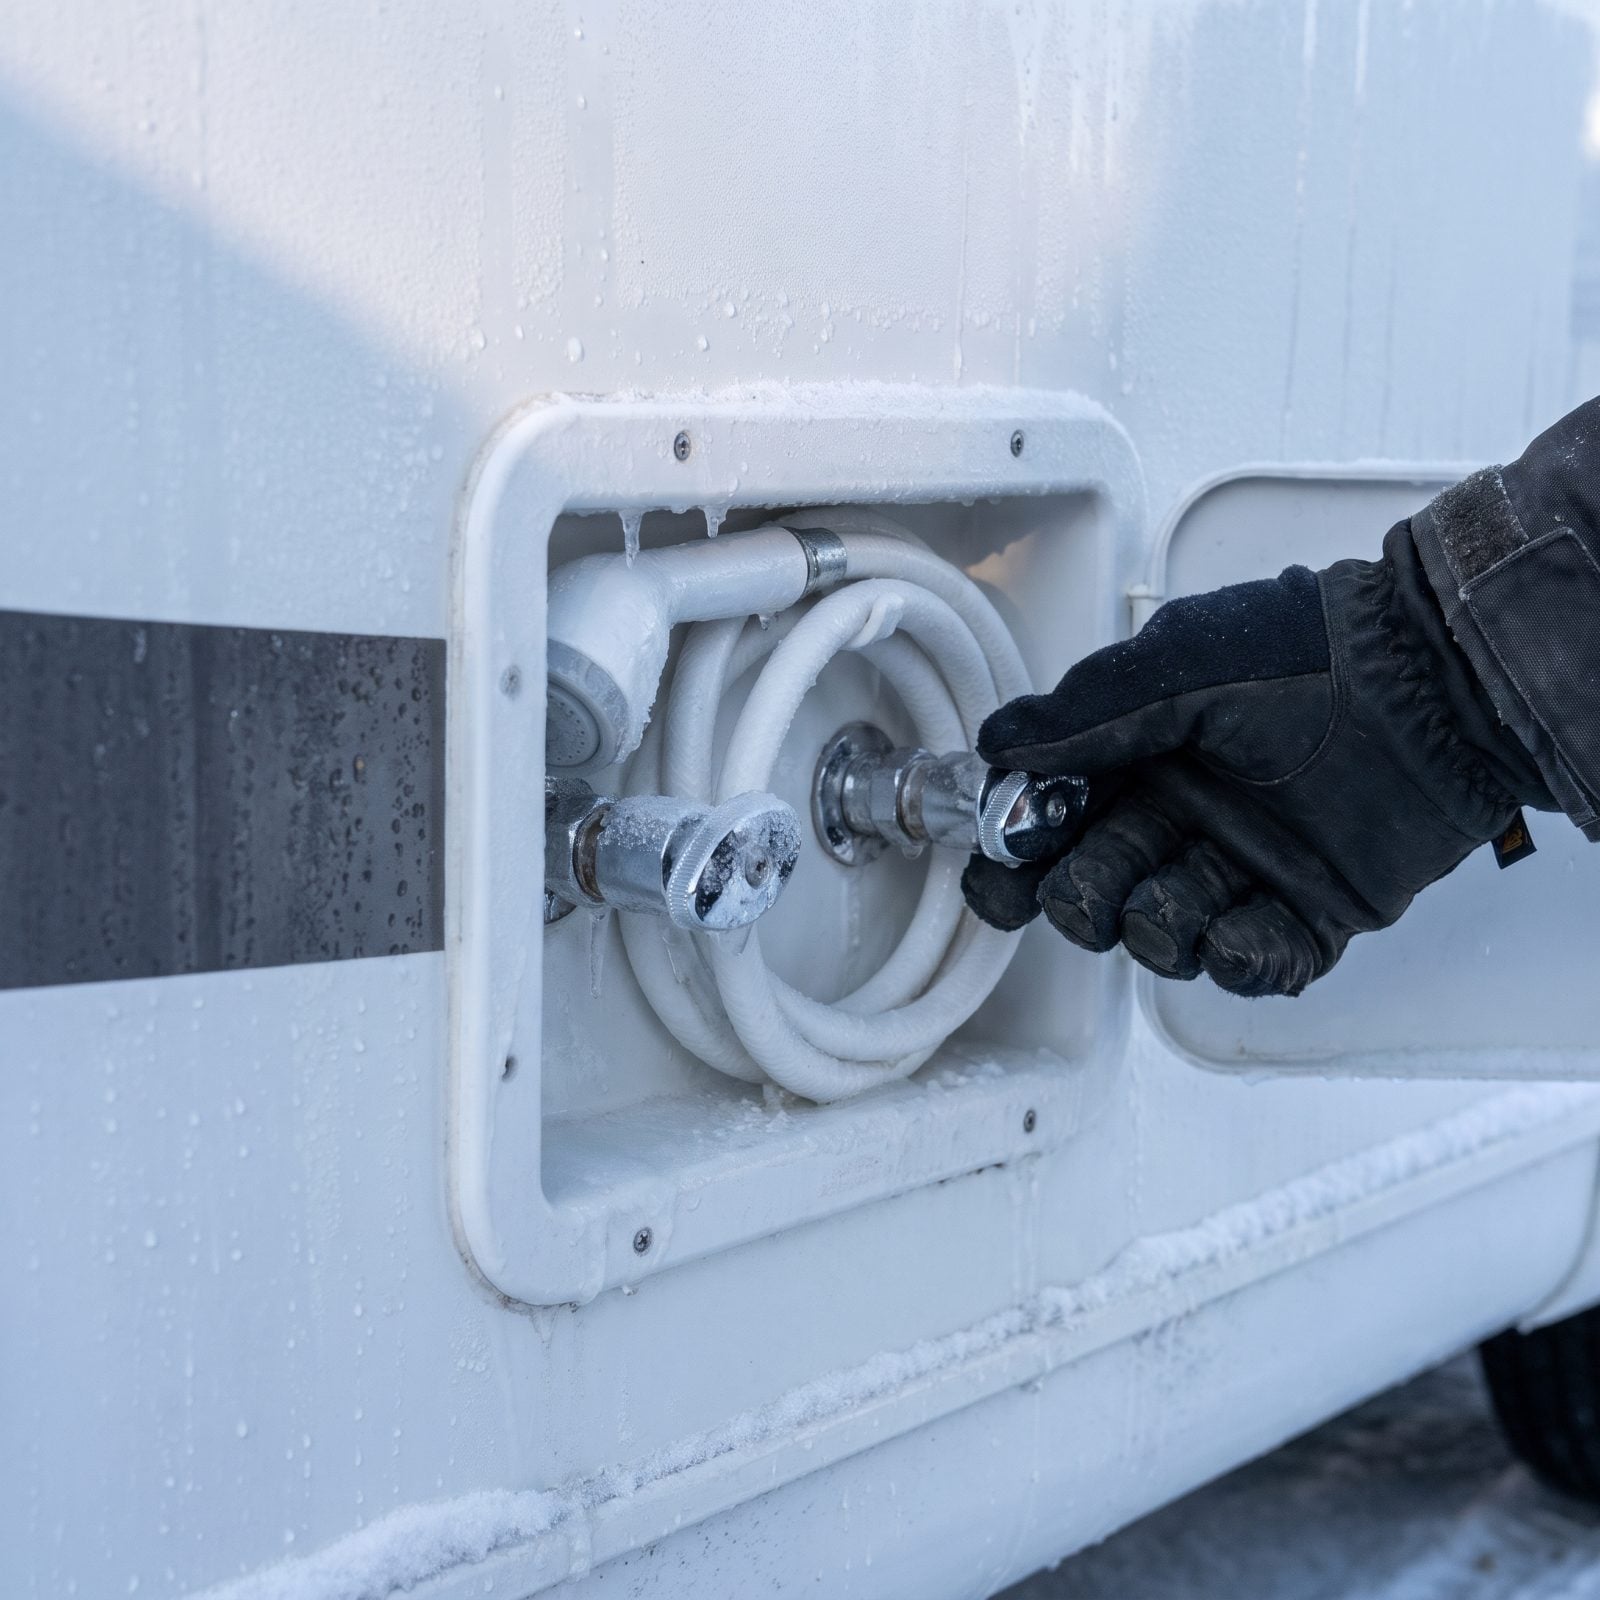
The outdoor shower is the thing that freezes first and the thing everyone forgets. That short run of pipe sits exposed on the exterior wall with almost nothing insulating it, so when the mercury drops, the water trapped inside freezes, expands, and cracks the fitting. You find out in spring, when the whole bay fills with water the first time you run the pump.
Shut off both the hot and cold supply valves at the shower. Open the spray handle to release pressure, then leave it open so any water left in the line has somewhere to go as it freezes instead of splitting a fitting.
While you’re there, run the same mental check on any other exterior spigot — the city water inlet, the rinse port, the low-point drains.
5. Empty the Holding Tanks
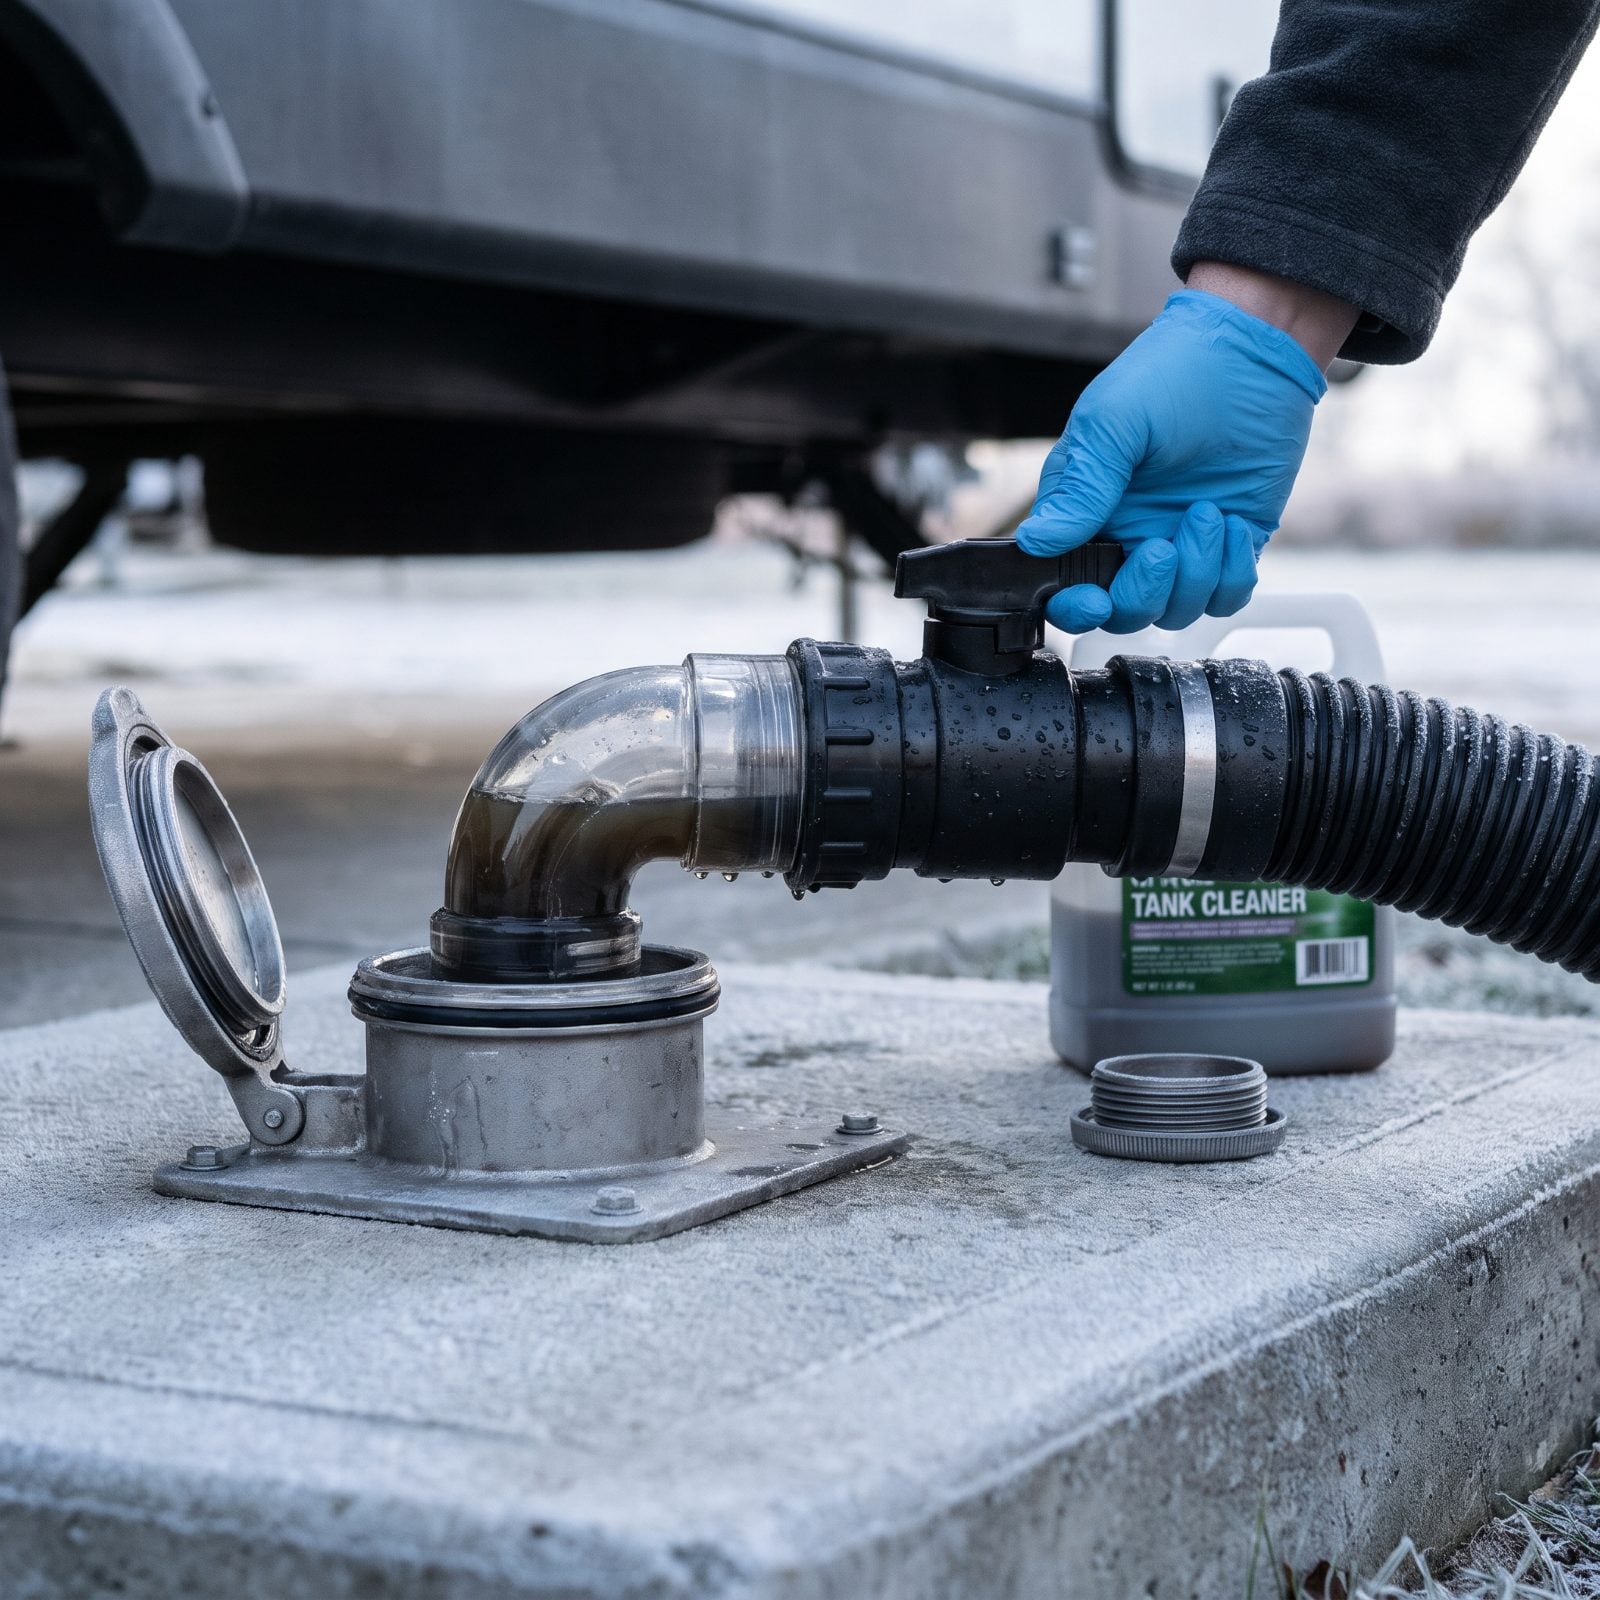
A full gray or black tank that freezes is a repair bill with your name on it. Water expands as it turns to ice, and a solid tank can crack the tank itself or snap the drain valve clean off. Empty tanks leave room for the little that’s left to freeze harmlessly.
Dump both tanks fully before cold weather sets in, black first, then gray to flush the hose. Once they’re drained, add a few gallons of RV antifreeze down the drains so the trap water and valve seals don’t freeze.
Here’s the nuance: keep a little fluid in the tanks while you camp, not none. A dry black tank lets solids pile up and stick. A splash of antifreeze and water keeps the valve seals pliable without giving a hard freeze enough volume to do damage.
4. Run the Furnace Overnight
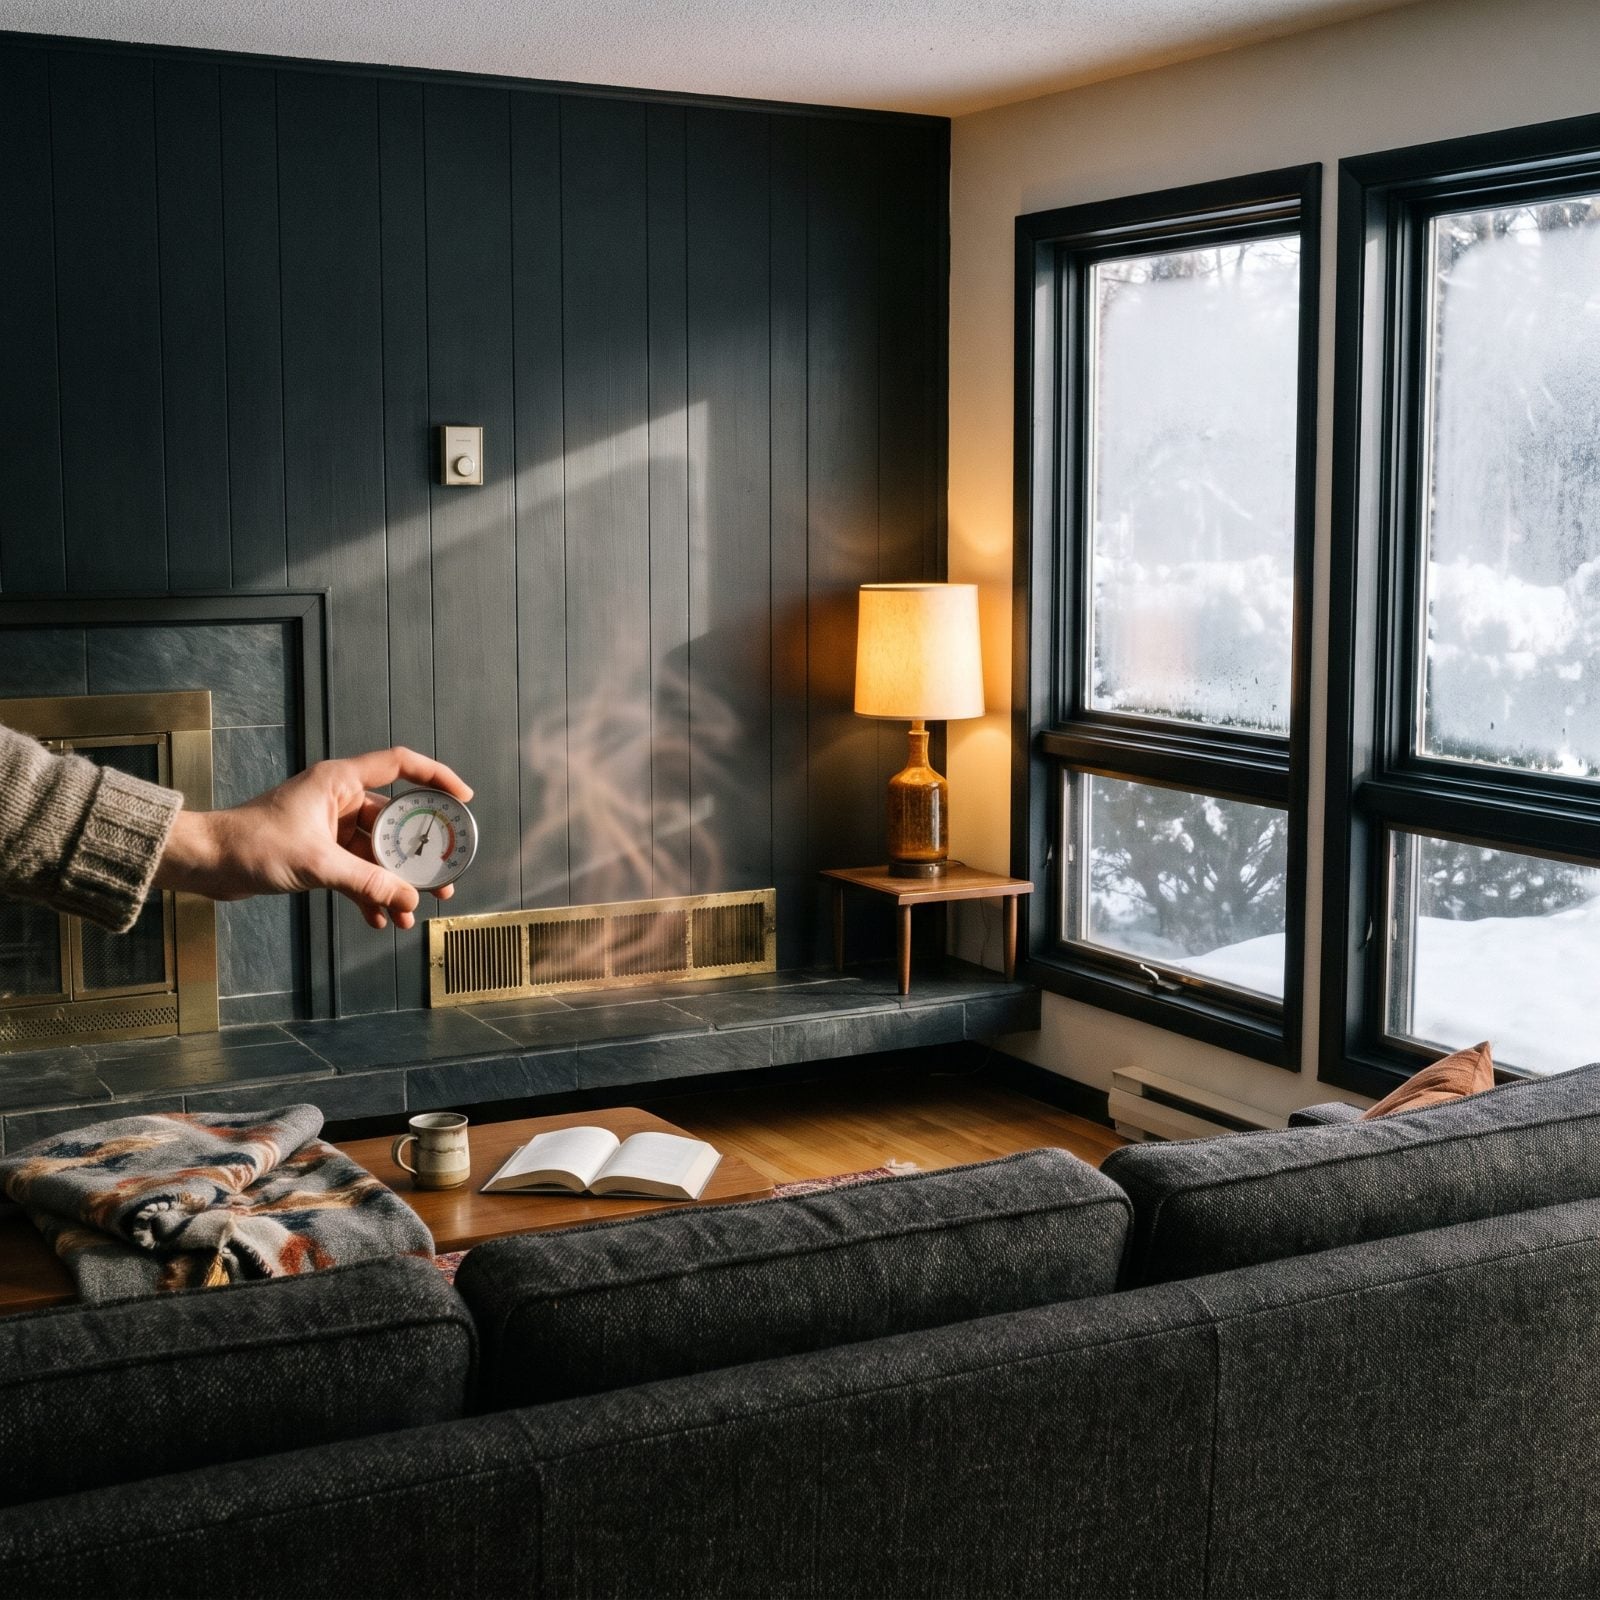
Do this one at home, in your driveway, the week before you leave. A furnace that runs fine for ten minutes in the afternoon is a different animal than one asked to hold temperature through a twelve-hour cold night. Find the weak link in your driveway, not at a campground three states away.
Run it overnight with the thermostat set where you’ll actually keep it. In the morning, note whether it short-cycled, whether any vents barely pushed air, and how much propane it drank. That last number tells you how many days a tank really lasts in the cold.
Check that the exterior furnace exhaust is clear and that the register ducts under the bed and dinette actually blow warm. Those feed the tank bay and keep your plumbing from freezing on the road.
3. Adjust Cold Tire Pressures
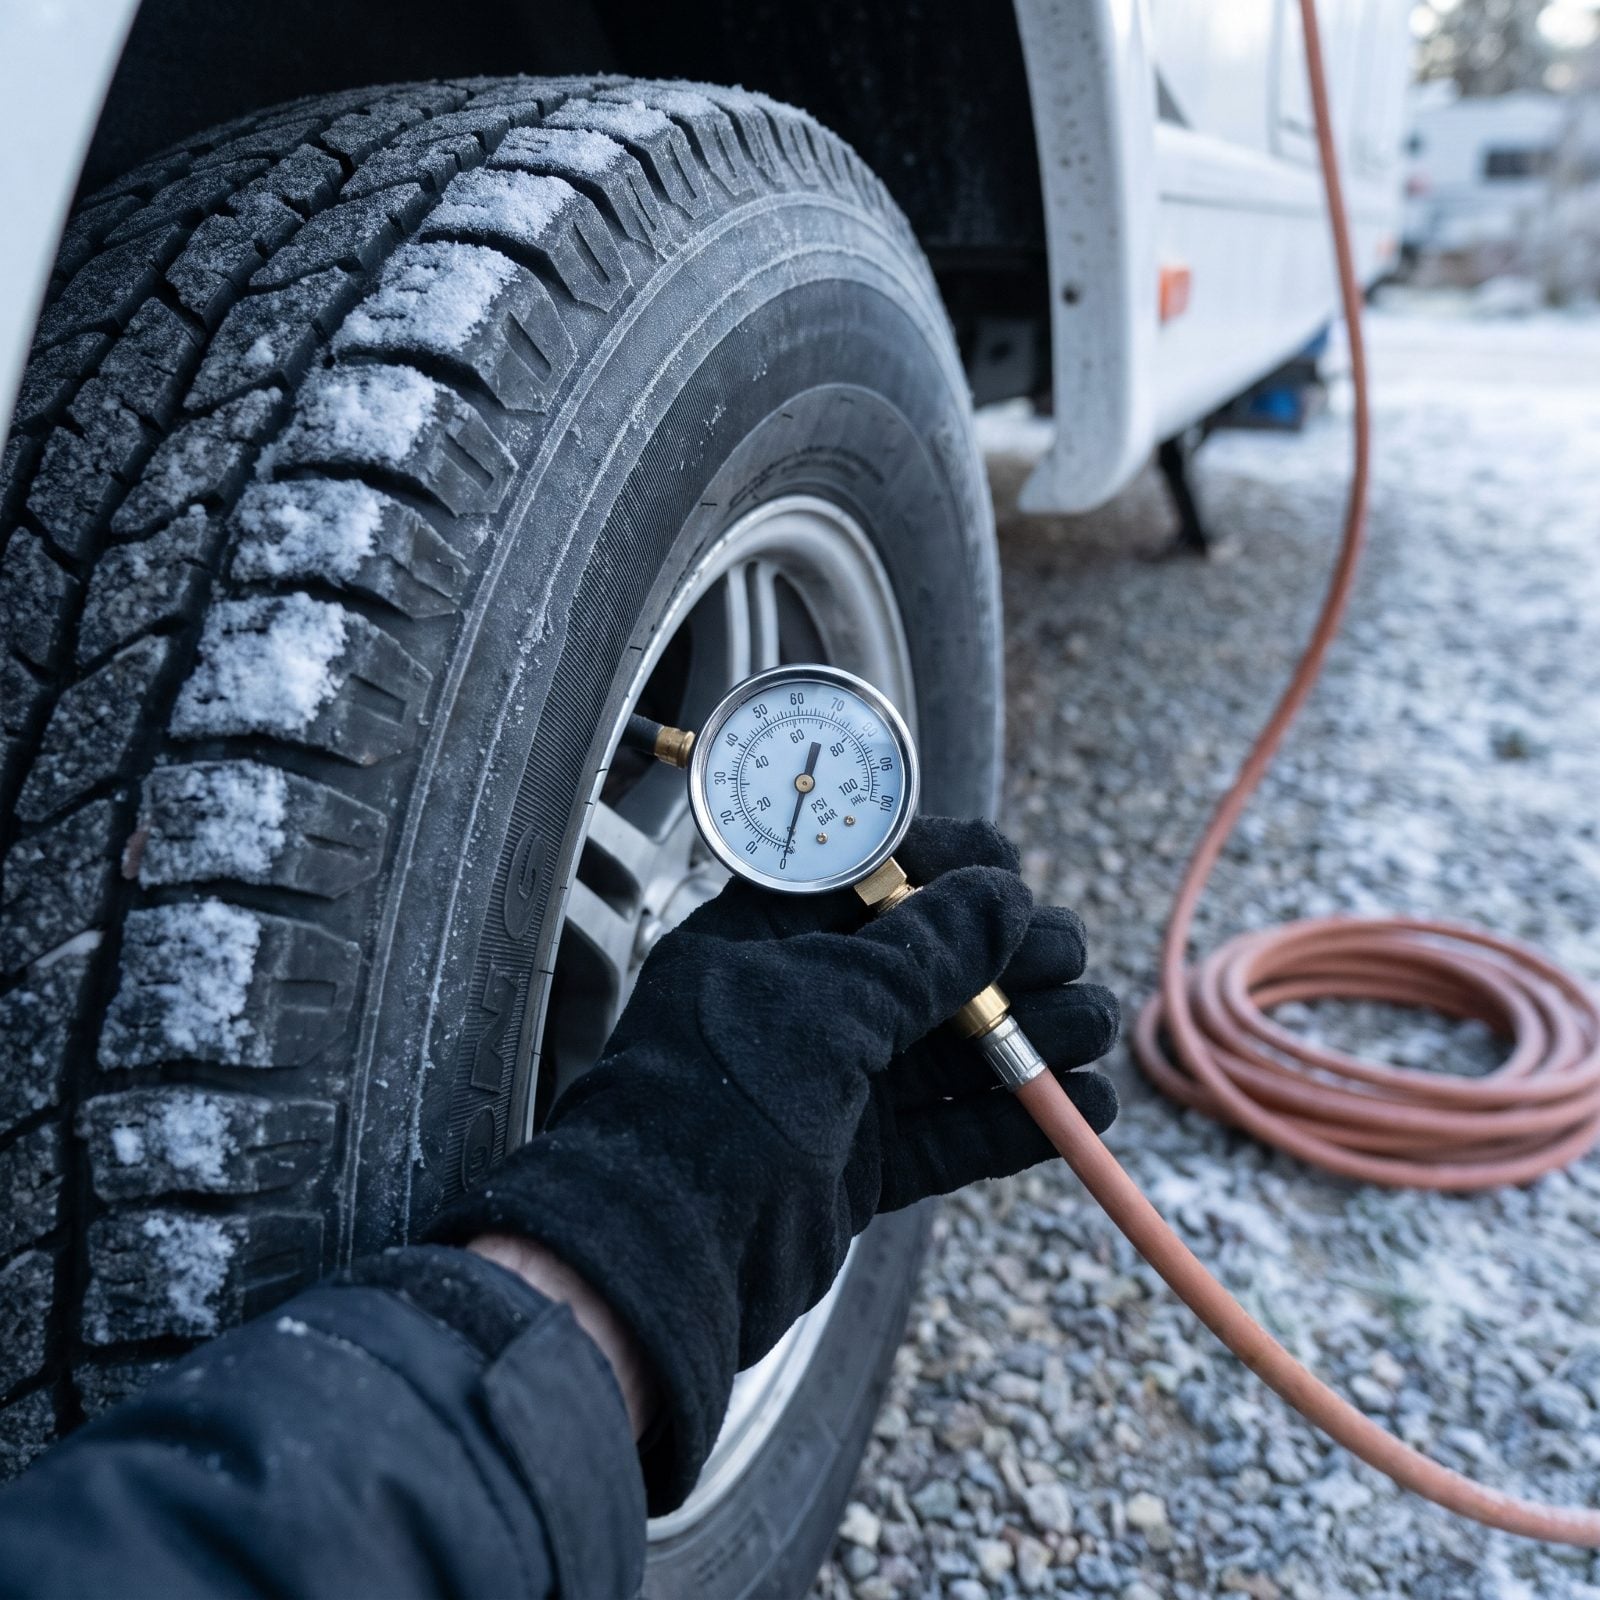
Cold air shrinks. Park your rig overnight in freezing weather and you can lose a couple of PSI per tire before you’ve even had coffee, so the pressure you set at the warm dealer lot back in October is a flat-out lie by December.
Check them first thing, before you roll a single mile. Tires warm as they move and the reading climbs, which means a cold morning check is the only honest number you’ll get. Match the sticker inside your door frame — not whatever looked good last summer. Underinflated tires run hot, chew up their edges, and in snow they squirm right when you’d give anything for them not to.
2. Drain and Stow Water Connections
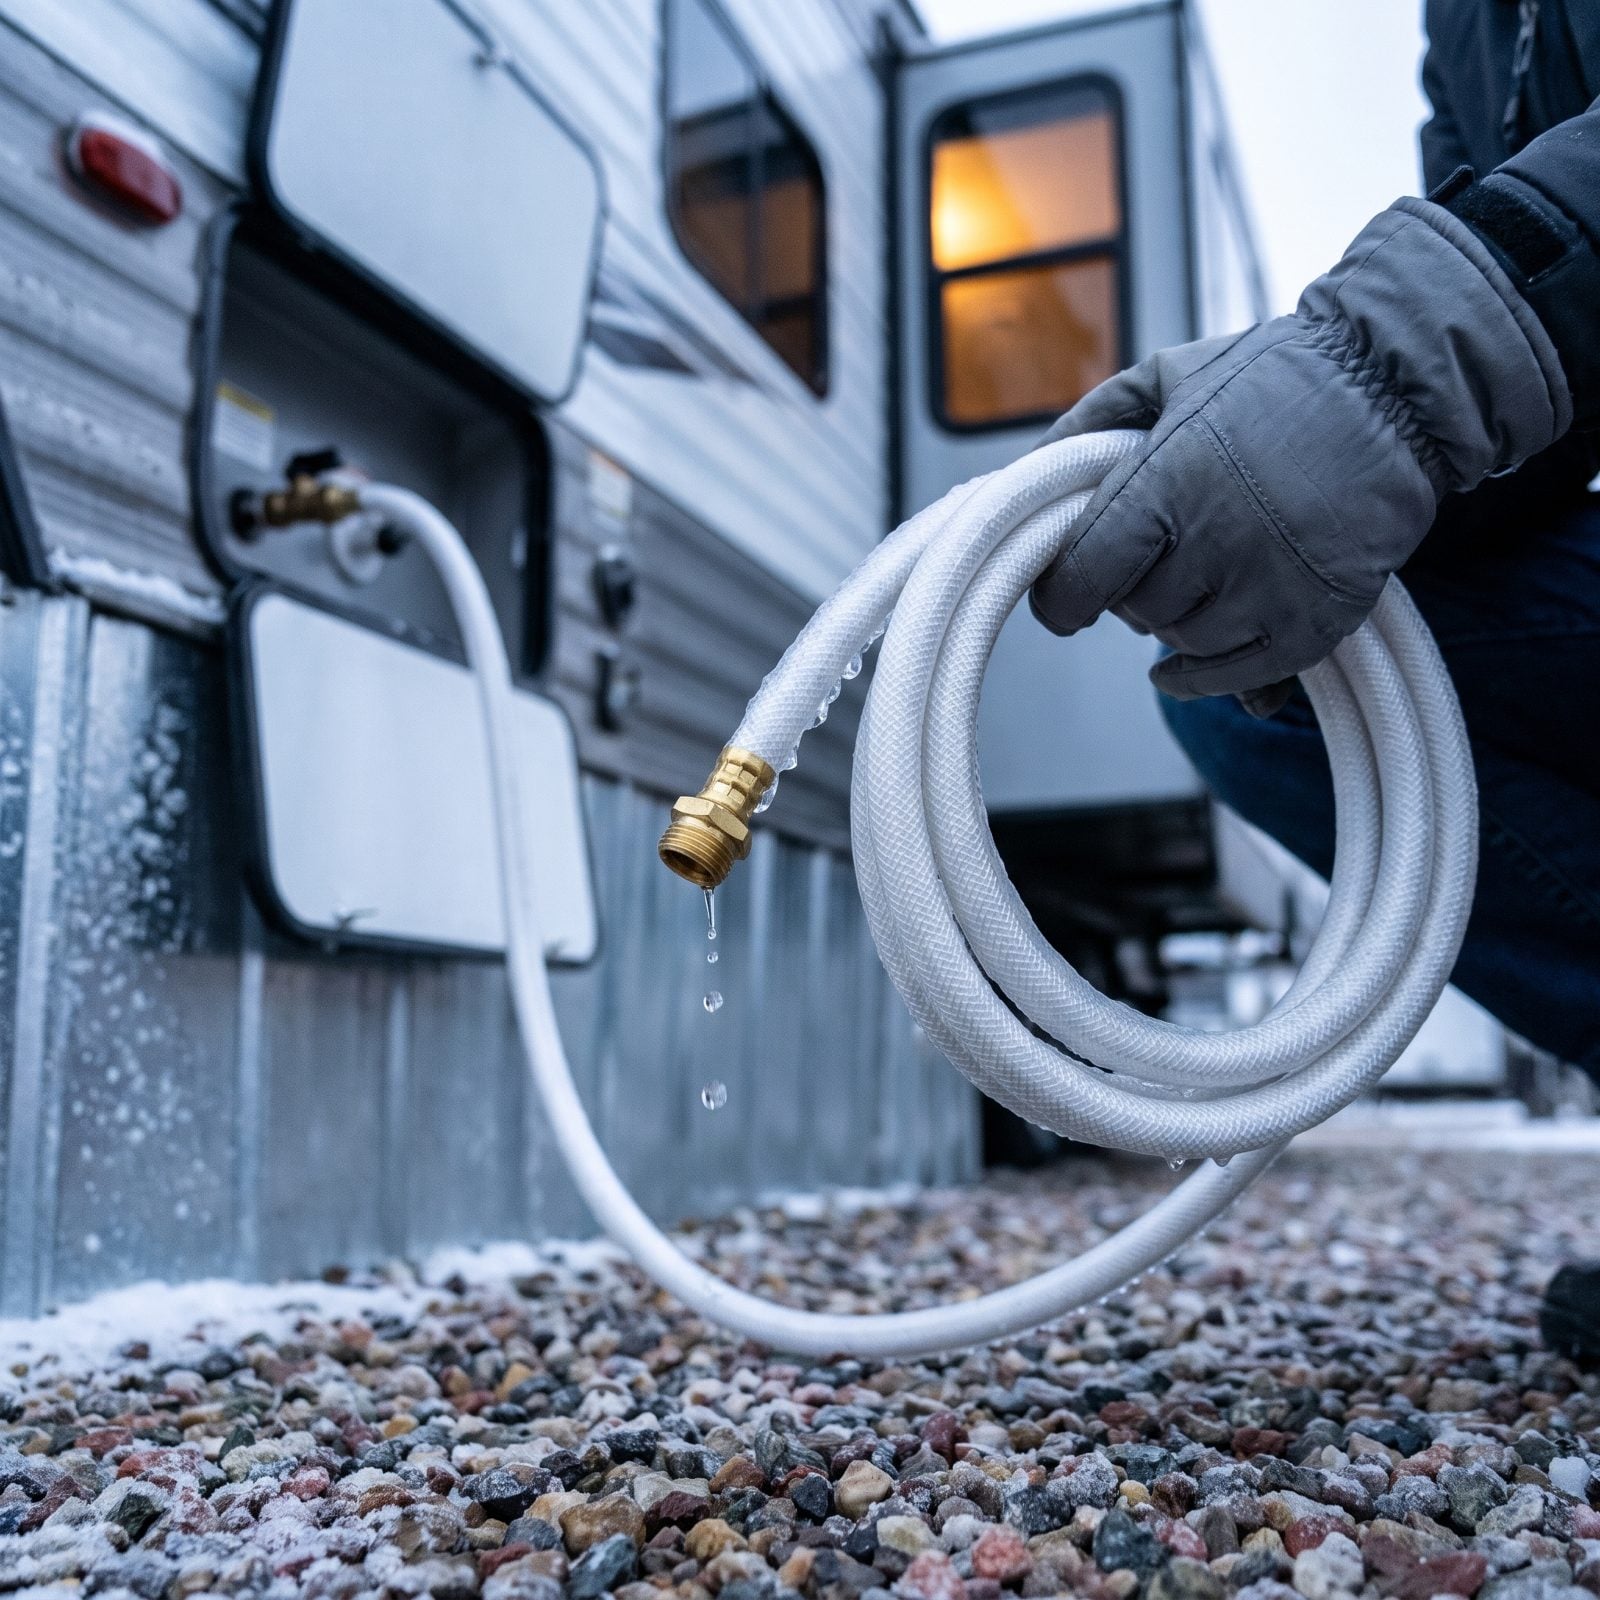
A frozen hose is just annoying. A frozen hose bib or a split line hiding inside your wall is a repair bill and a wrecked trip.
Shut off the city water, crack the valve, and let the hose drain all the way as you coil it, then disconnect it and tuck it somewhere that won’t lock up overnight. Staying put and running off the fresh tank? Keep the hose off completely and fill in short bursts instead. Pop the low-point drains for a few seconds to clear the standing water that likes to pool in the lines and freeze. Anything holding water that sits outside in sub-freezing air is a crack waiting to happen.
Nobody wants to be chipping a solid block of ice out of a hose at a trailhead while everyone else eats breakfast. Drain it. Every single time.
1. Complete a Lights-and-Brakes Walkaround
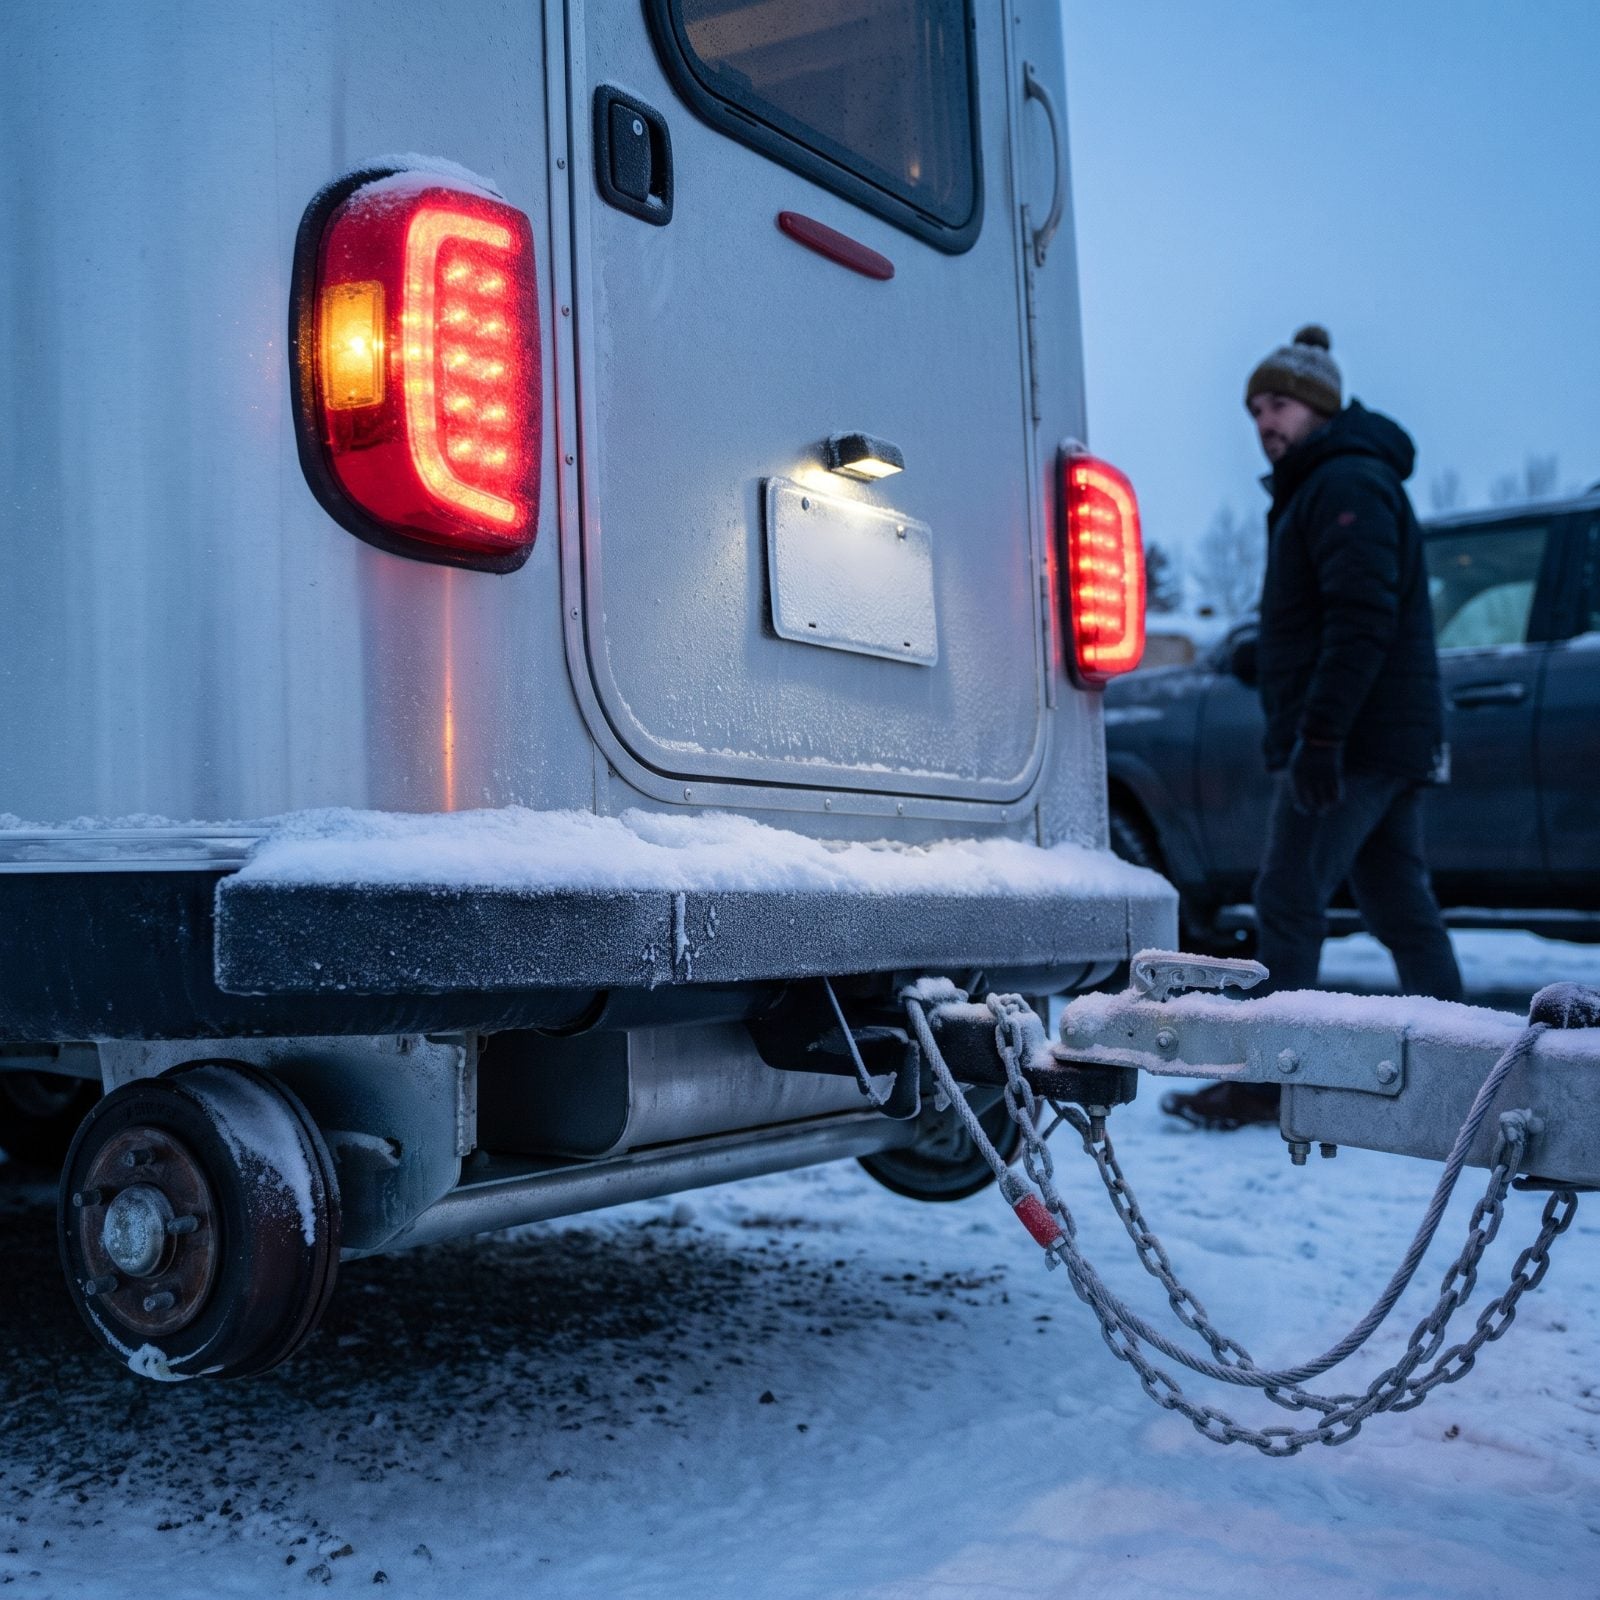
Short winter days mean you’ll be driving in the dark whether you planned on it or not. Half the holiday traffic out there is braking in gloom and road spray, and a dead tail light turns your rig into a nasty surprise for the guy behind you.
Walk it with a helper. Or prop your phone up on video and play it back after. Hit the brakes, work the turn signals, the running lights, the reverse lights, and watch every bulb on both the tow vehicle and the trailer actually fire. Confirm the breakaway cable is clipped and the safety chains are crossed under the coupler, not left hanging in loose loops off to the side. Road salt and cold eat connections fast, and a corroded ground is almost always the culprit when half your lights suddenly go dark.
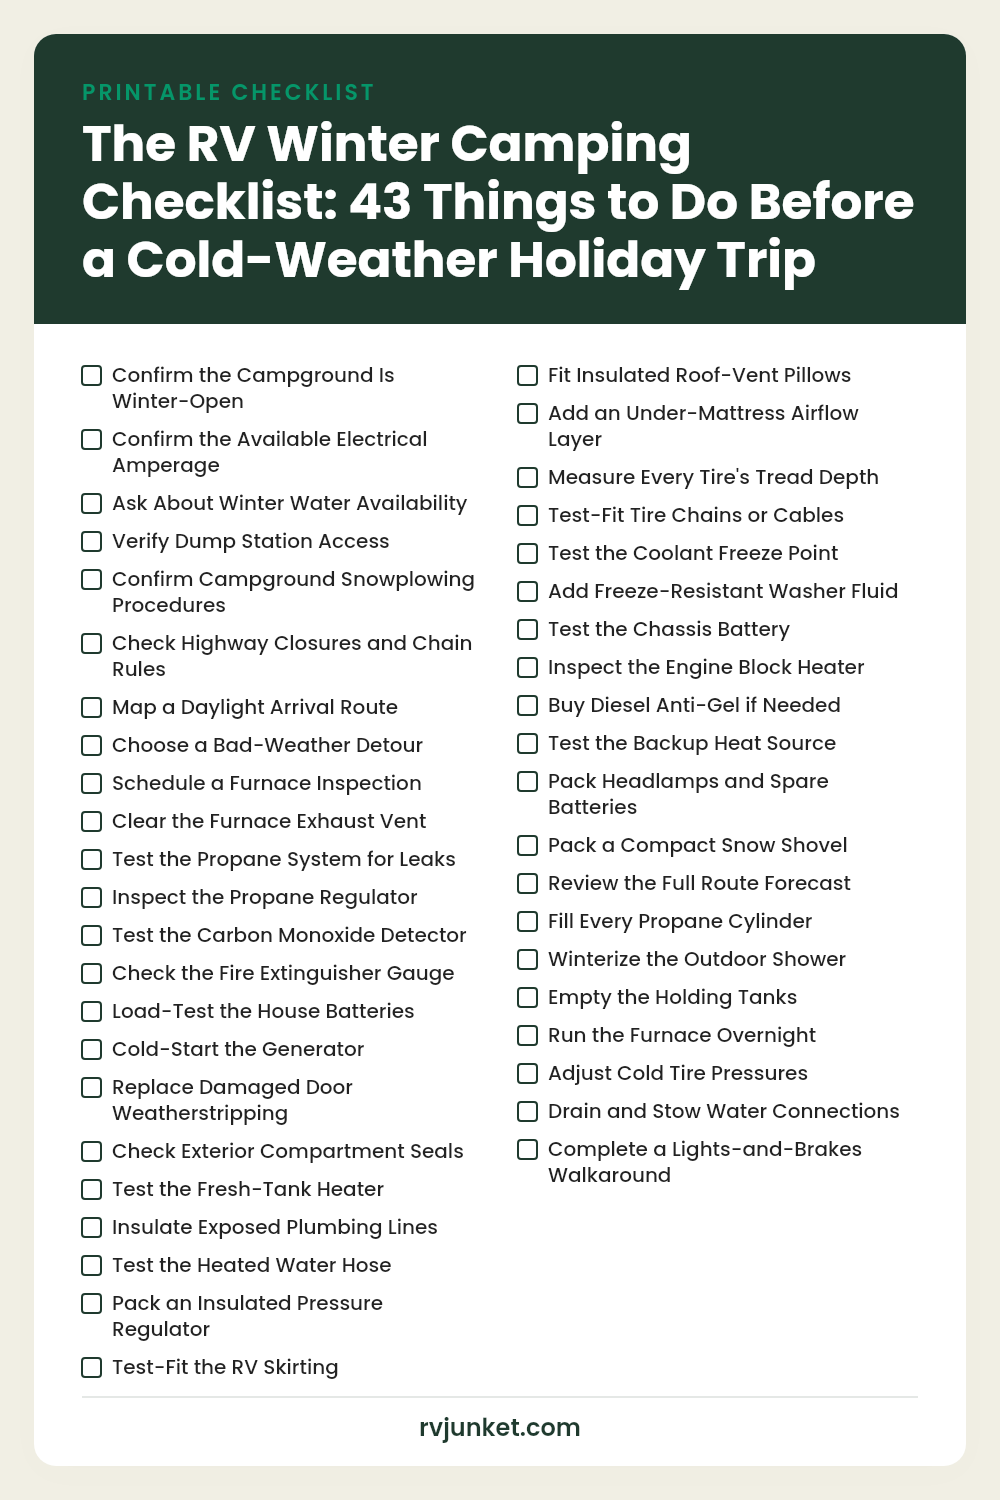
Your Printable Checklist
Save it to Pinterest or print it — every check from the list above on one page.