
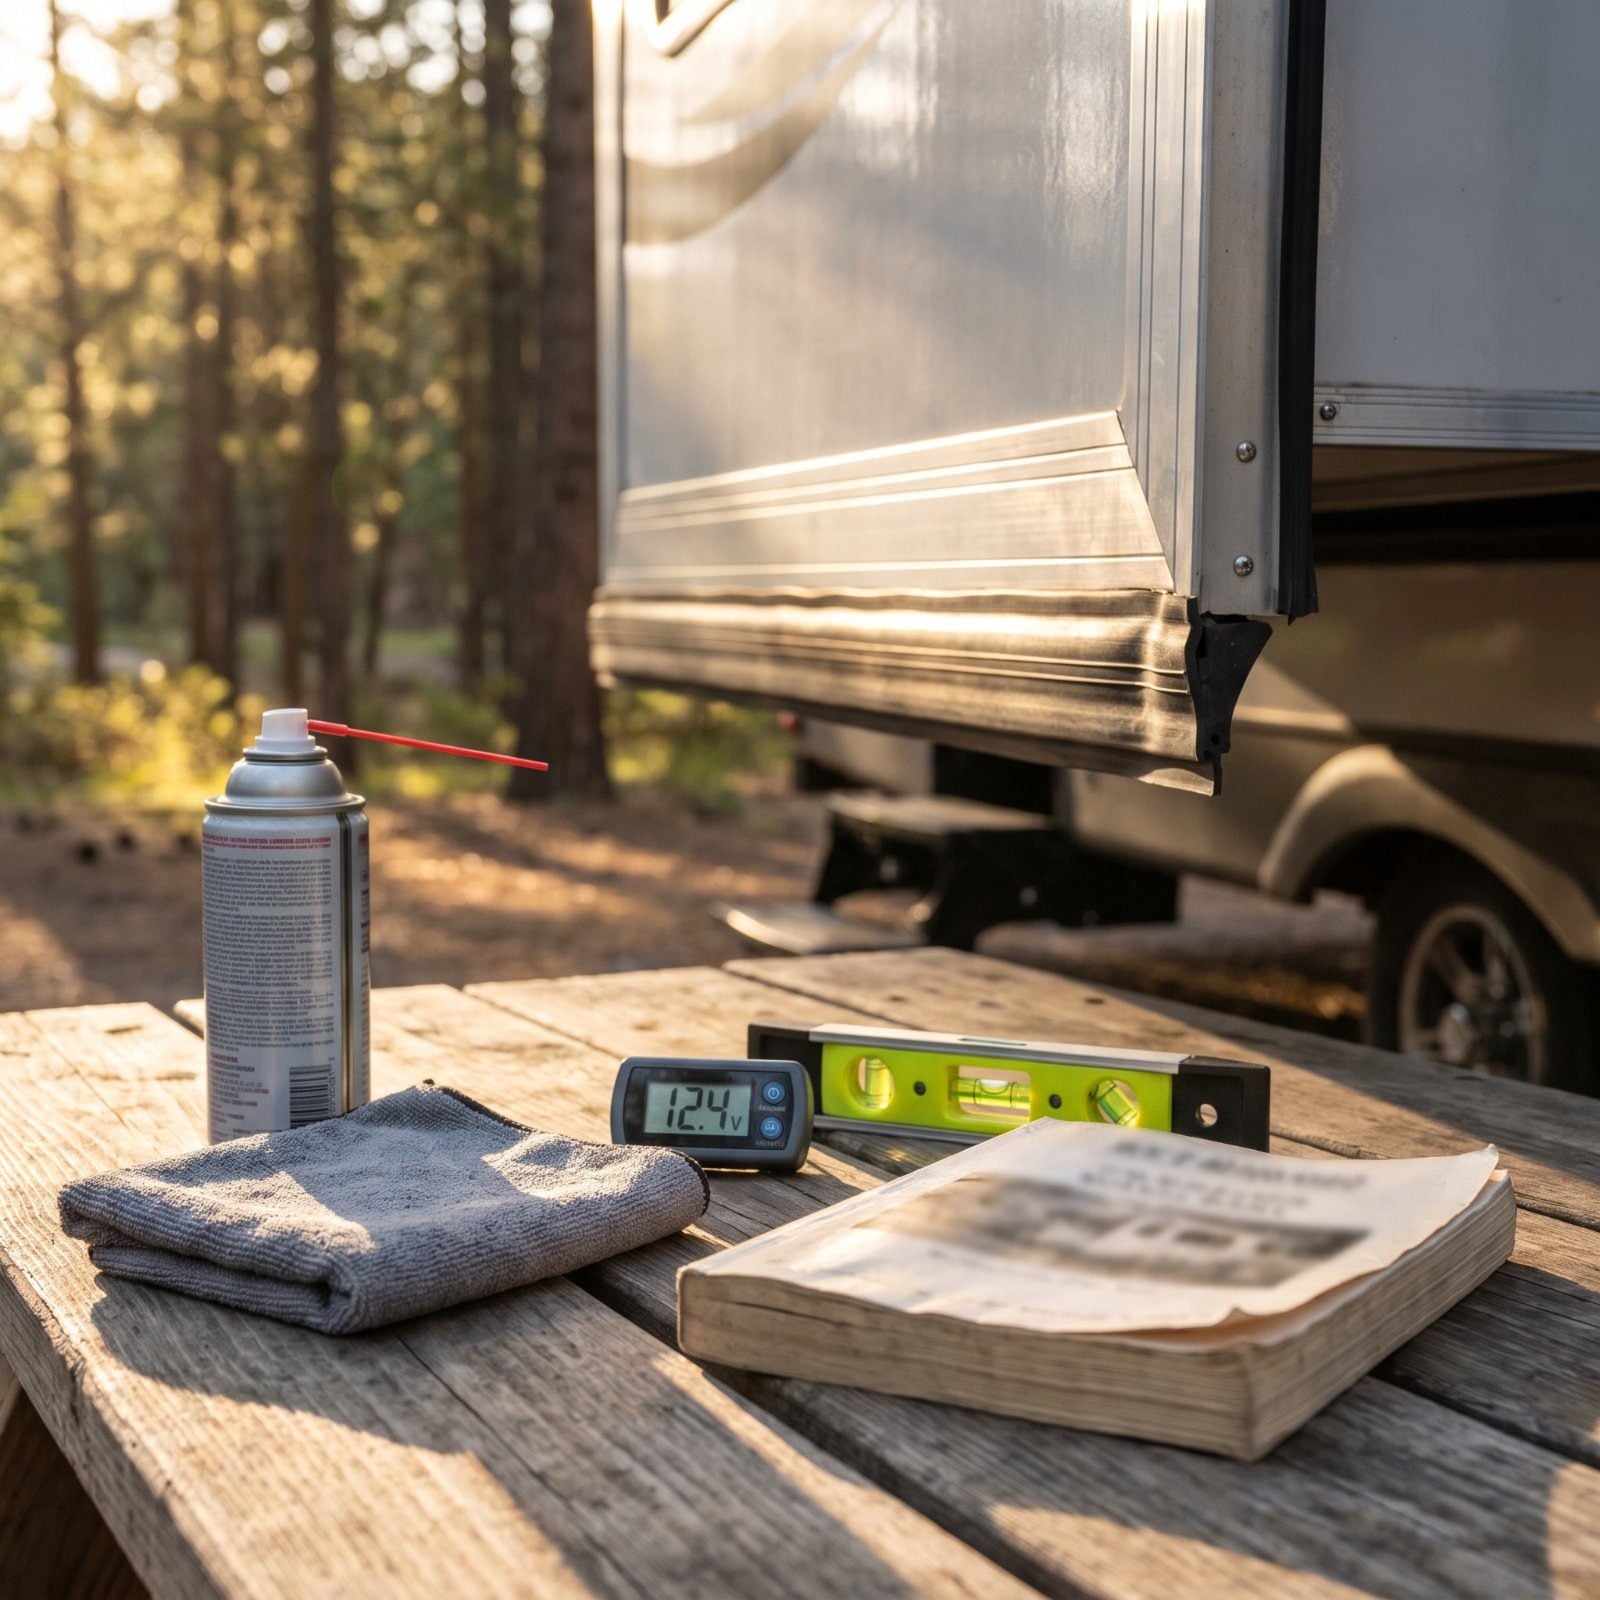
A slide-out is the single most satisfying button in the whole rig. You press it, the room grows, and suddenly the camper feels like a house. It’s also the most expensive thing to get wrong. One rushed push of that switch can crush a seal, warp a floor, or strand you with a room stuck halfway out and a long tow ahead.
Please note that some of the images in this article were created with the assistance of AI.
Most of these errors happen out of habit or hurry, not carelessness. The fixes cost a lot less than the repairs. Here’s what trips people up and what to do instead.
41. Pulling Out of the Site With the Slide Still Halfway In
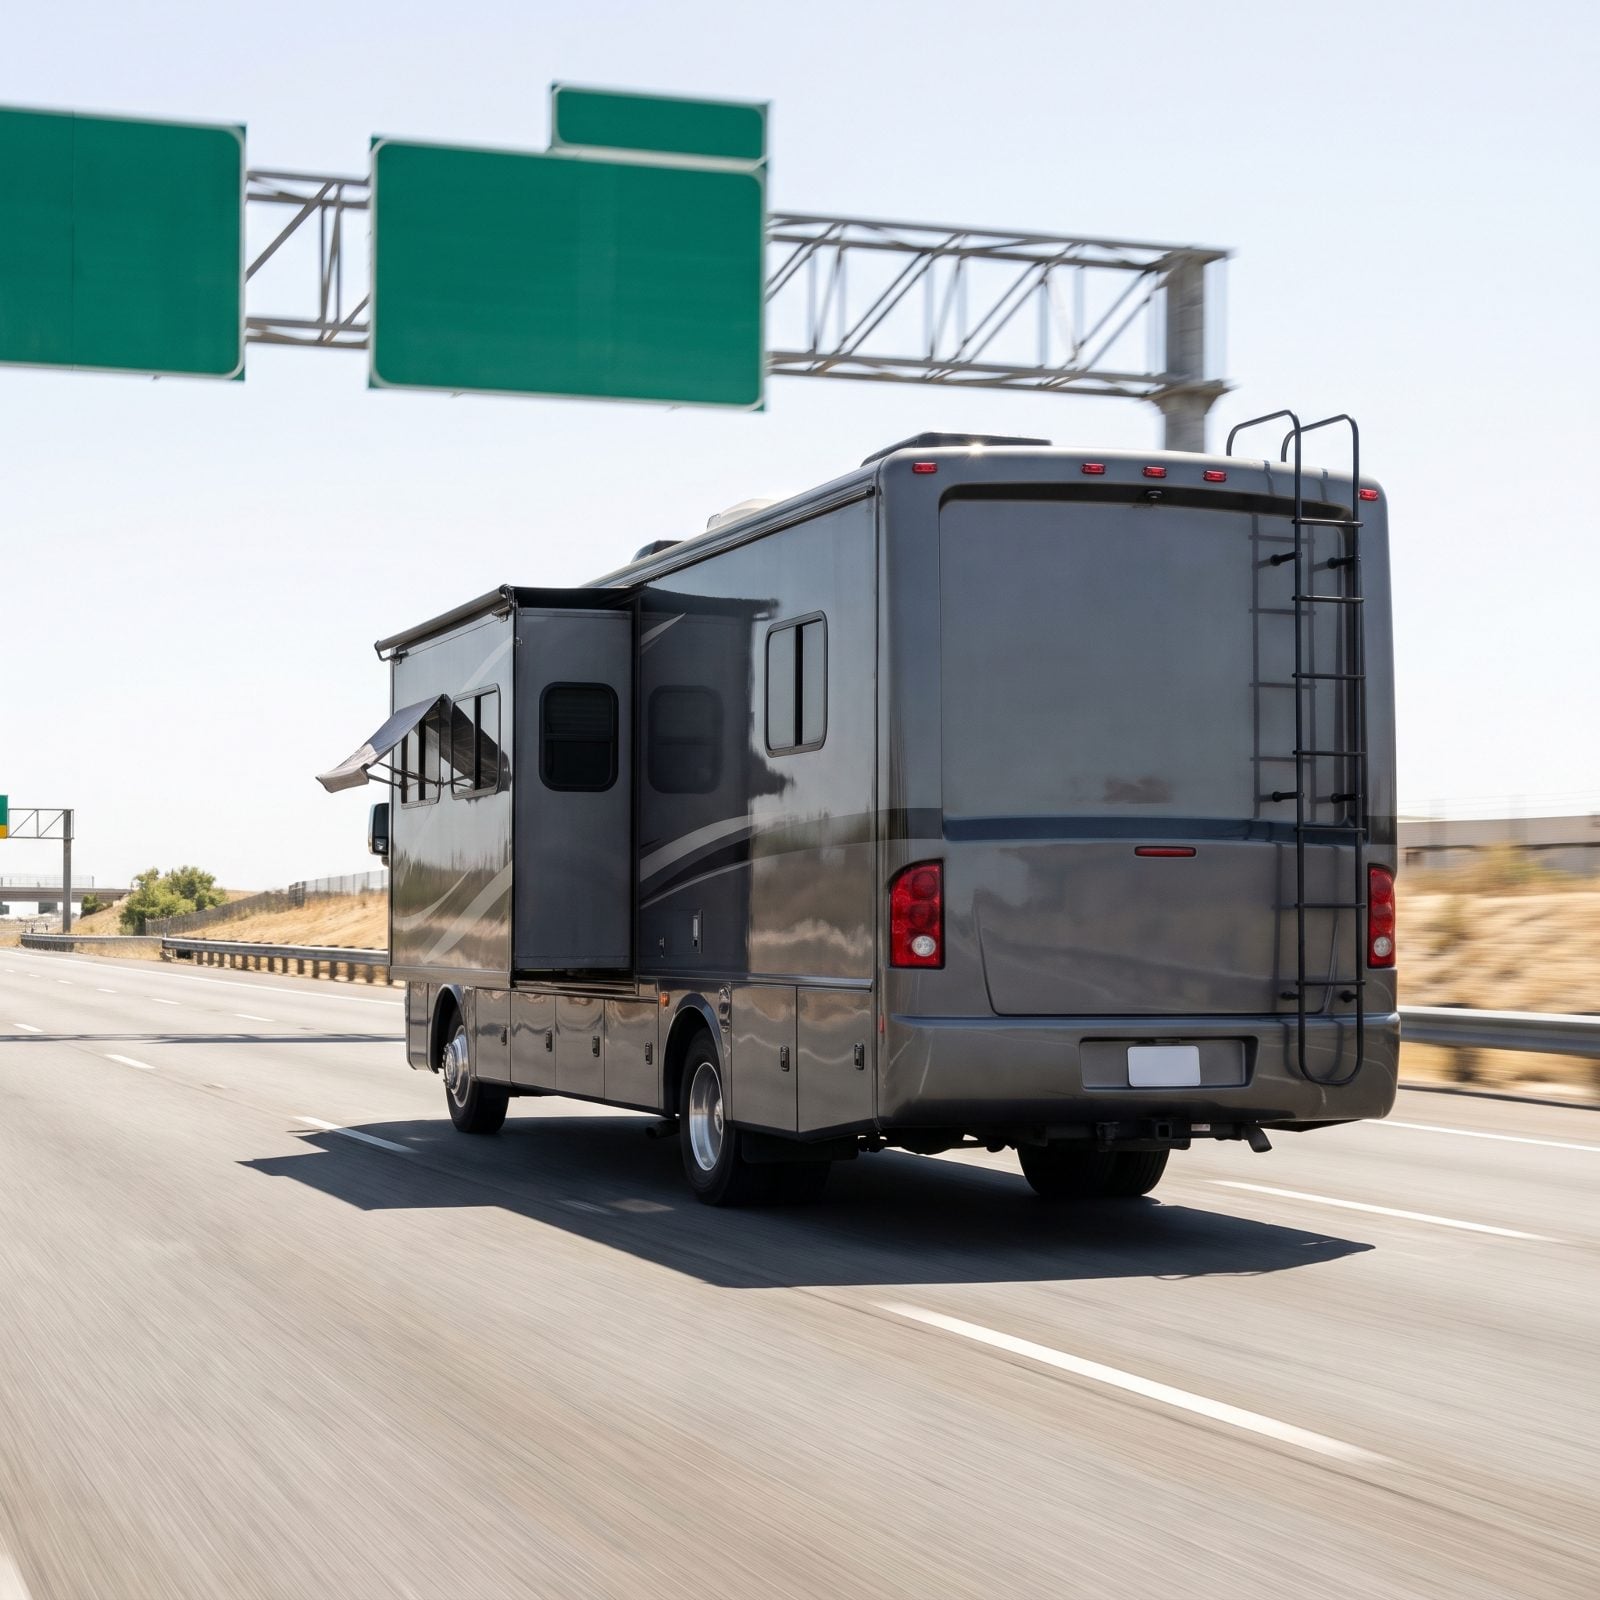
The slide looks closed until you’re doing 55 on the interstate and hear something flapping. A room left partway out shears its seals against the opening and snaps rollers, and a hard bump can rip the whole mechanism loose. Repairs run into real money, and you might not notice until a service bay points it out.
Build a walk-around ritual you do every single time, even for the three-mile move. Stand at each slide, put a hand flat on the wall, confirm it’s flush and the seal sits even top to bottom. I got lazy about this exactly once and spent an afternoon listening for a rattle that turned out to be a crushed wiper. Do the lap. Trust your eyes, not the dash light.
40. Swapping In a Bigger Fuse So It Stops Blowing
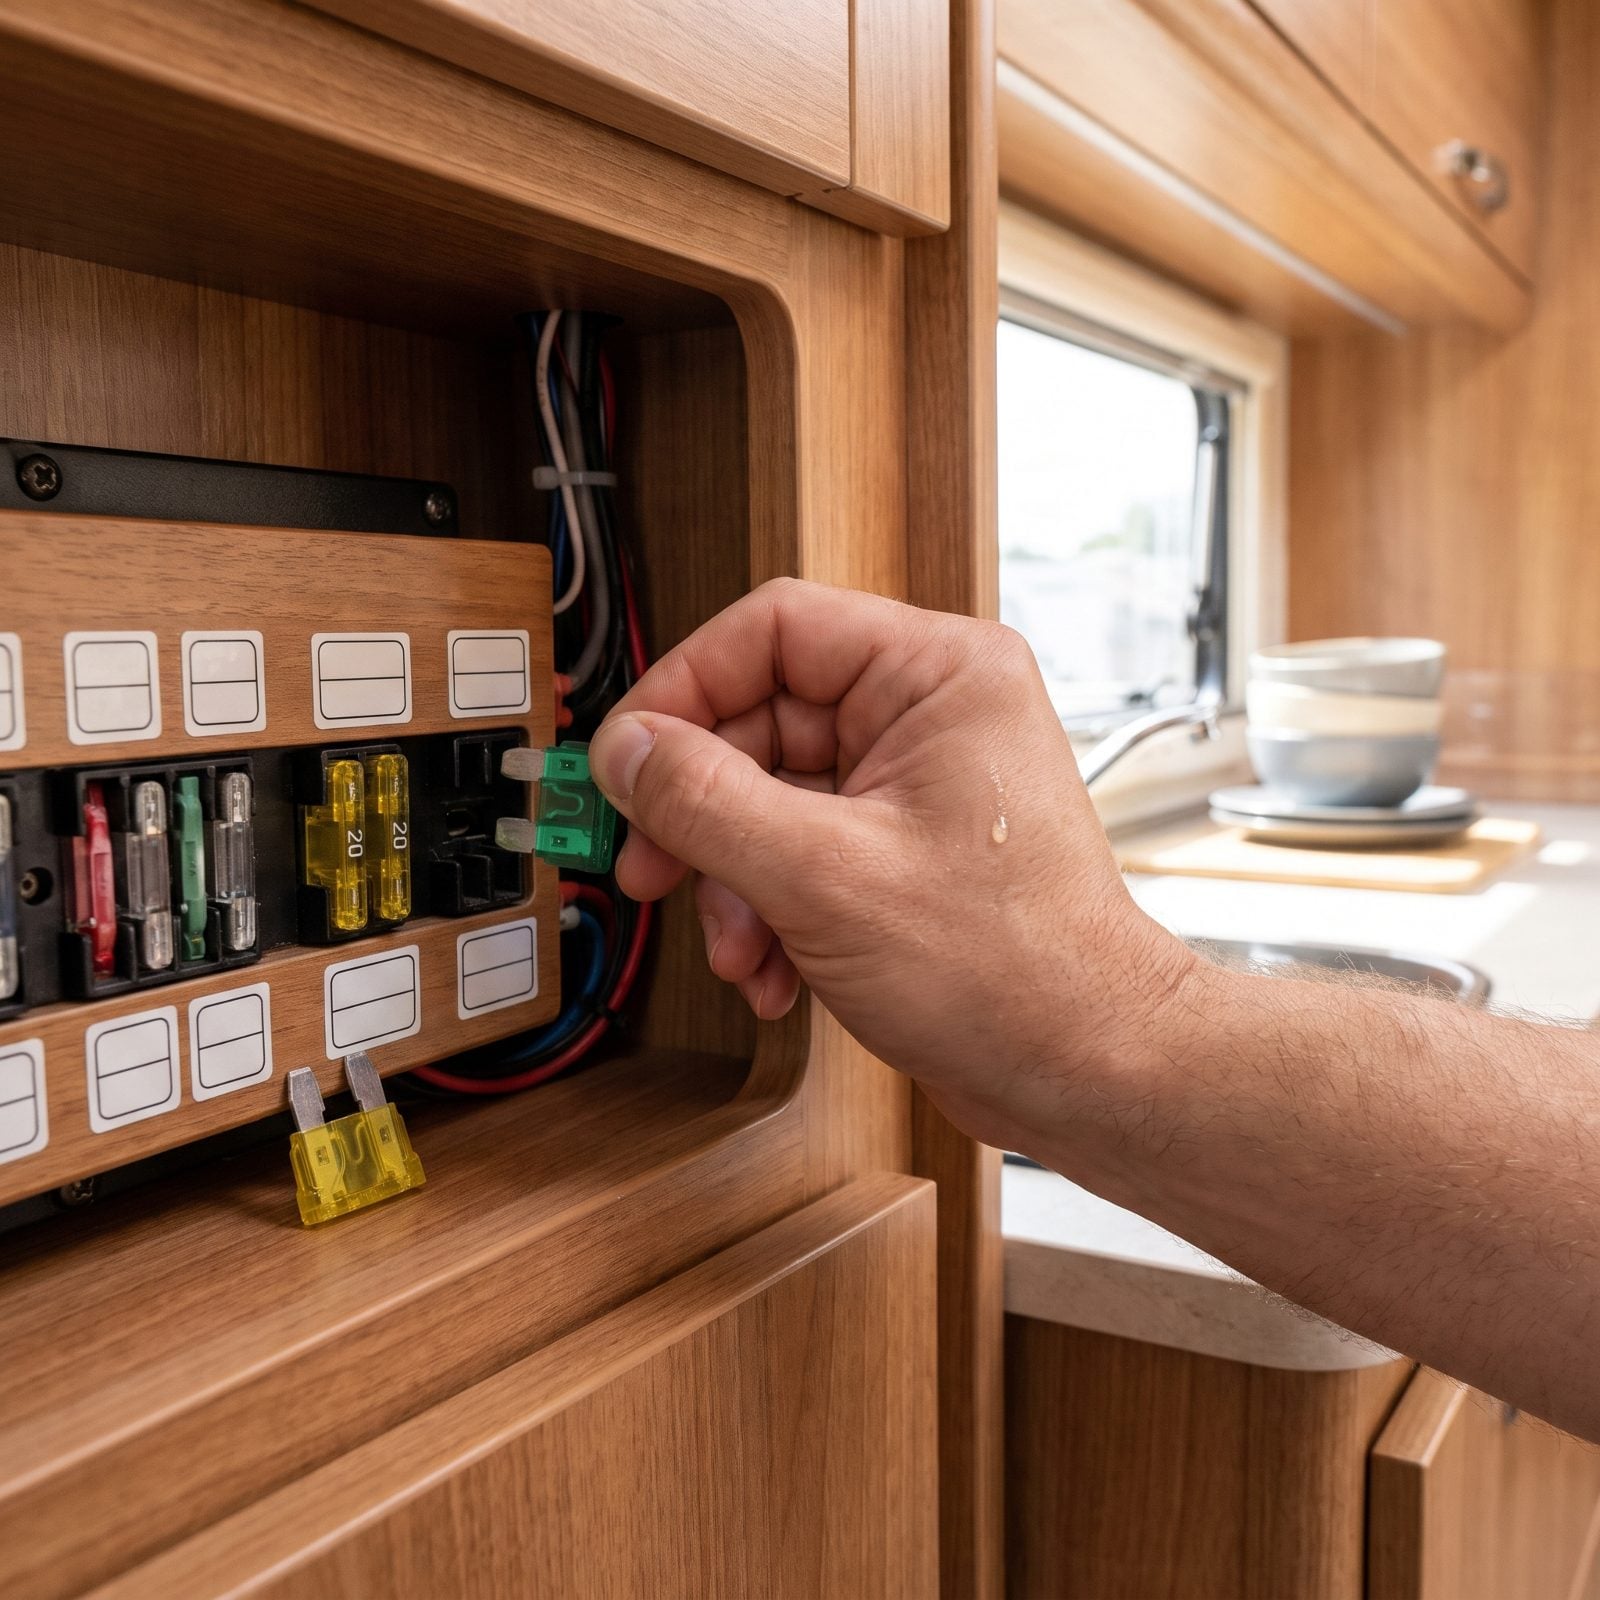
The slide pops a fuse, you’re tired, and there’s a 30-amp in the kit when a 20 keeps dying. Tempting. Also one of the fastest ways to melt wiring or torch a motor.
That fuse is a sacrificial speed bump. It blows because something downstream is drawing more current than the circuit can safely handle. Upsize it and the next weak link becomes the wire inside your wall, which does not have a nice reset switch.
When a fuse keeps going, treat it as a message. Check for a binding slide, debris in the track, a weak battery straining the motor, a corroded connection. Replace with the exact rating stamped on the panel. If it still blows, you’ve got a real fault — that’s worth a tech, not a bigger fuse.
39. Forcing a Slide That’s Frozen Shut in the Cold
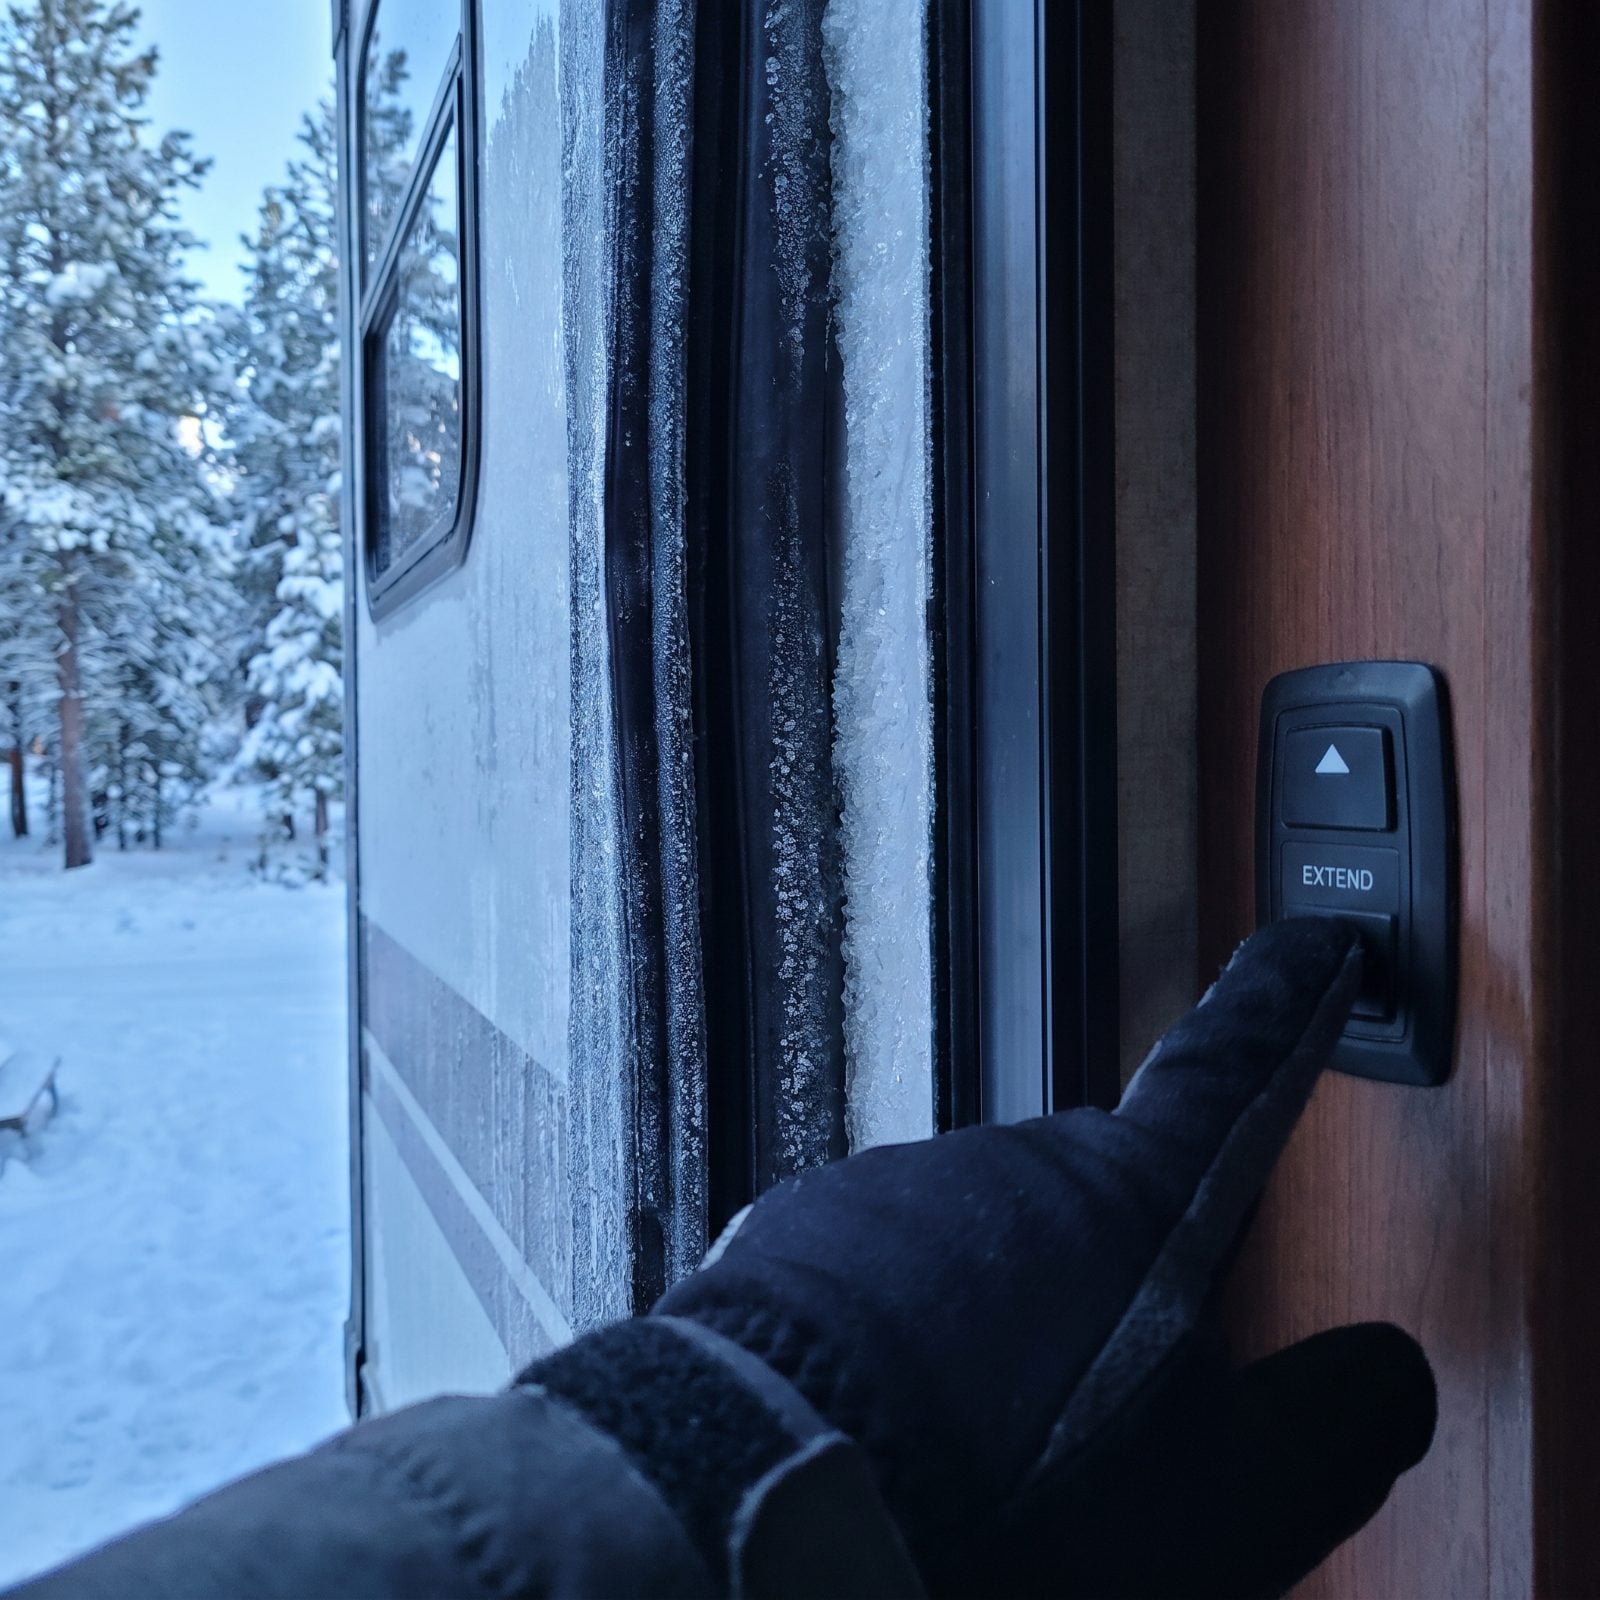
Cold snap overnight, and that seal is now glued to the body with ice. Hit the button anyway and the motor strains against a frozen bond, which is how you tear rubber, slip gears, or trip the whole mechanism.
Warm it first. Run the furnace for a while so interior heat loosens things from the inside. Outside, gently thaw the seal line with warm — not boiling — water and a soft cloth, then wipe it dry. Stay ahead of the problem by treating the seals a few times a season with a rubber conditioner so they stay supple and shed ice instead of grabbing it.
38. Hammering the Switch Back and Forth on a Jammed Room

A slide hangs up halfway, so you jab in, out, in, out, hoping it’ll free itself. Usually it just chews the problem deeper. Each cycle strips teeth off the gear rack, bends a rail, or burns the motor, turning a ten-dollar obstruction into a tow and a rebuild.
Stop at the first sign of resistance. Walk outside and actually look. Nine times out of ten it’s something obvious — a stone in the track, a bunched rug inside, a rail knocked out of sync so one side leads the other. Clear the cause, check the room sits square, then cycle it once, slowly.
37. Pushing the Room Out Before the Rig Is Level
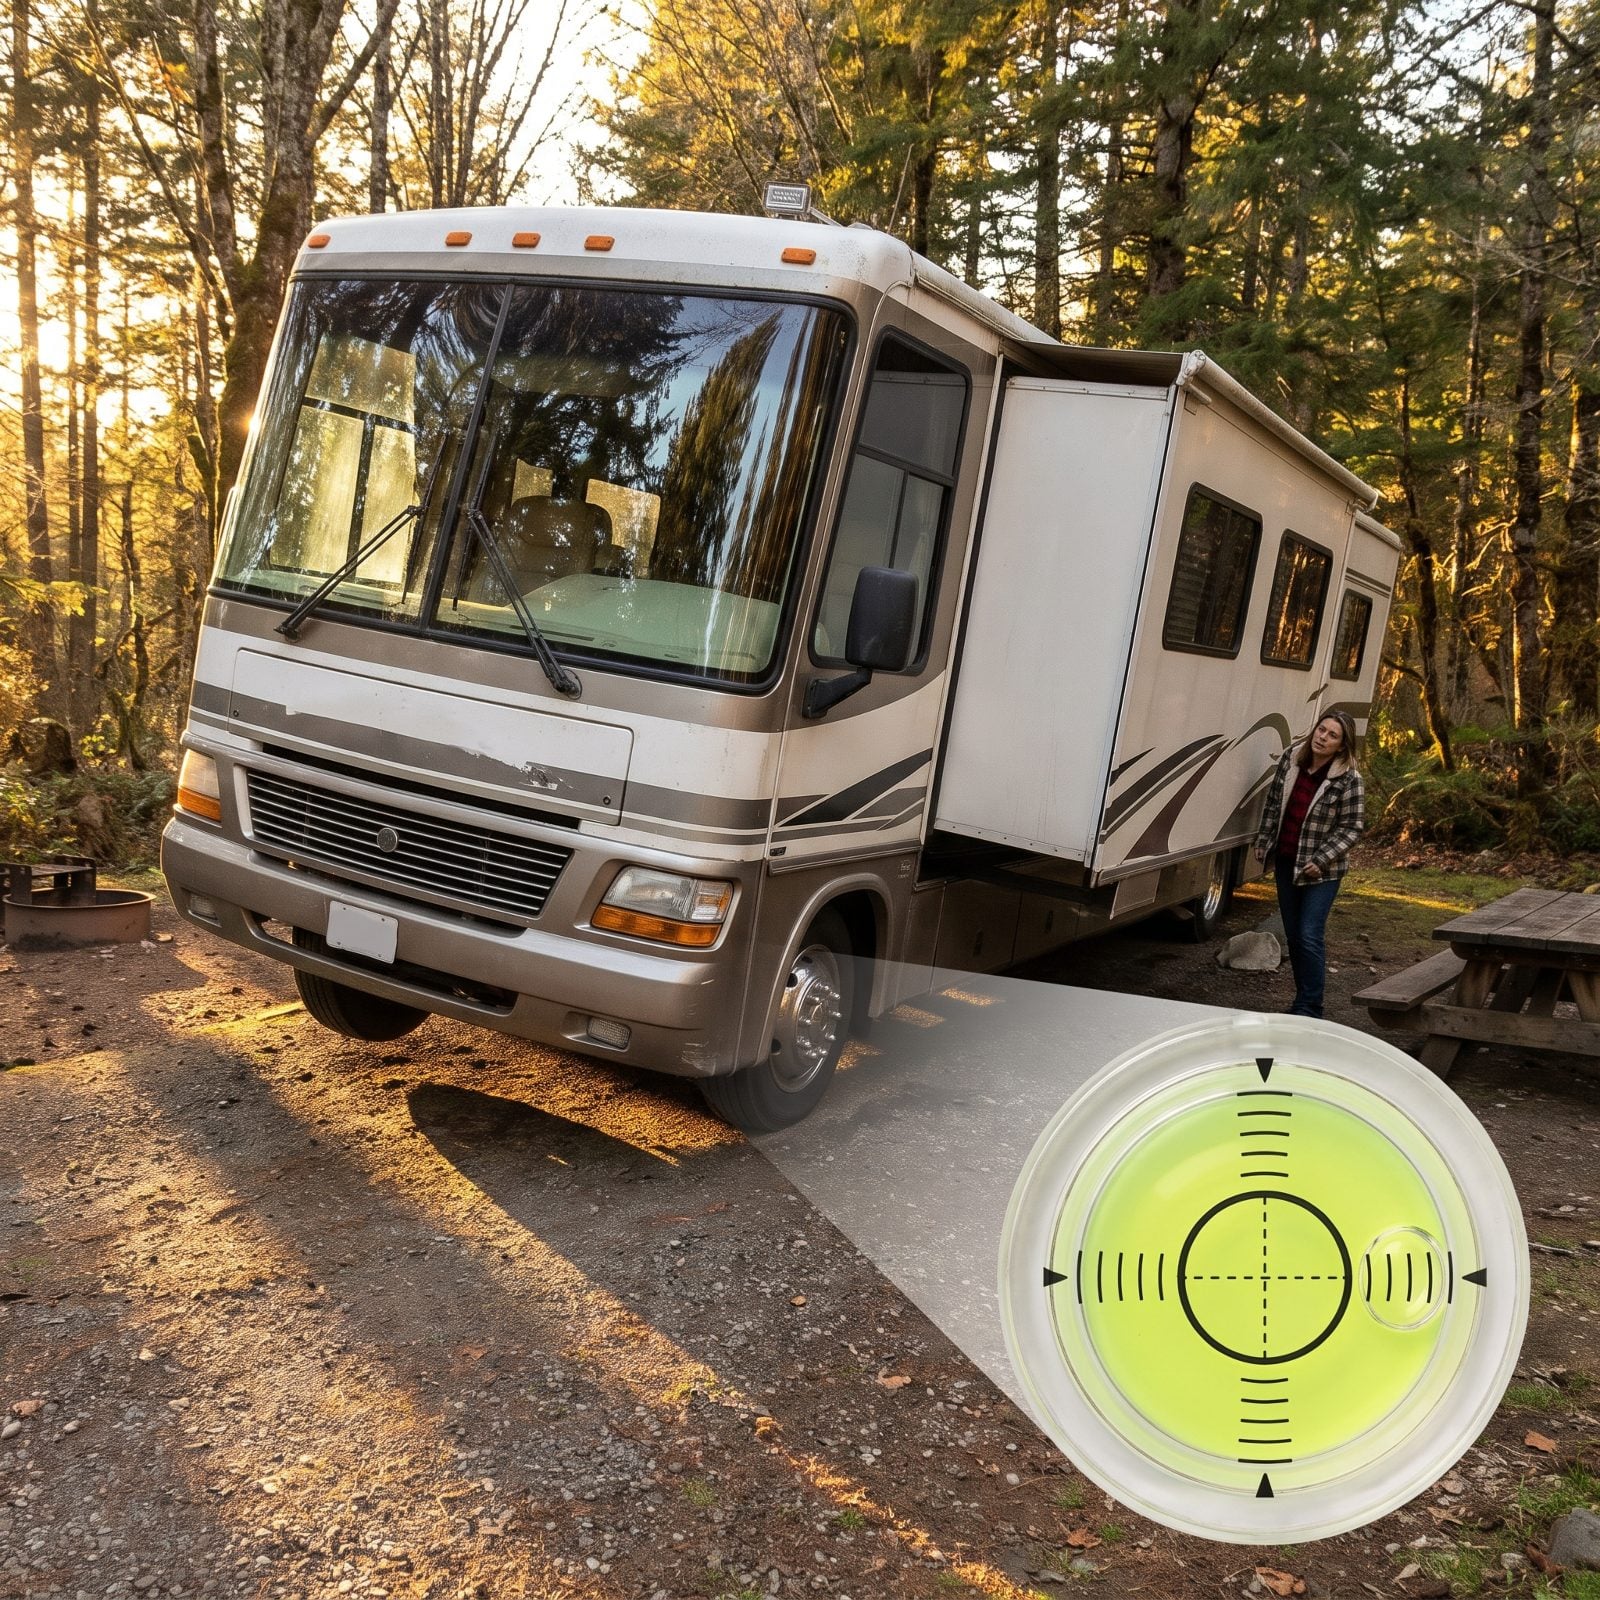
You roll in late, you want the bed, out comes the slide before the rig is sitting flat. On a slope, a slide room racks diagonally, binding one rail and dragging the opposite seal. That uneven strain wears the mechanism lopsided over time and leaves gaps where water finds its way in.
Level first, always, in that order: level the coach, set the jacks or stabilizers, then run the slides. A room pushed out on flat footing moves square and seals clean. One shoved out on a tilt fights gravity the whole trip.
36. Skipping the Look Up and the Look Out Before You Extend
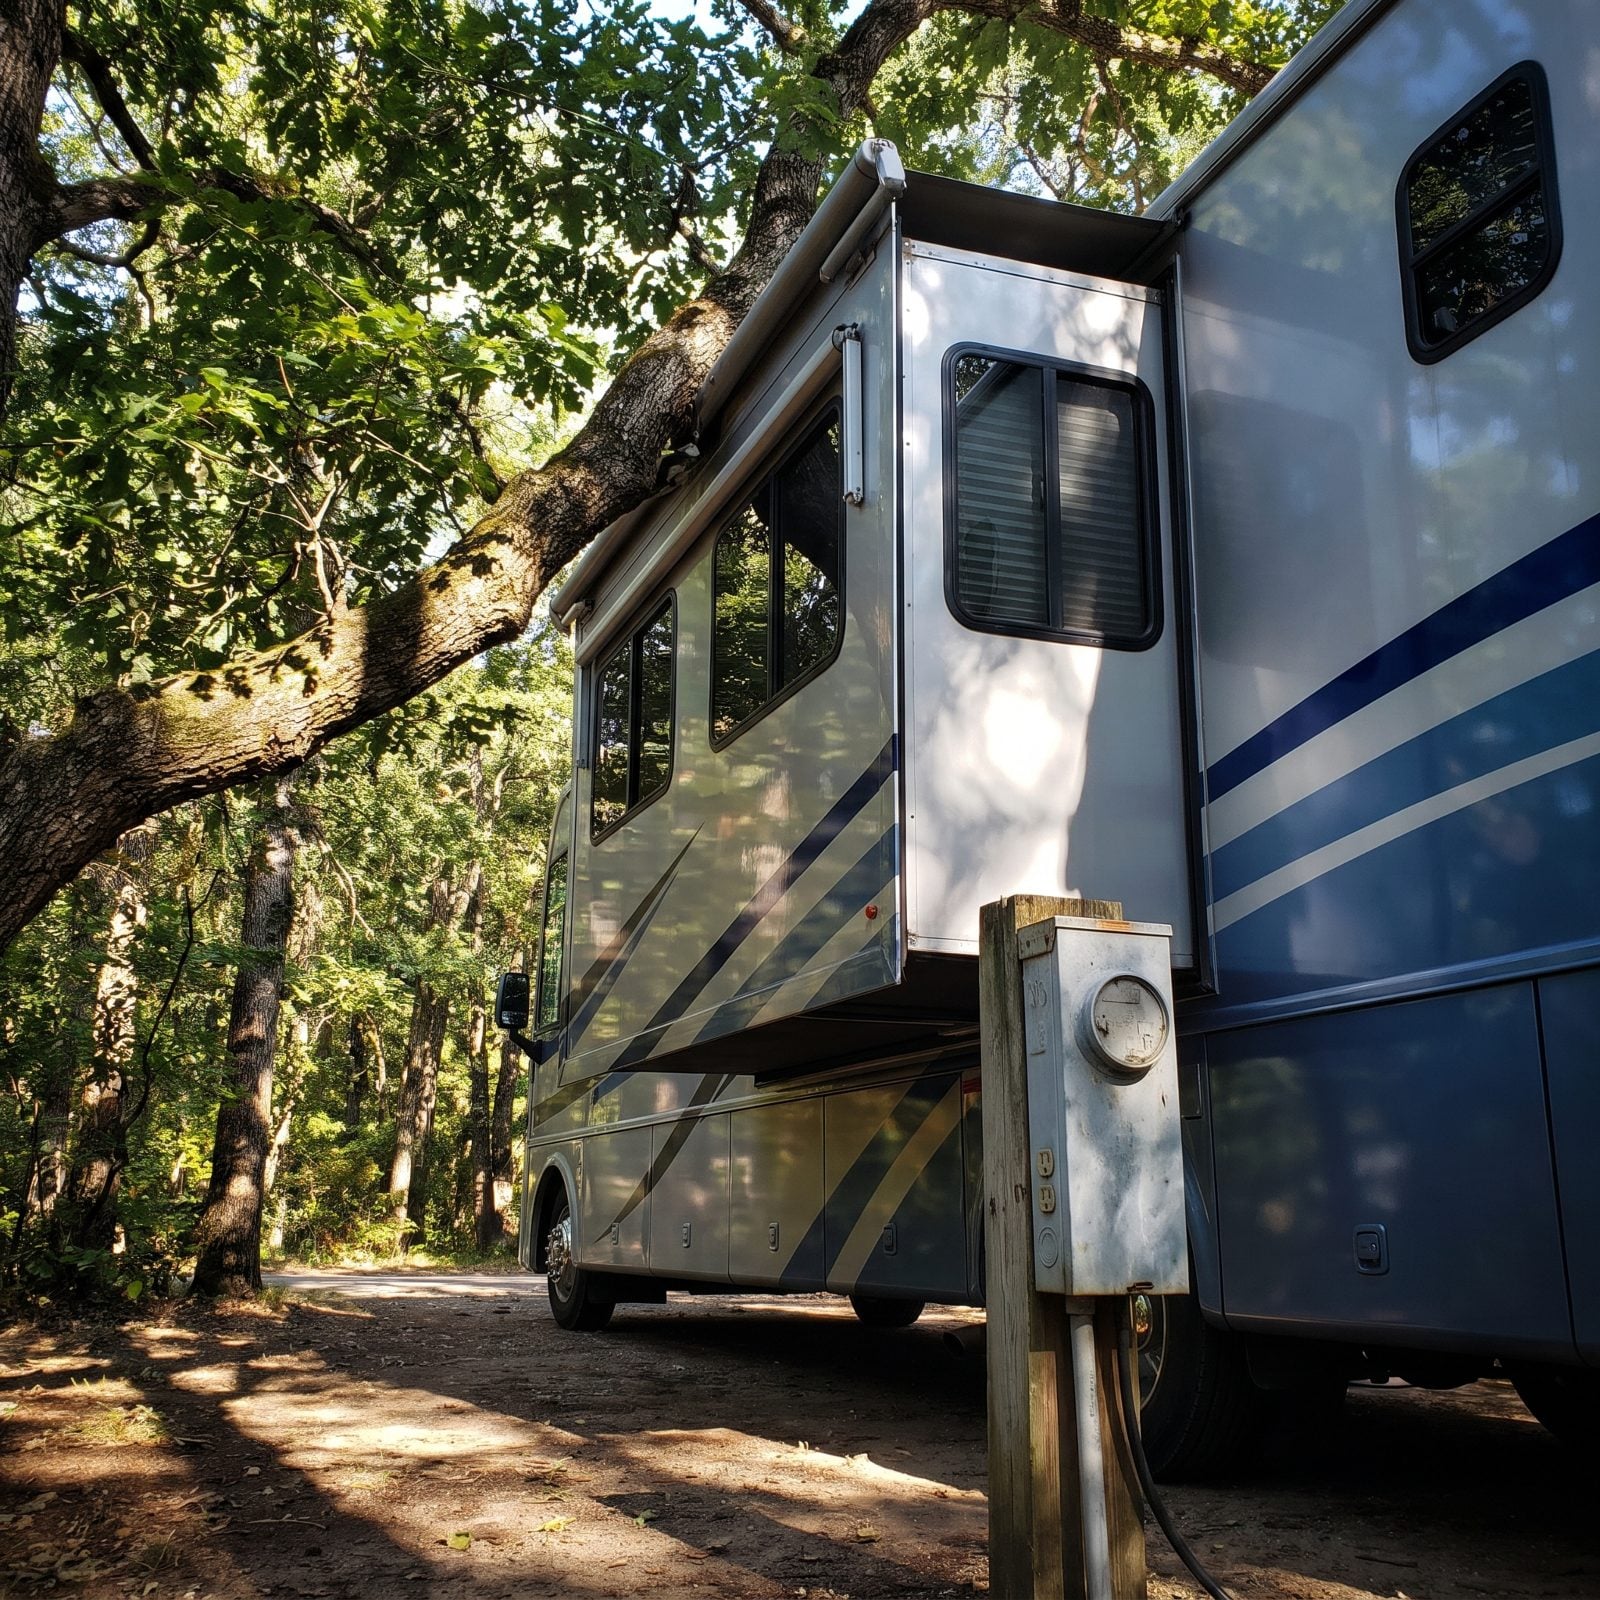
Campsites aren’t parking lots. There’s the tree you parked under, the power pedestal on the driver’s side, the neighbor’s awning, a picnic table nobody moved. Extend blind and the slide crunches into it — scraping the room, splitting a topper, wedging the whole thing against bark.
Before you press the button, walk the full arc the room will sweep, both out to the side and overhead. Modern slides reach three feet or more. Confirm the topper has room above, confirm the ground path is clear, then extend while watching. Fifteen seconds. A new topper and a bodywork fix take a lot longer.
35. Forgetting the Floor, the Rug, the Open Drawer, the Cabinet Door
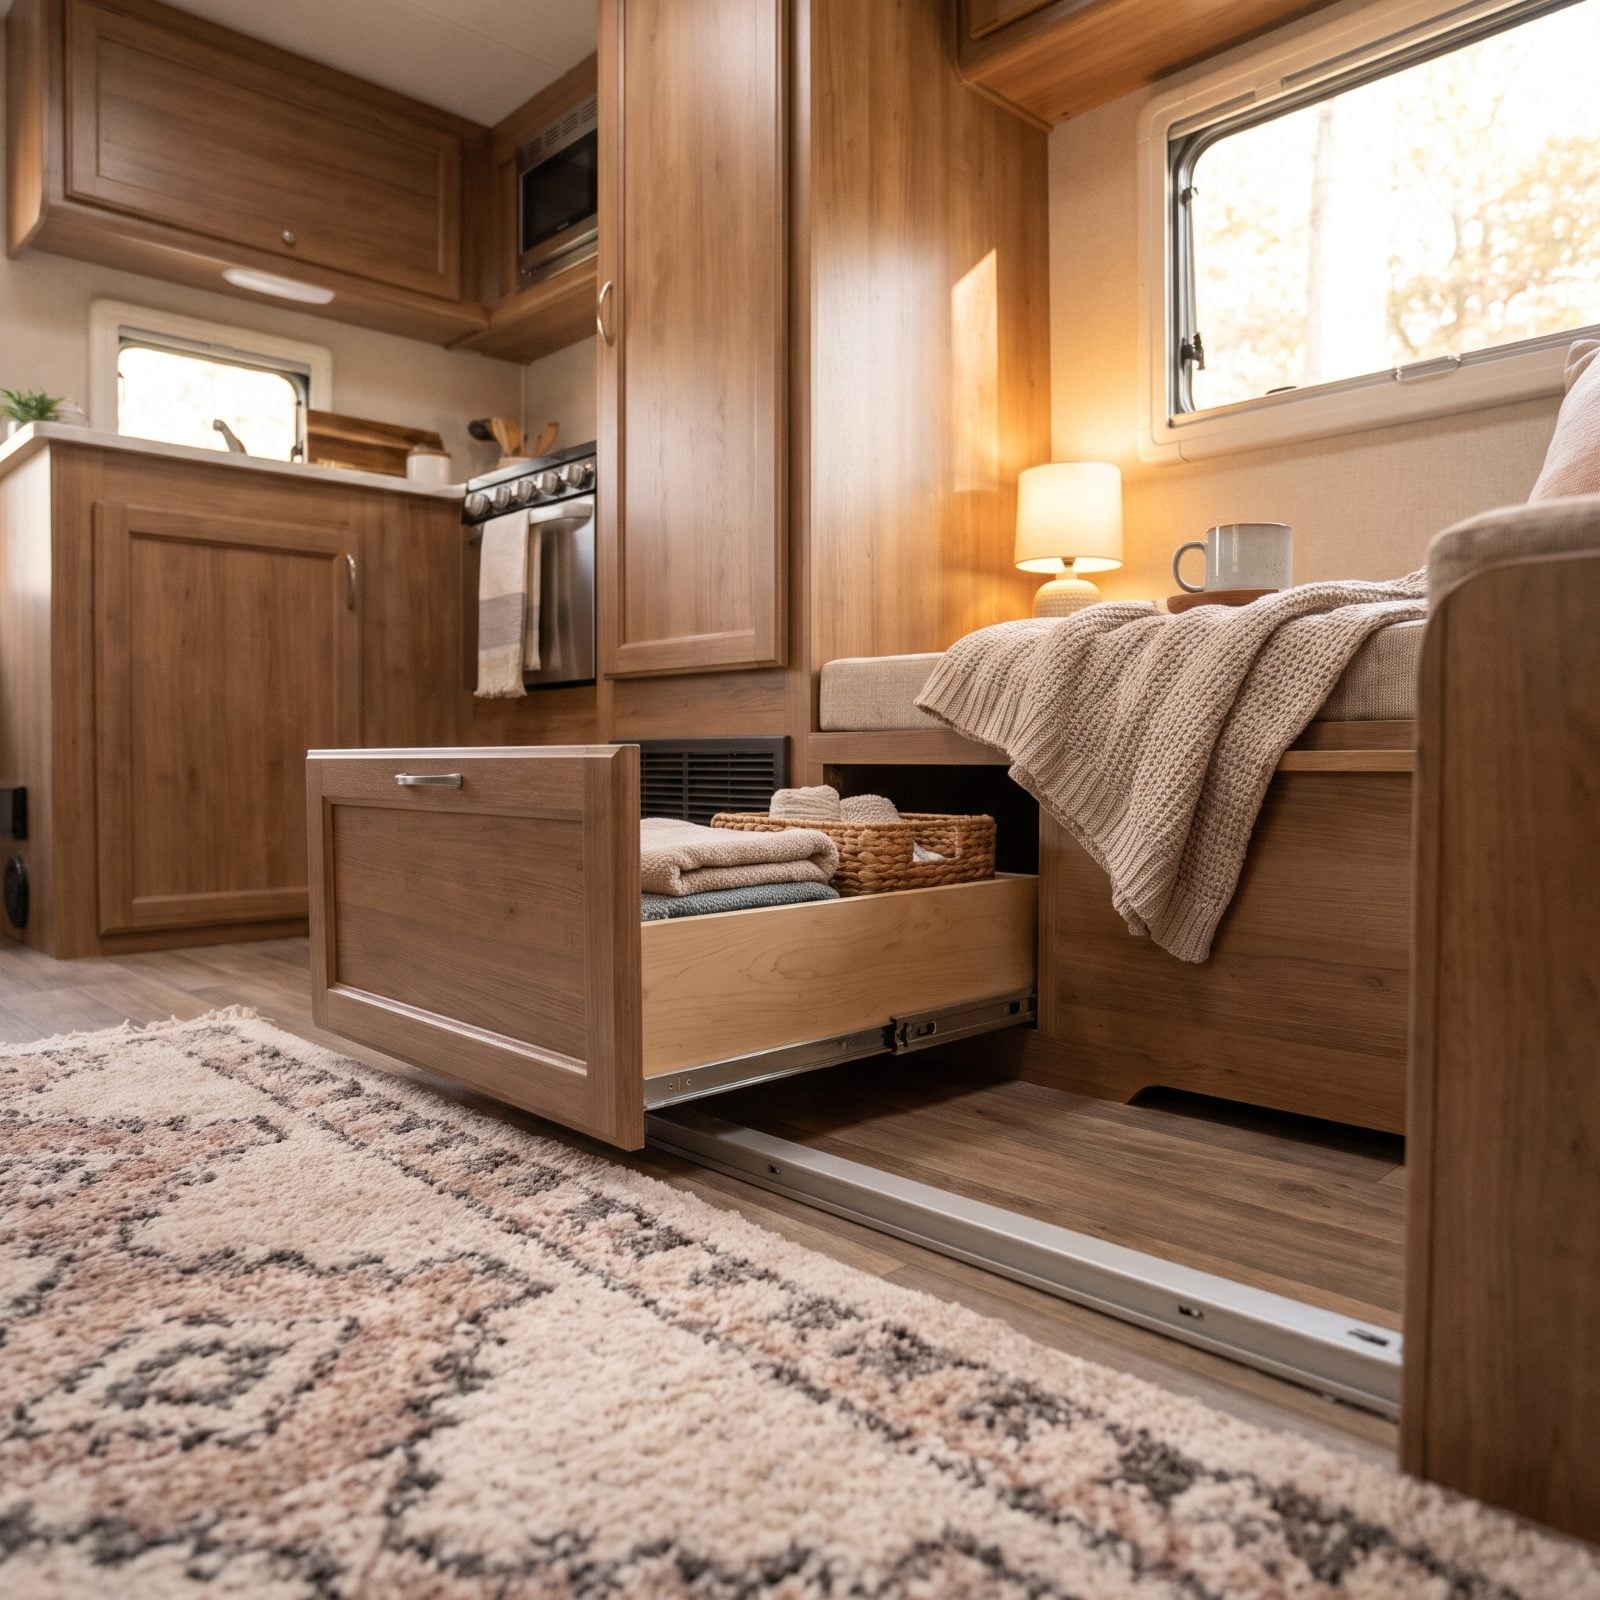
This is the everyday one. A corner of the woven area rug catches, a drawer slid open overnight, a cabinet door swung into the path, the folding chair never got put away. The room comes in or out and drags all of it along, jamming the track or snapping a hinge.
Before every slide-in, walk the whole travel path. Floor clear, rugs pulled back, drawers latched, cabinet doors shut, loose chairs stowed. Latches that hold on paper still drift loose on bumpy roads, so check them by hand rather than trusting they stayed put.
Honestly, half my own slide hiccups over the years traced back to something I left on the floor. A thirty-second sweep is cheaper than a torn rug and a bent rail.
34. Running the Room While a Pet or Kid Is in the Path
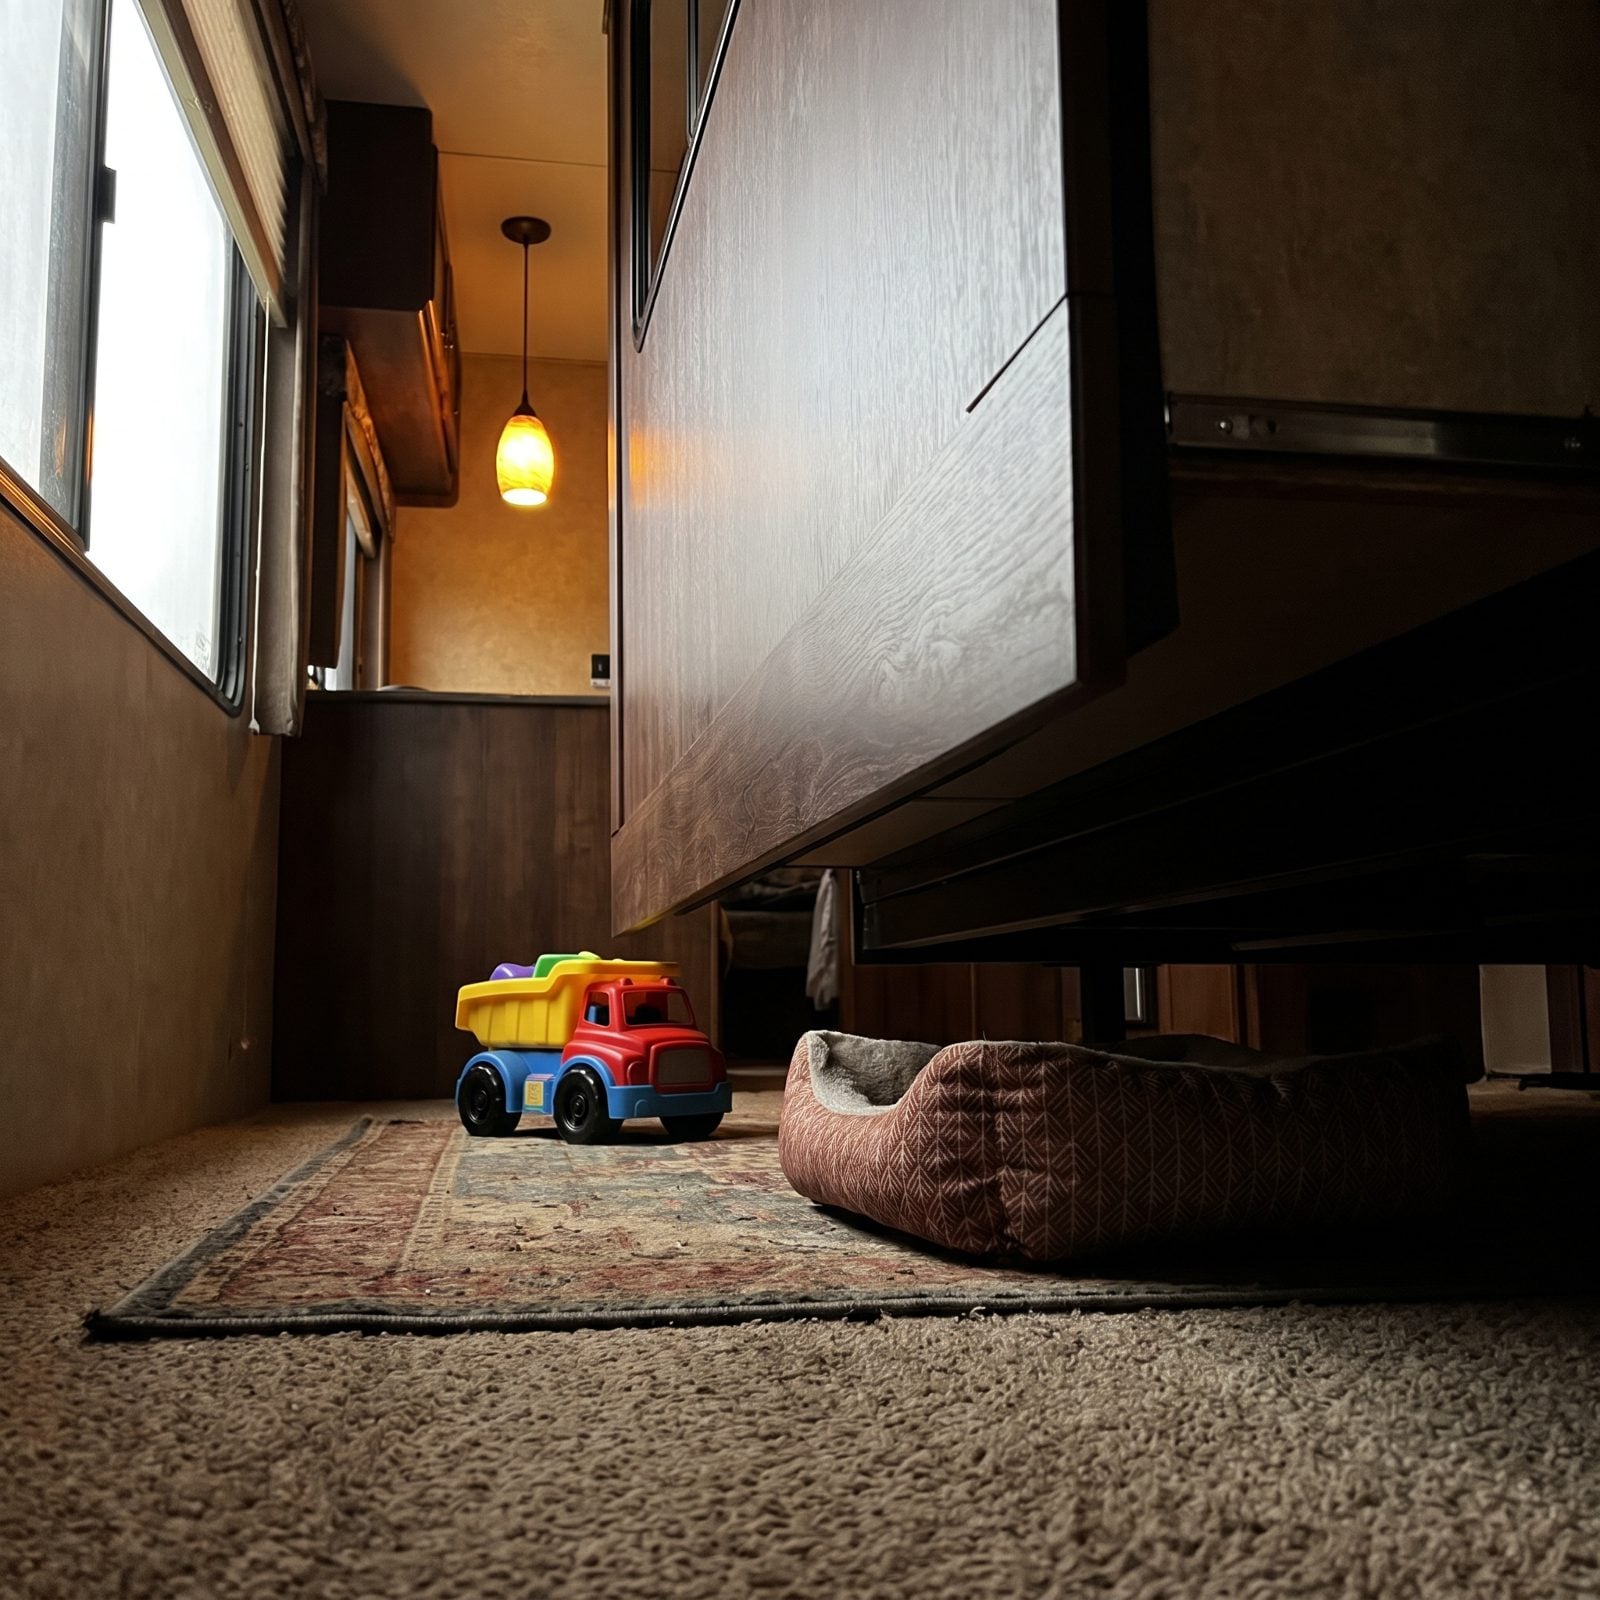
A slide room is slow and quiet, which is exactly why it’s dangerous. People assume anything moving that gently can be stopped with a hand. It can’t. Those motors generate enough force to crush a paw, pin a foot, or trap a small hand before anyone reacts.
Treat the slide zone like a closing garage door. Before you press the switch, account for every person and every pet — out loud if you have to — and keep a clear line of sight to the whole path. Teach kids the rule early: when the room is moving, nobody is near it. One pause for a headcount beats an injury you’ll replay forever.
In its list of slide-out dos and don’ts, an RV dealership team cautions: “Similarly, all pets and small children should be taken out of the way prior to slide-outs being deployed.”
33. Cycling the Slide on a Battery That’s Nearly Flat
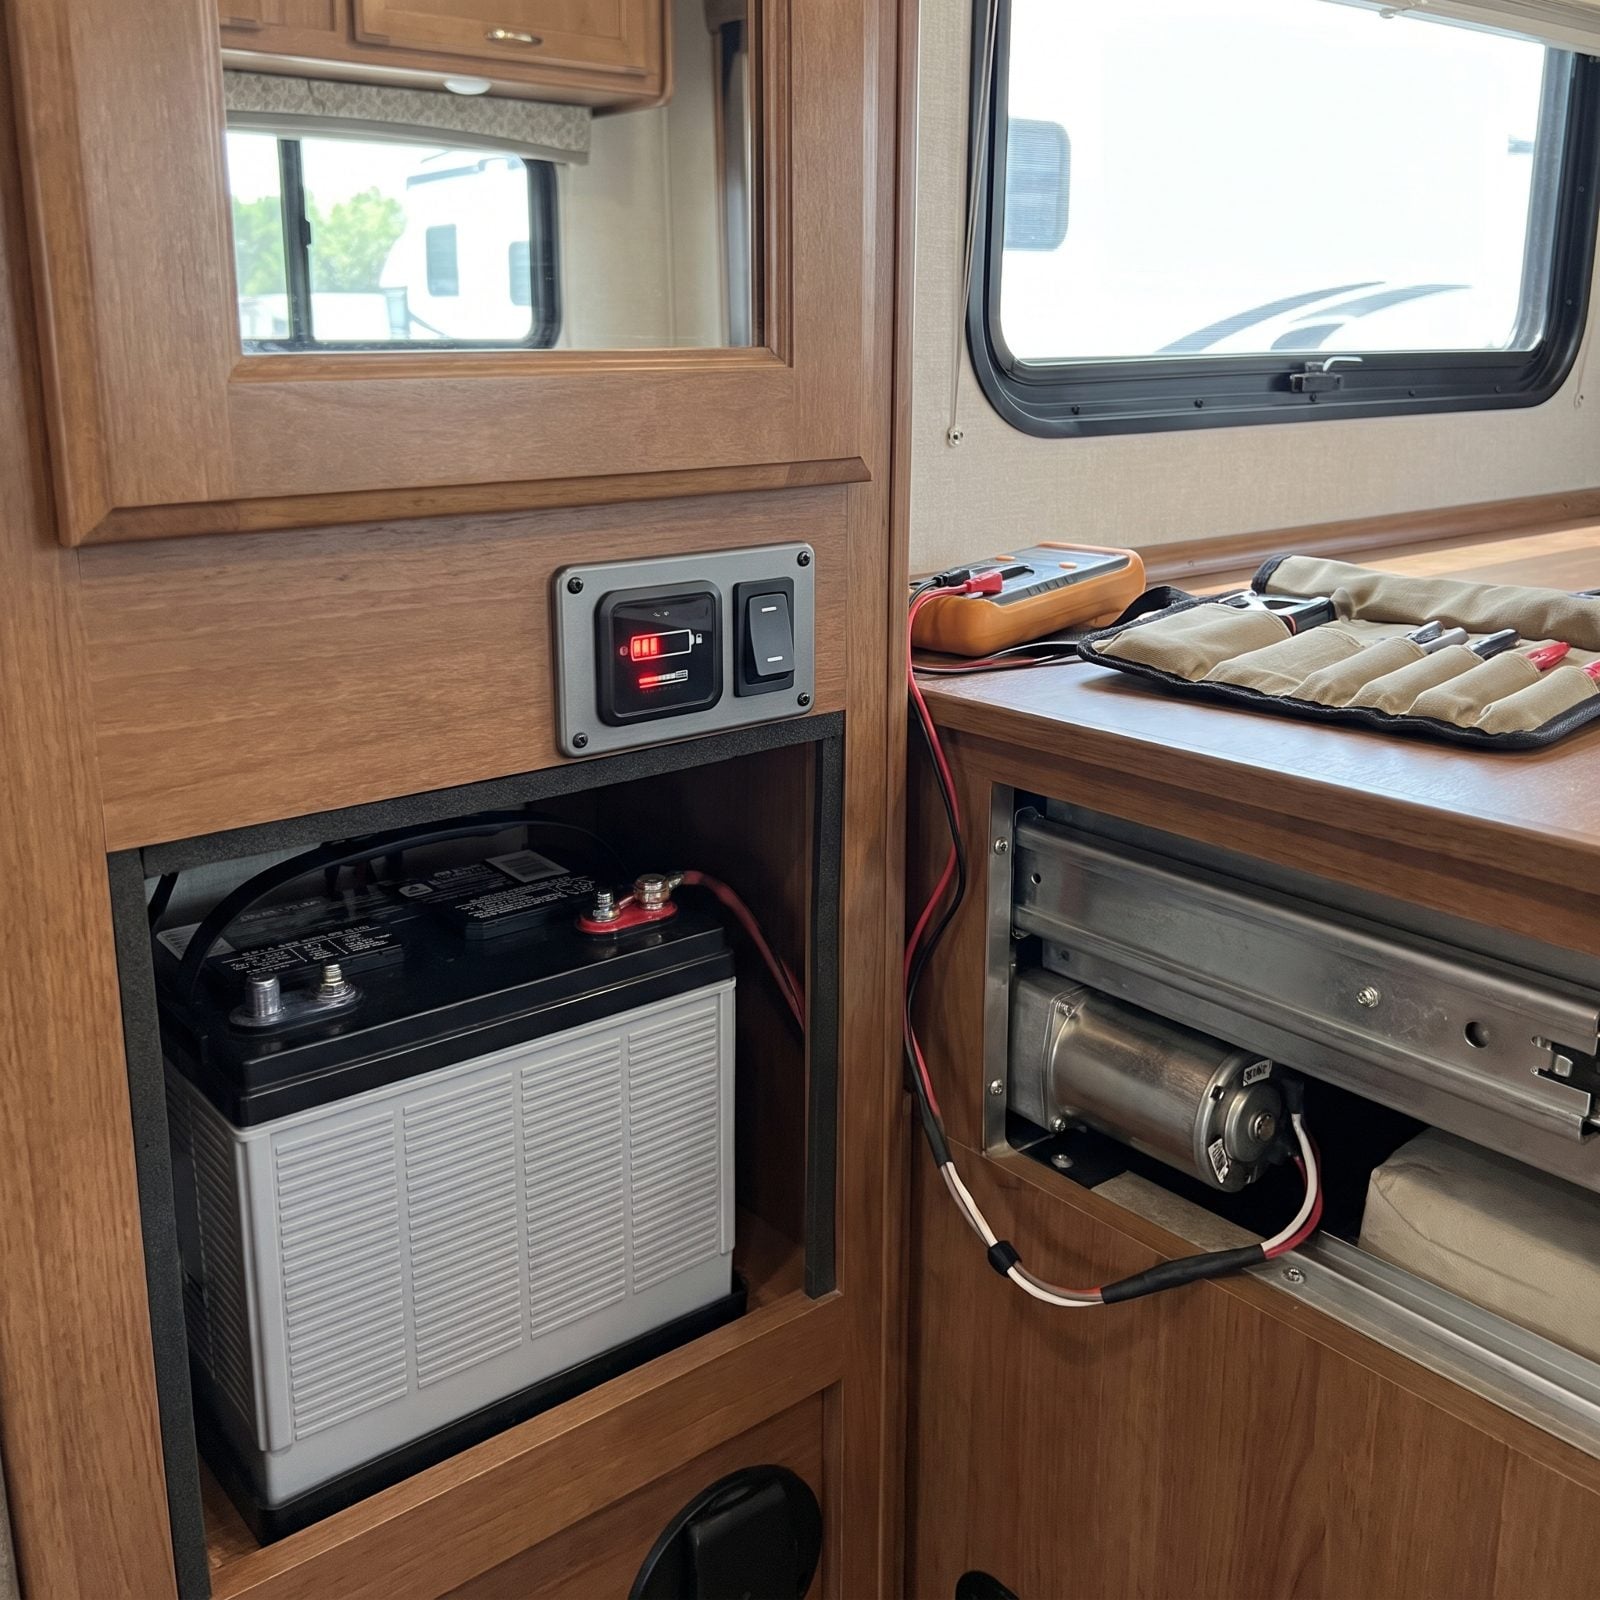
A weak battery doesn’t just fail to move the slide. It fries things trying. Slide motors are hungry. A sagging house battery drops voltage under load, which pulls high amperage, cooks the motor, or leaves the room stranded mid-travel with no juice to finish the job.
Check your state of charge before cycling slides, especially after a few days of boondocking. Sitting in the low 12s or worse? Run the engine or hook to shore power first so the room has the muscle it needs. Keep terminals clean and corrosion-free, since a crusty connection starves the motor even when the battery reads fine.
Get in the habit of bringing slides in while you’re still connected to power or with the engine running. Finish the move strong, then disconnect. That one sequence change prevents most stuck-slide calls.
32. Leaving Heavy Snow on the Slide Roof
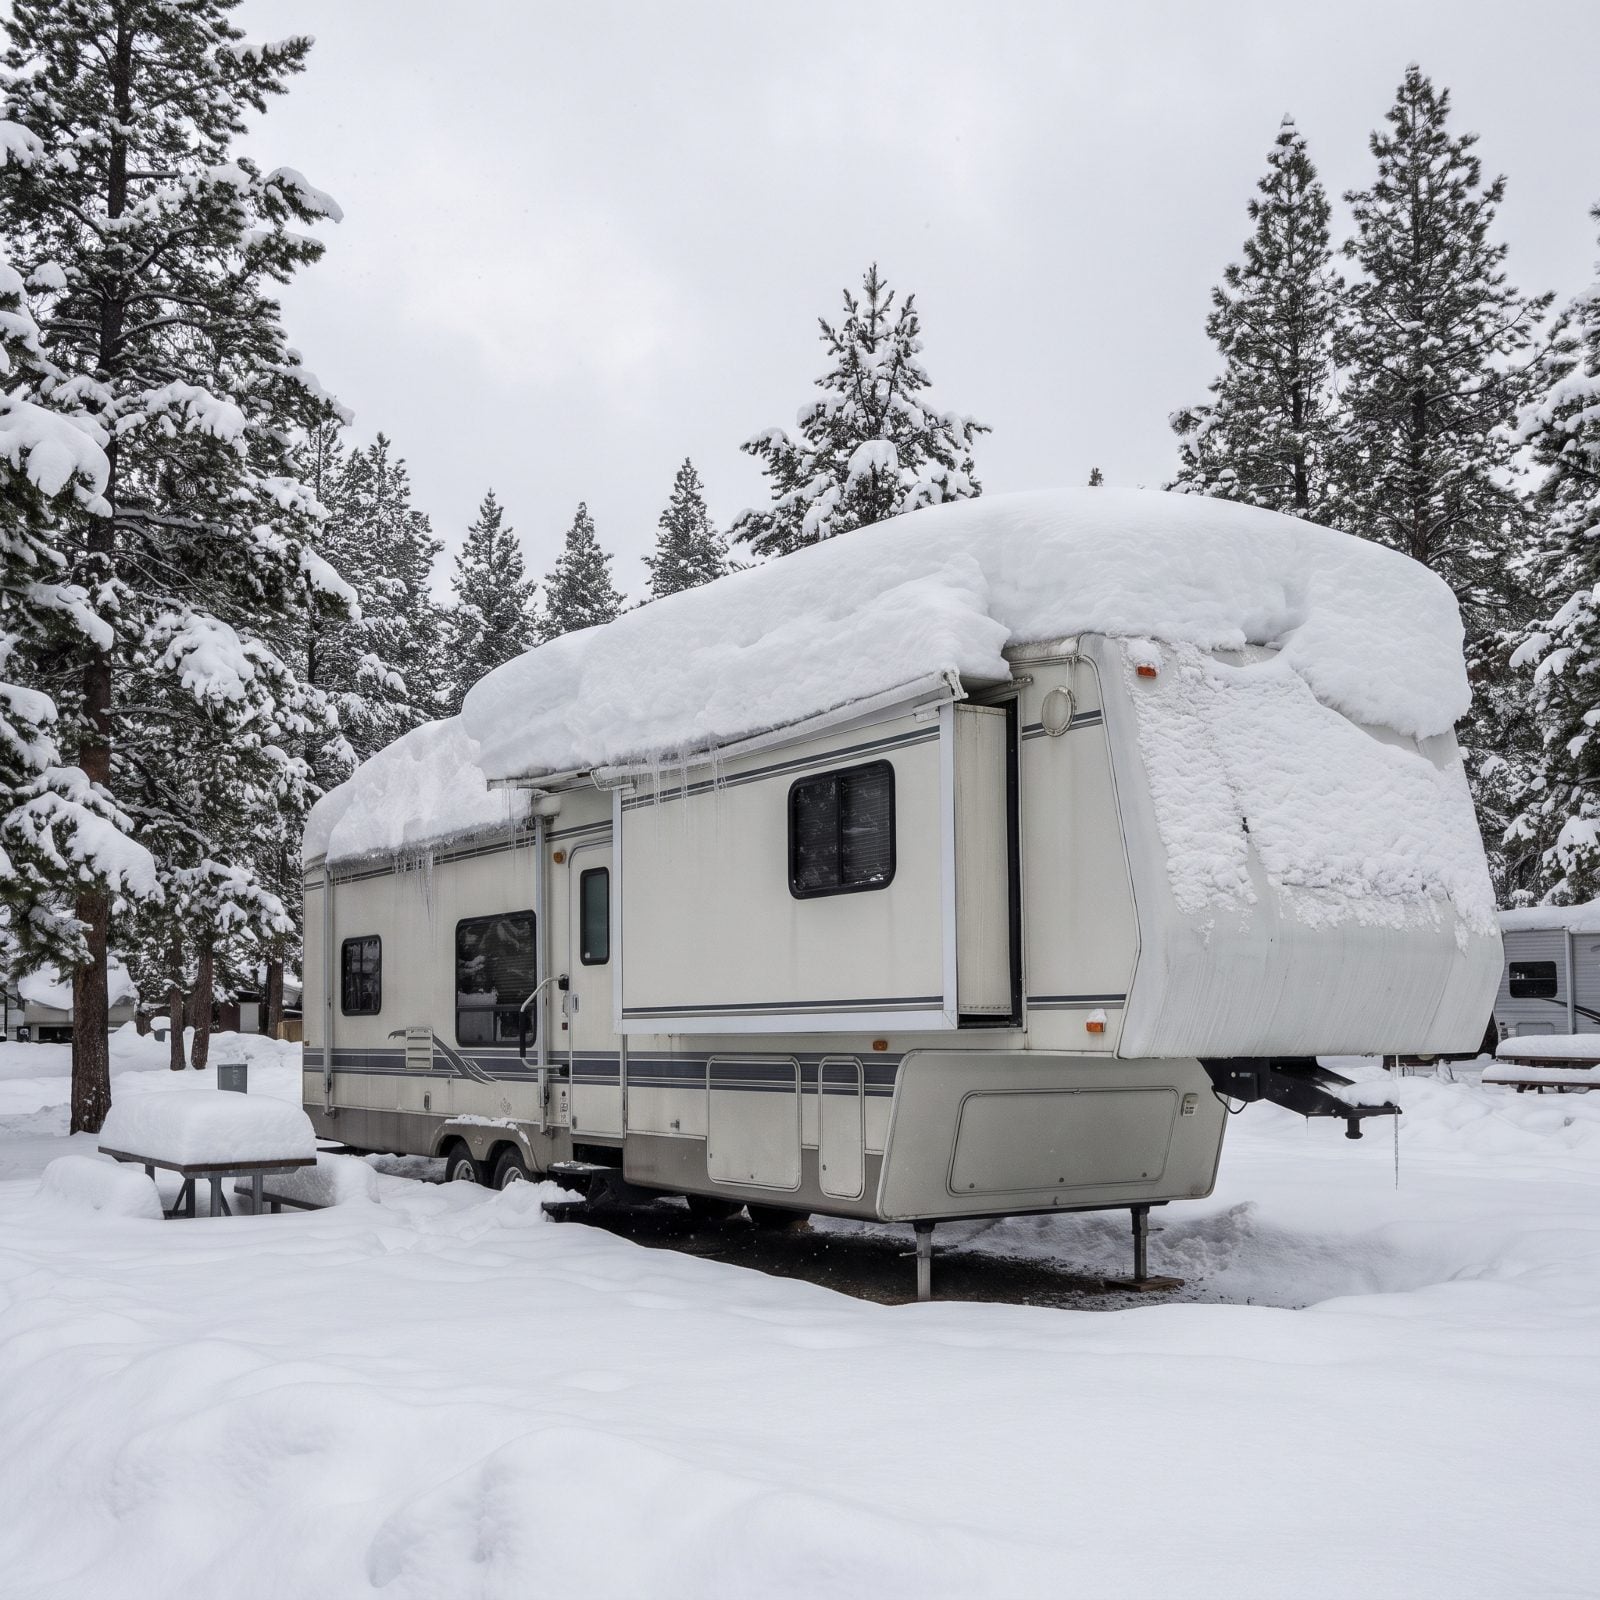
Snow looks harmless sitting up there — soft, quiet, nobody’s problem until you go to bring the slide in and the weight shows up.
Wet snow runs heavy, far heavier than it looks, and a few inches across a long slide roof turns into hundreds of pounds the slide motor was never built to haul. The mechanism strains. The topper sags. And in a cold snap that whole load freezes into a solid slab pressing down on your seals and fabric.
Clear it before you retract. A soft-bristle RV roof brush or a foam snow rake on an extension pole gets the bulk off without gouging the roof membrane. Work from the edges in, never jab at it, and give any ice time to loosen before you touch the switch.
31. Retracting the Slide With Pooled Rainwater on Top
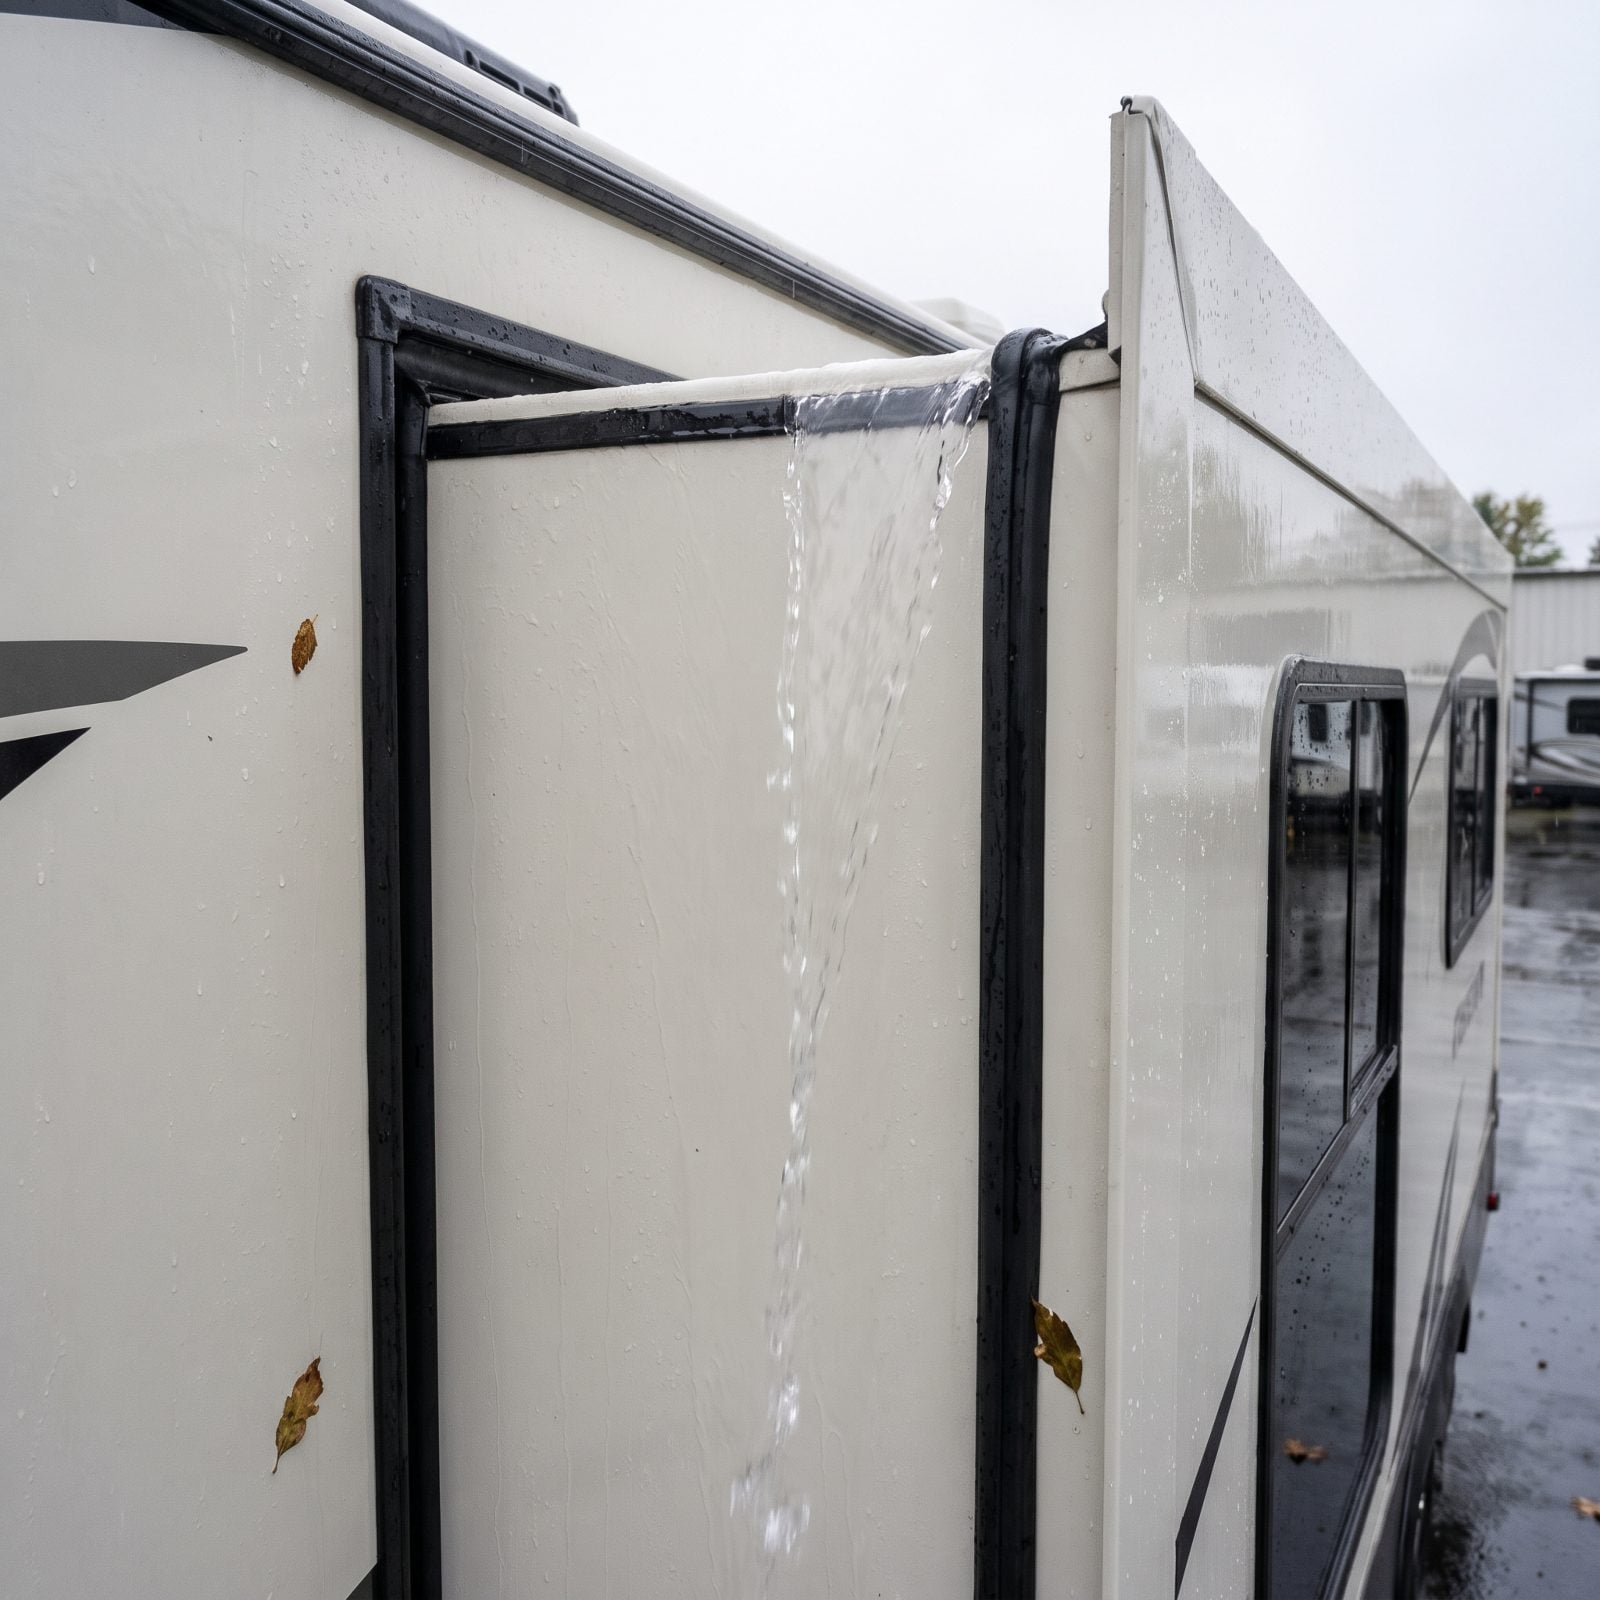
Hit the retract switch and all that pooled water has nowhere to go but inside. It sheets down the sidewall, runs over the top of the opening, and finds its way into the cabinetry and the slide floor before you’ve even noticed.
Water intrusion is the slow killer of RVs. One rushed retraction and you’ve got swollen MDF, a musty closet, and a stain that shows up two weeks later.
So push the standing water off first. A broom handle or a telescoping brush nudging the center of the topper lets the pool roll off the edge. Give it a minute, then bring the room in dry.
30. Walking or Standing on the Slide Roof
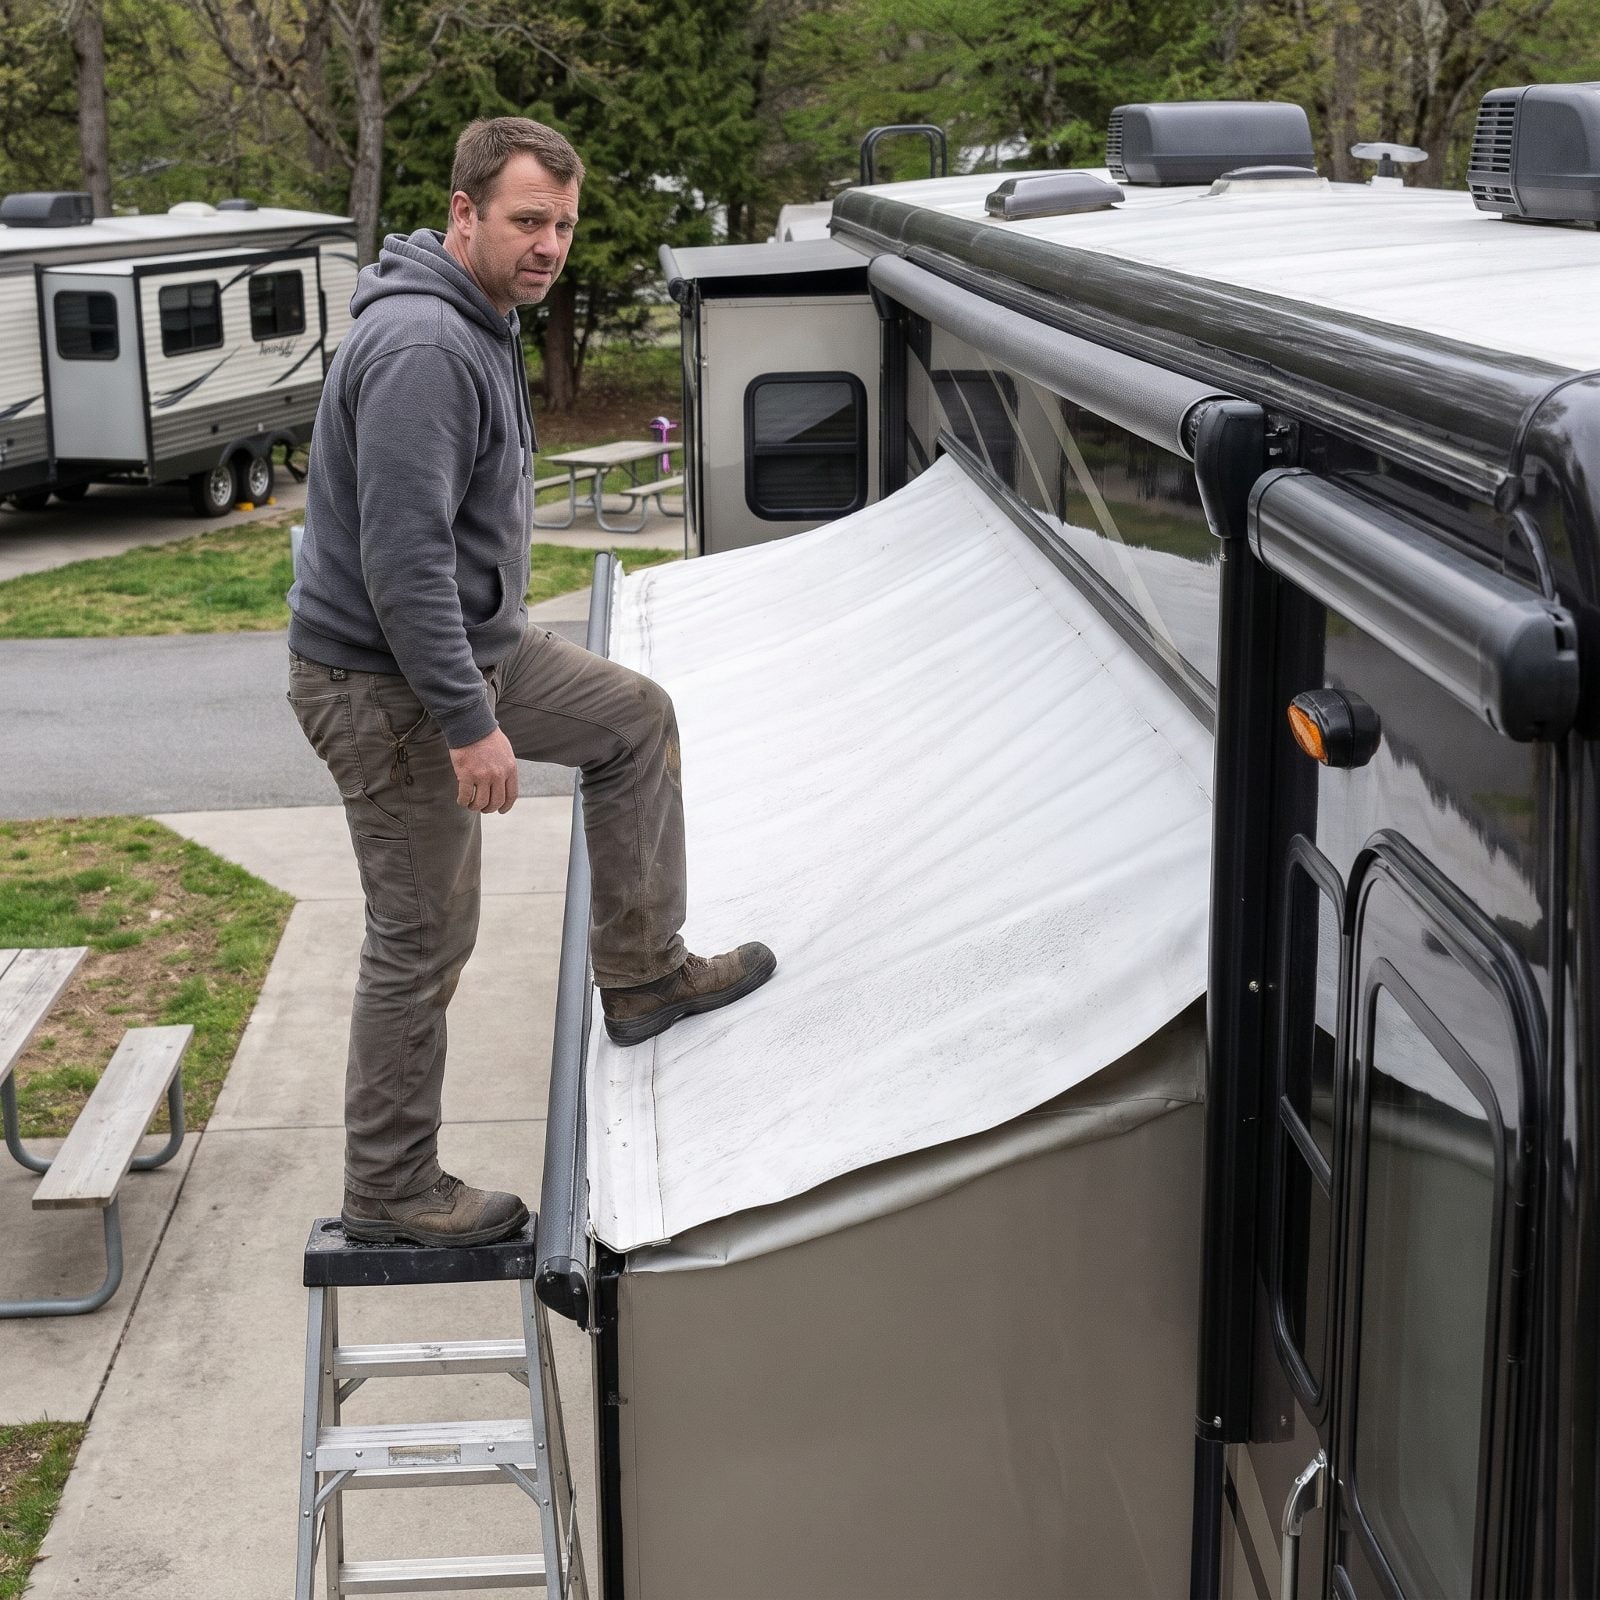
That slide roof is not a deck. It’s a thin membrane over a lightweight frame, sized to keep rain out and nothing more. Yet people climb up there to clear leaves or chase a noise, and the structure quietly gives.
Stand on it and you risk denting the roof, cracking the membrane, and bending the support rails that keep the whole thing tracking straight. A bent rail means a slide that binds and leaks for the rest of its life.
Do your topper and roof cleaning from a ladder or a sturdy step stool with a long-handled brush. Reach, don’t stand. If you genuinely have to get up top, lay a sheet of plywood to spread your weight around — bare minimum. Honestly, most folks never need to go up at all.
29. Replacing Lightweight Furniture With Heavy Residential Pieces
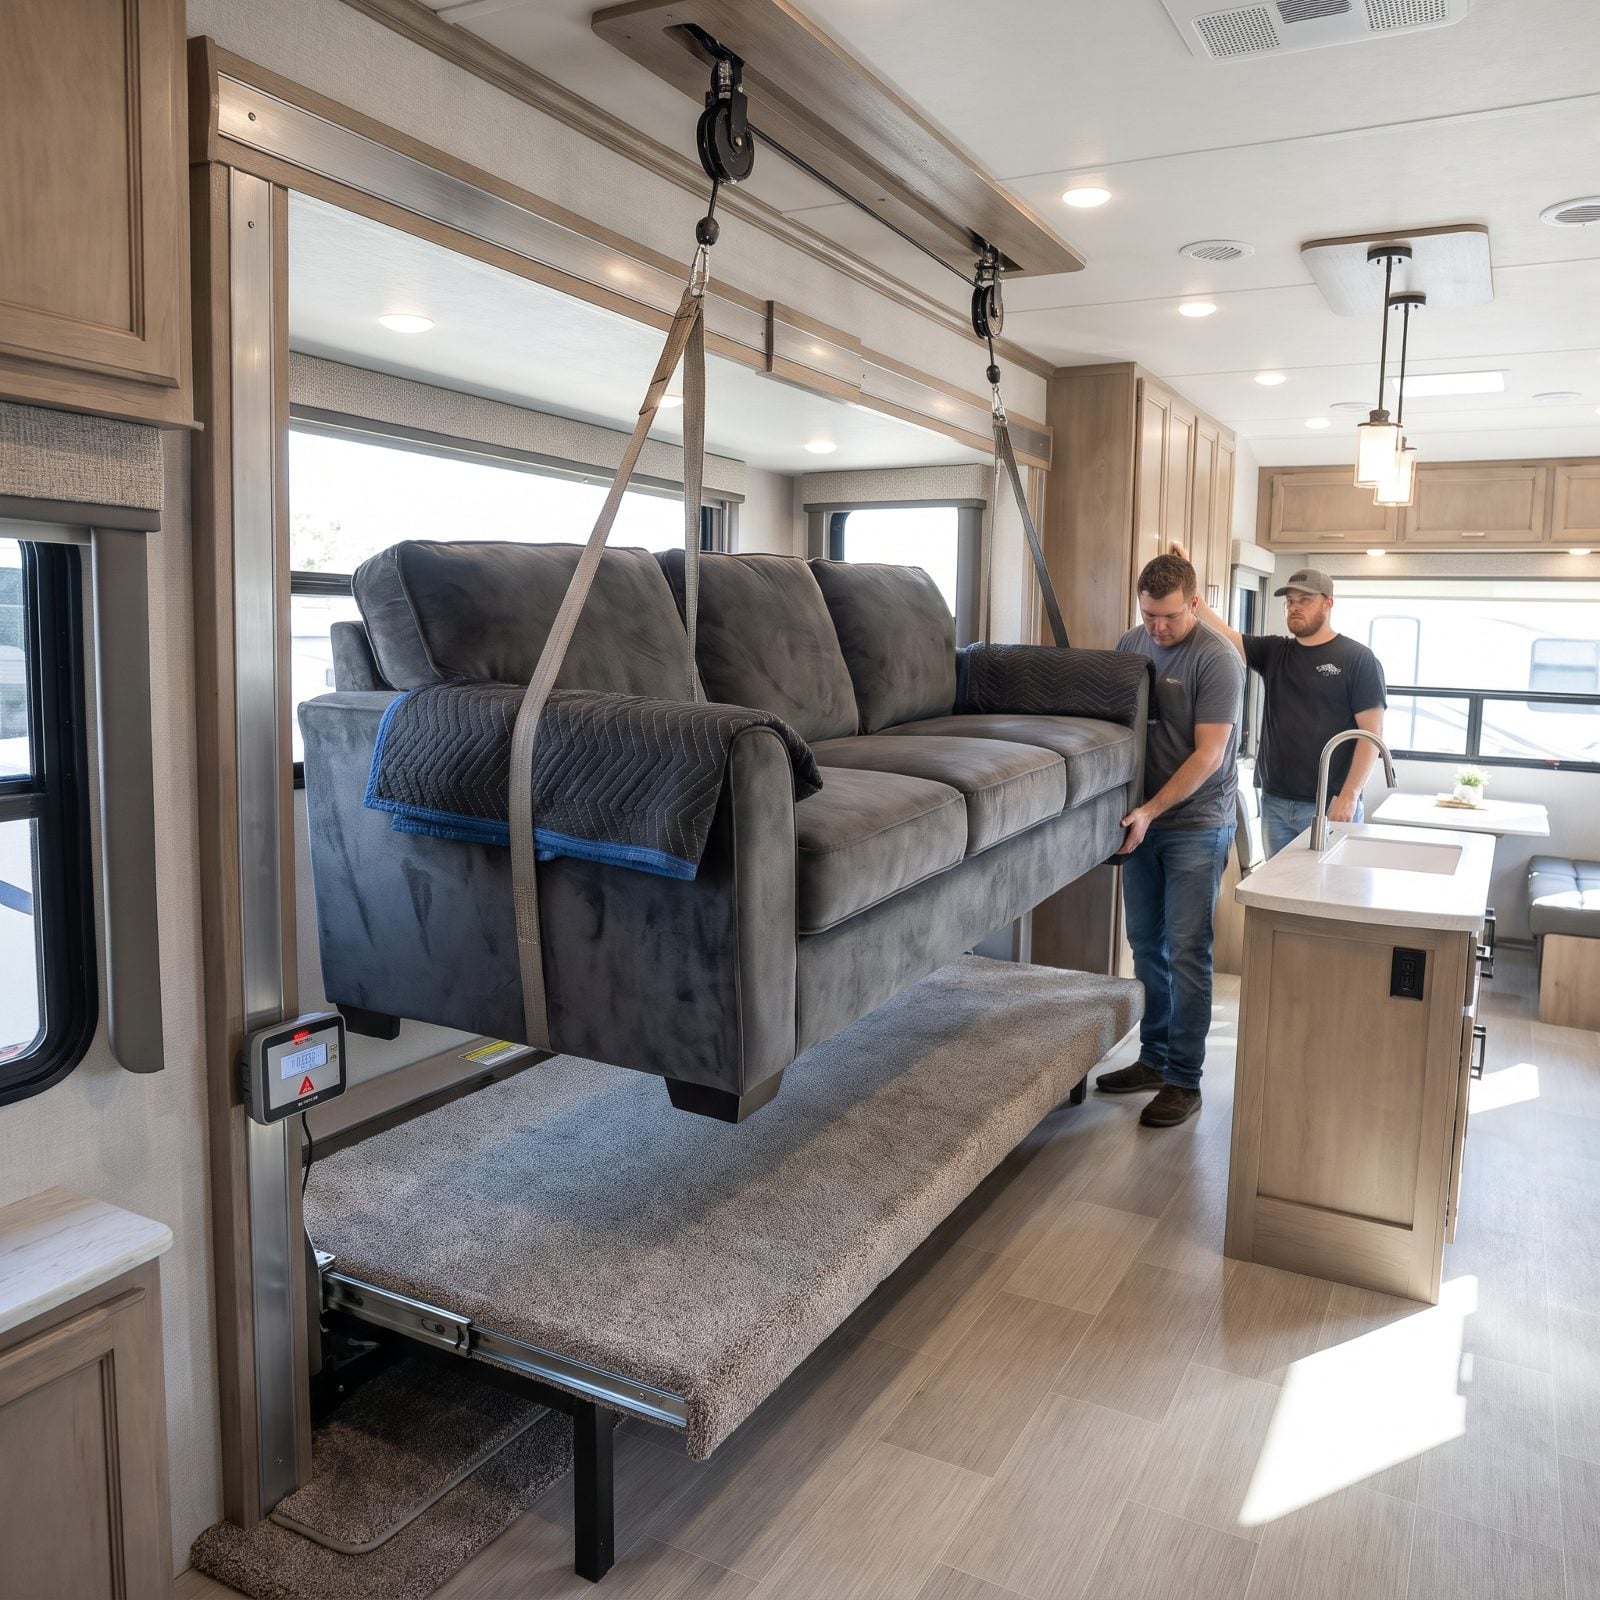
The factory sofa feels flimsy, so out it goes — replaced by a proper residential sleeper you’d be glad to own at home. Looks great. Weighs three times what the original did.
Sofa slide rails are rated for a specific load, and that extra weight rides the rails, the ball bearings, and the mounting points every single time the room slides out. You’ll feel it first as a sofa that hesitates and jerks, then later as a repair bill when the rails bend or wear out early.
Want nicer furniture? Stay within the weight class the rails were engineered for. RV-specific furniture from brands like Thomas Payne is built light on purpose. Dig out your owner’s manual for the slide’s load rating and add up what you’re putting in there.
28. Installing Flooring Too Thick for the Slide Clearance
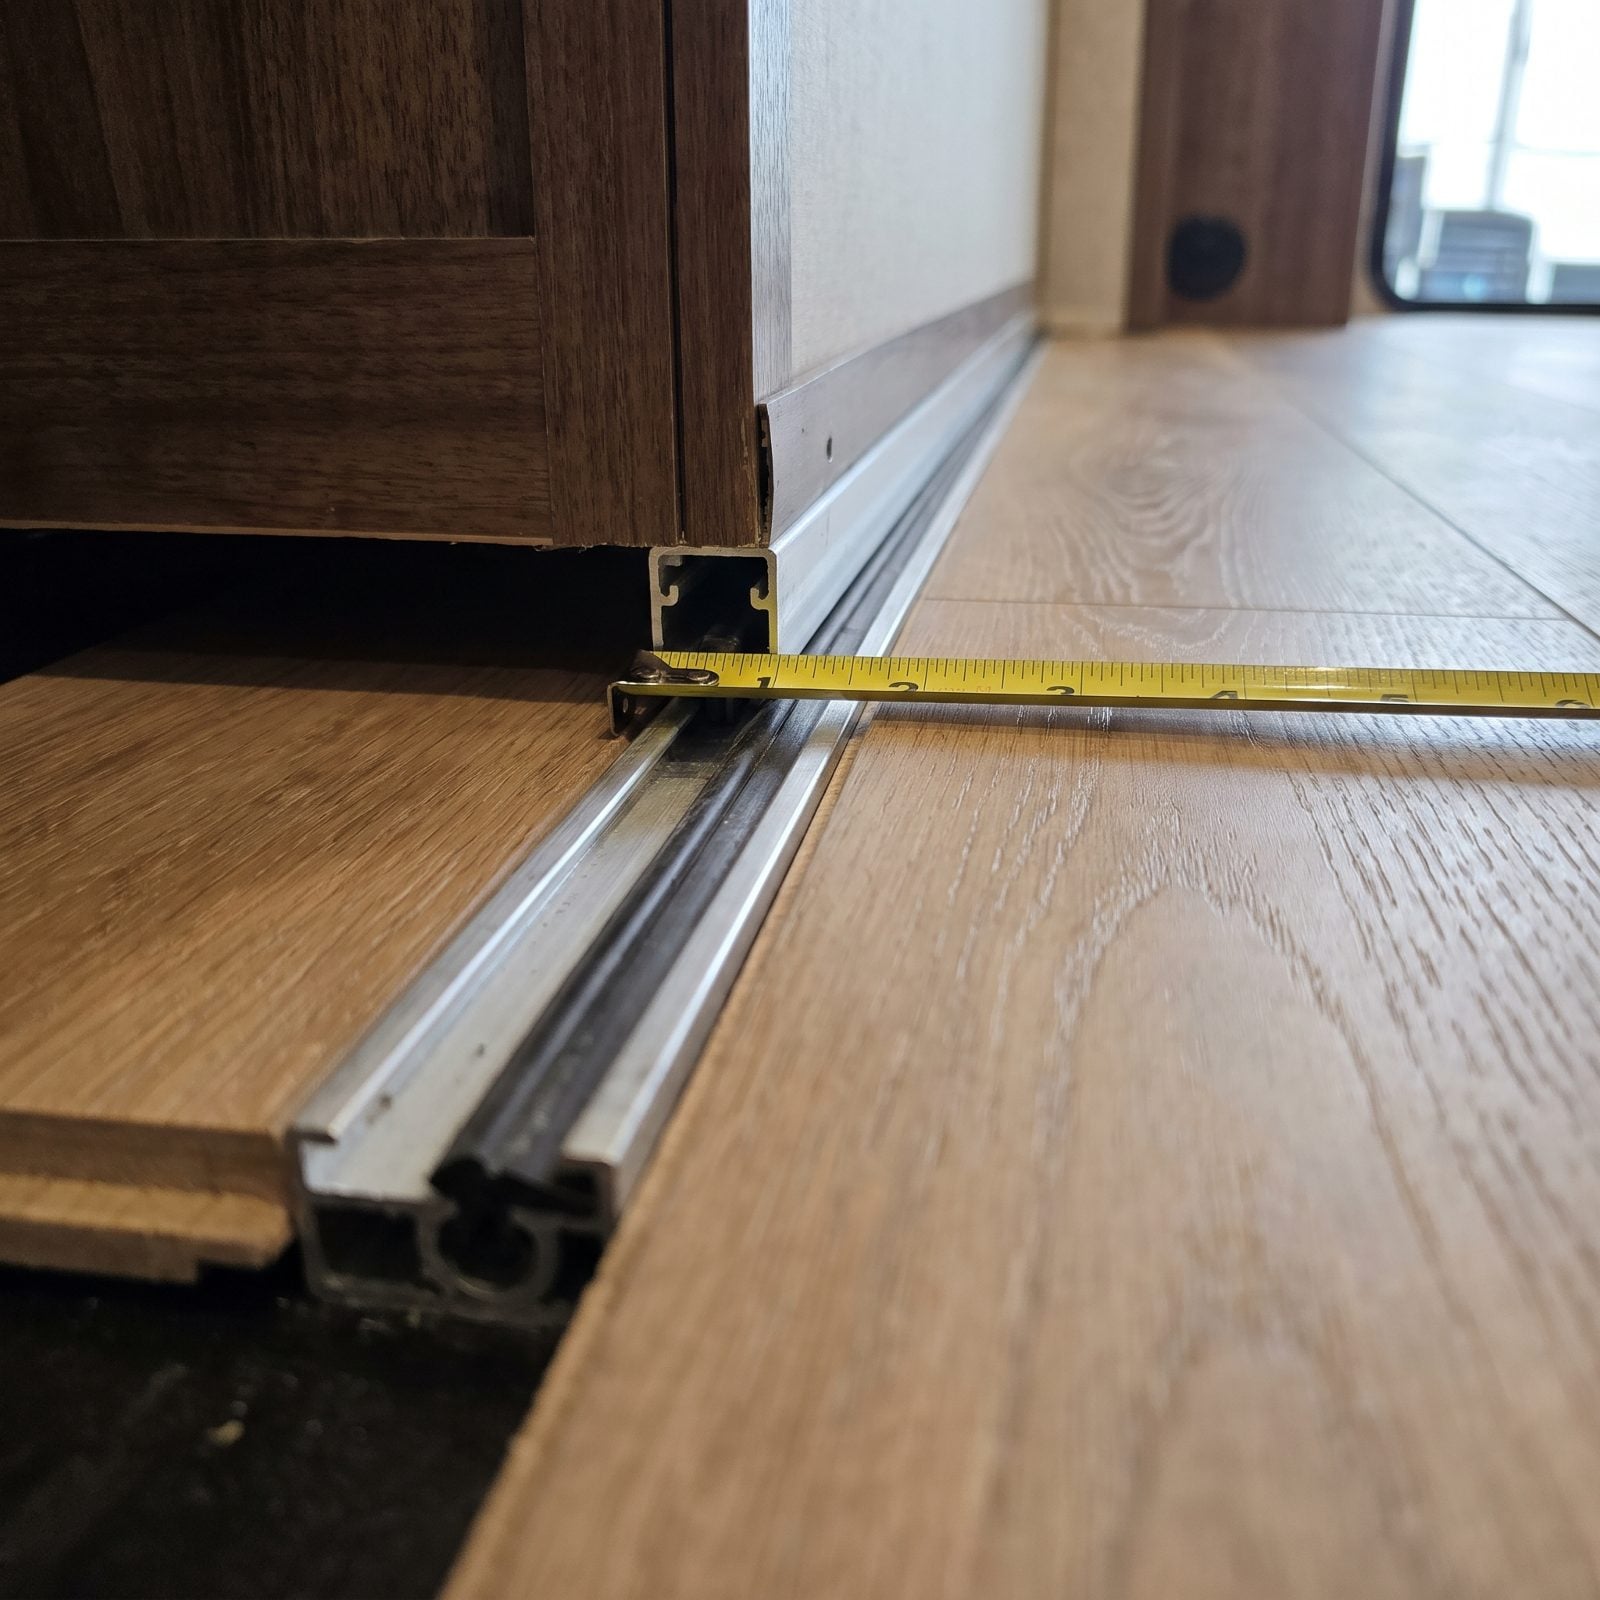
New flooring is one of the most satisfying RV upgrades there is. It’s also where people quietly create a mechanical headache, because they forget the slide has to clear the floor when it comes in.
Add a thick solid-hardwood tongue-and-groove board, and suddenly the slide floor drags across the cabin floor every time it moves. That drag scuffs your pretty new planks, strains the motor, and can lift the slide right out of its track.
Measure your vertical clearance, from the floor up to the bottom of the slide, before you buy anything. A tape laid flat across the floor and track, like the one shown here, only gives you a horizontal length, not the gap underneath. Most slides want flooring under a certain thickness, often around a quarter inch combined with underlayment. Thin, peel-and-stick LVP made for RVs keeps you in the safe zone. In doubt? Dry-fit a plank and run the slide by hand first.
27. Pressure-Washing Directly Into Slide Seals
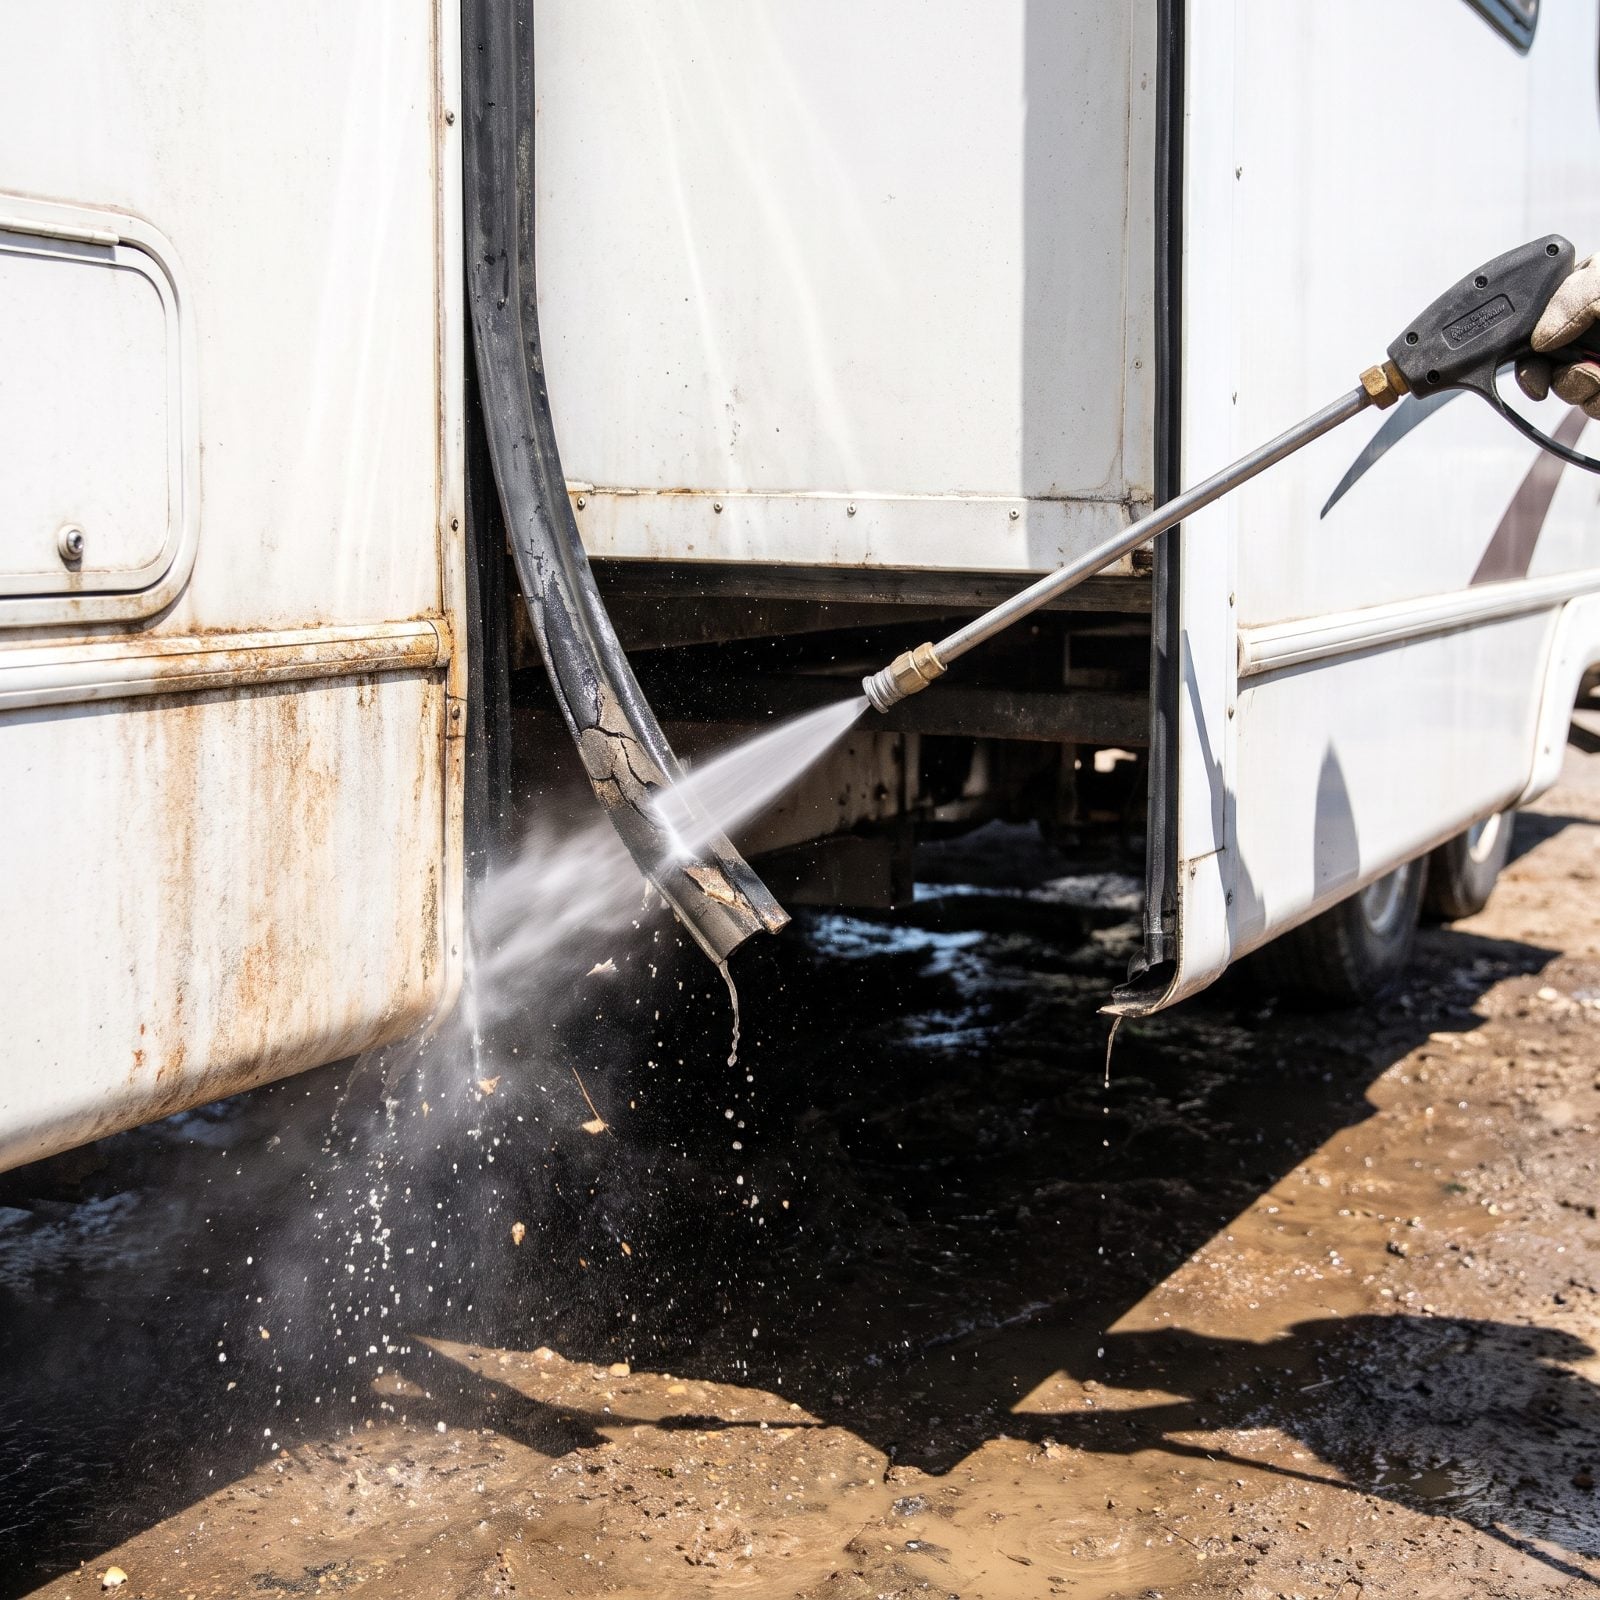
A pressure washer makes quick work of road grime, right up until you aim it straight at the slide seals. Then it does the opposite of what you want.
High-pressure water blasts past bulb and wiper seals, driving moisture into the slide cavity and the wall. Over time it also peels and tears the rubber, so the seal that’s supposed to keep water out starts letting it in.
Back the nozzle off and drop the pressure anywhere near a seal. Wash seals by hand with a soft brush and mild soap, then dry them. Regular treatment with a rubber conditioner like 303 Protectant keeps them supple and sealing.
26. Neglecting Cracked or Flattened Bulb Seals
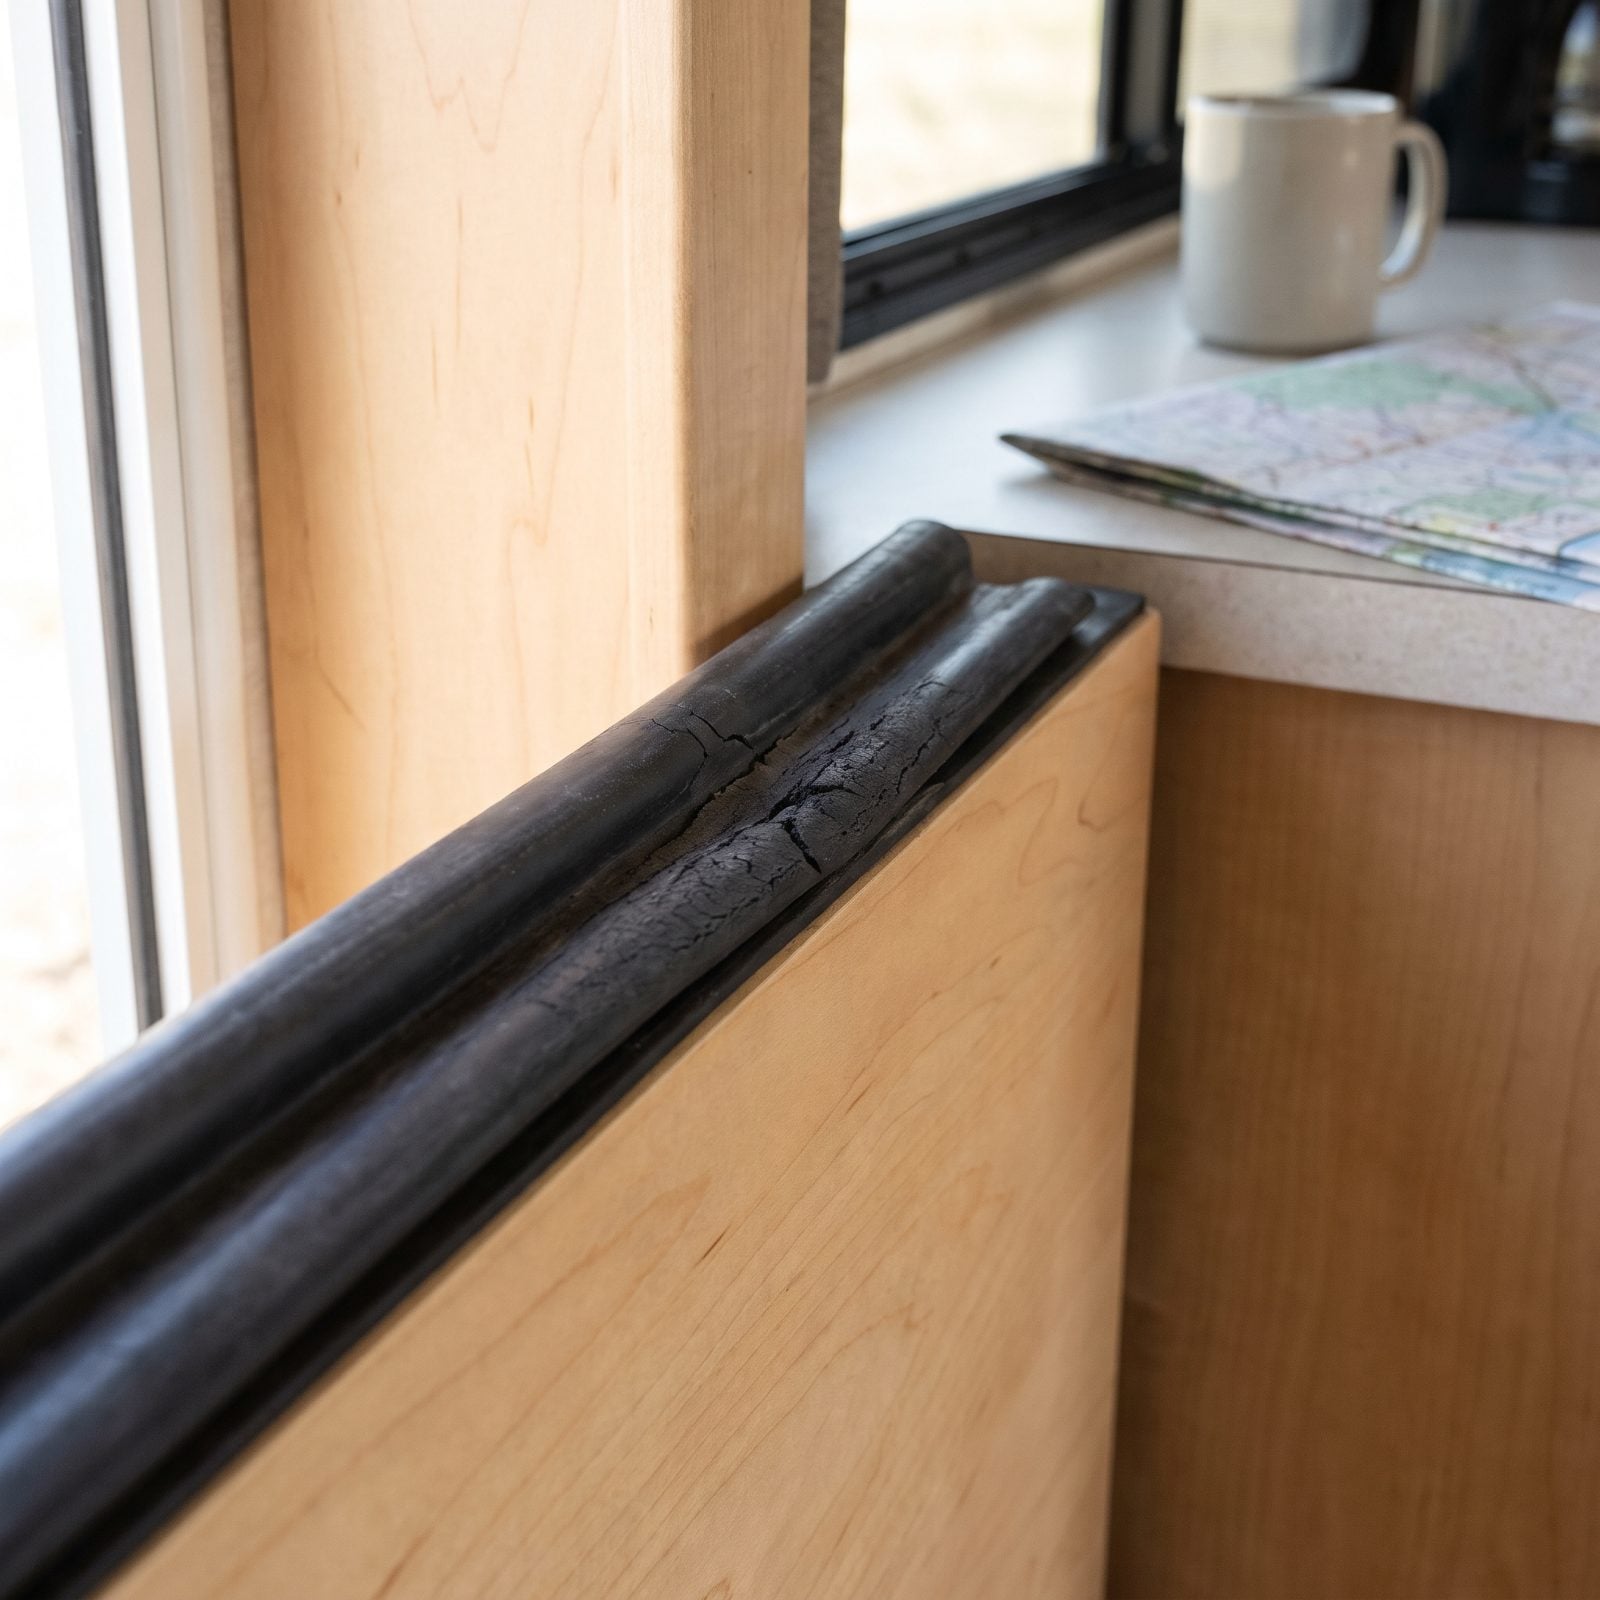
Bulb seals are the fat rubber gaskets that cushion and seal the slide when it’s in. They dry out, crack, and take a permanent flat set, and because they live where you rarely look, they get ignored until the symptoms show up.
A flattened seal stops sealing. That means drafts, road noise, dust, and water creeping into the slide room — plus the slide bangs against the wall without its cushion.
Inspect your seals twice a year. Clean them, then condition them so they stay flexible. A seal that’s cracked through or permanently flat needs replacing before it fails you on a rainy night far from help.
According to two master RV technicians who share slide-out care tips, “Lack of maintenance is the leading cause of slide-out leaks. We recommend inspecting your seals and sealants frequently, repairing or replacing them as needed, and allowing them to cure before washing.”
25. Leaving Wiper Seals Folded Inward
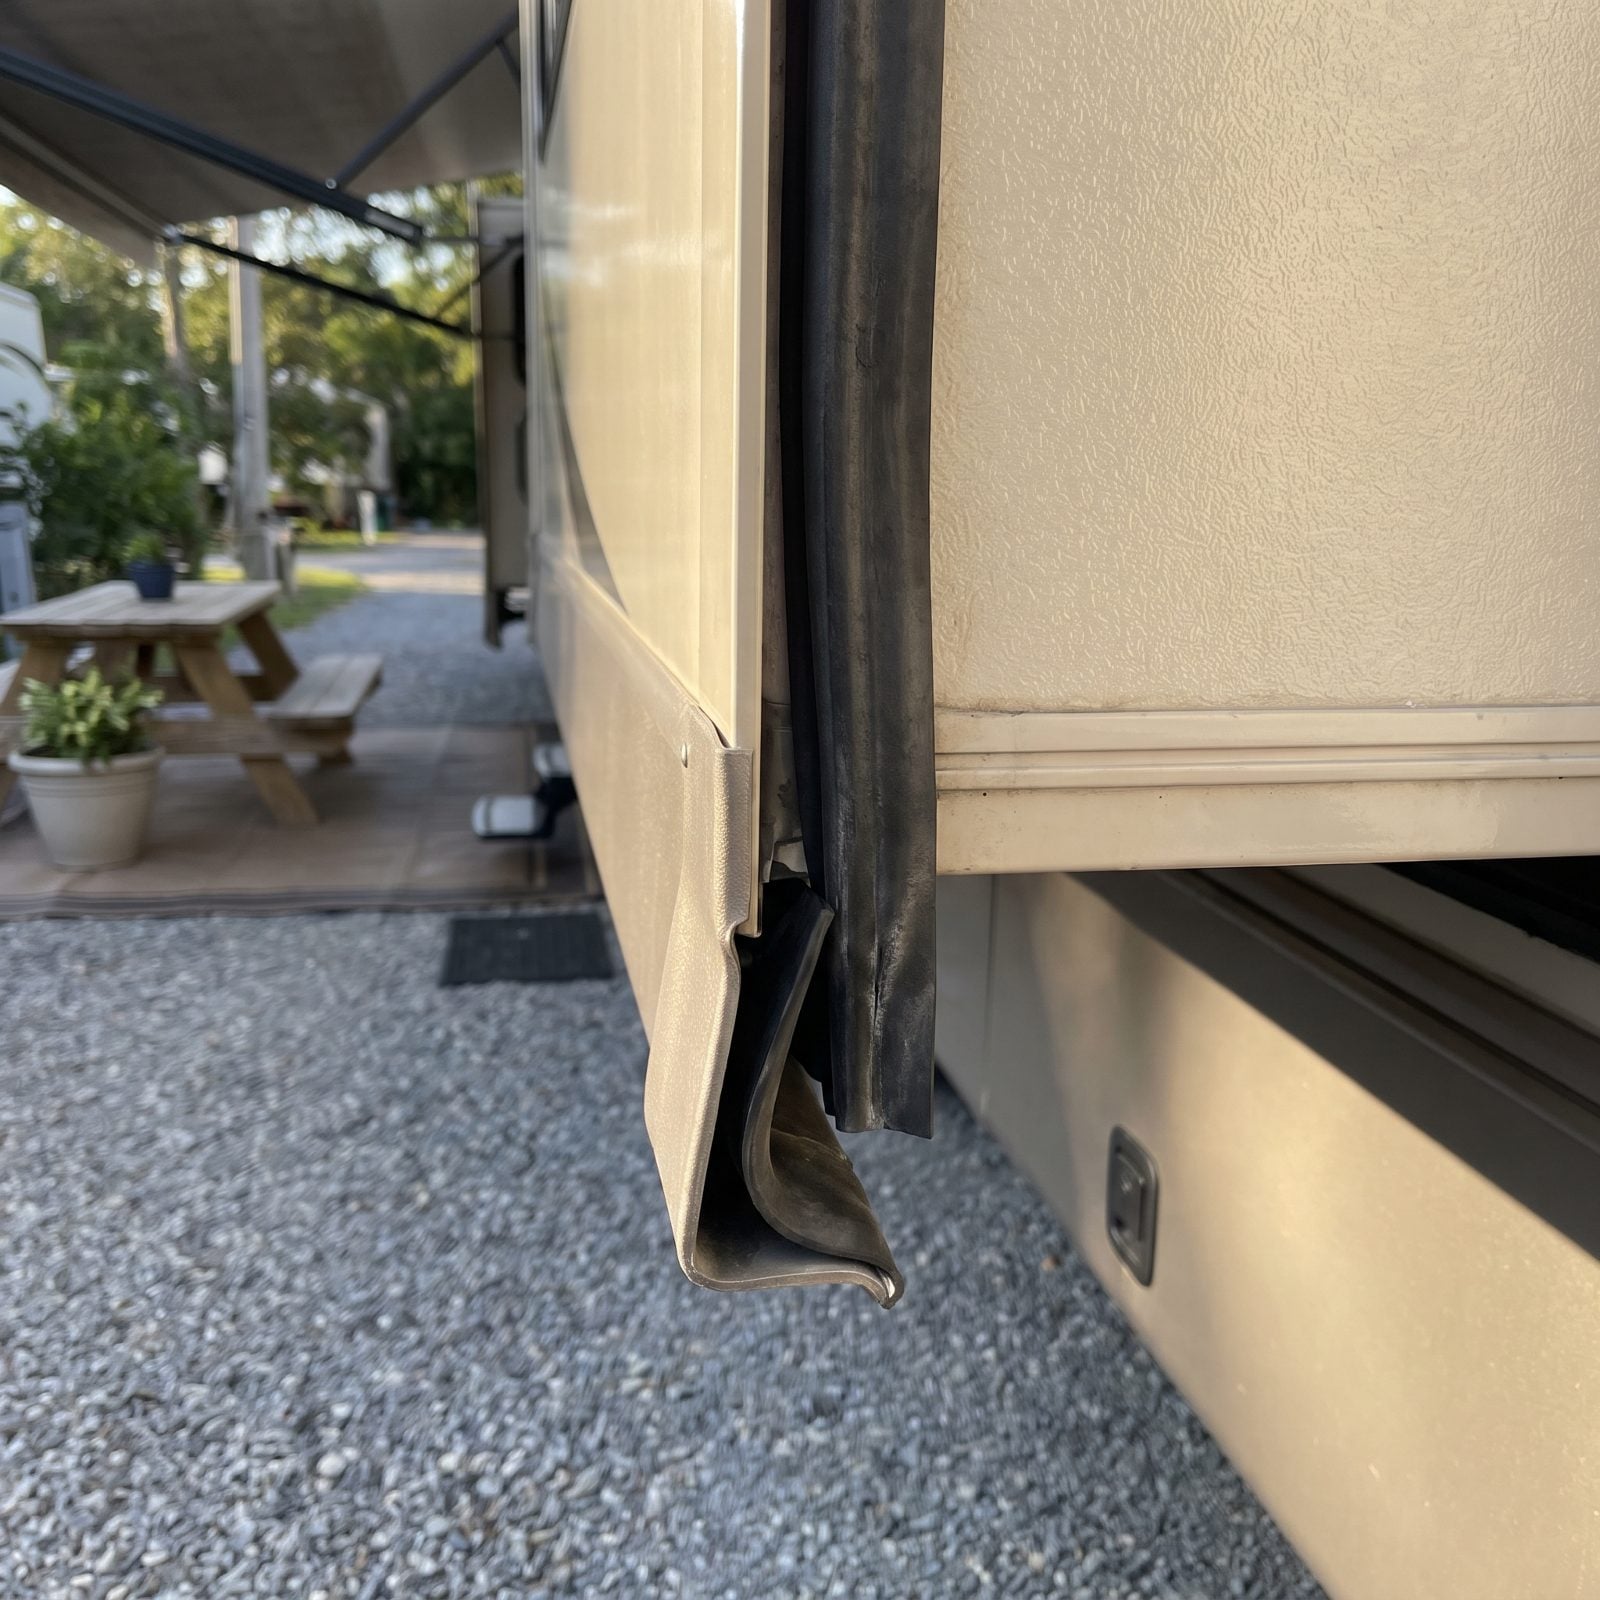
Wiper seals are the thin rubber blades that wipe the slide clean as it moves, like a squeegee hugging the sidewall. Now and then one folds the wrong way and stays tucked under instead of flipping flat.
A folded wiper leaves a gap, and that gap invites water, grit, and insects into the slide room and the seal channel. Run the slide a few times with it tucked and you can tear the blade outright.
Every time you extend or retract, glance along the wiper line. If a section has folded inward, flip it back out with your fingers or a plastic trim tool before you move the slide again. Thirty seconds of looking saves a seal.
24. Using Sealant That Is Incompatible With the RV Exterior

You grabbed the tube that was closest on the shelf. Bright red, looked waterproof, done. But silicone on a fiberglass or Filon slide wall is a slow betrayal — it won’t bond right, it peels at the edges, and nothing will stick to that spot again until you grind the residue off.
So match the sealant to the surface. Self-leveling for horizontal roof seams, non-sag for vertical walls, and a compatible lap sealant rated for your exterior type. Dicor and Alpha Systems both publish which product goes where. Read the back of the tube before it ever touches the RV.
23. Caulking Over a Wet or Dirty Seam
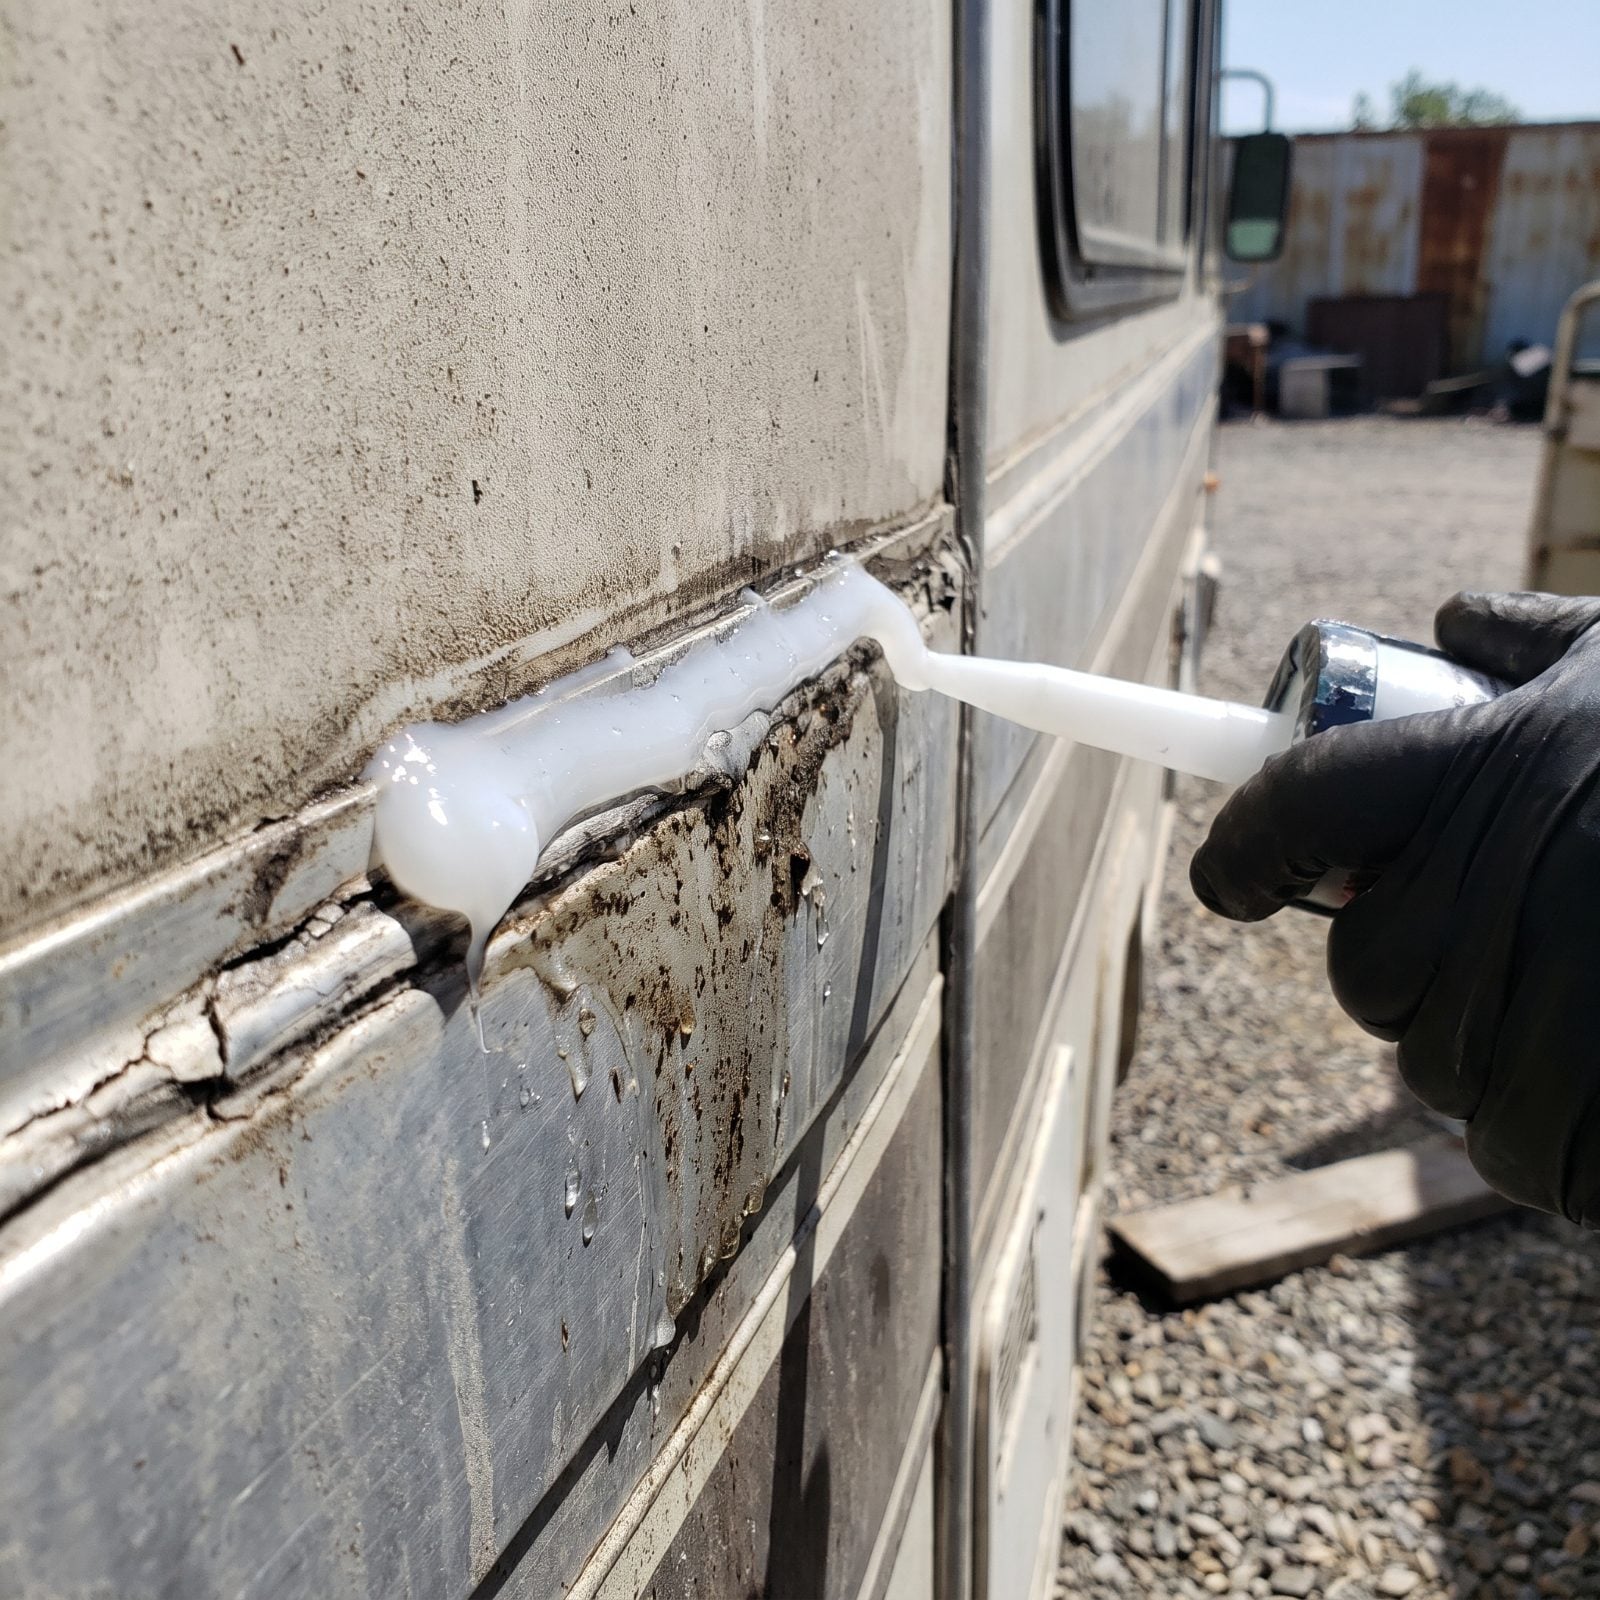
Sealant is not glue that fights through dirt. Lay a bead over a damp, dusty seam and you’ve just sealed the water in, along with every grain of road grit riding along. It looks finished for about a month. Then it lifts in a clean ribbon and the leak comes back meaner than before.
Clean first, always. Scrape the old sealant, wipe the seam with isopropyl alcohol, and let it bake dry in the sun before anything new goes down. I rushed this exactly once on a cold morning and paid for it with a soft valance by spring. Patience here is a whole lot cheaper than a wall repair.
22. Skipping the Slide’s Lower Corners During Leak Inspections
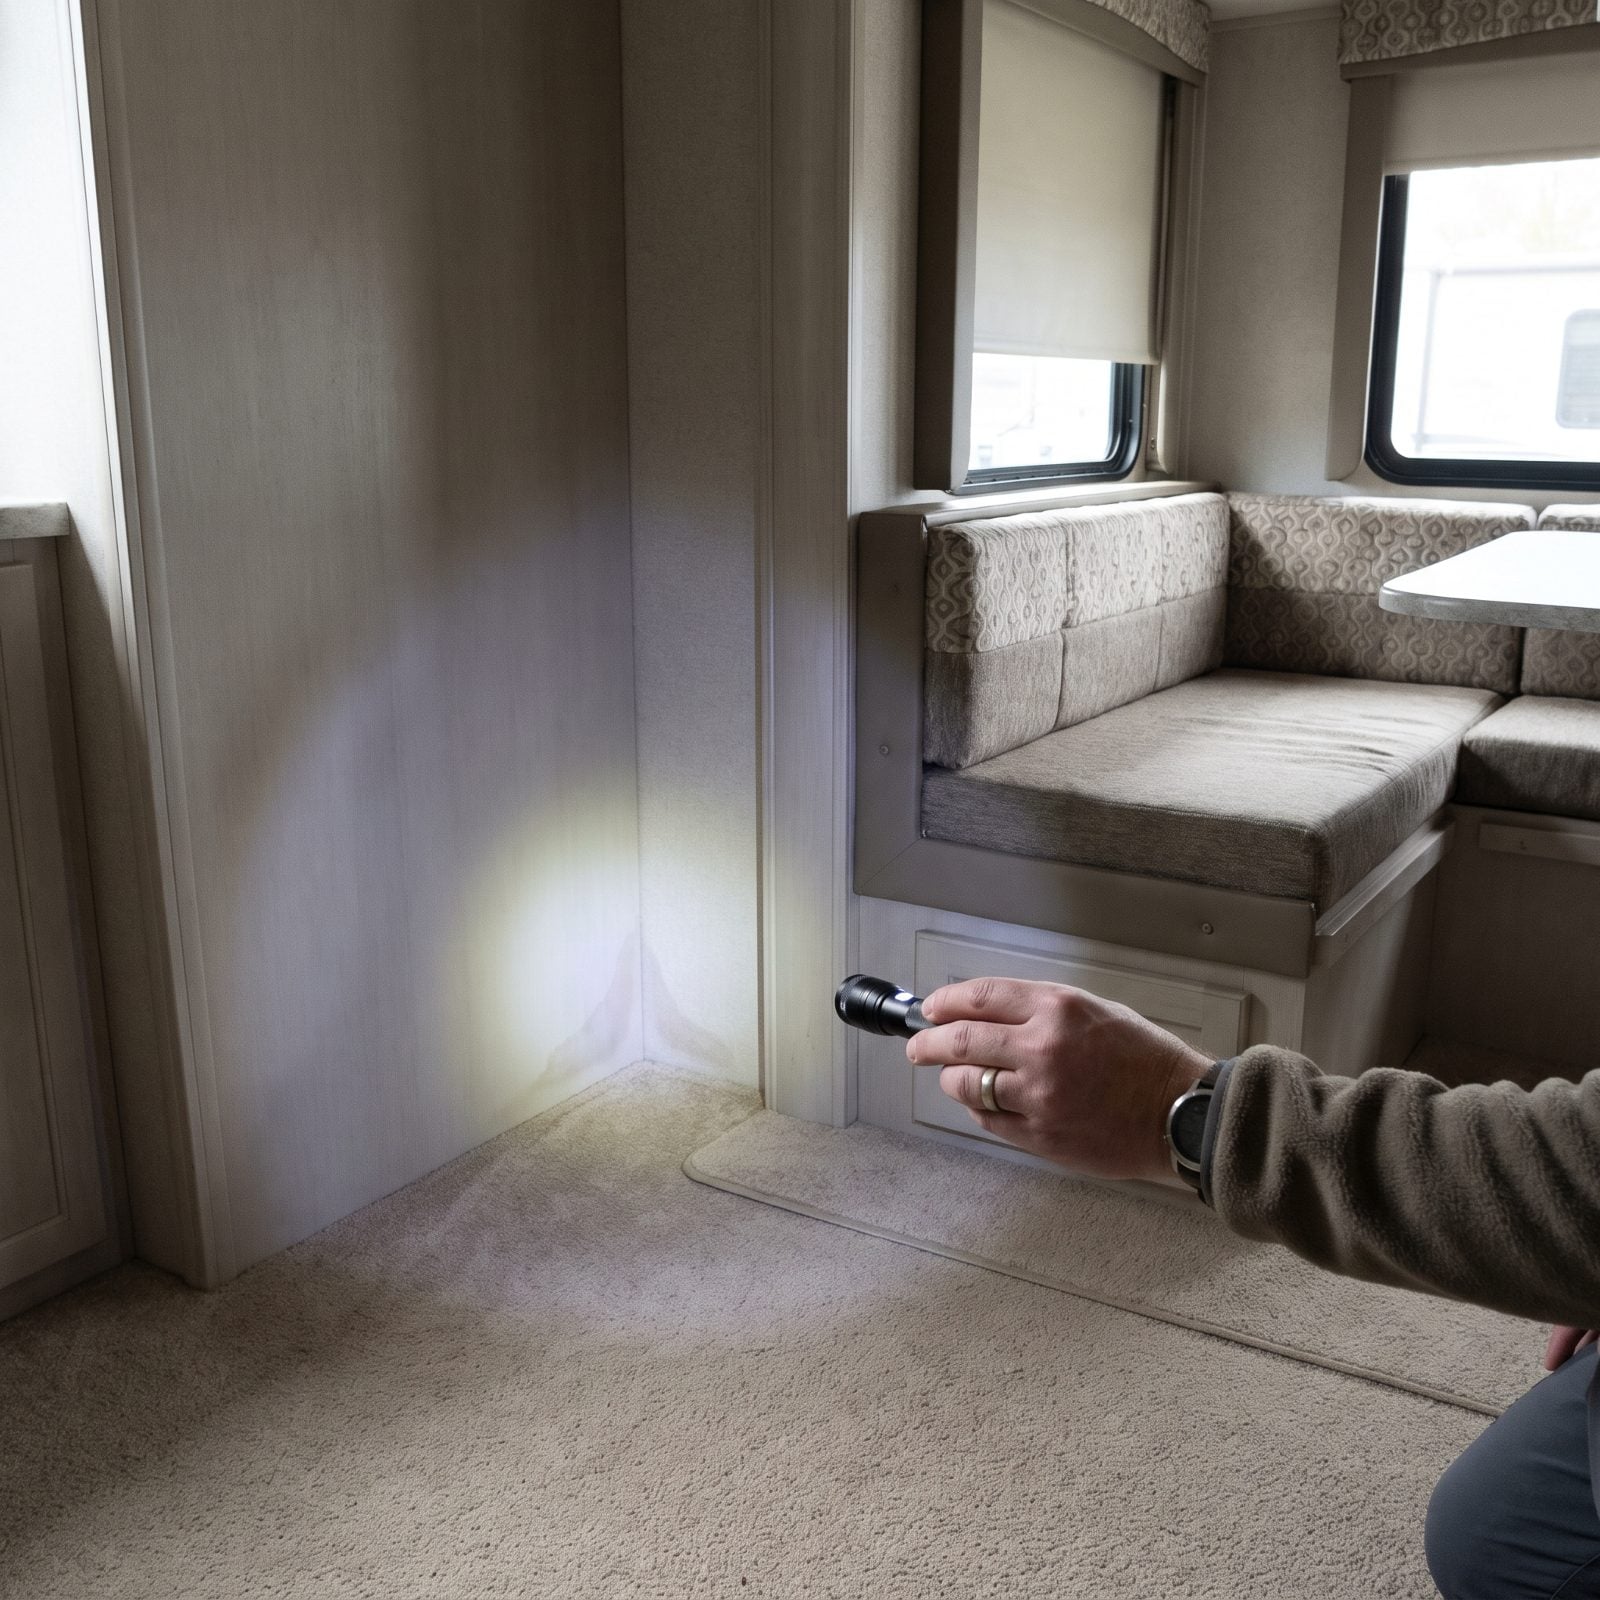
Everyone eyeballs the top of the slide where the rain obviously hits. The lower corners get skipped because they’re a crouch and a flashlight away — which is a shame, because that’s exactly where gravity delivers every drop that found its way in up top. Water pools in those corners and just sits there, patient.
So get down there. Run your fingers along the bottom seams on both sides, look for staining, feel for dampness, shine a light into the corner gaps. Do it right after a rain, when any leak announces itself. The corners are the confession booth of the whole slide.
21. Covering Water Stains Instead of Finding the Leak
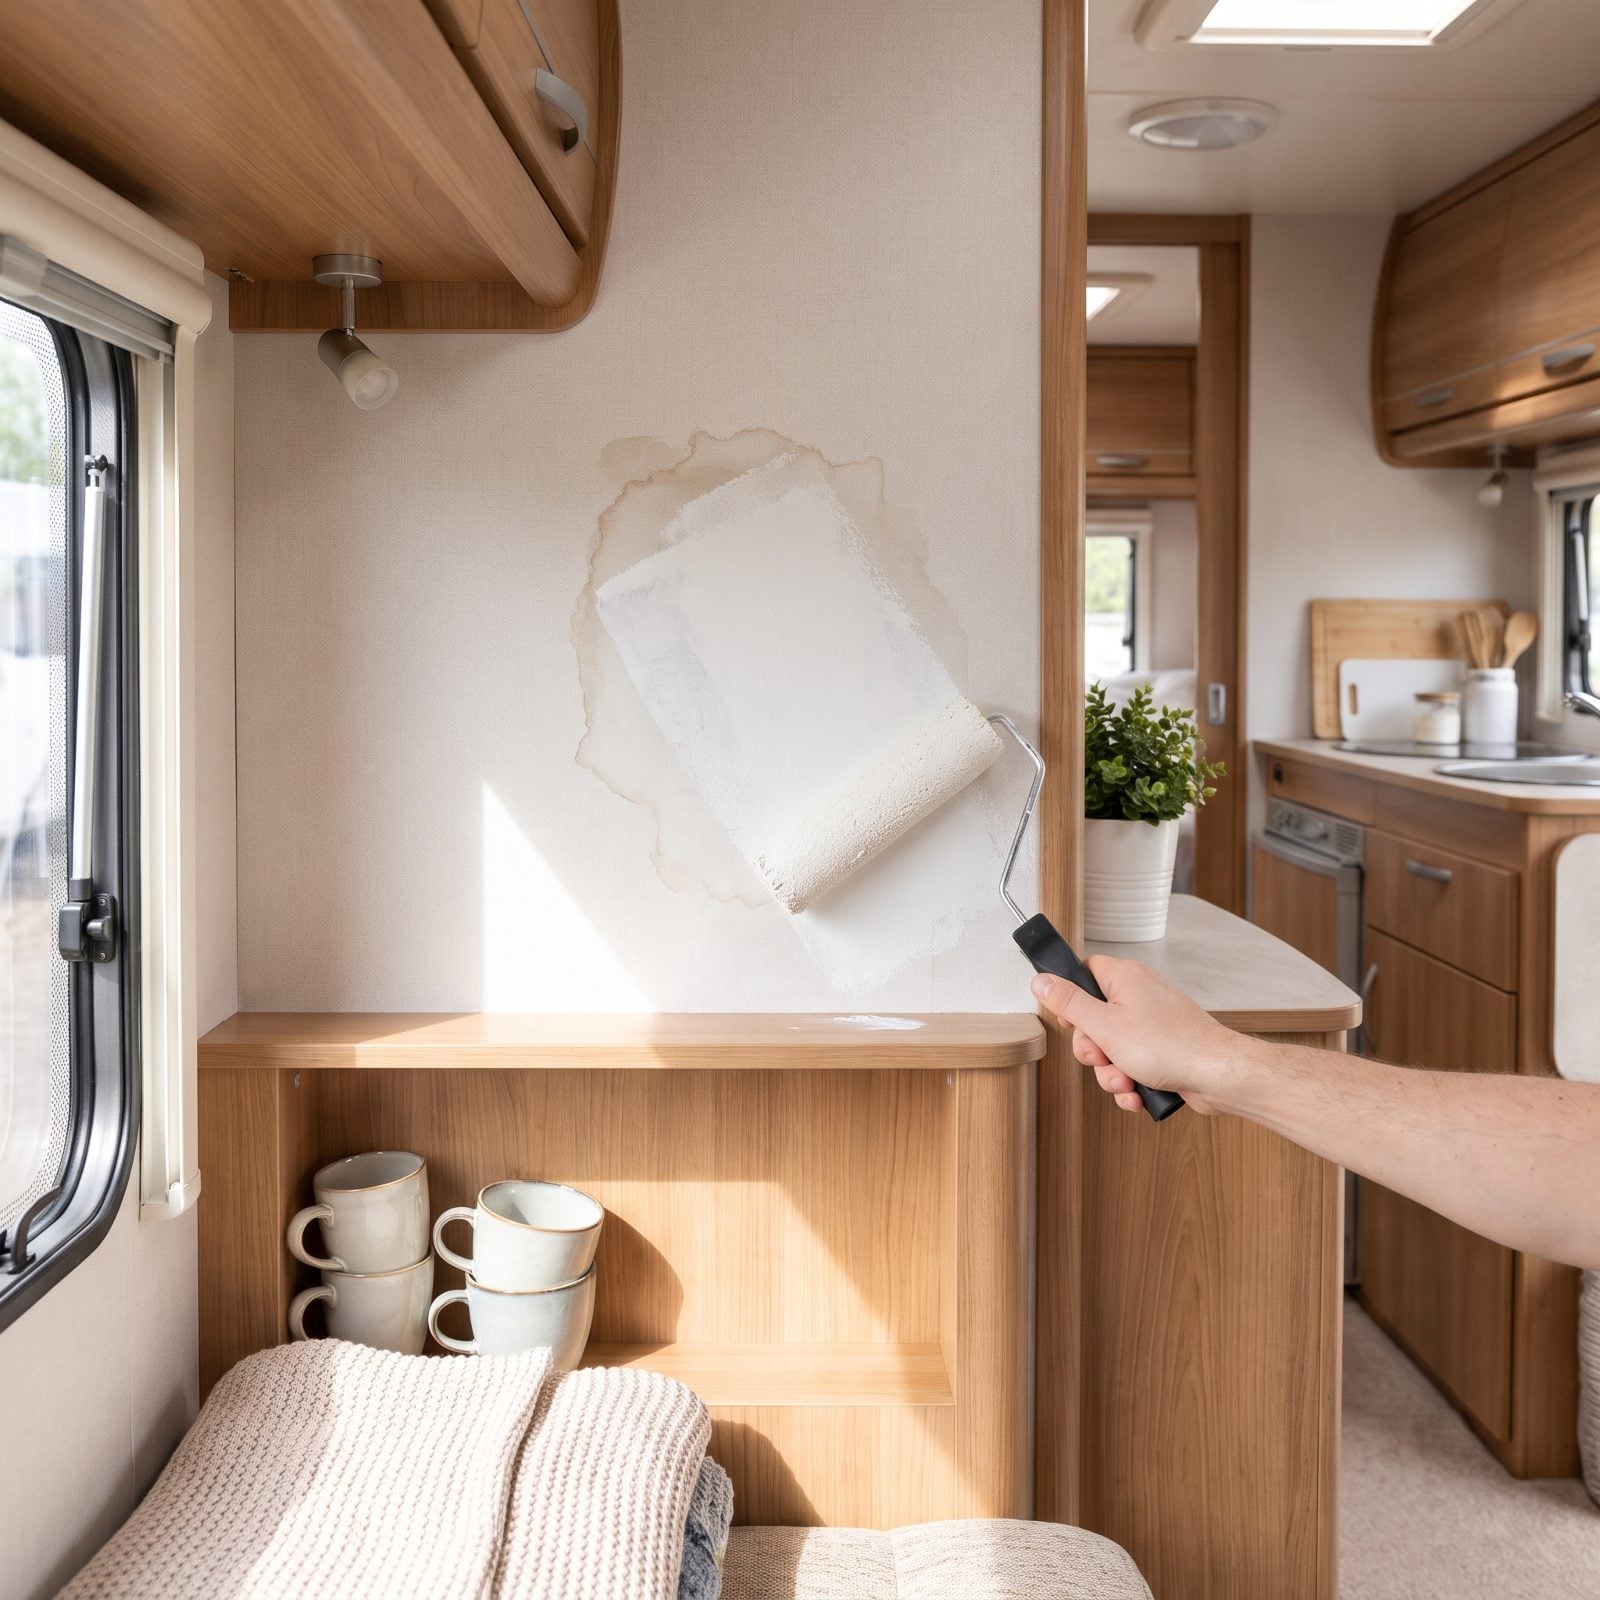
A paintbrush is not a repair. Rolling fresh white over a water stain feels productive, and for about two weeks it even looks solved. But the stain came from somewhere, and that somewhere is still wide open to the weather. You’ve just painted over the one warning light telling you the wall is getting wet behind the panel.
Treat a stain as a symptom, never the disease. Trace it upward and outward to the actual entry point — usually a failed seam, a tired bulb seal, or a cracked corner. Fix the water’s doorway first. Then, and only then, you’ve earned the paint.
20. Dismissing a Soft or Spongy Slide Floor
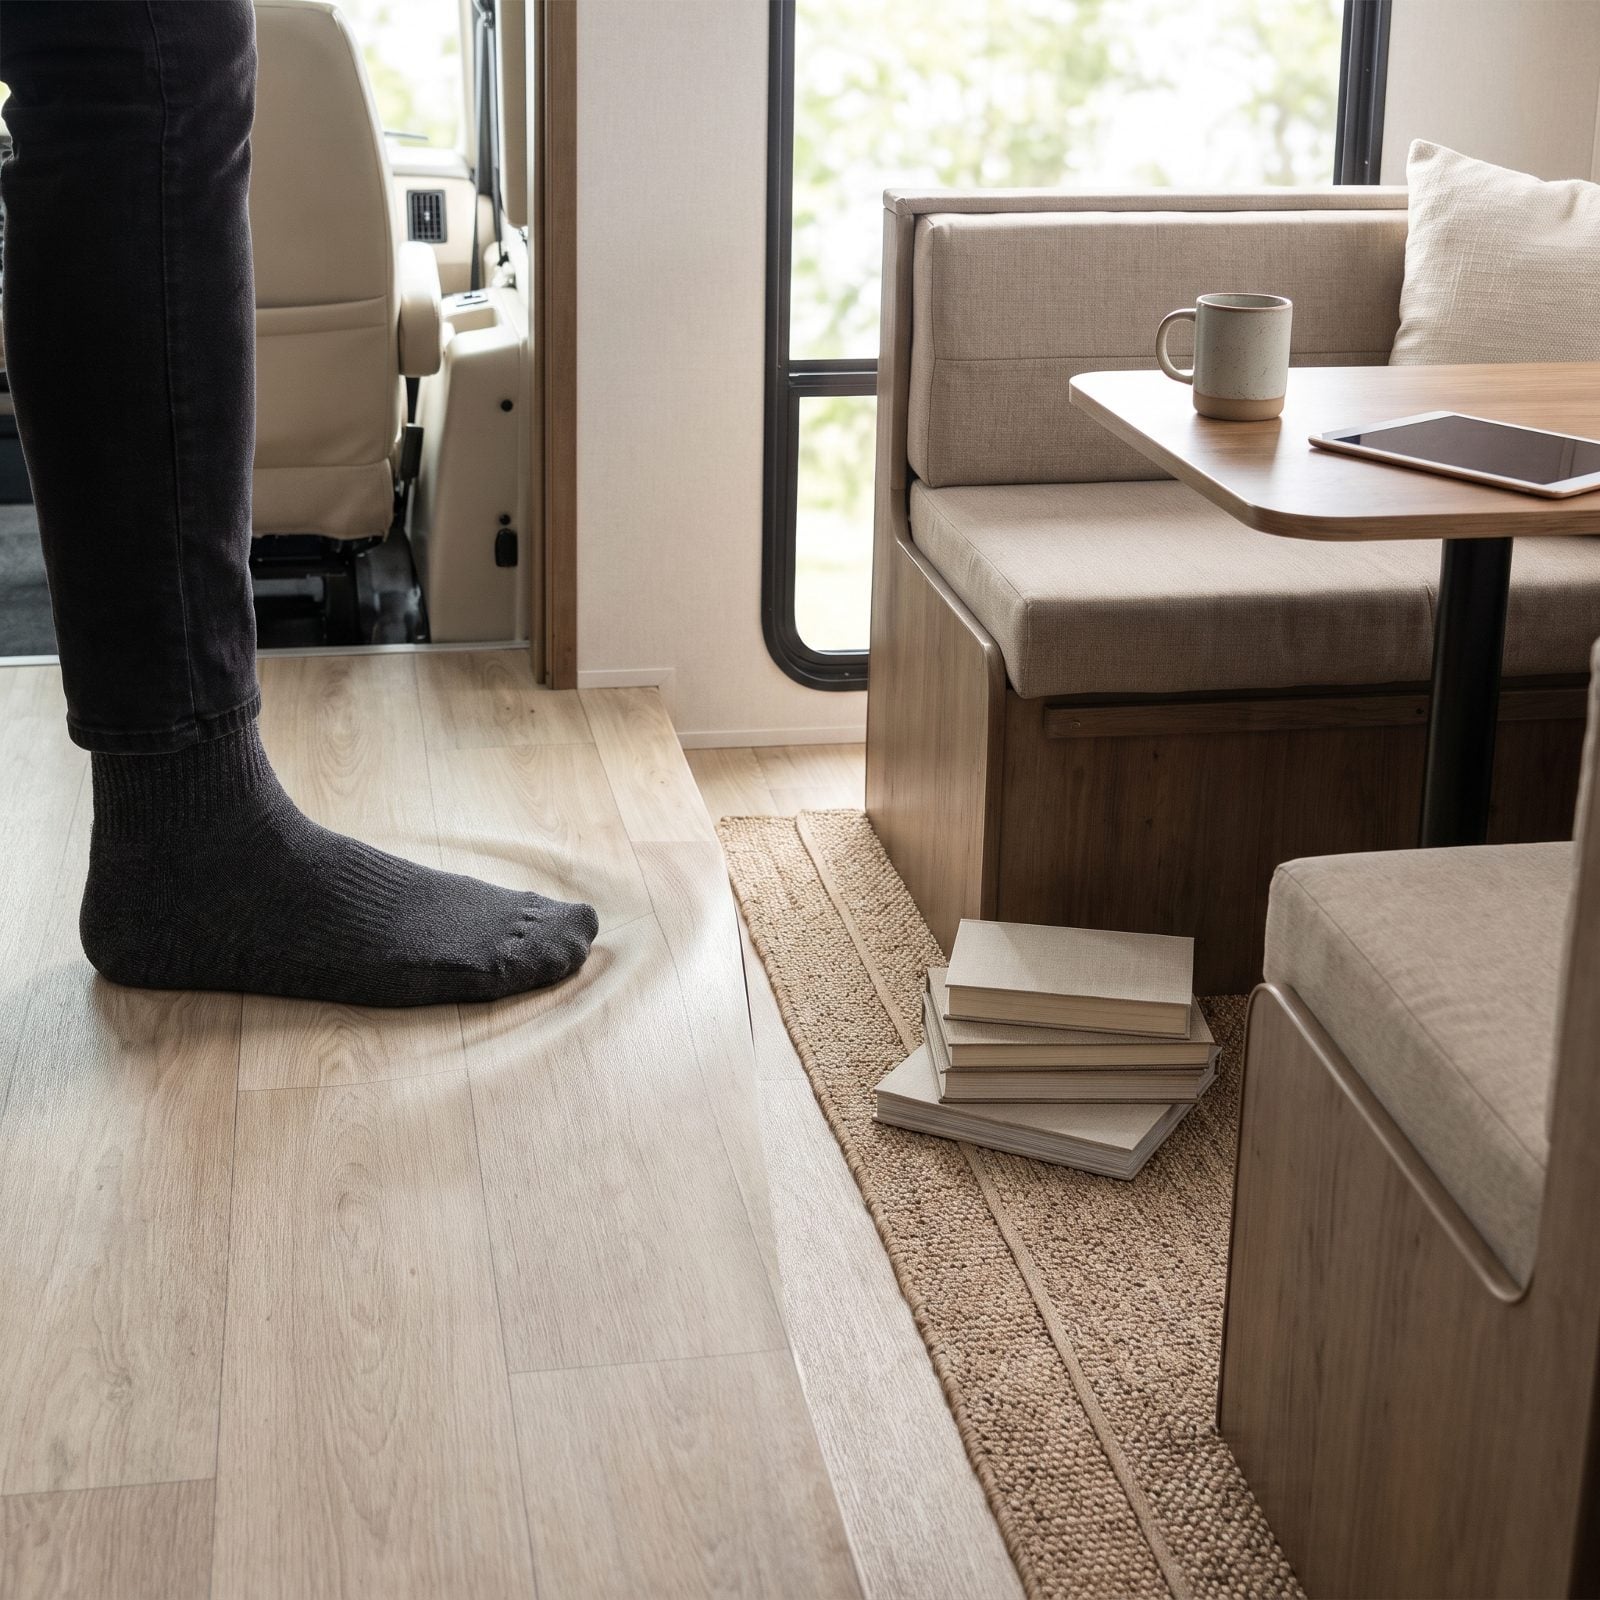
You feel it under your socks before you ever see it. A spot near the slide that gives a little, like stepping on the edge of a mattress. Easy to tell yourself it’s always been that way. It hasn’t.
A soft floor means the subfloor is already soaked and the plywood is coming apart in layers. Leave it, and it rots outward until the repair jumps from a patch to pulling the entire slide. The moment a floor feels spongy, quit treating it as just a floor problem and go find the source. Press around the soft zone to map how far it spreads, then chase the water trail back up to the seal that let it in.
19. Ignoring Uneven Gaps or Daylight Around a Closed Slide

Close the slide, step inside at midday, and look along the top seal. See a thread of daylight? That gap is a highway for water, dust, bugs, and cold air, and it almost always means the slide isn’t seating evenly left to right.
Uneven gaps usually point to a slide that’s drifted out of adjustment, or a seal that’s folded or worn thin — and both only get worse the more you cycle the room. Check whether the RV is level first, because an unlevel rig throws the whole alignment sideways. Level and still gapping? Then you’ve got a seal or mechanism issue worth sorting before the next storm comes looking for it.
18. Never Inspecting the Slide’s Underside Membrane
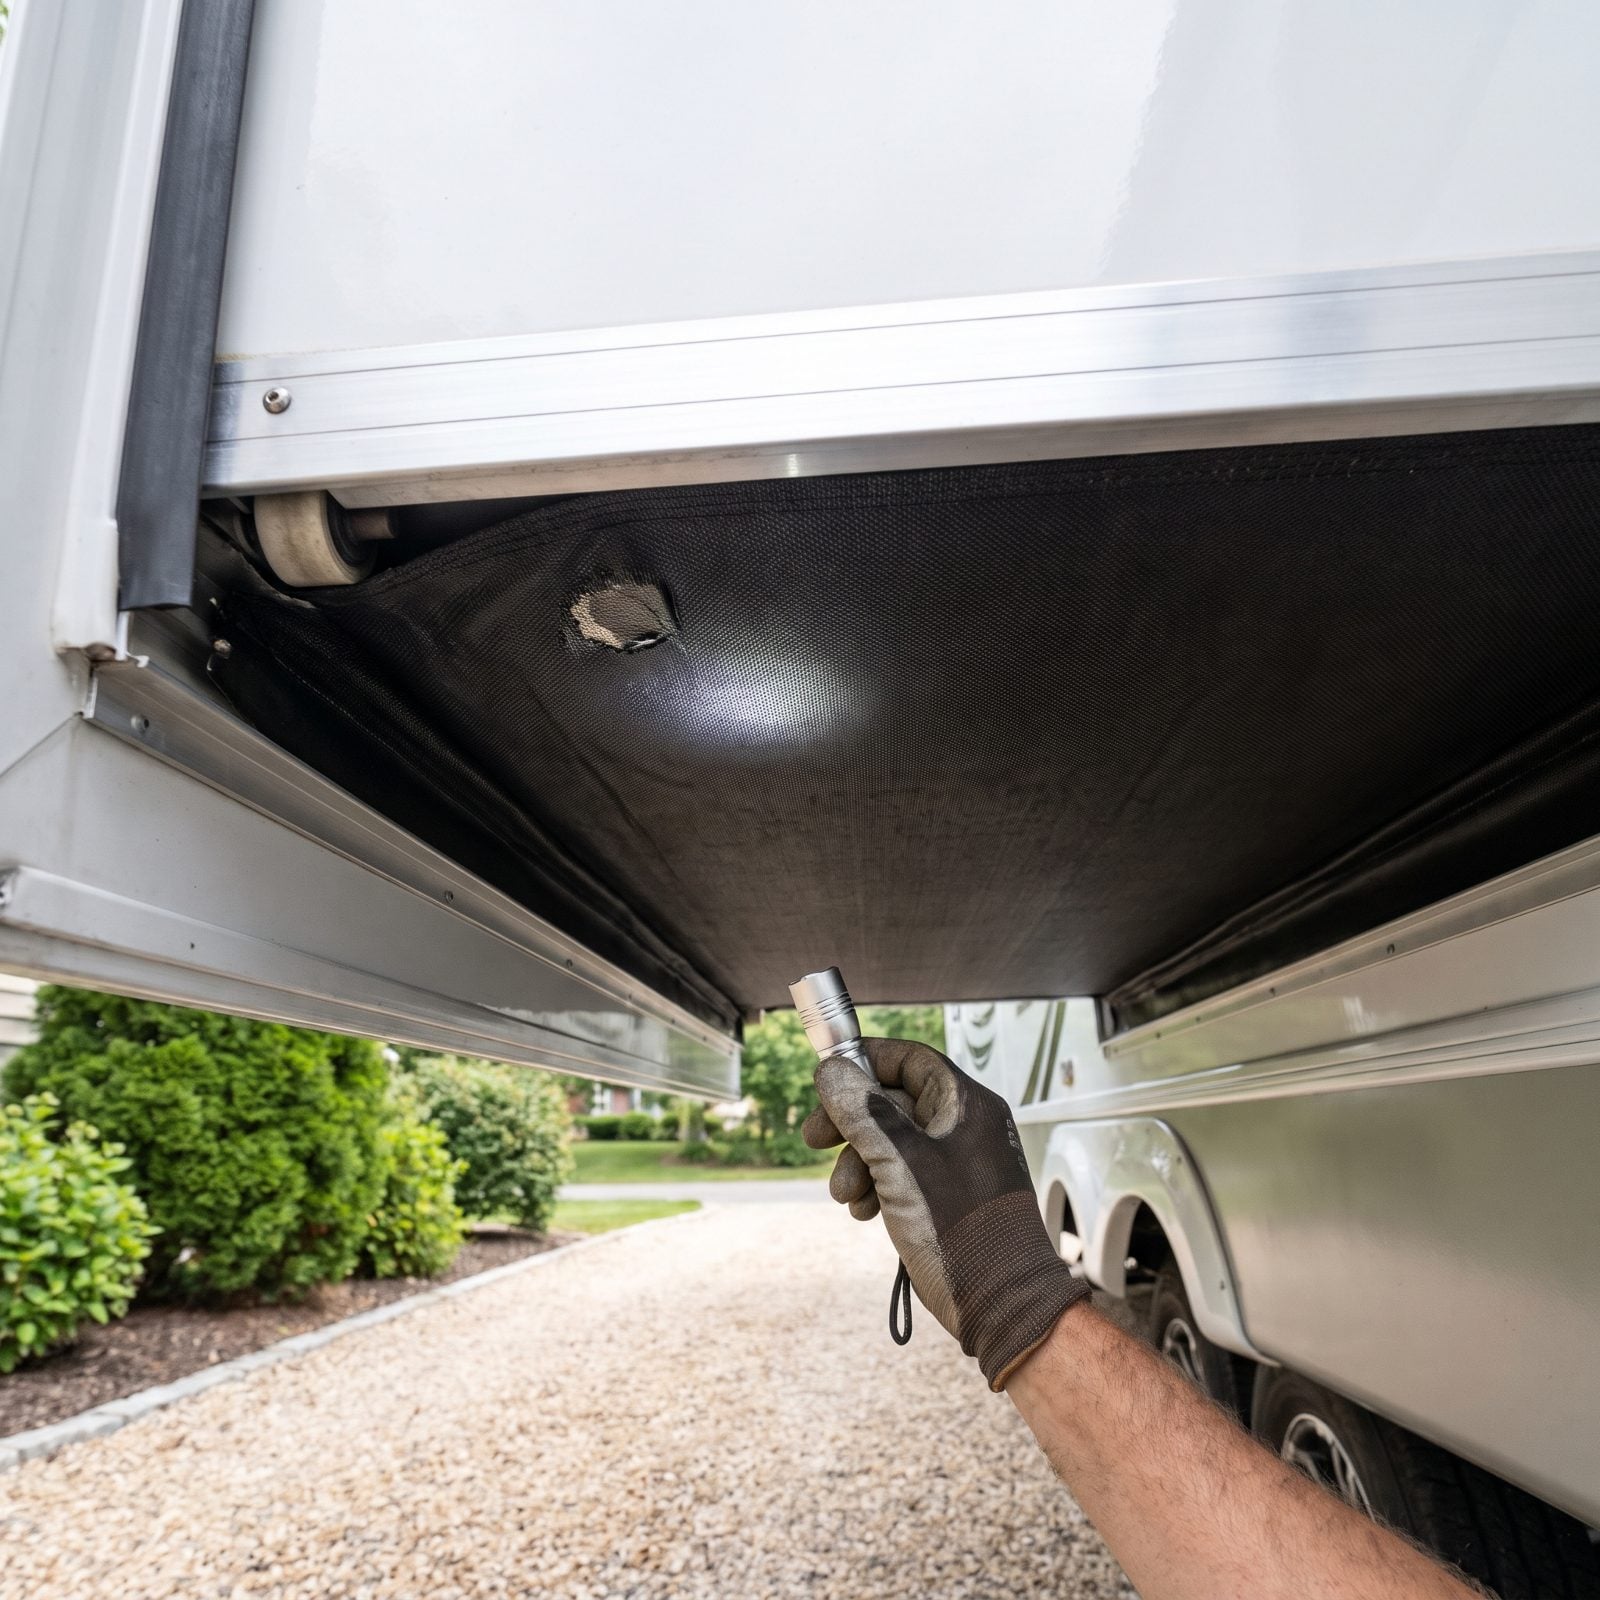
Out of sight, out of mind — and the slide underside is about as out of sight as a thing can get. That membrane on the bottom takes road spray, branches, and gravel kickback day after day, and nobody looks at it until a floor goes soft. By then the tear has been drinking for months.
Once or twice a season, grab a flashlight and look up under the extended slide. You’re hunting for tears, sagging, pooled water, and spots where the membrane has pulled loose from the frame. Small rips patch cheap with the right tape. Big neglected ones feed straight into the subfloor you just read about two items back.
17. Packing Exposed Gear Racks With Sticky Grease
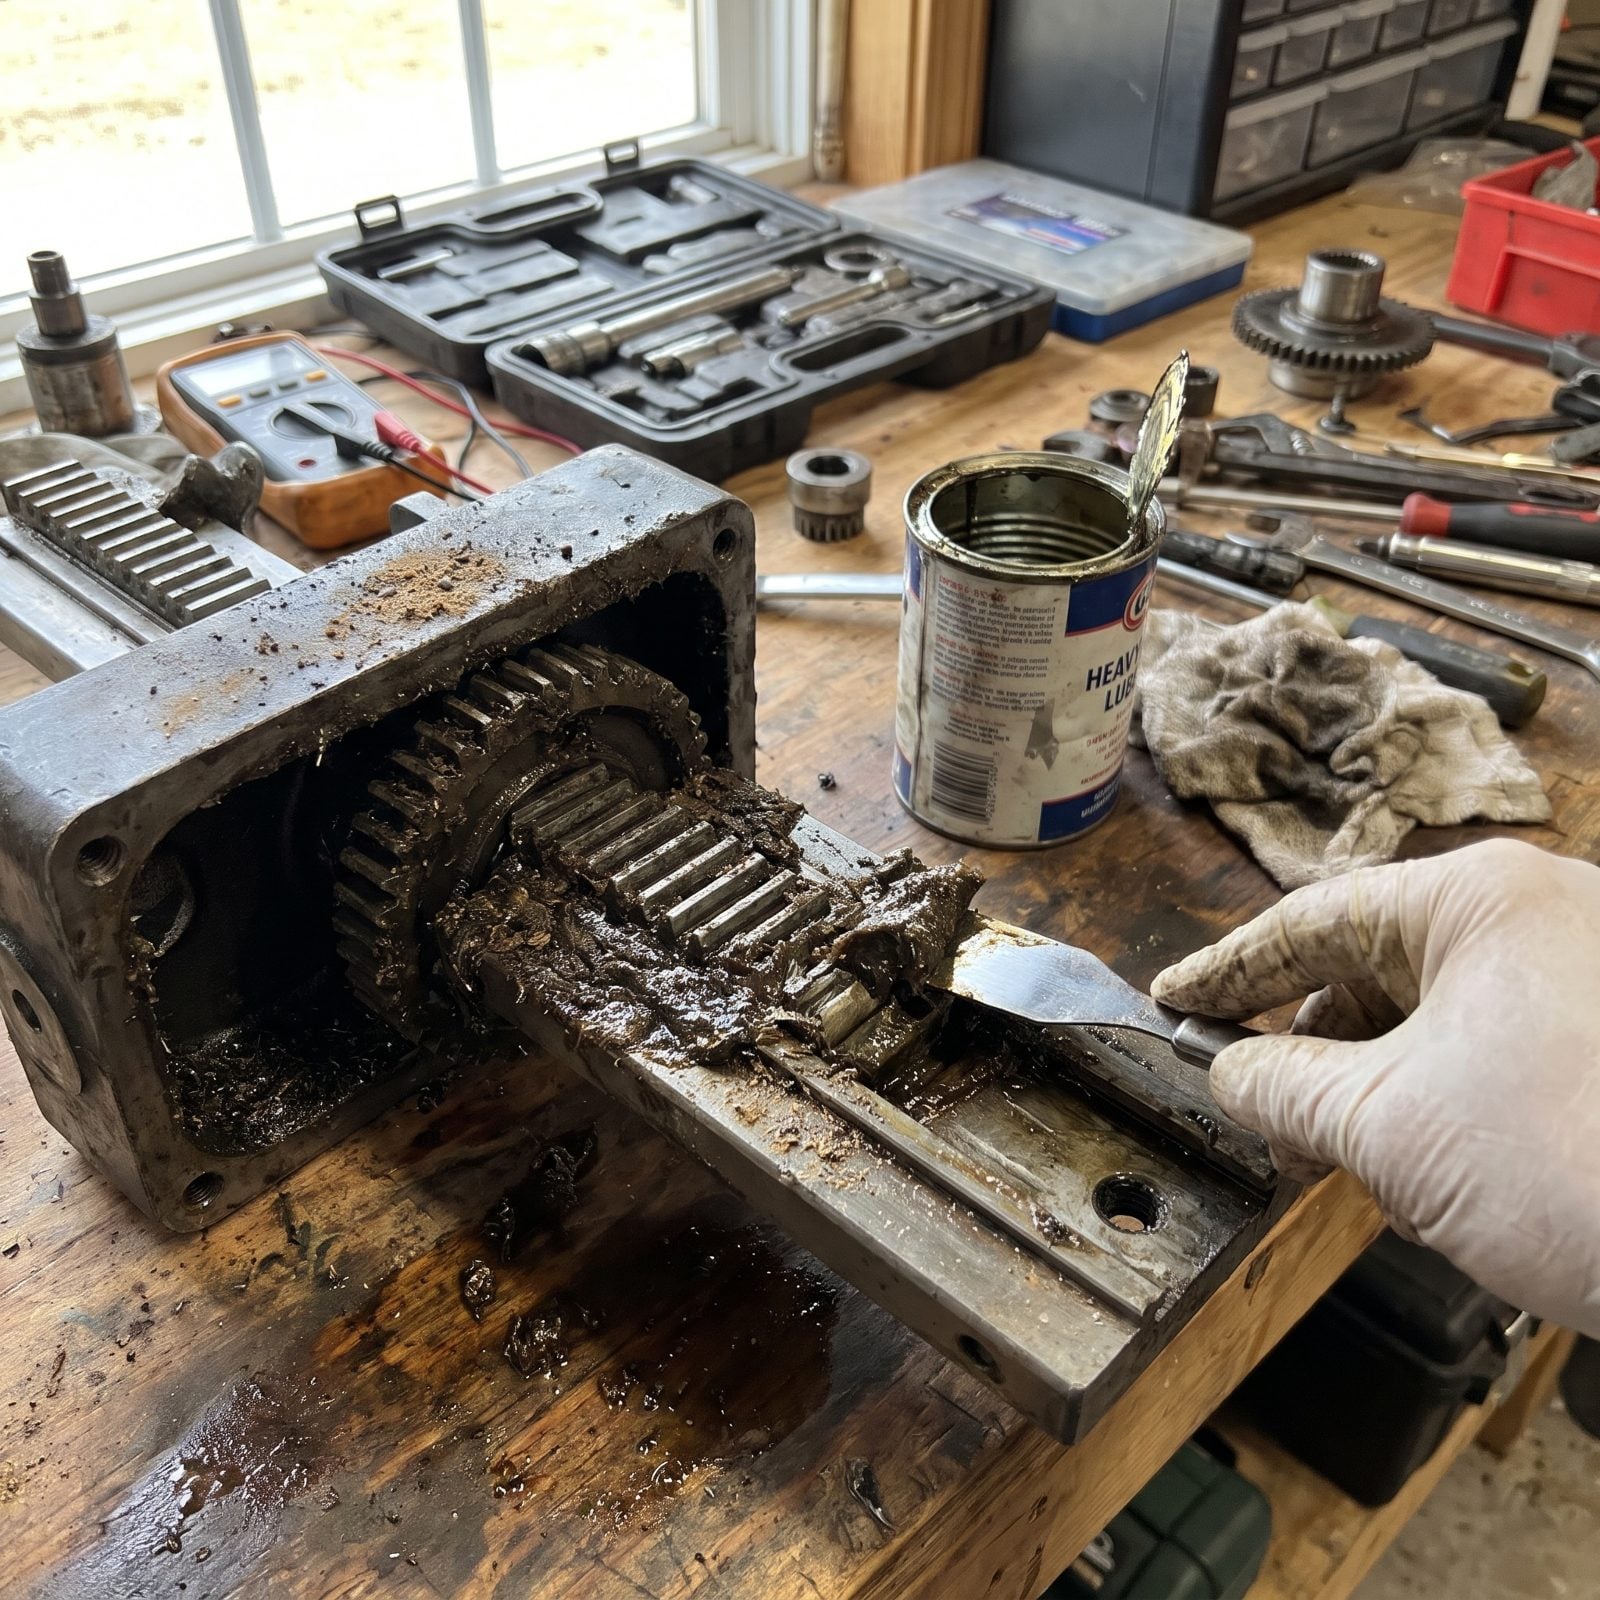
Grease feels like love for a moving part. On an exposed rack-and-pinion slide gear, it’s a trap. Sticky grease catches every bit of sand and grit the road throws at it, and that mixture grinds like sandpaper against the very teeth you meant to protect.
Most exposed slide gears want a dry lubricant instead. A dry film lubricant leaves a slick coating that shrugs off debris. Check your owner’s manual for the exact spec, because hydraulic and cable systems have their own quirks, and the wrong product on the wrong system wears parts faster than running them dry.
16. Ignoring Frayed Cable-Slide Cables
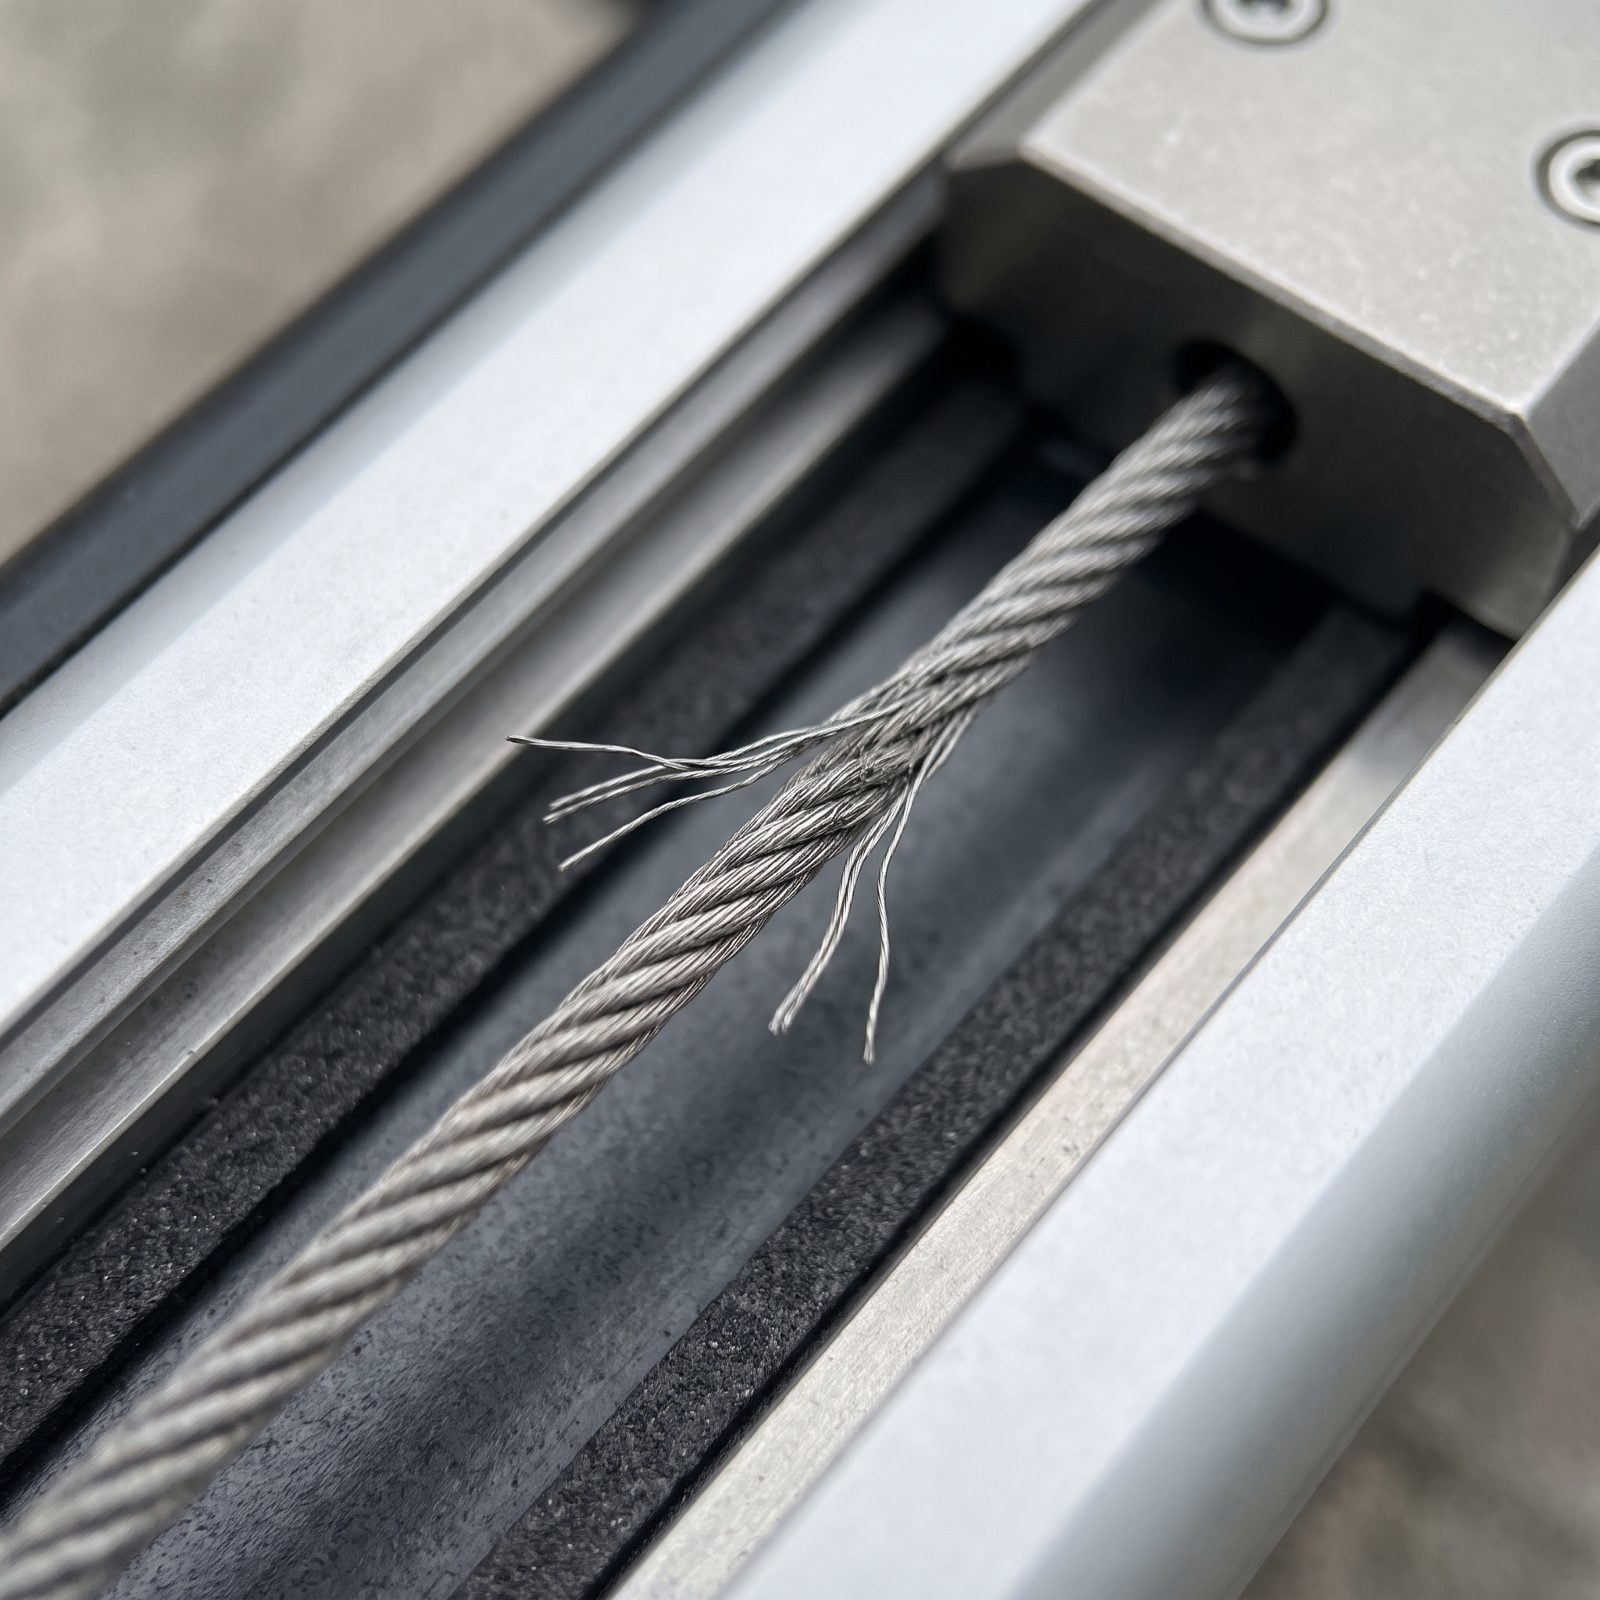
A cable-driven slide pulls itself in and out on steel cables, and steel cables don’t quit all at once. They fray a strand at a time — little bright whiskers poking out of the twist — until one day the room jams halfway or lets go entirely. People spot those first whiskers and keep right on cycling the slide anyway.
Those frays are the only warning you get. Inspect the cables where they run over pulleys and anchor points, since that’s where they wear fastest. A fraying cable is a scheduled failure, not a maybe. Replace it before it strands you with a room stuck out at a campsite three hours from the nearest shop.
15. Adjusting Cable Tension by Guesswork

Tighten it till it feels right. That’s how a lot of cable slides get adjusted, and it’s also how a lot of cable slides end up crooked, binding, or snapping cables early. Too loose and the room sags and rubs. Too tight and you’re overloading the cable and the motor on every single cycle.
Cable tension is a spec, not a feeling. The manufacturer lists how the slide should sit, how even the gaps should be, and often a real tension figure or sequence for adjusting. Follow it. And if the procedure reads like another language, pay a tech once and watch exactly what they do. Guessing here wears out parts you can’t see until they quit on you.
14. Dismissing Black Shavings Near the Slide Mechanism
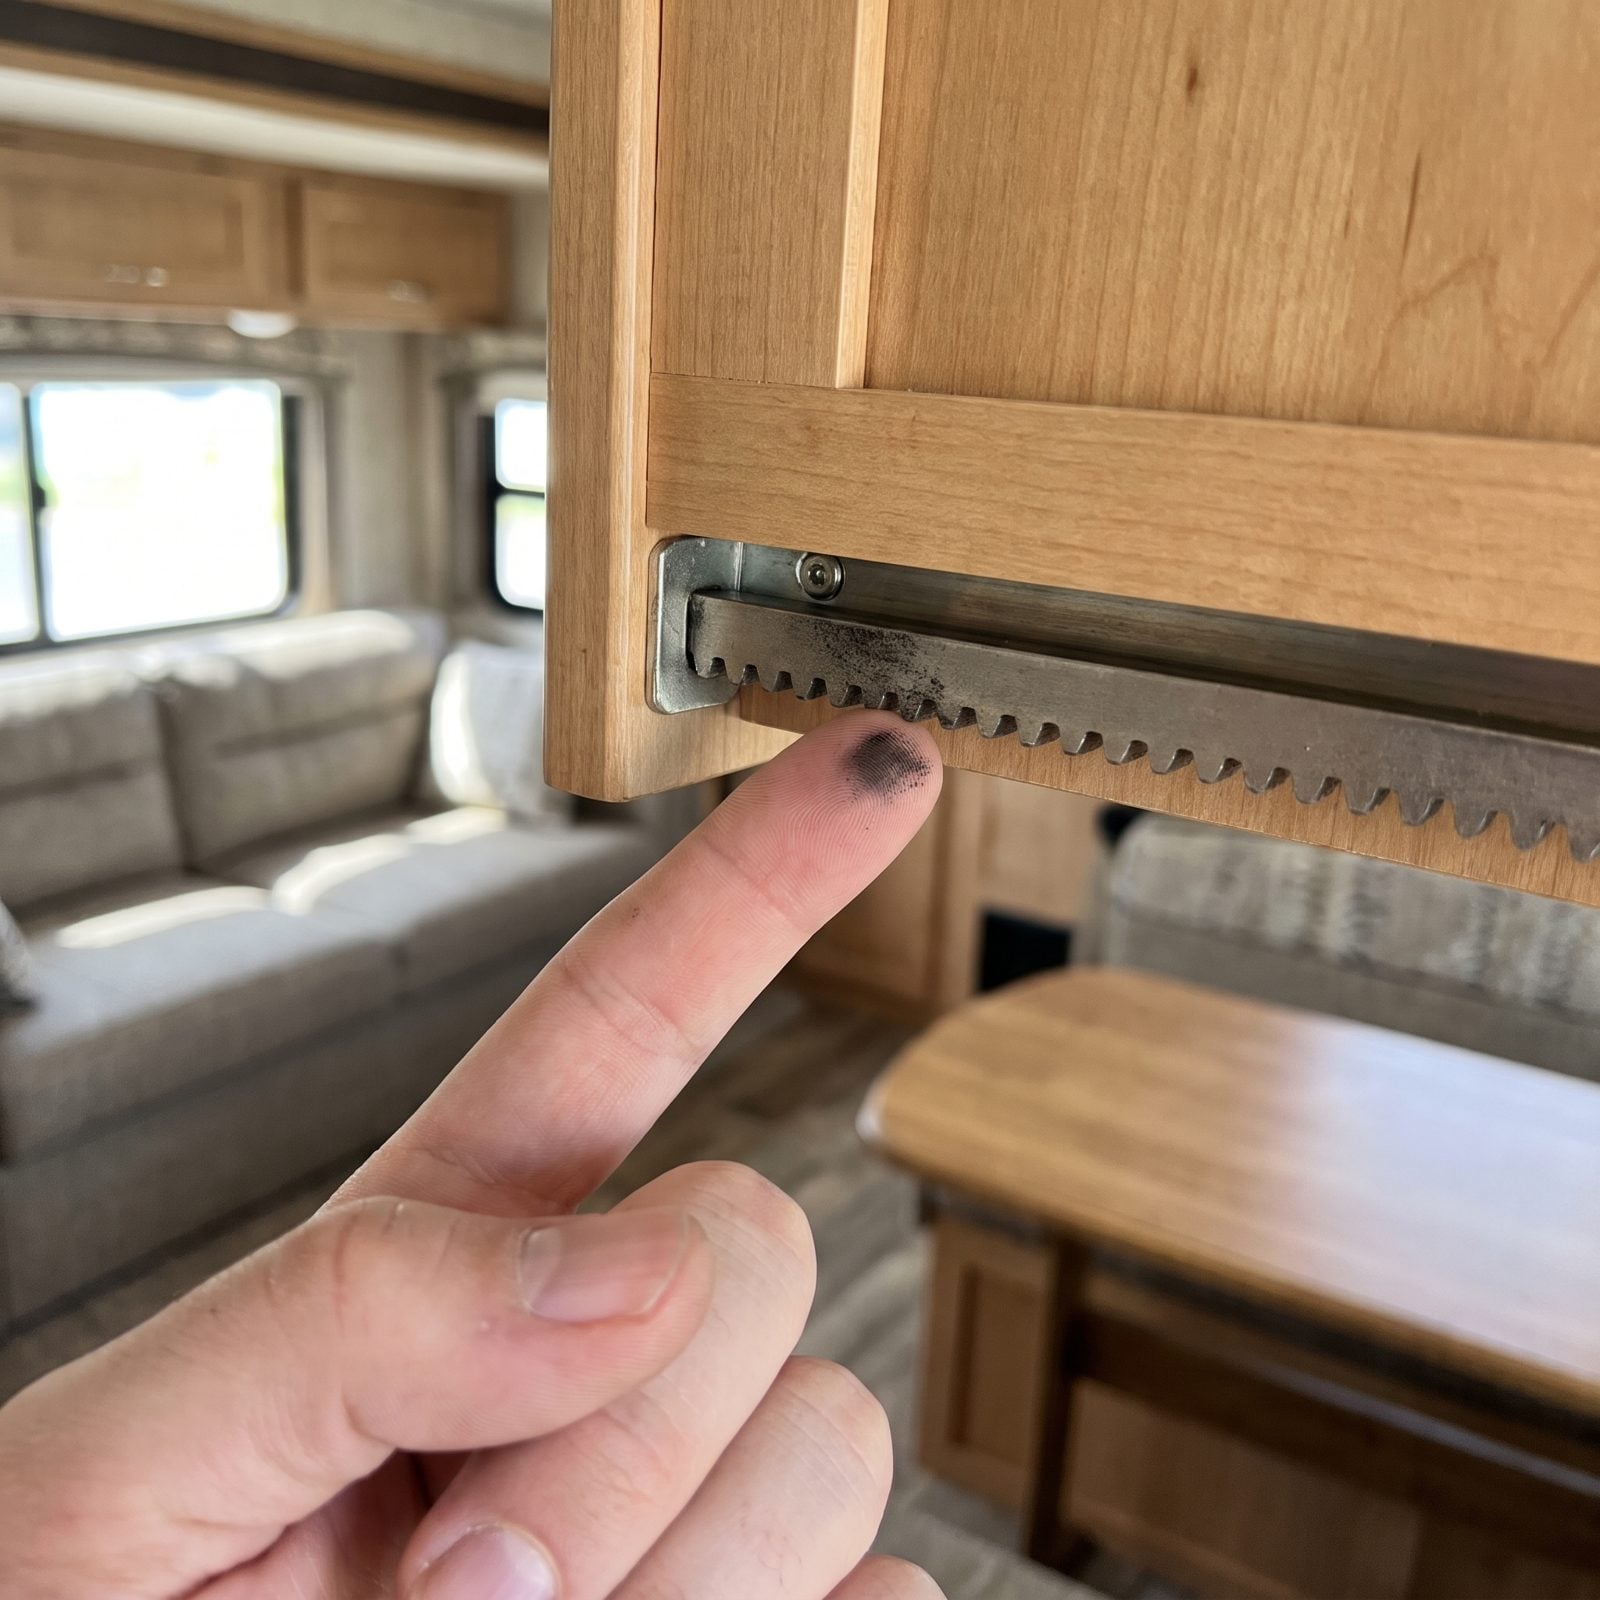
You crawl under to check something unrelated and spot a little black dust on the rail. Looks like harmless dirt. It isn’t — metal shavings near a slide gear mean teeth are grinding against teeth, and every cycle after that files off more material.
Left alone, that worn rack eventually skips, jams, or strips completely, and a gear rack replacement on a big living-room slide runs into real money. So wipe the area clean, run the slide once, and look again. Fresh shavings on a clean surface? Stop using it and get the alignment checked. Catch it early and you’re adjusting. Catch it late and you’re replacing.
13. Pushing a Slide Motor That’s Already Overheating
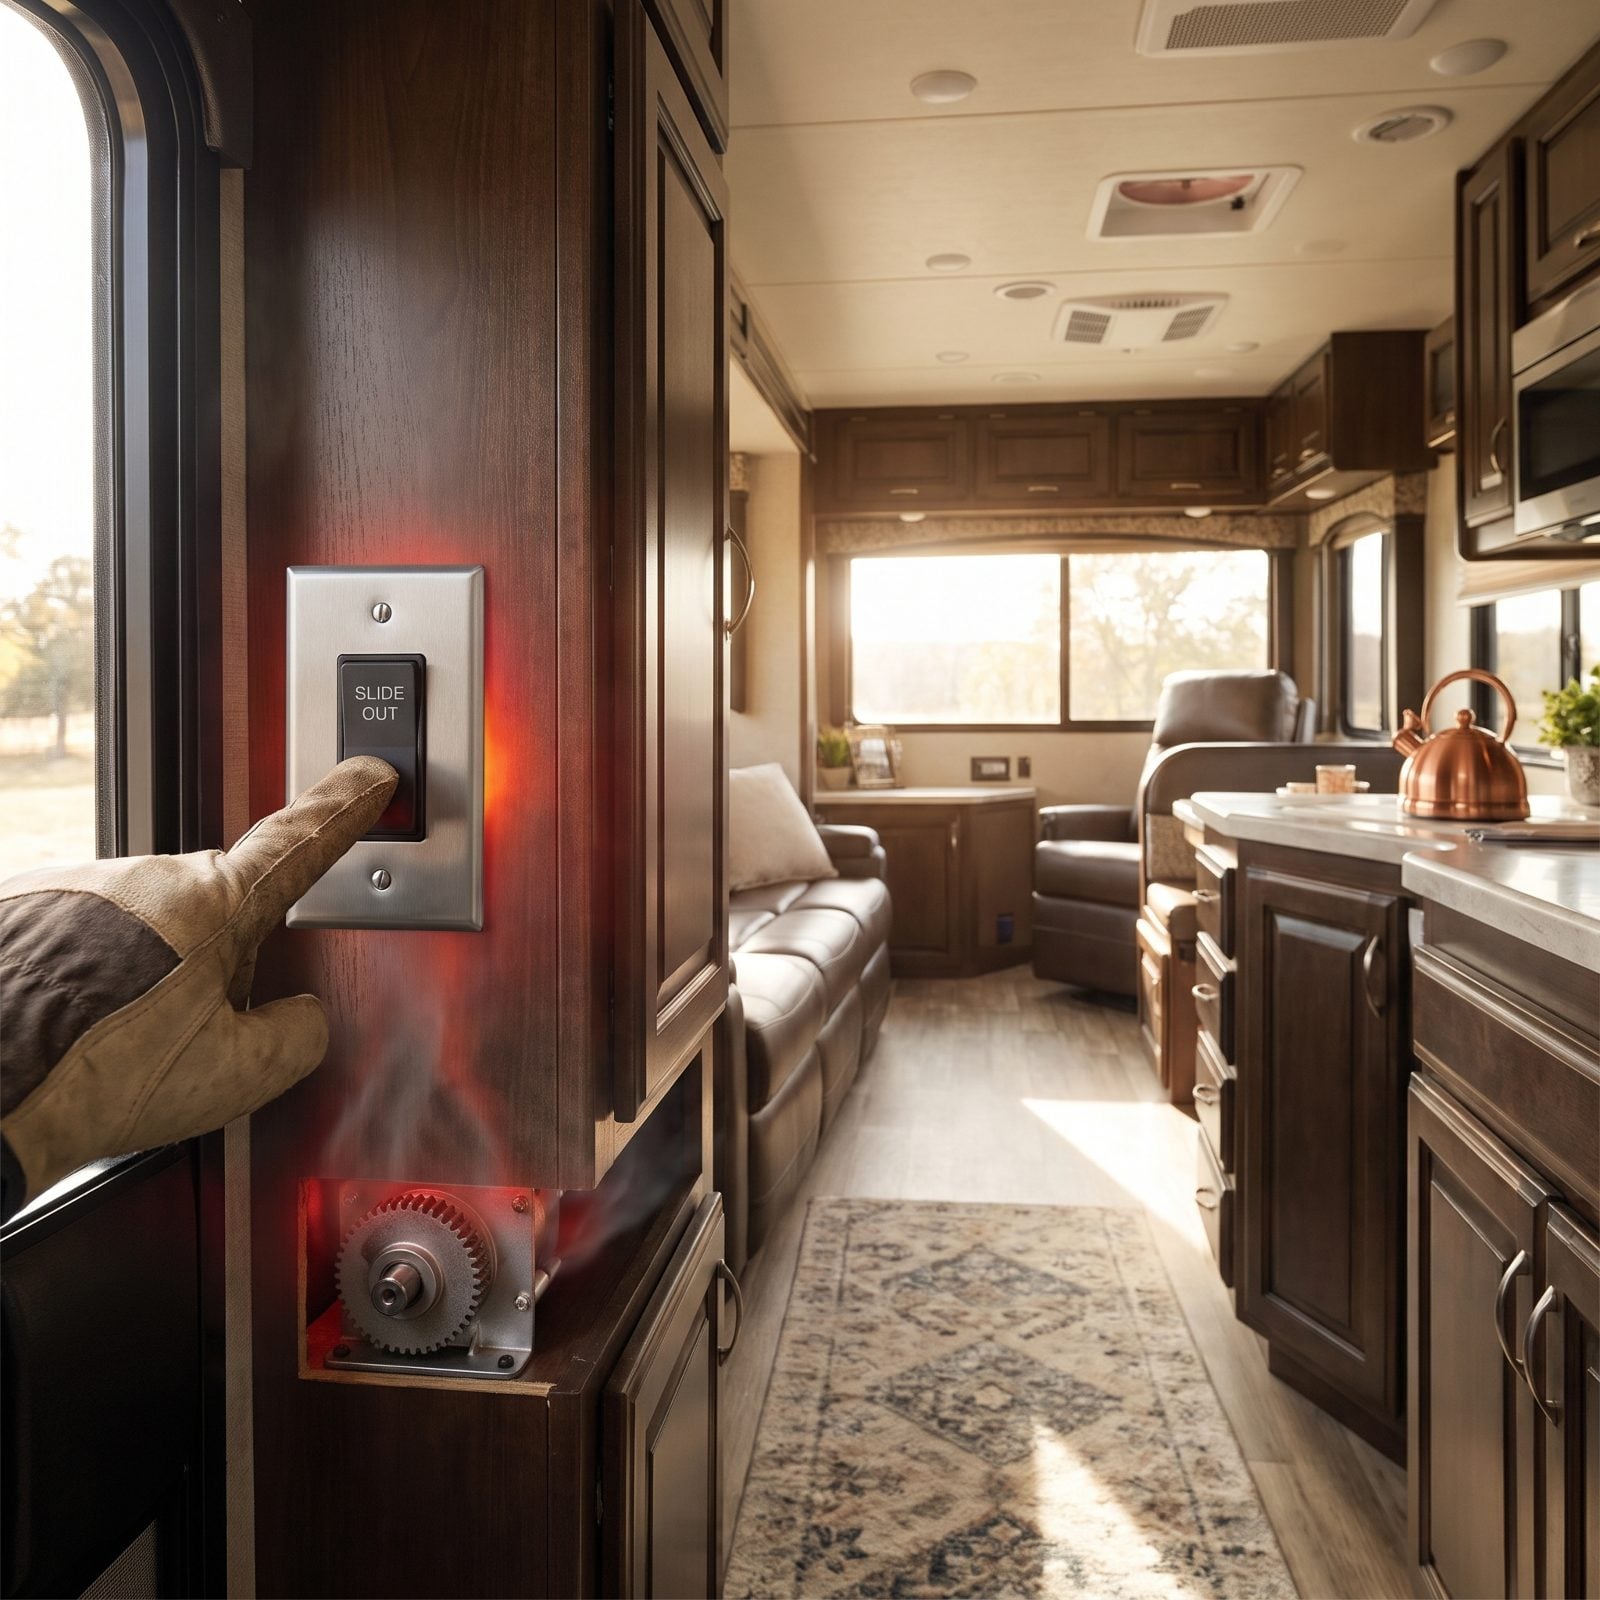
A slow slide is often a hot slide. When the room drags and you keep holding the button, the motor is fighting resistance it was never built to fight. Heat builds fast in those compact motors, and a cooked winding doesn’t come back.
The fix costs you patience, not money. If a slide stalls or crawls, let go. Give the motor a few minutes, then figure out why it’s laboring — bad battery voltage, a binding track, debris in the seal — and try again. Batteries matter more than people expect here. Low voltage makes the motor pull harder, which makes it hotter, which shaves life off every single cycle.
12. Letting Dual Motors Drift Out of Sync

Wide slides run two motors, and they’re supposed to move as one. When they drift apart, the room comes out crooked, even if, like the slide here, it can still look square at a glance. Watch for a slide that sits higher on one side, or a gap that’s fat at one corner and tight at the other.
A racked slide chews its seals, loads the frame unevenly, and can bind hard enough to strip a gear. Most systems have a resync procedure in the owner’s manual — usually a button hold that re-levels both motors. Do it the moment you notice the tilt. Keep running it cockeyed and you turn a five-minute reset into a structural repair.
11. Ignoring the Fault Code Blinking on the Slide Controller
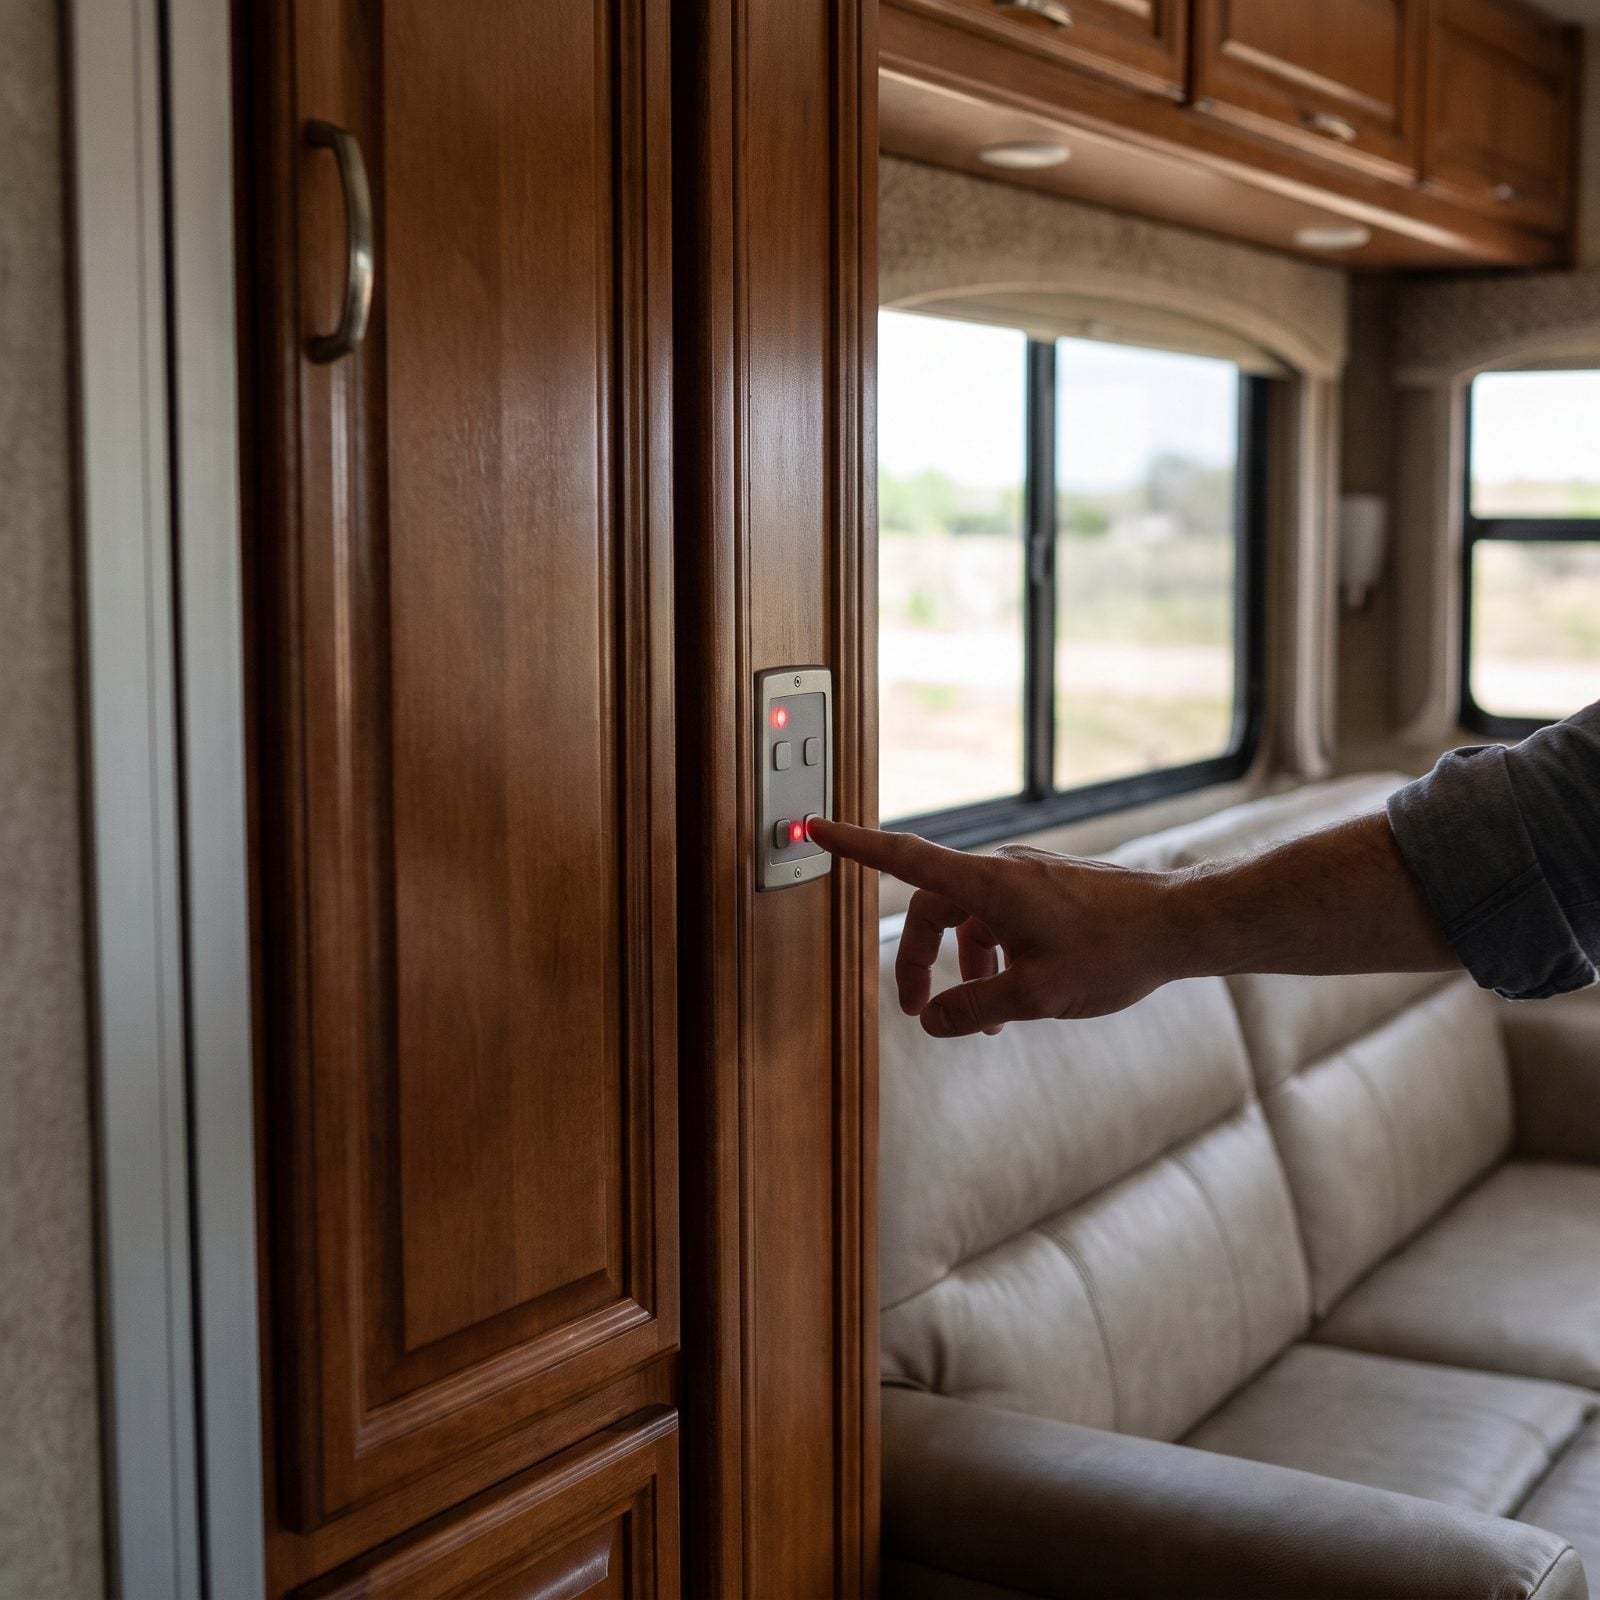
The controller flashes a code, the slide still works, so you shrug and carry on. Those codes aren’t decoration. They’re the system telling you a motor is pulling too much current, a sensor dropped out, or the two ends disagree about position.
A code you ride through is a small problem documenting its own growth. Pull up the manual, decode the blink pattern, and deal with what it’s flagging now while it’s cheap. Clears after you fix the obvious thing? Good. Comes right back? That’s your sign to quit cycling the slide and get a tech on it before the controller faults out mid-travel and strands the room half-open.
10. Reaching for a High-Torque Drill on the Manual Override
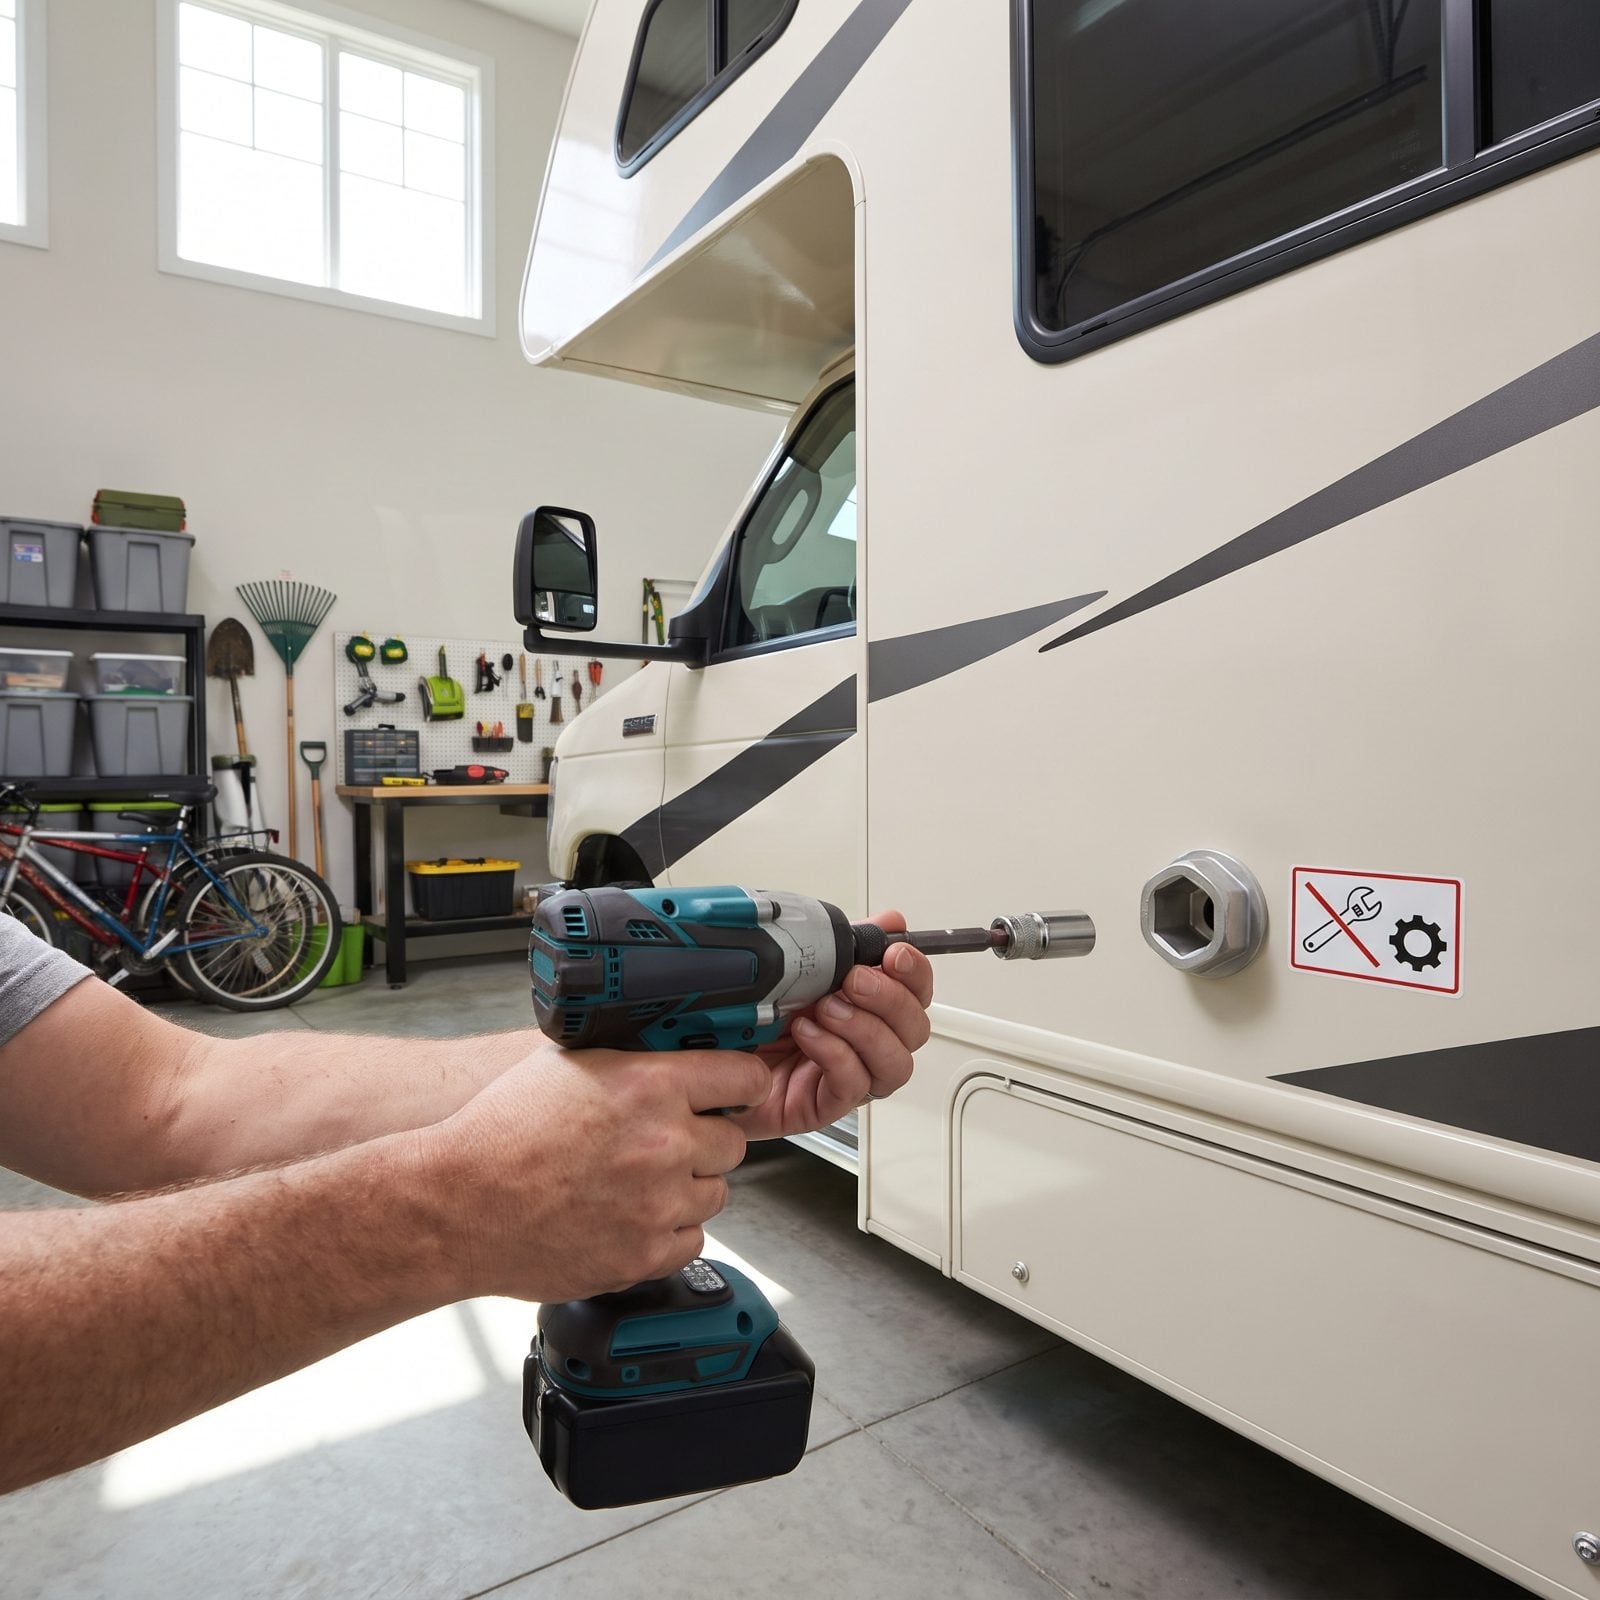
The power’s dead, the slide won’t budge, and the fastest fix seems obvious: grab the impact driver and crank that override socket. Don’t. Manual overrides are built for a hand crank or a drill on low torque. Hit one with 1,500 inch-pounds of impact and you can snap the drive shaft, strip the override gear, or over-travel the slide into its own stops.
Now you’ve turned a dead battery into a broken mechanism. Use the hand crank if the coach came with one. If you must use a drill, set the clutch low, go slow, and stop the instant resistance spikes. The override exists to save you — not to be powered through.
In its emergency guide to manual slide overrides, an RV technician training academy advises: “Only use a drill if the slide-system or RV manufacturer specifically allows it for that override procedure.”
9. Topping Off Hydraulics With Whatever Fluid Was in the Garage

The reservoir’s low, there’s a bottle of something hydraulic on the shelf, and it all looks the same color. It isn’t. RV slide and leveling systems spec a particular fluid — often an ATF or a dedicated low-temp hydraulic oil — and the wrong viscosity makes pumps labor, seals swell, and valves stick.
Mix fluids and you can gum up a system that was running fine. Check the manual or the reservoir cap for the exact spec before you pour a drop. When in doubt, call the pump manufacturer, not the parts-counter guy guessing from memory. Right fluid costs a few bucks. Flushing a contaminated hydraulic system is a day in the shop and a bill you’ll remember.
8. Shrugging Off a Small Hydraulic Fluid Leak
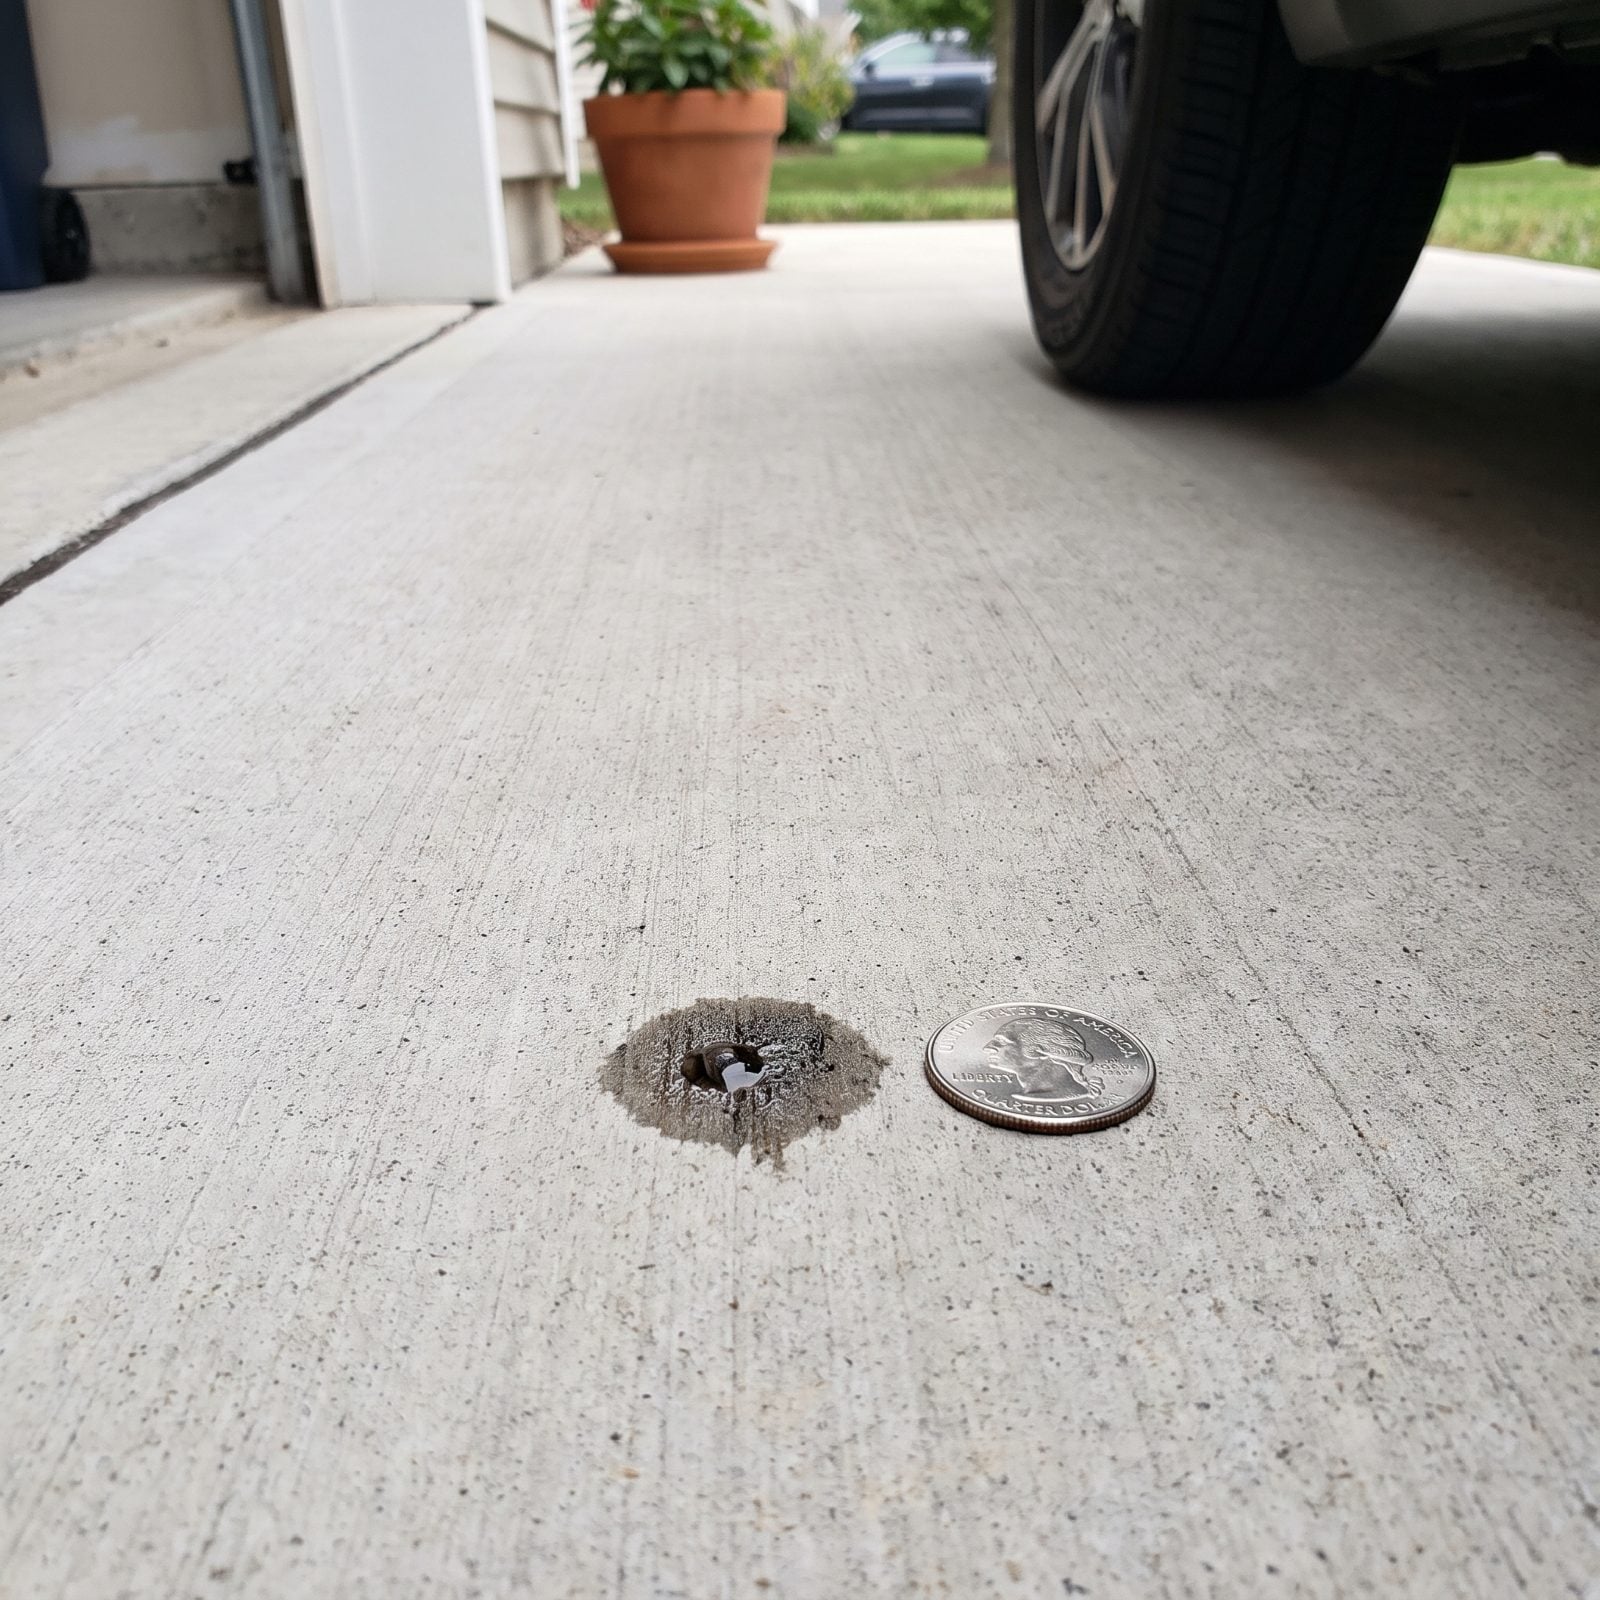
A drip the size of a dime on the driveway doesn’t feel urgent. Hydraulic systems disagree. They run on pressure, and pressure needs a sealed, full circuit. A small leak means a failing seal or a loose fitting, and the loss only accelerates as the system keeps cycling.
Run it low and you introduce air, which makes slides creep, stall, or refuse to seat — and air pockets can damage the pump. Find the source now. Wipe everything clean, run the slide, and watch where fresh fluid reappears. A snug fitting might fix it. A weeping seal needs replacing before it becomes a stuck slide in a rainstorm with the bedroom hanging open.
7. Letting Hydraulic Hoses Chafe Against Sharp Frame Edges
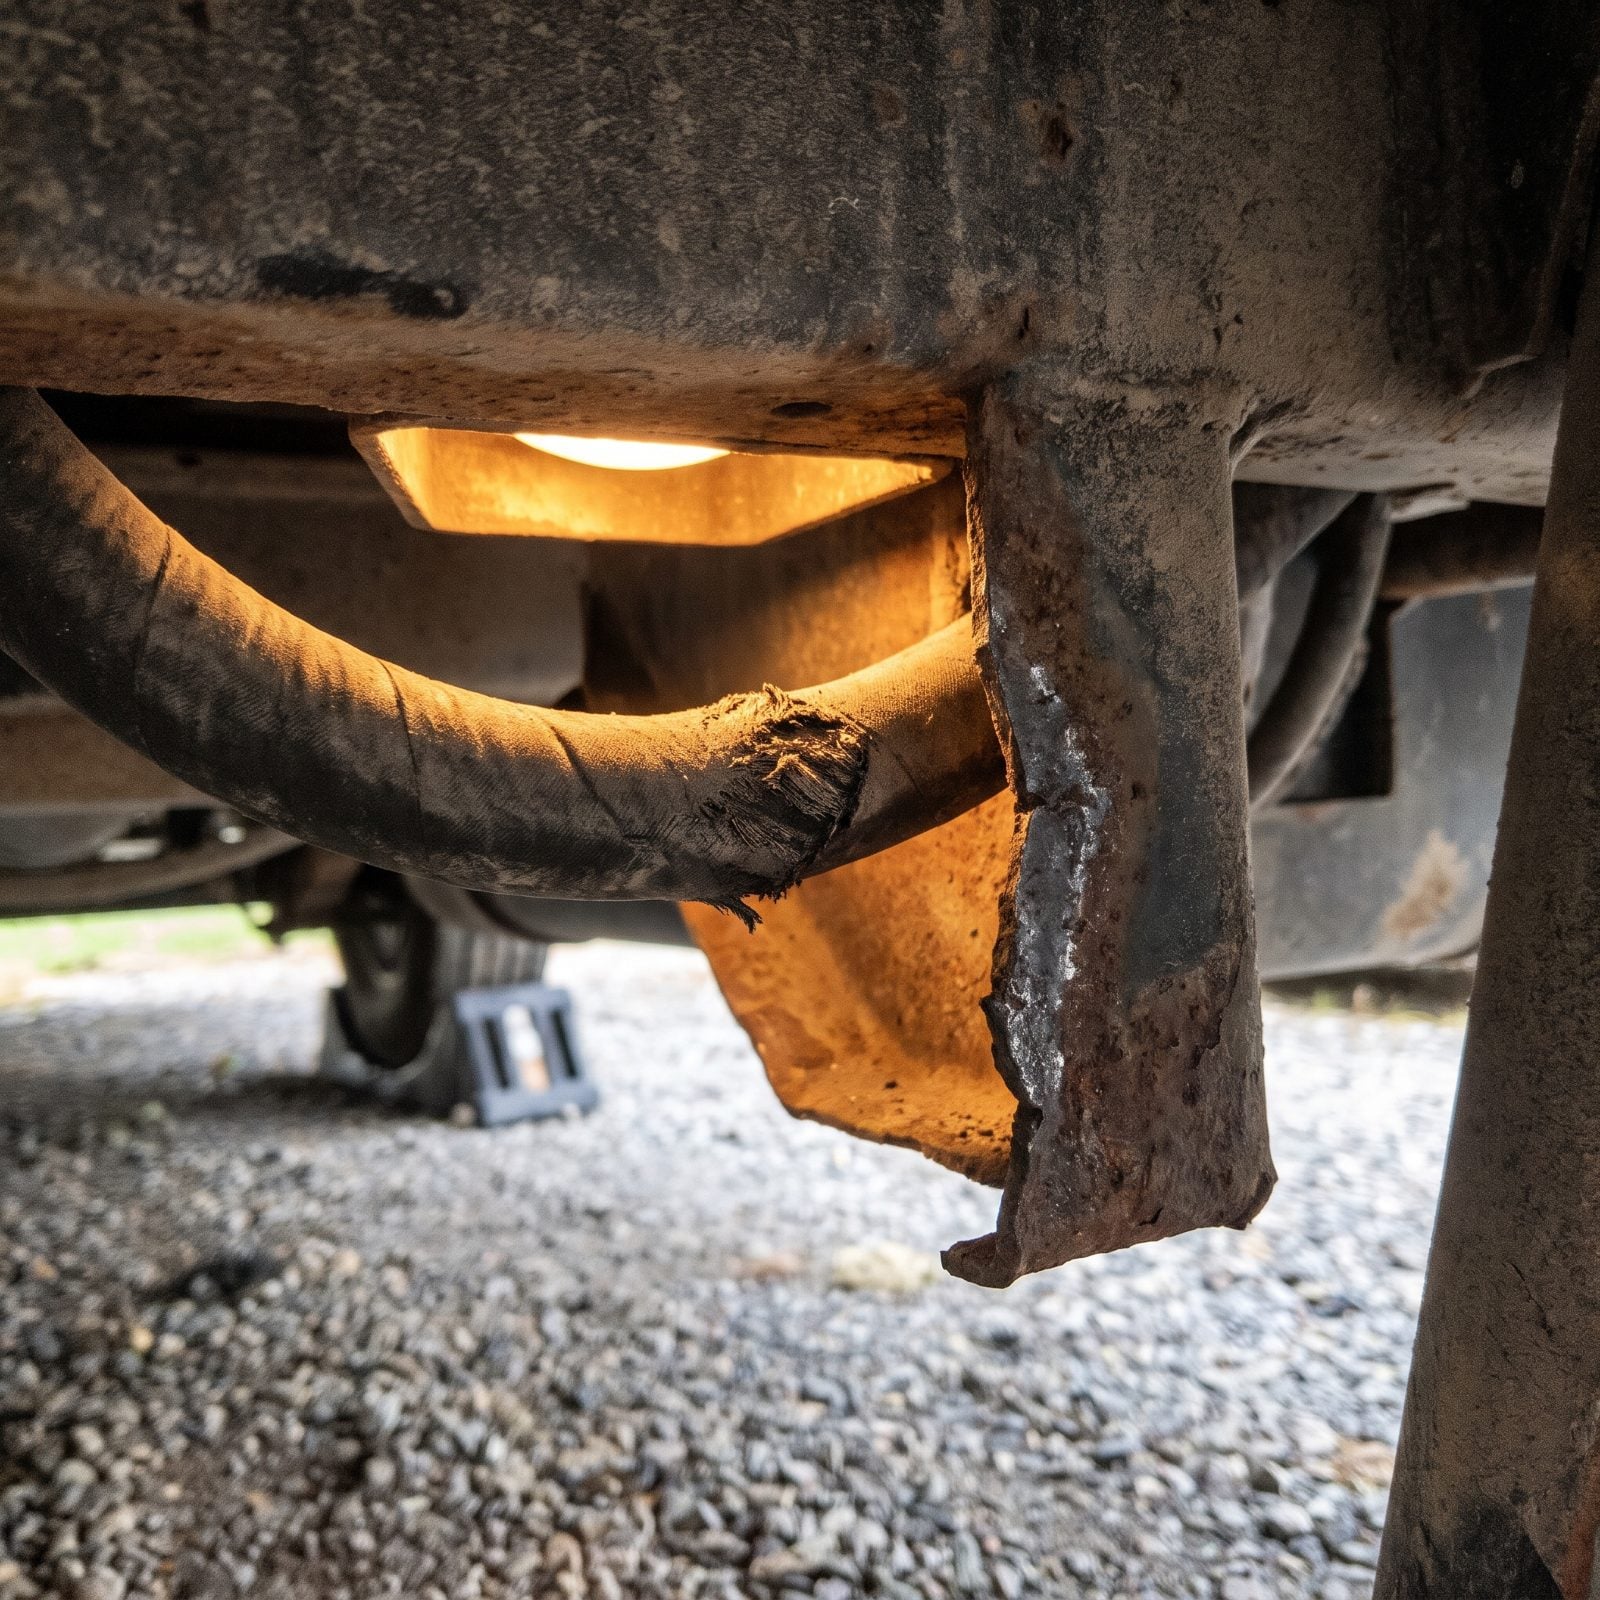
Hoses vibrate. Every mile, every bump, they shift a fraction against whatever they touch. Route one across a sharp frame edge or an unprotected bracket and that constant rubbing wears the jacket, then the reinforcement, then the hose wall itself.
And the failure mode here isn’t gentle. A chafed hydraulic line doesn’t weep — it bursts, usually under pressure, spraying fluid and dropping a slide dead where it sits. Walk your undercarriage once a season and eyeball every hose crossing. Where one touches metal, add a spiral wrap or a rubber grommet and secure it so it can’t drift back. Five dollars of chafe guard beats a roadside hose failure and a flatbed ride to the dealer.
6. Ignoring Loose Mounting Hardware or Cracked Brackets
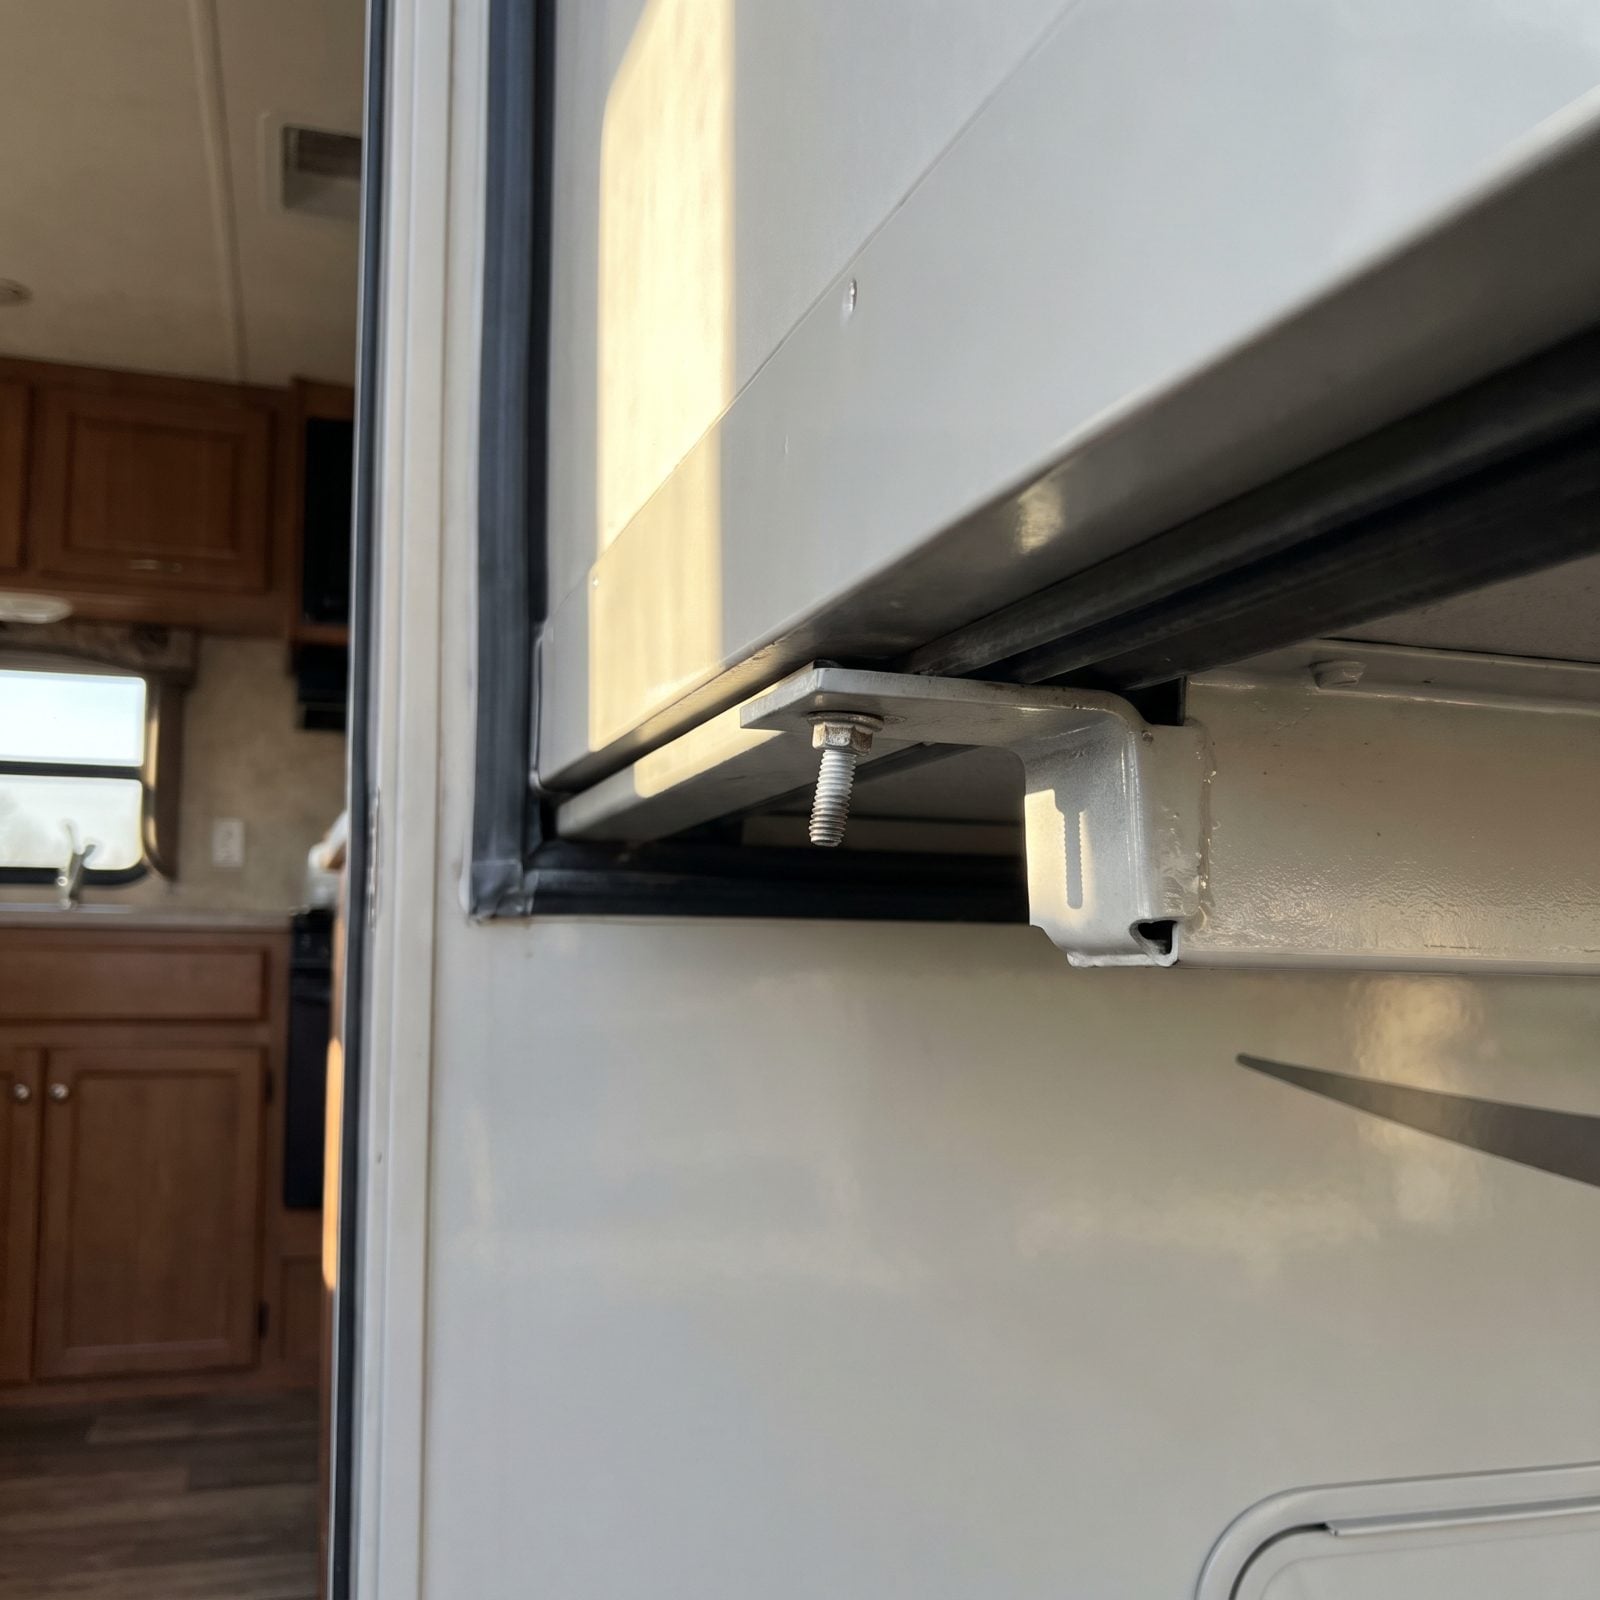
You hear it before you see it. A little creak when the slide pushes out, a knock that wasn’t there last season. Easy to shrug off at a busy campground when the margaritas are waiting.
That creak is usually hardware working itself loose. Road vibration backs bolts out a quarter turn at a time, and once a mounting bracket cracks, the whole slide starts carrying weight it was never meant to carry alone. Leave it and the thing twists the frame, chews the seals, and turns a ten dollar bolt into a two thousand dollar repair.
Get under there twice a year with a flashlight and a wrench. Check every bracket for hairline cracks, snug the mounting bolts to spec, and mark them with a paint pen so a backed-out bolt shows at a glance.
5. Turning Factory Stop Bolts Without Measurements
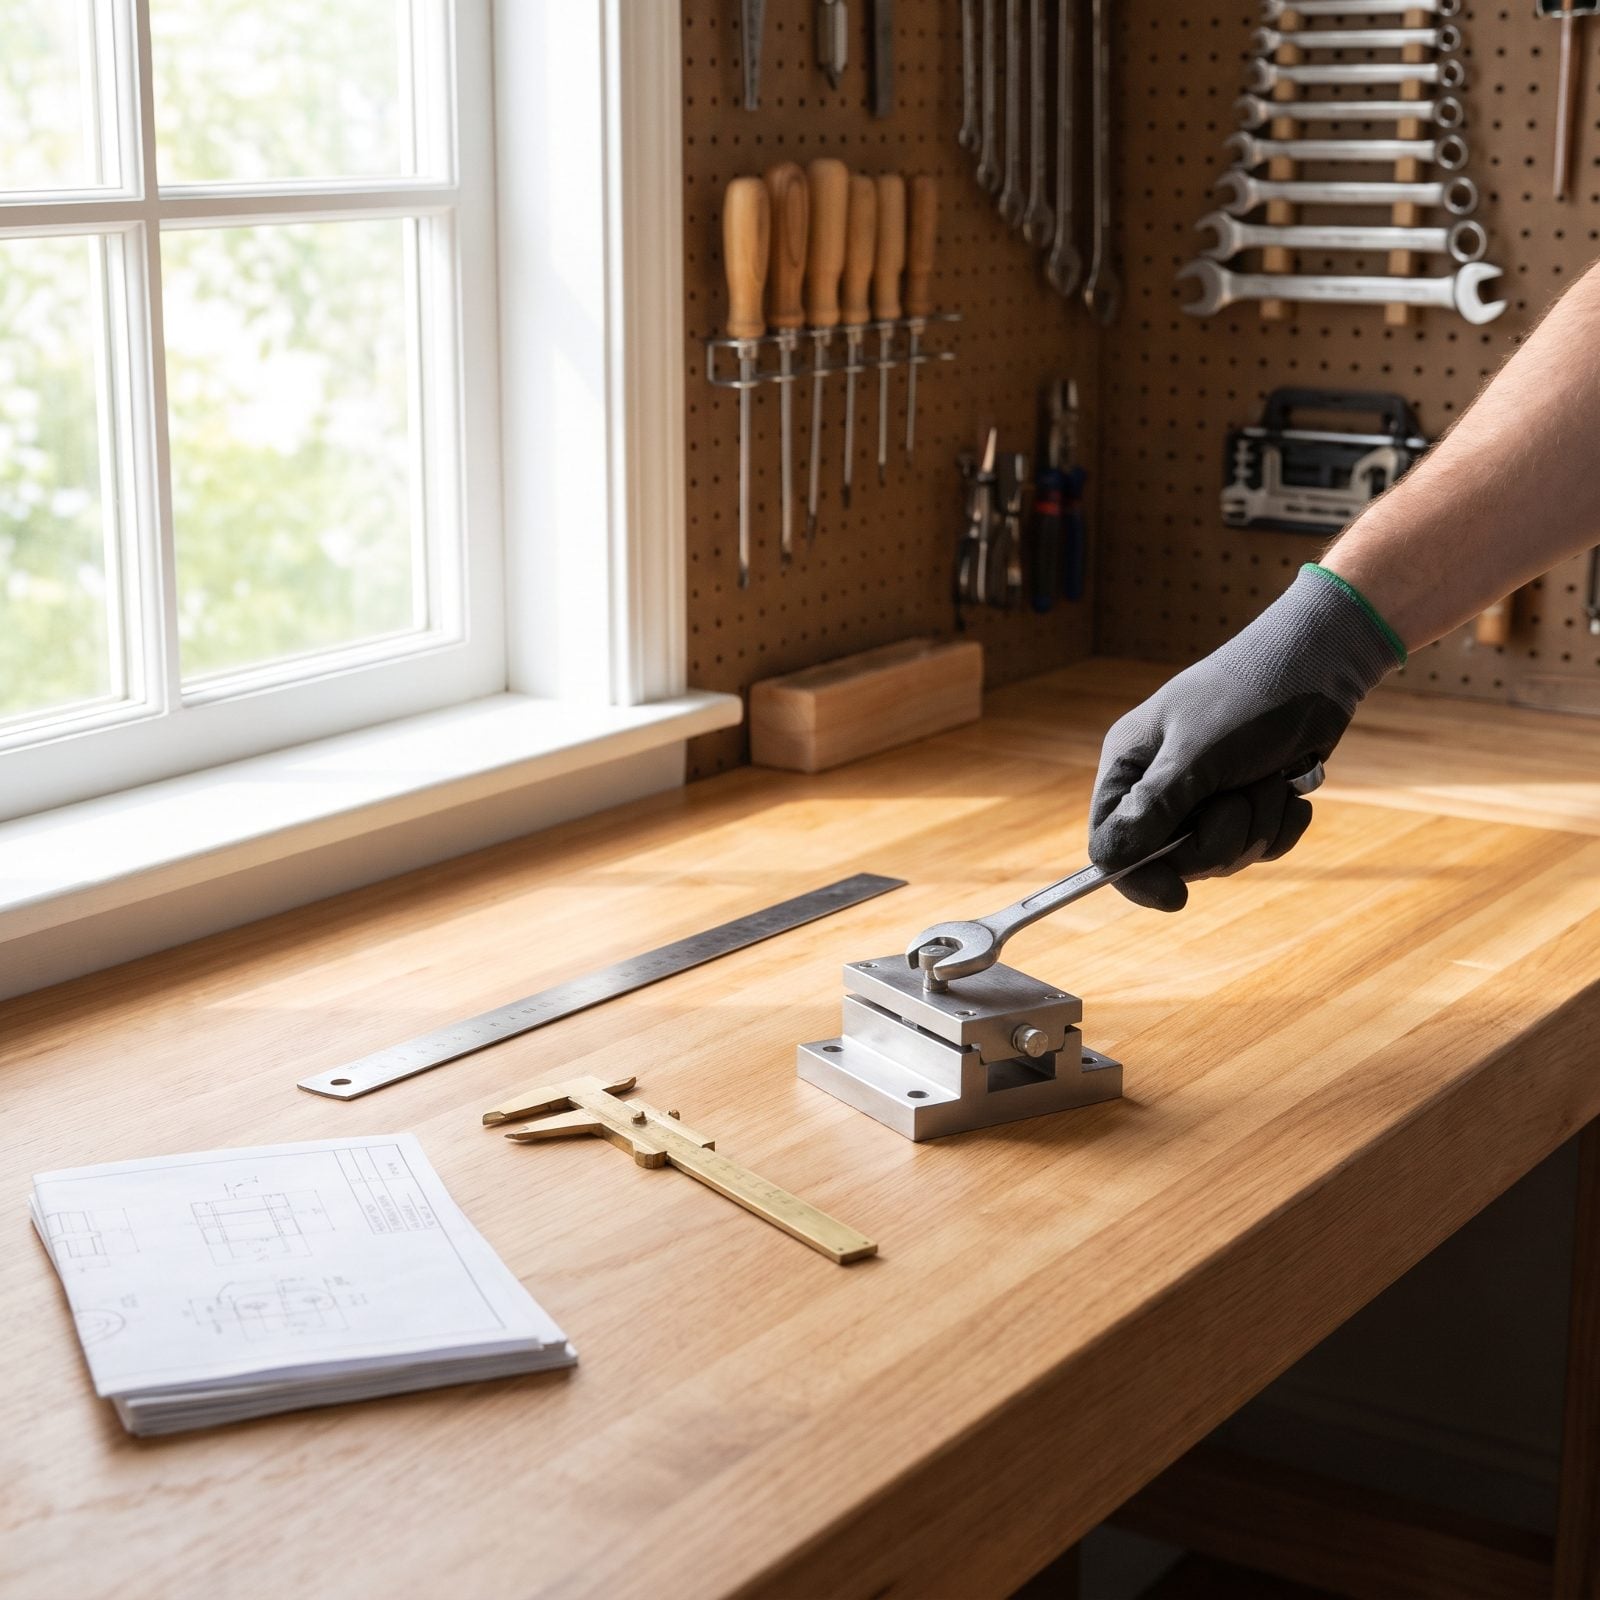
Slide won’t seat flush, so the temptation is obvious. Grab a wrench, crank the factory stop bolts a few turns, call it level.
Those stops control how far the slide travels and how hard it presses into the seal at full close. Guess at them and you either leave a gap that lets rain march right in, or you over-compress the gasket and strain the motor every single cycle until it burns out.
Measure before you touch anything. Write down the current bolt protrusion with a caliper, note the seal gap at all four corners, and only then make small quarter-turn changes. If the factory numbers were right all along, your real culprit is usually a worn seal or a tired motor. I’ve watched folks chase the wrong fix for a whole summer here.
4. Keeping No Maintenance Records for Warranty Claims
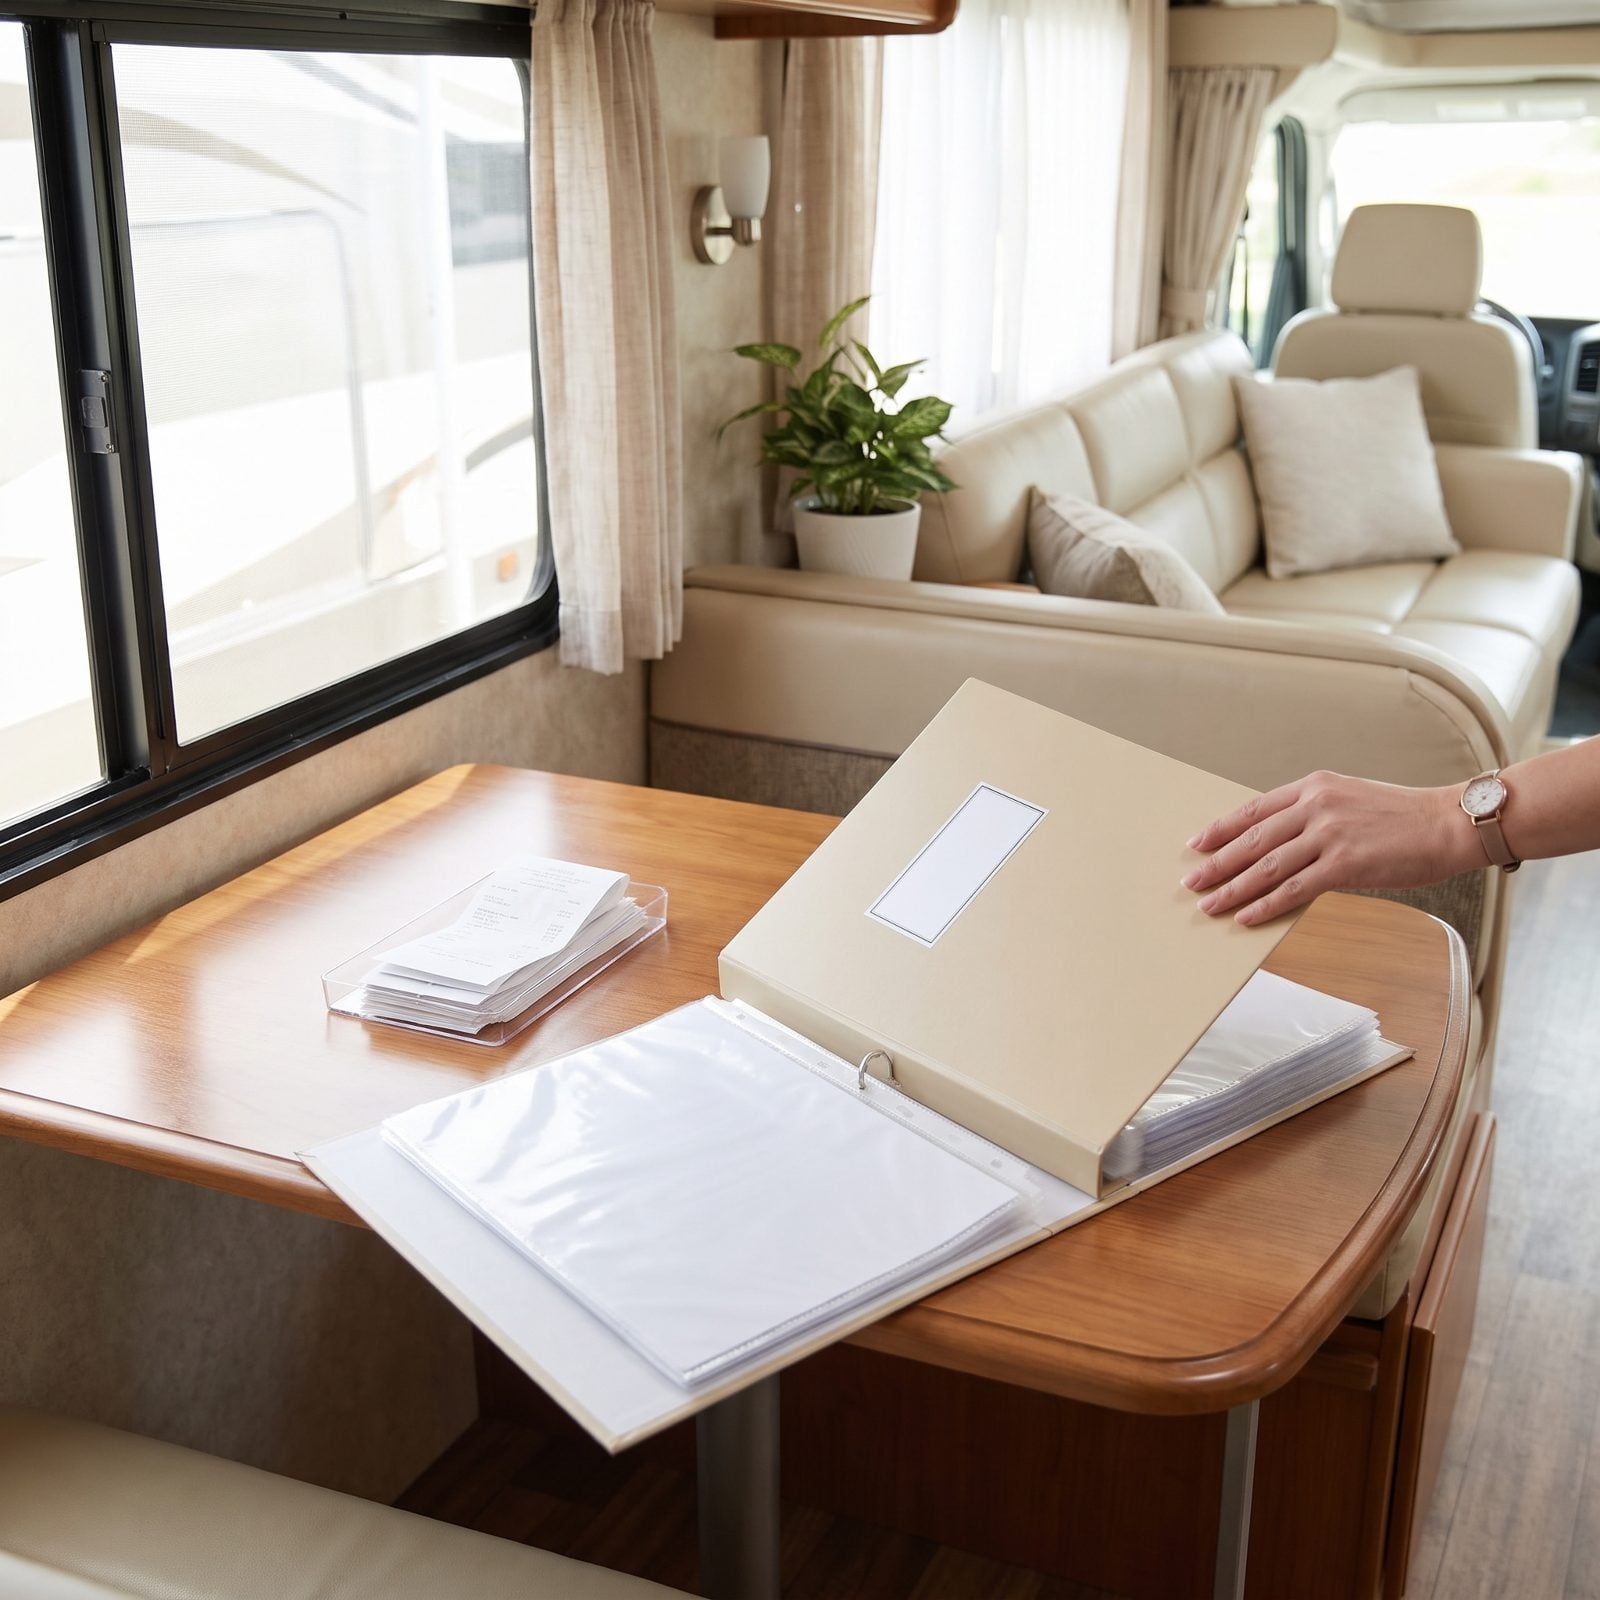
The slide mechanism fails in month fourteen. You file a warranty claim. The first thing they ask for is proof you maintained it, and all you’ve got is a vague memory of lubing the rails “sometime last spring.”
No records, no claim. Manufacturers deny warranty work constantly when an owner can’t show the seals were conditioned and the rails were serviced on schedule. Guess who eats that slide repair.
Keep a simple log from day one. Date, mileage, what you did, and a receipt for any product or shop work. A spiral notebook in the glovebox counts. Snap a photo of each entry for a backup, and you’ve got the paper trail that turns a denied claim into a covered one.
3. Ignoring Slide-System Recalls and Service Bulletins
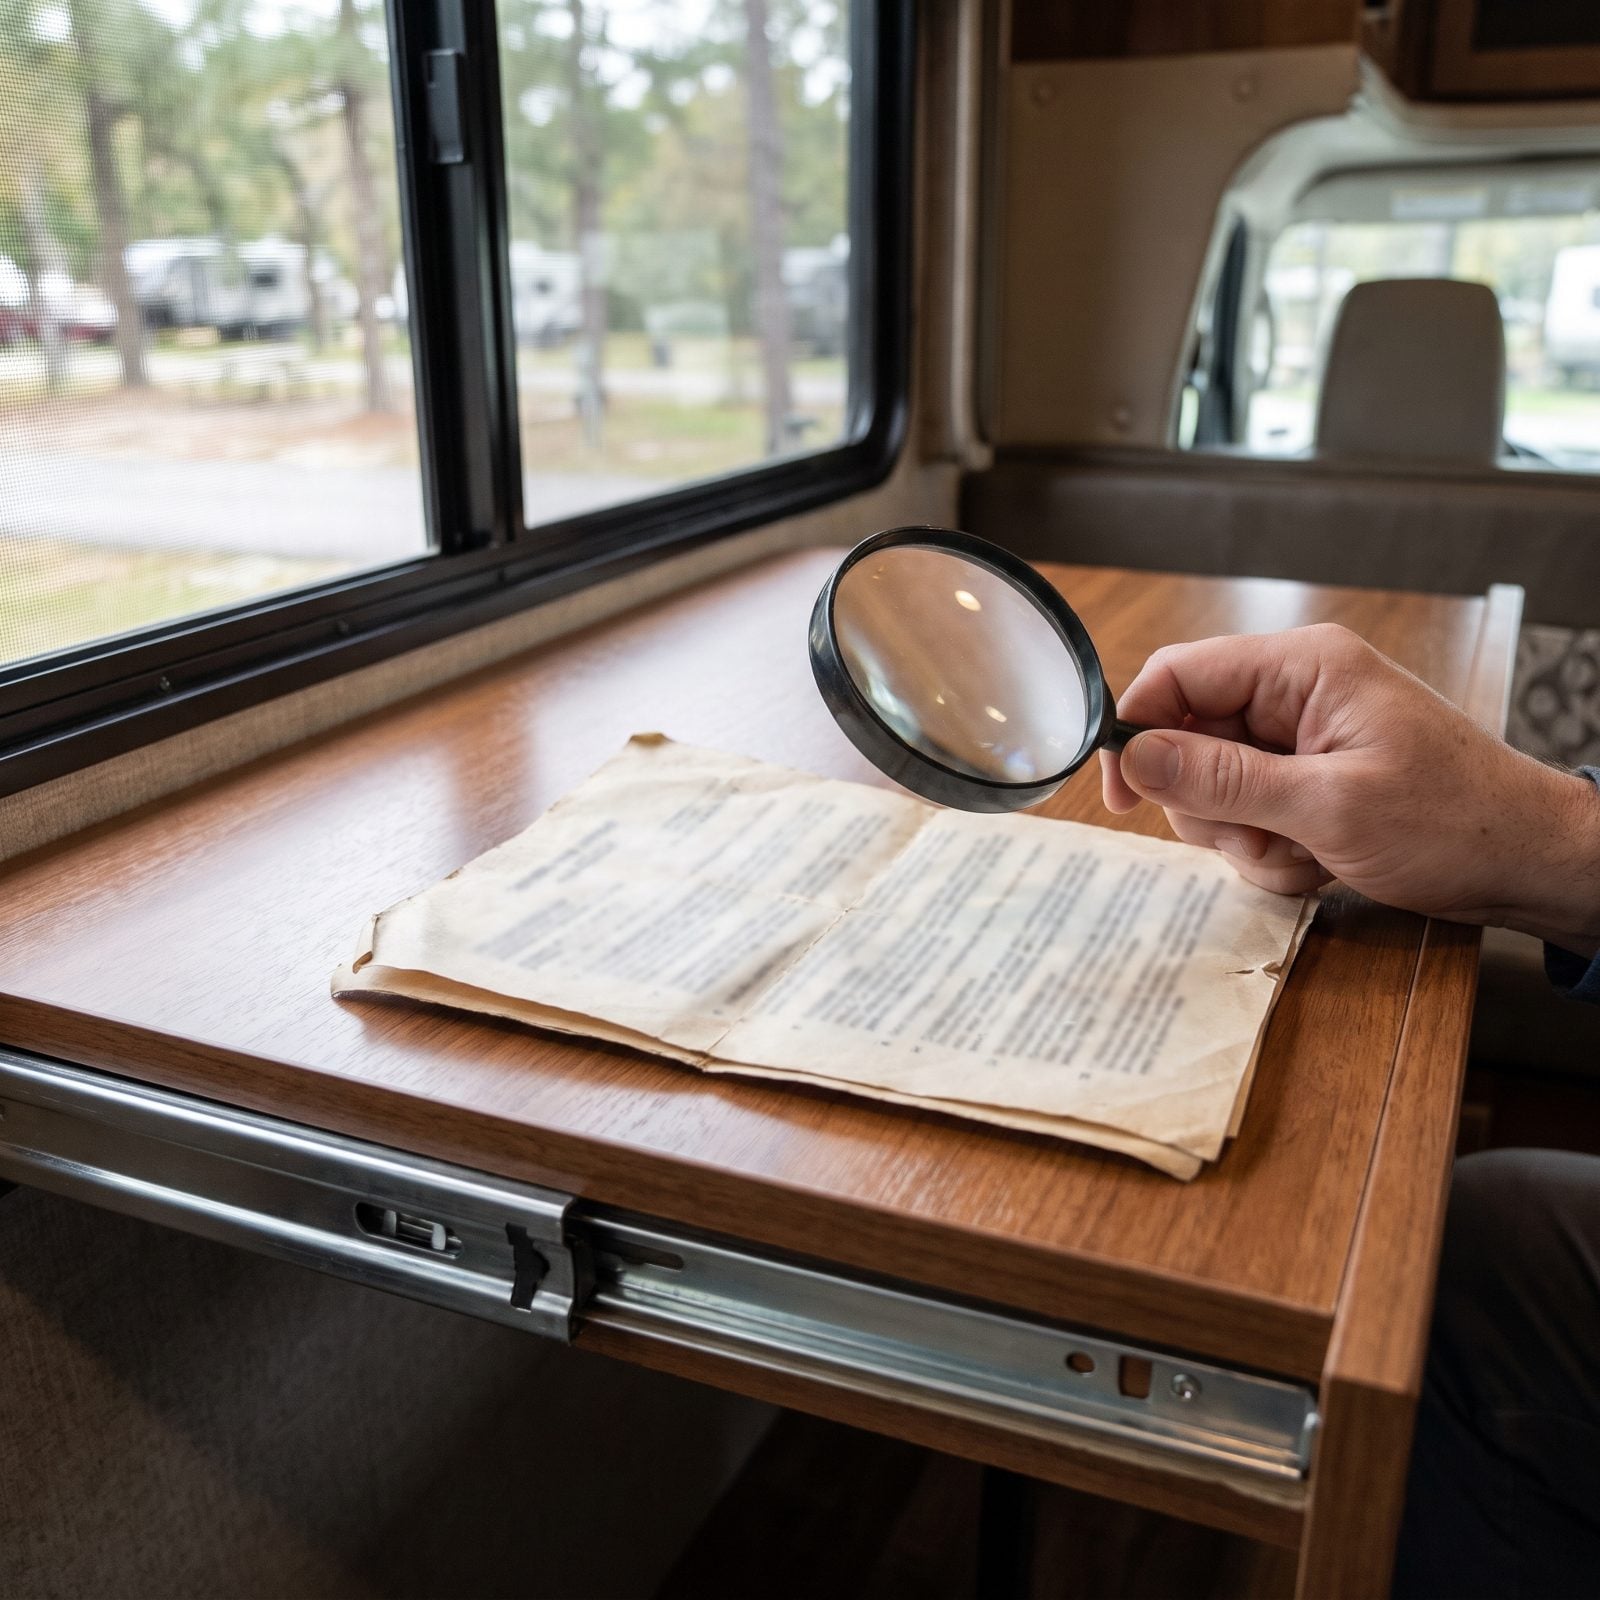
Recalls don’t always arrive as a letter in the mail. If you bought used and the registration never caught up to you, the bulletin about a slide actuator defect just sits in a database you’ve never checked while your rig cycles that exact part over and over all season.
Miss a safety recall and you’re running a known defect at your own expense. Miss a service bulletin and you’re paying full price for a fix the manufacturer might cover free.
Twice a year, run your VIN through the NHTSA recall lookup and your chassis and slide-system maker’s bulletin pages. Ten minutes, tops.
2. Accepting Delivery Without Cycling Every Slide

Delivery day is a blur of paperwork and excitement, and the last thing you want is to stand in the lot running the slides in and out like some fussy inspector.
Run them anyway. A slide that binds, ticks, or stops short is far easier to fix while the keys are still at the dealership. Sign off, drive away, and that same problem becomes your phone-tag nightmare three weeks into a trip.
Cycle every slide fully out and fully in, at least twice, before you sign a thing. Watch the seals seat, listen for the motor laboring, feel for hesitation. Does it sit flush at all four corners? Found a problem? It goes on the delivery punch list in writing, not a verbal “we’ll take care of it.”
The best time to fix a slide is while you’re still standing on the dealer’s lot. The second best time is the moment you notice something off.
1. Waiting for a Failure to Learn the Emergency-Retraction Procedure
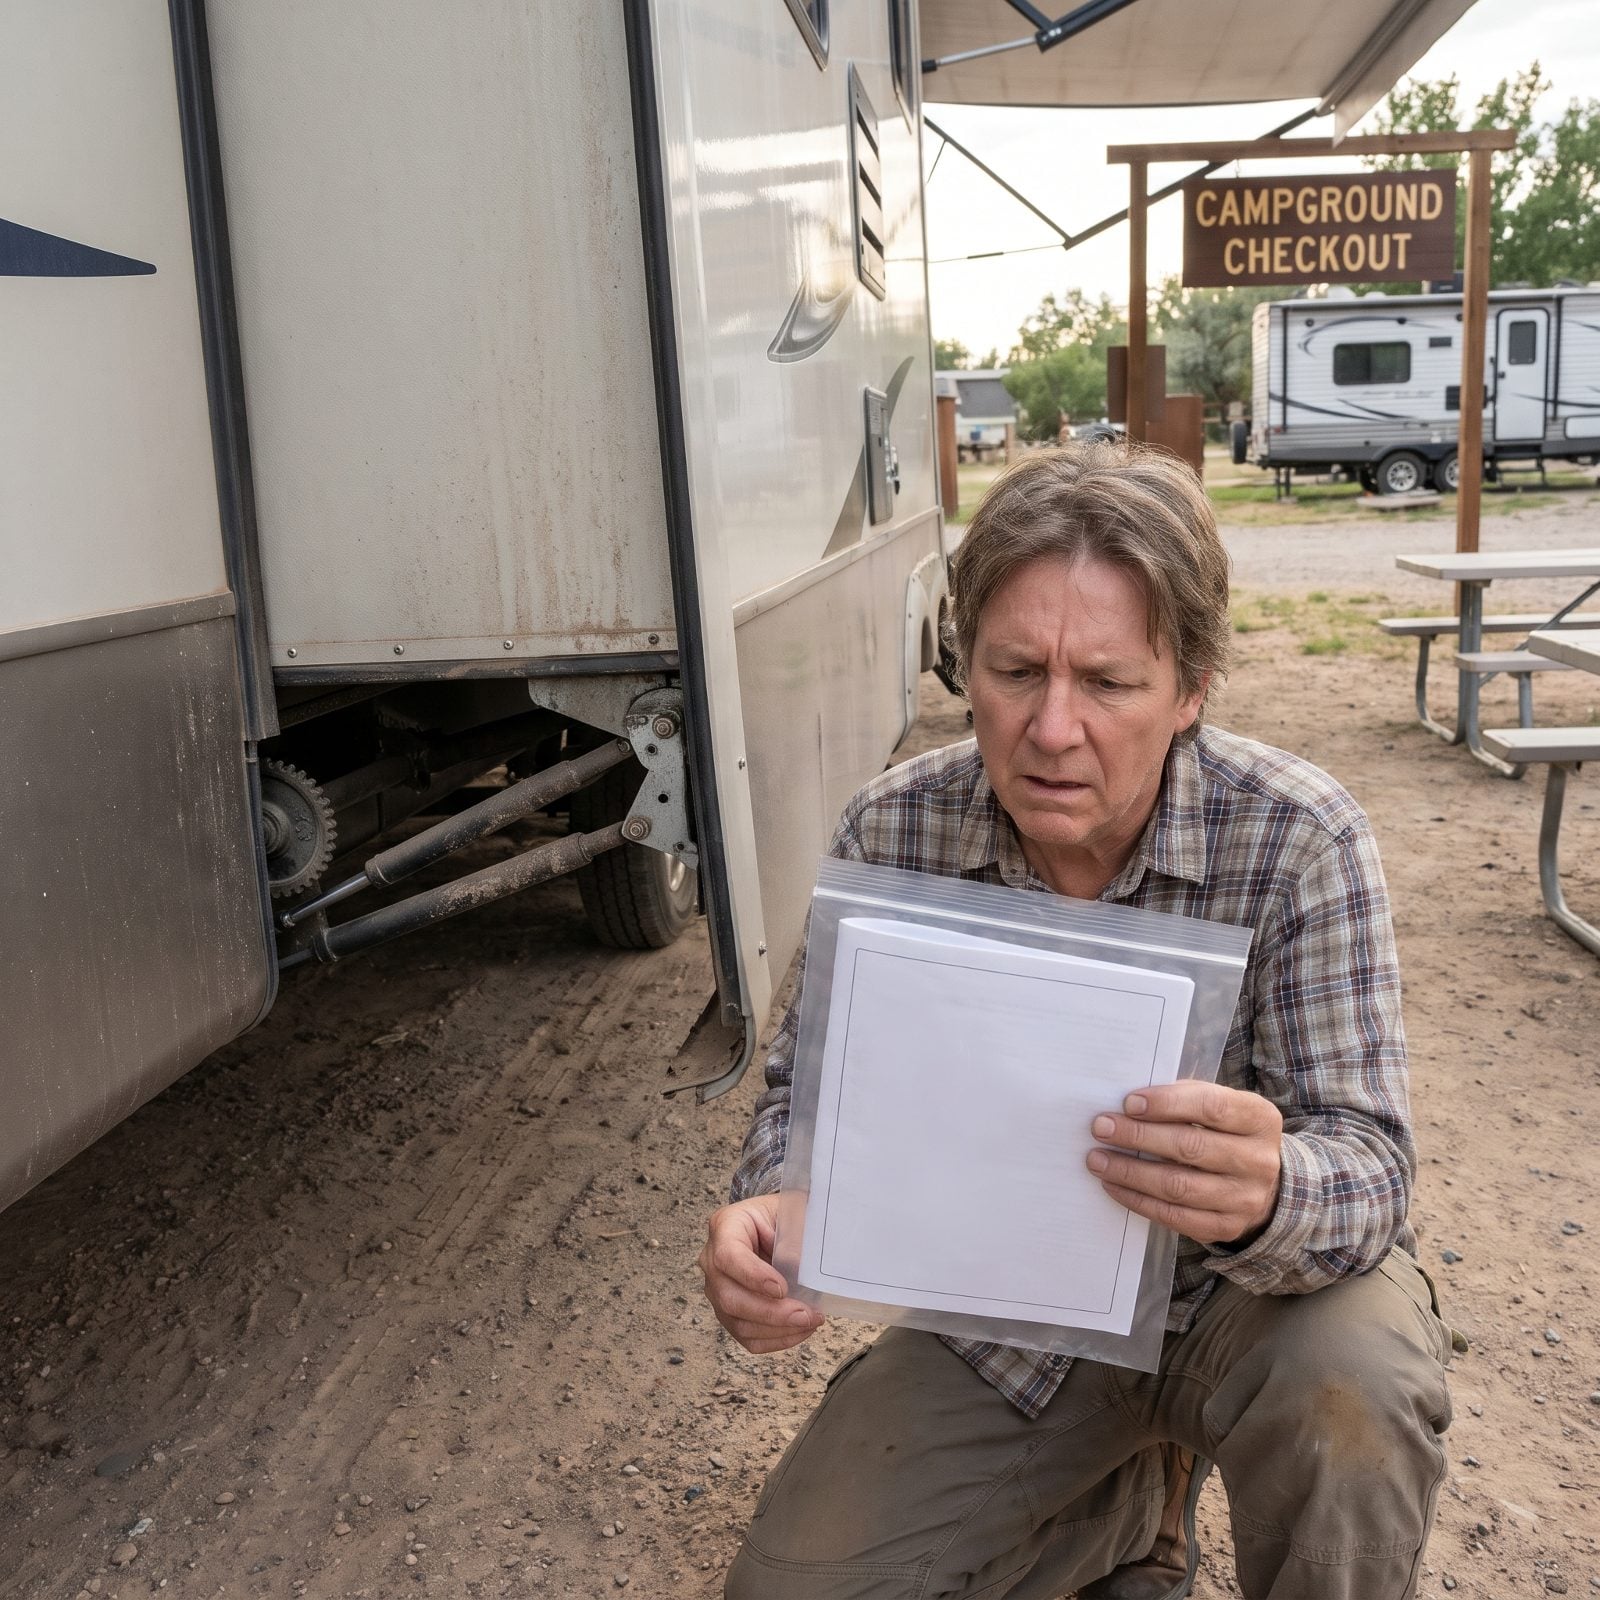
Picture the scene nobody plans for. The slide is extended, you’re packed to leave at checkout, you flip the switch to bring it in, and nothing happens. Motor’s dead, fluid’s low, something let go. And you cannot legally or safely drive with a slide hanging out into the lane.
Learn the emergency retraction before the day it becomes an emergency. Every slide system has a manual override of some kind — a hand crank, a hydraulic release valve, a drive-motor socket — and fumbling through the manual in a panicked parking lot is a miserable way to meet it.
Sit down one calm afternoon at home. Find the procedure in your manual, locate the override point, confirm you own the exact tool it needs, and do a dry run.