


Marine deck paint, marine epoxy, as well as regular exterior paints are those used by RV owners to redo their vehicles. An overwhelming majority of campervan owners stand by the standard exterior paint they use on their cars as ideal for their RVs.
I’ve seen older RVs transformed after getting a nice coat of paint. Bear in mind it’s a process and not everyone can handle it as a DIY project and should call a professional in that case. For the interior, such as the cabinets, it’s fairly easy.
To help you choose the ideal paint for your RV’s exterior and interior, we’ve researched the different types of paints, looked at others’ experiences, and gotten recommendations from the pros to help you. Keep reading!
Types of RV Paint
Many RVers swear by using regular exterior paint on their RV. Others recommend using marine epoxy or marine deck paint. You’ll want one rated for the outdoors that will easily grip your RV surface.
For aluminum RV exteriors, use acrylic-latex or oil-based paints. Be careful when using oil-based ones, as these take a very long time to cure fully. Or you can use automotive paint for aluminum RVs.
For fiberglass RV exteriors, you have a wide variety of choices, from marine coating to regular exterior house paint.
With any type, first, you need to make sure you prep the surface to hold paint and use a primer.
The three types of RV paints are Latex, oil-based and water-based. While many RV owners prefer oil-based, a lot go for the cheaper latex version. Here is a breakdown of the three types of paints used on recreational vehicles.
1. Latex Paints/ Acrylic Latex

The least expensive kind of paint is latex. It’s also a breeze to clean after it’s dried!
However, it may necessitate a lot of prep work and a high-quality finish coat to be long-lasting. Latex paint is also susceptible to peeling. It’s possible that latex paint for your RV isn’t the greatest option for you if you spend lots of time on it.
2. Oil-based paints
, Gloss Black, 12")
Because of its long-lasting properties, oil-based paint is a common pick for many RV owners. In addition, it’s also easy to maintain and doesn’t cause brushstrokes during most of the painting process. In general, fewer coats of paint are needed than with latex paint.
There is a strong smell coming from this paint. You’ll want to wear a mask while utilizing that paint. Additionally, you should open the RV’s doors and windows.
3. Water-based Paints

For RVs, water-based paint is the best choice. This is since it only takes a minimal amount of preparation before usage.
One disadvantage is it’s more pricey and doesn’t last as long as traditional oil-based paint. It is possible to paint the exterior of a recreational vehicle.
Paints for Different Sections of RVs
Paint for Metal RVs

Apply a layer or two of acrylic latex paint coating when the primer is dry. The majority of home improvement shops have this type of paint, which we can apply with a sprayer, brush, or roller.
Inspecting the RV after the first layer of paint has dried is important because you want to make sure it looks uniform.
Type of Paint on a Fiberglass RV
")
Epoxy paints, polyurethane, polyester, and acrylic is viewed by camper owners as favorable for their all-weather vehicles.

If it includes oil or melamine, please ensure it isn’t contaminated.
Paint for RV Interior
Latex paint can be used to paint the inside of an RV in the same way that latex paint is used to paint the interior of a home. Primer can be used rather than paint to save time.

Place the primer first with a cut-in brush, and level out the paint streaks with a roller.
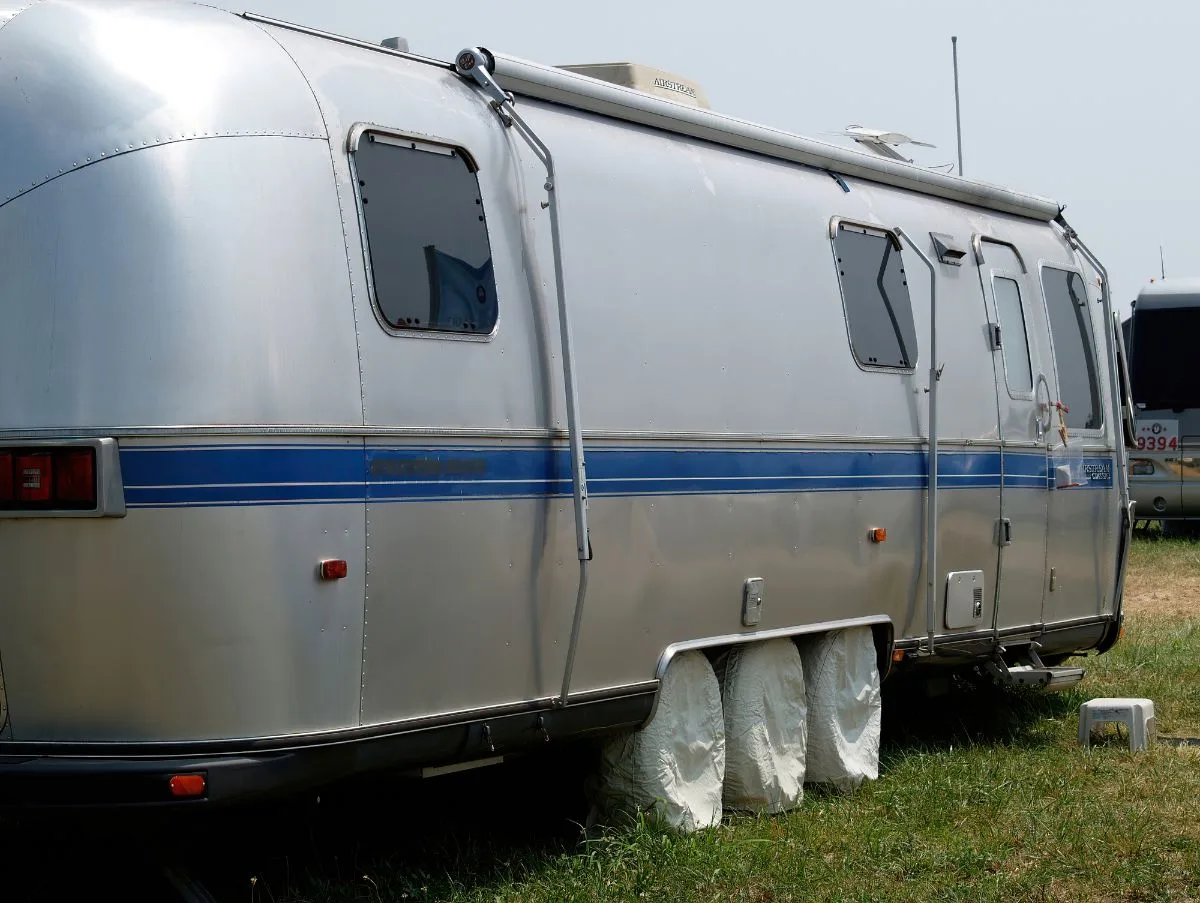
Is it Possible to Paint the Outside of an Aluminum RV?
That’s correct! Preparation is the key to painting an aluminum RV. Remove any old paint, lubricants, or grime from the surface with care. Spray an aluminum oxide primer when the surface has been properly dried. Once you’ve completed these steps, you’re ready to start painting.
, Gray")
I’ll show you how to paint the outside of an aluminum RV in this article. I’ll show you how to paint your RV so that anyone who sees it will assume it’s brand new or that an expert painted it.
As a result, recreational vehicle (RV) owners have trepidation about painting aluminum RV siding because they fear making costly and irreversible mistakes in the process. Fortunately, painting your RV is not something to be dreaded. Doing so is perfectly legal and quite simple.
Aluminum RV Siding Painting Instructions
The first step in painting your RV’s metal body is to purchase paint that adheres to aluminum. To keep your recreational vehicle looking its best, you need to thoroughly wash it after this procedure.
Afterward, you’re expected to paint over the RV’s lights and the rest of the exposed surfaces. Using tape makes this task a breeze. Sandpaper should then be used to scuff up the previous paint. Applying an aluminum oxide primer and then painting with the paint you bought is your next step.


Get Your RV Ready. Light fixtures, awnings, and screen doors should all be removed or protected from the elements if you want to avoid damage. To make your job easier, remove any slide-outs that might be in the way.
The outdoor kitchen of your RV needs to be cleaned and locked back into the RV’s body if it has one. Next, all doors and windows should be shut.
Rinse and dry your RV thoroughly. A thorough cleaning is necessary to ensure that the paintwork on your RV looks great and is not unprofessional. I can’t emphasize this enough. If you don’t wash and paint your RV properly, you’ll be sorry after it dries.
So be sure to carefully clean the exterior of your RV. Use a pressure washer or take your RV to a vehicle wash if you have the option to ensure it is thoroughly cleaned.
Wait until the water in your RV has evaporated. It’s important to let your RV air dry after washing it. As a result, allow your RV to air dry for at least thirty minutes or an hour.
Protect items with tape. After the RV has dried, use tape to cover all of its exposed surfaces. Not a required step, but crucial nonetheless. Tape up all of your RV’s windows, braking lights, and surrounding lights, as well as any rubber graphics, before you begin painting. Painter’s tape is the best tape to use.
Sand Your RV. This is an optional step, but if you want outstanding results, you should take it. Aluminum siding on your RV should be roughened up with gentle grain sandpaper. Roughing up an RV might be exhausting, but the result is generally worth it.
Roughening up the aluminum siding of your RV improves the adhesion of the primer to it. You can use a brush, a roller, or a sprayer to apply a coat of primer.
Priming aluminum and metal surfaces is best done with rollers, in my opinion. Allow enough time for the aluminum oxide to dry after applying it to the siding.
Apply a Coat of Paint that is Safe for Aluminum. An aluminum oxide primer can be used to prepare your RV for painting. Acrylic latex or oil-based paints work best for painting aluminum. The RV dealer can help you if you are unsure.
A sprayer is the most effective equipment for painting aluminum siding. Give your RV aluminum siding time to dry after painting it. Look for spots that need an additional coat of paint after it’s dry. Apply the paint uniformly for optimal effects.
Remove the Taping after your Aluminum Siding has dried. Wait until it’s completely dry before removing the tape from your new siding.
Keep an eye on the condition of your RV. Keep an eye on the paint to ensure it dries properly, particularly if you have small children or pets in the house.
If they get their hands on the wet paint, they could ruin everything you’ve worked so hard on. There is nothing you can do but sit around the RV and wait for things to dry out.
Take Pleasure in Seeing Your RV in Its All-New Form. When the RV is entirely dry, it will look like a brand new vehicle. You can go from state to state or any other place you’ve always wanted to visit or camp after getting it serviced.
So, use automotive paint or aluminum-friendly paint for your home. ‘ Be sure to check with your RV manufacturer or a local dealer, though, before making any purchases.
Send them a message in which you spell out your intentions. They’ll inform you what paints to use or point you in the right direction if you’re having trouble.
Aluminum Siding: Should It Be Painted or Replaced?

Attempting to paint aluminum siding that has been damaged is a waste of time. Before you begin the process of repainting, you must first purchase and replace any broken parts.
If your RV is only old and rusted from the outside and has no structural damage, painting it is your best bet. If nothing is wrong with your RV’s aluminum cladding or frame, replacing it is of no benefit.
Repairing an RV’s aluminum siding is preferred by most RV owners. This is due to the higher cost of replacing an aluminum RV’s components than it costs to simply paint an aluminum RV.
The risk of making an expensive error like damaging a window during a replacement is much greater than the risk of making the same mistake during a repaint.
If your RV hasn’t been damaged, all you need to do is repaint it. It’s the smartest thing to do in this situation.
Painting RV Cabinets
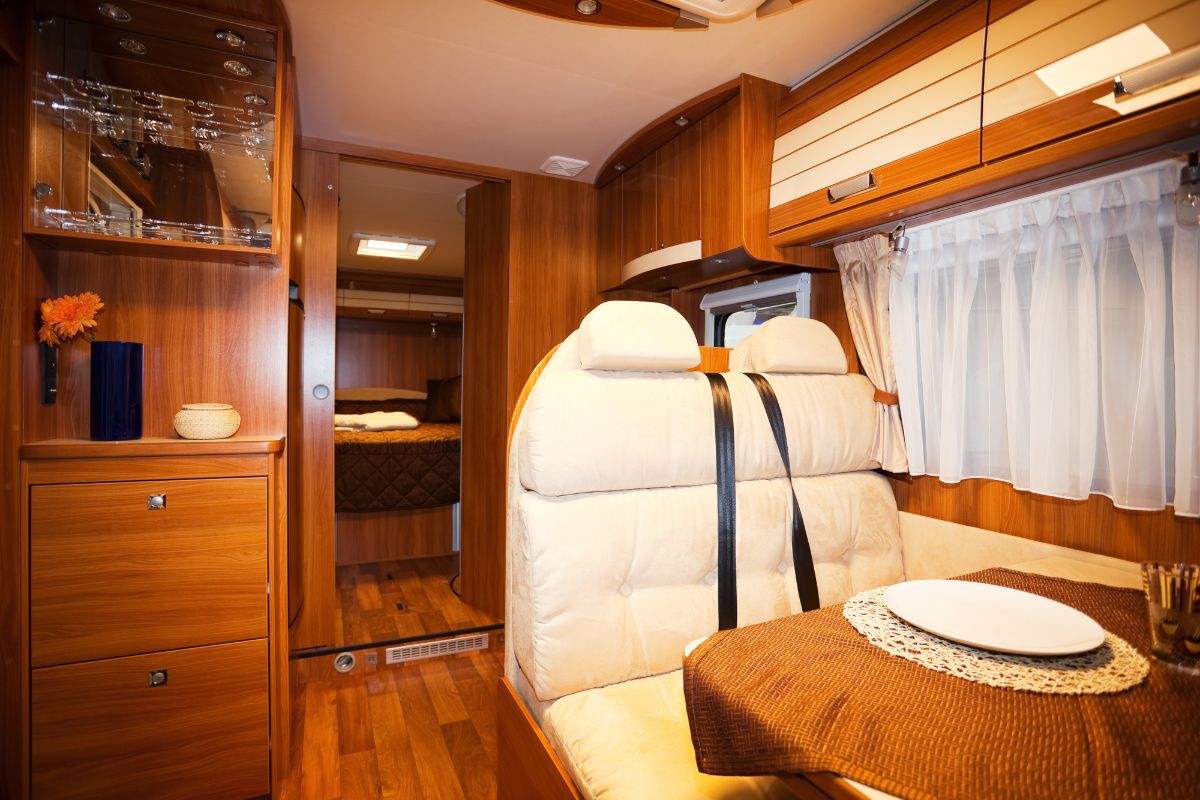
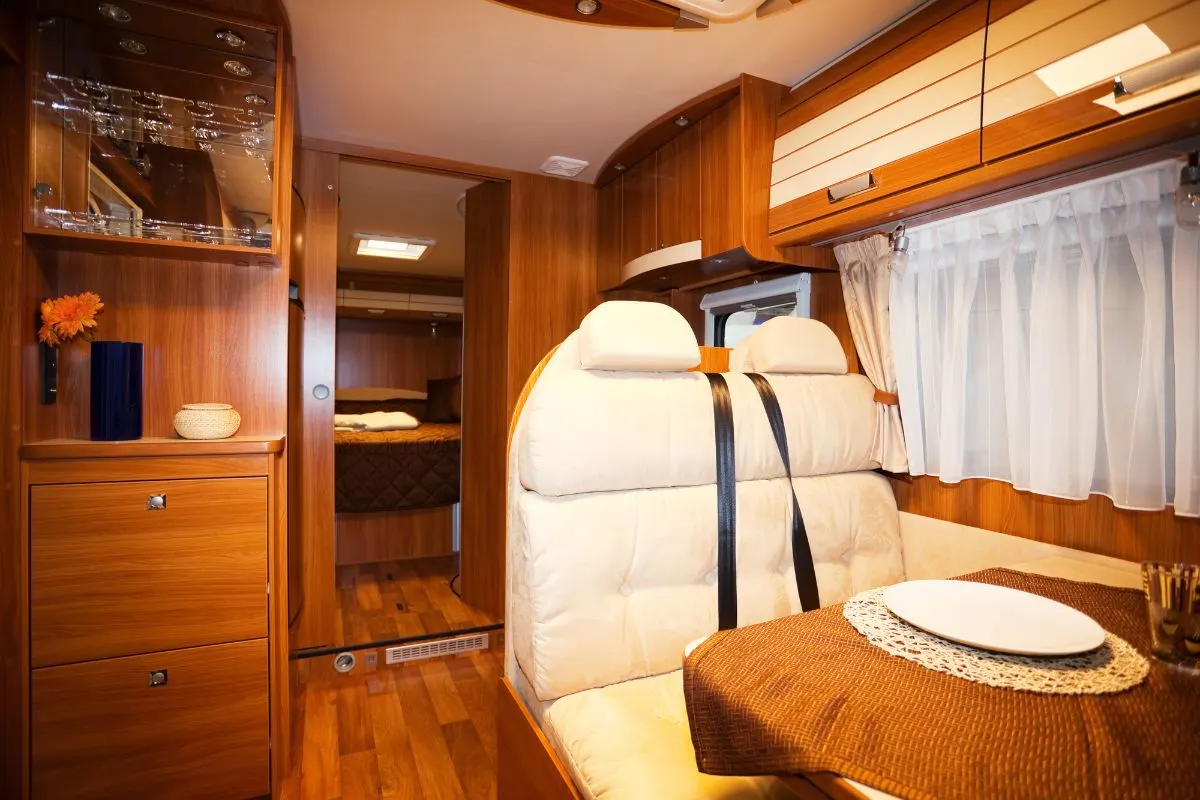
Depending on the sort of cabinet you have, you’ll need different items, therefore, look at the paint can label to see what precise directions it has. However, any surface we’re able to scuff with sandpaper we can paint
A specific primer is needed for laminate cabinets. For the greatest results, ensure the laminate is in good shape.
Make sure you’re using high-quality paint for this project. There are smooth-finish cabinet paints available, but any good paint should work. Make certain that the paint you’re using is acrylic rather than vinyl. Latex-based paints, such as acrylic latex paint, are long-lasting and easy to clean.
Always follow the cure time recommendations provided by the manufacturer when using latex paints.
Gloss-finish cabinets will have a gleaming brightness, but any flaws or imperfections will be readily apparent. Kitchens are generally painted in semi-gloss or satin finishes. Cleanup can be a hassle with some flat paints. Details can be found in the directions.
The finest outcomes can be achieved if you follow the directions. These are the fundamental measures you should take while painting your cabinets.