
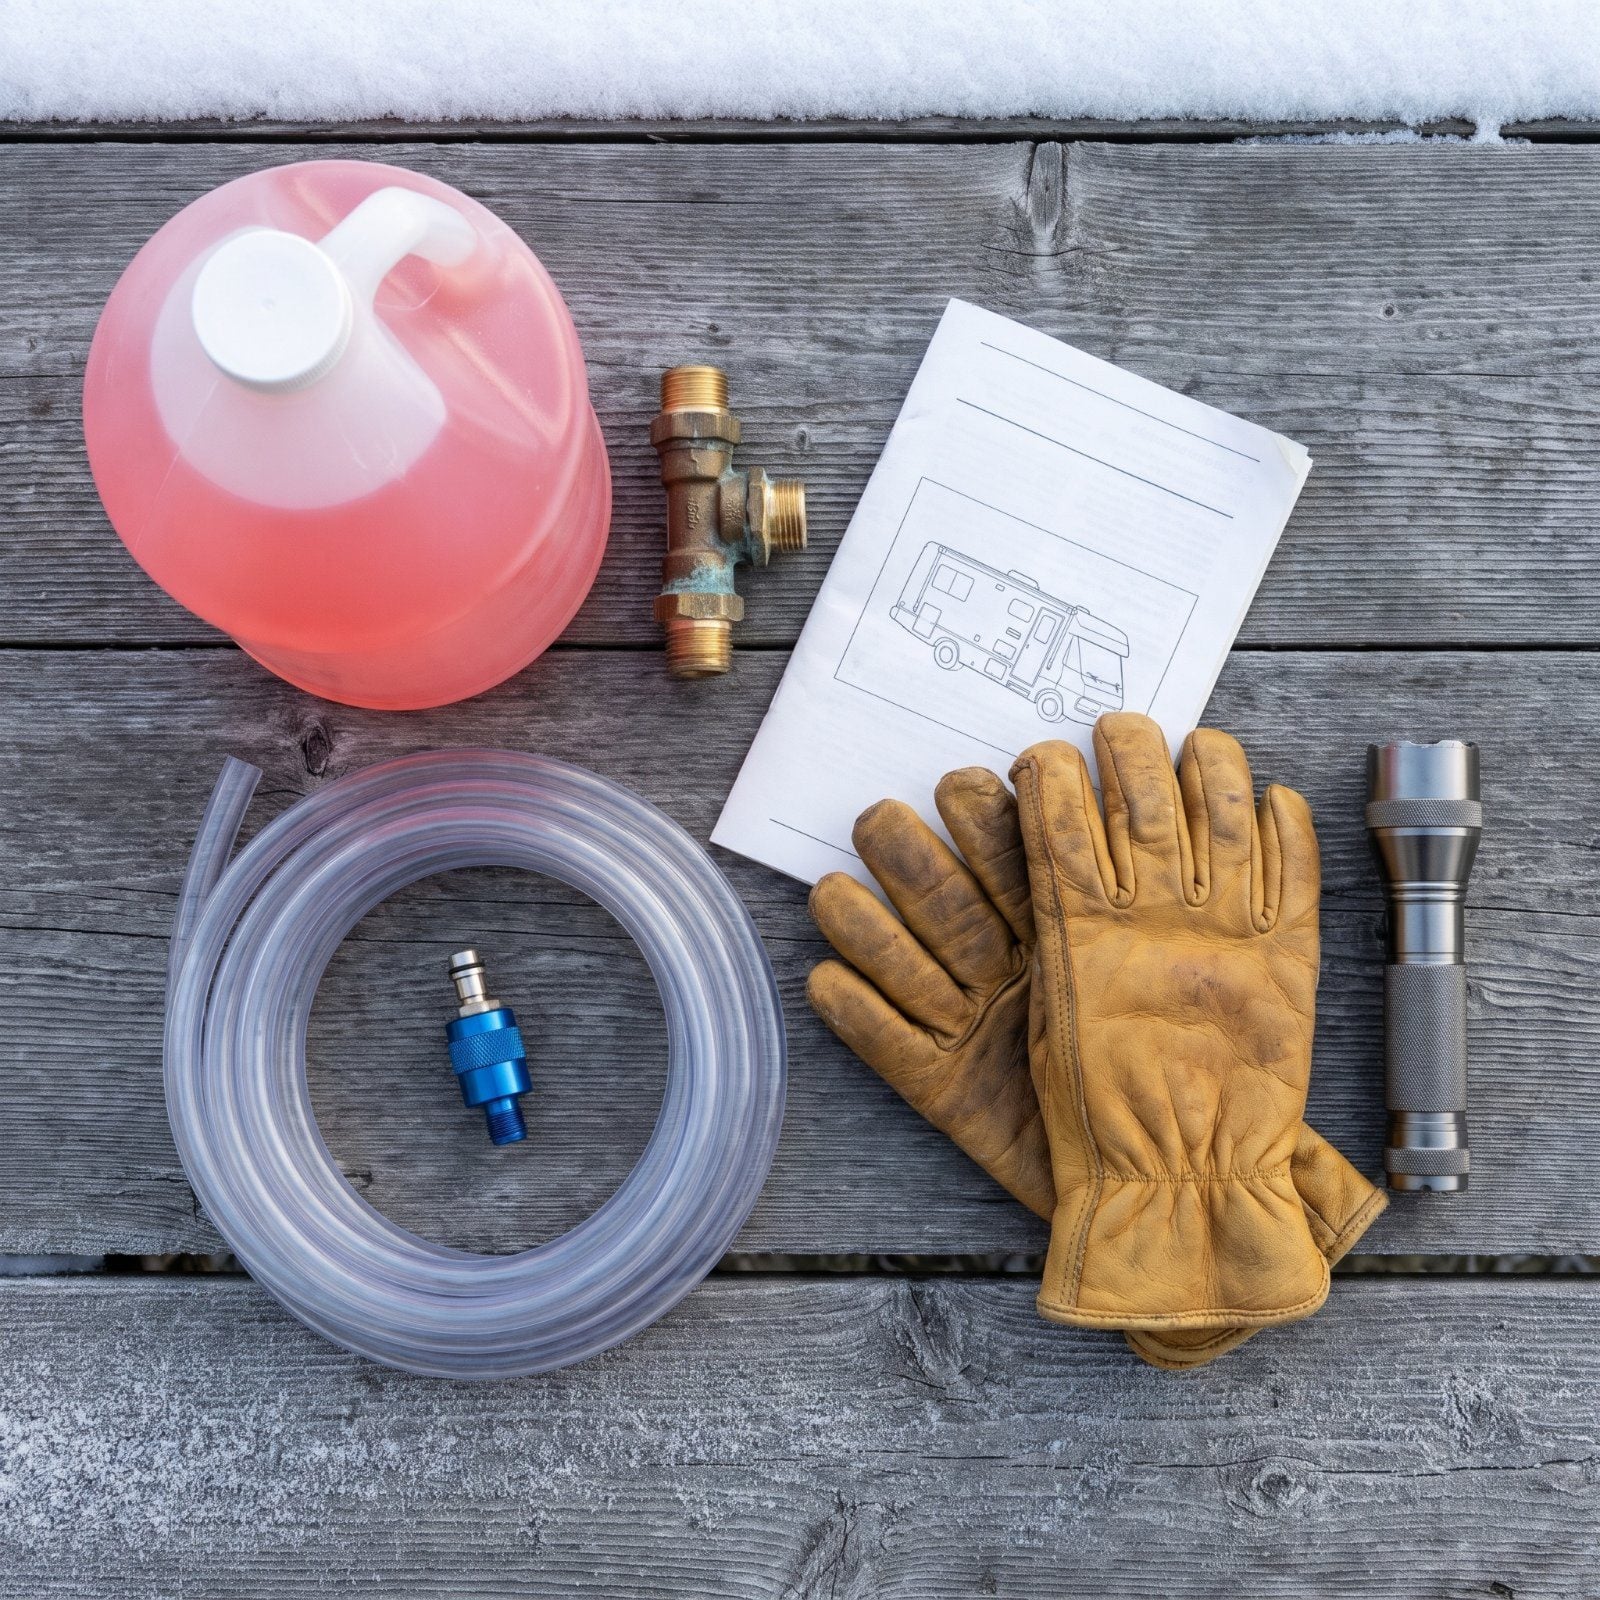
A split water line doesn’t announce itself. You find it in April, when you flip the pump and water sprays behind a wall you can’t reach without pulling a trim panel and muttering some choice words. By then the damage is done and the repair bill is already written.
Please note that some of the images in this article were created with the assistance of AI.
Freezing, corrosion, moisture, pests, plain neglect. These are the slow thieves of the off-season, and most of what they steal traces back to a handful of habits that are easy to skip. The fixes below take an afternoon. The mistakes take a whole spring to pay for.
31. Waiting for the First Hard Freeze to Winterize
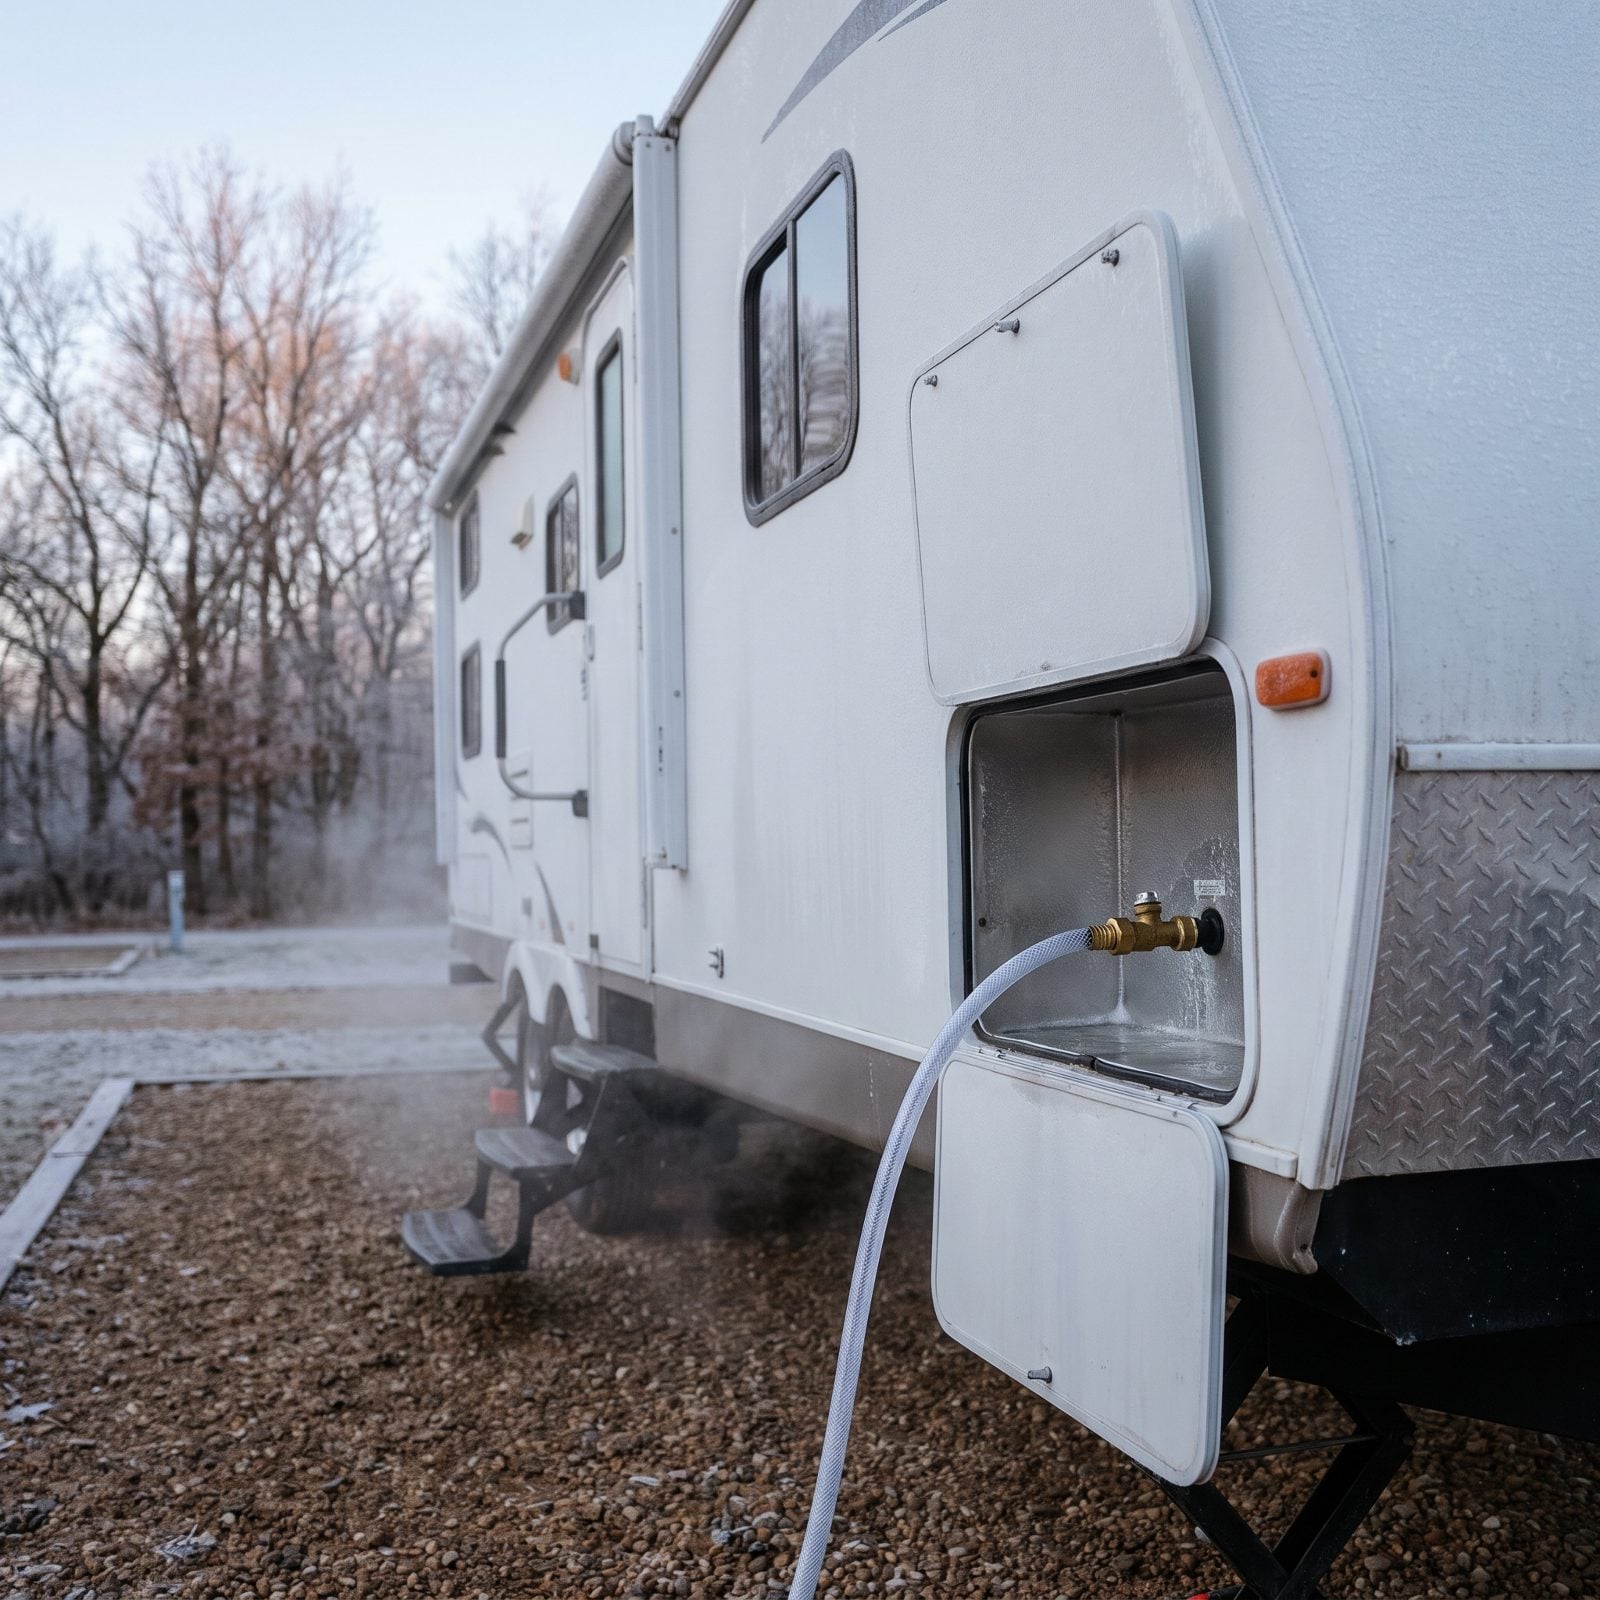
Winterizing is not a reaction. It’s an appointment. Plenty of folks wait for the weather app to flash a freeze warning, then scramble out with a jug of pink and a headlamp. Here’s the trouble: water starts expanding at 32 degrees, and a single overnight dip into the 20s can split a fitting or crack the pump head before you’ve had your coffee.
A frozen line doesn’t have to stay frozen long to do its damage. One cold night does it.
So pick a date, not a temperature. When nights start reaching the low 40s in your area, that’s your cue. You’d rather winterize three weeks early and feel a little silly than winterize one night late and spend the spring under the sink.
30. Leaving an Existing Plumbing Leak Unrepaired
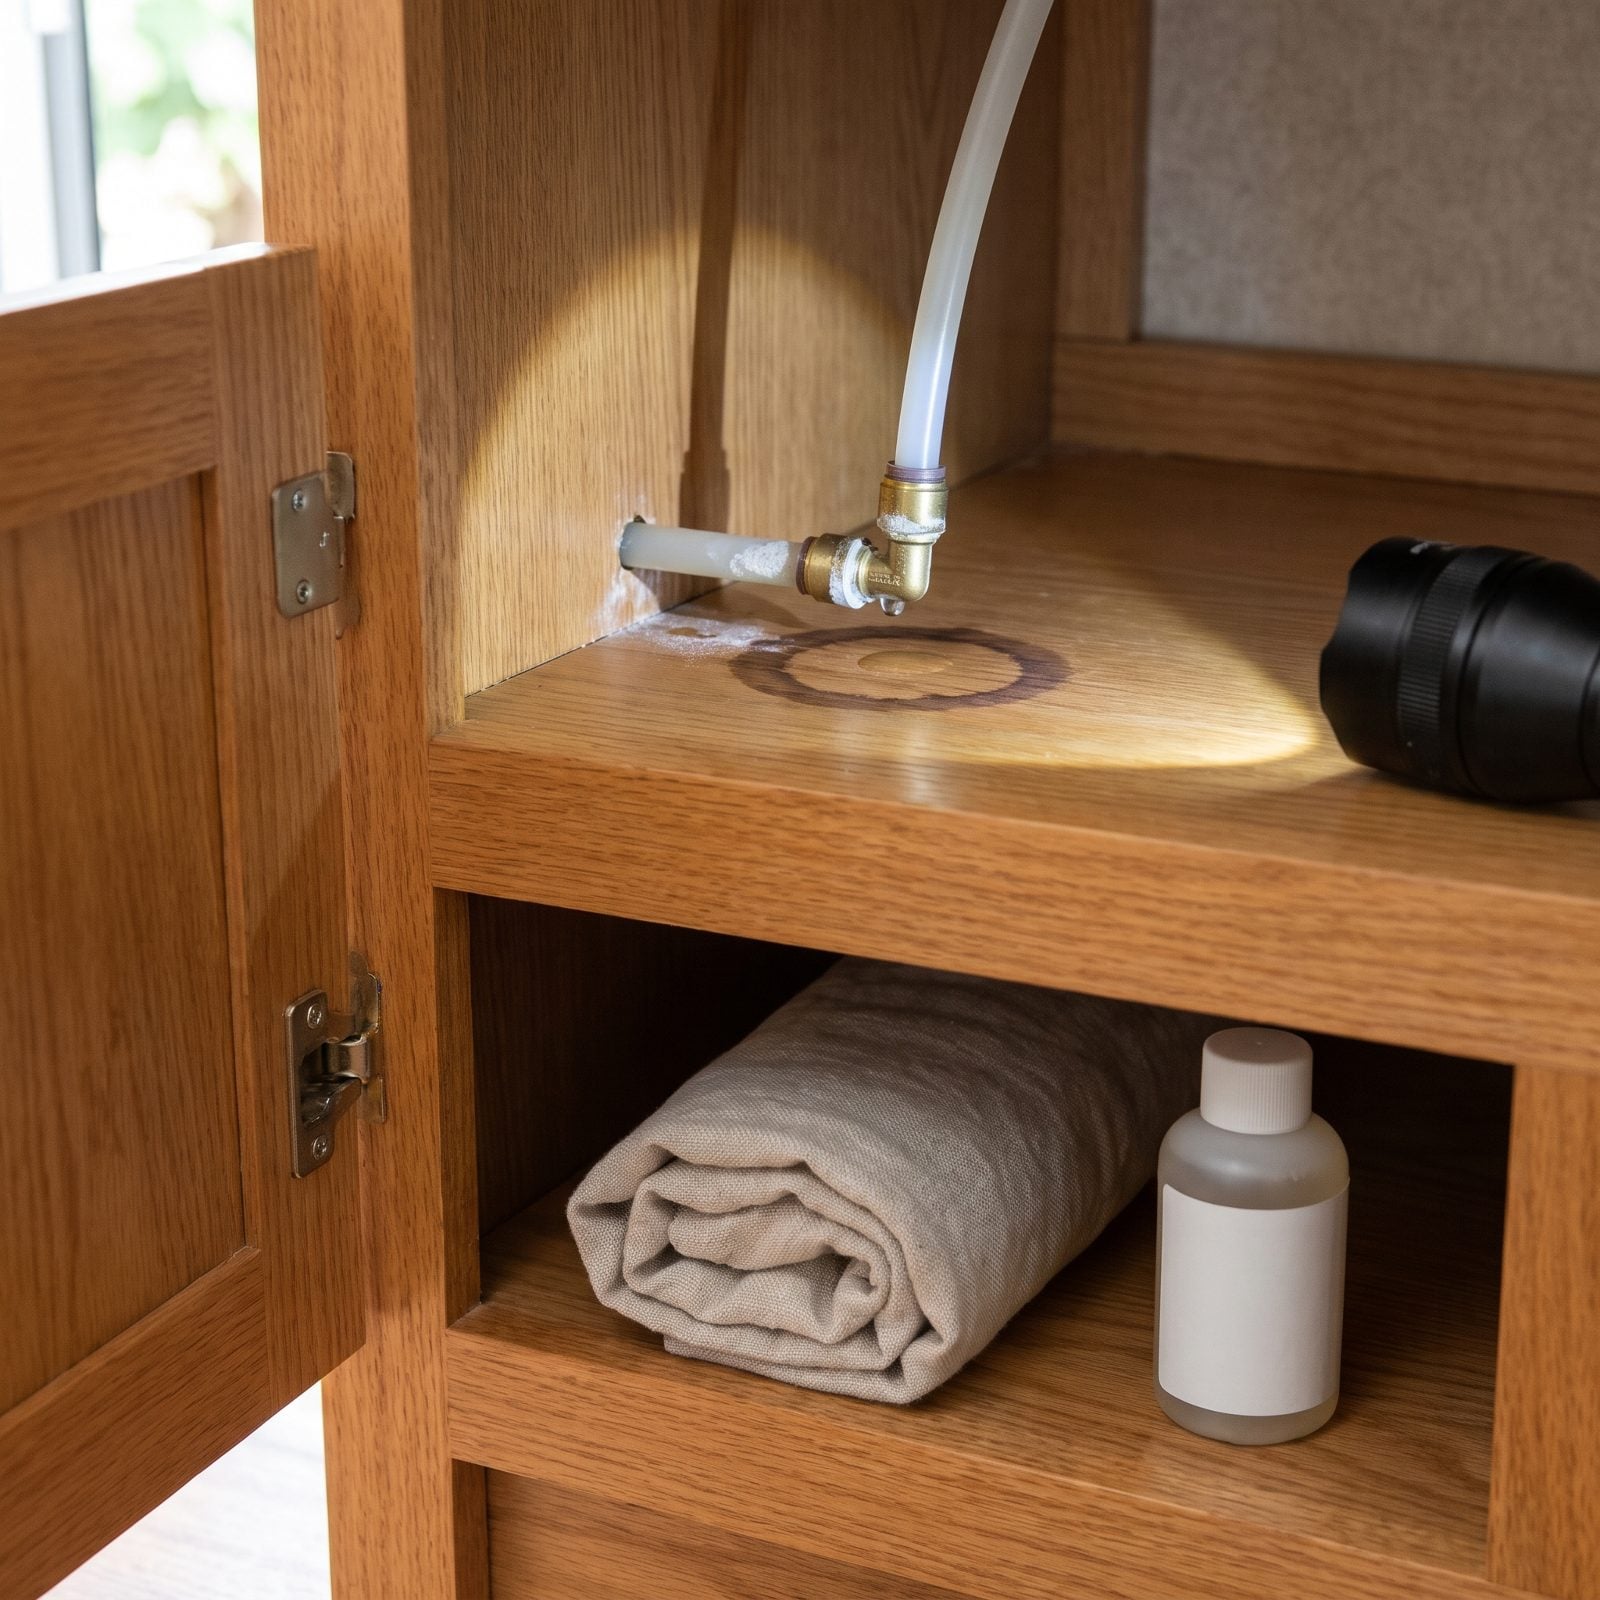
You know the drip. The one you’ve been meaning to tighten since August. It’s slow, it’s hidden behind the cabinet, and you figure it can wait.
It can’t. A joint that weeps in summer becomes a reservoir in winter, and antifreeze can’t fully protect a line that’s already compromised. Trapped water at a bad fitting is exactly where a freeze crack gets its start, and come spring that lazy little drip turns into a soaked subfloor and a smell you won’t forget.
Fix it before you winterize. Tighten, re-tape, or swap the fitting now while the system is warm and you can actually test it under pressure. A ninety-cent ferrule beats a thousand-dollar floor every time.
29. Leaving Water in the Freshwater Tank
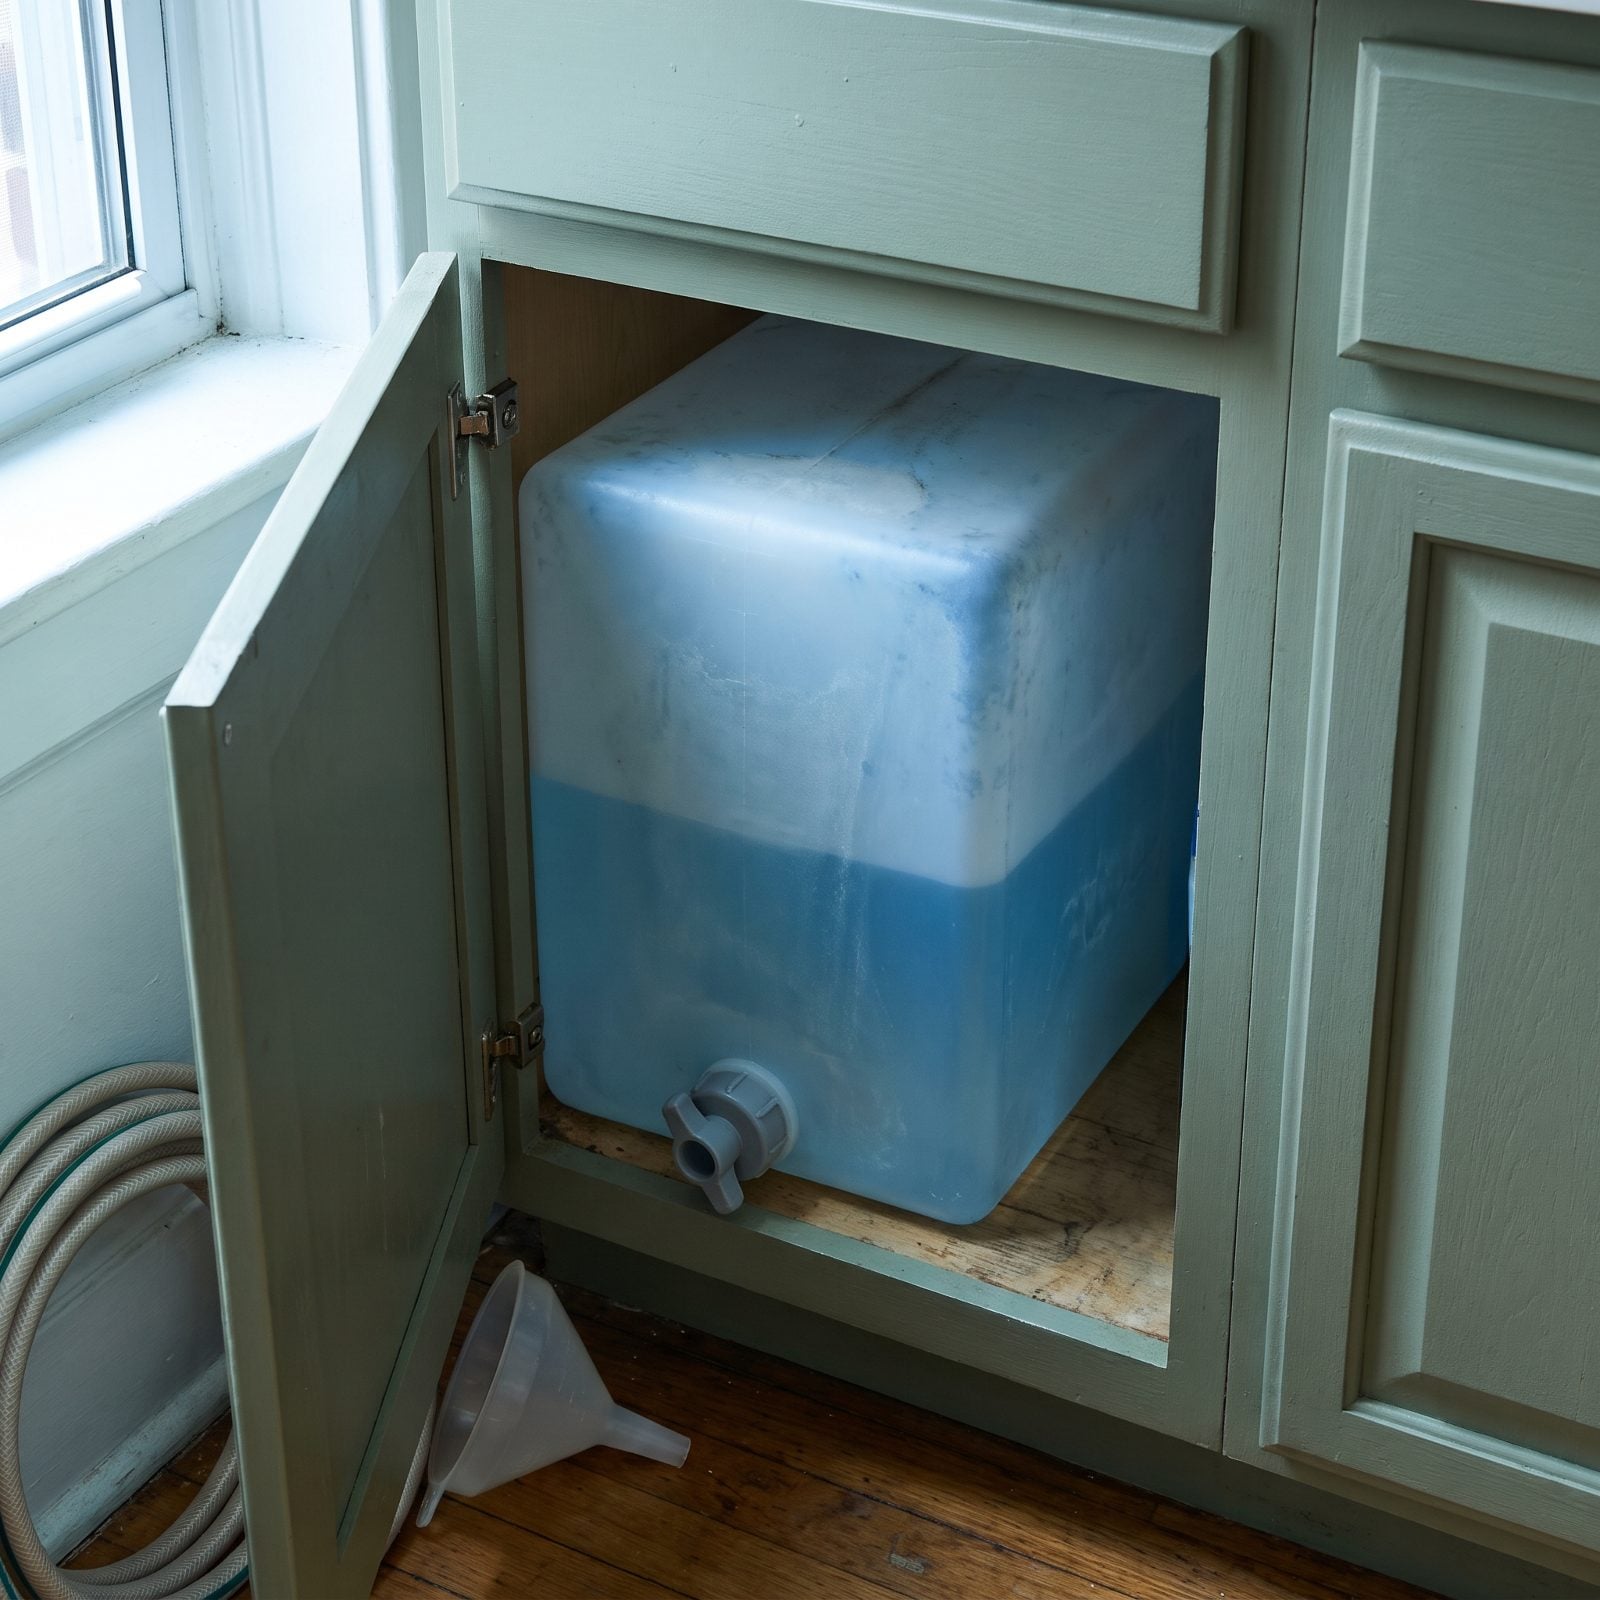
A full freshwater tank going into winter is trouble waiting for a cold snap. The tank itself might flex and survive. The spigot and the threads on the screw cap won’t be so forgiving.
Standing water left for months turns, too. It grows a biofilm on the tank walls, and that slick is a pain to flush out in April, the kind of job where you dump bleach solution and run it through three times just to lose the smell.
Drain the whole thing before you put it away for the season. Open the spigot at the bottom, let it run dry, then leave the spigot open and the cap loose so any stray drops have somewhere to go instead of pooling at the bottom.
28. Forgetting to Switch Off the Water Heater
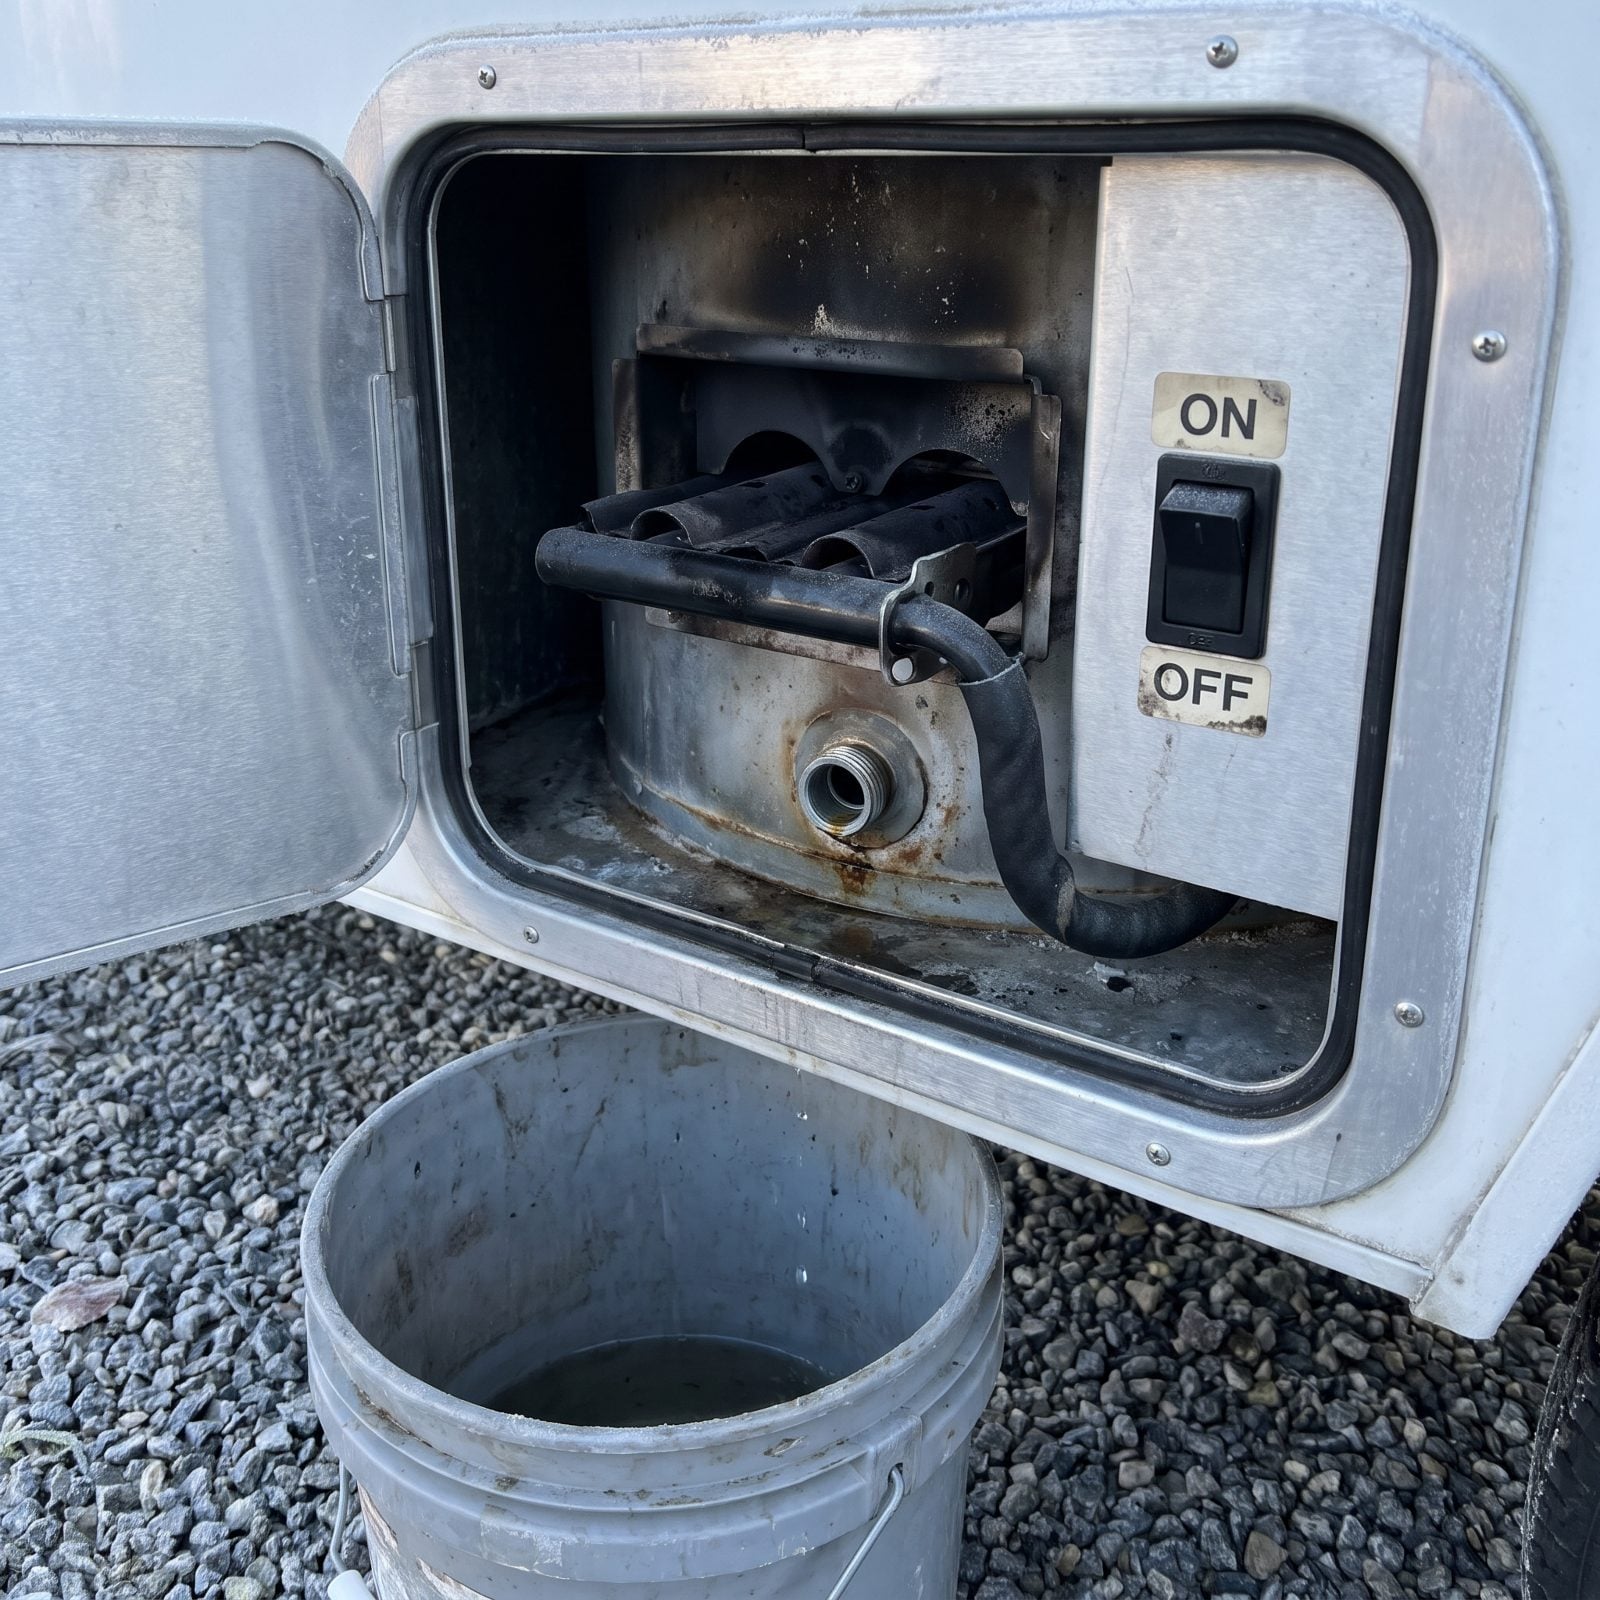
This is the mistake that costs you a heating element and a very bad smell. Drain the water heater but leave the switch on, or fire it up out of habit mid-winterizing, and that element heats a dry tank for about ten seconds before it burns itself out.
Electric elements are built to heat water, not air. Run one dry and you’ve killed it, and you won’t find out until you want a hot shower at your first spring stop.
Turn the water heater off at the panel and let it cool completely before you drain. Cold tank, switch off, then pull the drain plug. If you’ve been running it, give the thing a full day. Scalding yourself over a drain plug is a memorable way to start the off-season, and not in a good way.
27. Opening Low-Point Drains but Not the Faucets
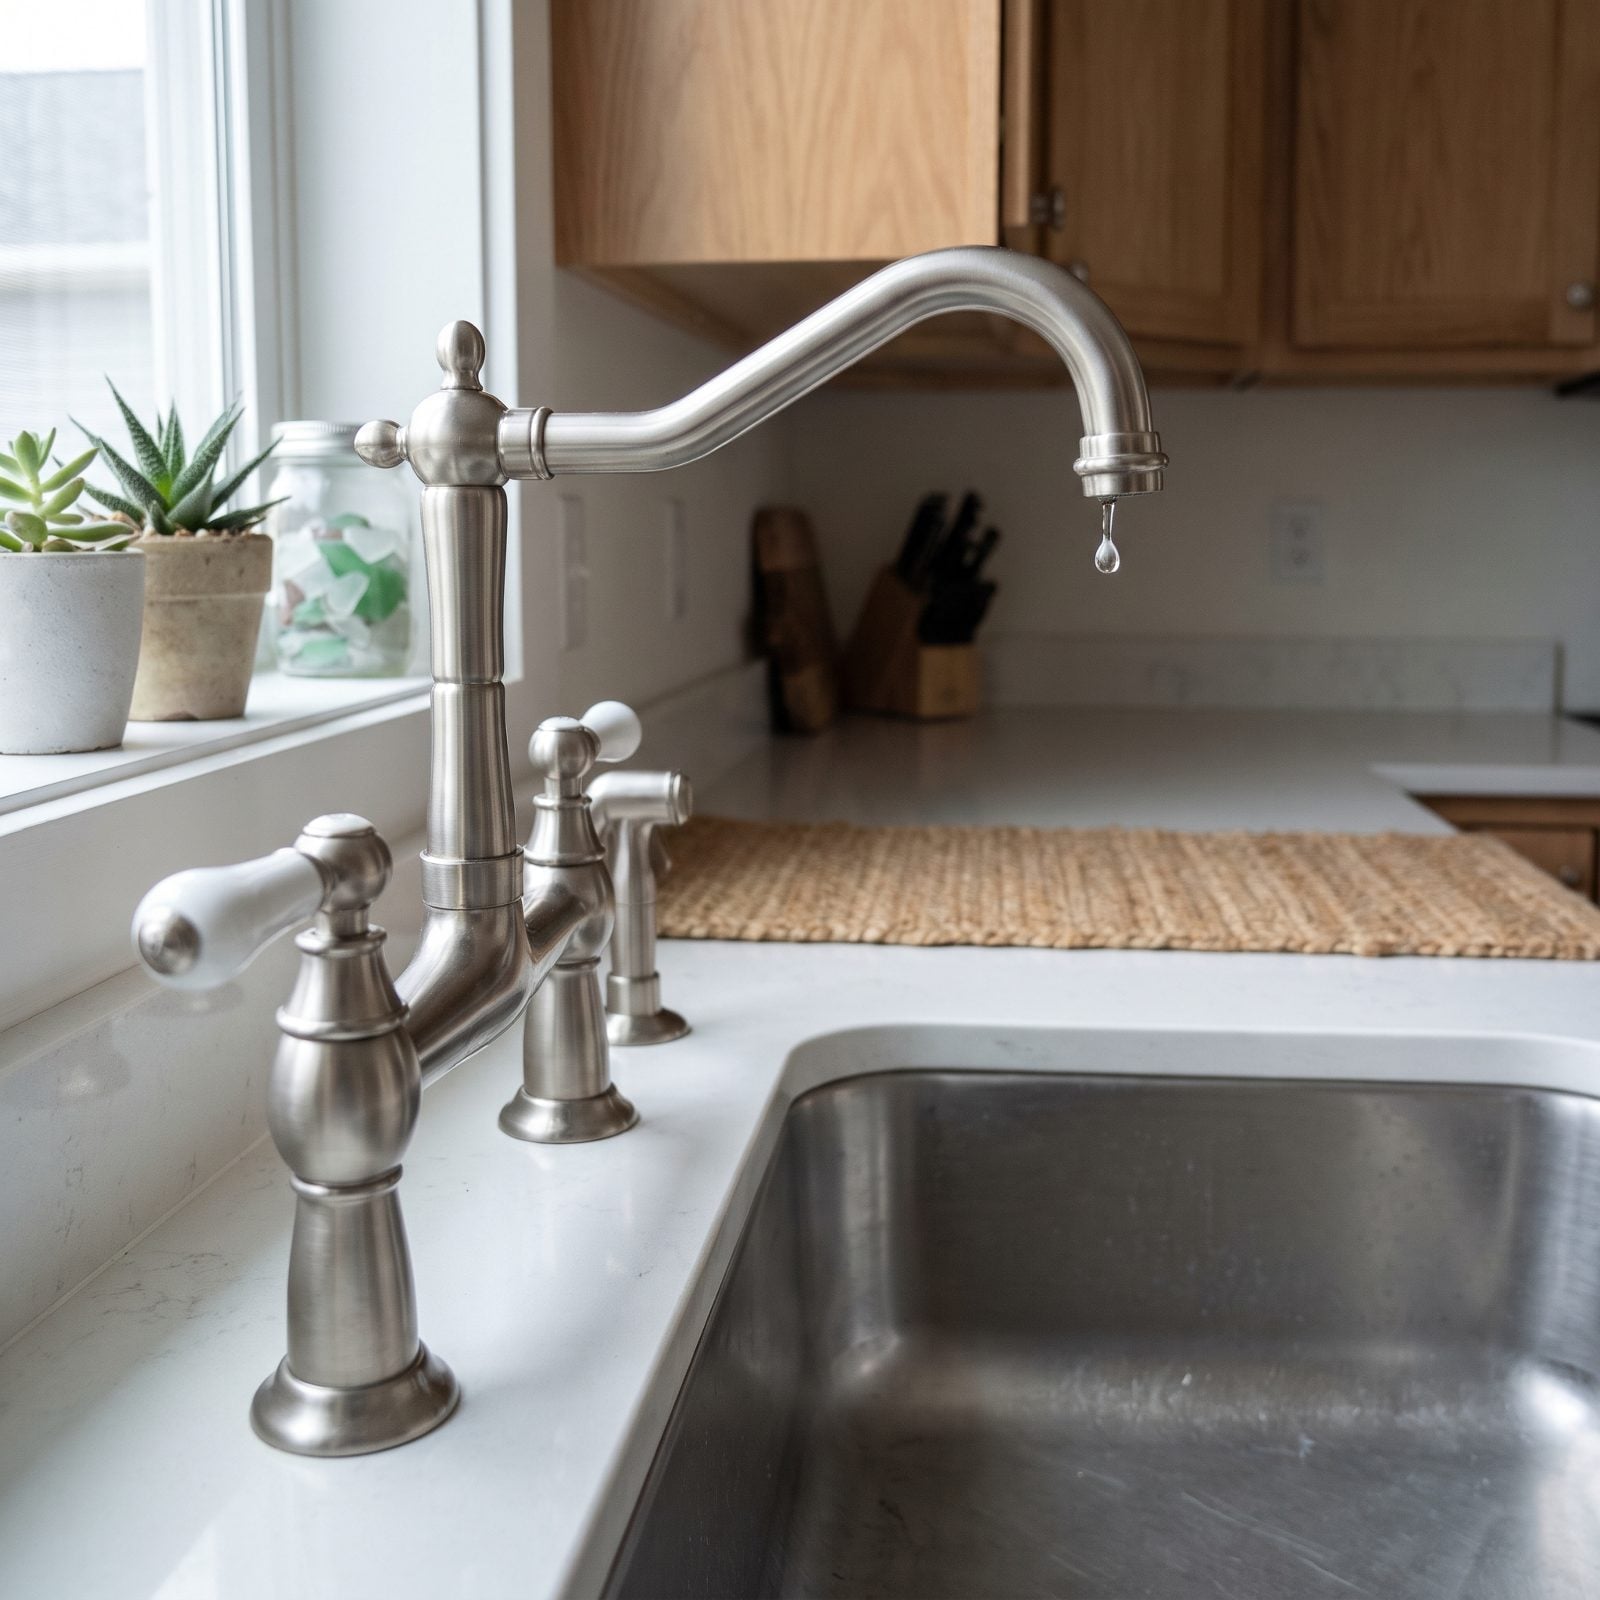
Open the low-point drains, walk away, and you’ll swear the system is empty. It isn’t. With the faucets shut, the lines hold a vacuum that traps water right where it loves to freeze.
Same reason a drinking straw holds liquid when you cap the top with your finger. Air has to get in for water to get out.
So open every faucet, hot and cold, plus the shower and the outside spray port, before and during the drain. Let the lines gulp air and empty all the way. Then close them back up before you pump antifreeze through. Small step, big difference.
26. Using Automotive Antifreeze in the Freshwater System
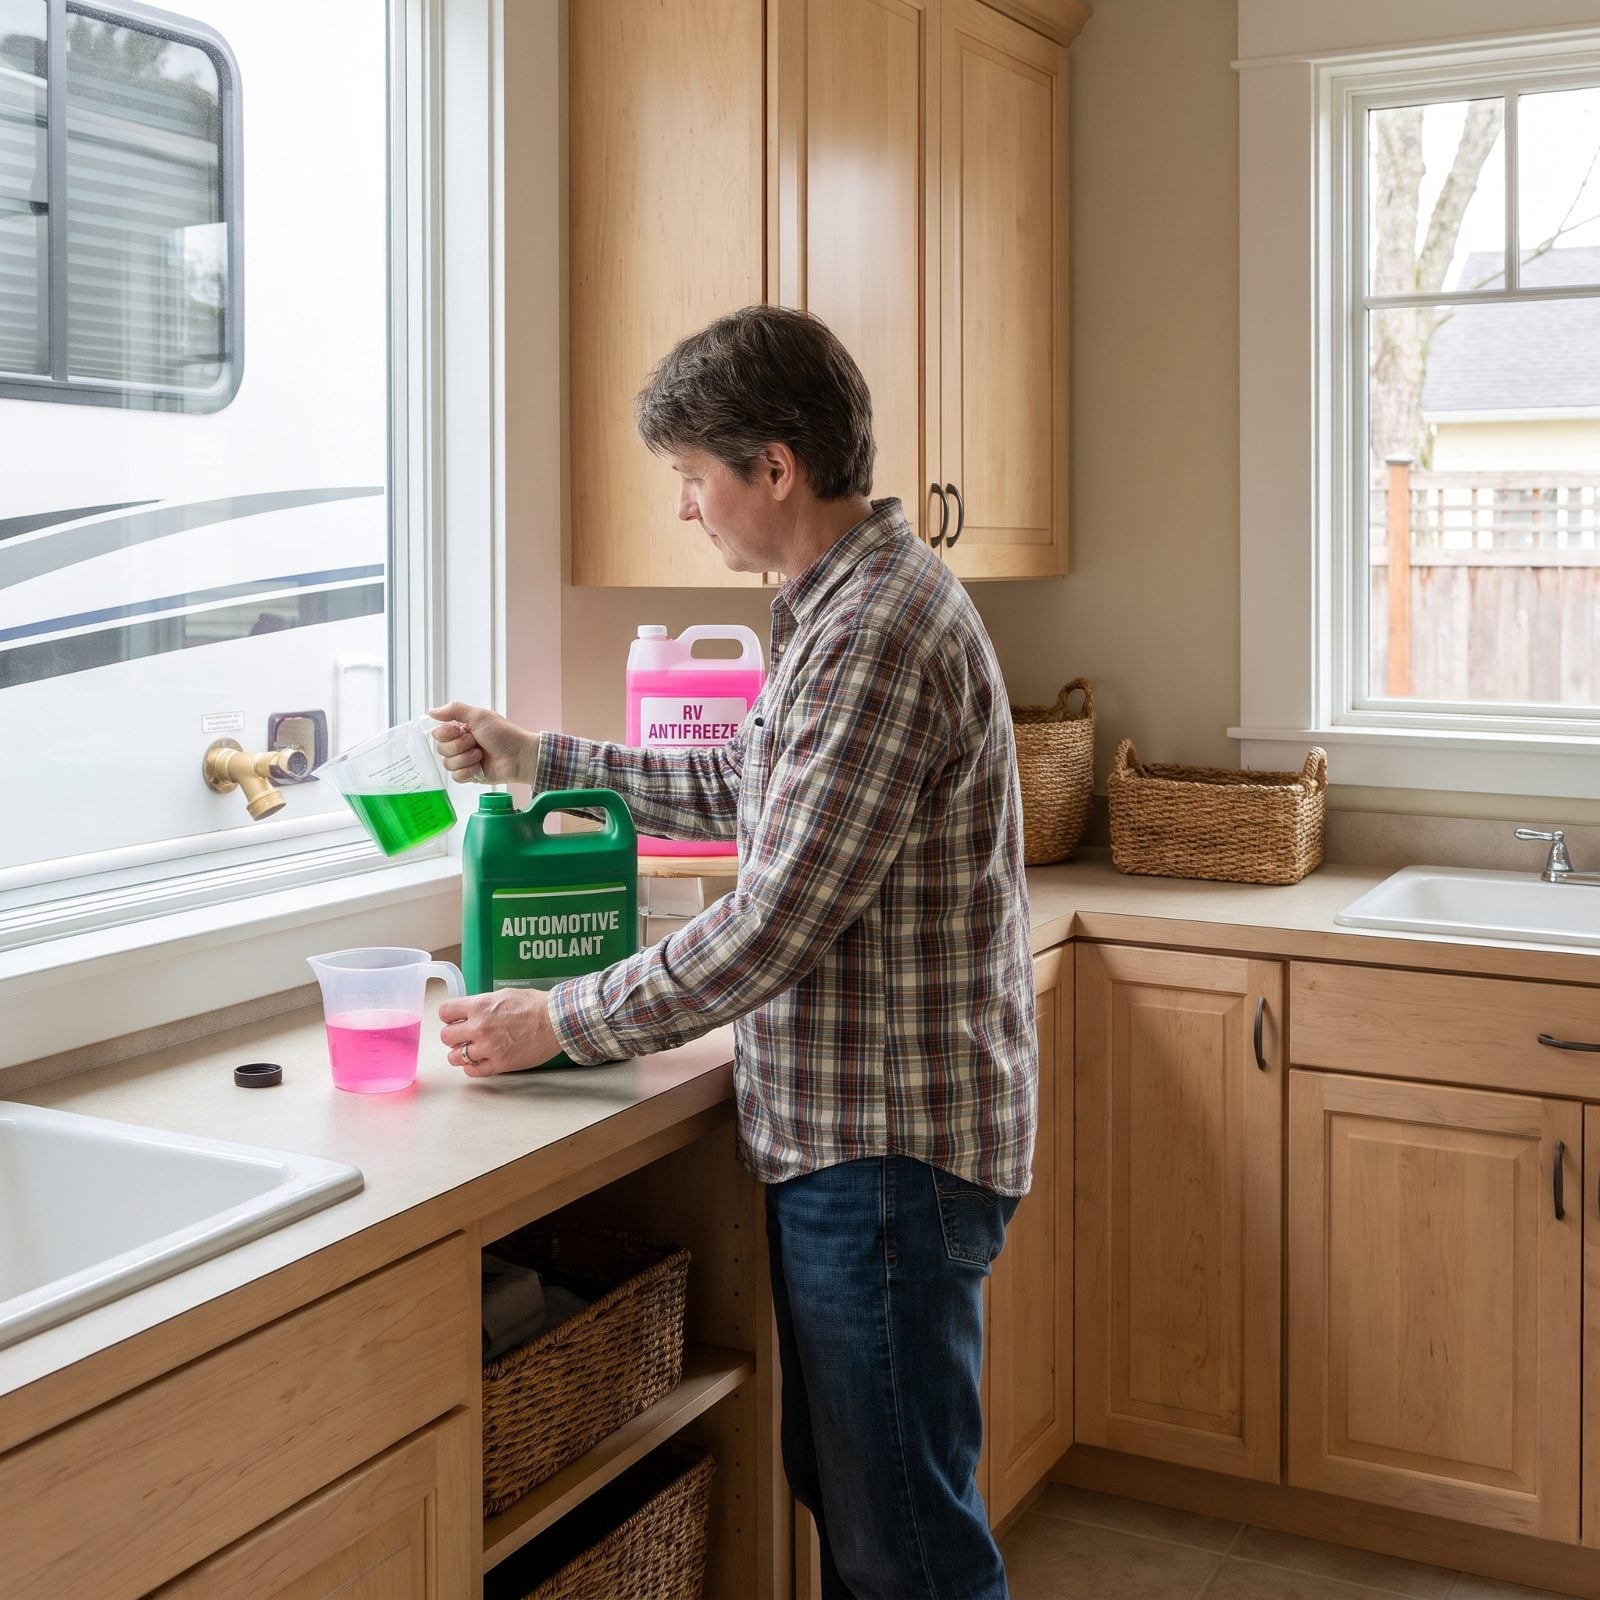
Pink means potable. Green means poison. Grab the wrong jug off the kitchen cabinet shelf and you’ve just run ethylene glycol through the lines you drink from.
Automotive coolant is toxic and has no business anywhere near your freshwater system. Even a careful spring flush leaves you uneasy about every glass you pour, and honestly, you should be uneasy. That’s the kind of contamination you can never fully trust you’ve cleared.
Use only non-toxic RV antifreeze, the pink stuff labeled for potable plumbing. It’s propylene-glycol based, safe for drinking lines, and runs about four dollars a gallon. Keep it on a separate shelf from your engine coolant so there’s never a mix-up on a busy kitchen counter.
25. Stopping Before Pink Antifreeze Reaches Every Fixture
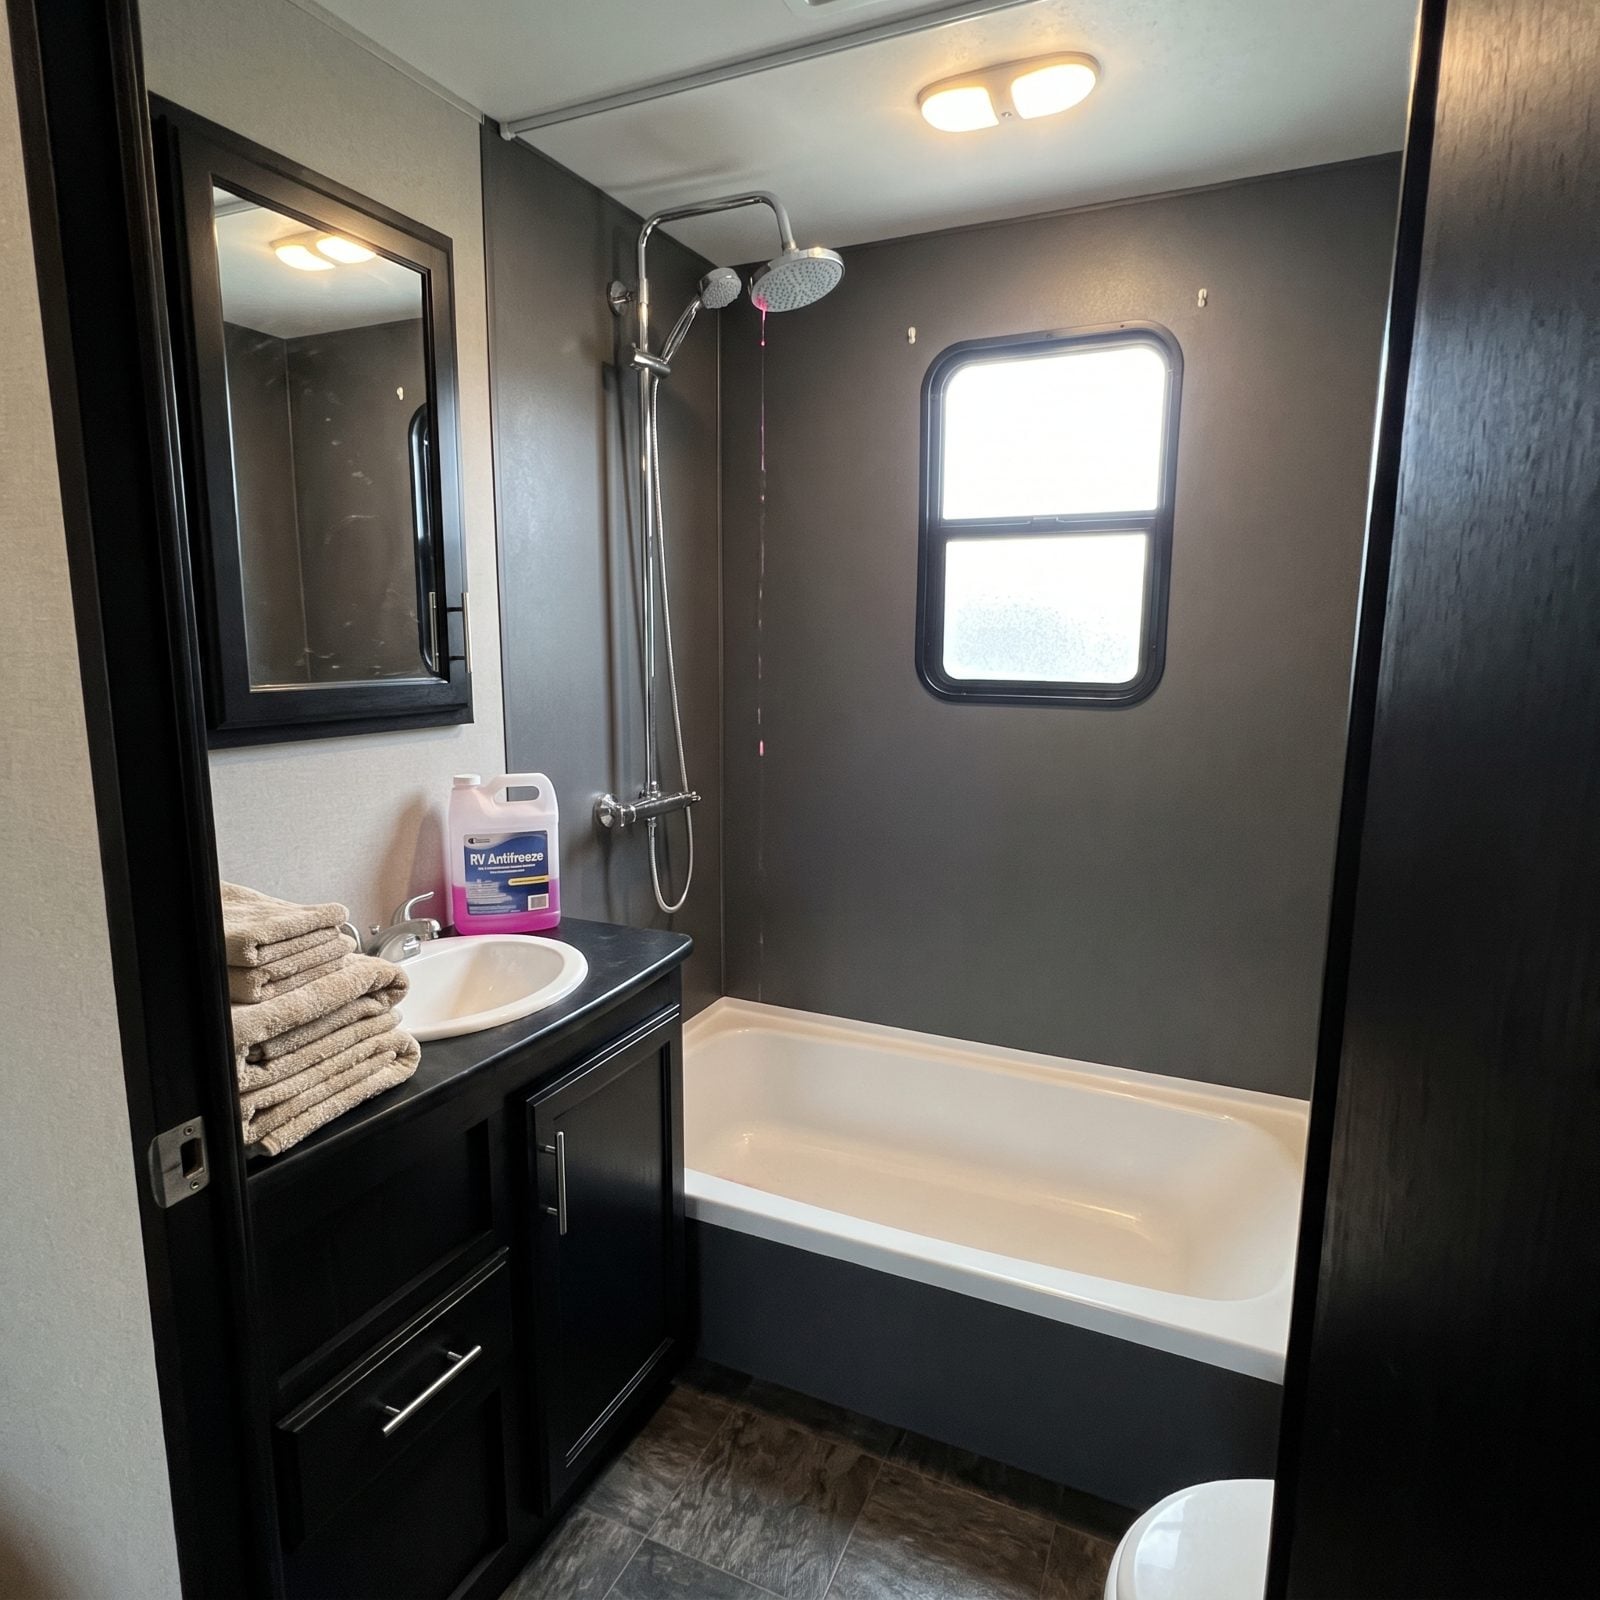
You run antifreeze through the kitchen faucet, see pink, and figure you’re finished. Meanwhile the outdoor shower, the toilet valve, the washing machine inlet, and the ice-maker line are all sitting there with clear water still in them.
Every fixture water can reach needs antifreeze, not just the obvious few. The forgotten line is always the one that cracks, and wouldn’t you know it, usually the one buried hardest to reach when repair time comes.
Walk the whole coach, fixture by fixture. Hot and cold at every sink, the shower inside and out, the toilet, the low-point drains, every spray port and appliance connection. Run each one until pink flows steady. And pour a cup down each drain while you’re at it, to protect the P-traps.
24. Pressing the City-Water Check Valve While It Is Pressurized
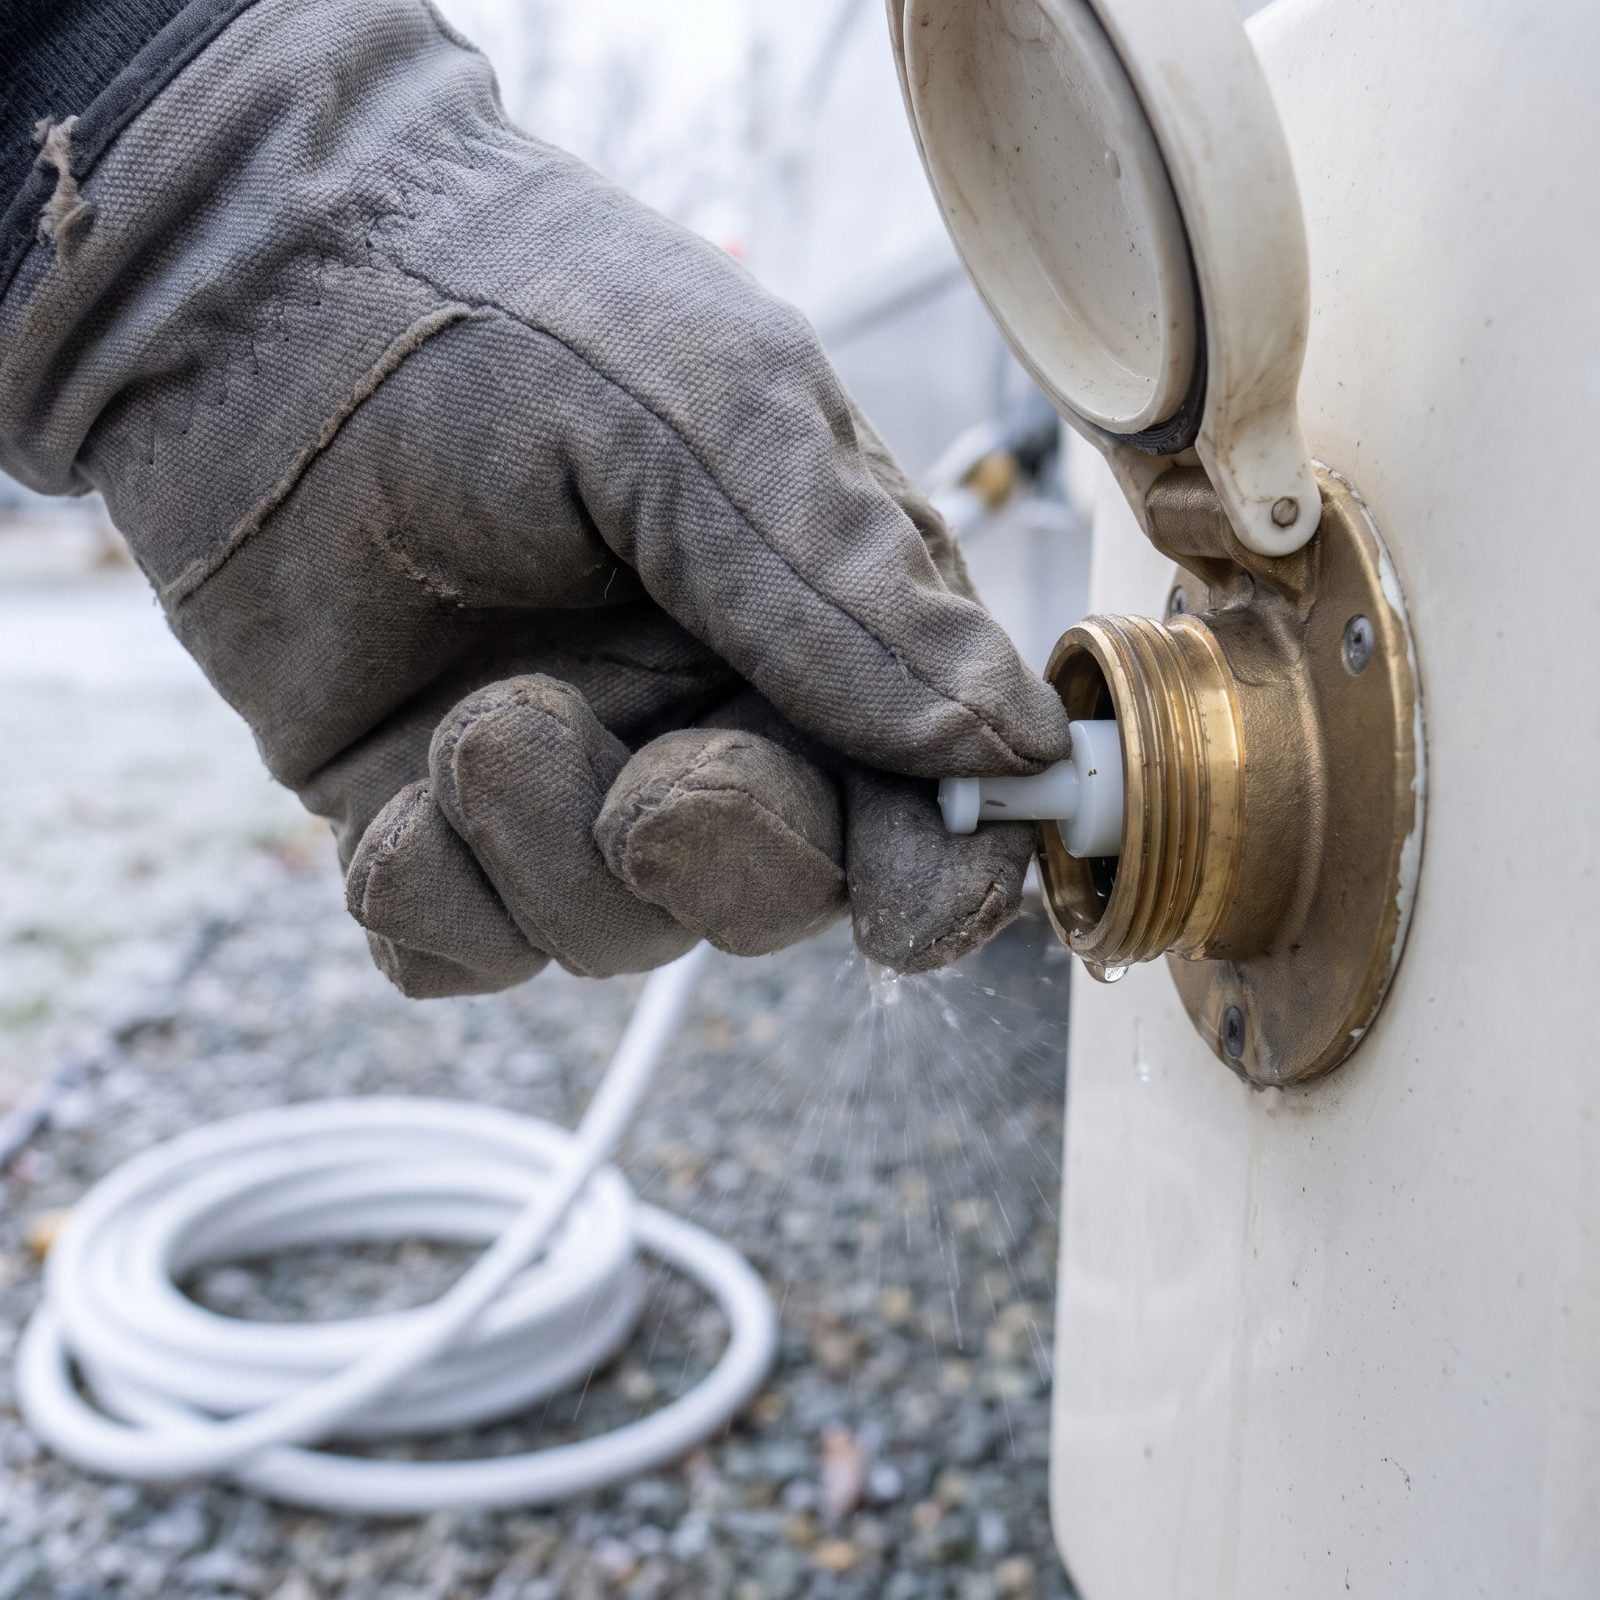
Now the subtle one. You remember the check valve — good — but you press that little pin while the water lines are still pressurized from your compressor or still holding city pressure. Water fires out under force, and the sudden stress on a cold plastic valve can crack the seat or blow the spring loose.
We got this wrong once and spent a whole afternoon wondering why our inlet dribbled all season.
Depressurize first. Open a faucet, let the pressure bleed off, then clear the inlet with a quick push. Calm and dry beats fast and wet every time.
23. Leaving Water Trapped in the Exterior Shower
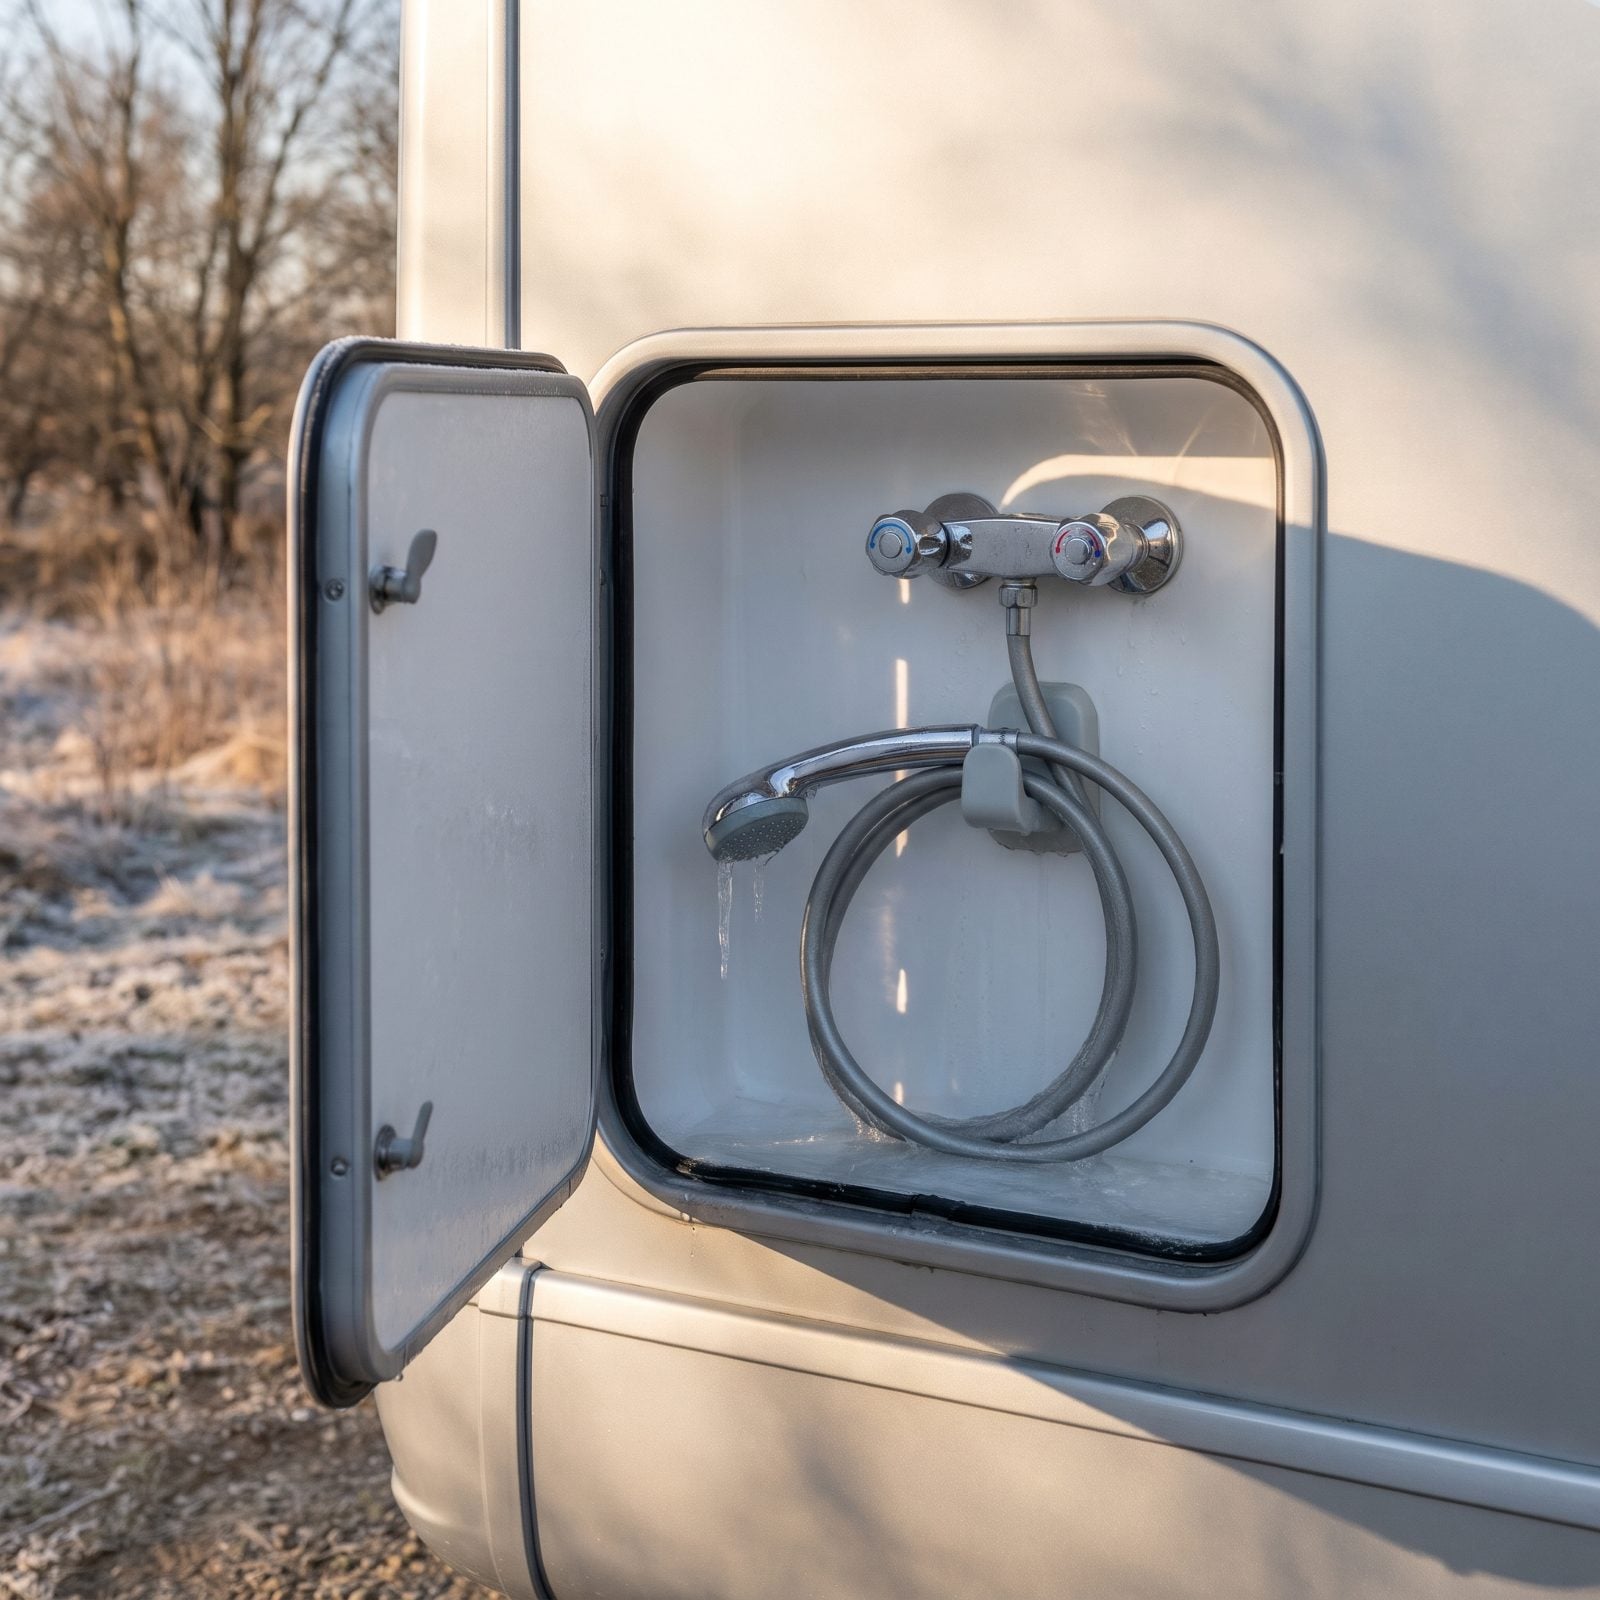
The outside shower hides behind a tidy little door. You winterize the whole rig feeling smug, and sitting in that hose and sprayer head is a cup of water with nowhere to go.
It freezes, expands, and cracks the sprayer or the mixer valve body. Come spring you open that door to a puddle and a split fitting.
Run antifreeze or air through the exterior shower lines until pink shows or air hisses clean, then pull the sprayer off its coil and hold it low so the hose drains. Leave the mixer handle in the middle, both sides cracked open, so trapped water in the valve can escape.
22. Forgetting the Wet-Bay Spray Port or Utility Faucet
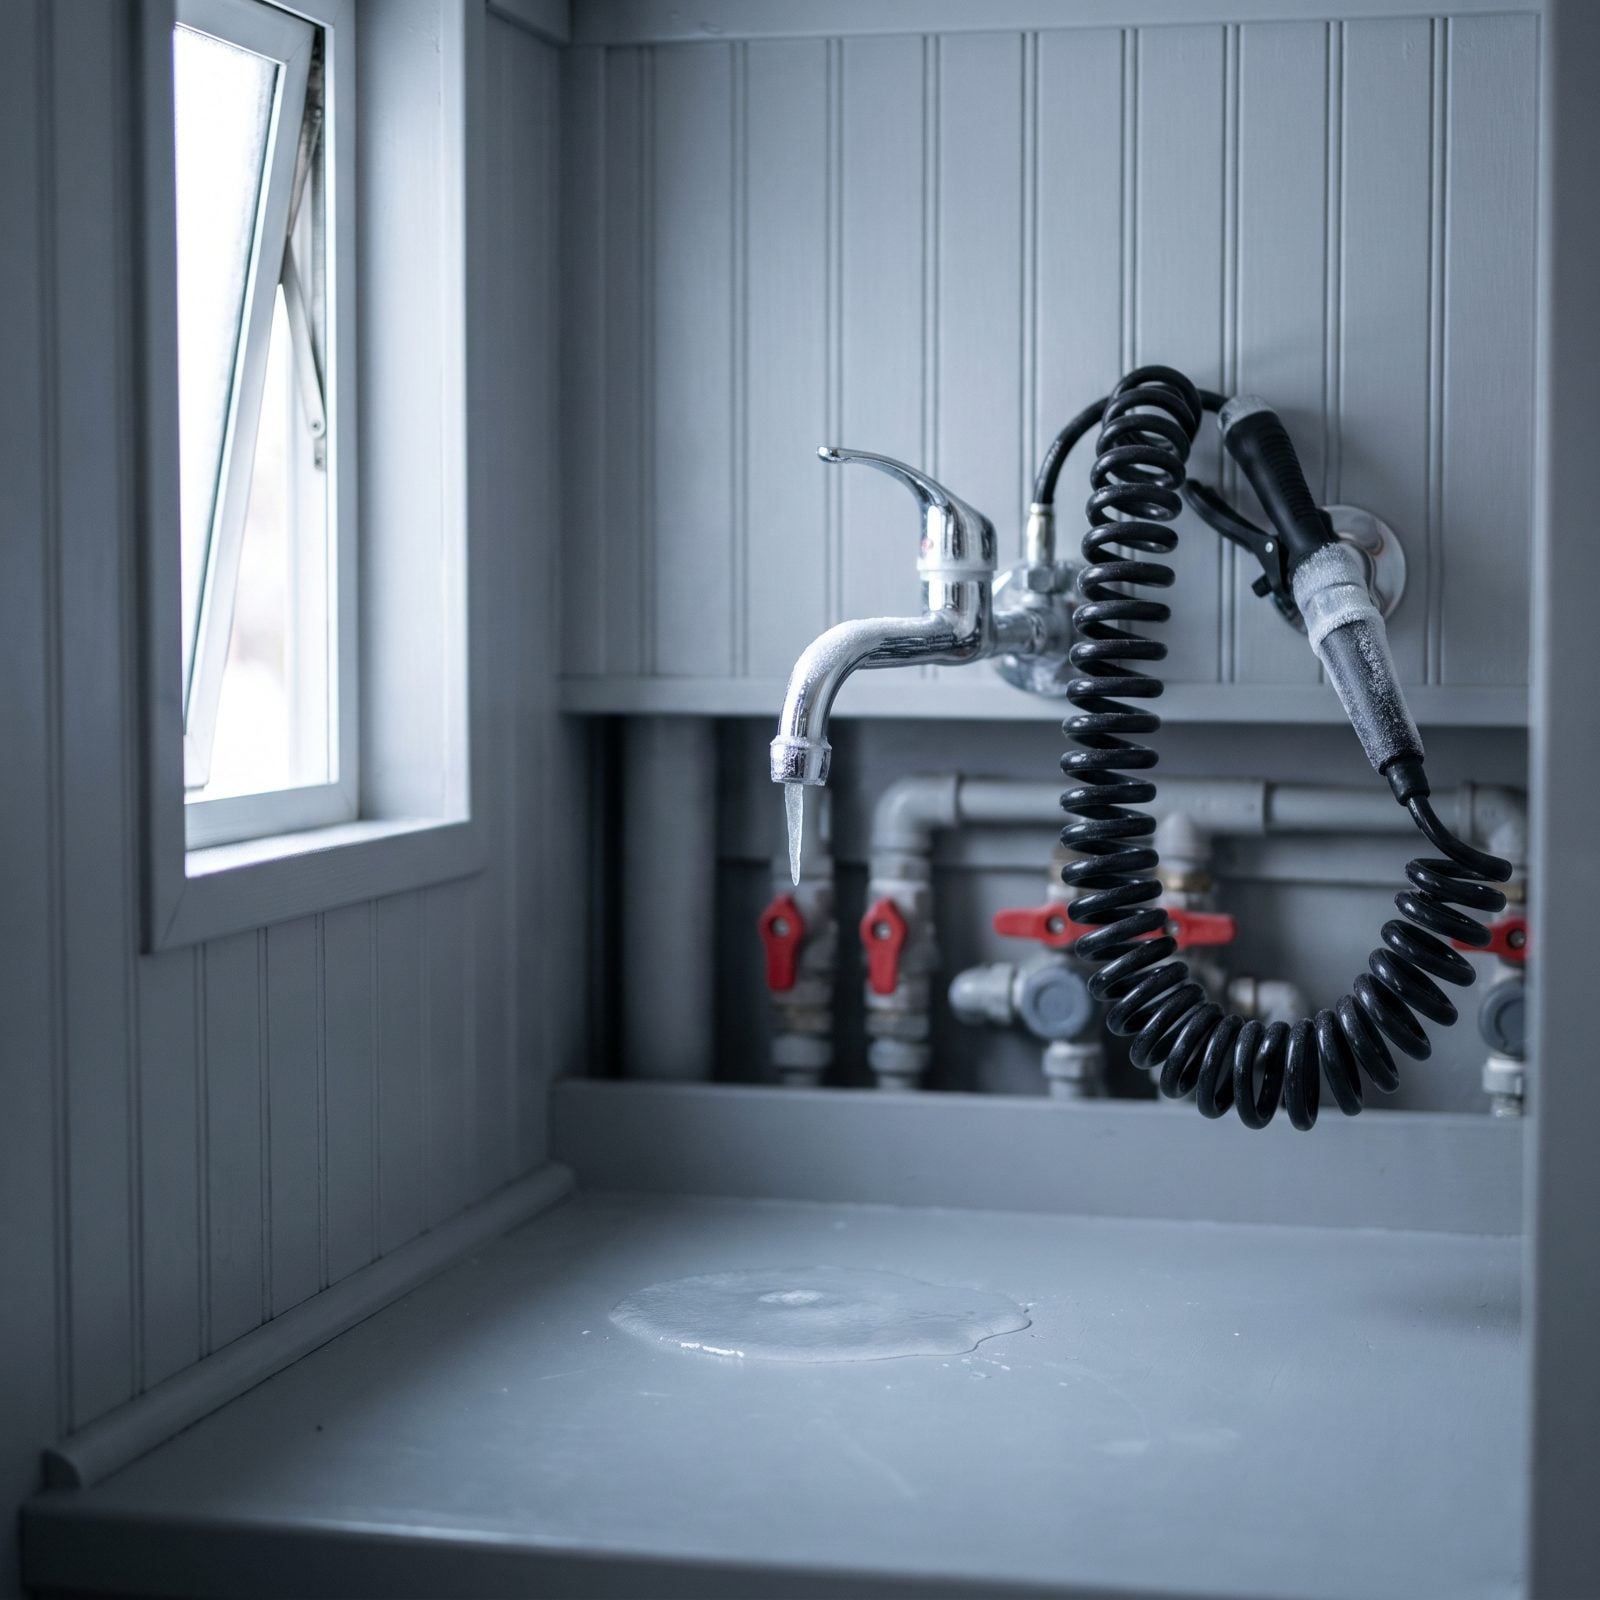
The wet bay is where RV plumbing goes to get complicated. Buried in there, a lot of rigs have a spray port or a utility faucet — the little wand you use to rinse the bay or fill a bucket — and people forget it exists.
It’s fed by a live water line, and the wand holds a slug of water in its hose and nozzle. Freeze, expand, crack. The repair means pulling the bay apart in the cold.
Find the spray port, trigger the wand into a bucket until air or pink antifreeze comes out, and drain the hose by holding the nozzle low. If there’s a shutoff valve feeding it, close that too and relieve the pressure on the wand side.
21. Forgetting the Toilet Flush Valve and Handheld Sprayer
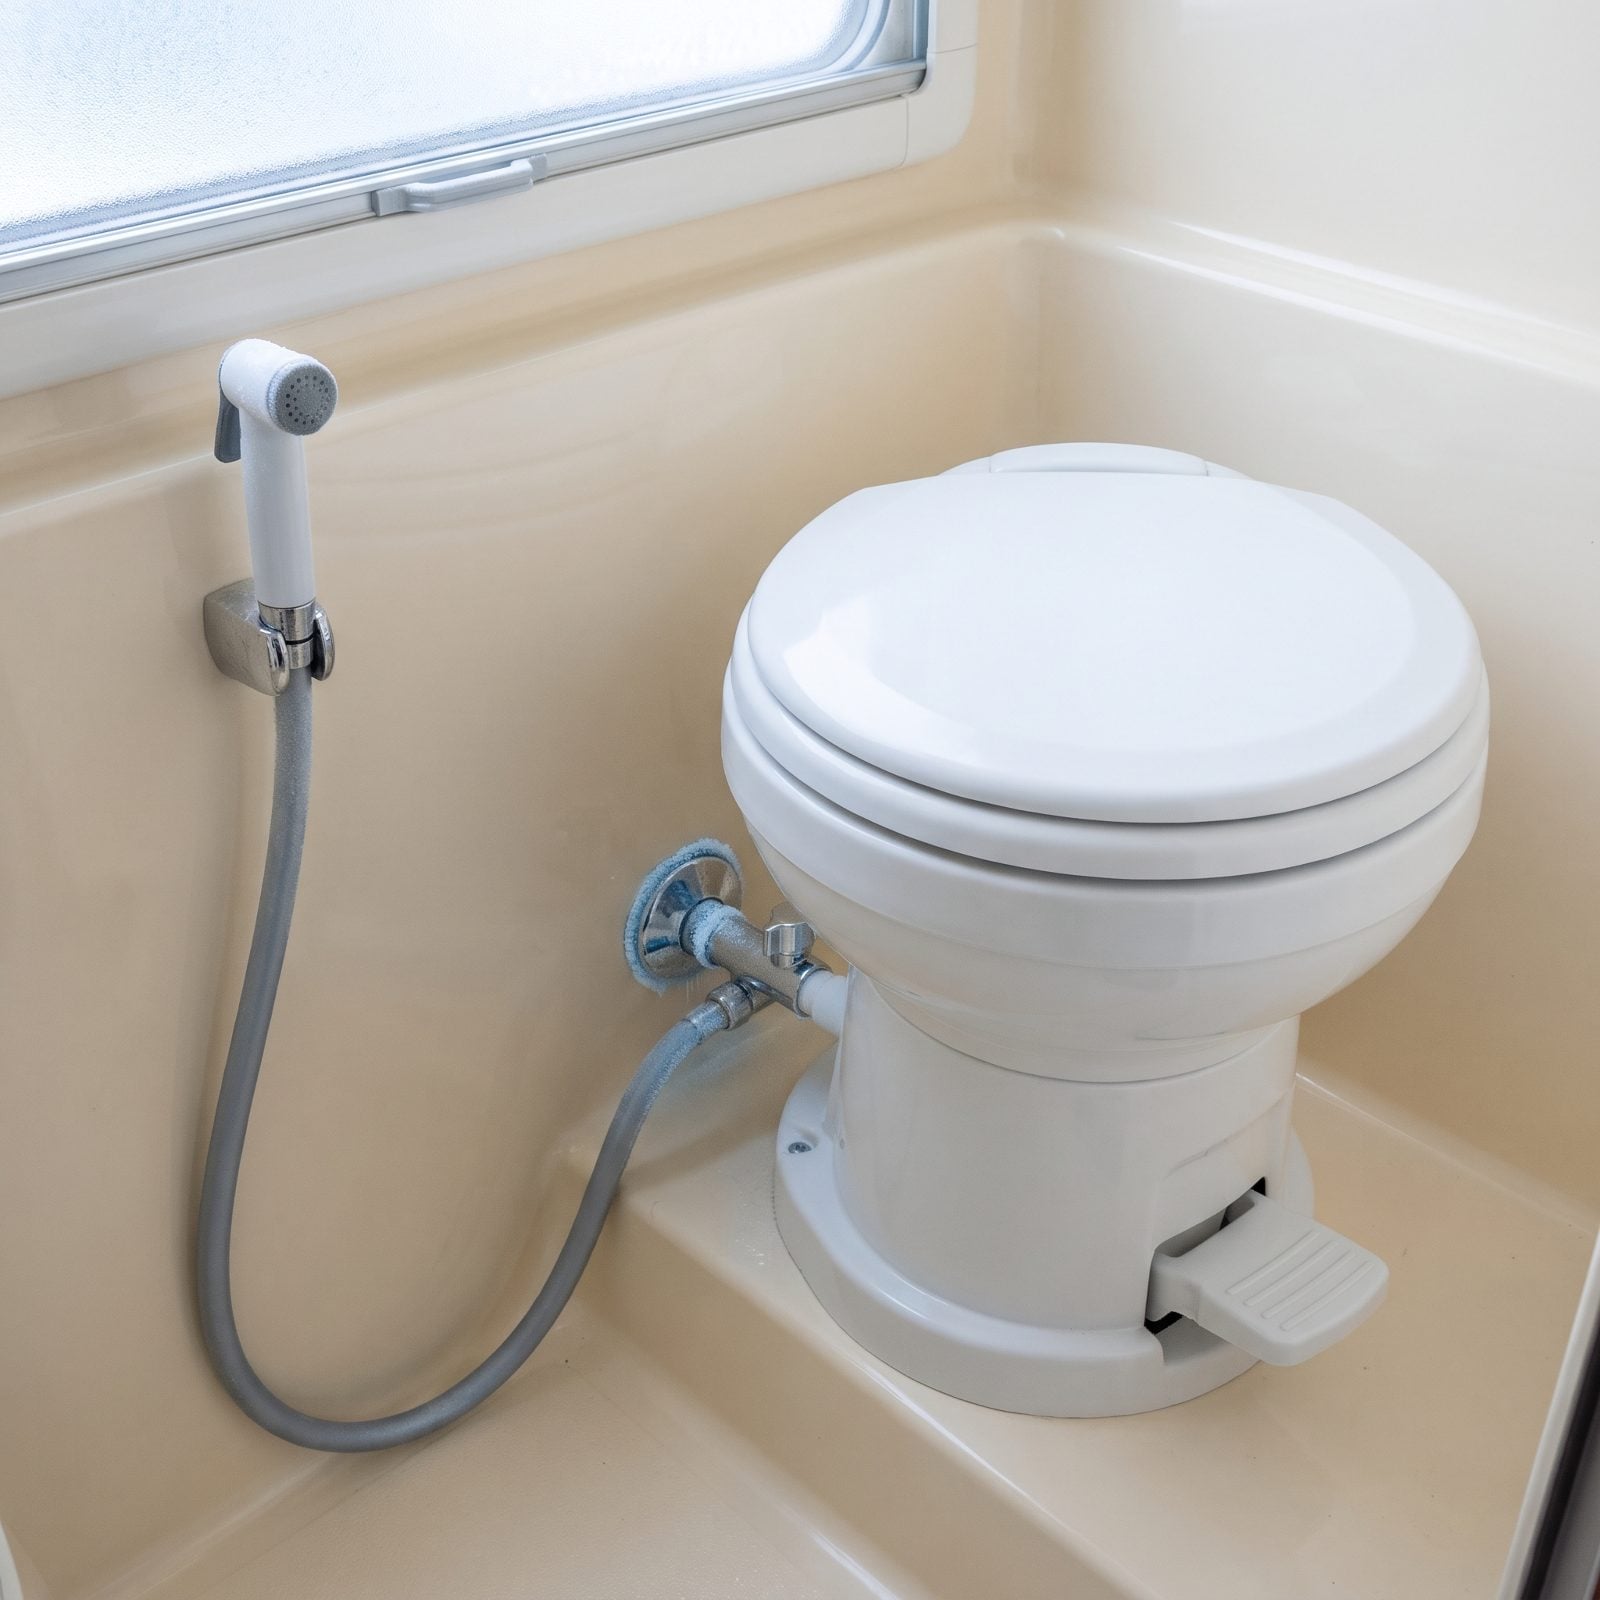
The toilet fools everyone. You run pink antifreeze through the faucets, watch it flow, and assume the bowl got the same treatment. It didn’t. The flush valve has its own little chamber, and a lot of RV toilets now come with a handheld sprayer on a hose right next to them.
Both hold water. The flush valve cracks at the seat, the sprayer splits in the hose, and that cheap plastic flush mechanism is a miserable part to replace with cold fingers.
Hold the flush pedal or button until antifreeze runs pink into the bowl. Then trigger the handheld sprayer into the bowl until it runs pink too. Both paths, every time.
20. Failing to Put Antifreeze in Every P-Trap
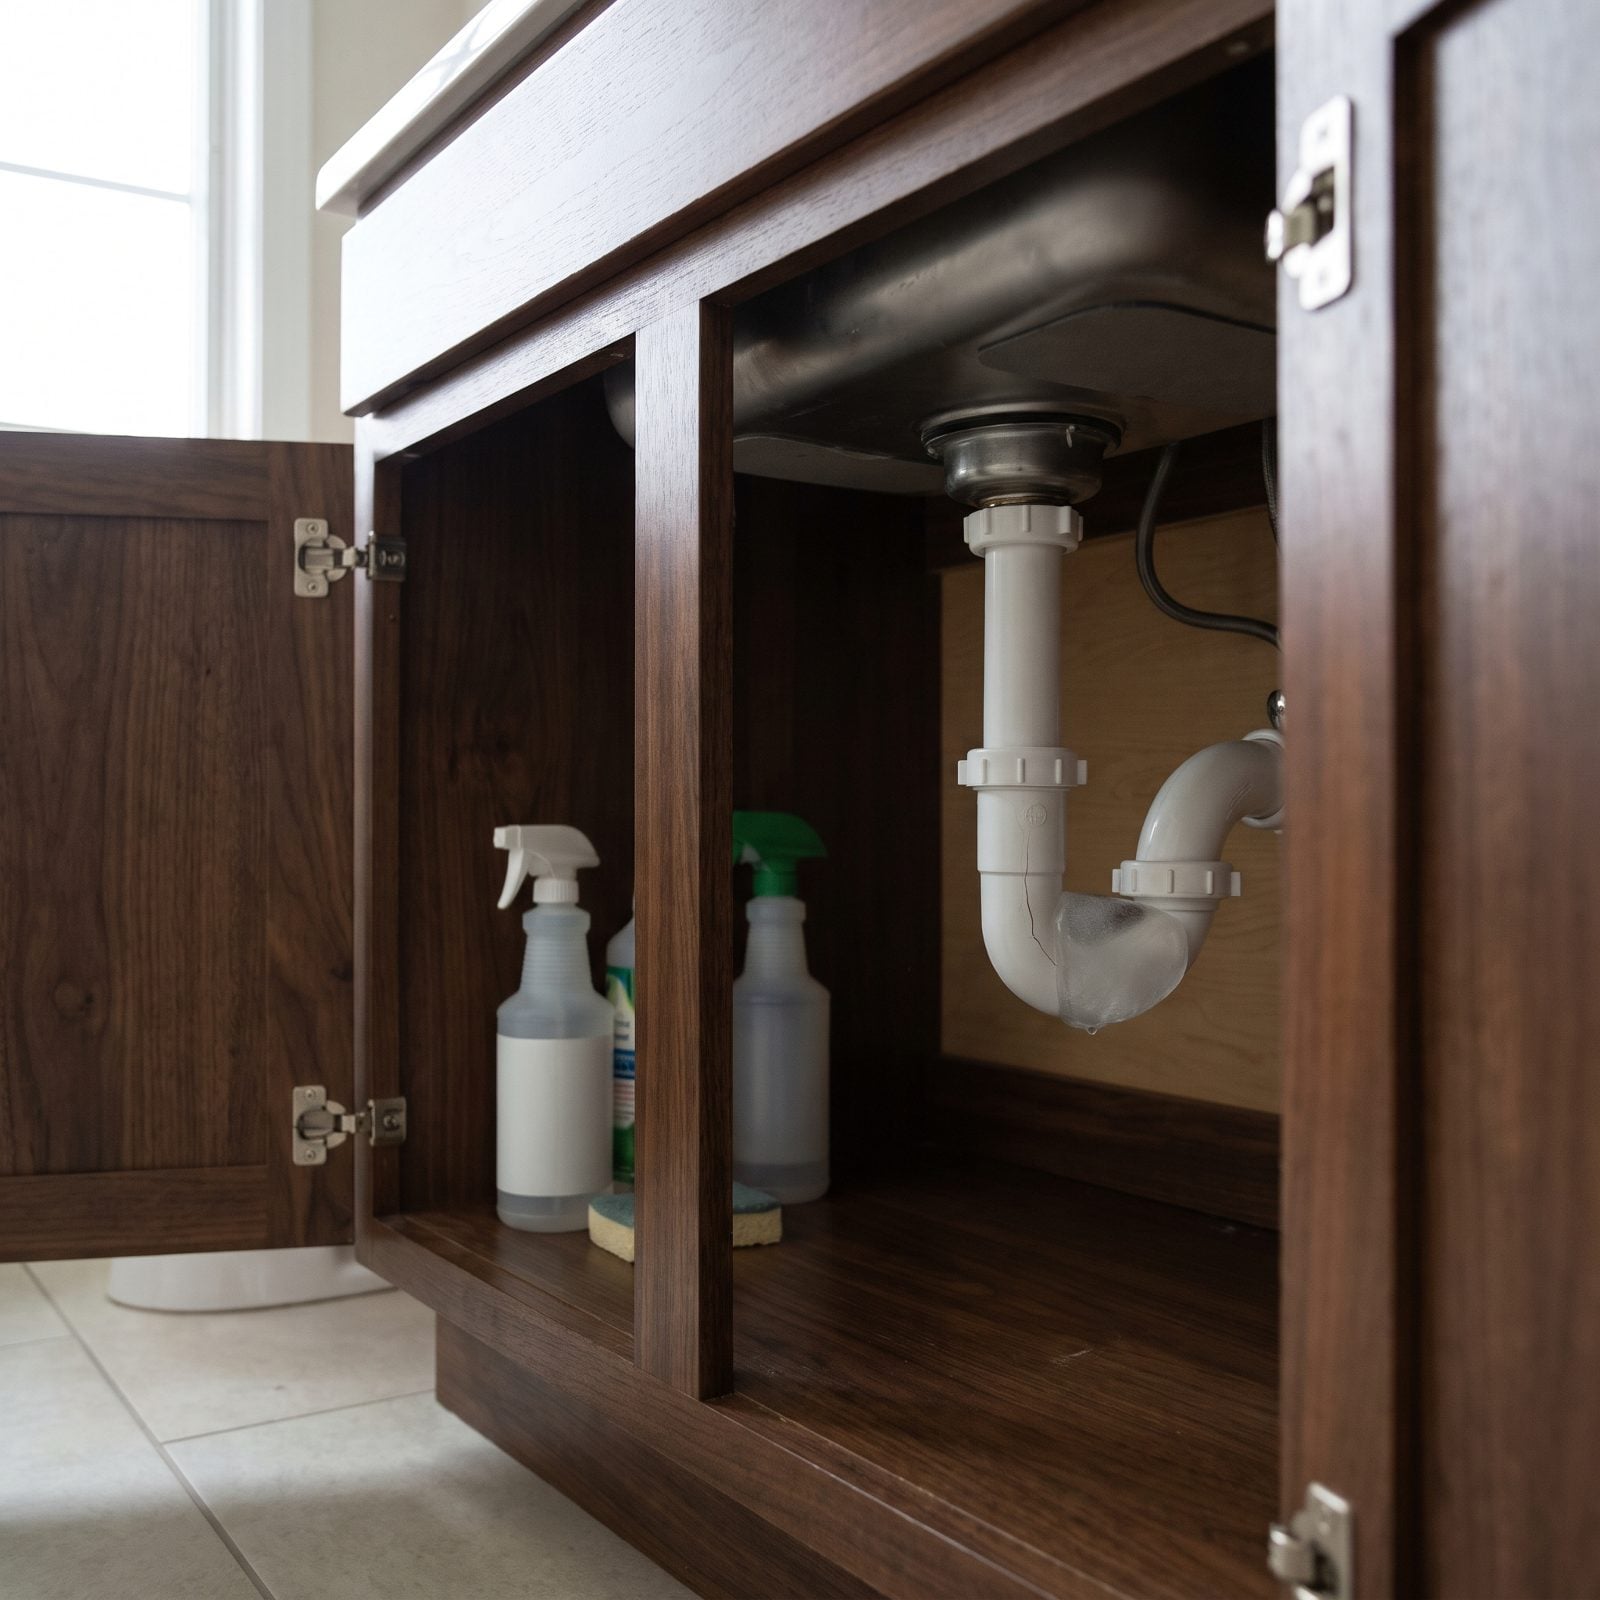
This one slips past careful people. You run antifreeze through the supply lines, pink everywhere, lines protected — but a P-trap holds water on the drain side, below the sink, where no supply antifreeze ever reaches. That curved bend exists to hold water. It always will.
Freeze it and the trap cracks at the elbow. Every sink, shower, and tub in the rig has one.
Pour a cup of RV antifreeze down each drain until pink sits in the trap. Galley sink, bathroom sink, shower, tub, and the outdoor kitchen if you’ve got one. Count them before you start so you don’t skip the one behind a cabinet.
The trap is designed to hold water. That’s its whole job. So of course it’s the thing that freezes.
19. Leaving the Water-Filter Cartridge and Water Trapped in Its Canister
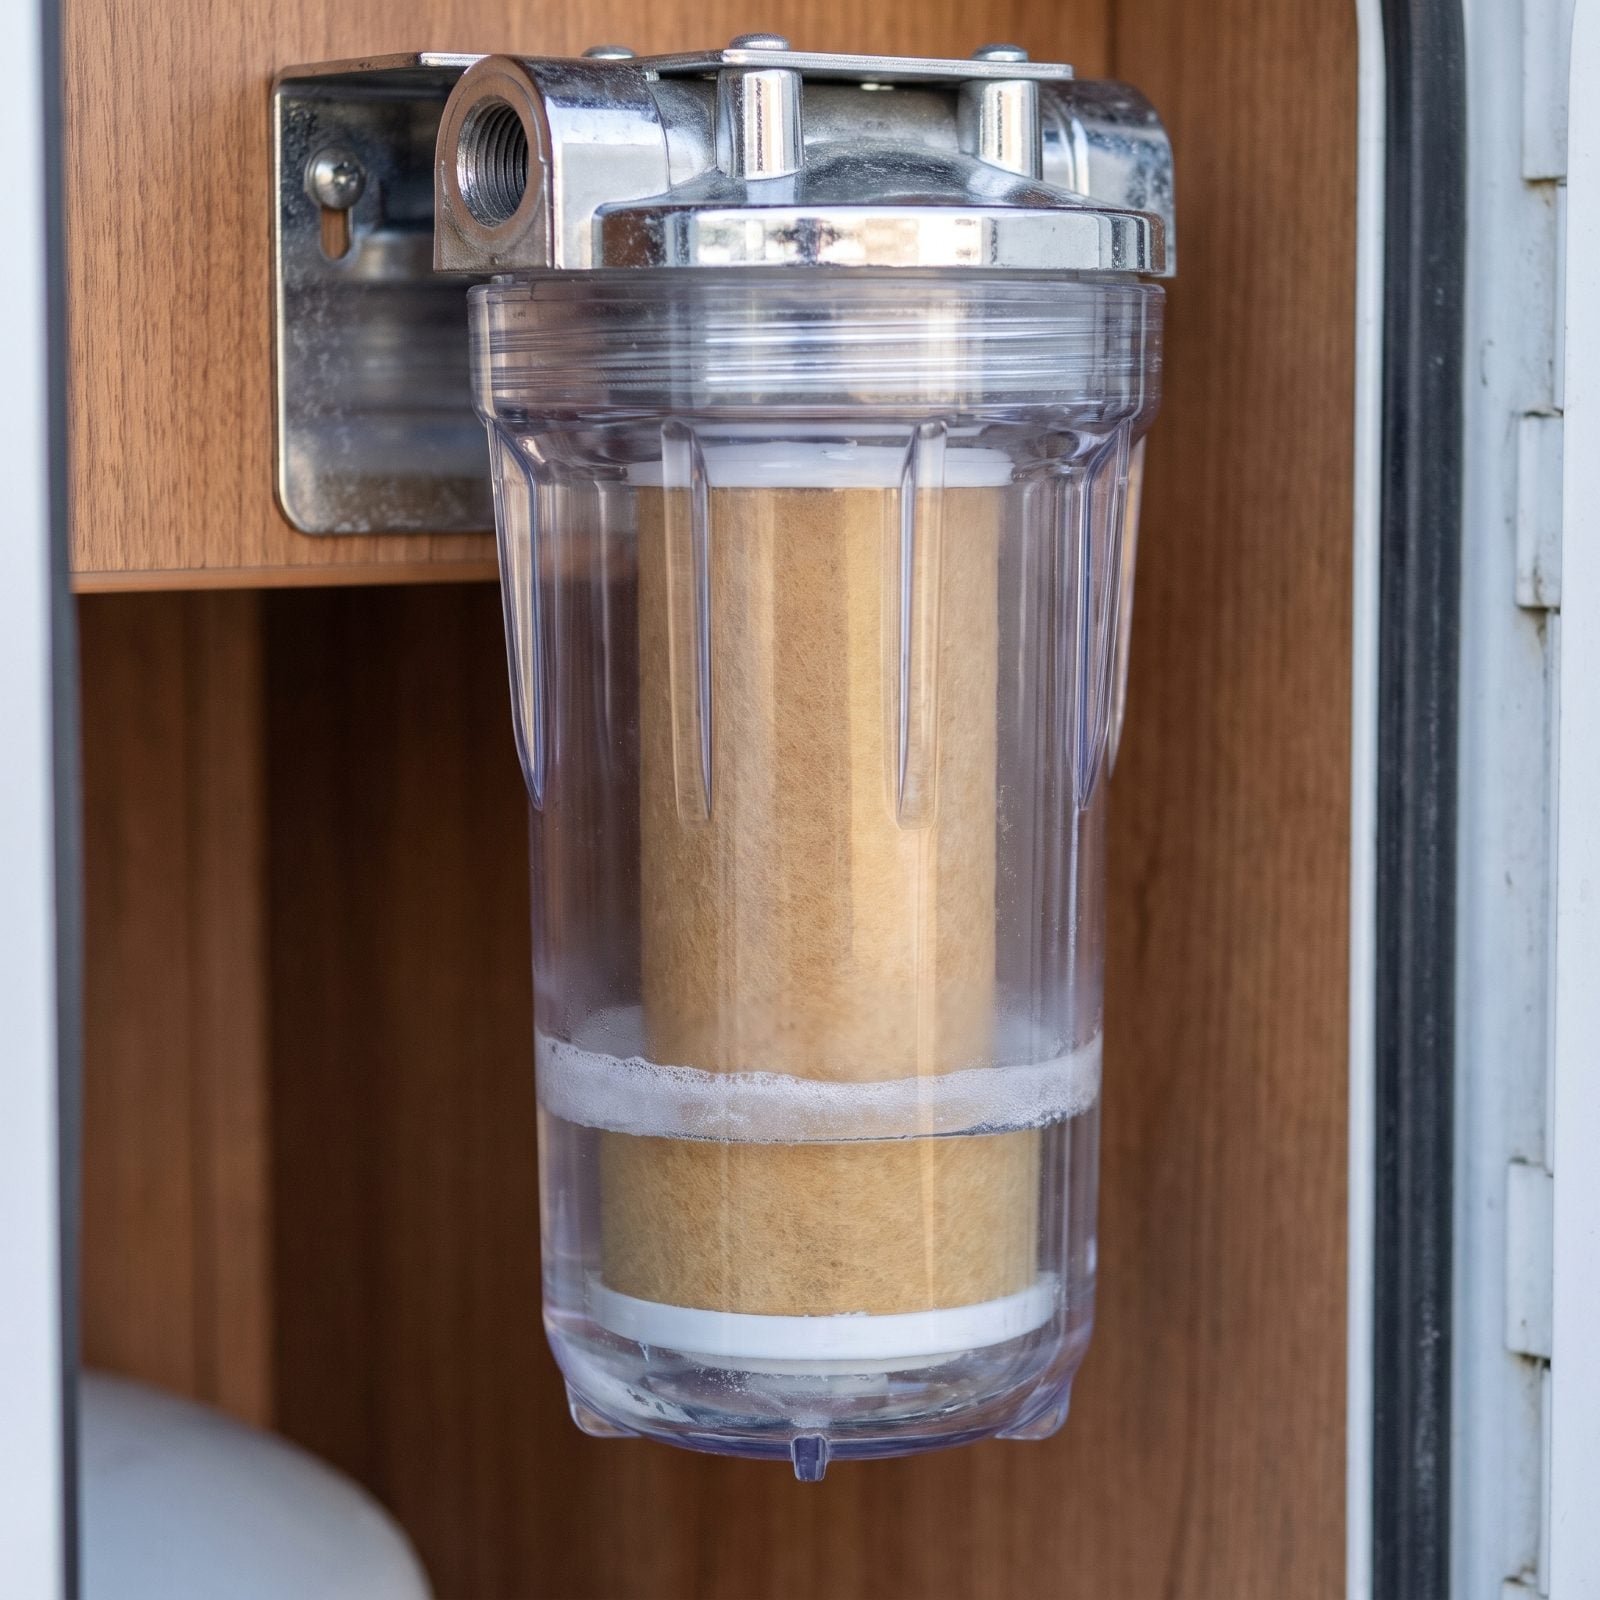
Got an inline filter in a canister? That housing is a water tank the size of a coffee mug, and it freezes like one. People blow out the lines and never unscrew the filter sump.
Trapped water expands, cracks the housing, and the cartridge itself freezes into a soggy brick that’s useless by spring anyway.
Unscrew the canister with the sump wrench, dump the water, pull the old cartridge. You were going to replace it in spring regardless, so toss it now. Leave the empty housing loose or store it inside. Cheap part, easy step — and a cracked canister mid-season means no filtered water until the new one ships.
18. Ignoring the Water-Pump Strainer Bowl
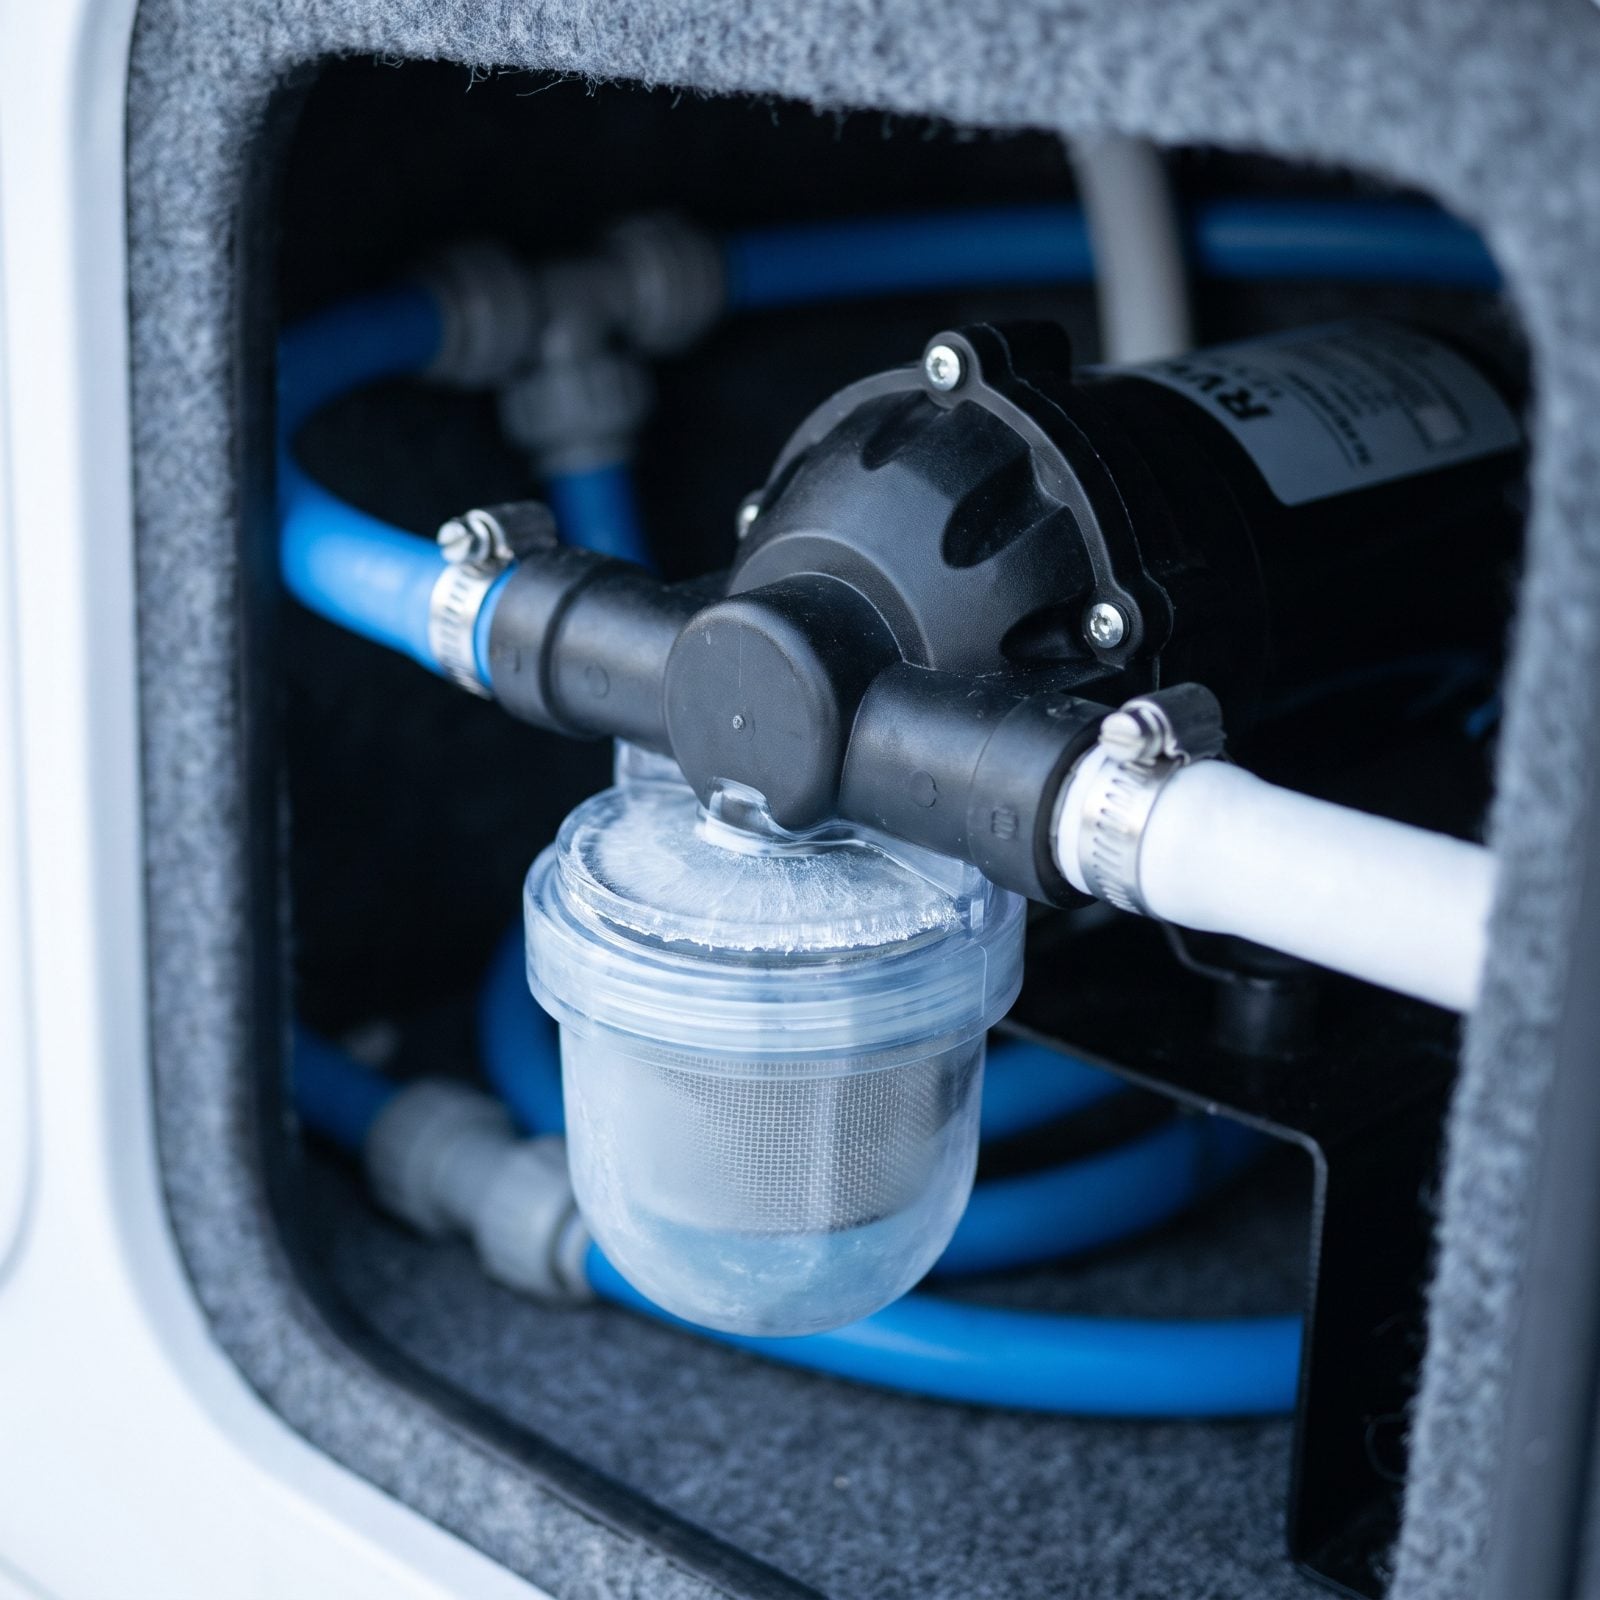
The water pump runs the whole system, and the strainer bowl on its inlet is a small clear cup that holds water even after you think you’ve drained everything. Most owners never touch it.
It freezes, the clear plastic cracks, and come spring your pump sucks air and loses prime because the strainer leaks.
Twist off the clear strainer bowl, dump the water, rinse the mesh screen while you’re in there. Then either run antifreeze through the pump or leave the bowl finger-tight and dry. Run the pump a few seconds with antifreeze so the pink stuff coats the internal diaphragm too.
17. Forgetting the Black-Tank Flush Line and Vacuum Breaker
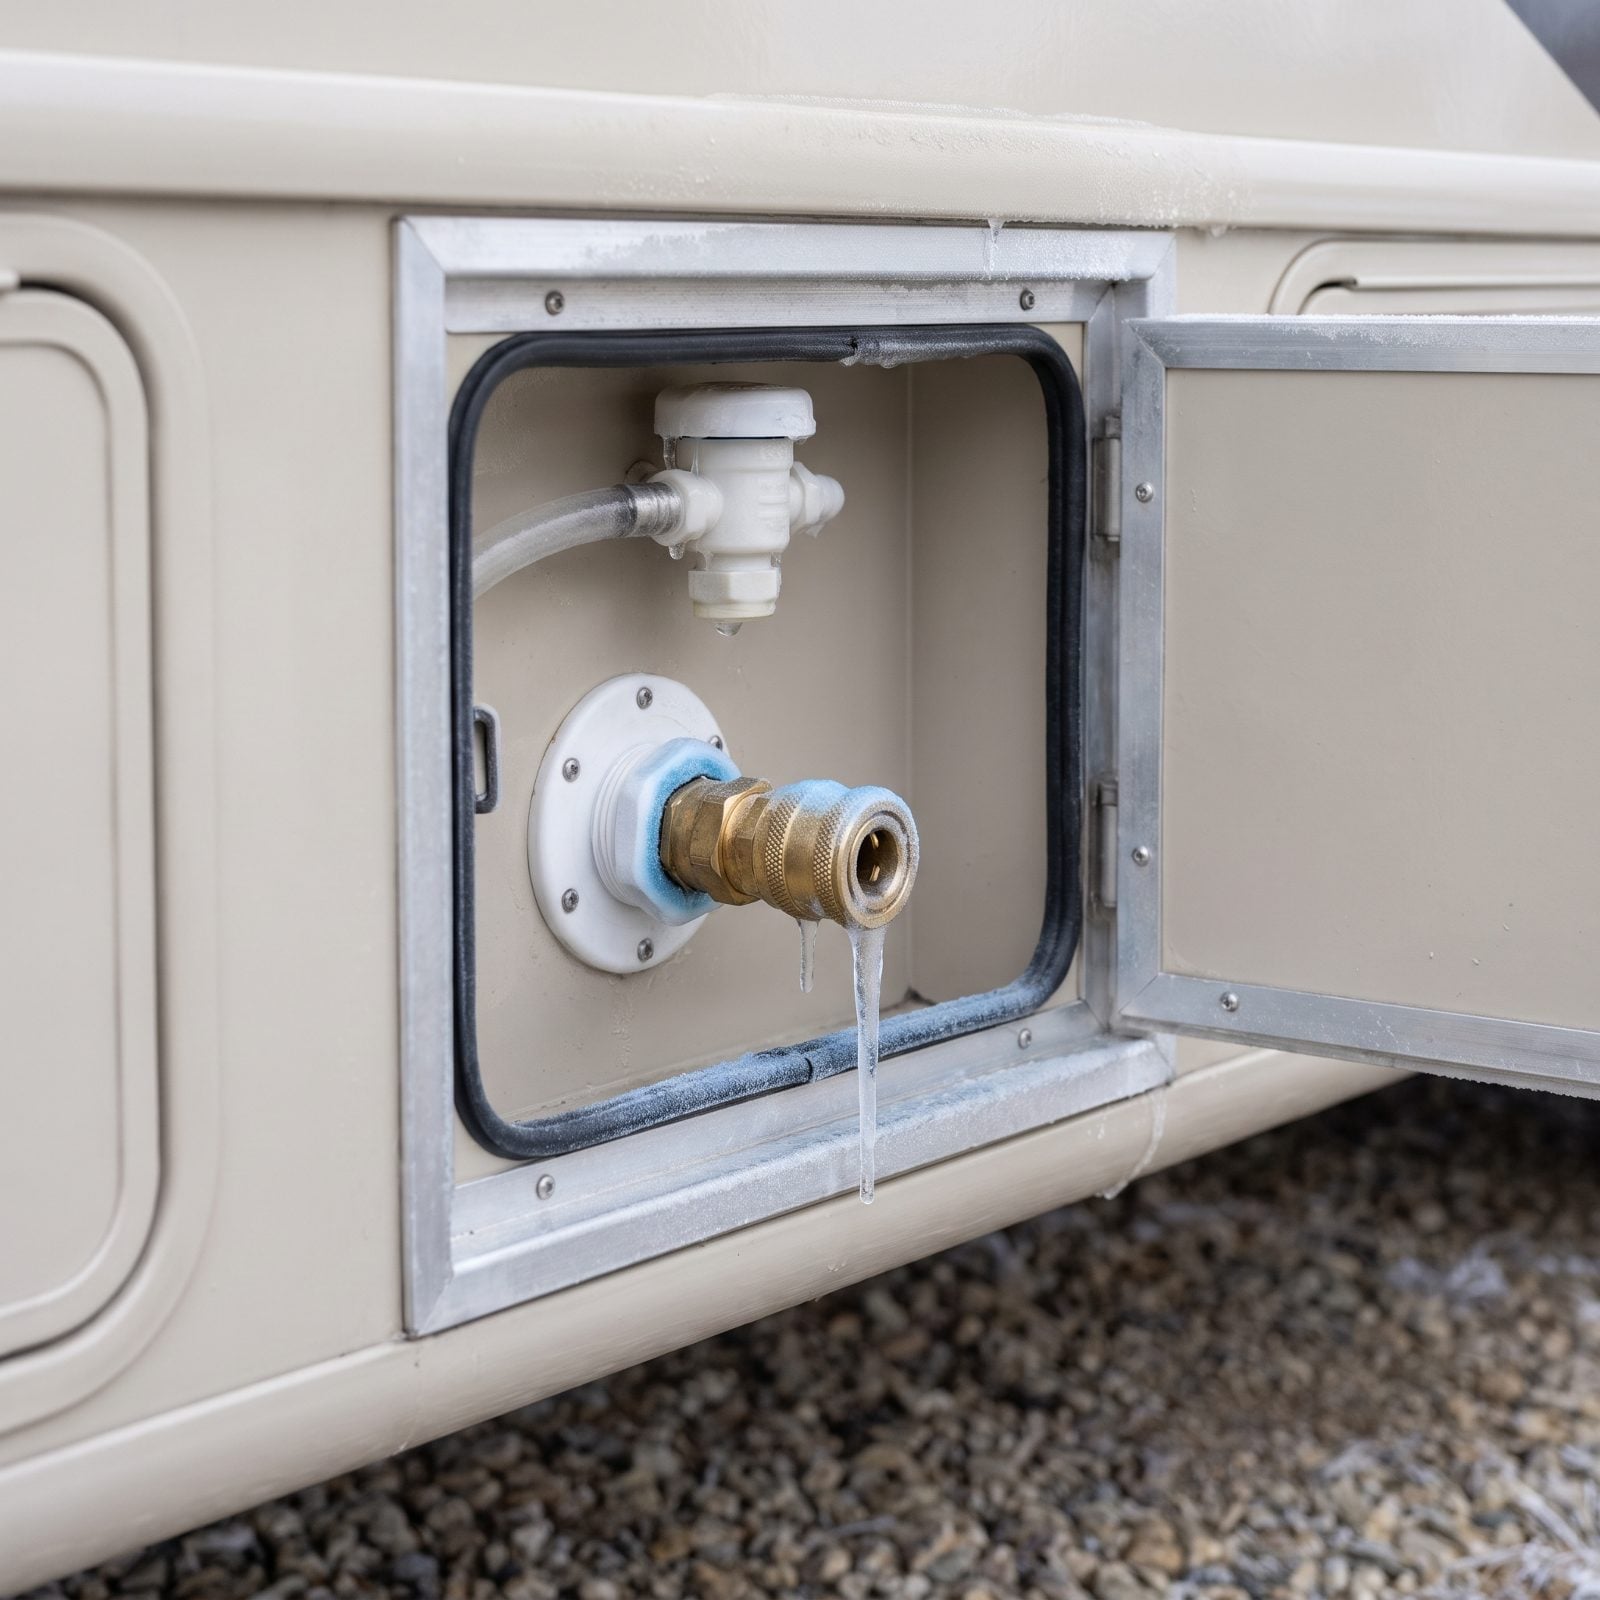
The black-tank flush is the last thing anyone wants to think about, which is exactly why it gets skipped. That line runs from an exterior port to a spray ring inside the tank, and sitting in it is water plus a little plastic part called the vacuum breaker — the anti-siphon valve that keeps tank gunk from backing up into your fresh system.
Both freeze. The vacuum breaker is the usual casualty, and when it fails in spring you get a leak or cross-contamination you really don’t want.
Blow the flush line out with air from the exterior port, or if it’s set up for it, run antifreeze through. The vacuum breaker usually sits up high inside the utility bay, on the plumbing above the flush port. Don’t assume every hose near it feeds that port, though: trace what’s actually attached to the breaker and where it runs. Find it, and make sure air or antifreeze actually reaches that high point, because that’s where water loves to hide.
16. Failing to Empty and Rinse the Holding Tanks
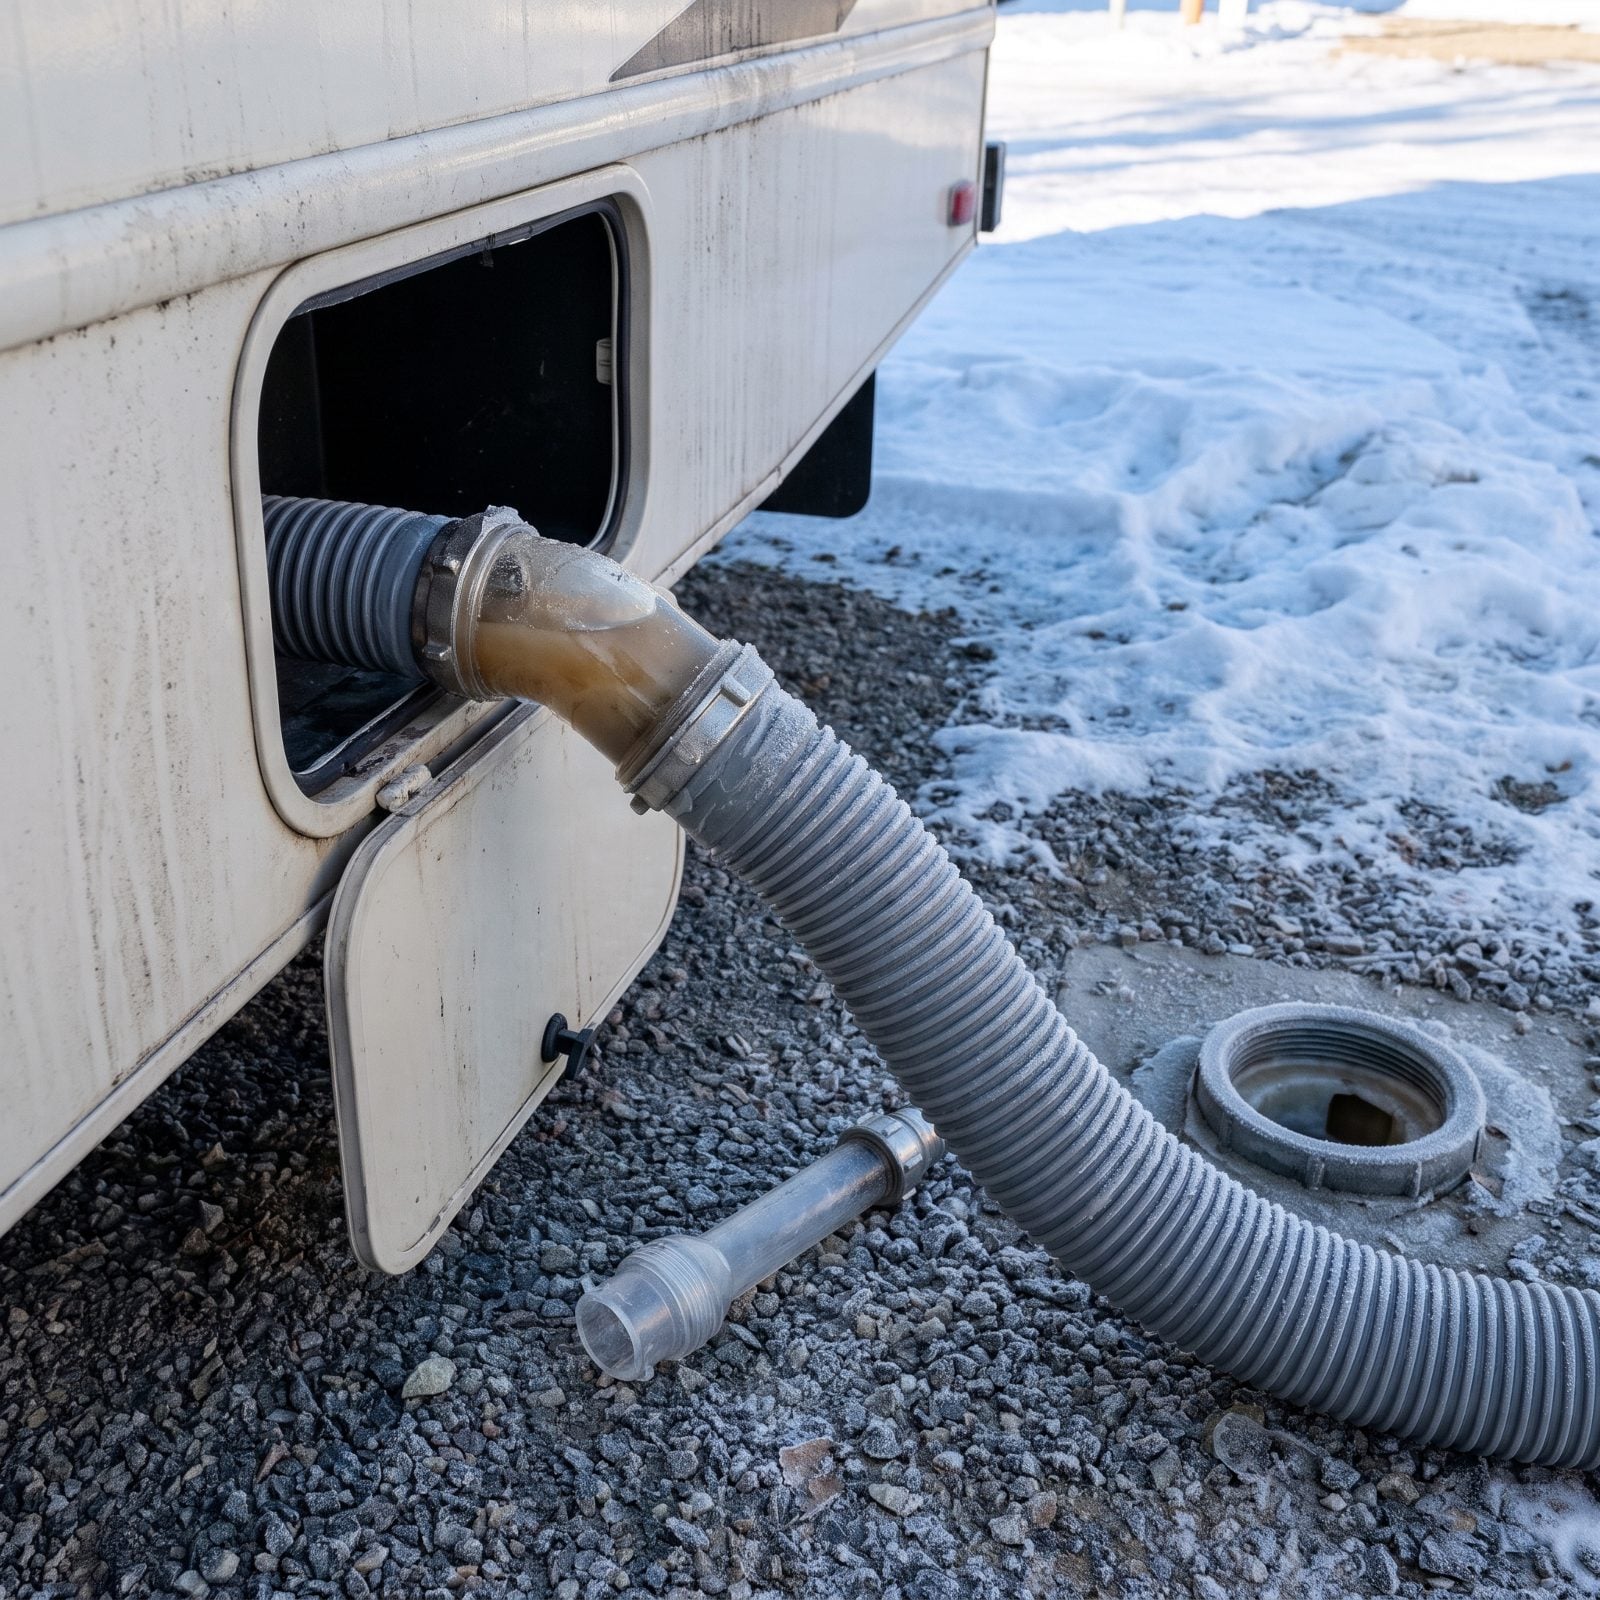
Here’s the one nobody wants to talk about. You park the rig for winter with tanks that still have a few inches of sludge in them, out of sight and out of mind, right up until April.
Residual waste sitting in a black or gray tank through months of freeze and thaw does two ugly things. It hardens into a crust the sensors never read correctly again, and the frozen slurry can crack a seam or split a drain pipe you can’t see from the outside.
Dump both tanks, then flush the black tank with a built-in sprayer or a rinse wand until the water runs clear. Give the gray tank a dose of hot water and a little dish soap, drive around the block, and dump again. Empty is the goal. Bone dry is the gift.
15. Forgetting to Winterize the Macerator Pump
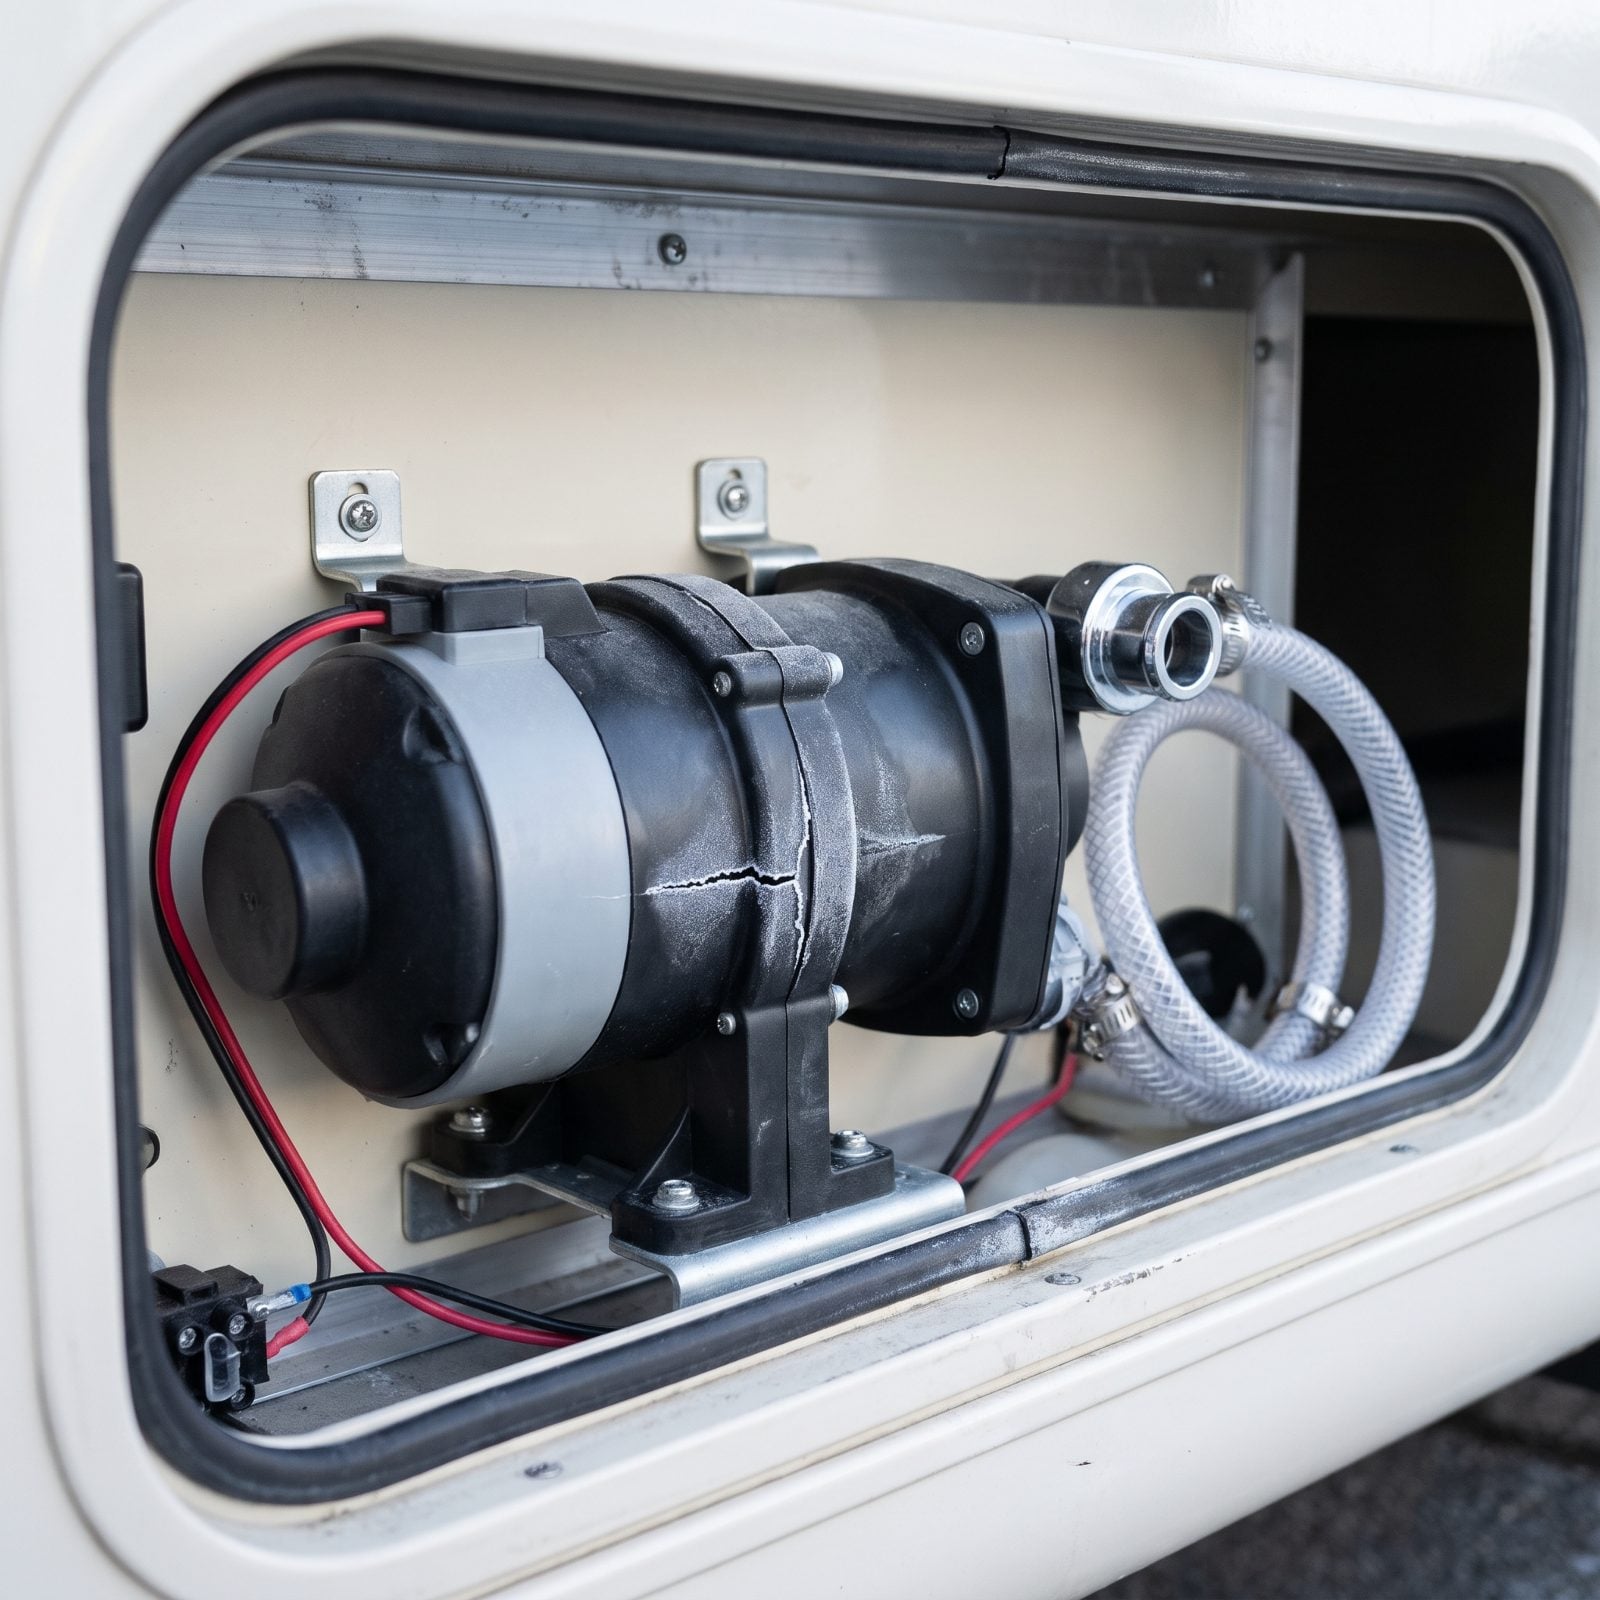
The macerator is the appliance people forget exists until it stops working.
That grinder pump holds water in its impeller chamber long after the tanks read empty. One hard freeze and the trapped water expands against the housing, the plastic cracks on a seam you’ll never find in the dark, and the motor seizes.
Run the pump dry for a few seconds after the final dump to clear the chamber, then pull a little RV antifreeze through it until pink liquid comes out the discharge. That coats the impeller and the seals. Replacing a macerator costs real money, plus the fun of wiring a new one into a freezing bay. Five minutes of antifreeze is the smarter trade.
14. Skipping the Washer’s Winterization Cycle
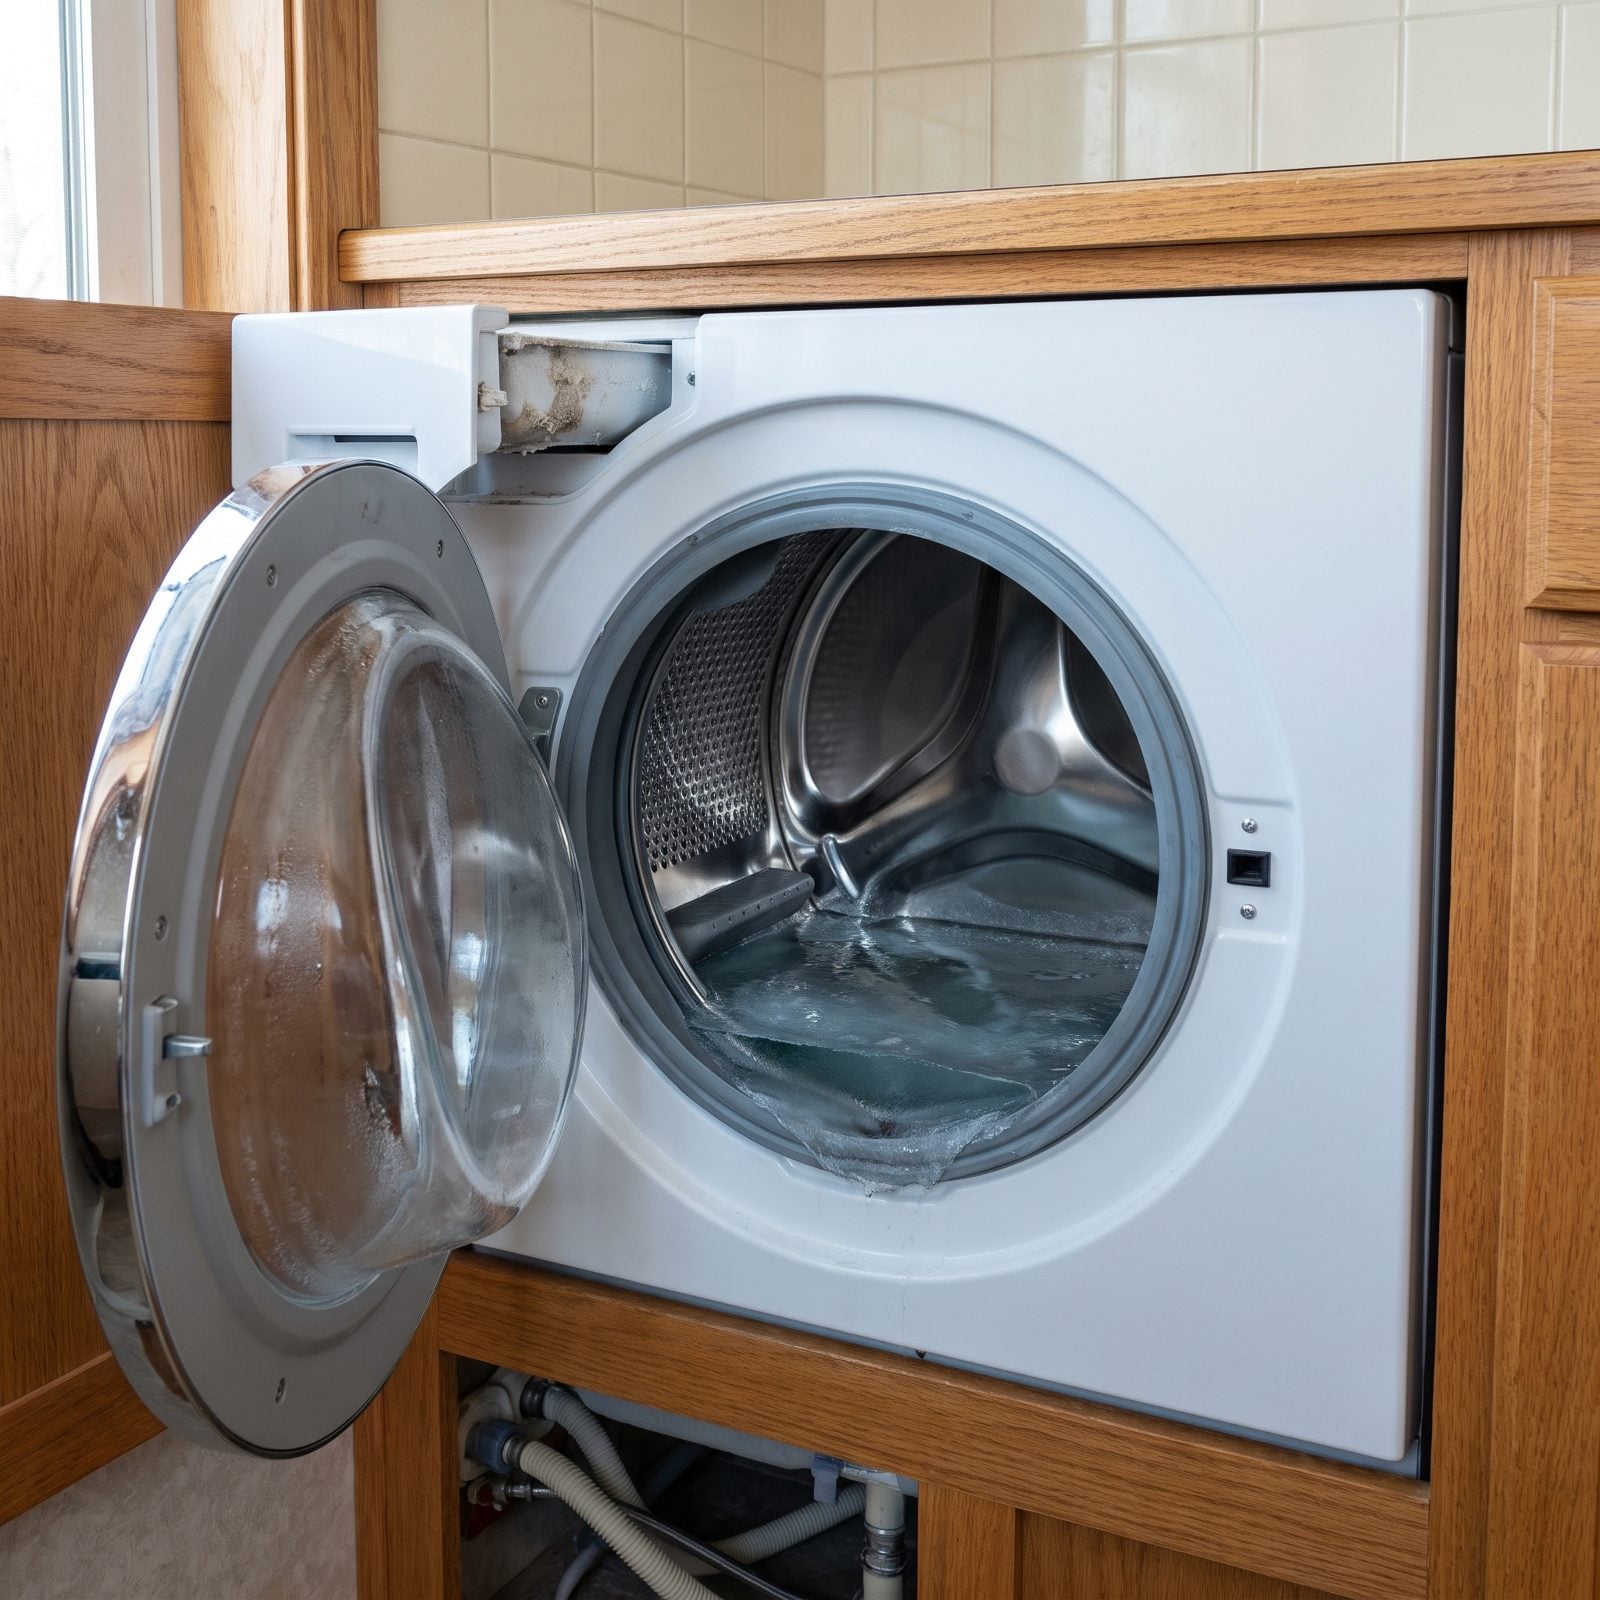
If your rig has a washer, it has a drain pump, an inlet valve, and hoses that all hold water. People winterize the plumbing and walk right past the laundry closet.
Water left in the pump housing and the inlet solenoid freezes, cracks the valve body, and ruins the pump. On a combo washer-dryer that’s a repair bill that makes you wince.
Run the manufacturer’s winterize or drain cycle if your model has one. No cycle? Disconnect the inlet hoses, drain the lines, pour a cup of RV antifreeze into the drum, then run a quick spin so the pump pulls pink through its guts. Leave the door and the detergent drawer cracked open so the gasket dries instead of growing something.
13. Leaving Water in the Dishwasher Pump and Sump
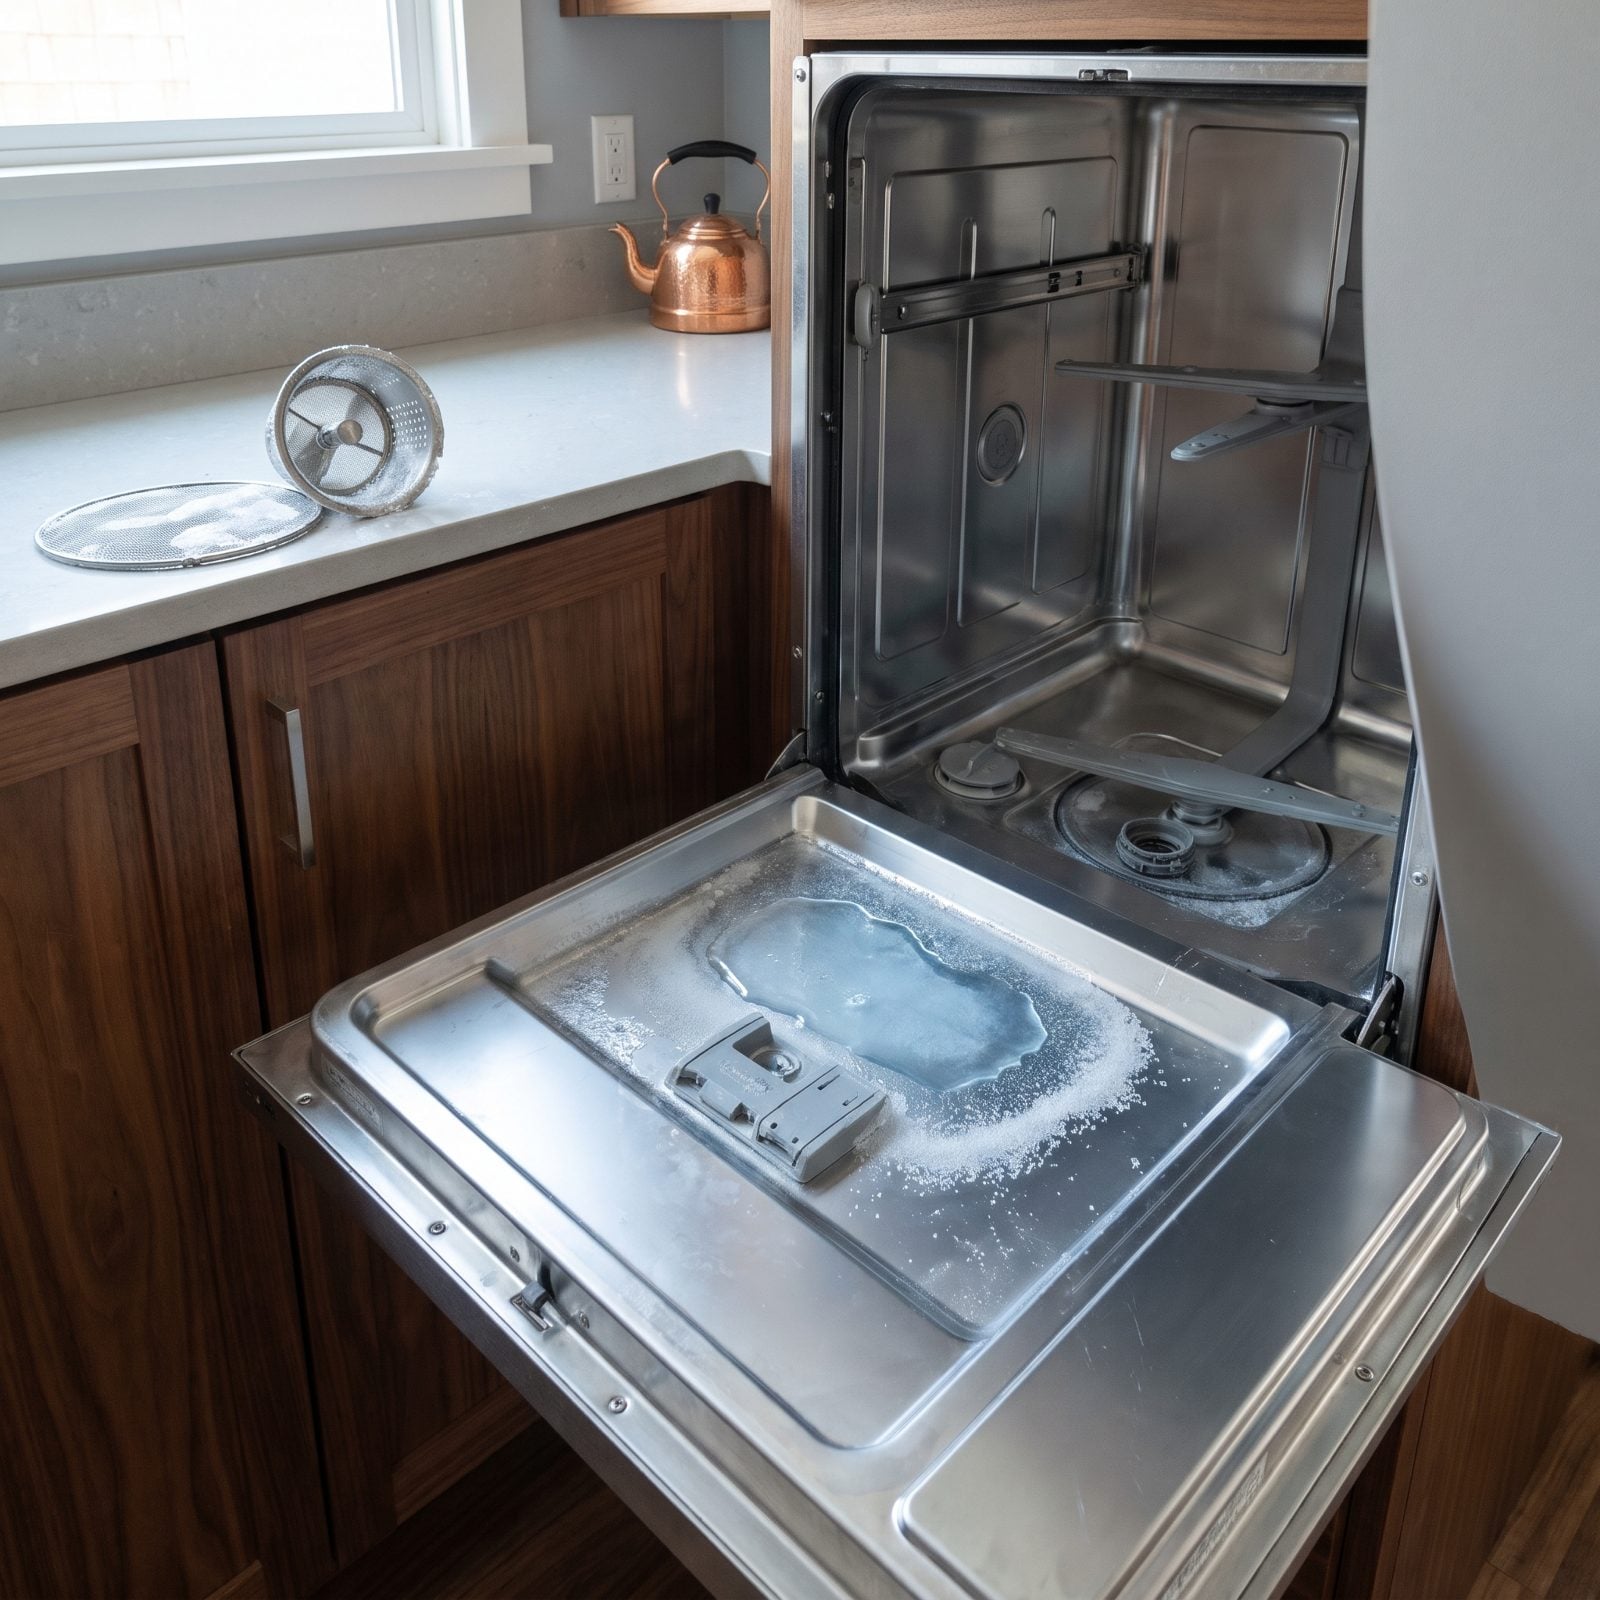
Dishwashers hide water in the one place gravity can’t reach it: the sump.
Even after a drain cycle, the pump housing and the low point of the tub keep a half cup of water. In a cold-soaked RV that half cup becomes an ice plug that cracks the pump volute or the recirc hose.
Run the dishwasher empty on a rinse, then sponge or wet-vac the sump dry and lift out the filter. Pour a half cup of RV antifreeze into the sump and run a brief cycle so it circulates through the pump, then leave the door ajar. Honestly, we’d just do this the same afternoon we do the washer, since you’re already standing there with the antifreeze jug.
12. Treating a Tankless Water Heater Like a Storage-Tank Model
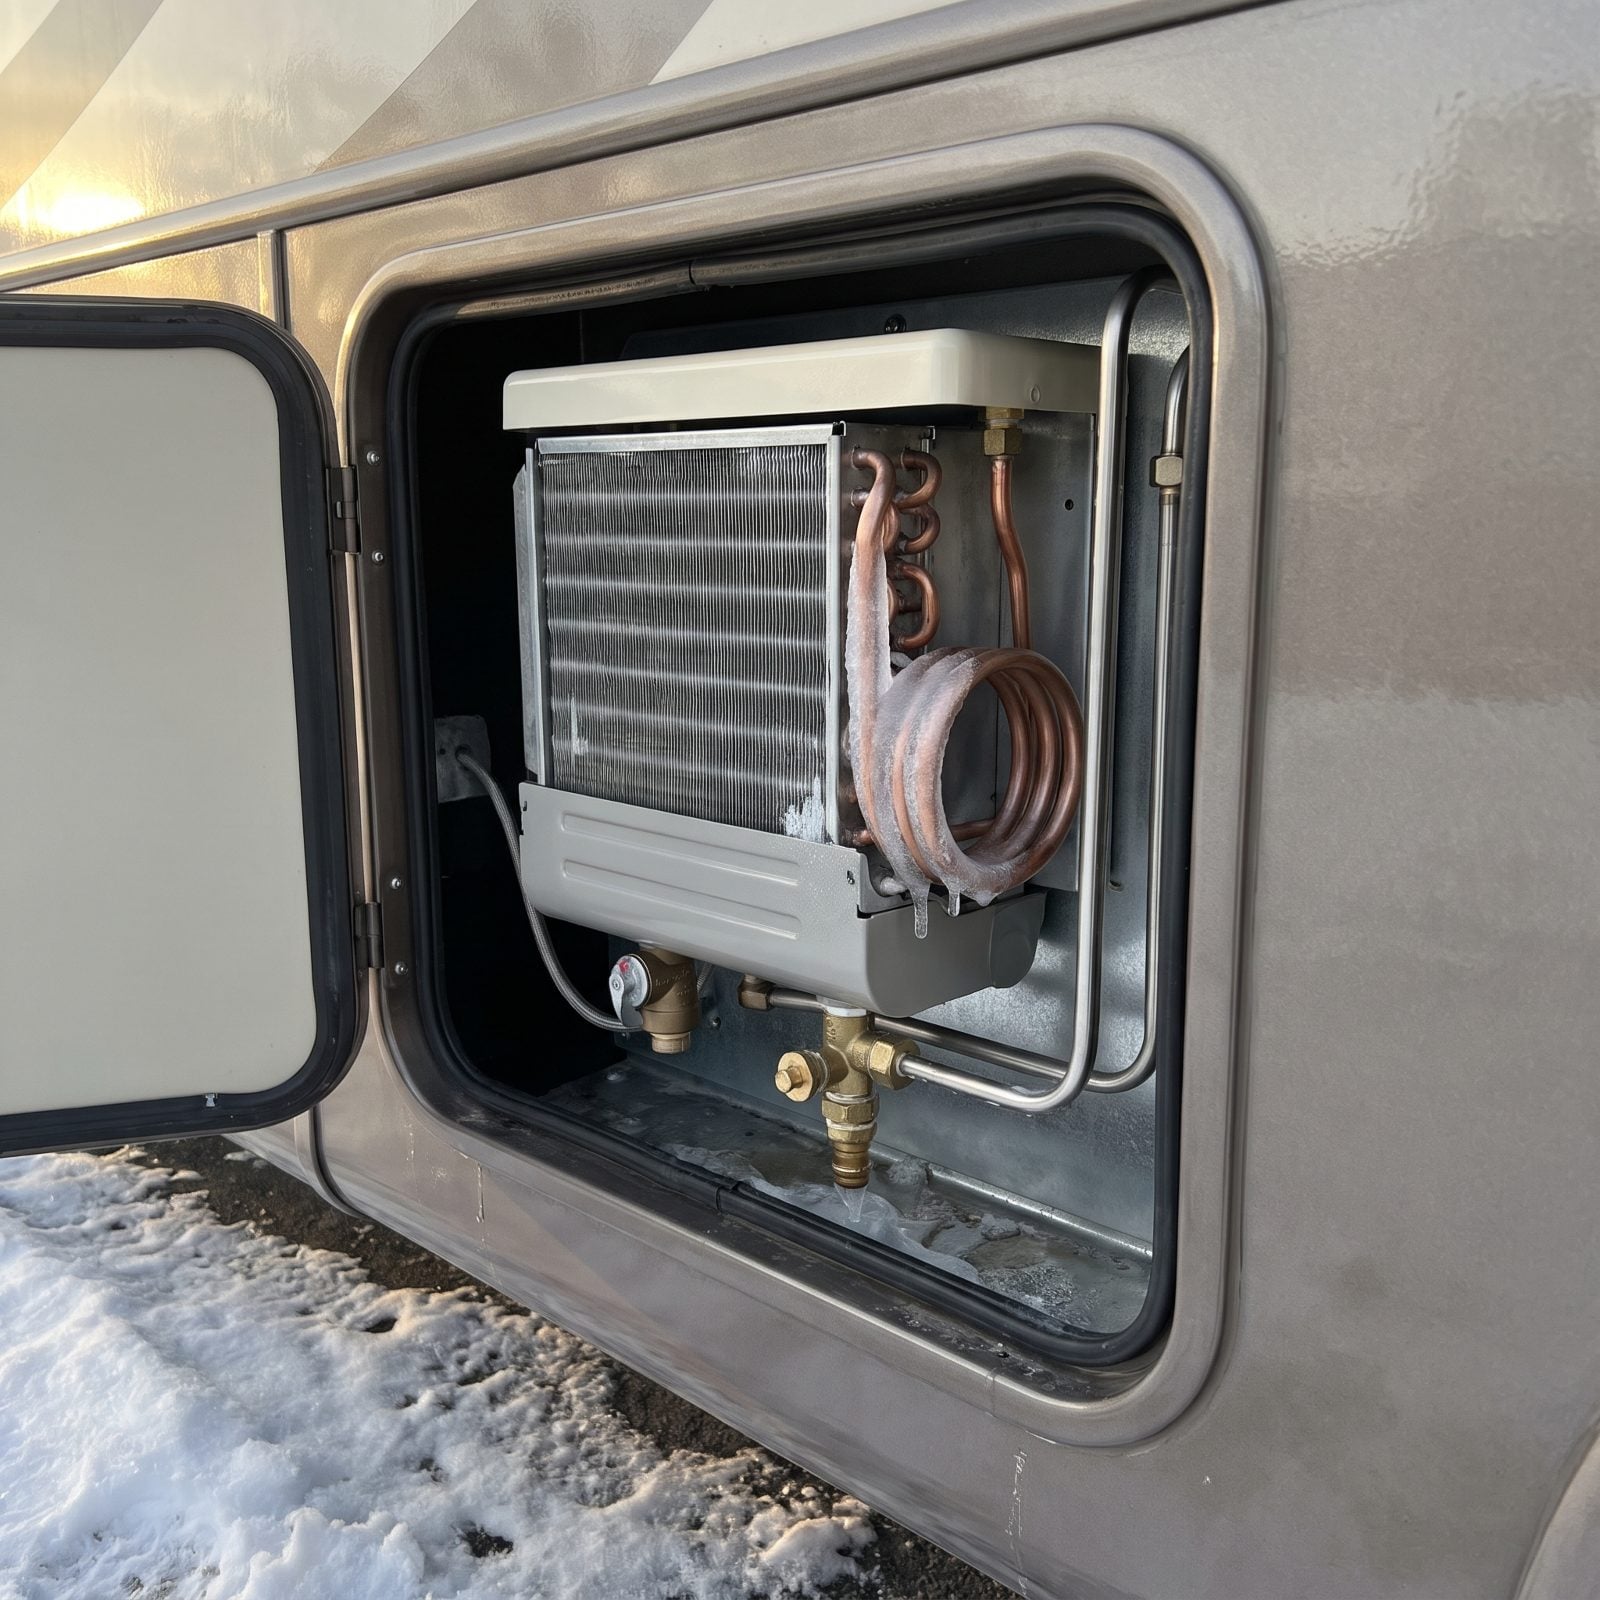
We got this one wrong early on, so we’ll save you the trouble. A tankless water heater is not a six-gallon tank you simply drain and forget. It has a heat-exchanger coil riddled with tiny passages that hold water and freeze in a hurry.
Pulling the anode-rod-style drain plug does nothing here, because there’s no tank to drain. Follow the maker’s procedure: open the low-point drains, then pump RV antifreeze through the unit until pink runs out both the hot inlet and outlet. Some units have a dedicated winterization bypass. Use it. A cracked heat exchanger on a tankless unit is a repair that competes with the cost of the whole appliance.
11. Blowing Out an Aqua-Hot System Without Protecting Its Freshwater Coil
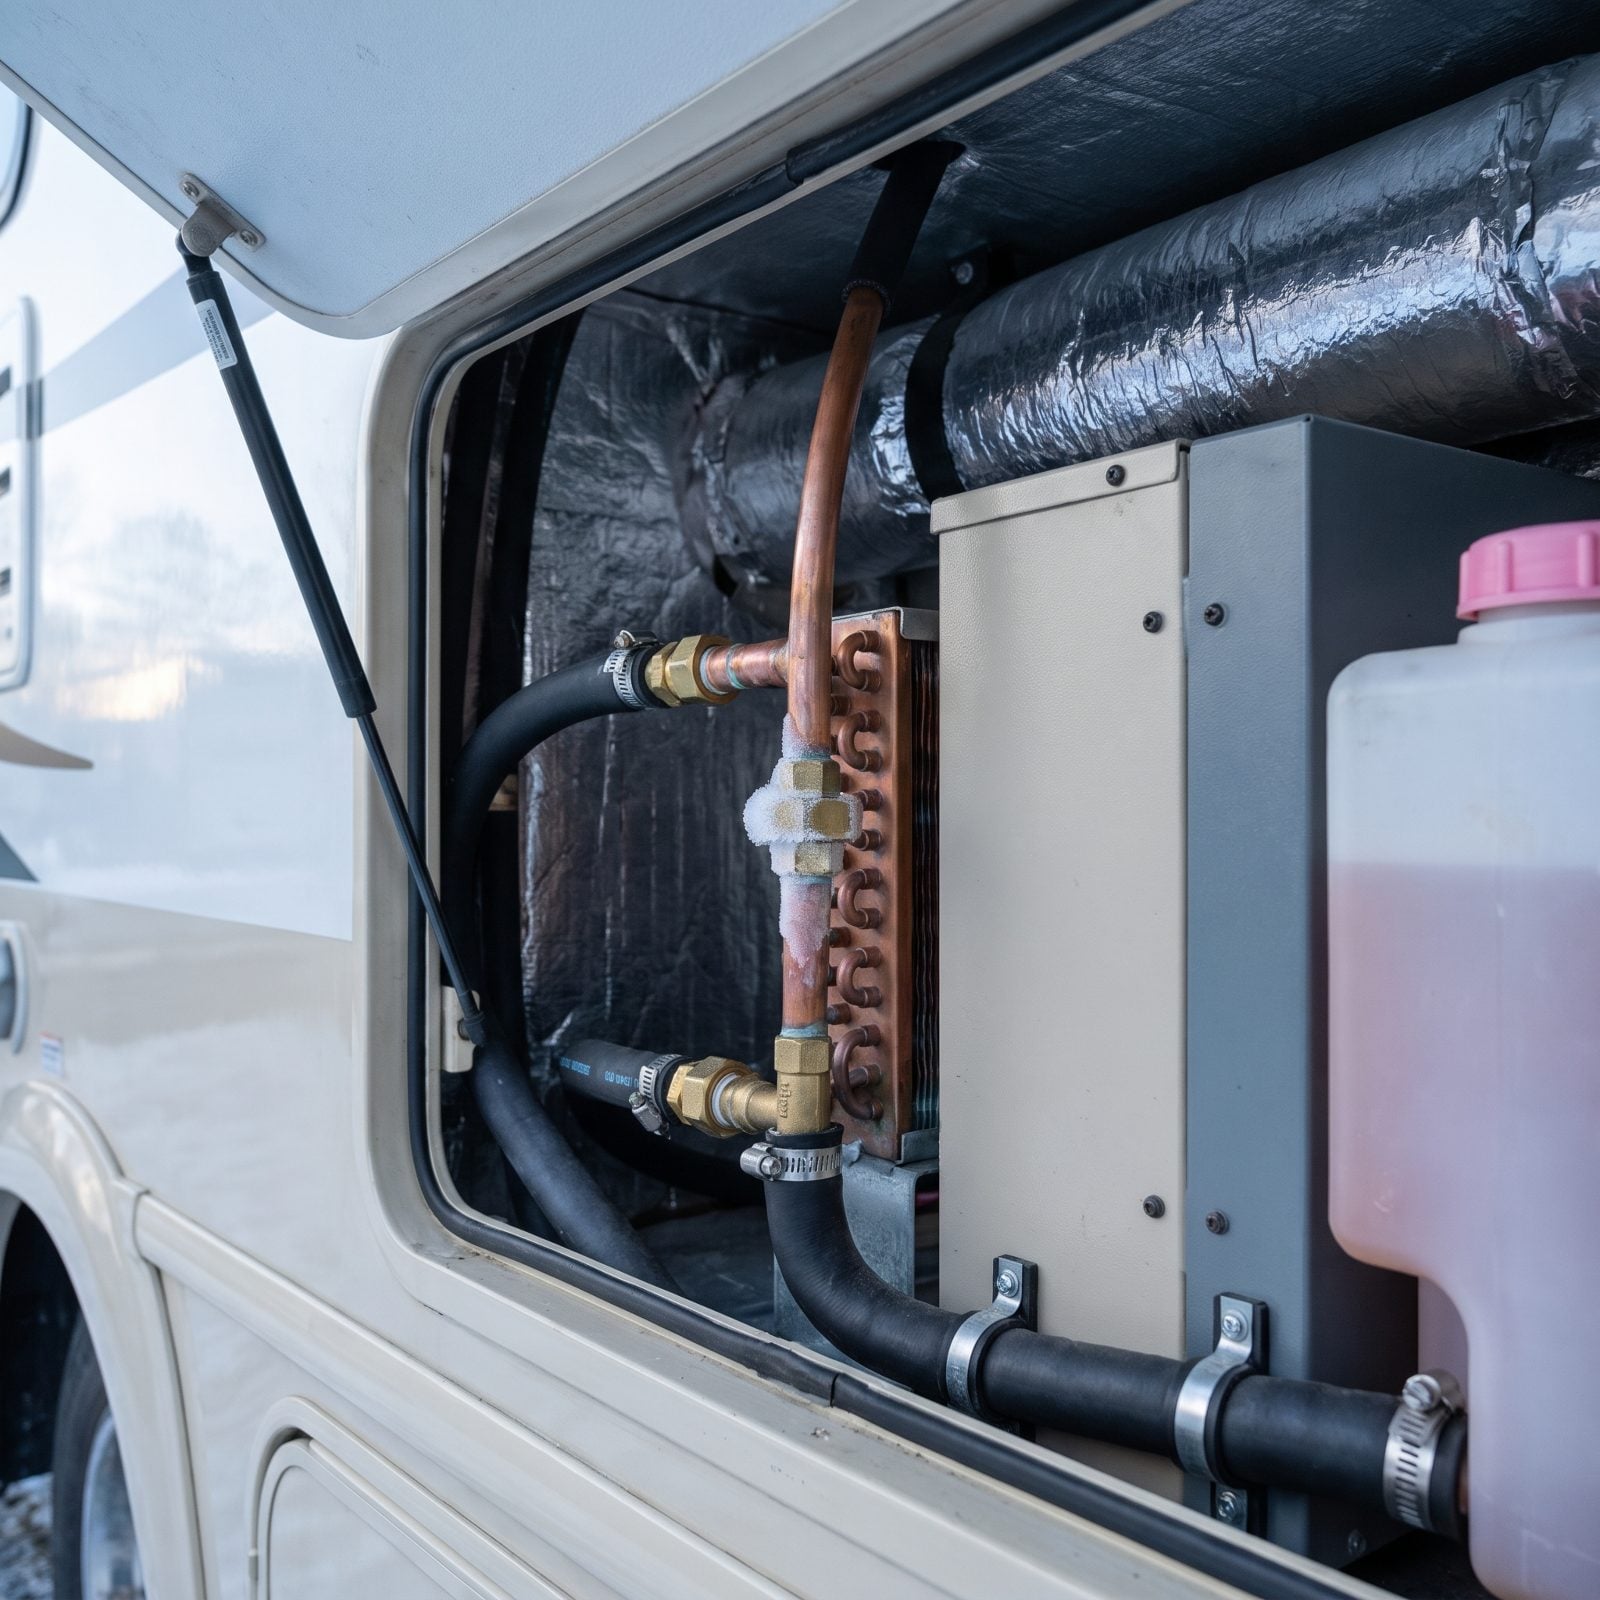
An Aqua-Hot fools people because its boiler loop is already full of antifreeze.
The hydronic side stays protected year-round. The trap is the freshwater domestic coil that sits inside the unit to heat your shower water. That coil carries plain water, and a simple air blow-out rarely clears every pocket in its loops.
Isolate the domestic side and pump RV antifreeze through the freshwater coil until pink comes out the hot tap. Don’t just trust compressed air. The coil’s tight bends love to trap an ounce of water that an air blast skips right over. Crack that internal coil and you’re pulling the whole unit, and anyone who has priced that job will tell you to spend the extra ten minutes with the pink jug.
10. Leaving Damp Fabric or a Wet Awning Rolled Up
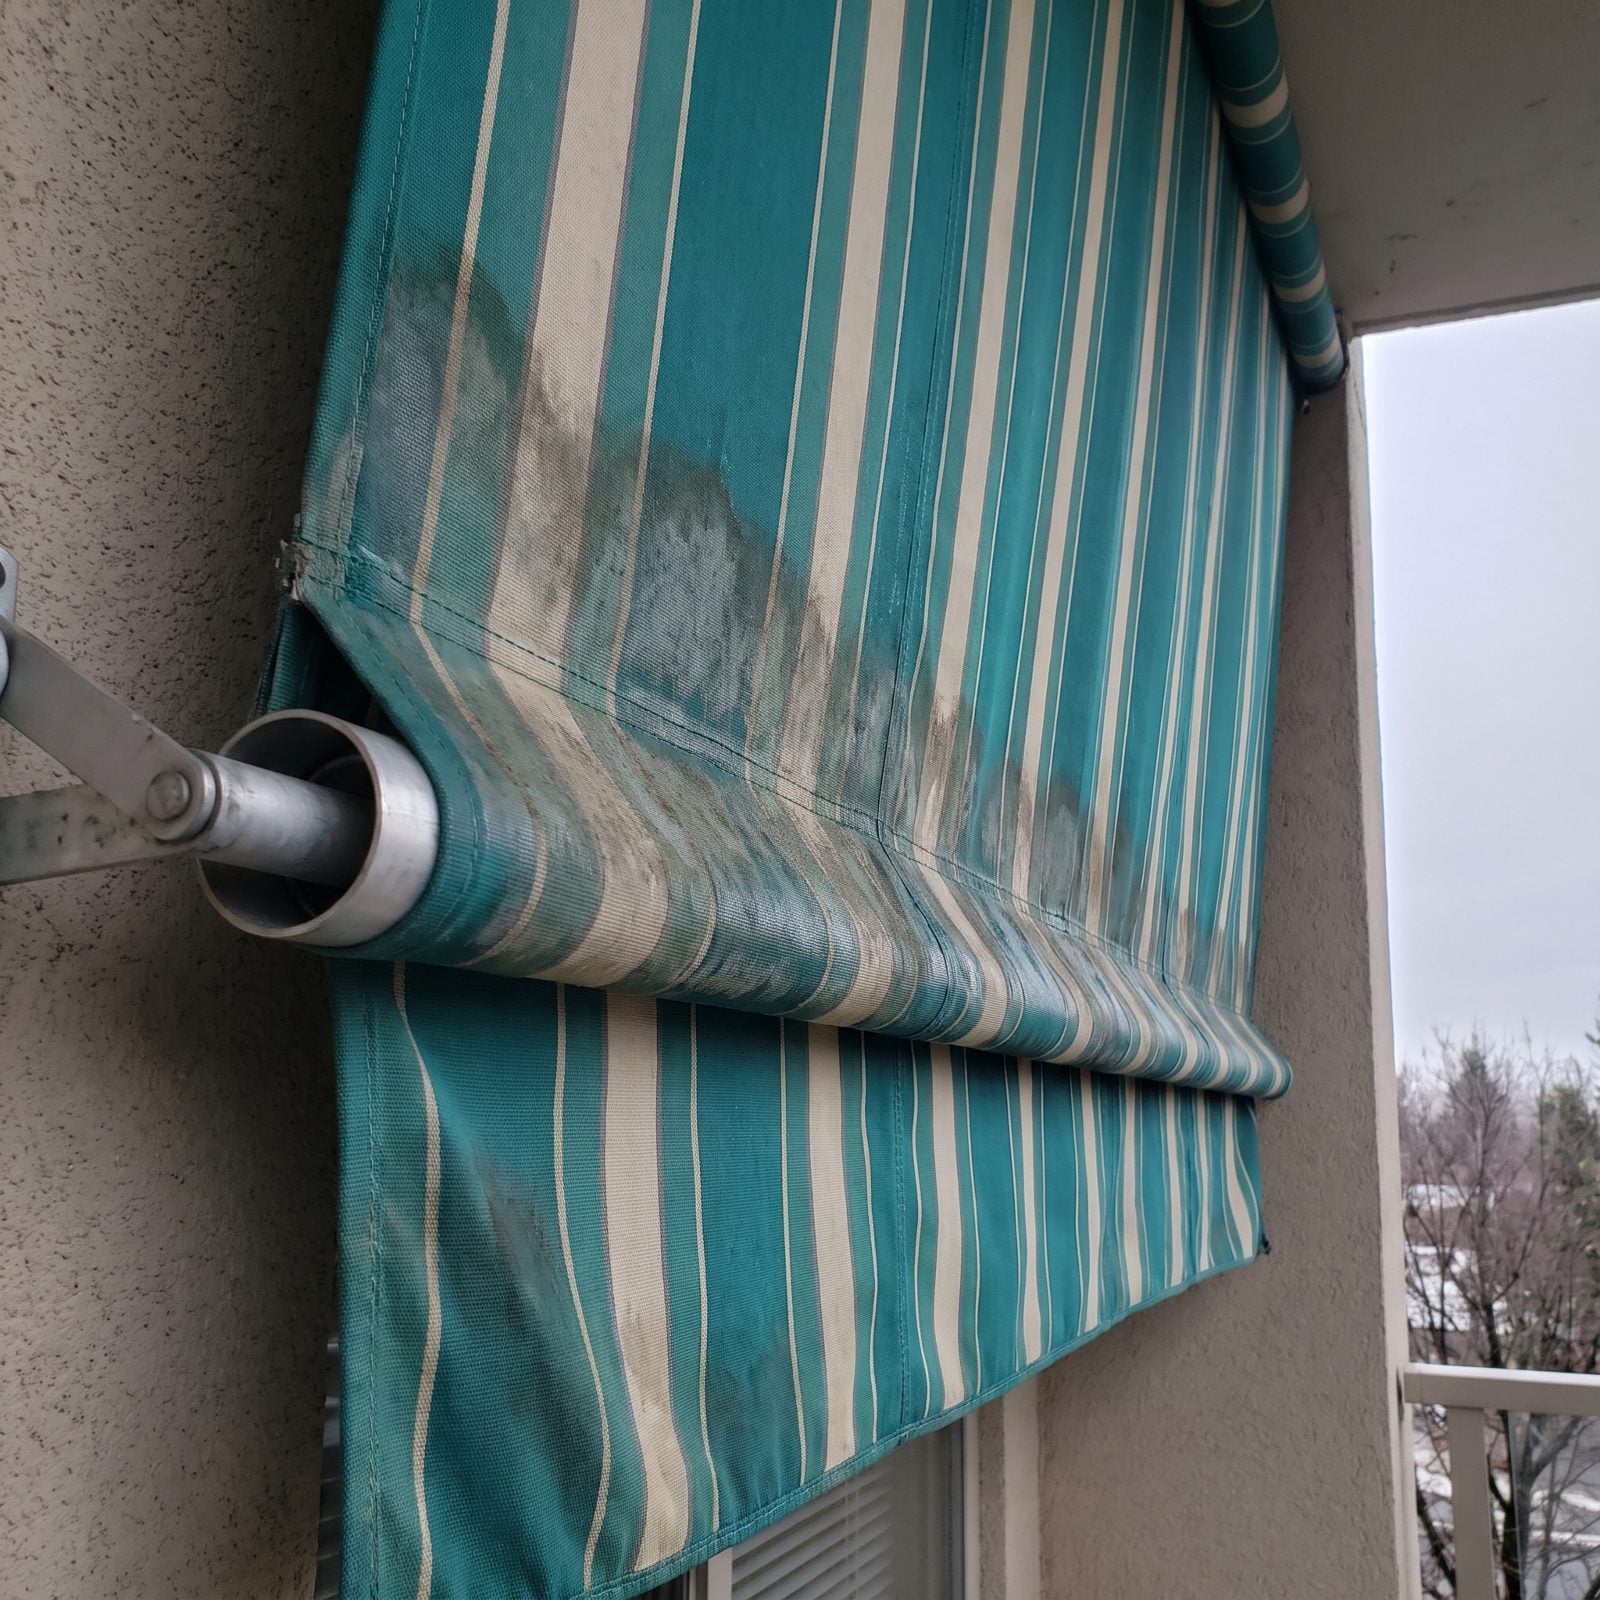
Rain falls, you’re in a hurry, the awning rolls up wet. Same story with the cushion stacks, the bedding left in the dinette, the camp chairs you shoved in the bay still damp from the dew.
Fabric sealed up wet and left in the dark for four months grows mildew that stains permanently and eats at the threads. You unroll the awning in April to gray-green blotches and a smell that won’t quit.
Let the awning dry fully before the final roll, even if that means extending it on the next dry afternoon. Pull cushions and bedding indoors or into sealed bins with a desiccant pack. Store textiles dry, every time. Mildew doesn’t negotiate.
9. Covering the RV With a Nonbreathable Plastic Tarp
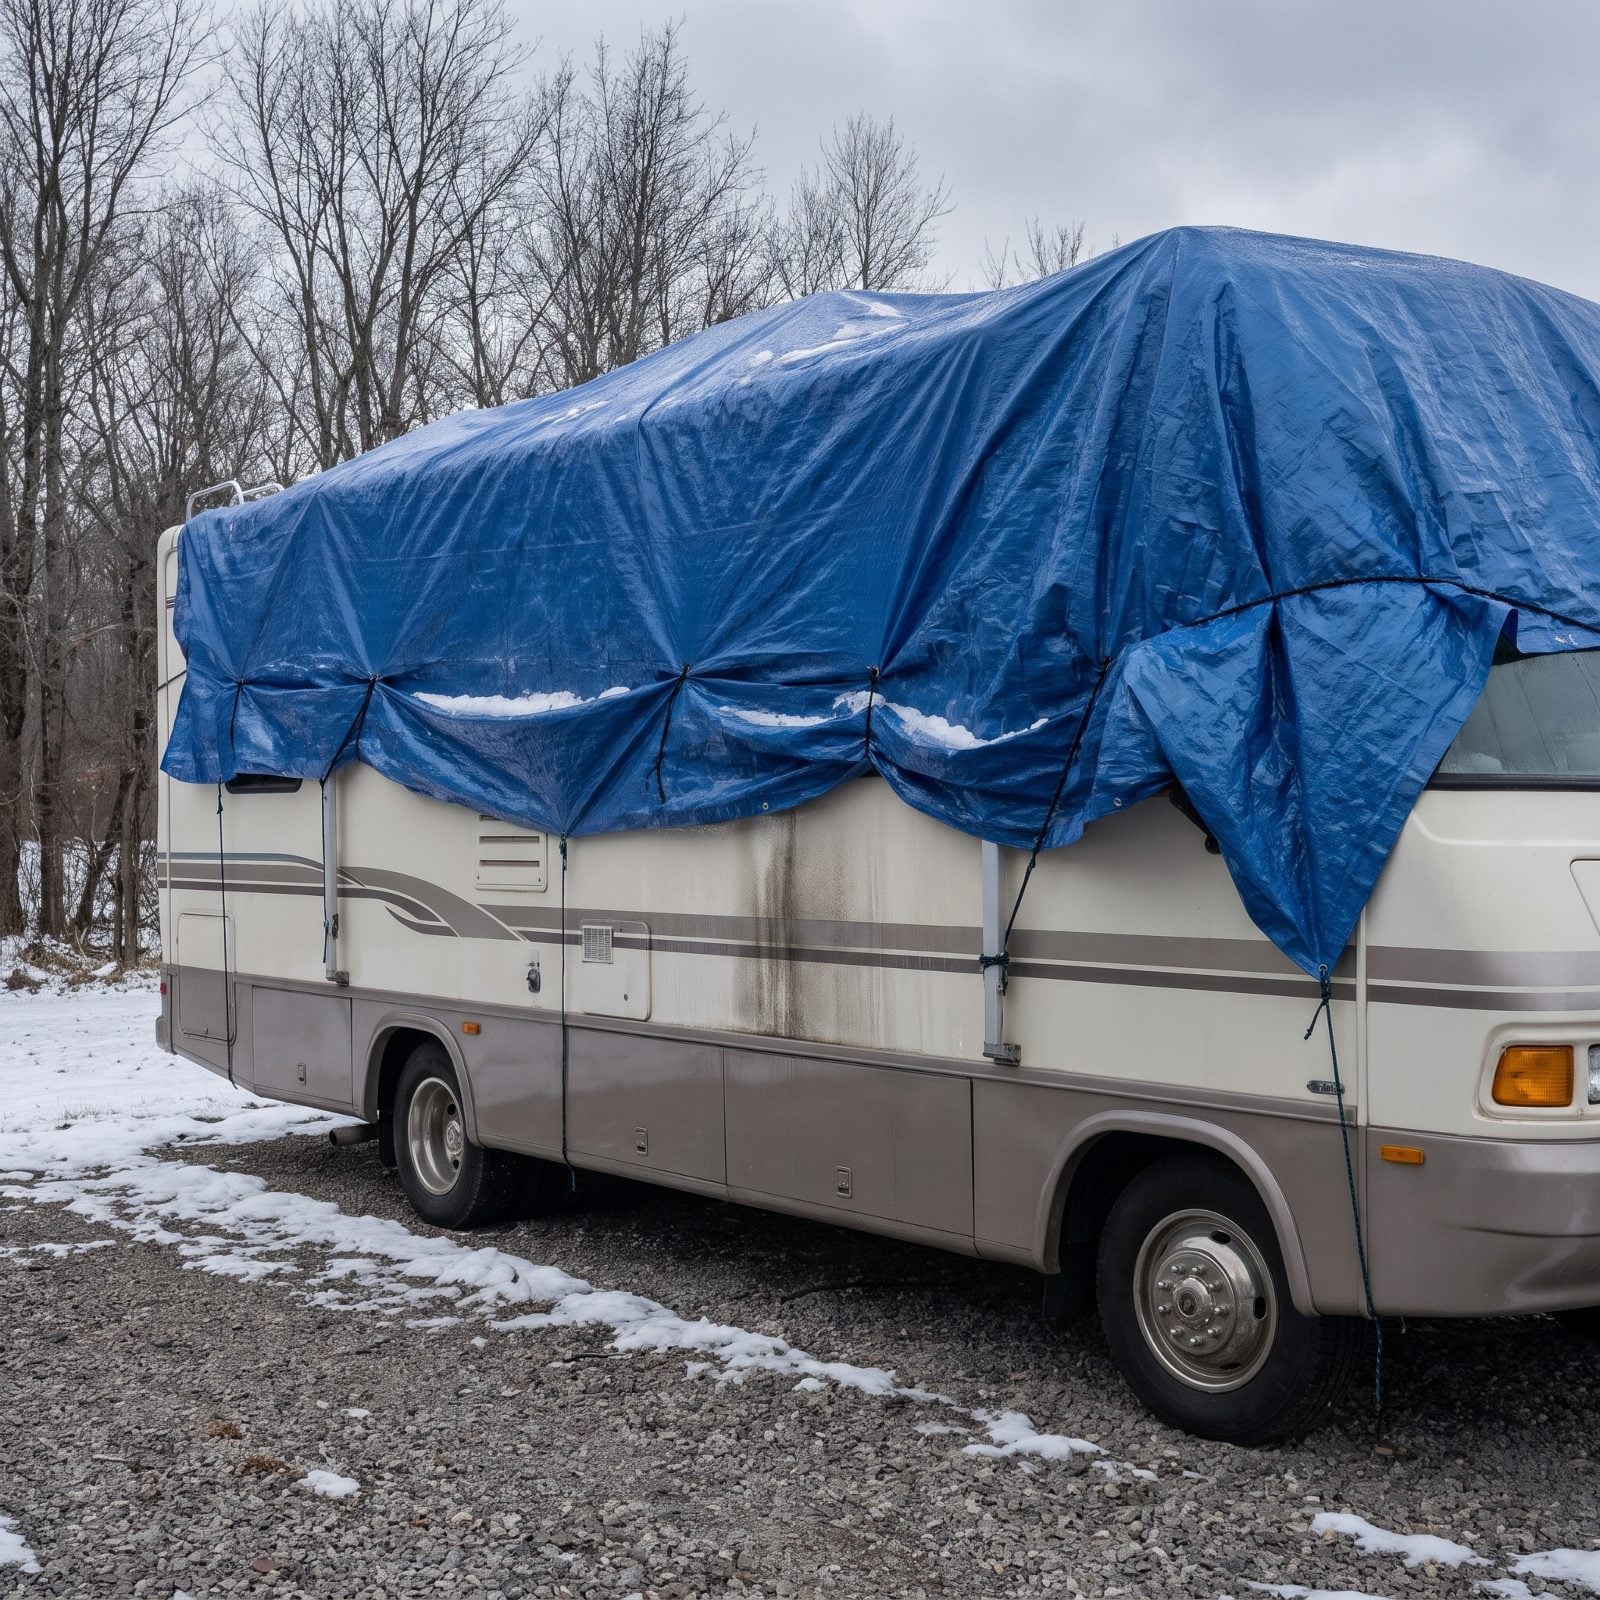
A cheap blue poly tarp feels like the frugal, sensible move. It’s the one that quietly does the most damage.
Plastic traps every bit of moisture the RV exhales under it. Condensation forms against the fiberglass, can’t escape, and you get mildew streaks, delamination, and sealant that softens where water sits against it all winter. The tarp also chafes the gelcoat as the wind flaps it against the body for months on end.
Use a breathable, RV-specific cover made of woven polypropylene sized for your length. It sheds rain and snow while letting water vapor pass through. And if you absolutely must use a tarp in a pinch, build an air gap with a frame so the plastic never touches the paint, then leave the ends open to vent.
We’ll die on this hill: the twenty-dollar tarp is the most expensive thing you can put on a parked RV.
Recommending against hardware-store blue tarps, an RV technician who has seen plenty of winter storage mishaps notes that “draping non-breathable plastic over your roof and down the sidewalls seals in air. This traps condensation and creates a perfect breeding ground for mold, mildew, and costly dry rot.”
8. Ignoring Roof-Seal Cracks Before Snow and Rain Arrive
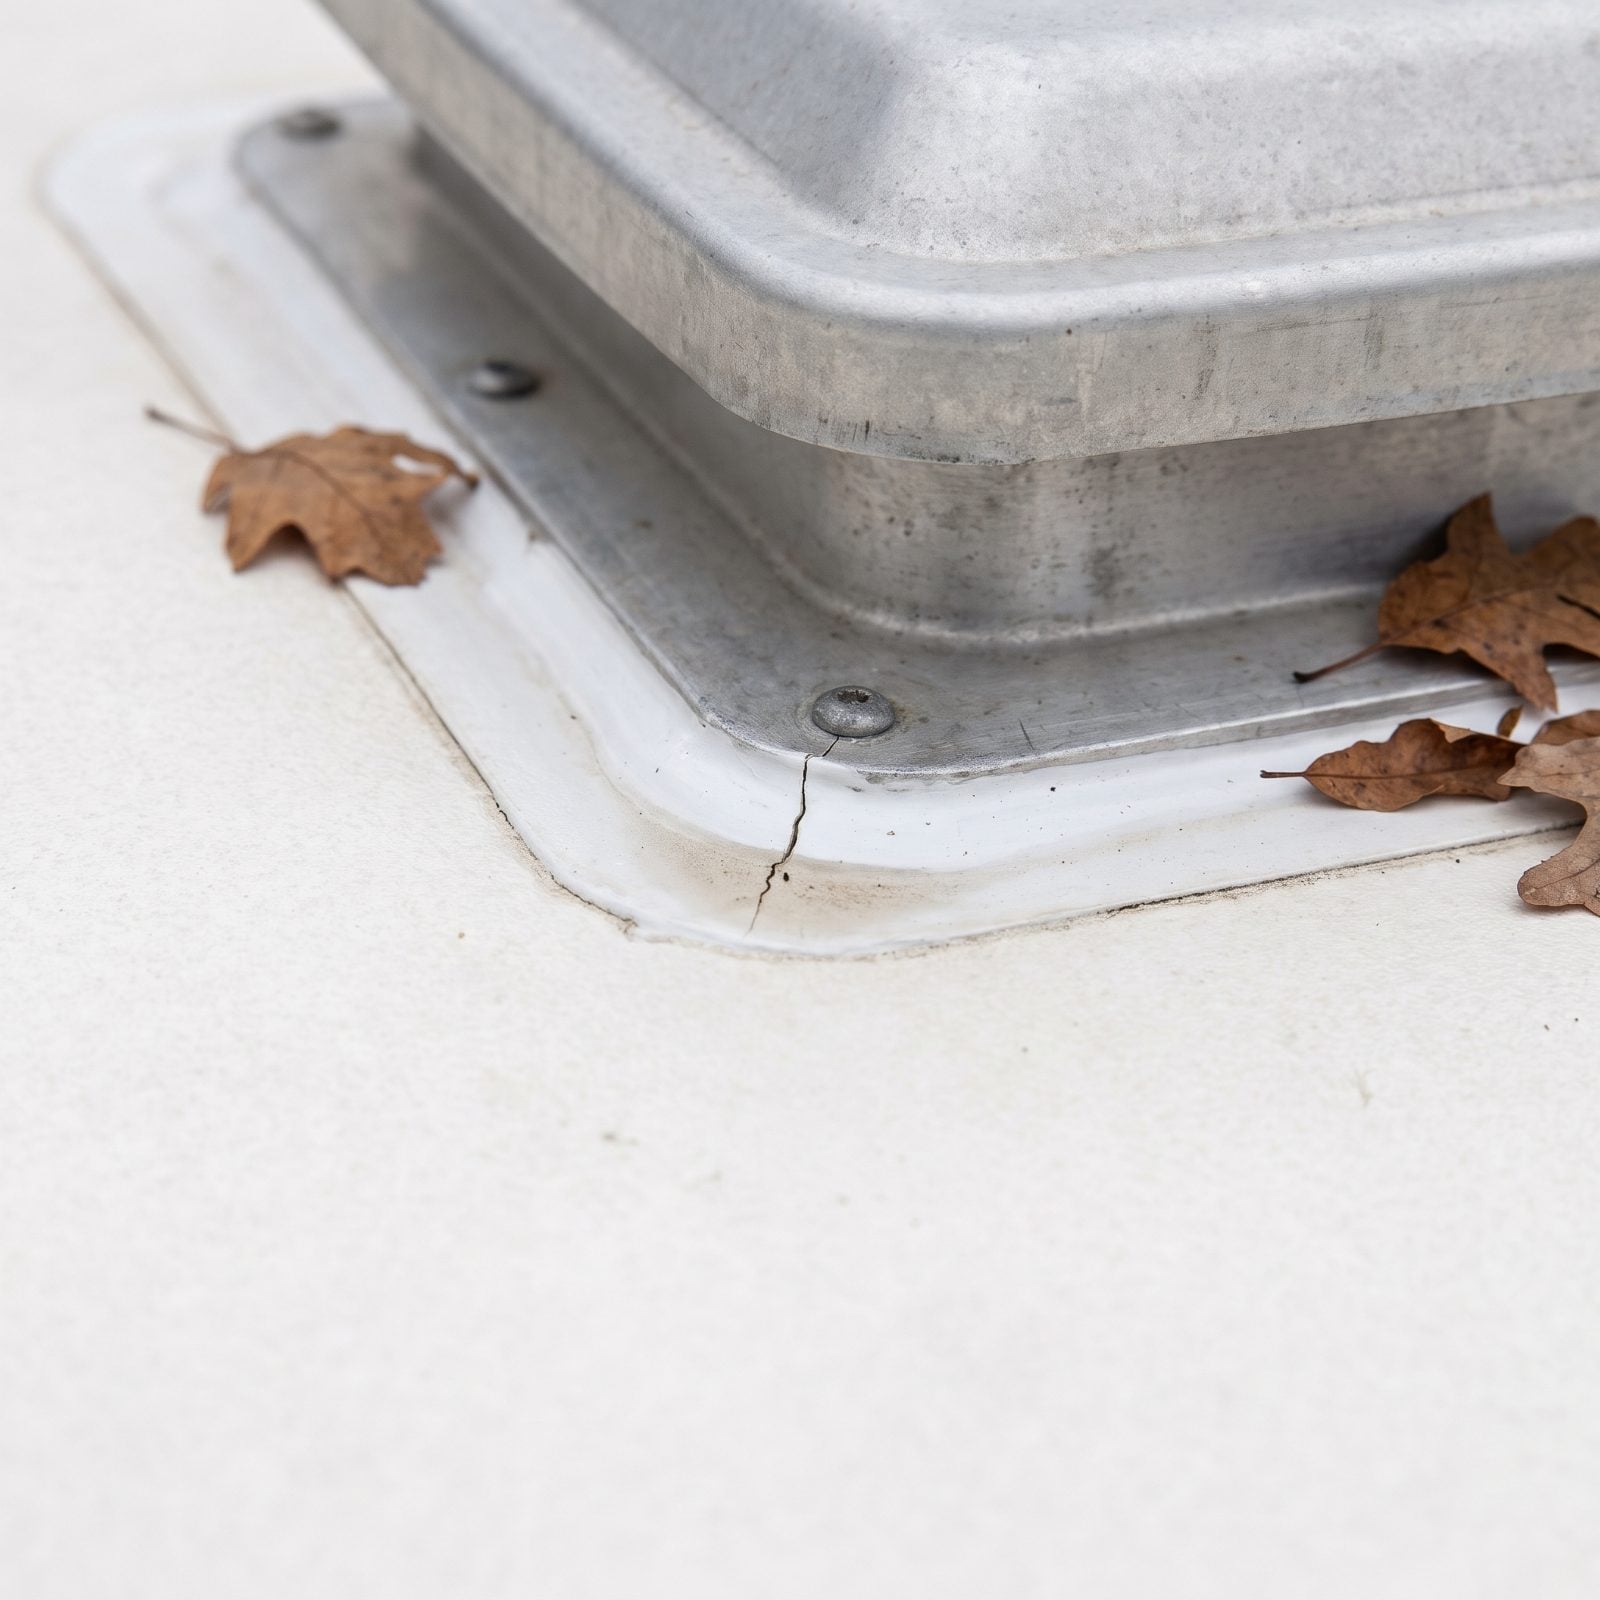
A roof seal cracks the way a dry riverbed does, slow and quiet, and you never notice until the ceiling shows a brown ring in March. The lap sealant around your vents, antenna base, and skylight breaks down every season from UV and temperature swings. Once it splits, snowmelt finds the gap and travels sideways under the membrane where you can’t see it rotting the plywood decking.
Get up there before the first freeze and run your hand along every seam. Any crack, any lifted edge, any spot where the caulk feels brittle instead of rubbery gets fresh self-leveling lap sealant made for your roof type. Dicor makes the standard stuff. Twenty minutes of work that saves a four-figure decking repair — do the math on that one.
7. Failing to Seal Rodent Entry Points Around Pipes and Wiring
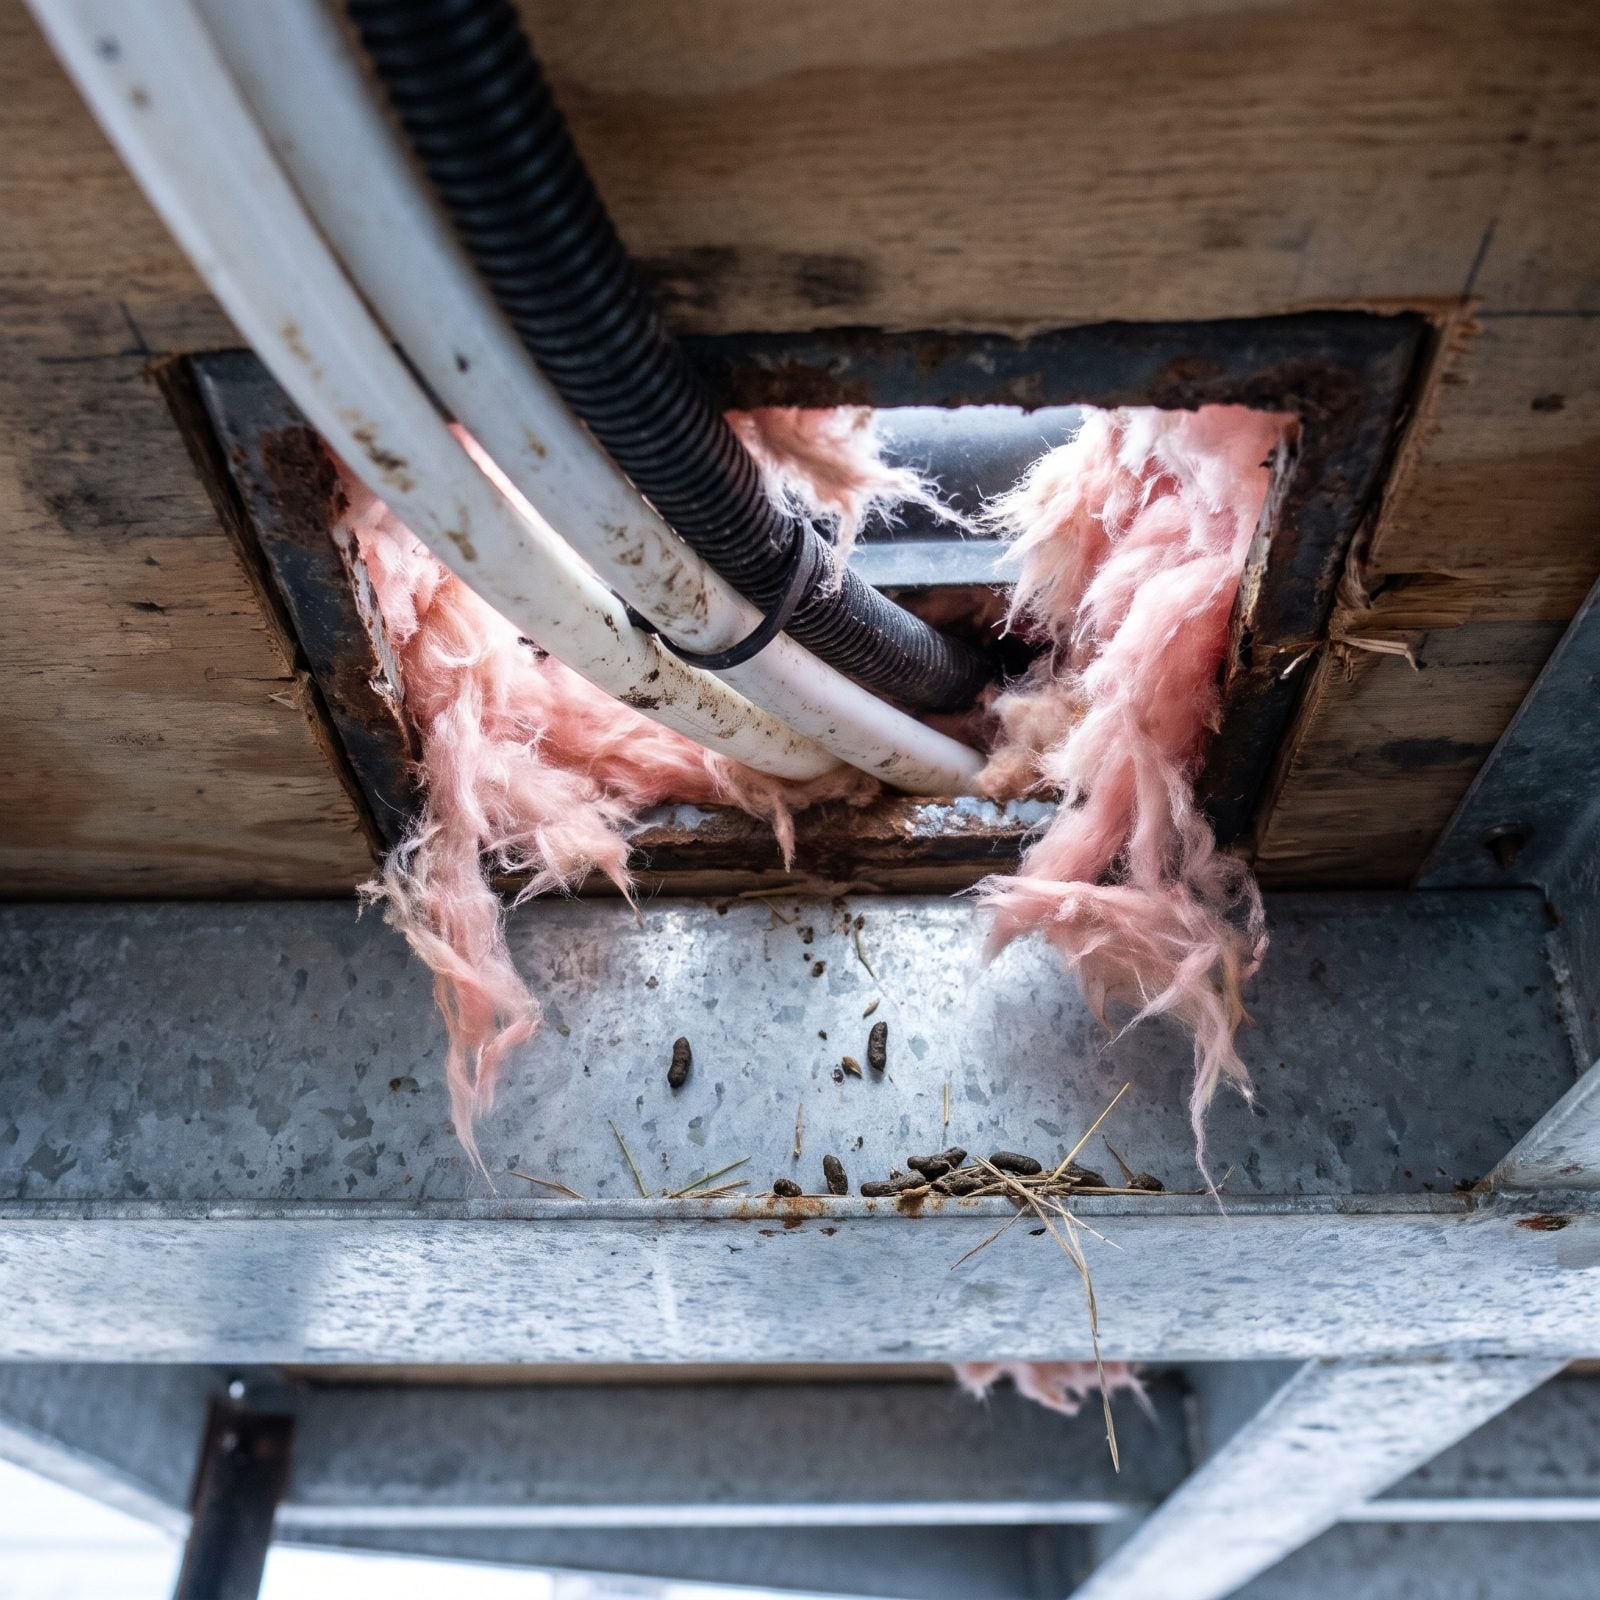
A mouse needs a gap the width of a pencil to get in, and your RV has dozens of them — every spot where a pipe, wire, or cable passes through the floor or belly. Once inside they nest in the furnace ducts, chew the 12-volt wiring, and leave droppings that cost you a weekend of scrubbing. A chewed wire can also mean a dead fridge board or a furnace that won’t light.
Crawl under before storage and find the openings. Stuff them with copper mesh (steel wool rusts and stains), then pack in expanding foam or seal with caulk. Check the belly where the water heater and furnace vent out. Pull the stove drawer and look behind it — classic highway in.
Pointing to all the tubing, wiring and hoses that pass through an RV, a pair of longtime full-time RVers warn “If there’s an opening from the outside to the inside of your RV, mice will find it.”
6. Leaving Lead-Acid Batteries Discharged and Connected to Parasitic Loads
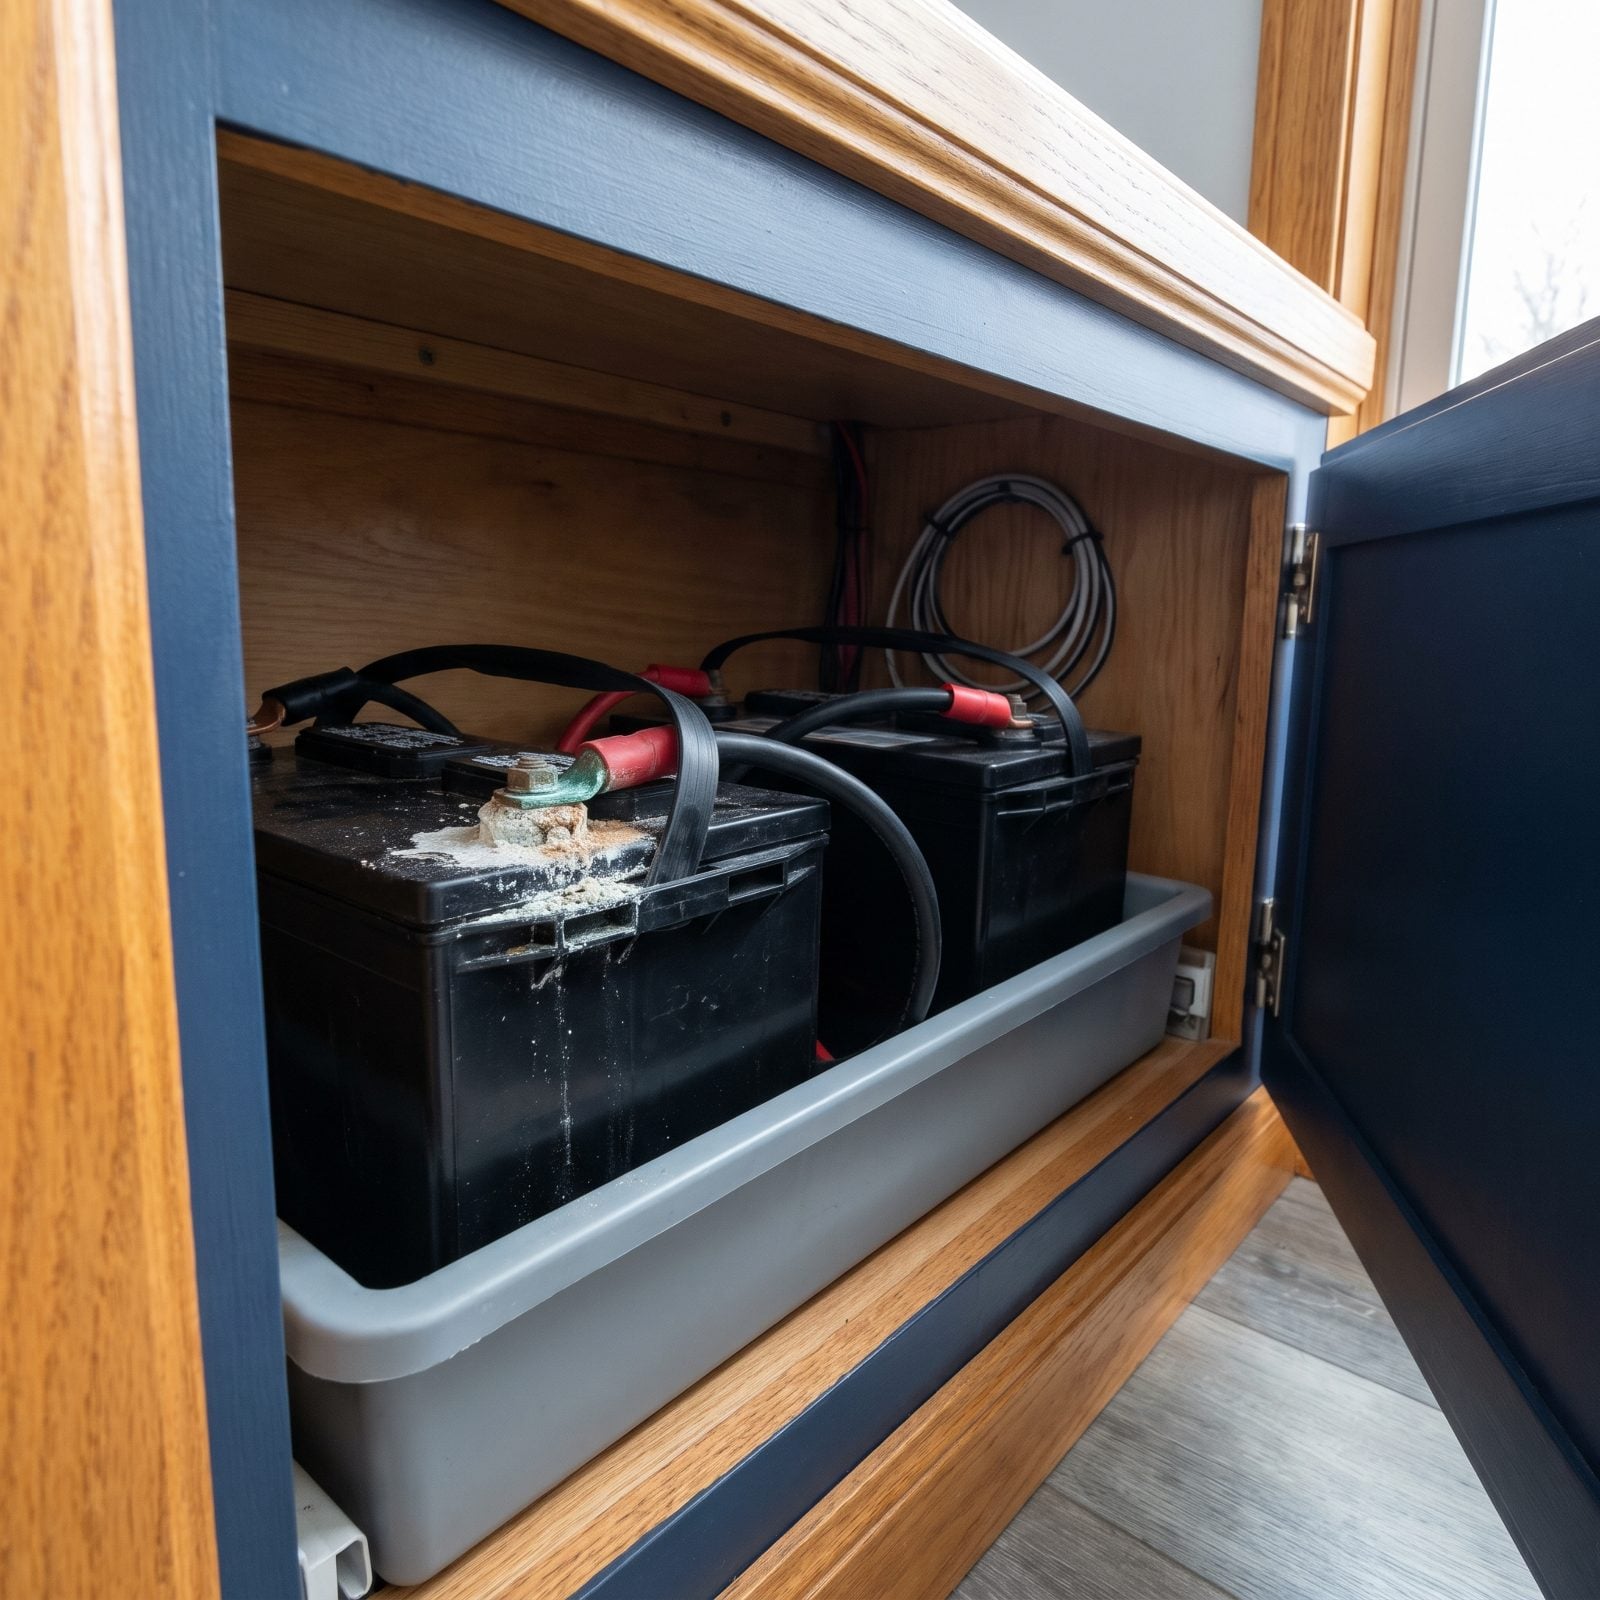
The quiet killer of RV batteries is leaving them plugged in and half-drained all winter. Your rig keeps pulling power even parked. The propane detector, the stereo memory, the slide controller — all of it sips current. A lead-acid battery that sits discharged lets lead sulfate harden on the plates, and that sulfation is mostly permanent. Add freezing temps, and a dead battery can crack its own case, because discharged acid freezes around 20 degrees.
Charge them fully before storage, then either disconnect the negative with a cutoff switch or hook up a smart maintainer like a Battery Tender. A full battery resists freezing far below zero. An empty one dies at your first cold snap, and you’ll smell it before you see it.
5. Neglecting Engine and Generator Coolant Freeze Protection
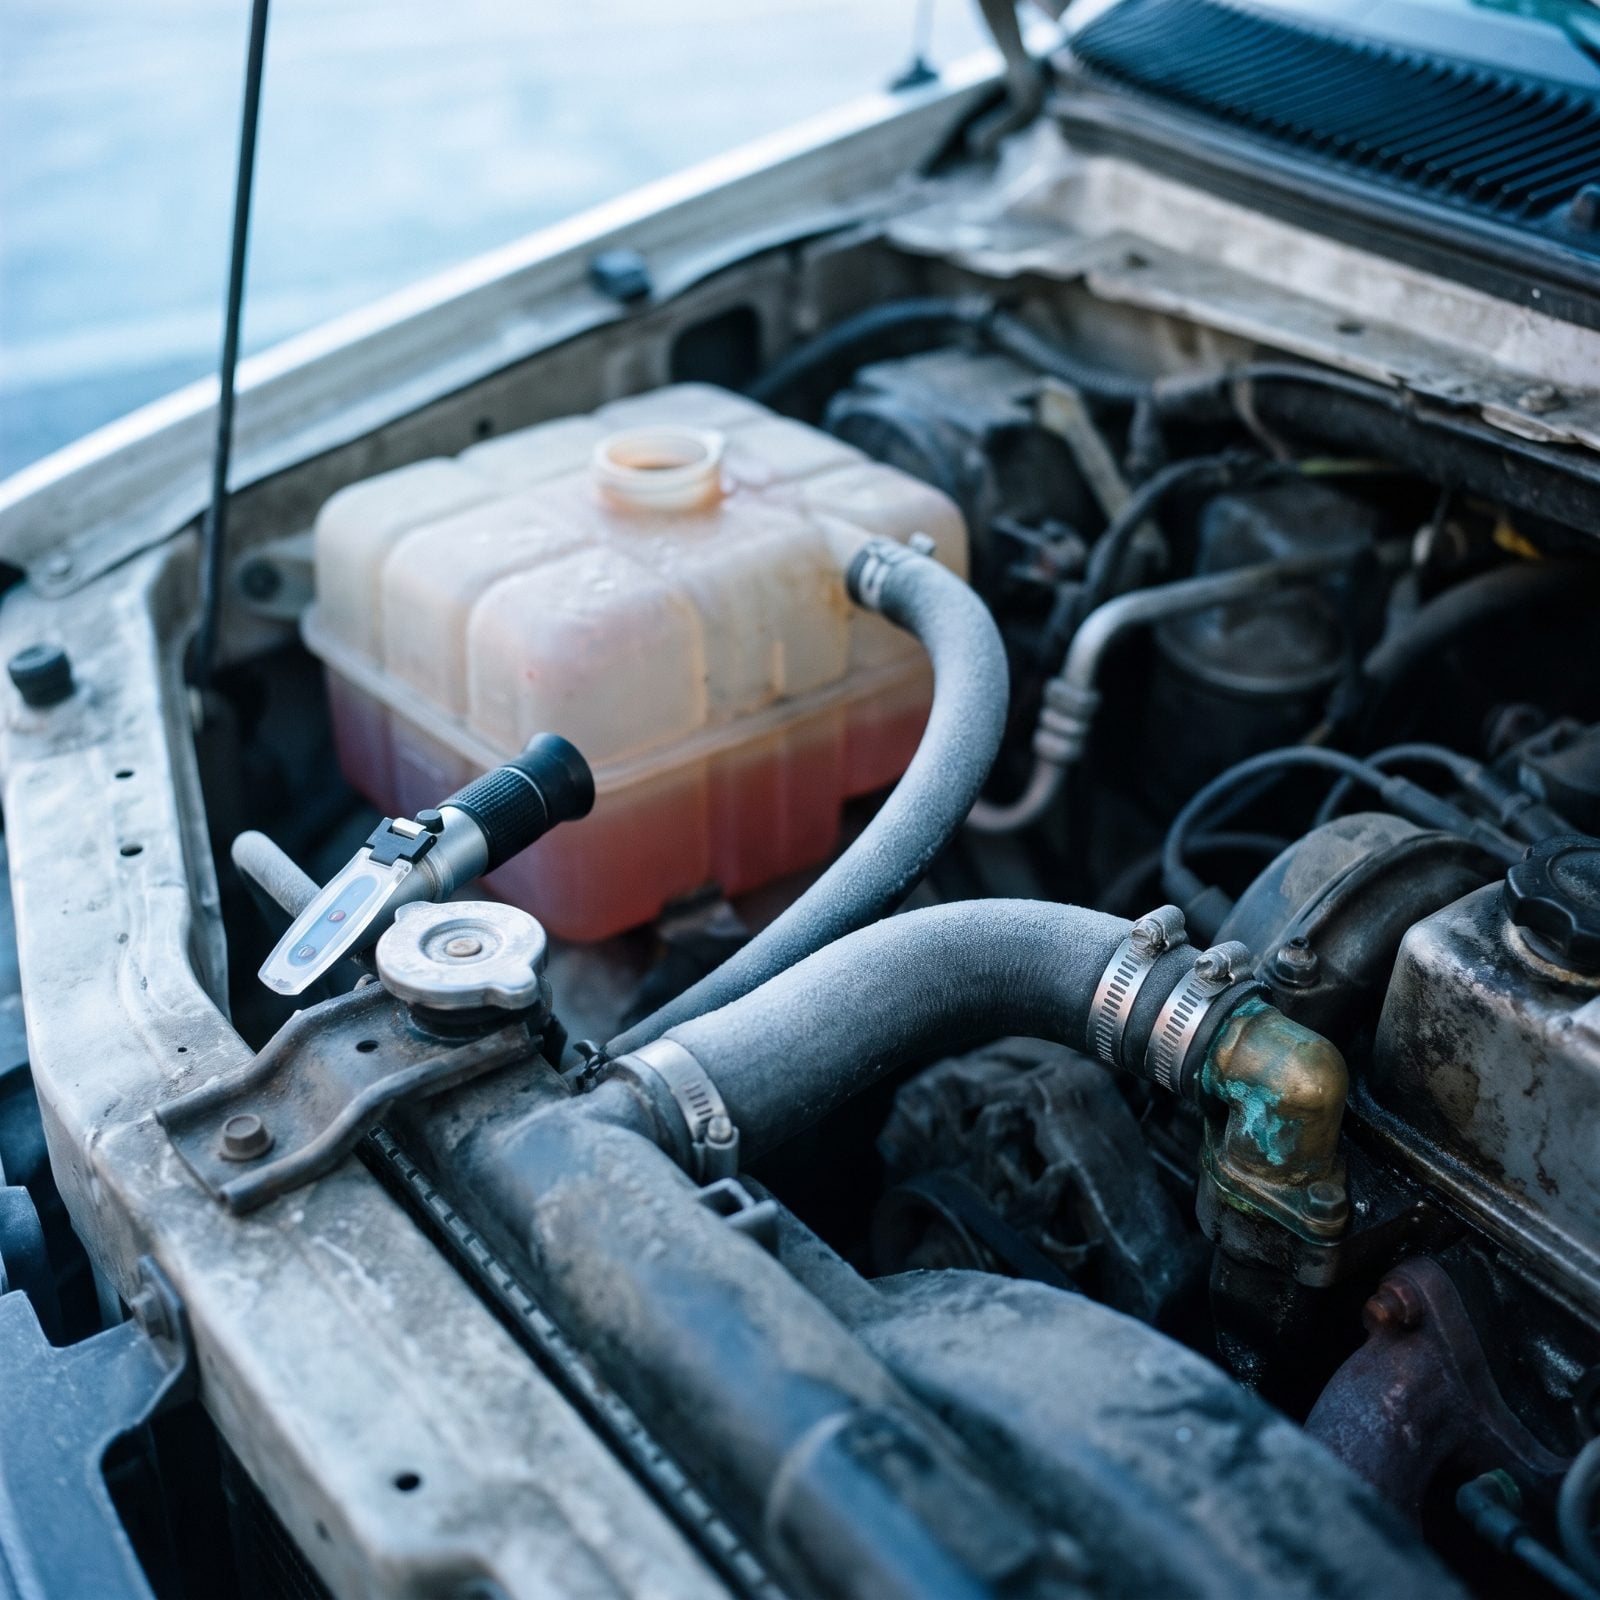
Everybody remembers to pink the fresh water lines and forgets the engine entirely. The coolant in your motorhome engine and generator is your freeze protection, and over years it breaks down and loses its ability to hold off ice. Weak coolant freezes, expands, and cracks a block or a radiator. That’s not a spring project. That’s a tow and a new engine.
Test the coolant with a cheap refractometer or test strips before cold weather. You want protection well below zero, lower still if you store somewhere brutal. Top off, or flush and refill if it’s tired. And check the generator’s coolant — people skip it constantly because it’s tucked away and out of mind.
4. Failing to Stabilize Fuel and Run It Through the Generator
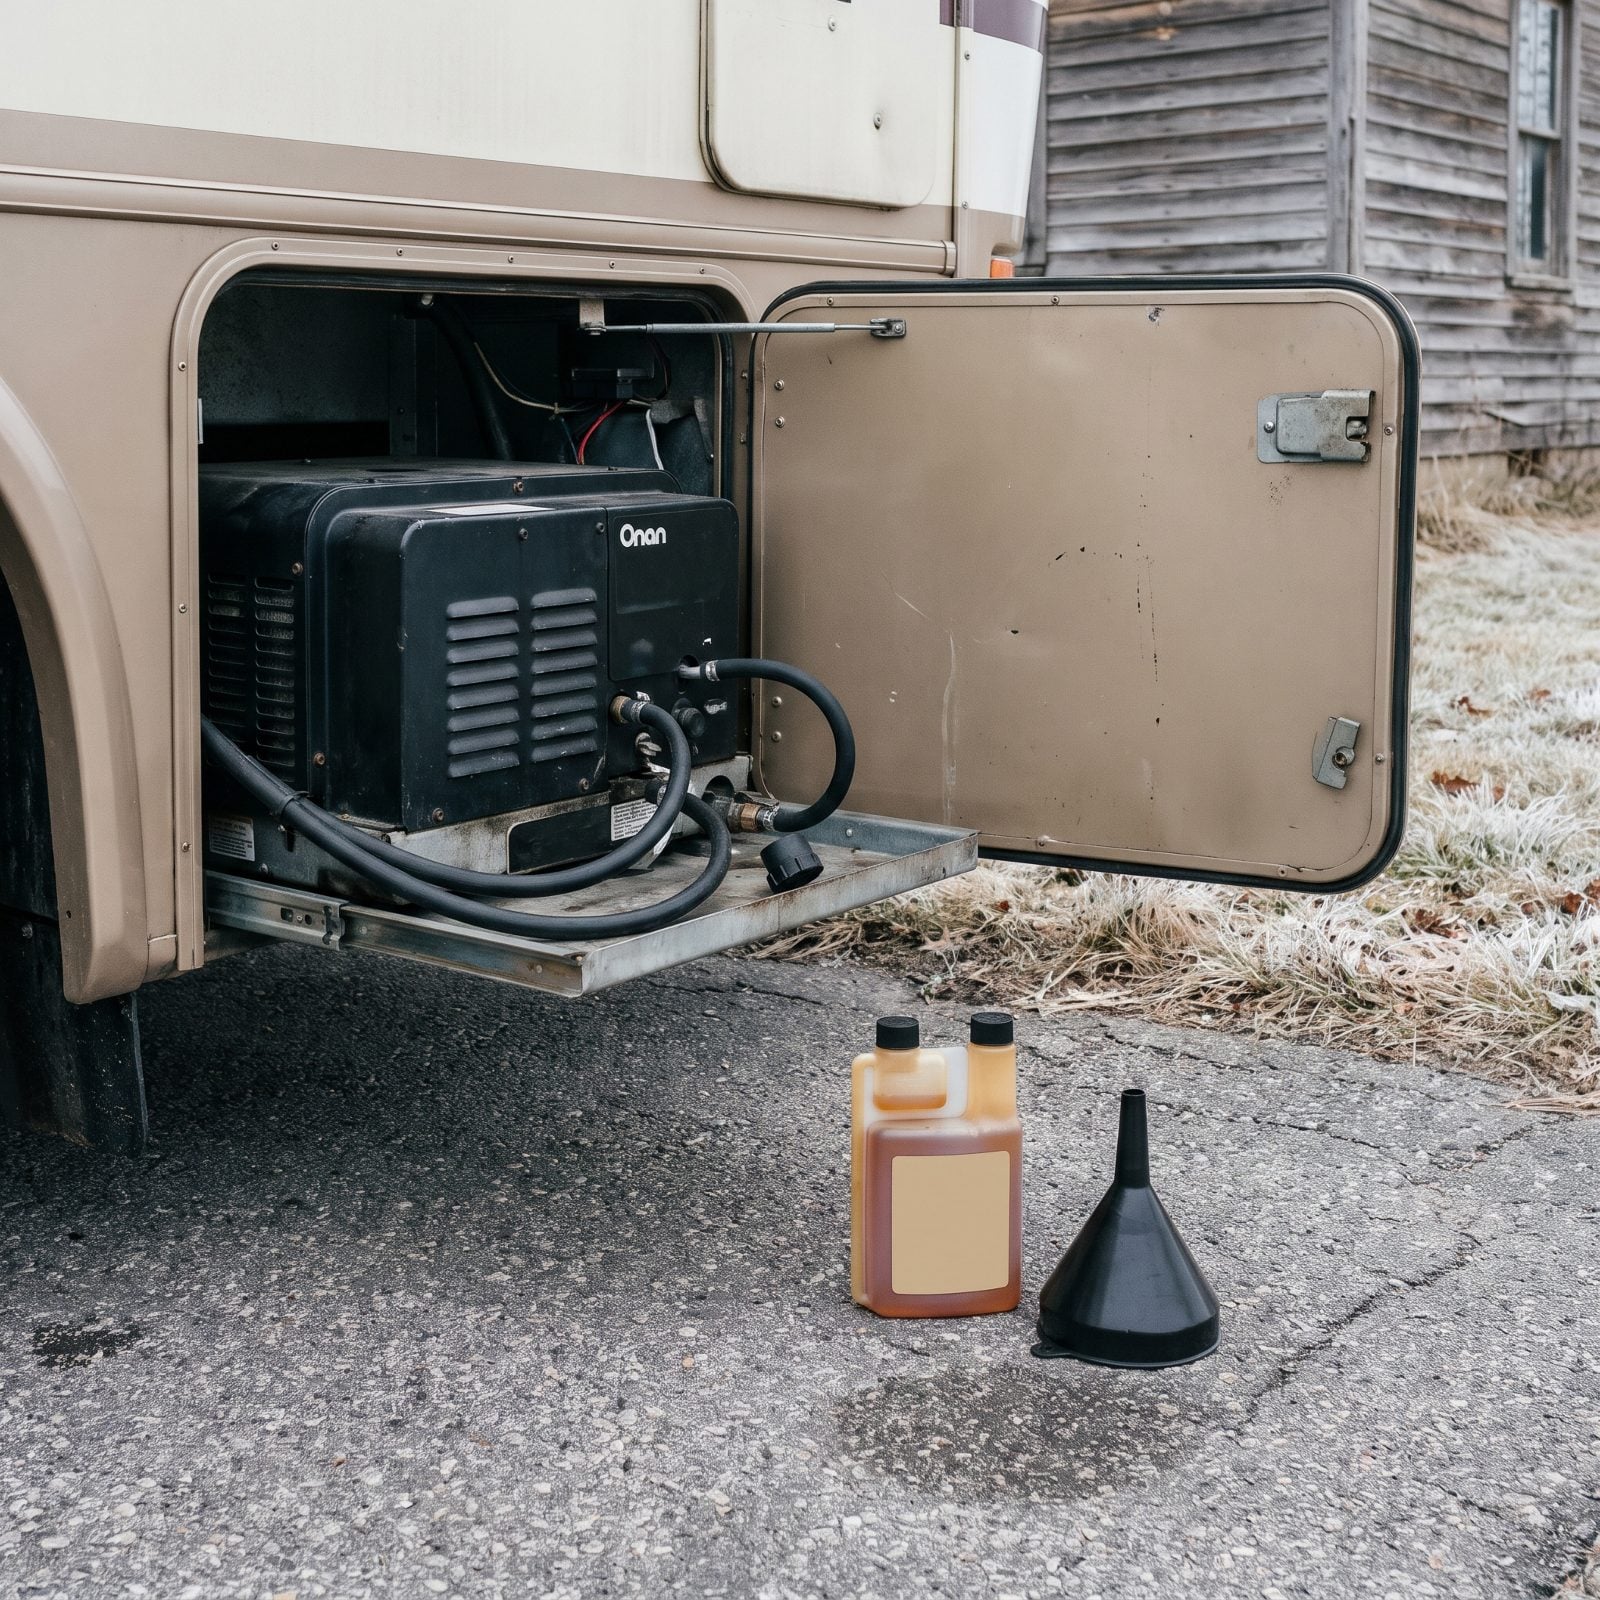
Gasoline goes stale fast. It gums up, forms varnish, and clogs the tiny jets in your generator’s carburetor. Come spring you pull the cord or hit the start button and get nothing. A generator carb rebuild isn’t cheap, and ethanol fuel makes it worse by drawing moisture and separating in the tank.
Add fuel stabilizer — Sta-Bil is the old standby — to a nearly full tank before storage, then run the engine and the generator long enough to pull the treated fuel all the way through. Ten or fifteen minutes under load does it. A full tank also leaves less room for condensation to form on the tank walls through the cold months.
Calling stale fuel the enemy of a stored rig, an RV repair service advises “Before any storage longer than a month, add a stabilizer at the label dose and then run the generator 10–15 minutes so treated fuel actually reaches the carburetor”
3. Ignoring Heavy Snow Accumulation on the RV Roof
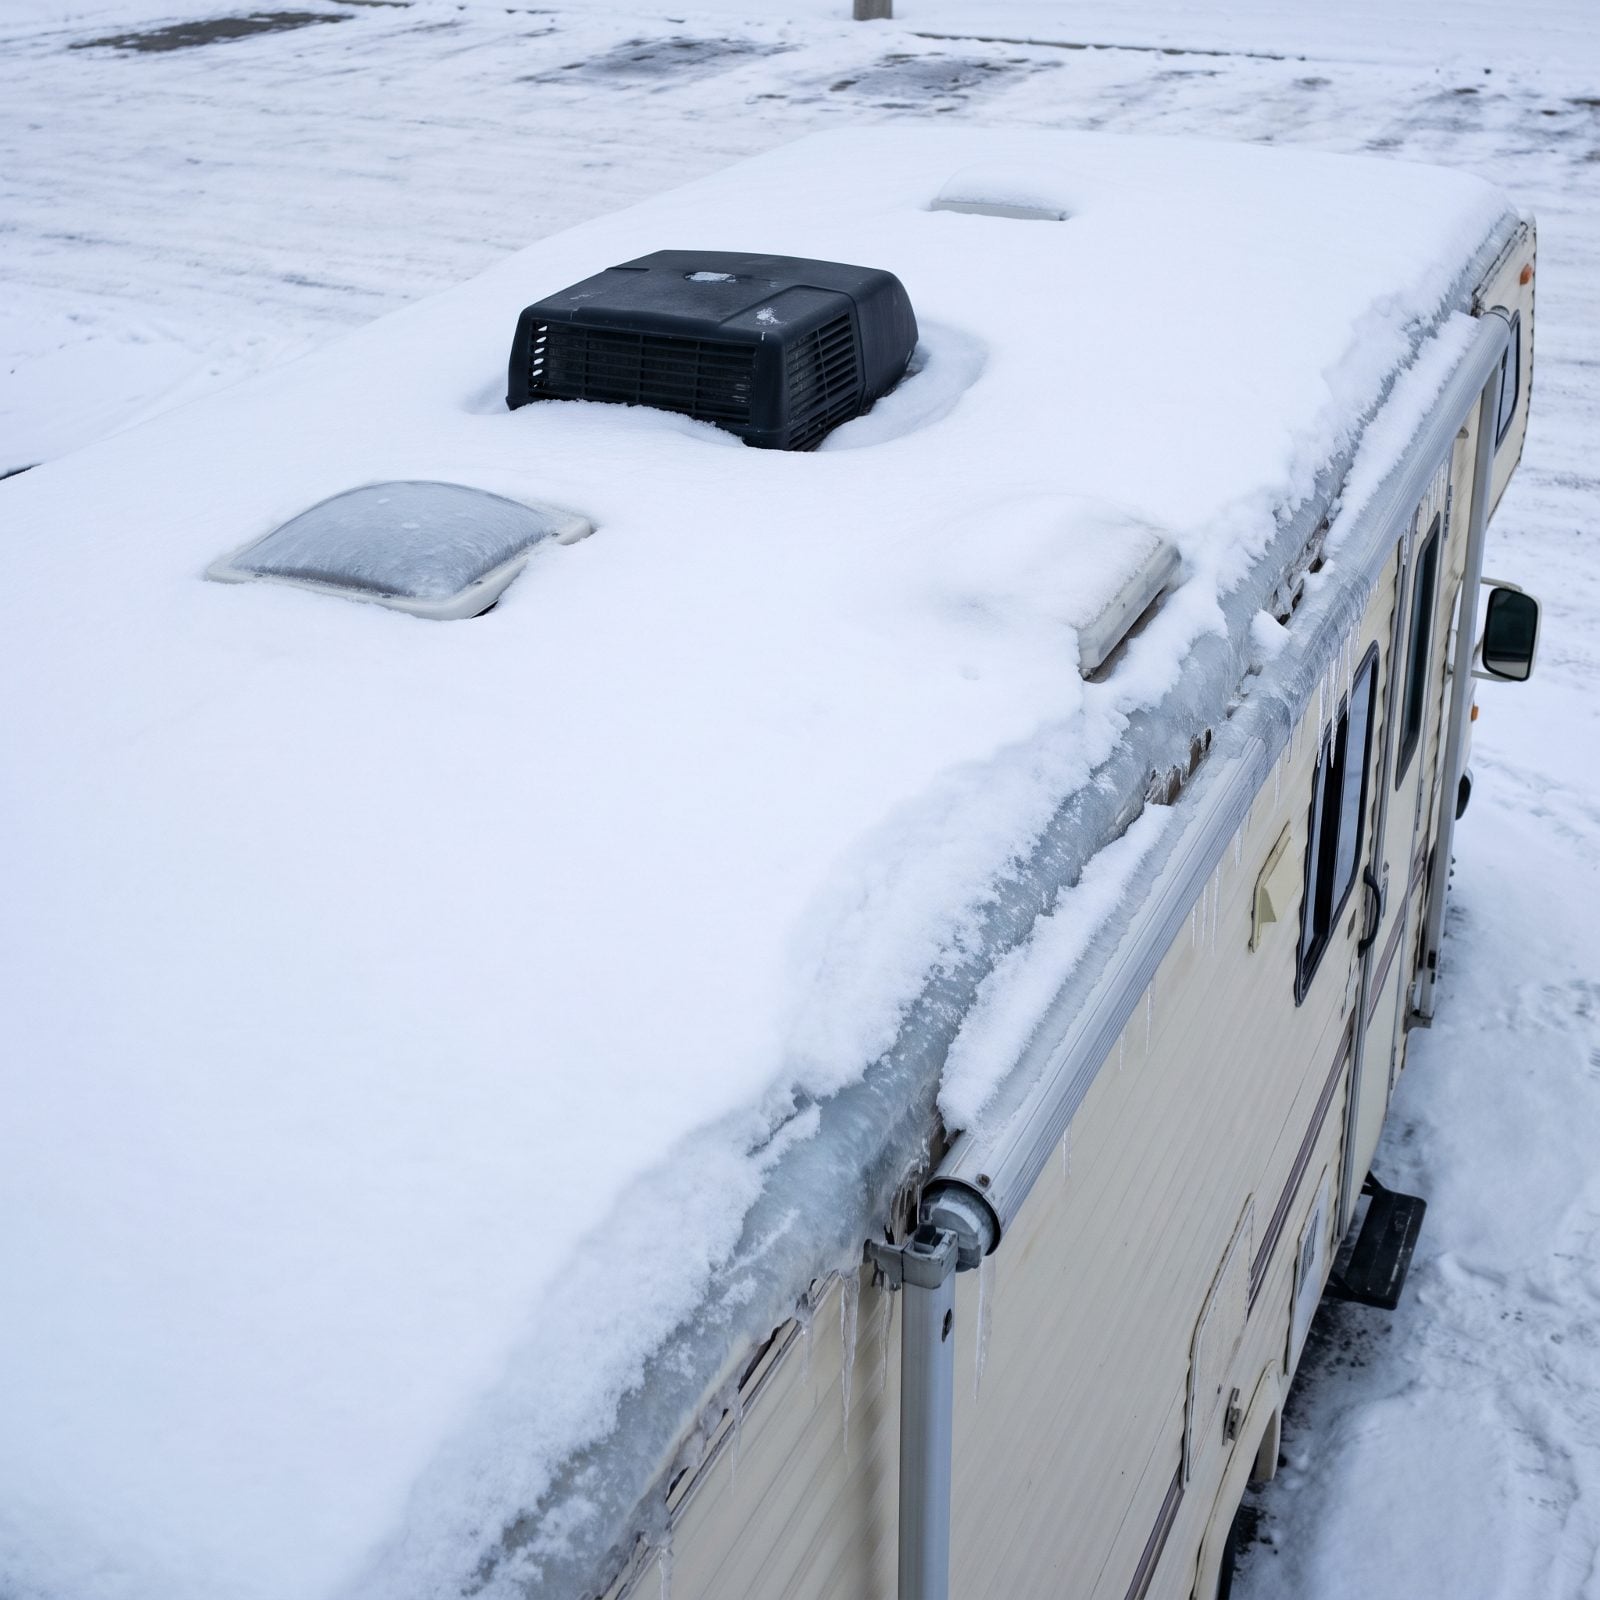
An RV roof is not a house roof. It’s thin, mostly flat, and supported by lightweight framing built to keep rain out — not to carry a drift. Pile a foot of wet snow up there and you’re loading hundreds of pounds onto a structure that flexes. Vents crack, the ceiling bows, seams stress open, and the melt finds its way in.
Knock the snow off after storms with a soft foam roof rake, the kind with no metal edge to gouge the membrane. Work from a ladder or the ground. Never, ever climb onto a snow-covered roof. If you store long-term in snow country, a well-fitted cover or a carport pays for itself the first bad winter.
A foot of wet snow on a 30-foot roof can weigh more than a motorcycle. Your rig wasn’t engineered to carry a motorcycle up top.
2. Charging Lithium Batteries Below Freezing Without Protection
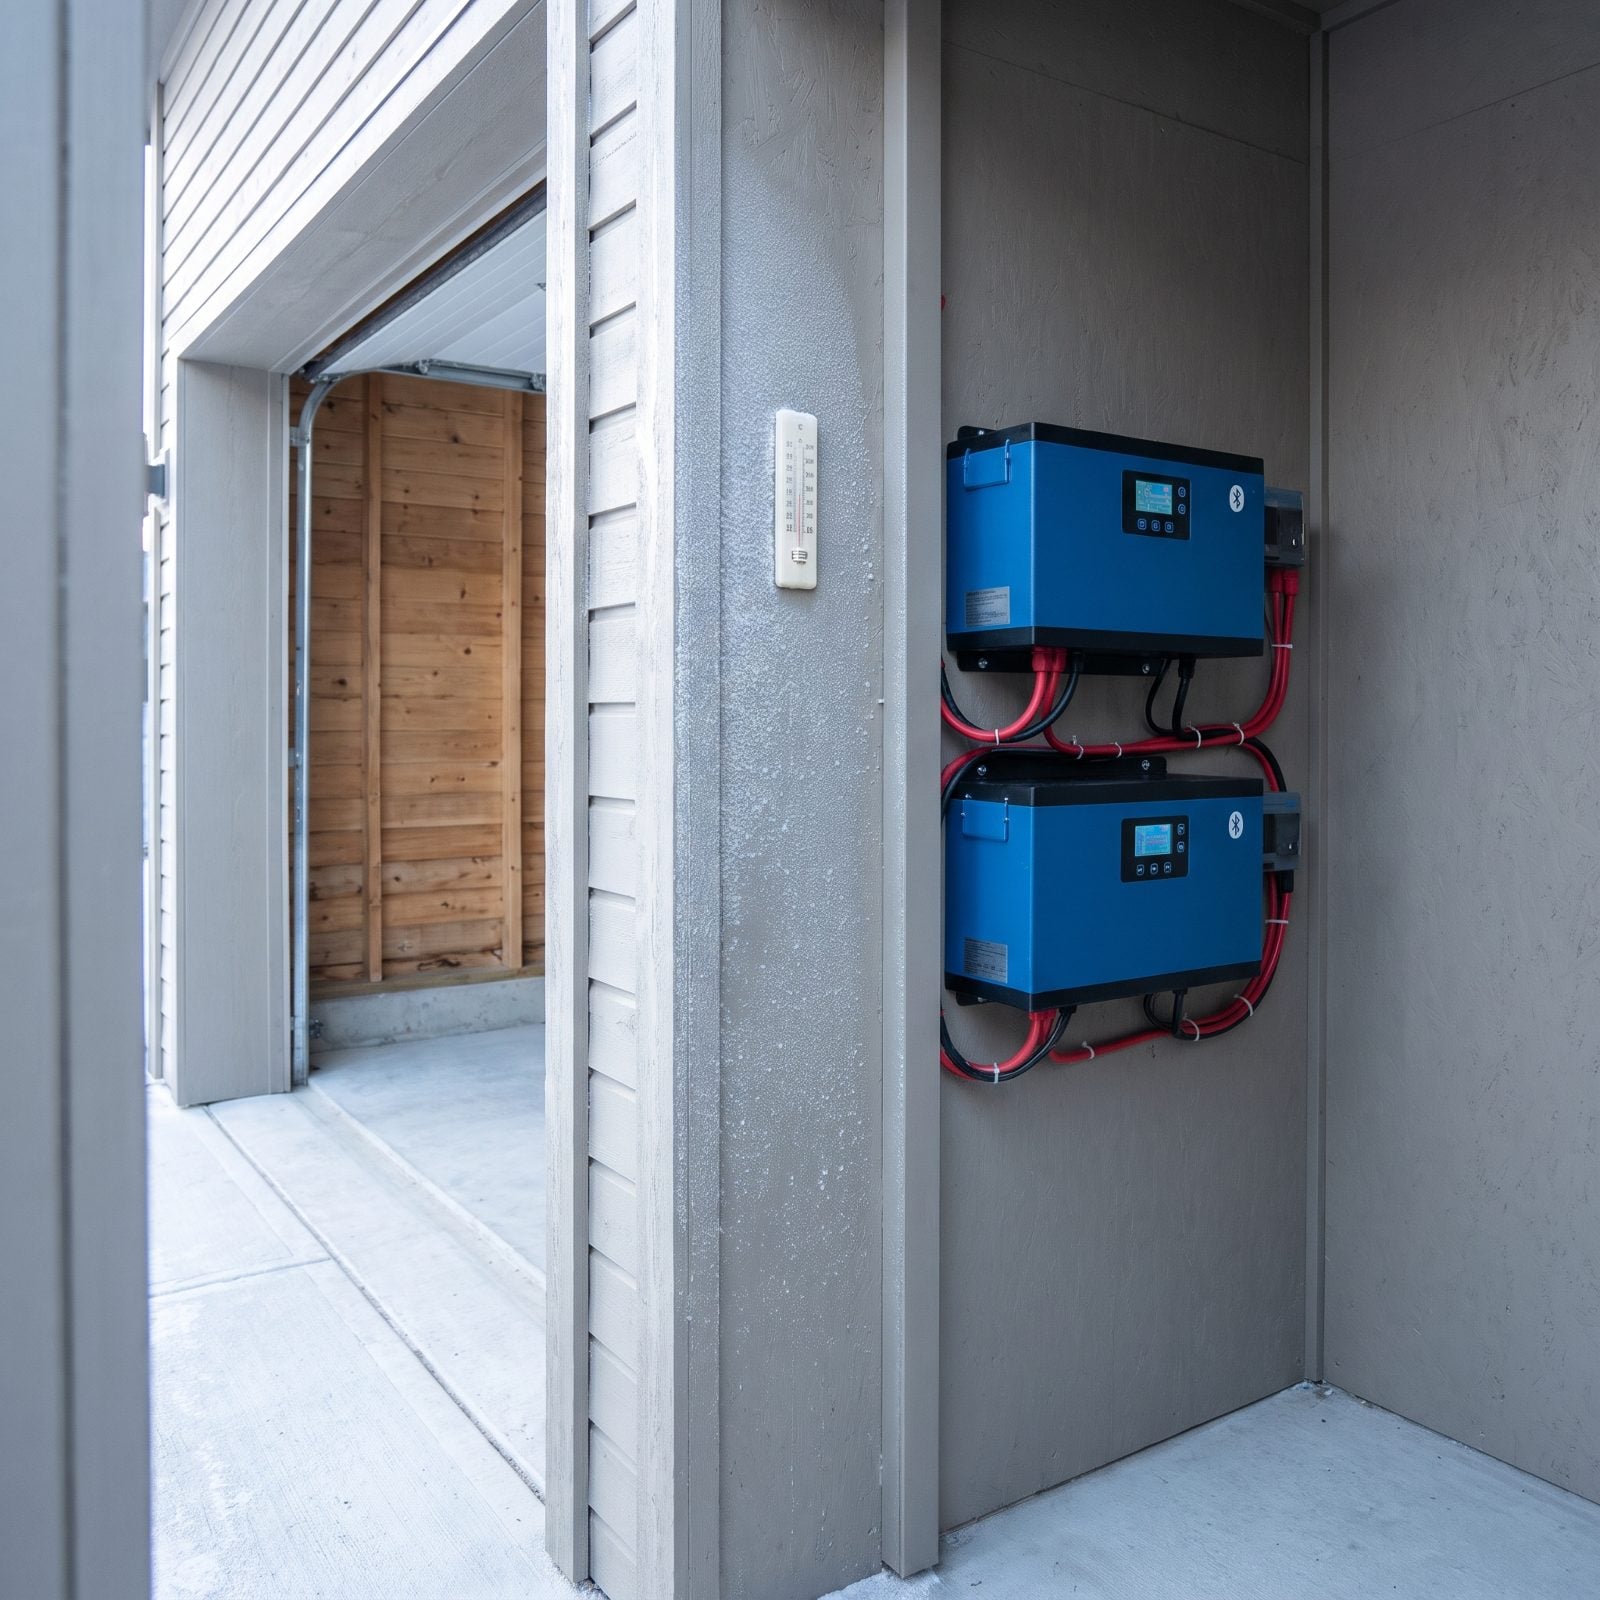
Lithium batteries changed RV life, but they come with one hard rule people miss: you can discharge them in the cold, but you should never charge a LiFePO4 cell below freezing. Do it anyway and you plate lithium metal onto the anode, which permanently kills capacity and can be dangerous. Your solar panels will happily try to charge a 25-degree battery on a sunny winter morning, and the battery doesn’t always stop them.
Storing or using lithium in the cold? Buy batteries with a built-in low-temperature cutoff, add heated battery pads, or move the bank into a space that stays above freezing. Many quality lithiums now self-heat. Check yours. Assuming it protects itself when it doesn’t is an expensive bet.
1. Leaving Summer Windshield-Washer Fluid in the Chassis Reservoir
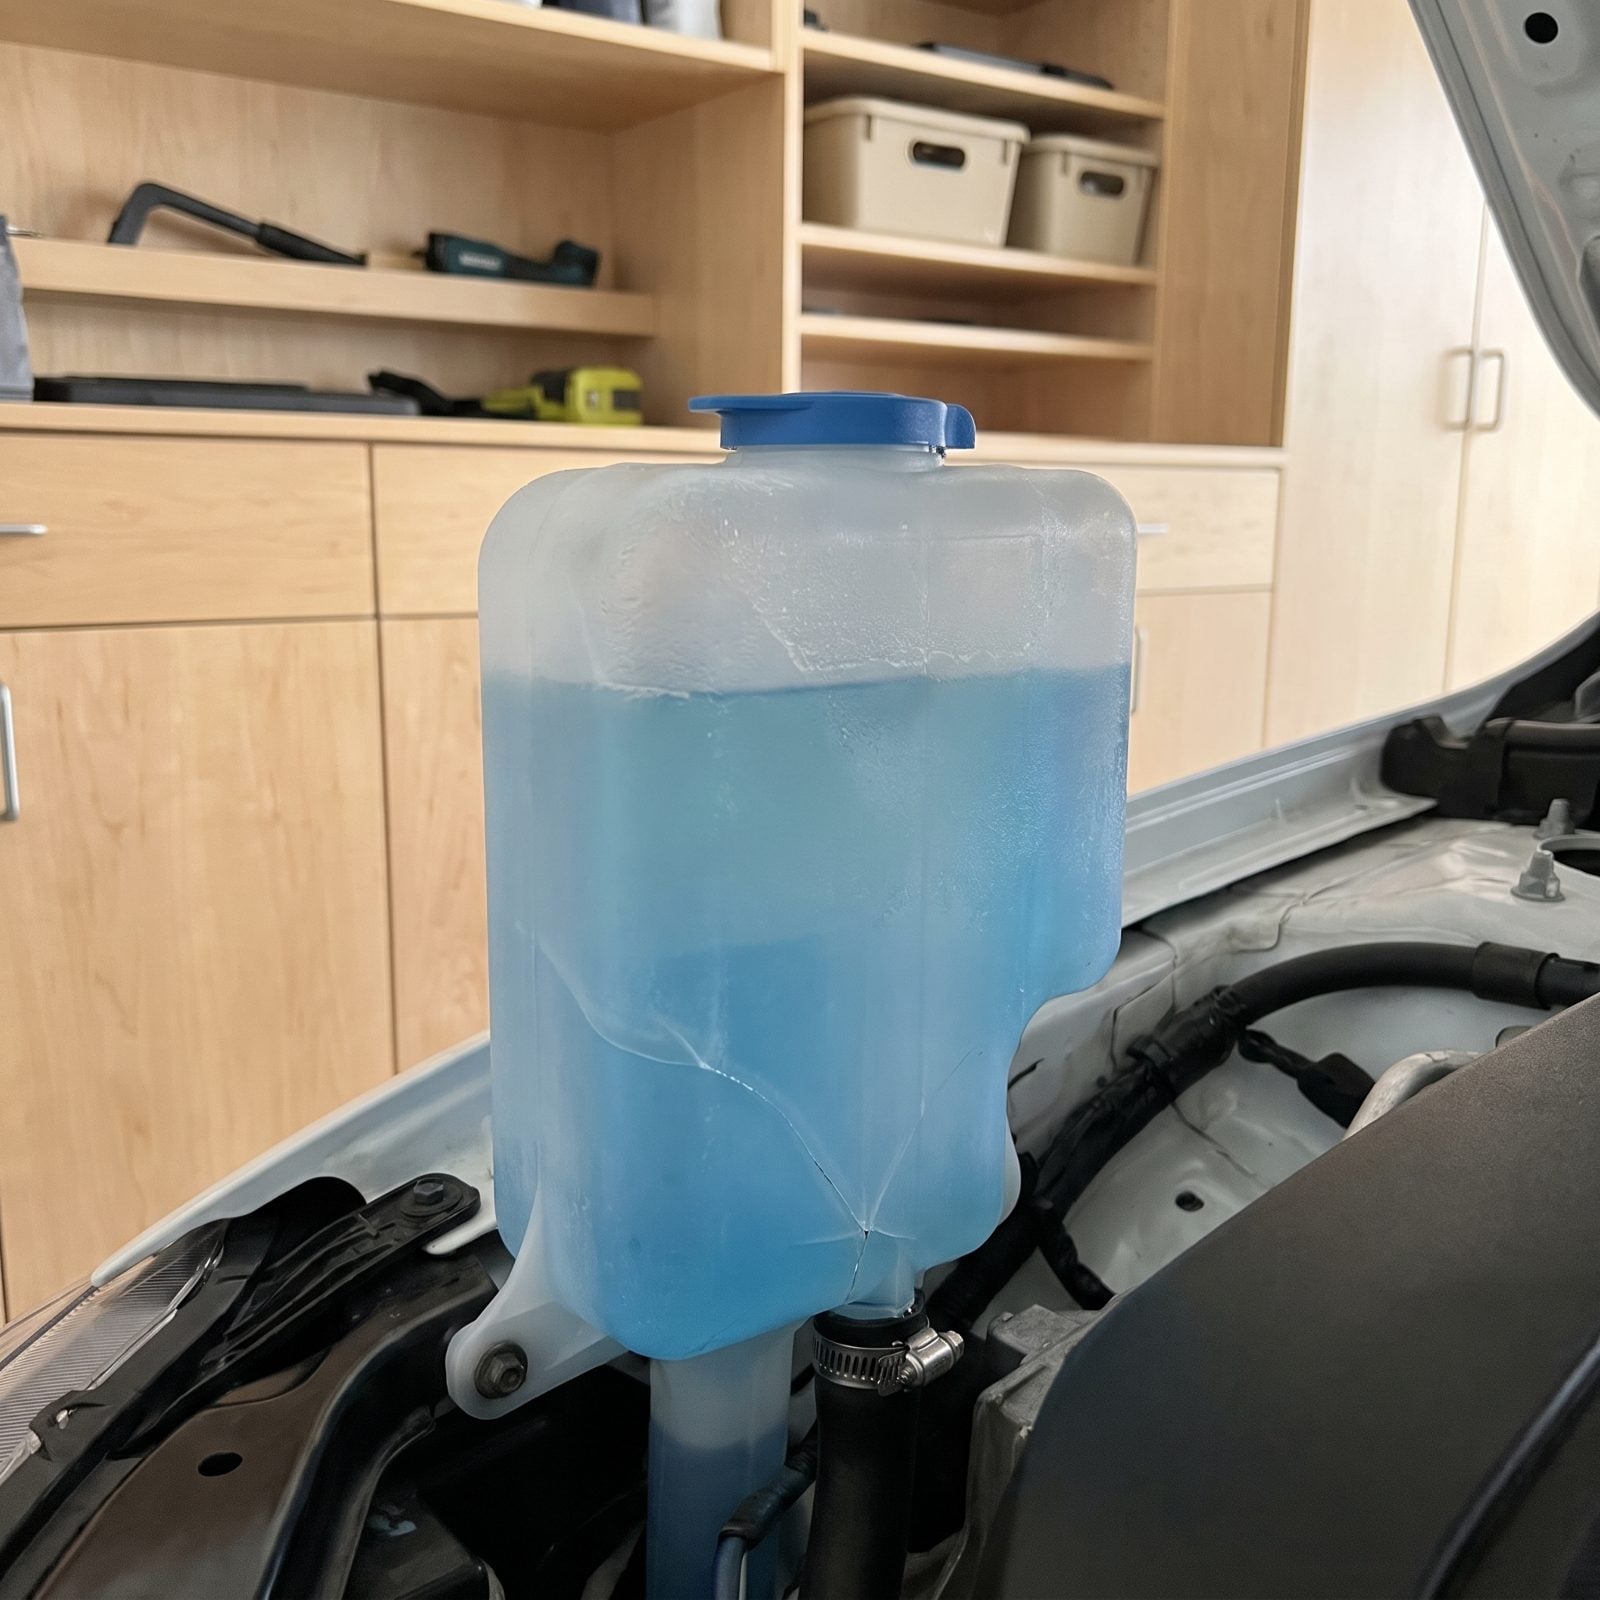
Here’s the small one that bites you on a cold spring morning. That cheap blue summer washer fluid is mostly water. Leave it in the reservoir through a hard freeze and it expands, cracks the plastic tank, and sometimes splits the pump or the lines. You go to clear road salt off the glass, hit the squirter, and a puddle of blue appears under the front end.
Before cold weather, run the sprayers until the old fluid is mostly gone, then fill with a winter blend rated to the temperatures where you store. The good stuff is rated well below zero and costs about the same. A two-dollar fix for a part that’s a genuine pain to reach and replace.