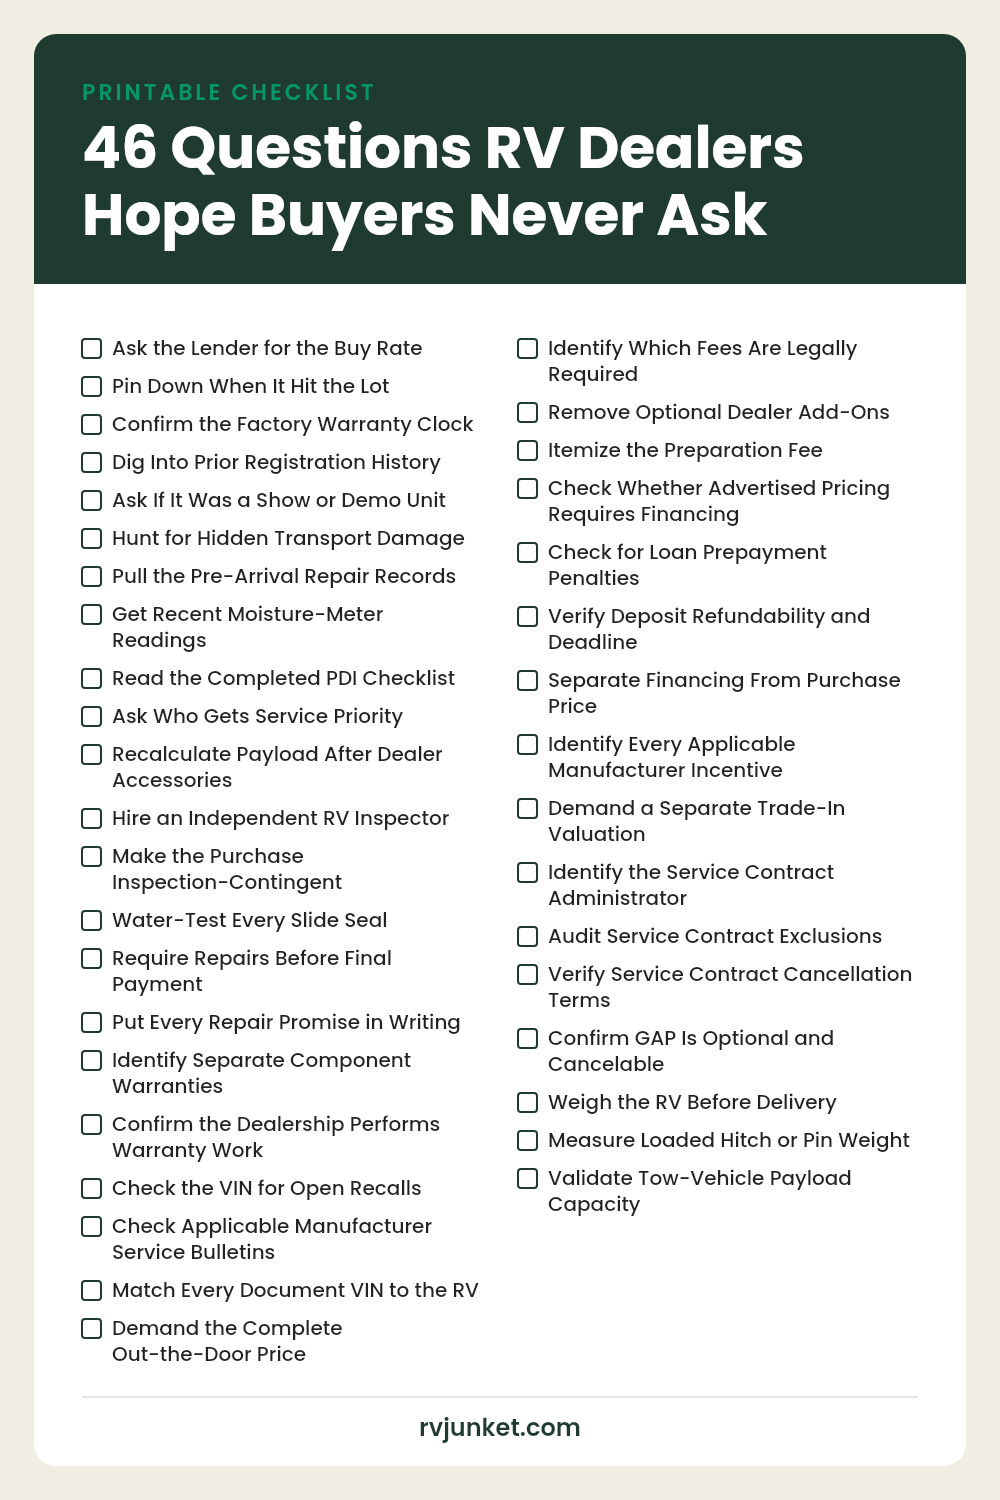
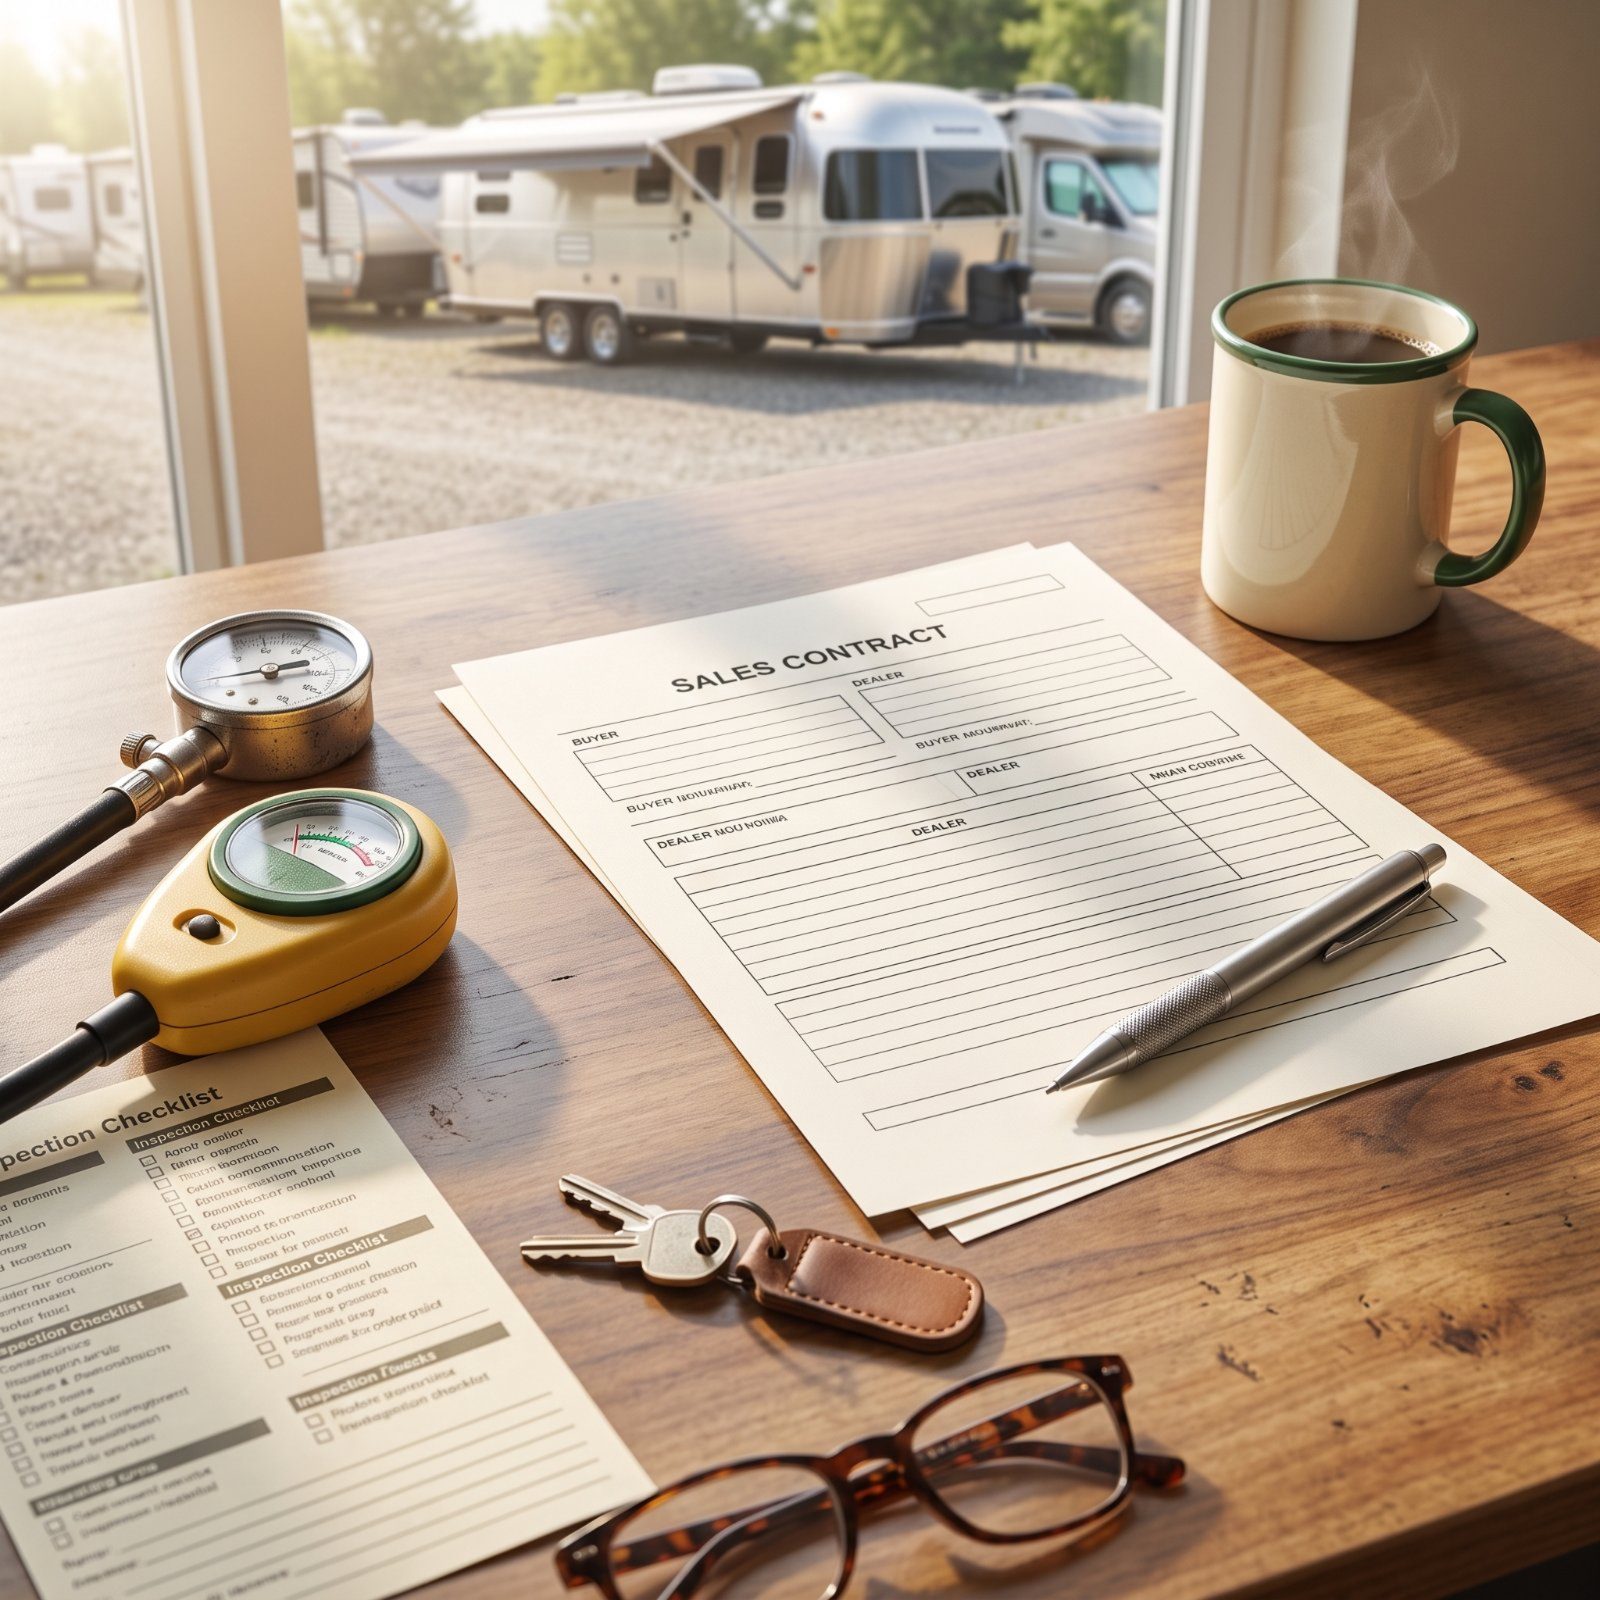
The salesperson smiles, the coffee is free, and the paperwork is already printed. That’s the moment most RV buyers lose money they never get back. Price is the easy part. The real cost hides in the financing markup, the undisclosed show miles, the roof seam that got resealed before you ever walked the lot. Ask the right questions out loud, before signatures land on paper, and watch how fast the answers change. Work through the ones below like a pro inspector would.
Please note that some of the images in this article were created with the assistance of AI.
38. Ask the Lender for the Buy Rate
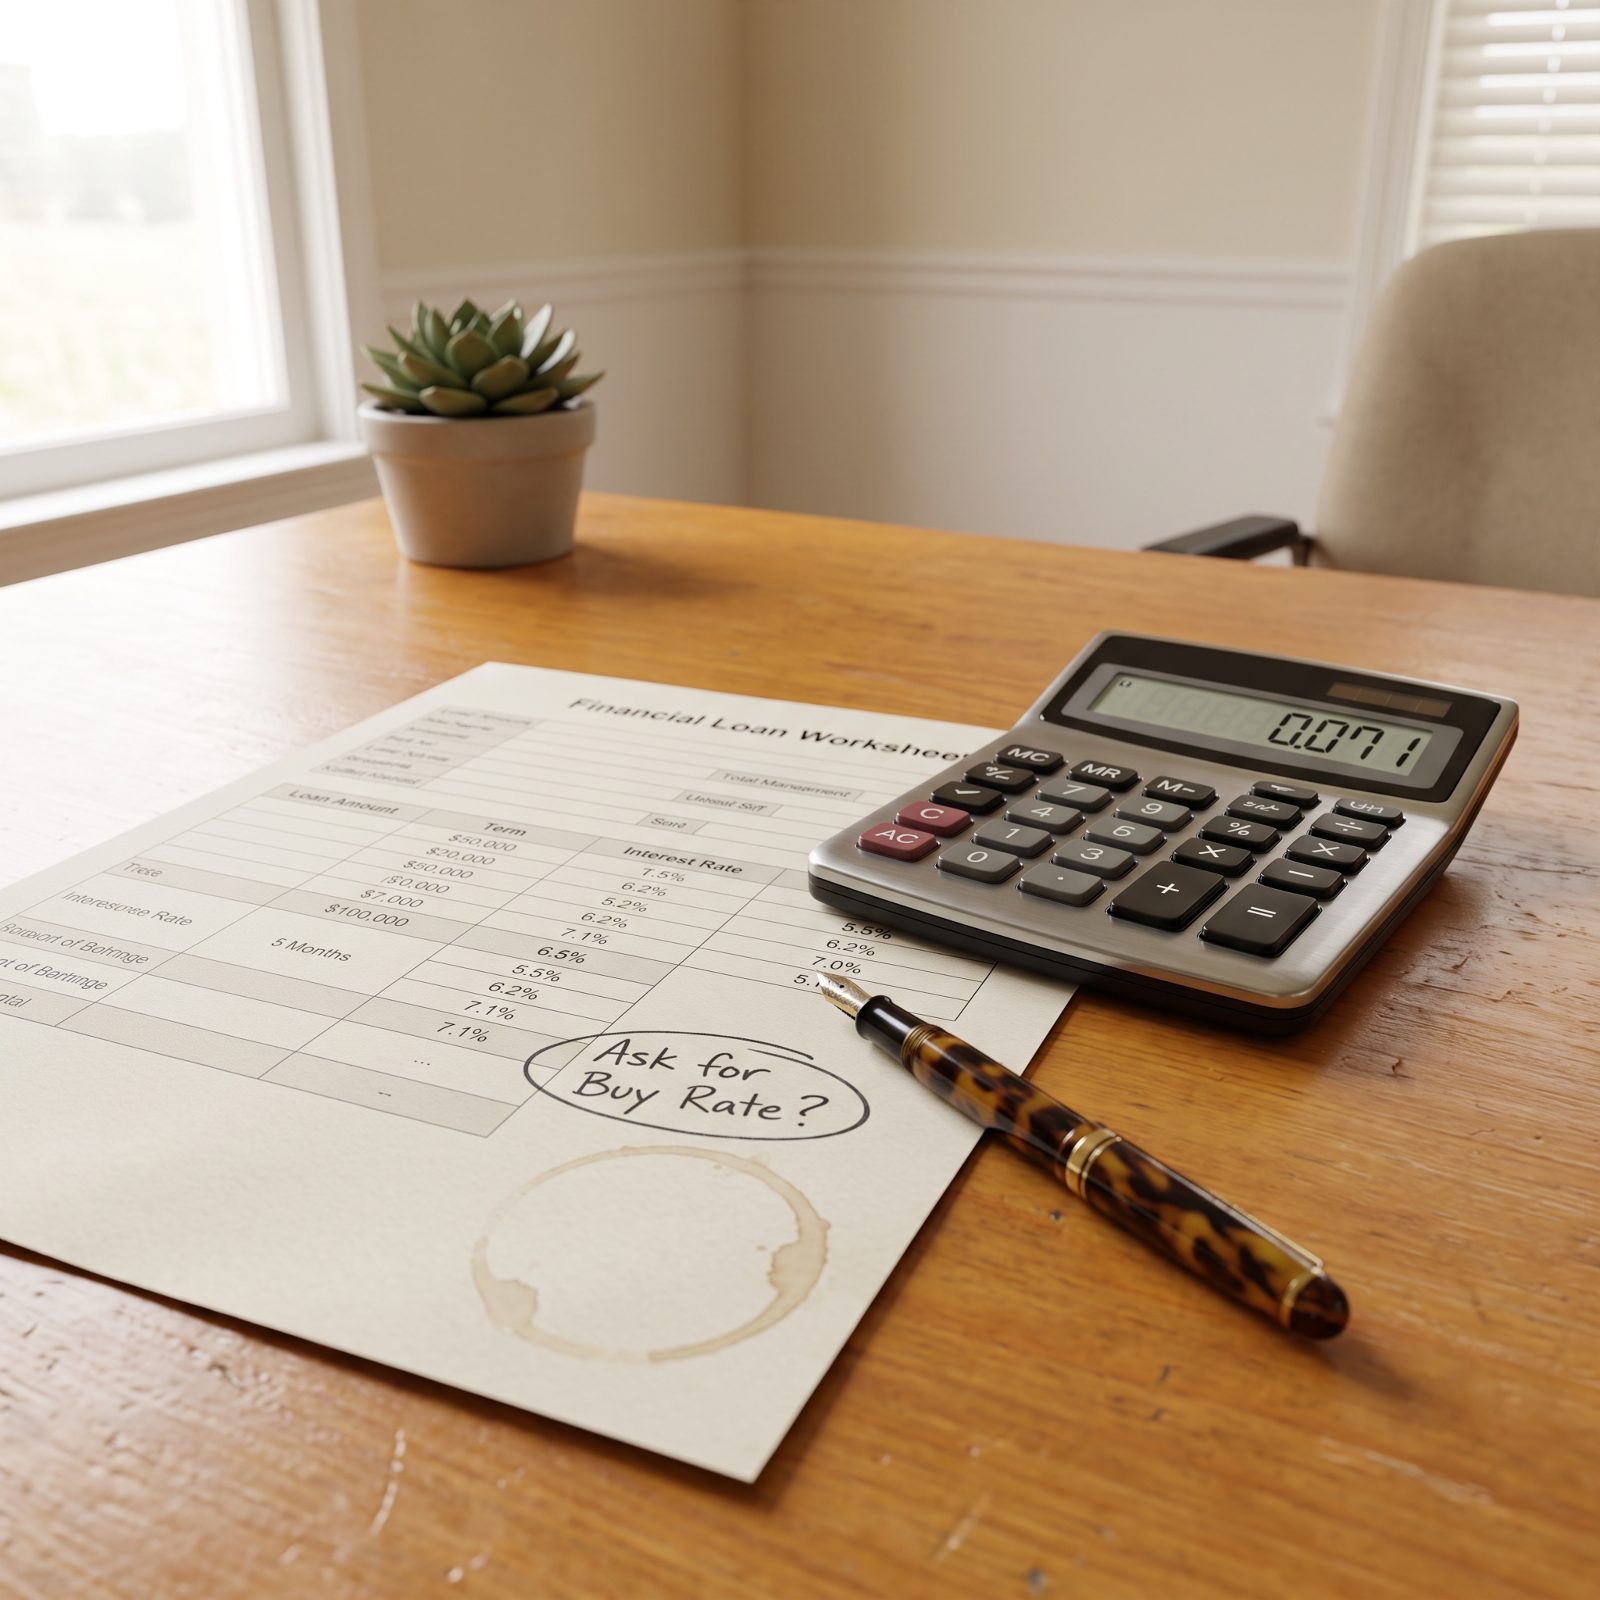
Nobody at the desk wants this in writing: the rate the bank approved you for and the rate you’re being offered are often two different numbers. That gap is dealer markup, and it drops straight into the dealership’s pocket. On a long RV loan the spread can cost you a lot over the life of the note.
Ask flat out: “What’s the buy rate the lender gave me, before your markup?” Watch the pause. A legitimate finance manager can tell you, or at least stops padding it once you’ve named it out loud.
37. Pin Down When It Hit the Lot
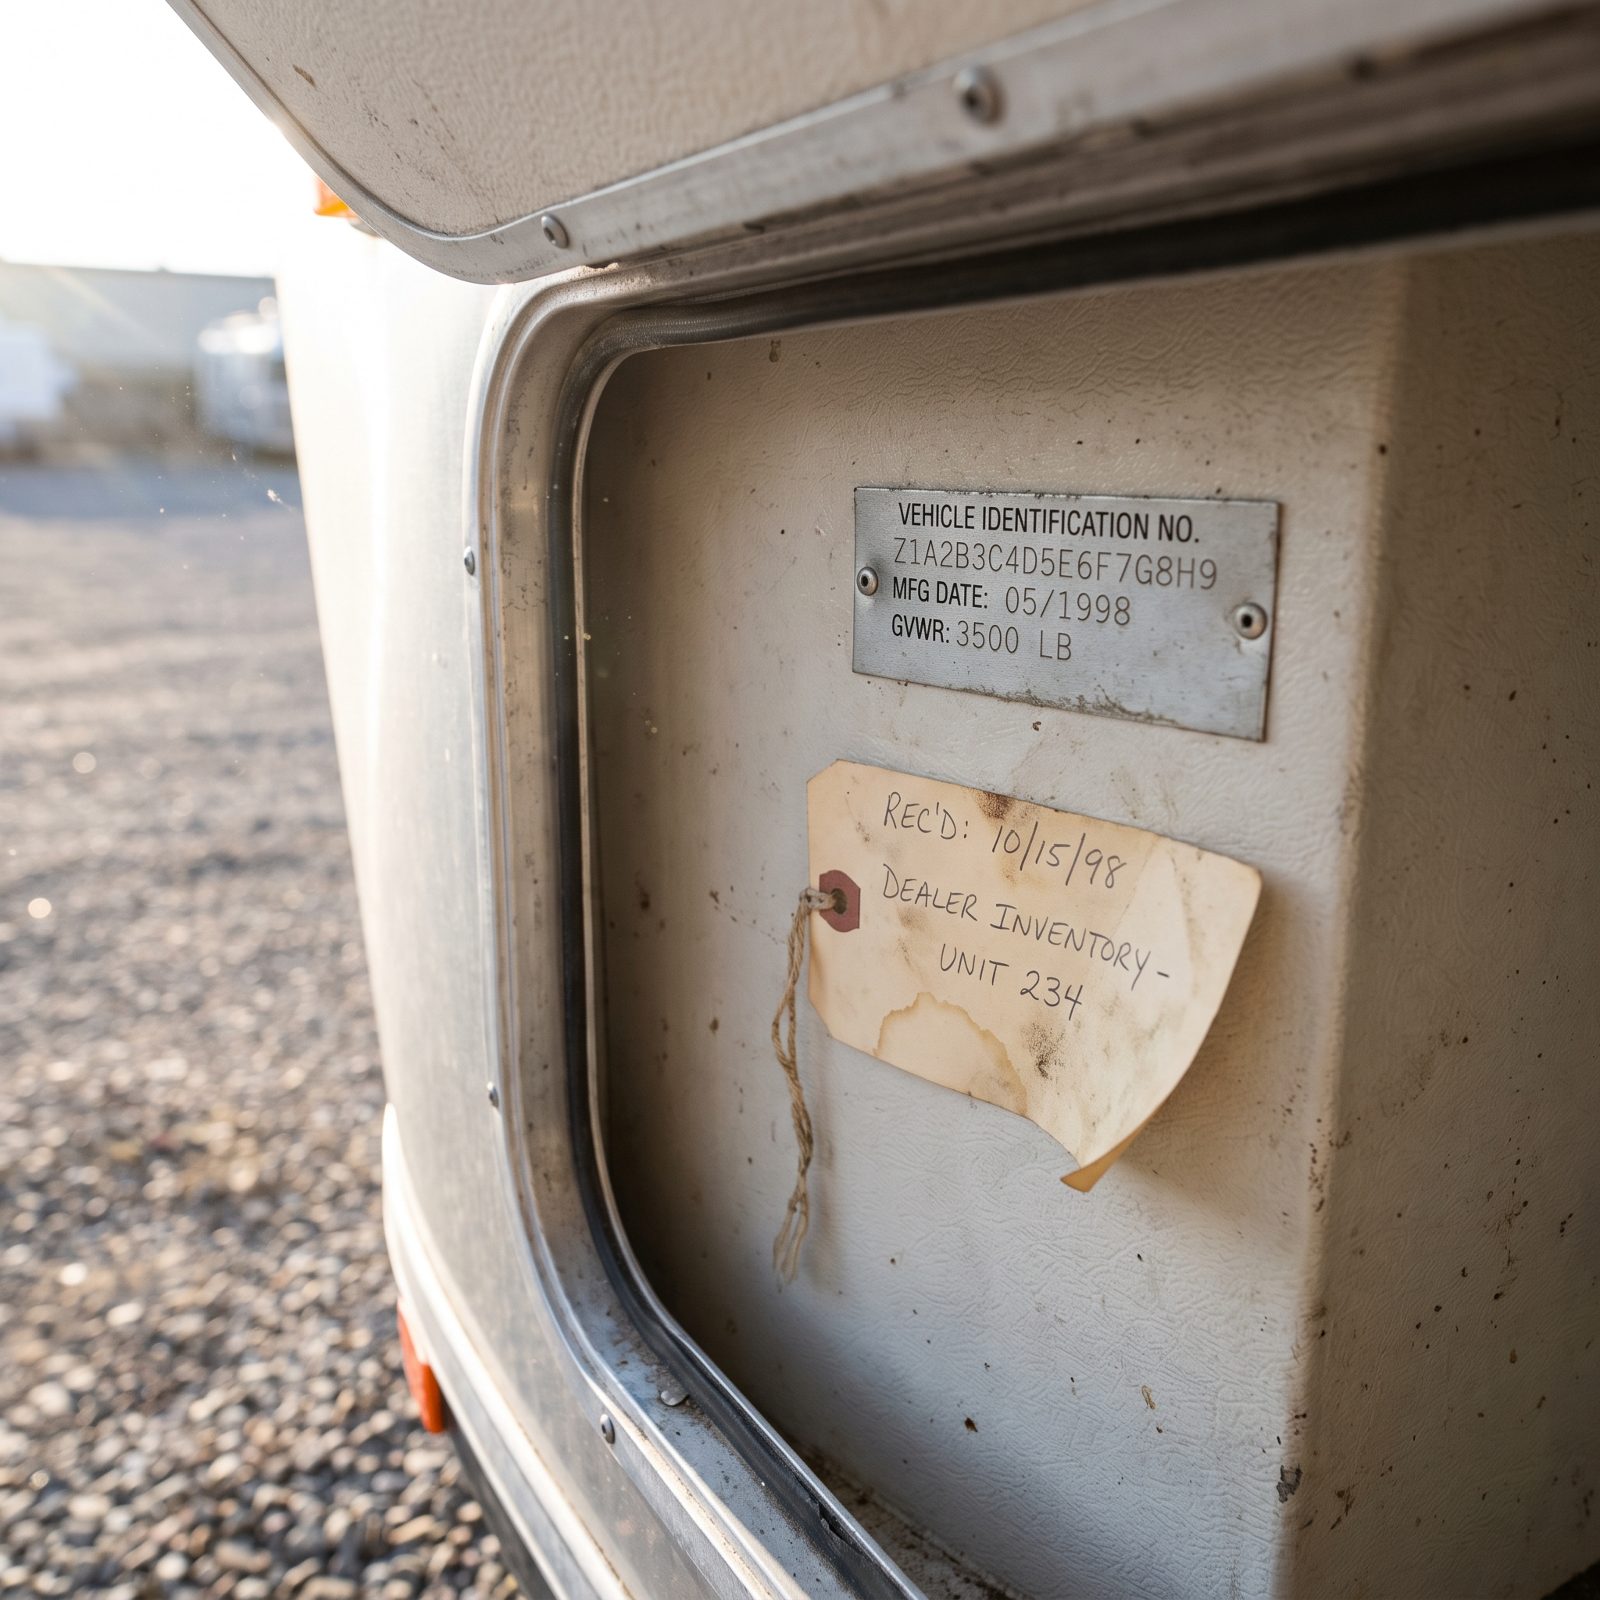
A trailer that’s been baking on the lot for two years is not the same deal as a fresh unit. Sun degrades tires, dries out roof sealant, and fades decals, yet the rig still gets sold at near-full price as “new.”
Ask for the exact lot arrival date, then cross-check it against the dealer’s inventory tag and the manufacture date stamped near the VIN. If it arrived eighteen months back, the tires may already be aging toward replacement before you’ve driven a single mile.
36. Confirm the Factory Warranty Clock

Most buyers assume the factory warranty starts the day they take delivery. Often it doesn’t. It can begin the day the dealer received the unit, which means a rig that sat on the lot for a year hands you a warranty that’s already partly burned through.
Get the start date in writing and confirm it with the manufacturer, not just the salesperson. One phone call to the maker settles it. If months are already gone, use that to push for a lower price or a clock that resets at delivery.
35. Dig Into Prior Registration History
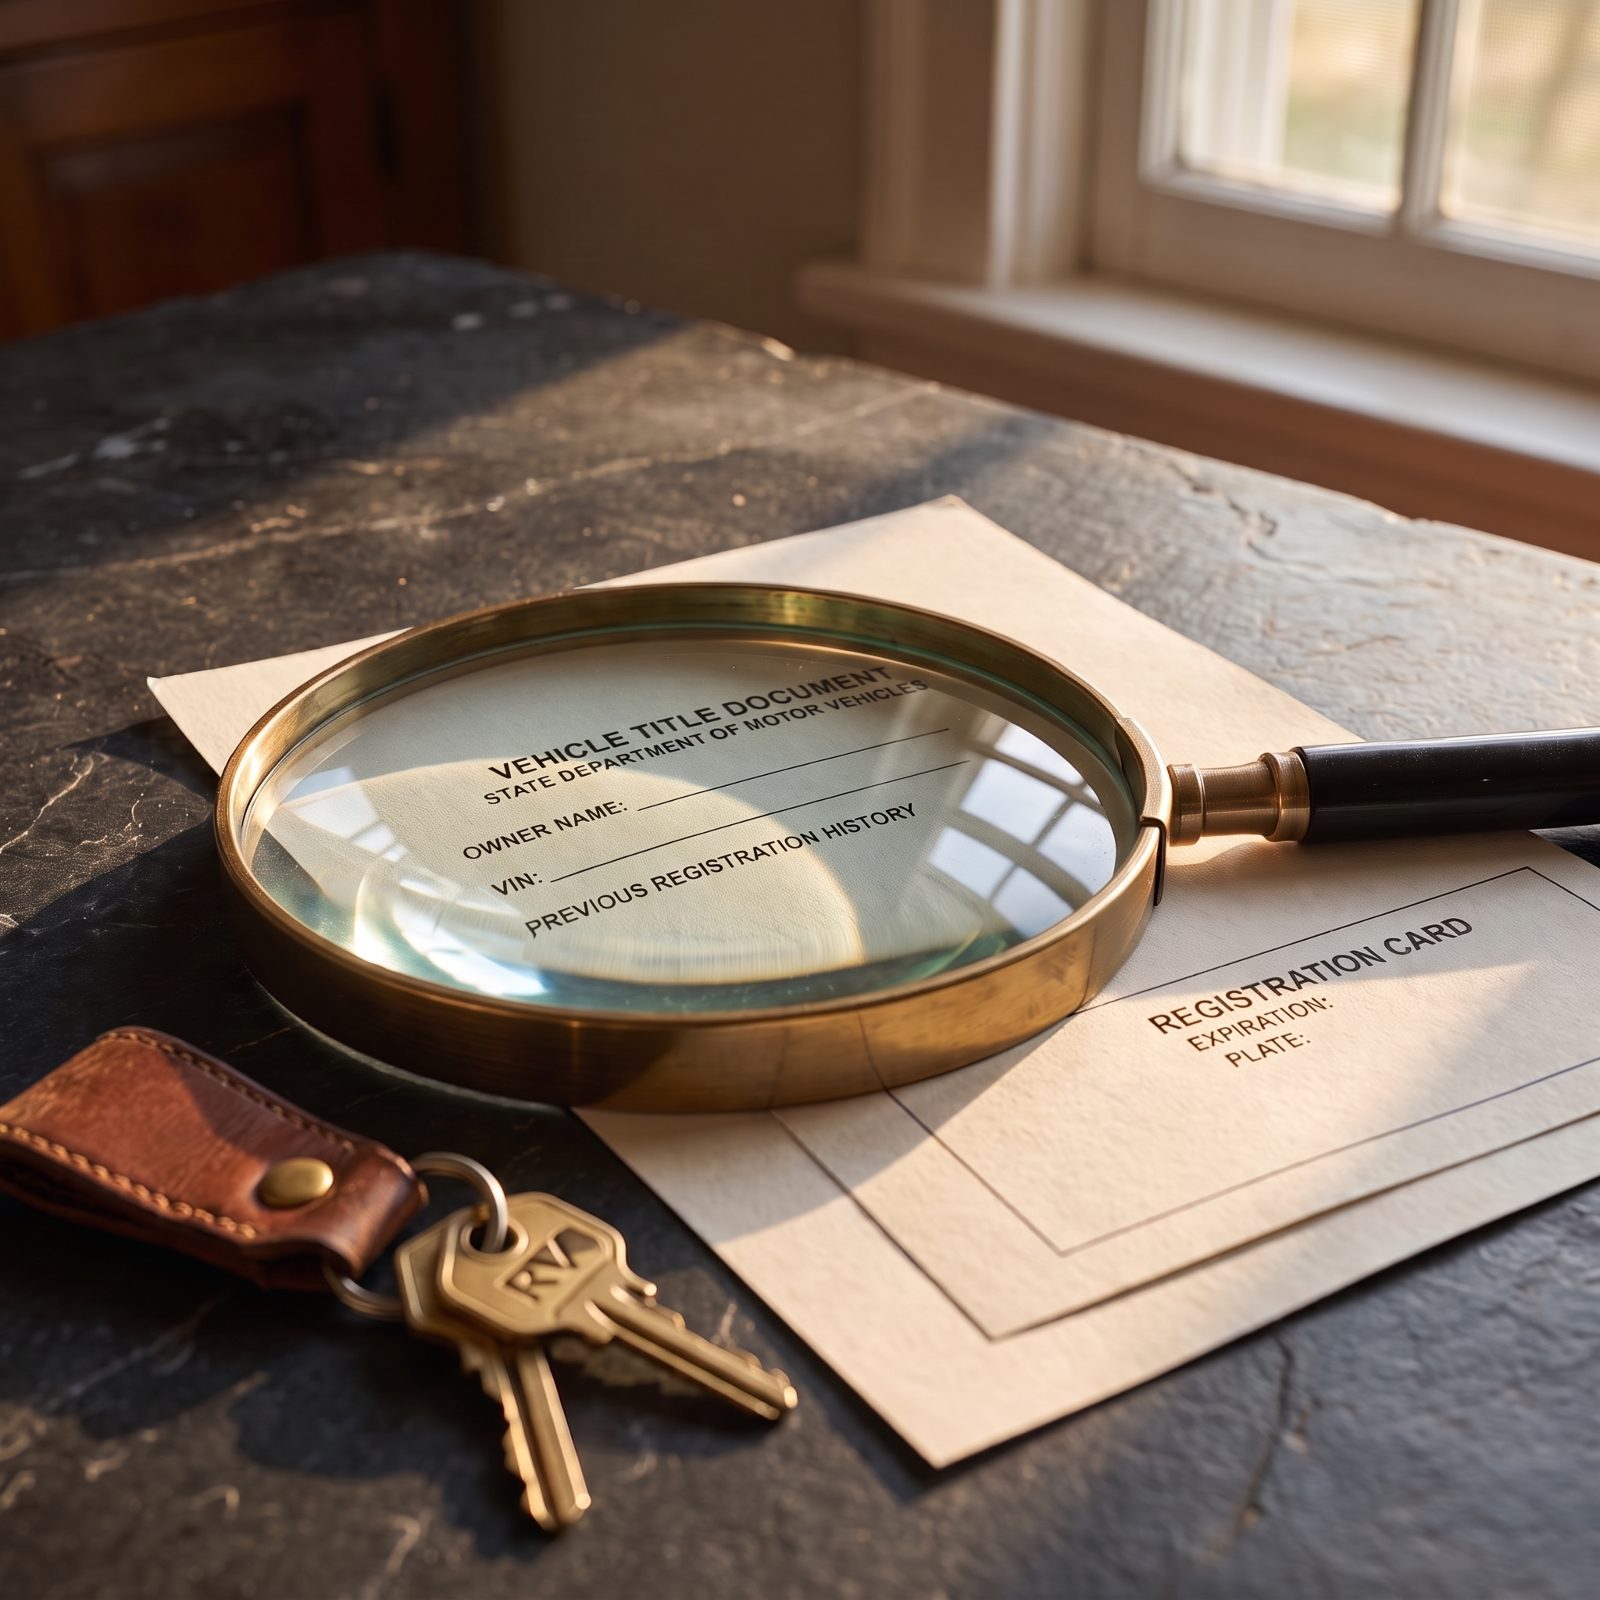
“New” and “never titled” aren’t the same thing. An RV can have been registered to the dealer, used as a loaner, or even sold and returned, all while still wearing the new sticker.
Ask directly whether the unit has ever been registered or titled to anyone, the dealership included, then run the VIN through a history service yourself. A prior registration doesn’t automatically kill the deal. It does mean you should be paying a used price, not a new one.
34. Ask If It Was a Show or Demo Unit
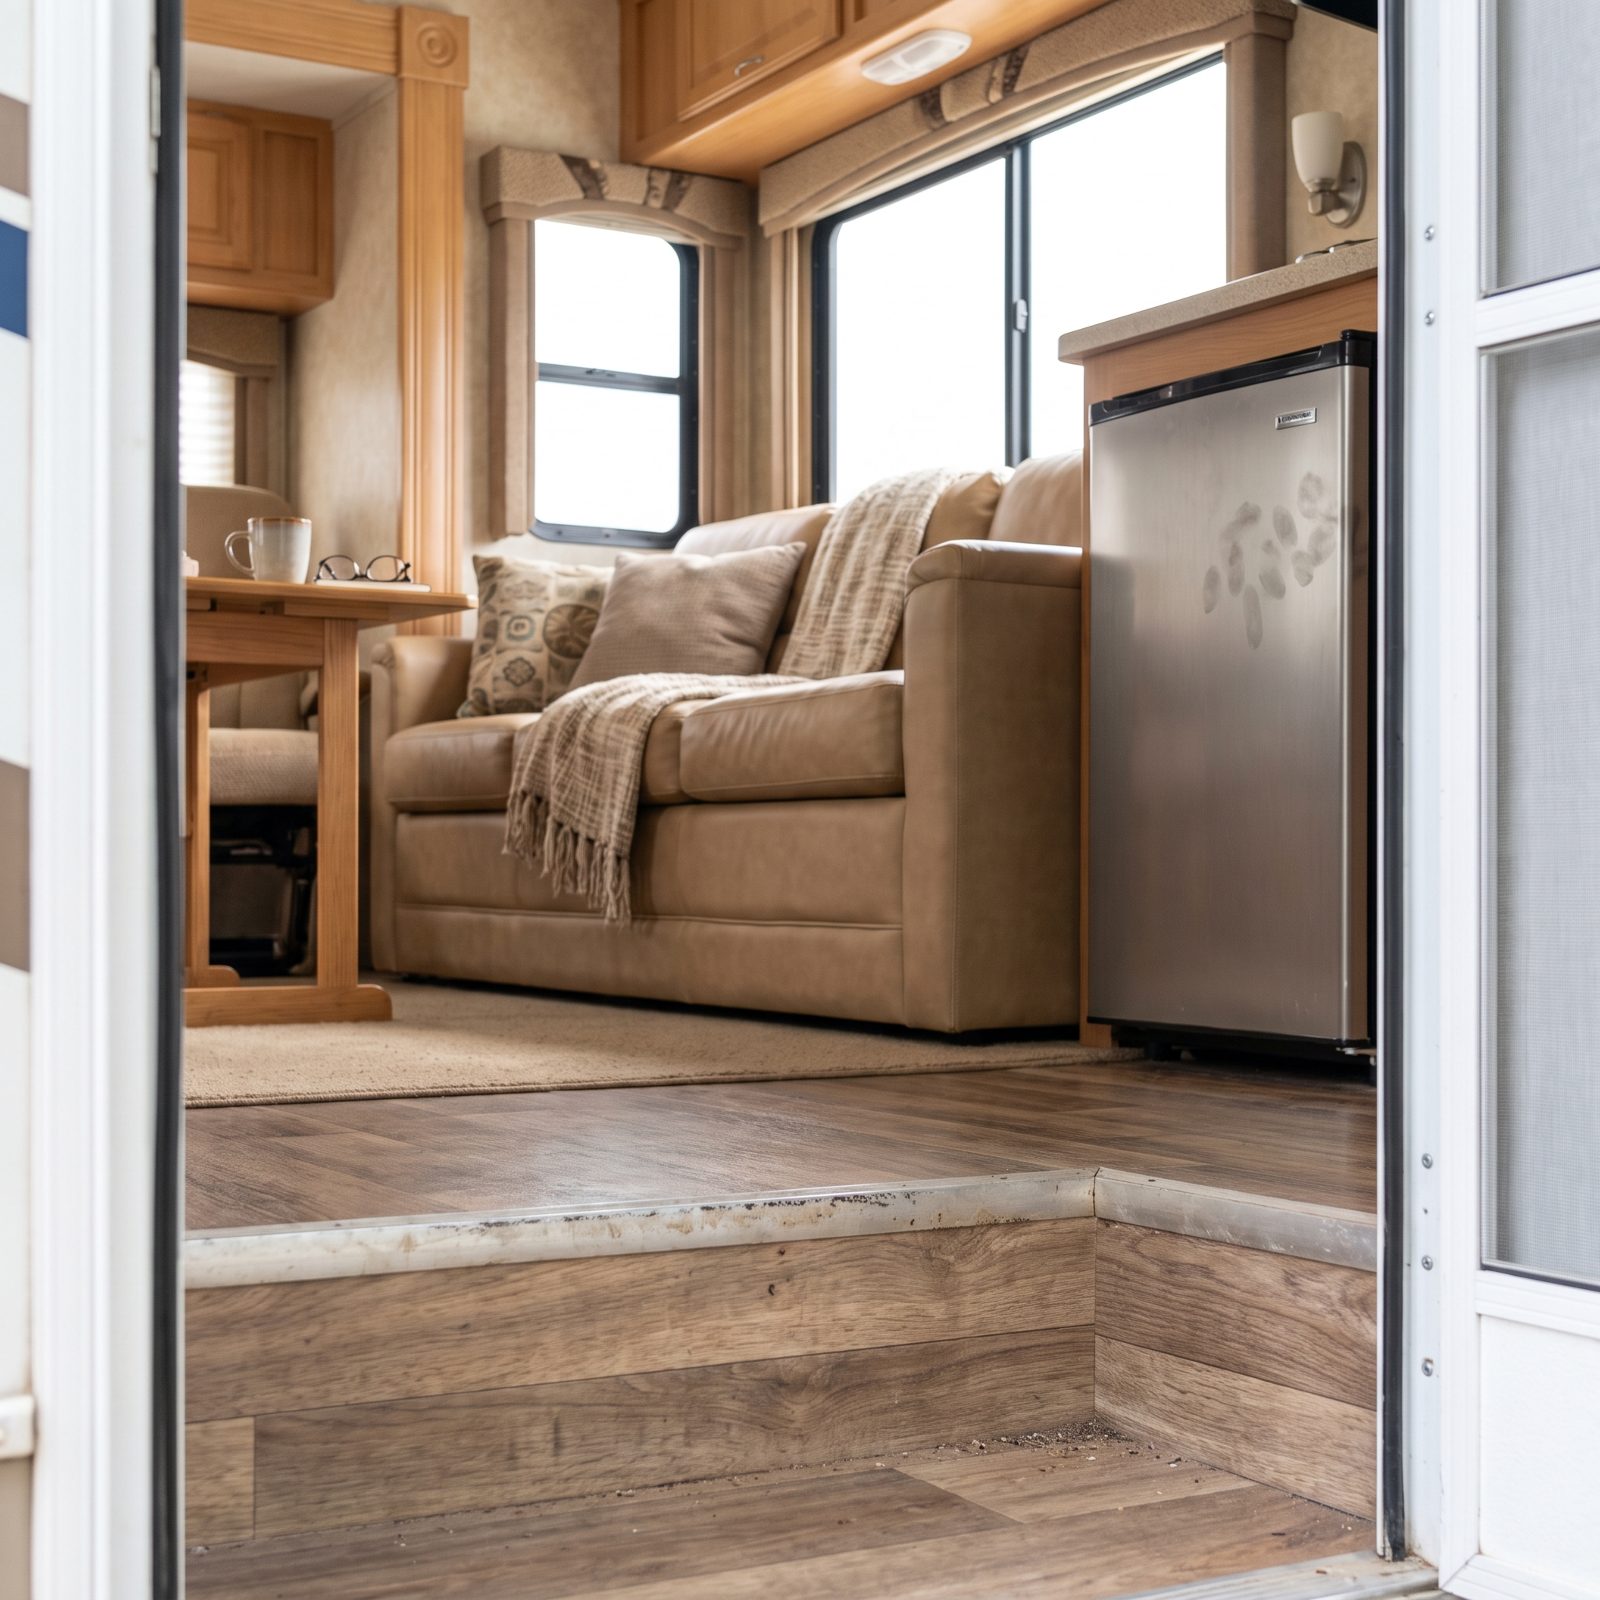
Demo and show units rack up invisible wear. Hundreds of strangers have cranked the slide-outs, flushed the toilet, opened every cabinet, and climbed on the bed. Mechanisms that cycle thousands of times before you own them simply age faster.
So ask plainly: “Was this at any RV shows or used as a demonstrator?” Then hunt for the tells yourself. Worn flooring at the entry, grimy switch plates, slide seals that look tired, a faint whiff of heavy foot traffic. If it was a show unit, it should be priced like one.
33. Hunt for Hidden Transport Damage
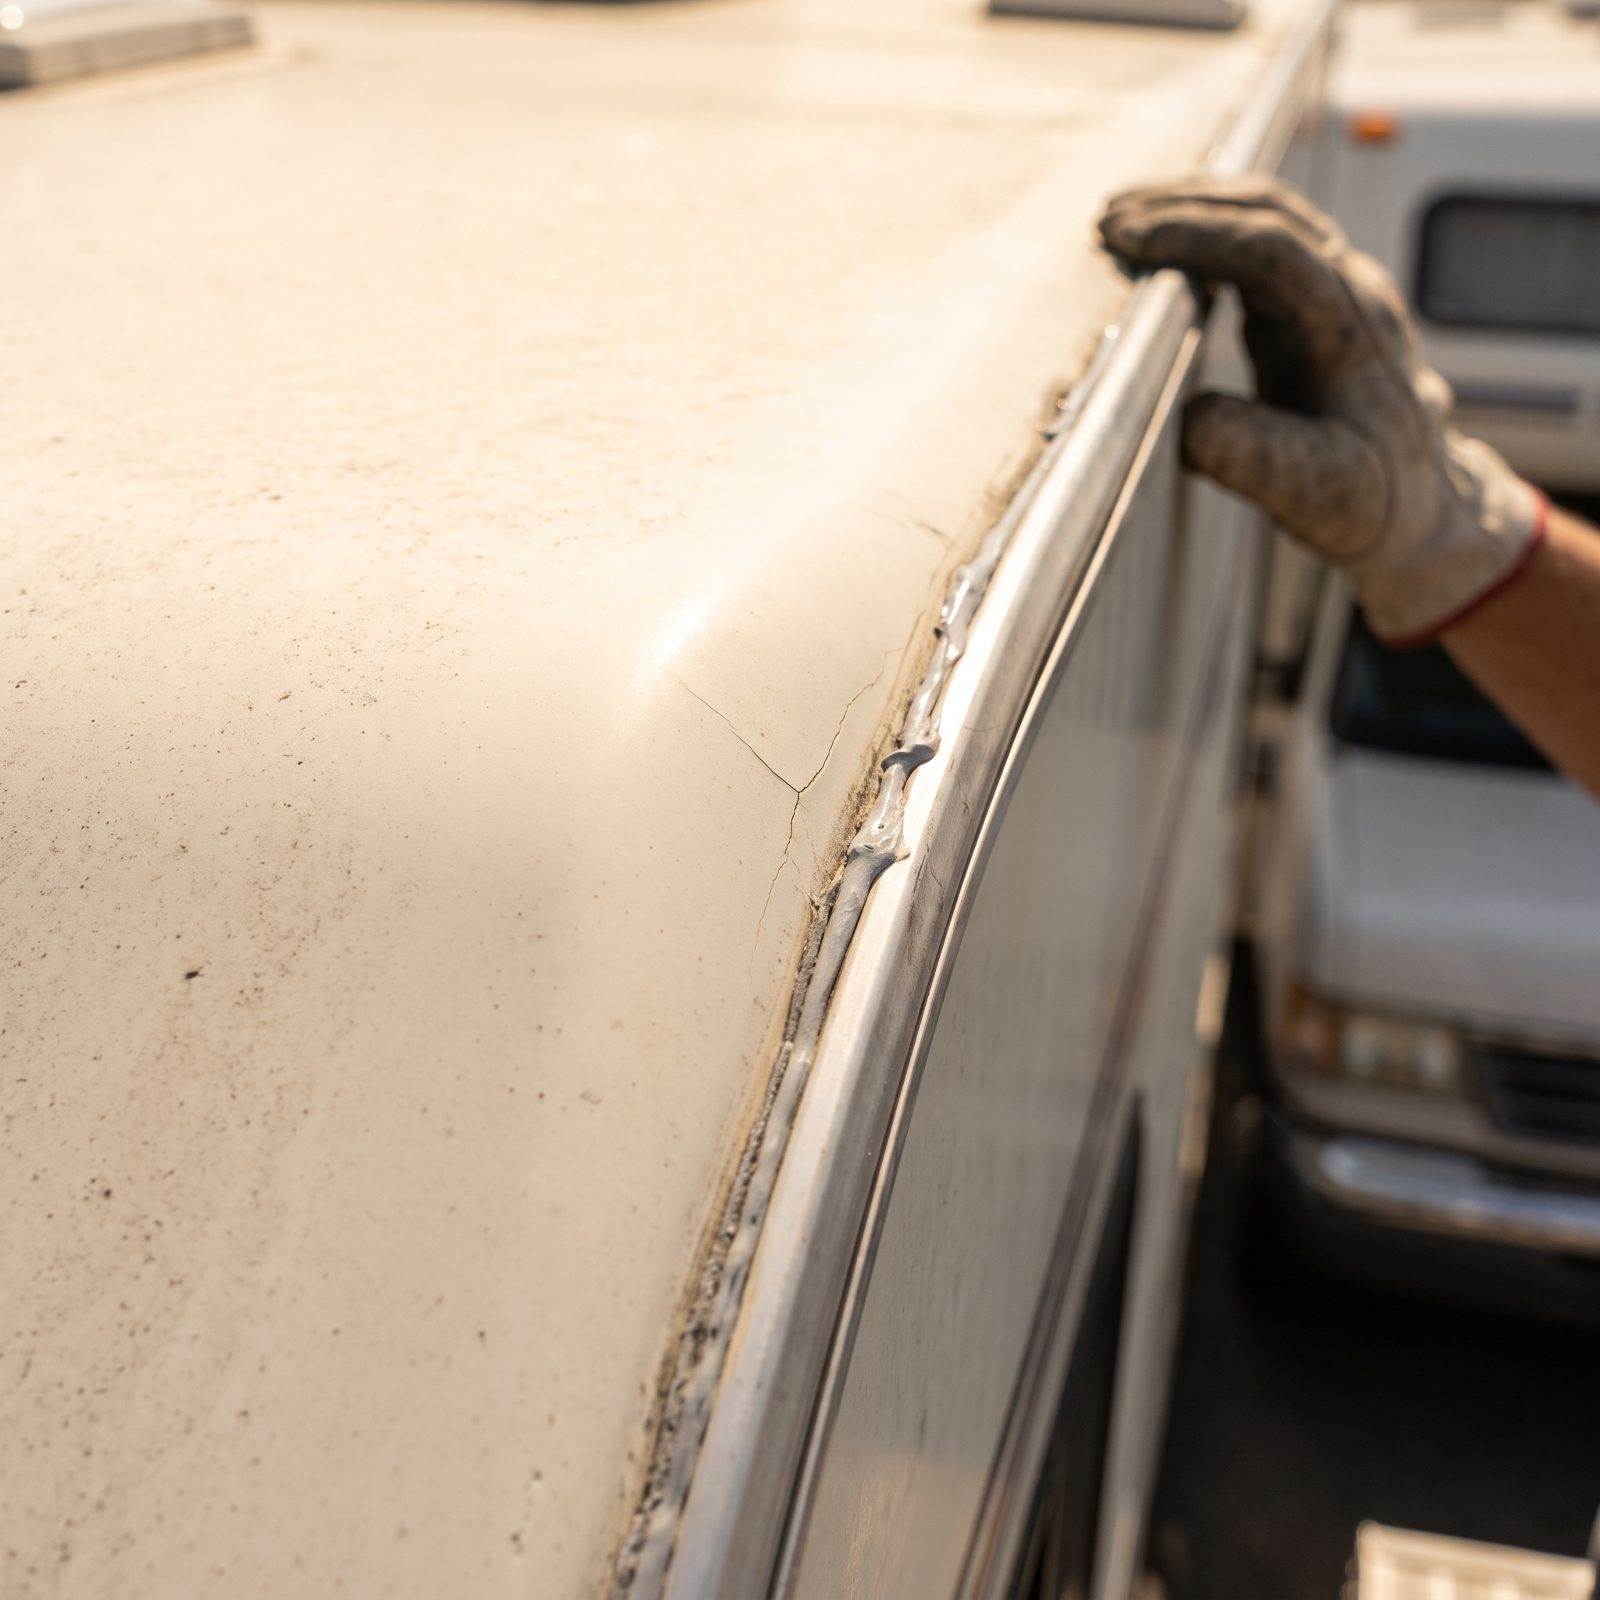
RVs get hauled hundreds of miles on the back of a truck, and road vibration cracks things. Delamination, popped rivets, stress fractures in the fiberglass, leaking seams — all of it can start before the unit ever reaches the lot.
Walk the whole exterior in good light. Press on the sidewalls, feel for bubbling or soft spots, and eyeball every roof seam for fresh-looking sealant that might be hiding a crack underneath. Ask whether it arrived with any transport damage and whether anyone repaired it.
A dealer who got a damaged unit from the factory had to document it. Make them show you.
32. Pull the Pre-Arrival Repair Records
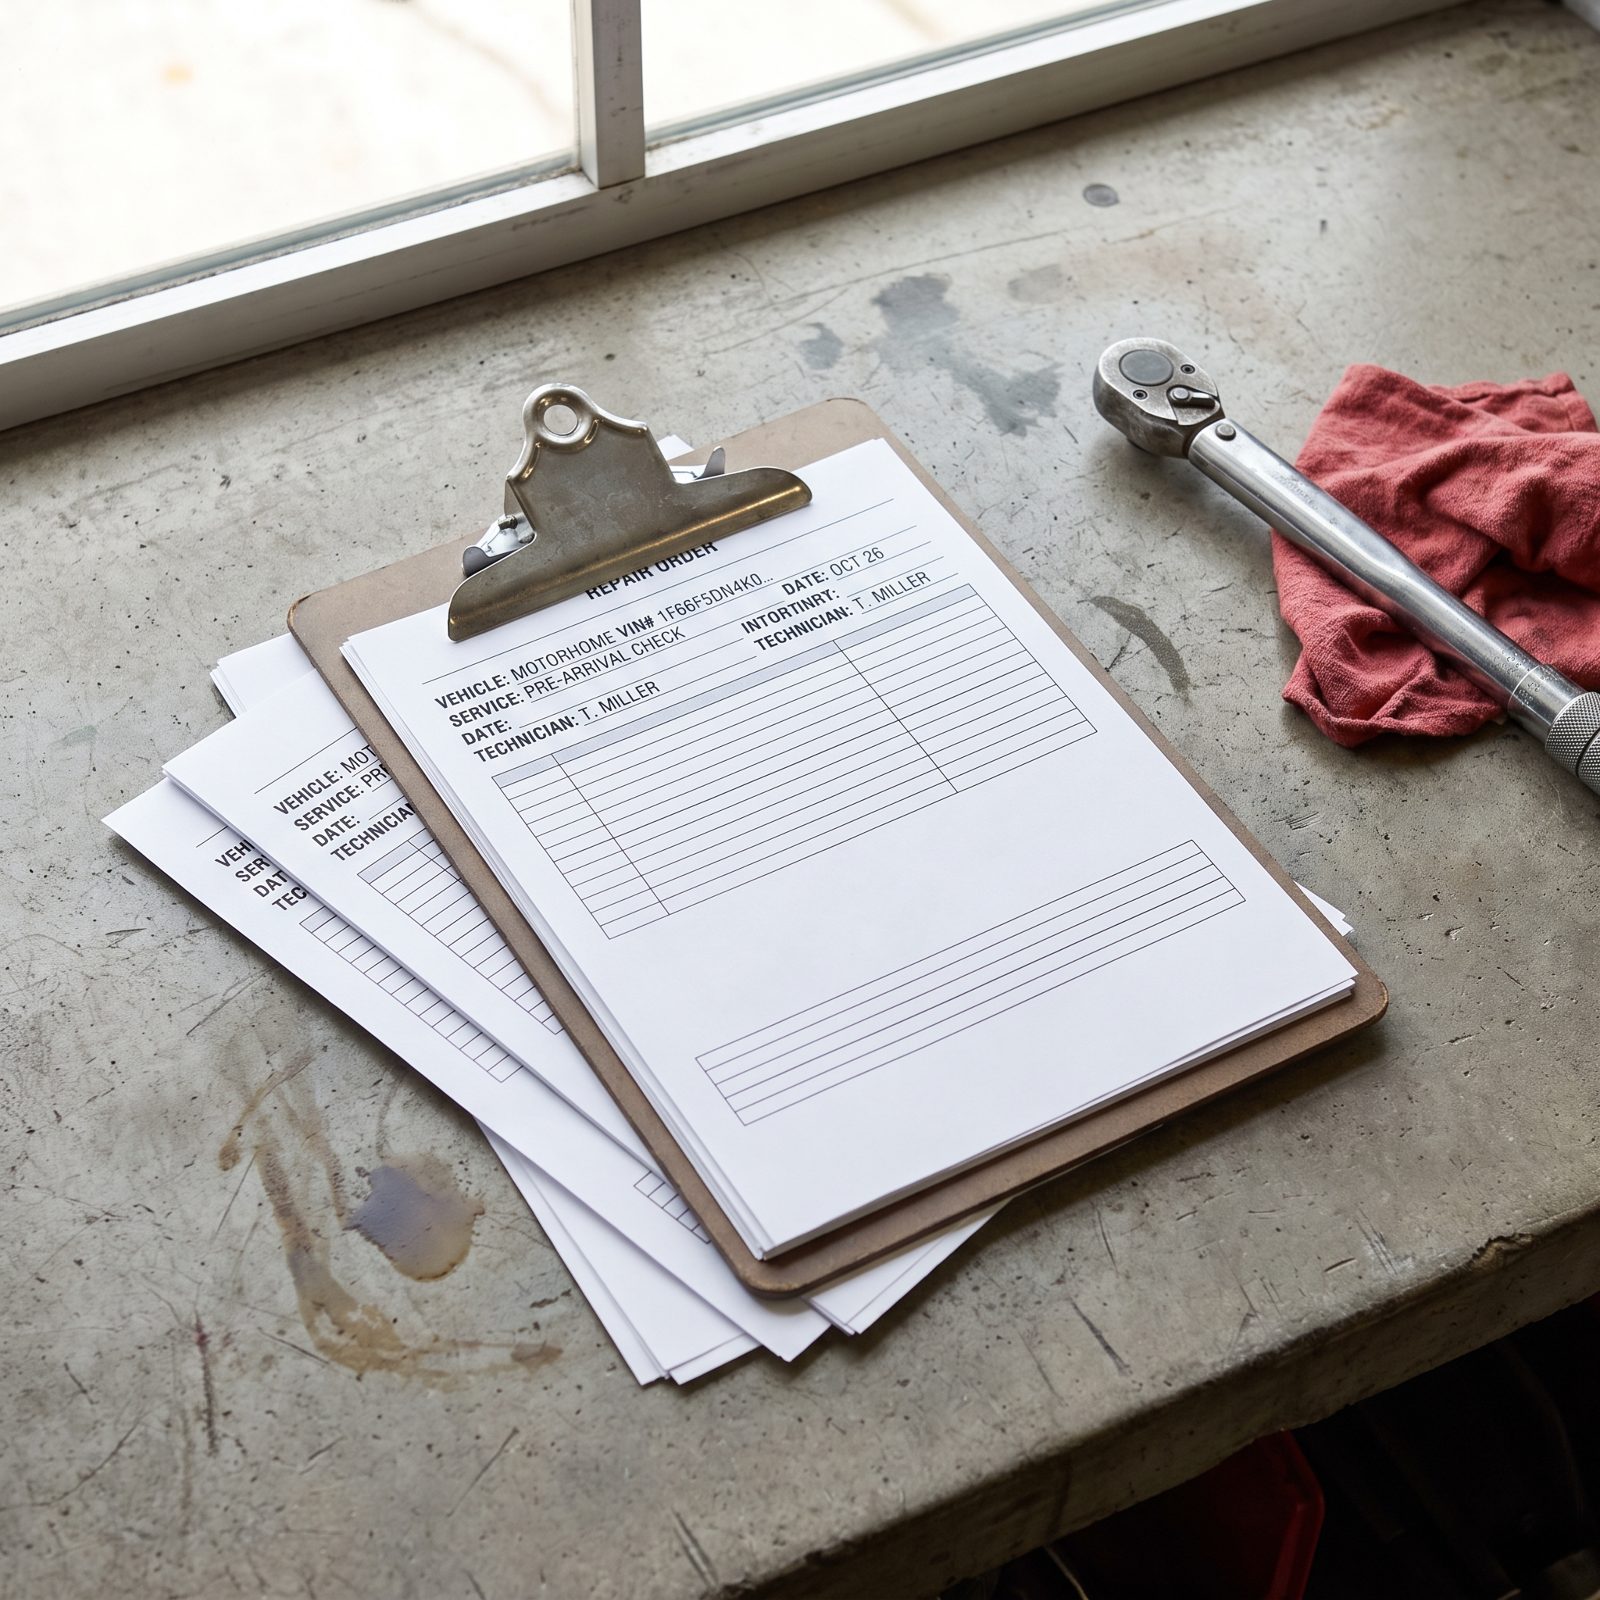
Work done before you ever saw the rig doesn’t show up on the window sticker. Factory recalls, warranty fixes, dealer prep repairs — they all live in the service file.
Request every repair order tied to that VIN, dated before your inspection. If an appliance was swapped or a slide motor replaced, you want to know why, because a fix once often means a fix again.
31. Get Recent Moisture-Meter Readings
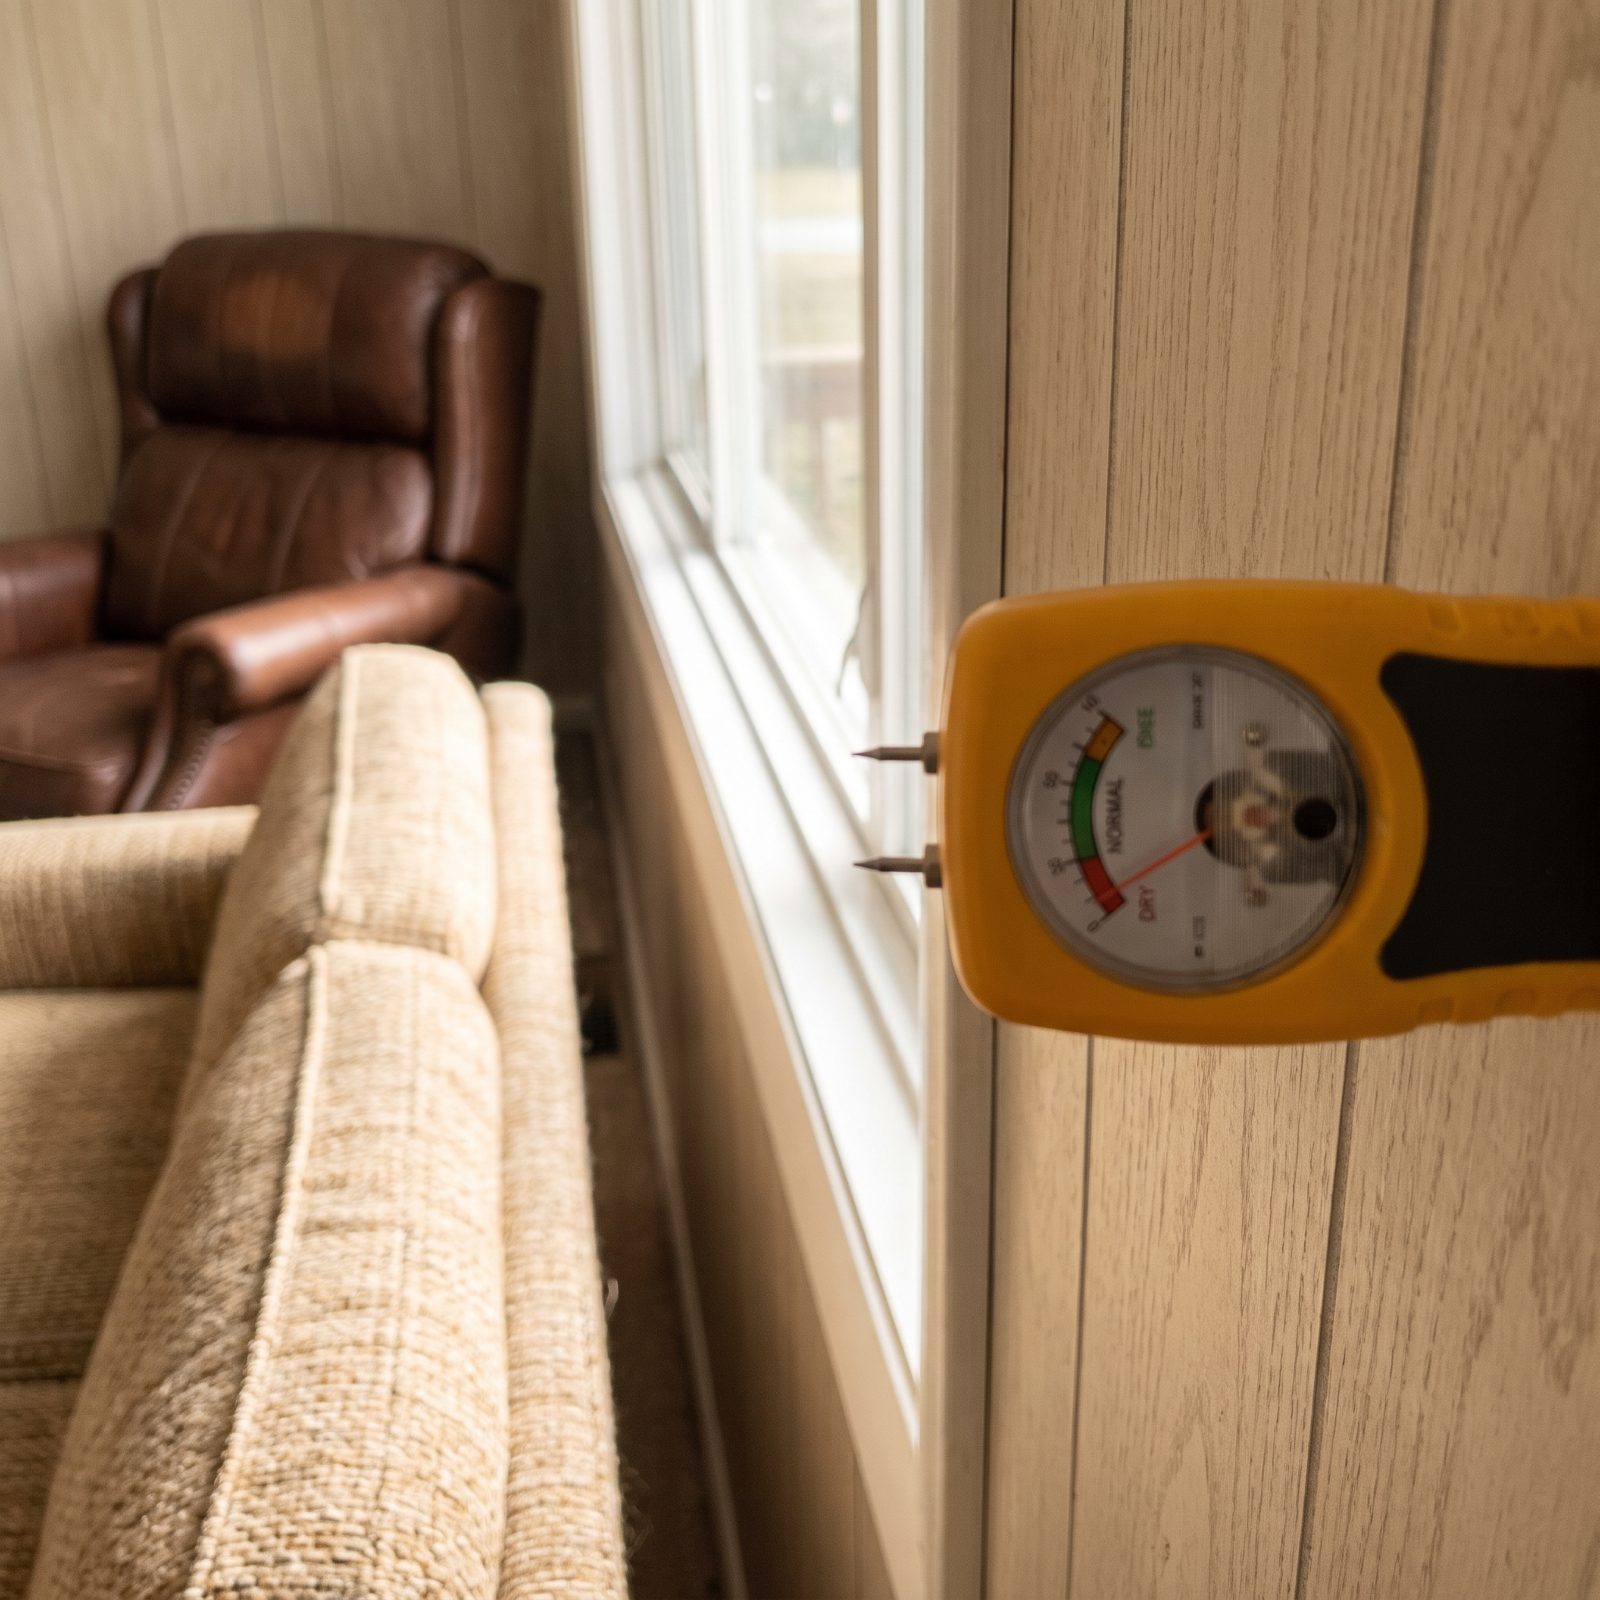
Water is what kills RVs. It seeps in at seams and window frames, rots the wood underneath, and you usually can’t see it until the wall has already gone soft. A moisture meter catches the trouble while it’s still cheap to fix.
Ask whether the dealer took moisture readings during prep, and request the numbers. Then bring your own inexpensive meter and check the corners, the roof-to-wall joints, around every window, and below the slide-outs.
Quick test: Press and sniff. If a wall panel flexes under light pressure or the cabinet corners smell musty, that’s water, whatever the meter says.
30. Read the Completed PDI Checklist
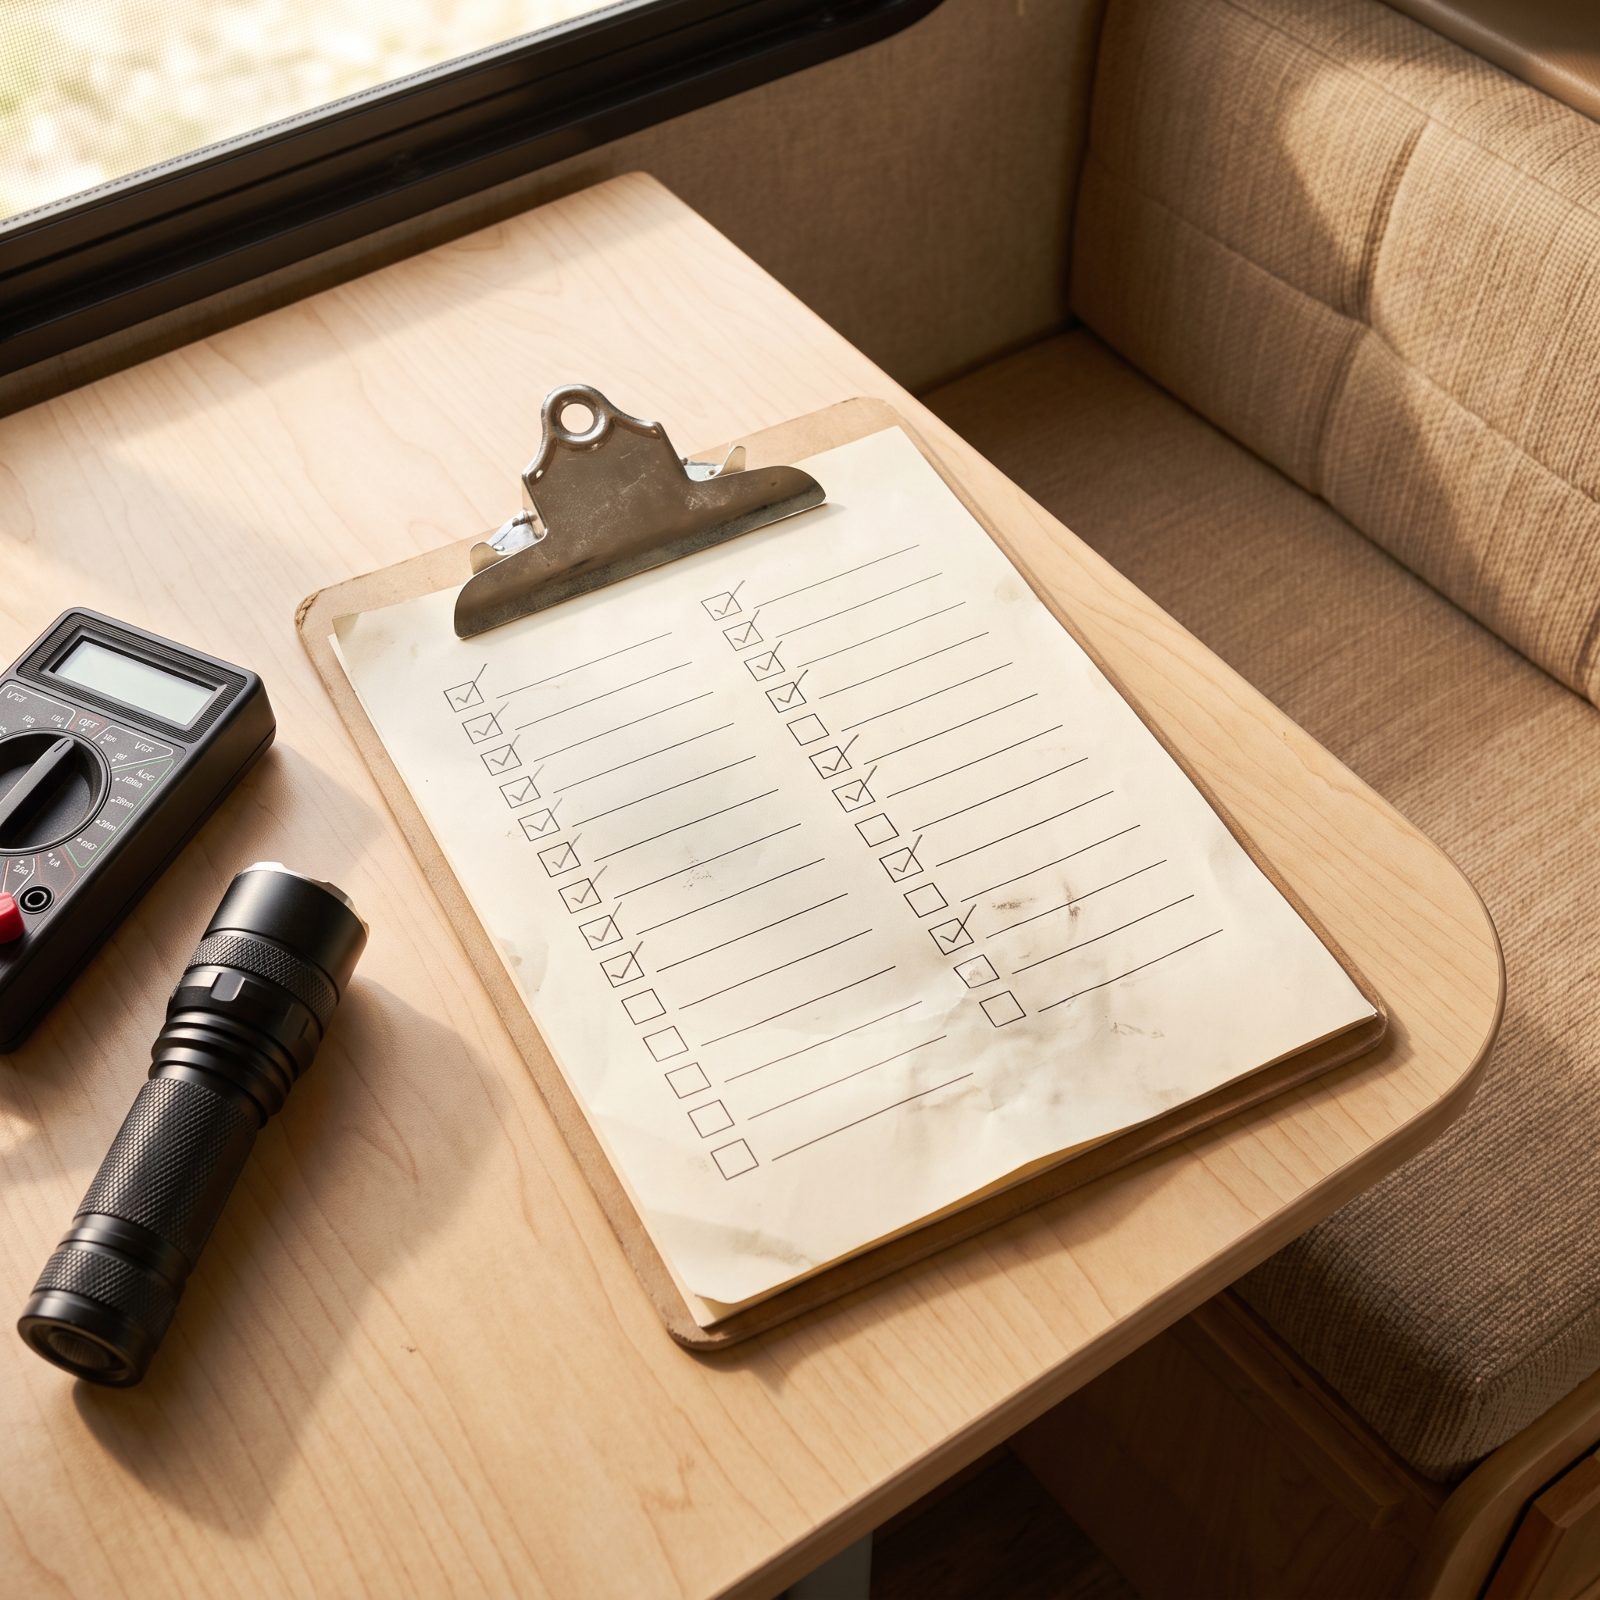
Every reputable dealer runs a pre-delivery inspection — appliances, systems, seals, electrical, all checked before handoff. The problem? Plenty of them rush it and hand you a rig with issues anyway.
Ask to see the completed PDI sheet, every line checked and signed, not a blank promise that it got done. Then walk the major items yourself at delivery. Run the furnace and AC, test every outlet, fill the water system and check for leaks, cycle each slide.
If something fails after you sign, it becomes your project. Catch it on the lot and it’s theirs.
29. Ask Who Gets Service Priority

This is the part that stings months later. You bought from Dealer A, but warranty work can drag on for weeks because out-of-house buyers and non-customers wait behind the dealer’s own sales.
Before you sign, ask how scheduling priority actually works. Do buyers go to the front of the line? What’s the typical wait for a warranty appointment in peak season? Get a real answer, not a shrug.
A great price means little if your rig sits in the service lot all summer.
28. Recalculate Payload After Dealer Accessories
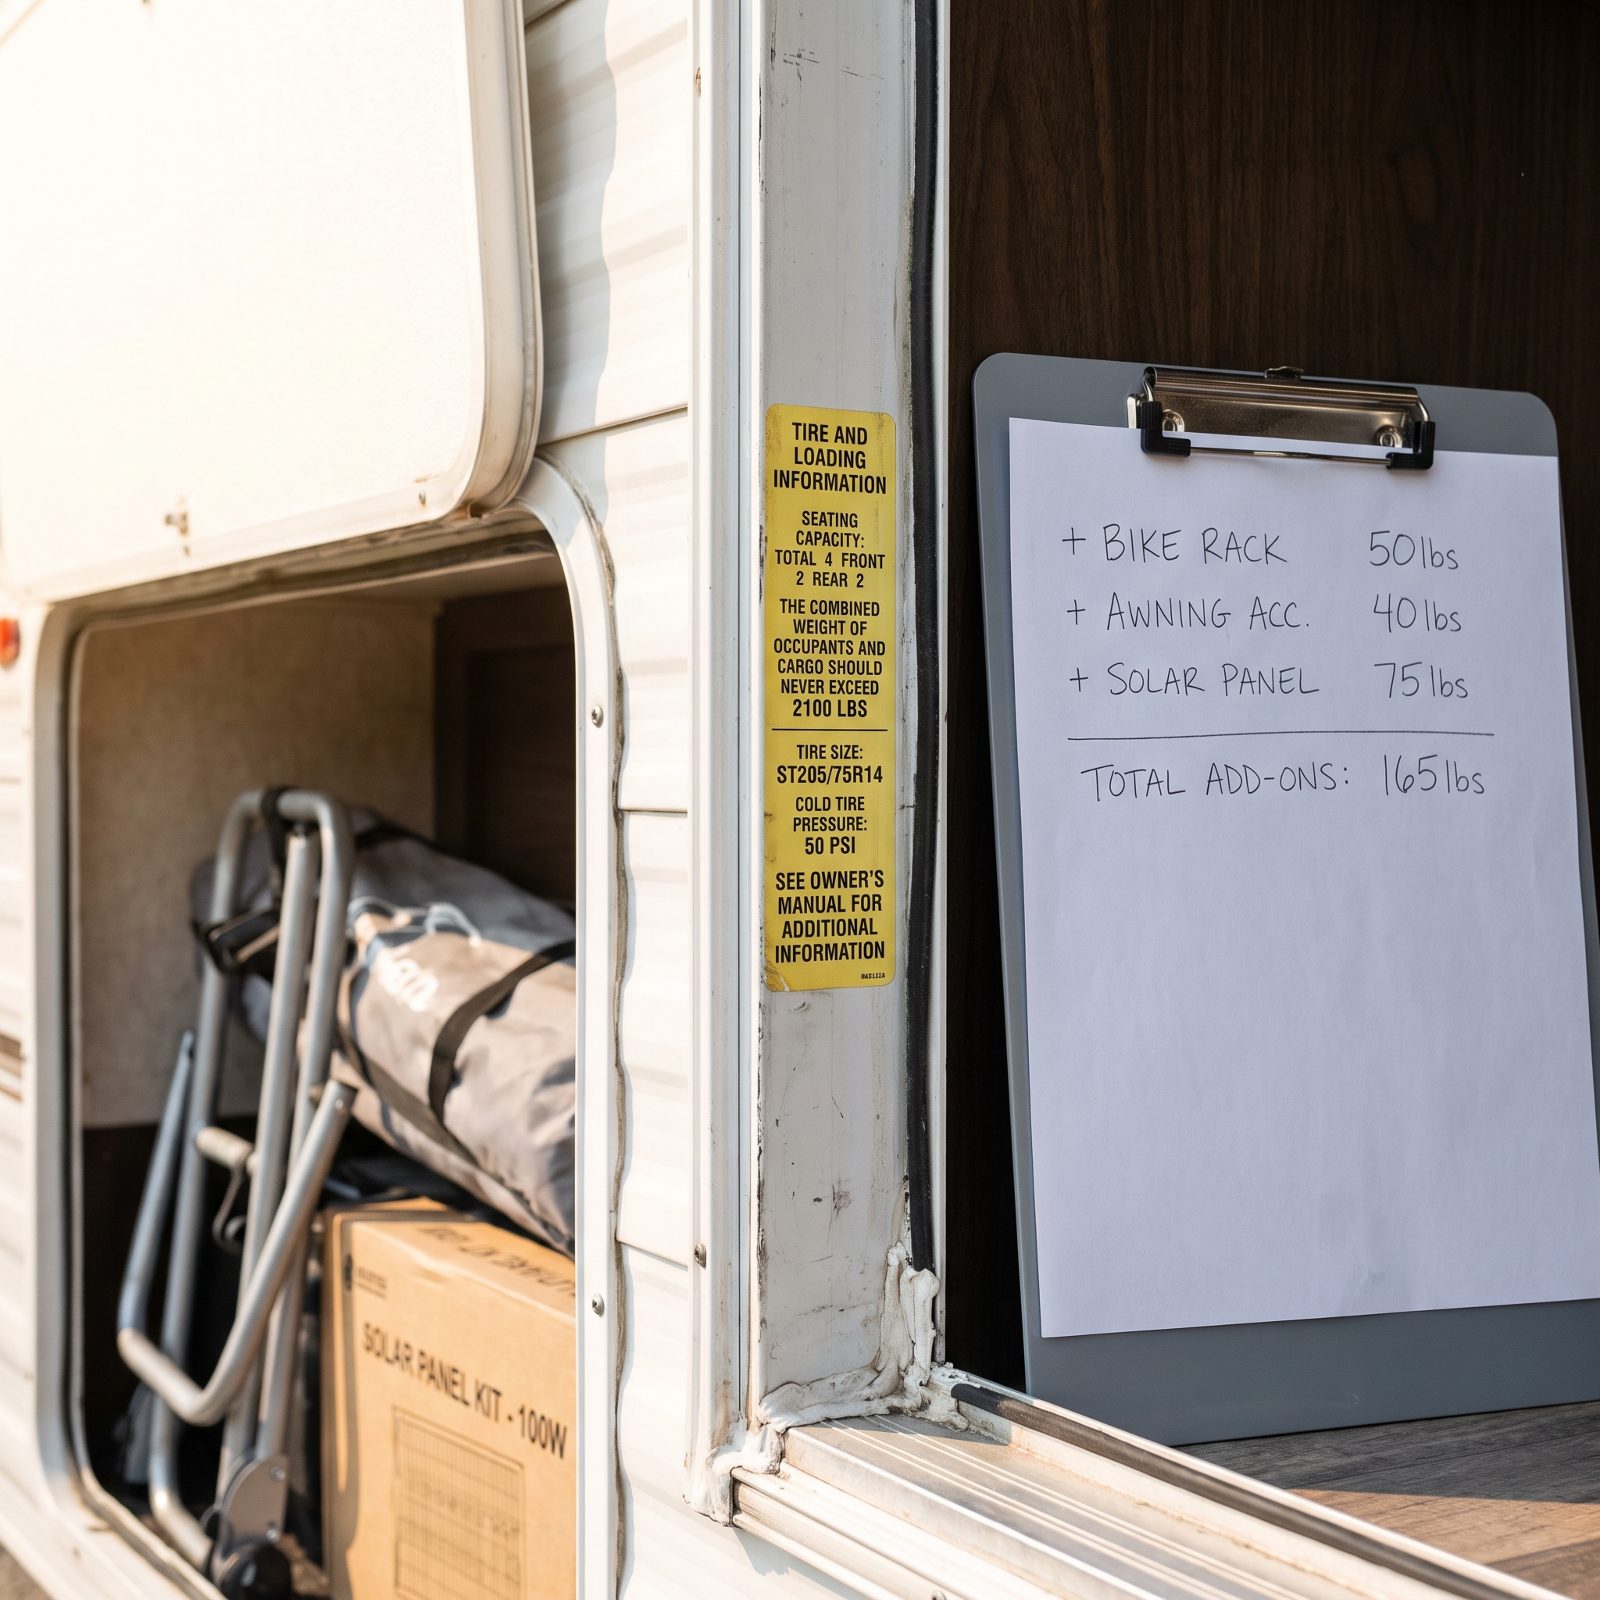
That cargo carrying capacity number on the door jamb got printed before the dealer bolted a single thing on. Add a bike rack, an awning, and a solar kit, and the number you were quoted turns into fiction. The handwritten tally beside the sticker shows how fast it adds up: accessories never raise cargo carrying capacity, they only subtract from it.
So get the CCC figure in writing, then ask the dealer to weigh each accessory they installed and subtract it. Full propane tanks count too. Here’s what buyers forget entirely: passengers and fresh water eat payload just as fast. Top off that fresh tank and you’ve added hundreds of pounds before you’ve loaded one cooler of beer.
27. Hire an Independent RV Inspector
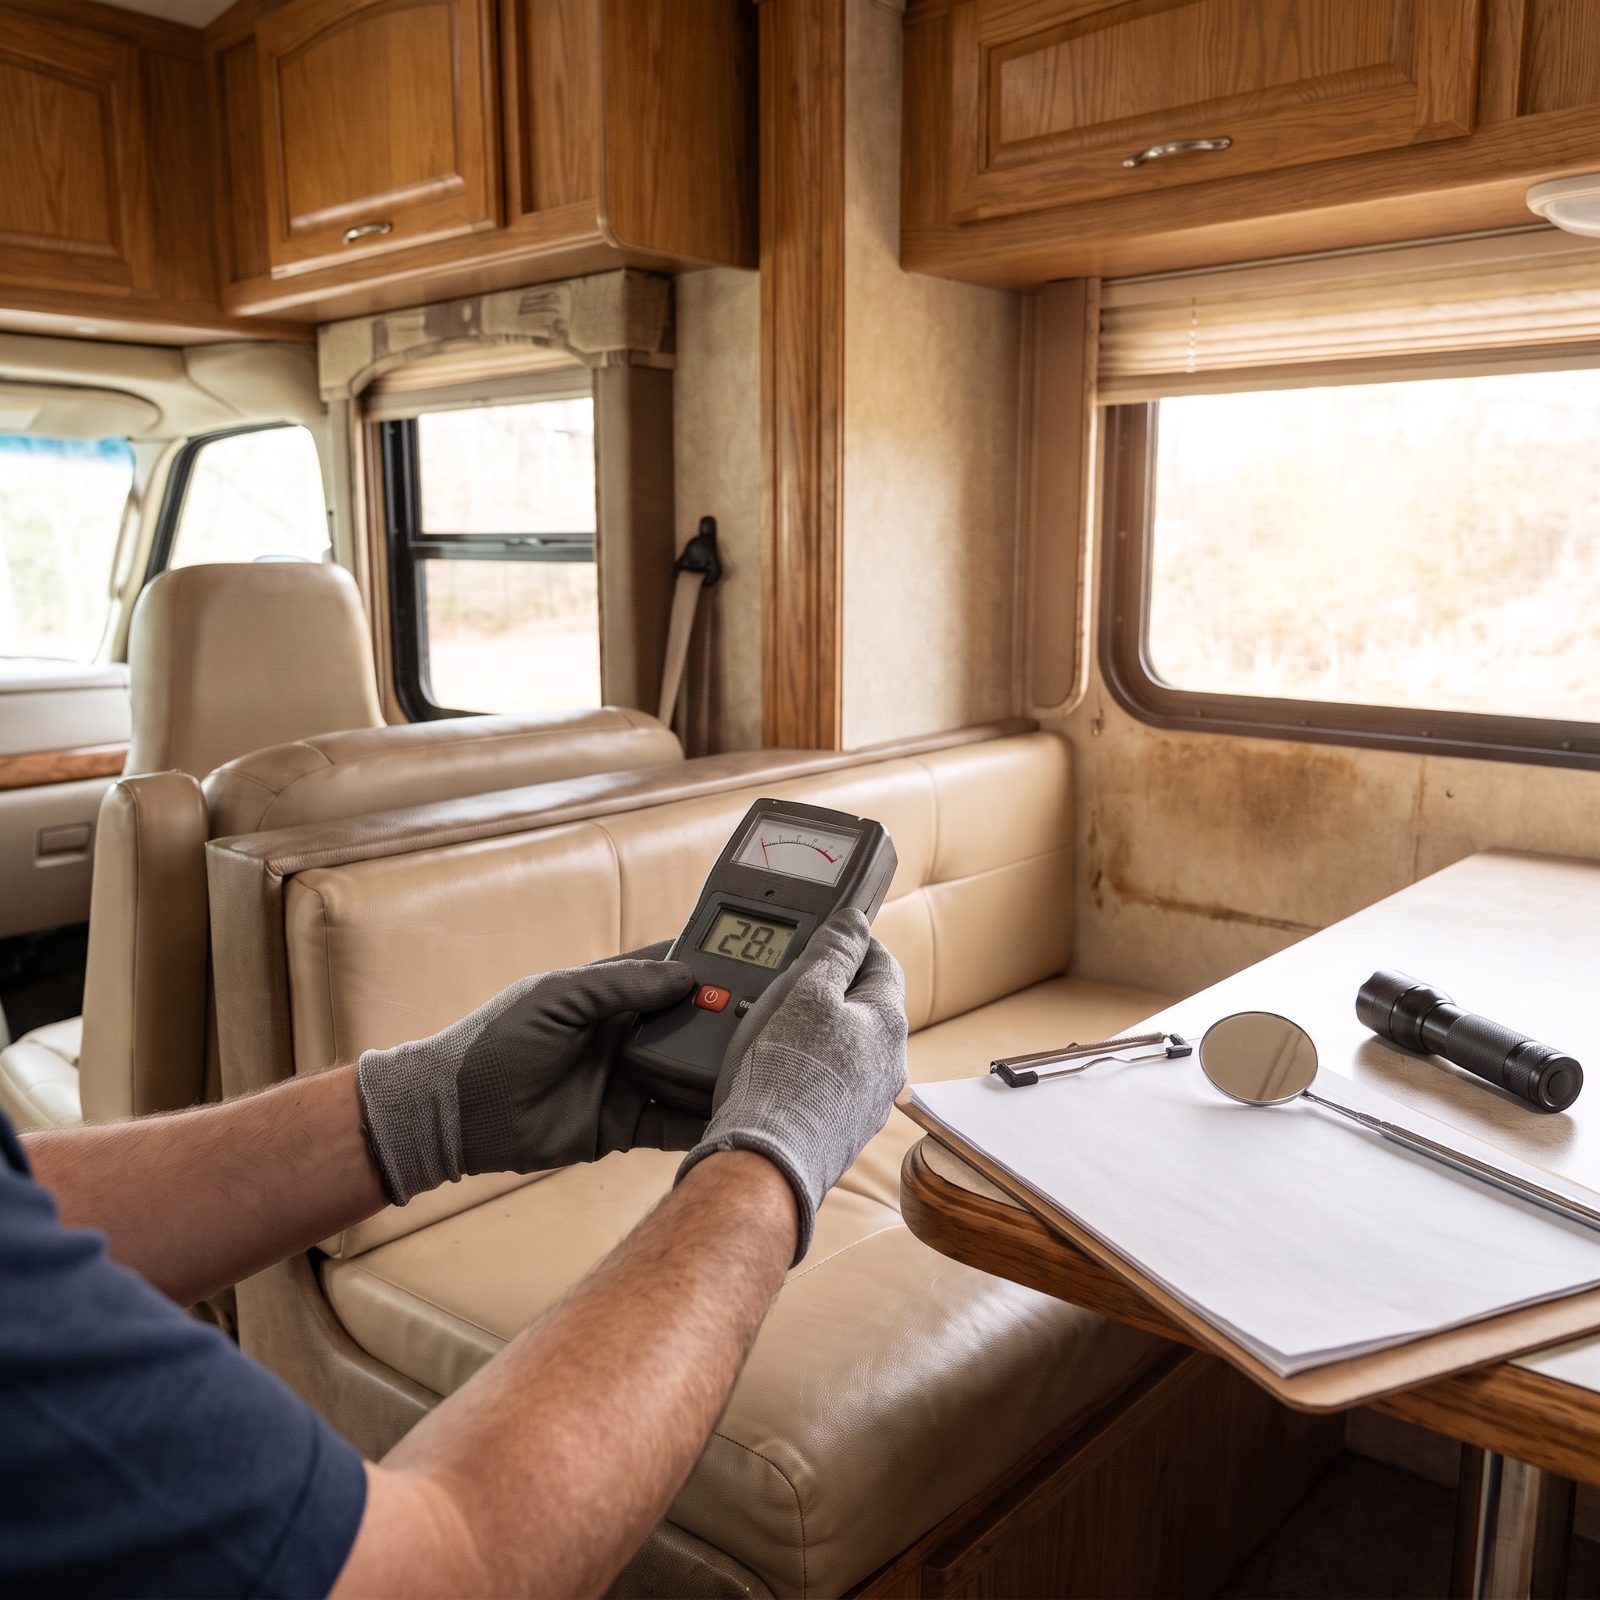
Dealers inspect to sell. An independent inspector inspects to warn you. Different jobs entirely.
A certified RV inspector — look for NRVIA credentials — spends a good chunk of the day going over a rig the way a home inspector goes over a house. They pressure-test propane lines, run the generator under load, check every appliance, and crawl the roof. You get a PDF with photos, and it may be the smartest few hundred dollars you spend before you buy.
And here’s what people miss: book this on a used coach and on a brand-new one. New rigs roll out of the factory with loose fittings, missing sealant, and water heaters nobody ever lit. New doesn’t mean right.
26. Make the Purchase Inspection-Contingent
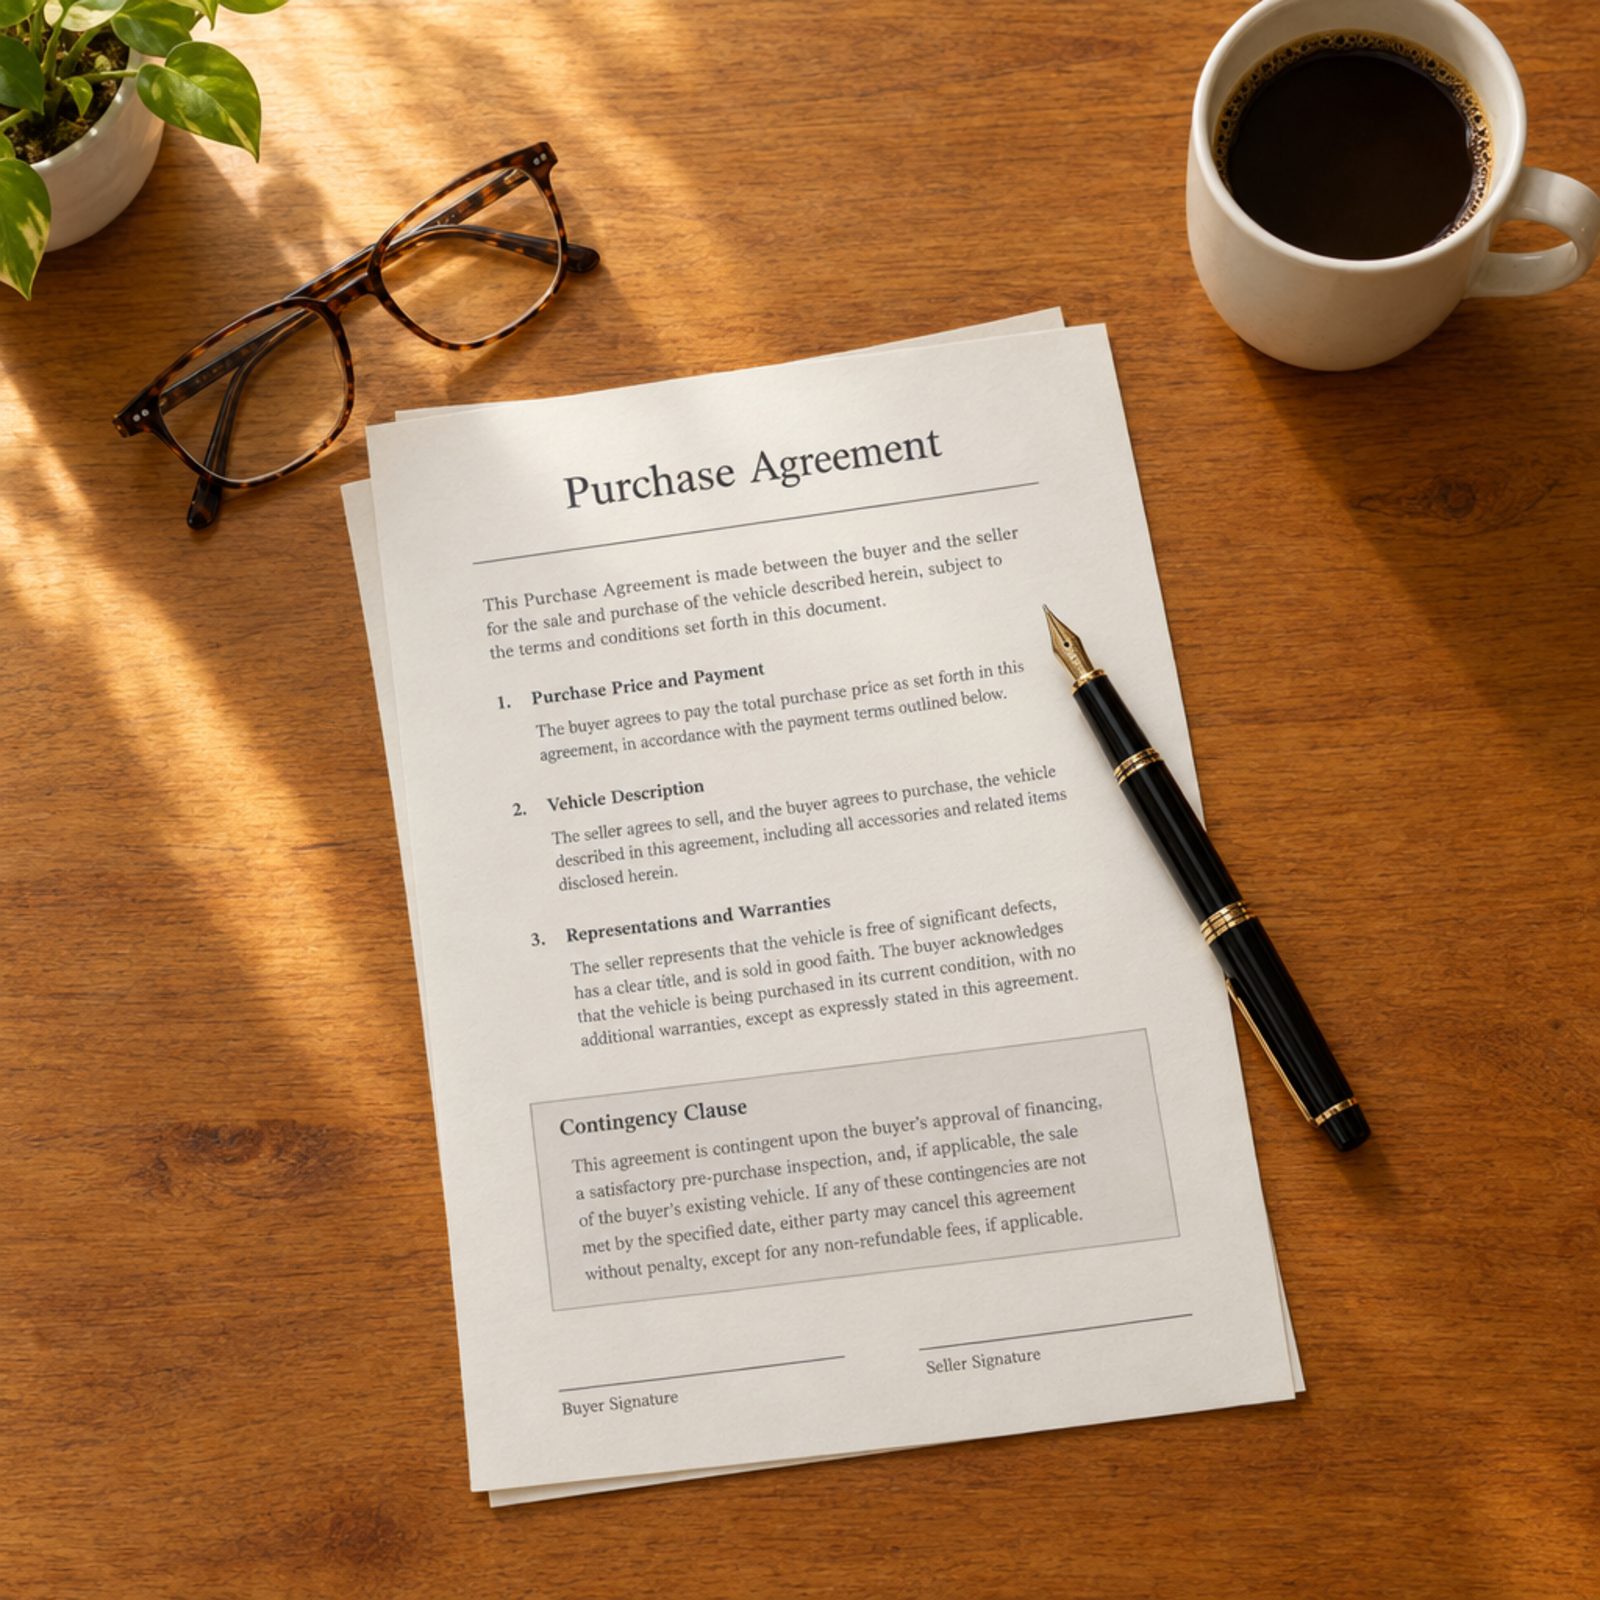
A verbal “sure, get it inspected” means nothing the moment you sign. The protection has to live in the contract.
Before any deposit changes hands, get it in writing that the sale hinges on a satisfactory independent inspection, with your deposit fully refundable if the report turns up deal-breakers. One sentence does it.
What trips buyers up is the pressure to sign today and “lock the price.” If a dealer won’t let an inspector look before your money goes non-refundable, that tells you plenty. Slow it down. A rig that’s right today is still right next Tuesday.
25. Water-Test Every Slide Seal
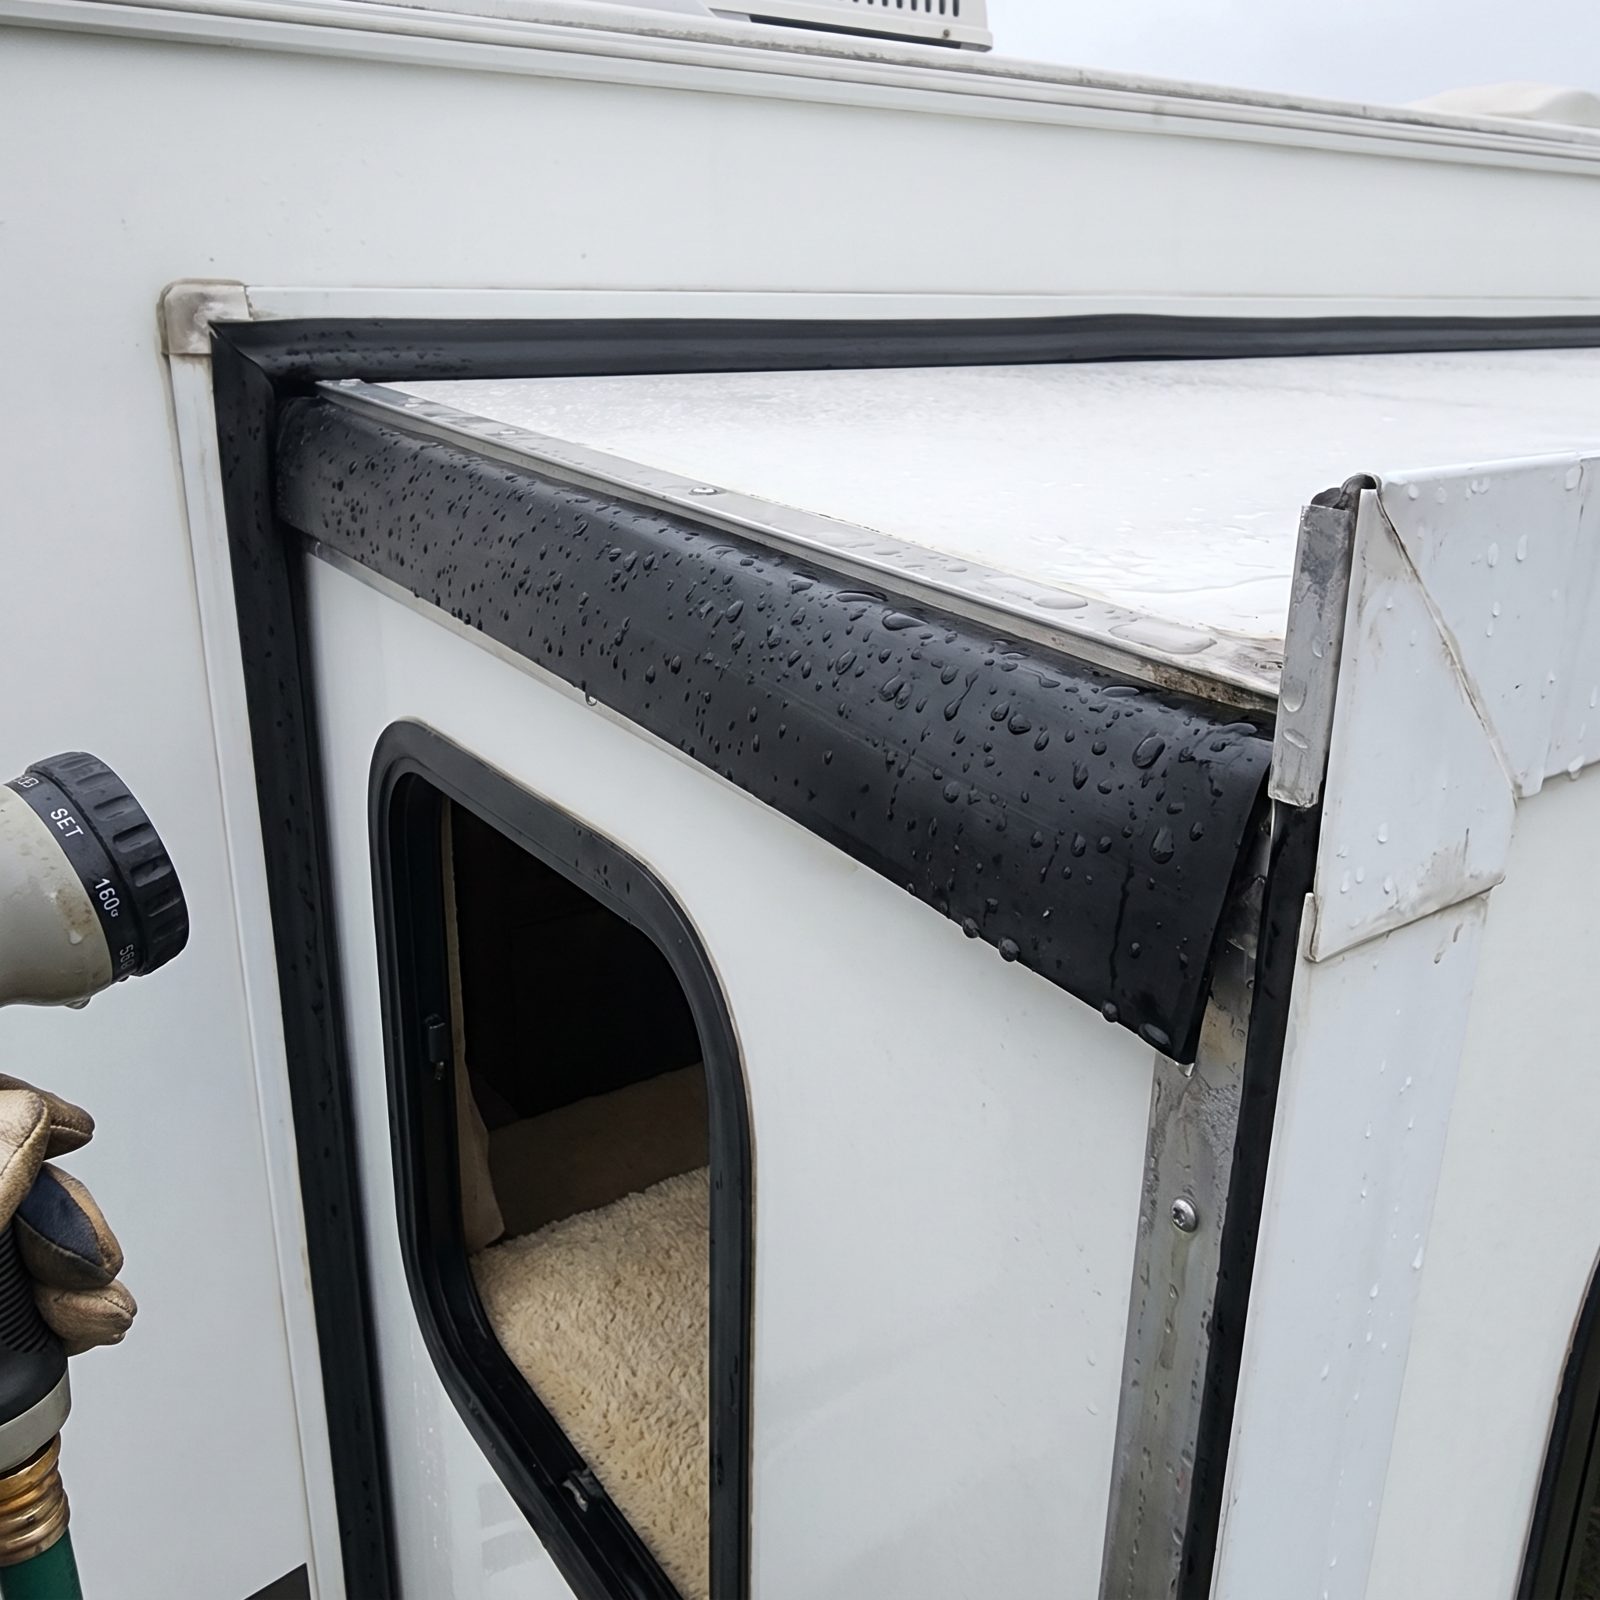
Slide leaks are the number one way water sneaks into an RV, and they almost never show up on a sunny test drive.
Run the slides fully out, then have someone spray the top and side seals with a hose for several minutes while you watch the interior corners, the floor edge, and the ceiling where the slide meets the wall. Press your fingers into the carpet along the slide rail. Damp is a problem.
The detail folks skip: check the flat, textured seal strip on the aluminum frame edge too, where it should sit flush against the wall. A seal that’s cracked, hardened, or peeling has been failing at its one job for a while — and whatever’s rotting behind it may already be done.
24. Require Repairs Before Final Payment
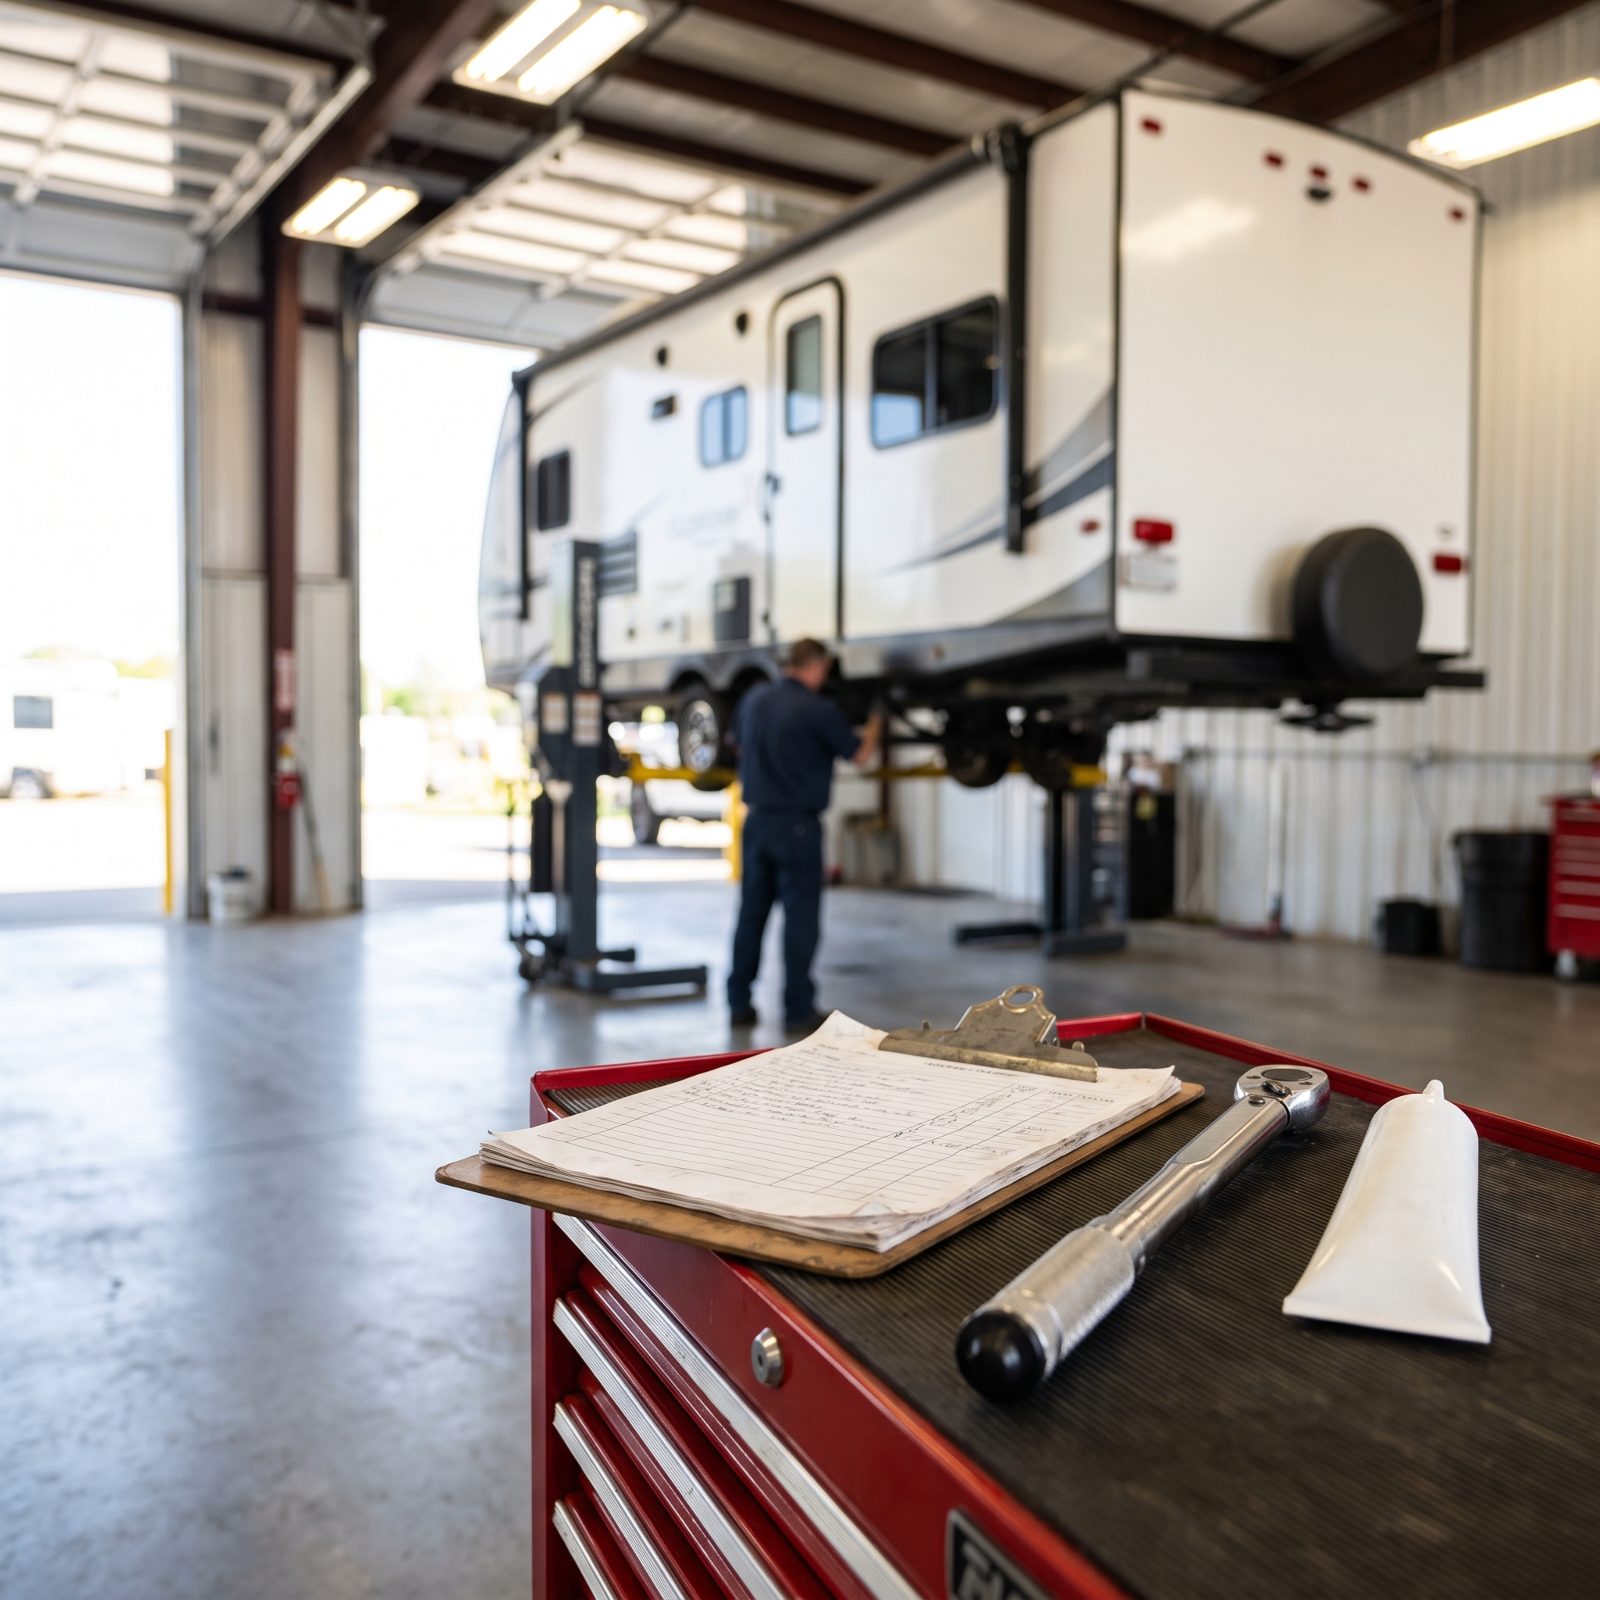
Once the dealer has your full payment, their motivation to fix anything drops to roughly zero. Your leverage lives in the money.
Hold back final payment until the agreed repairs are done and you’ve verified them in person. No photos. Walk into the service bay, operate the item, run the appliance, cycle the slide yourself. An awning that still binds is not a fixed awning.
Buyers learn this one too late. “We’ll take care of it after delivery” becomes weeks of waiting and calls that go nowhere. Take delivery with open items and your strong buying position just quietly evaporated. Keep that final check in your pocket until the punch list is genuinely closed.
23. Put Every Repair Promise in Writing
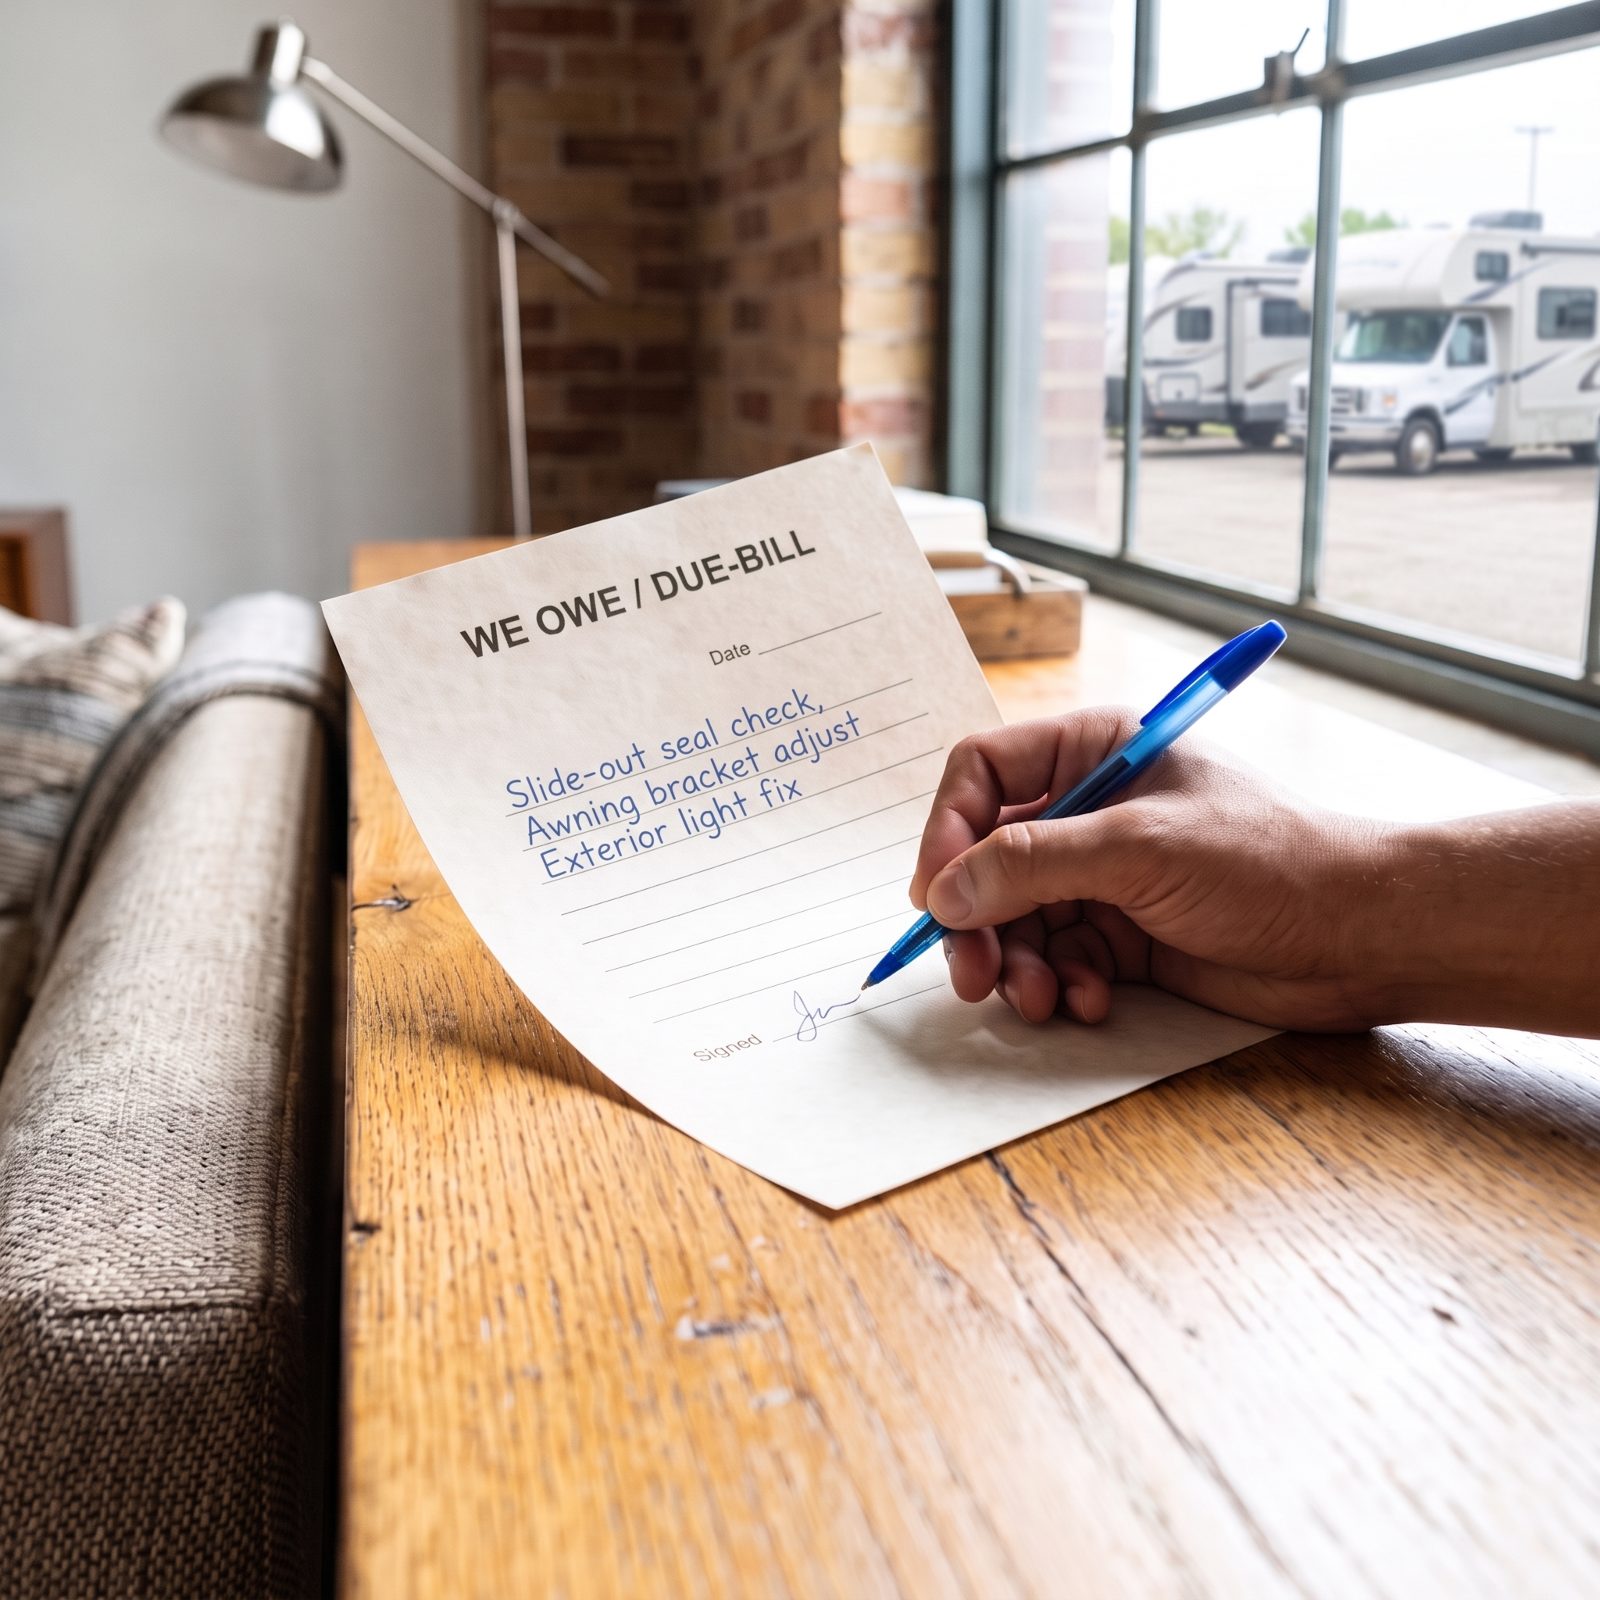
A promise made across a desk has a shelf life of about ten minutes. Get it on paper or assume it never happened.
Dealers call it a “due bill” or a “we owe.” It spells out exactly what they’ve agreed to fix or provide, with dates, signed by someone with actual authority — not the salesperson who might be gone next month. Keep your copy.
And here’s what most people never think to nail down: how it gets repaired, and with what parts. “Address the roof leak” leaves room for a dab of caulk and a handshake. “Reseal the entire roof perimeter with self-leveling lap sealant” leaves a lot less wiggle room.
22. Identify Separate Component Warranties

The rig has one warranty. The stuff inside it has a dozen more.
The coach builder covers the structure for a year or so. But the fridge, furnace, water heater, air conditioner, converter, awning, and chassis each carry separate coverage from their own maker, often running longer. A refrigerator that dies in year two might be fully covered by the appliance company long after the coach warranty is cold in the ground.
So ask the dealer for the full packet of component warranty cards and registration info at delivery, then register them yourself. The trap buyers fall into is figuring one expired warranty means everything’s expired. Usually it doesn’t.
21. Confirm the Dealership Performs Warranty Work
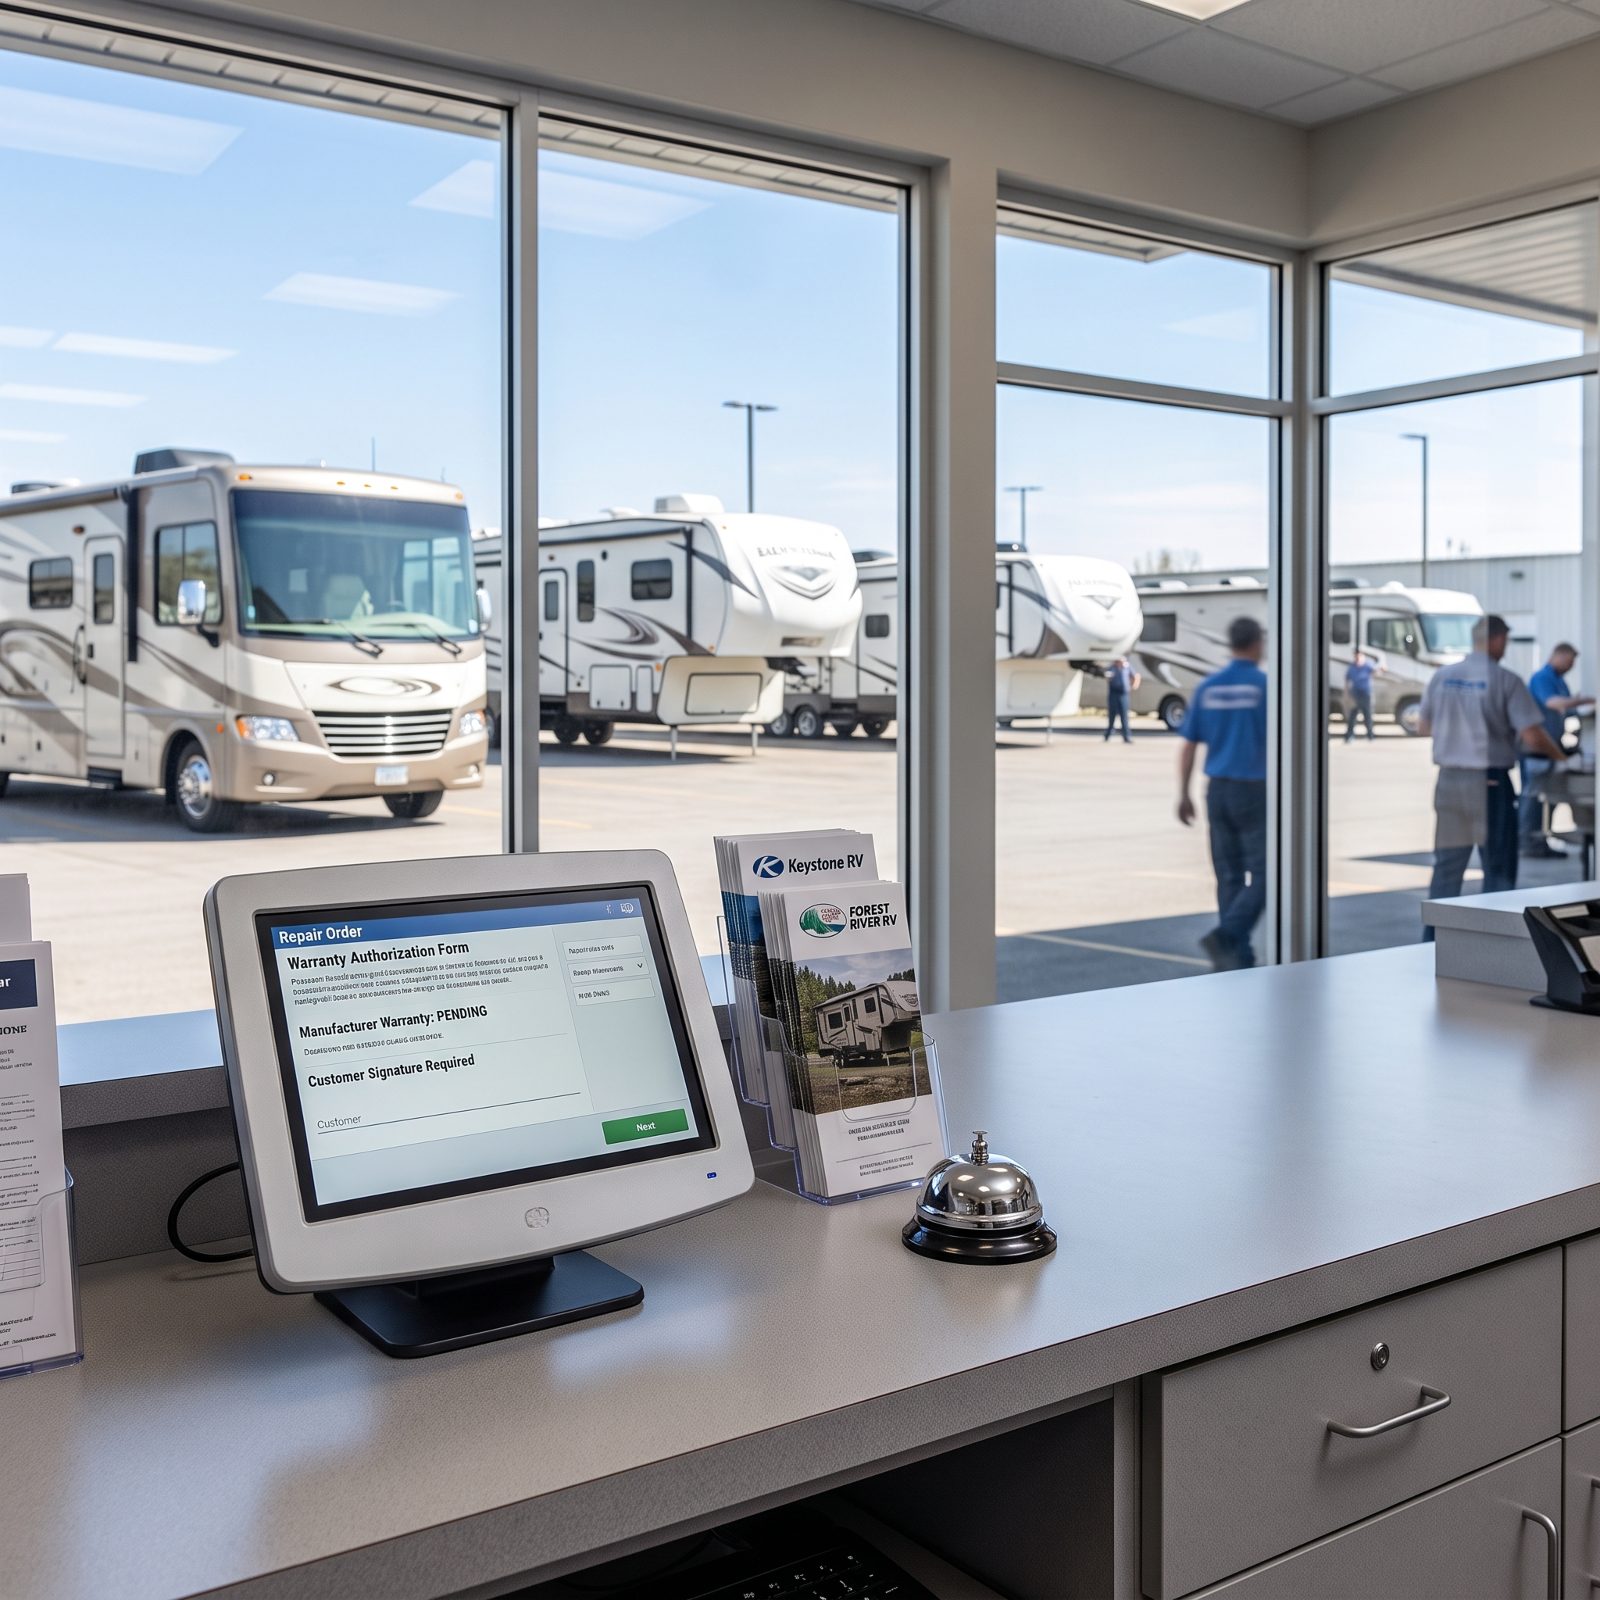
Plenty of dealers will happily sell you a rig they have no intention of ever servicing. Find that out before the sale, not after your first breakdown on a holiday weekend.
Ask flat out: does this location do warranty work for the brand it just sold you, or does it ship the rig somewhere else? Some dealers move models they aren’t even authorized to repair under warranty — which means your “local” service is a four-hour tow away.
Full-timers get burned here especially. Find out whether they bump their own sales customers ahead of walk-ins, and whether they’ll touch a rig they didn’t sell at all. If you live on the road, that second answer matters a lot.
20. Check the VIN for Open Recalls
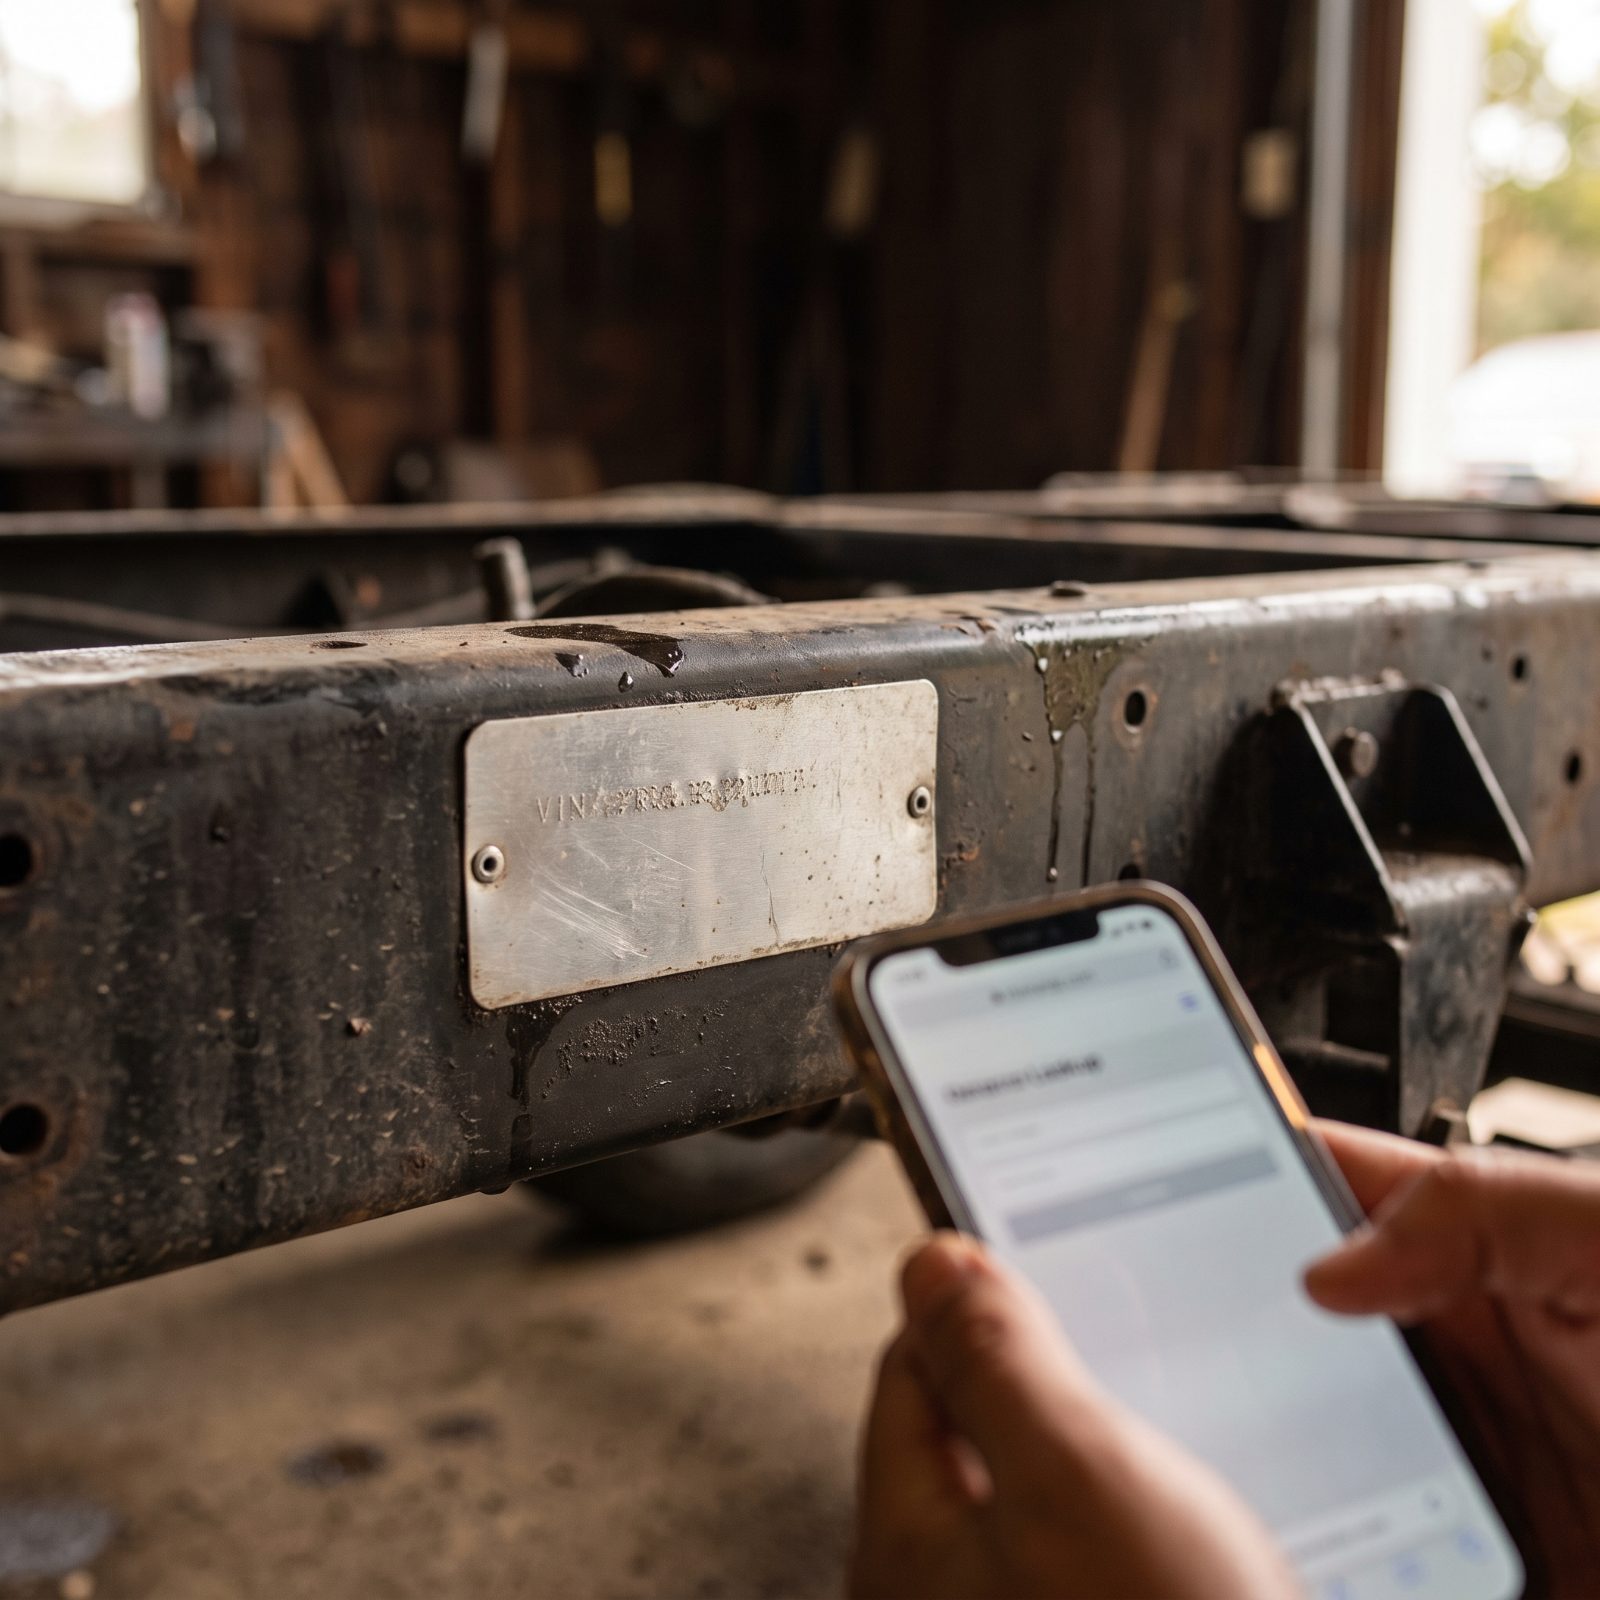
Recalls don’t expire. A used rig may have ignored one for years without anyone noticing.
Grab the VIN off the chassis plate or the registration and run it through the NHTSA recall lookup for the chassis, then check the appliance makers for component recalls separately. Brakes, propane regulators, awning arms, refrigerators — all of them have been recalled on RVs, and some fridge recalls have involved outright fire risk.
Here’s the gap buyers never close. A recall marked “open” means the fix was never done, even on a rig that’s changed hands twice. Make the dealer complete any open recalls before delivery. The repair costs you nothing — but only if someone actually performs it.
19. Check Applicable Manufacturer Service Bulletins

A service bulletin is the manufacturer quietly admitting something went sideways on a batch — slide-out leaks, brake issues, frame cracks, water heaters that cook themselves. No dealer volunteers that stuff, and almost nobody asks.
So ask. Get the VIN-specific bulletin and recall history in writing before you sign, then cross-check it yourself at the NHTSA recall lookup and the manufacturer’s owner portal. A rig can read recall-free on paper and still carry an open bulletin the dealer skipped because nobody forced them to do it.
Here’s the part people miss. A bulletin repair done by the dealer should show up on the work order. No paperwork, no proof it ever happened. Get the document, not a shrug.
18. Match Every Document VIN to the RV
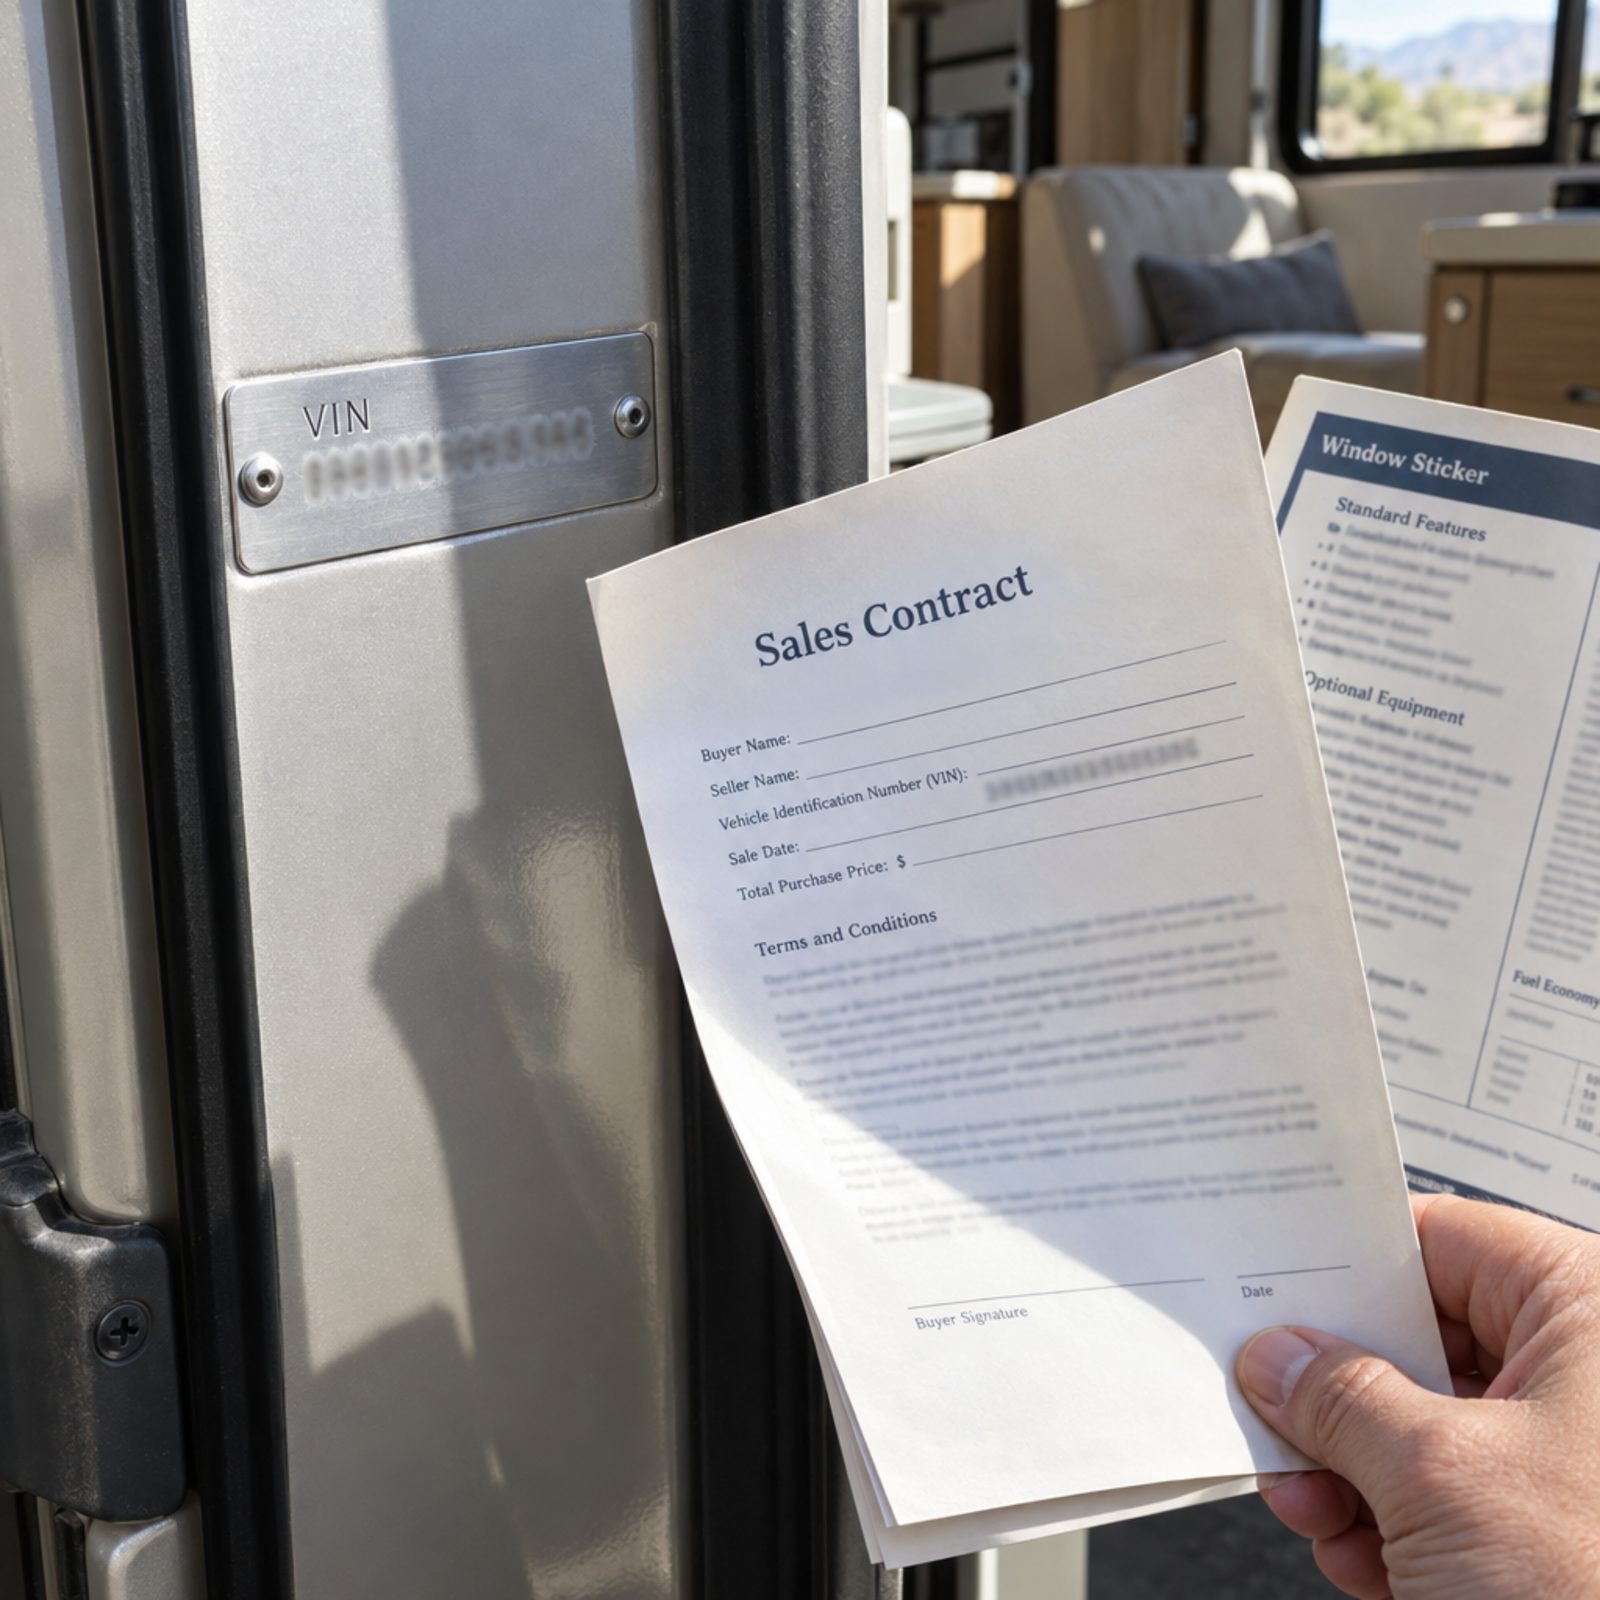
One wrong digit can cost you a title, a loan, and a weekend of phone calls.
The VIN hides in a bunch of places — door frame plate, chassis stamp, title, window sticker, finance contract, insurance binder. Read every one of them out loud, character by character. A 5 and an S. A 0 and an O. A B and an 8. Transposition errors happen all the time, and DMV computers do not forgive.
Here’s what trips people up. On a motorhome, the house VIN and the chassis VIN are two completely different numbers, and the contract has to reference the right one for titling. Get that wrong and you’re back in that office explaining somebody else’s mistake.
17. Demand the Complete Out-the-Door Price

The sticker price is an opening bid. The out-the-door number is what actually leaves your bank account, and dealers are genuinely gifted at keeping those two figures as far apart as possible until you’ve already fallen in love with the rig and started picturing the first trip.
Ask for the full out-the-door total in writing: vehicle price, every fee, tax, title, registration, all itemized on one page. If the worksheet comes back with scattered “Total” rows, repeated line items and numbers spread across several columns, push back until there’s one grand total you can point to. Verbal only? Then they’re not really giving it to you.
16. Identify Which Fees Are Legally Required

Tax, title, and registration are real — they go to the government, and you can verify the exact amounts with your state DMV in about five minutes. Everything else on that fee list is negotiable, and a shocking chunk of it is pure invention.
Go line by line and ask each one the same question: who does this money actually go to? If the answer is the state, it stays. If the answer is the dealer, it’s on the table.
Now here’s the part most people fumble. They argue the total instead of the line items. Don’t. Attack the fees one at a time. A dealer will defend a lump sum all afternoon, but watch how fast a made-up charge falls apart once you say its name out loud.
15. Remove Optional Dealer Add-Ons
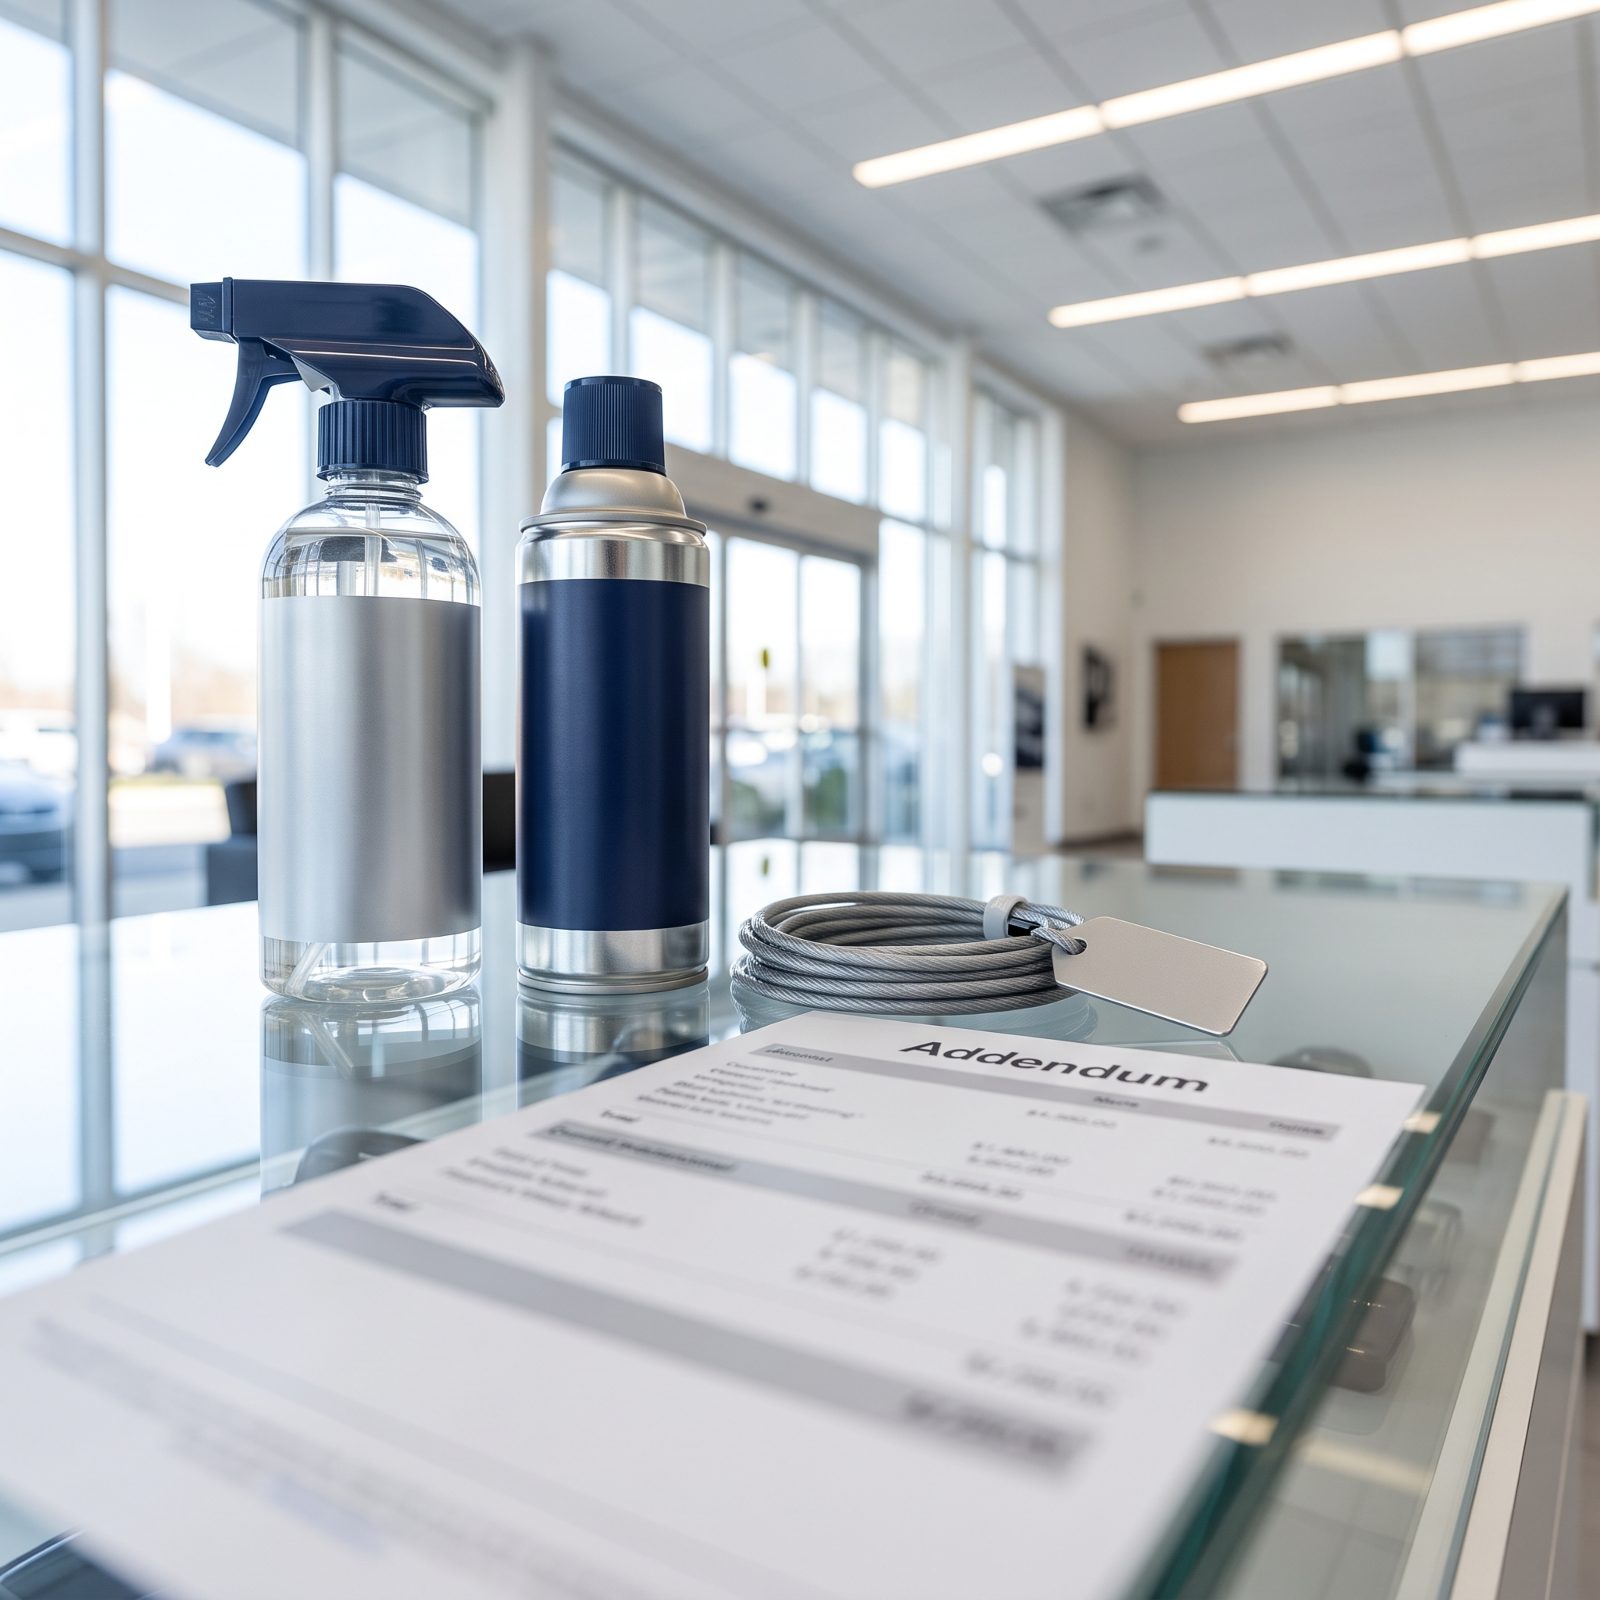
Paint sealant. Fabric protection. Nitrogen in the tires. VIN etching. A tracking gizmo nobody asked for. They ride along on the contract pre-checked, and the margins on them would make a jeweler blush.
None of it is mandatory. Cross each one off and initial the line. If the dealer insists it’s “already installed,” make them prove the cost, because a two-dollar can of spray should not run three hundred dollars.
A charge you didn’t choose is a charge you can delete.
And then there’s the bundle — the quiet trap. Add-ons get herded under one friendly heading, something like “protection package,” so you can’t see the individual prices at all. Ask for it unbundled. If they won’t break it apart, well, that tells you everything you need to know.
14. Itemize the Preparation Fee
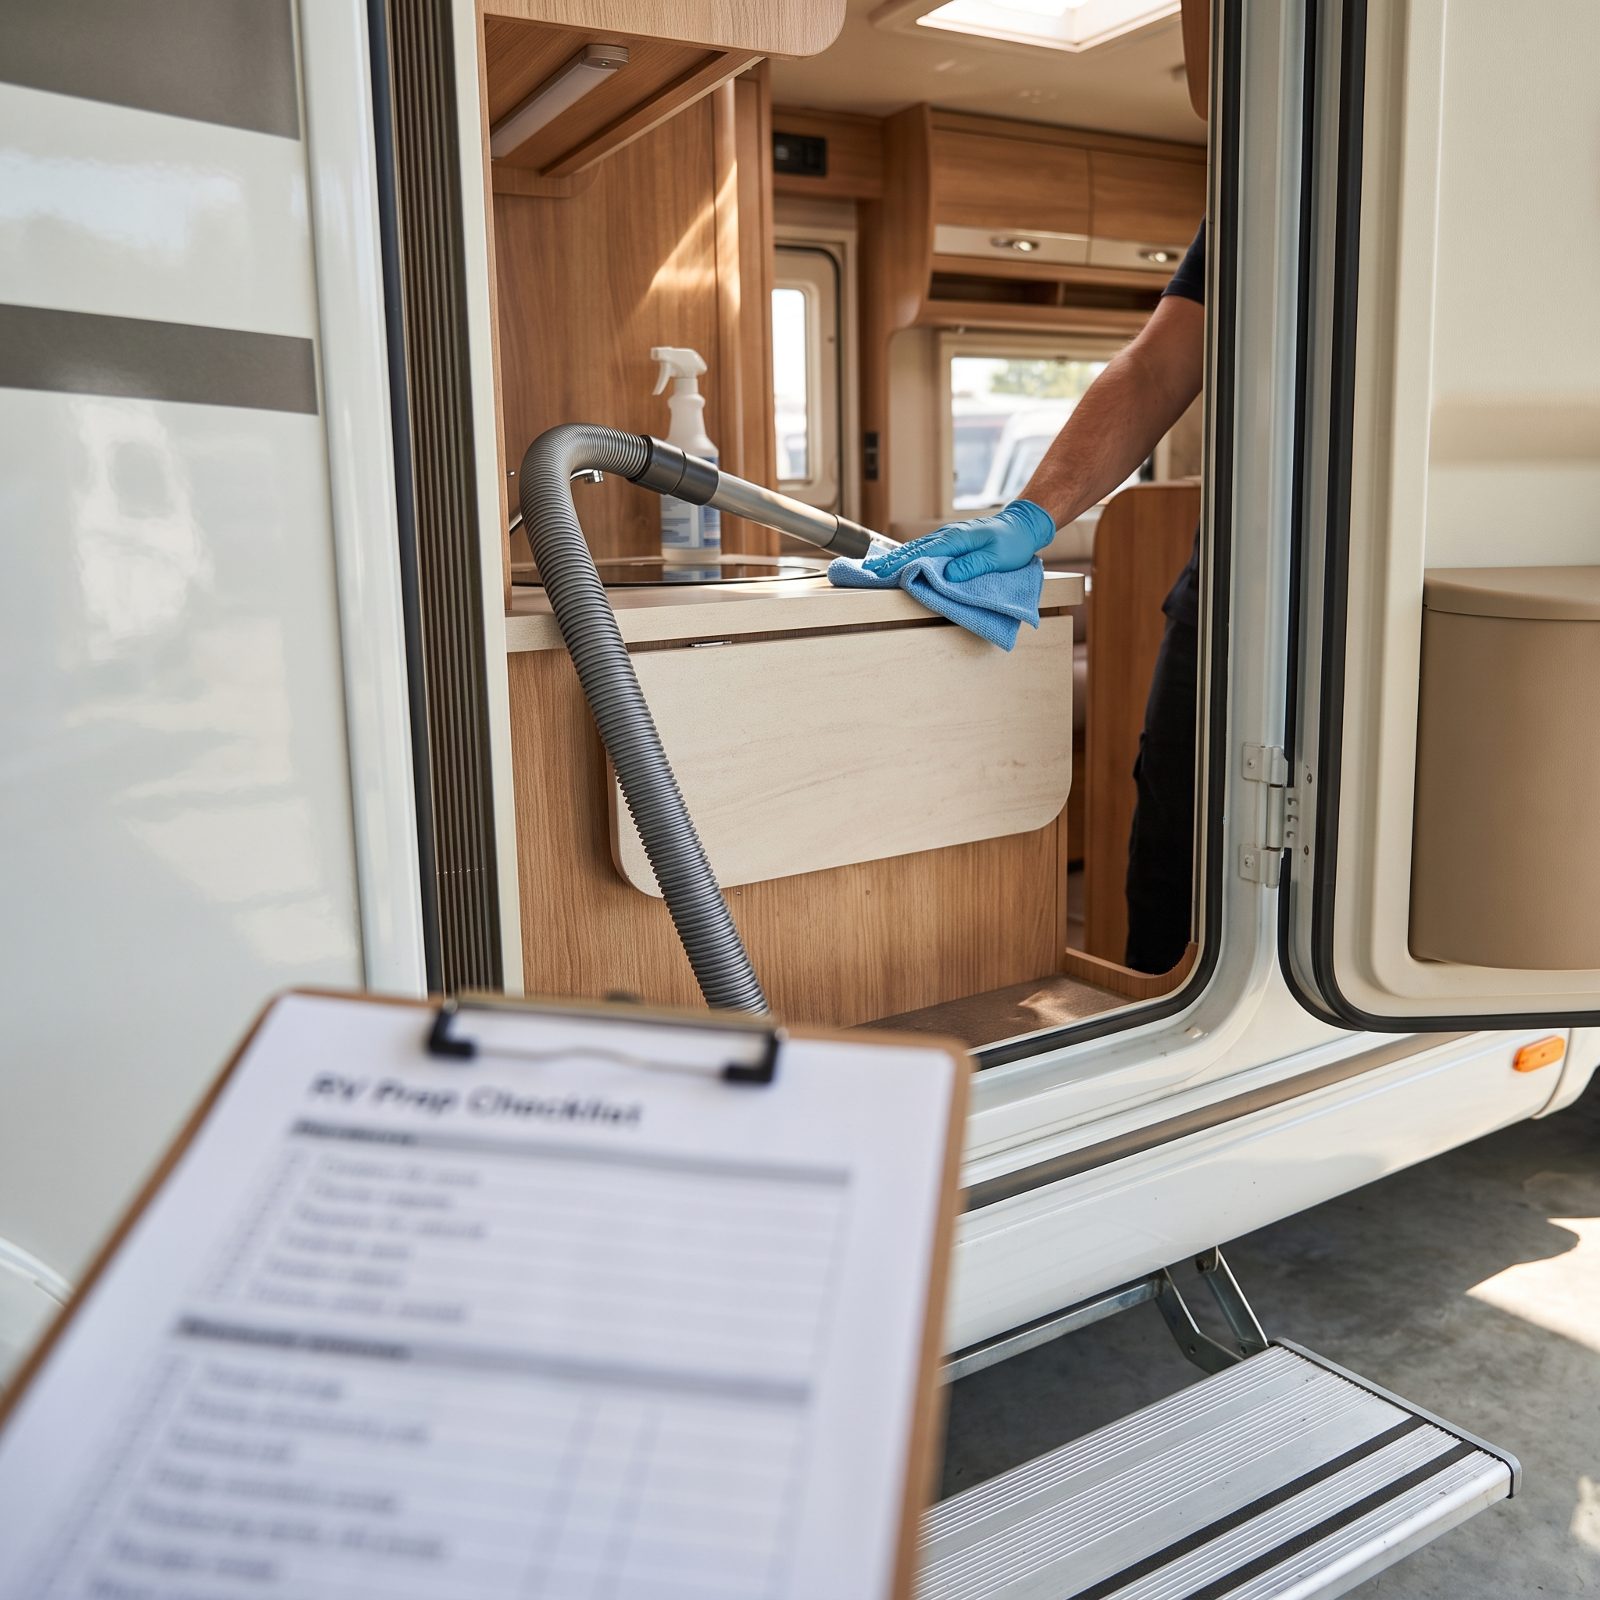
The prep fee is where “we washed it and checked the fluids” quietly balloons into a four-figure line. Sometimes it’s legitimate. Sometimes it’s a padded catch-all. The only way to tell them apart is to make them show the work.
Ask for an itemized prep checklist — what got inspected, what got tested, what got cleaned, who signed off. Real prep hands you a signed PDI (pre-delivery inspection) sheet with the appliances, slides, and systems checked off one by one.
13. Check Whether Advertised Pricing Requires Financing

That headline price with the tiny asterisk? Chase it down. On plenty of RV ads, the eye-catching number only applies if you finance through the dealer’s pet lender — which means, somehow, paying cash costs you more.
So ask flat out. Is this price available if I pay cash? Is it available if I walk in with my own financing from my credit union? Their answers tell you whether the discount is real or just bait.
What slides past most buyers is the finance reserve. The dealer pockets a markup on the loan they set up for you. That cash discount evaporating isn’t a glitch or an accident. It’s the dealer guarding their cut on the back end, plain and simple.
12. Check for Loan Prepayment Penalties

Paying off your loan early should save you money, not cost you a fee.
Some RV loans, the long 15 and 20-year terms especially, bury a prepayment penalty or a precomputed interest structure that quietly cancels out any benefit of early payoff. You think you’re getting ahead; the contract disagrees.
Find the prepayment clause and read it before you sign. What you want is simple interest with no penalty, so every extra dollar you throw at the balance actually chips away at what you owe.
11. Verify Deposit Refundability and Deadline

A deposit feels harmless right up until the deal sours and you ask for it back. “Non-refundable,” printed small on a slip you barely glanced at, is how a holding fee quietly turns into a donation.
Before you hand over a dime, get the terms in writing. Is it refundable? Under what conditions? By what date? A fair hold deposit comes back to you if the rig fails inspection or the financing falls through.
And here’s the detail that bites. The deadline. Some deposits expire if you don’t close within a set window, and the dealer keeps the money even though you never once backed out. Know the date. If the paperwork starts dragging, get an extension in writing.
10. Separate Financing From Purchase Price
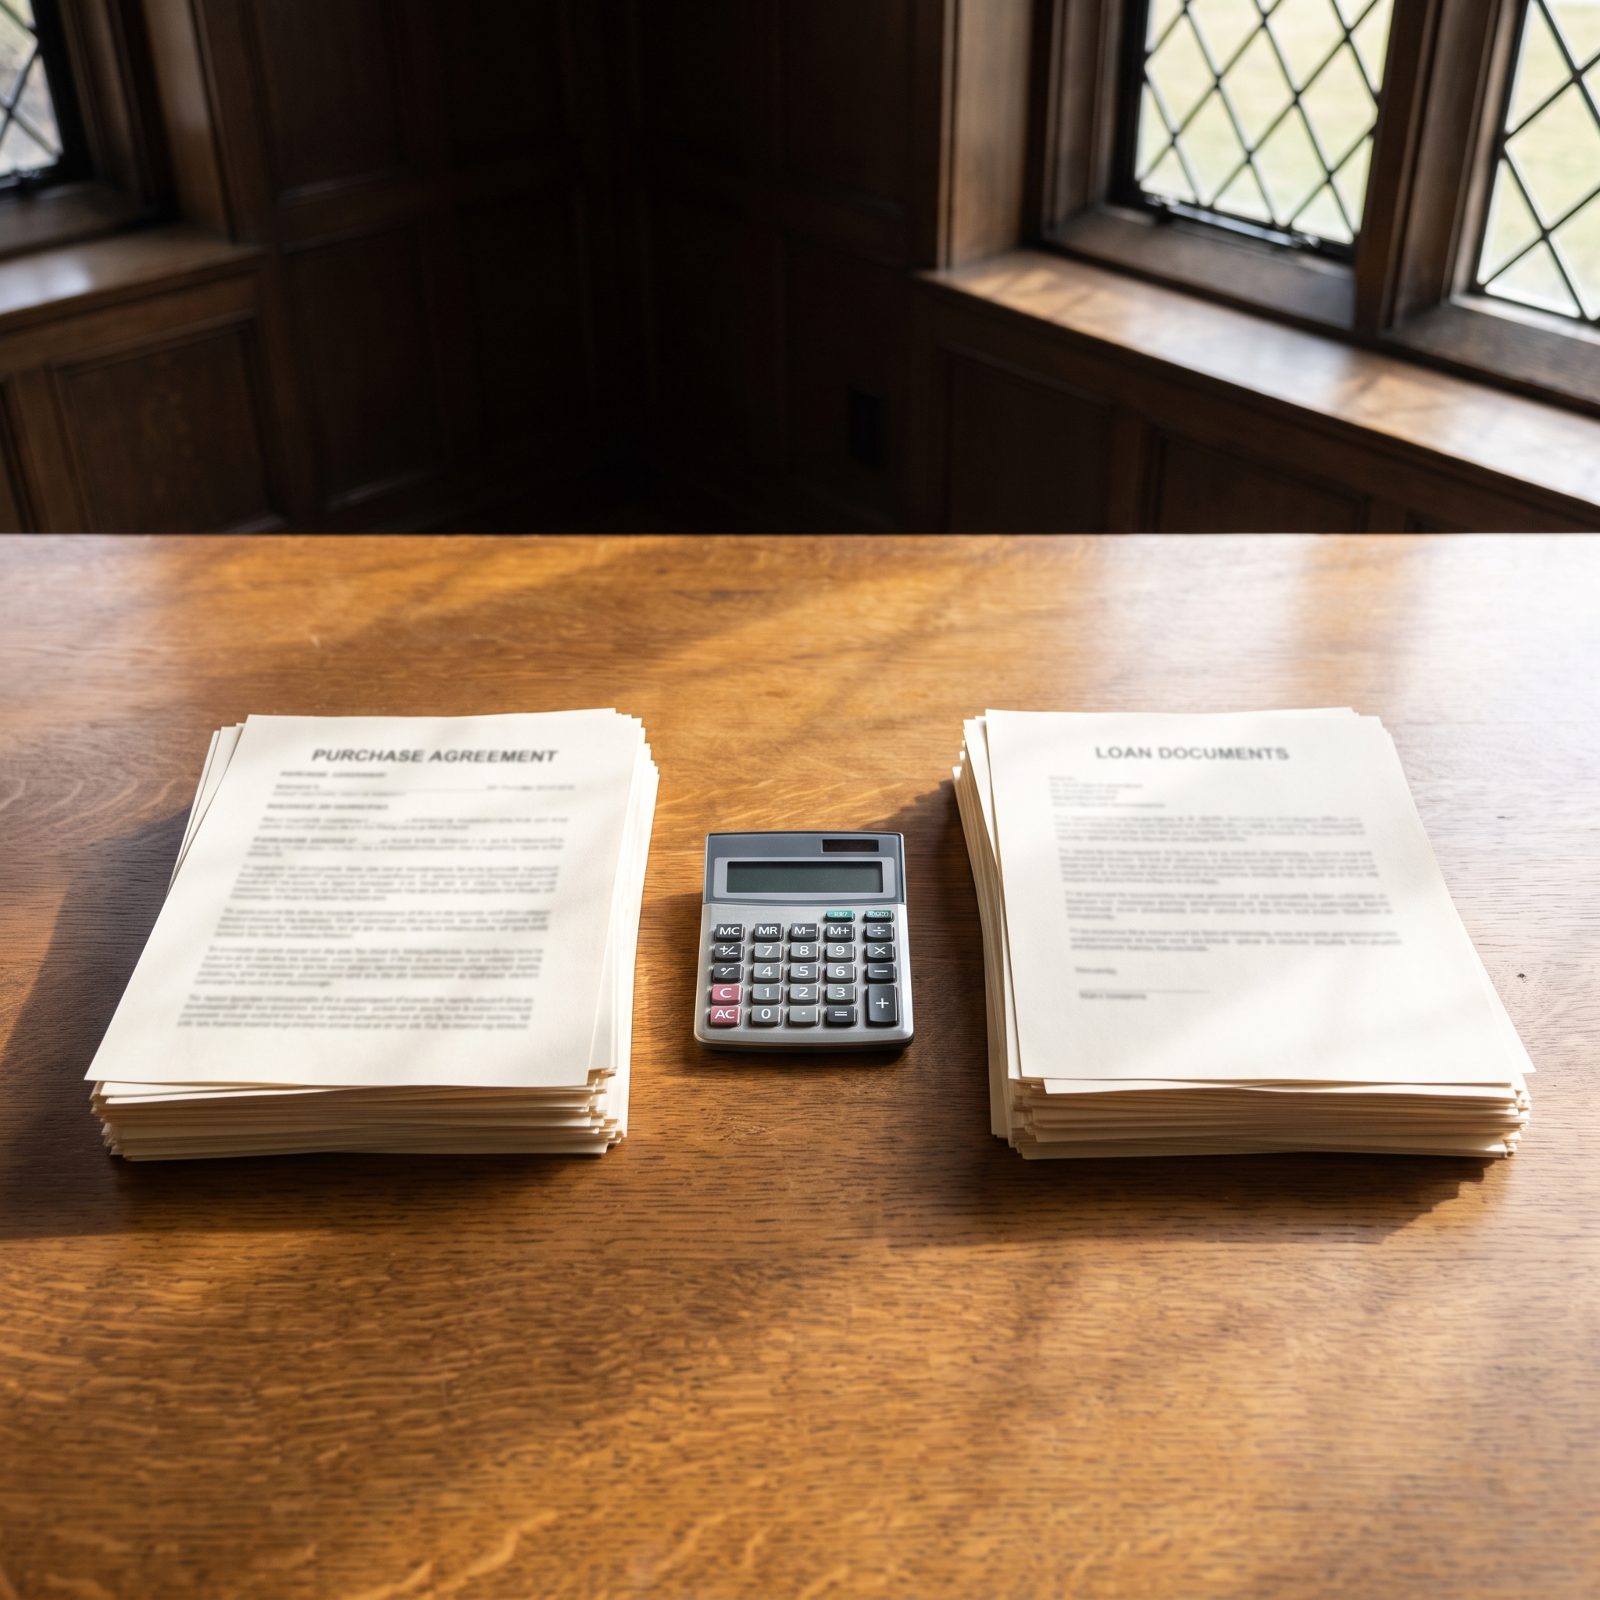
The oldest move in the room is folding two negotiations into one. The salesperson smiles and asks “so what monthly payment works for you?” — and just like that, the price, the trade, the interest rate, and the loan term all melt into one blurry number you can’t pry apart.
Negotiate the purchase price first, in dollars, like you’re paying cash. Settle it. Only then talk financing. Keep the two conversations apart, on separate pages if you have to.
A low monthly payment can hide a high everything-else.
When those numbers get tangled on purpose, a stretched 240-month term makes a lousy price feel downright comfortable. Pull the two apart and the real deal has nowhere left to hide. That’s the whole fight right there, and it’s yours to insist on.
9. Identify Every Applicable Manufacturer Incentive
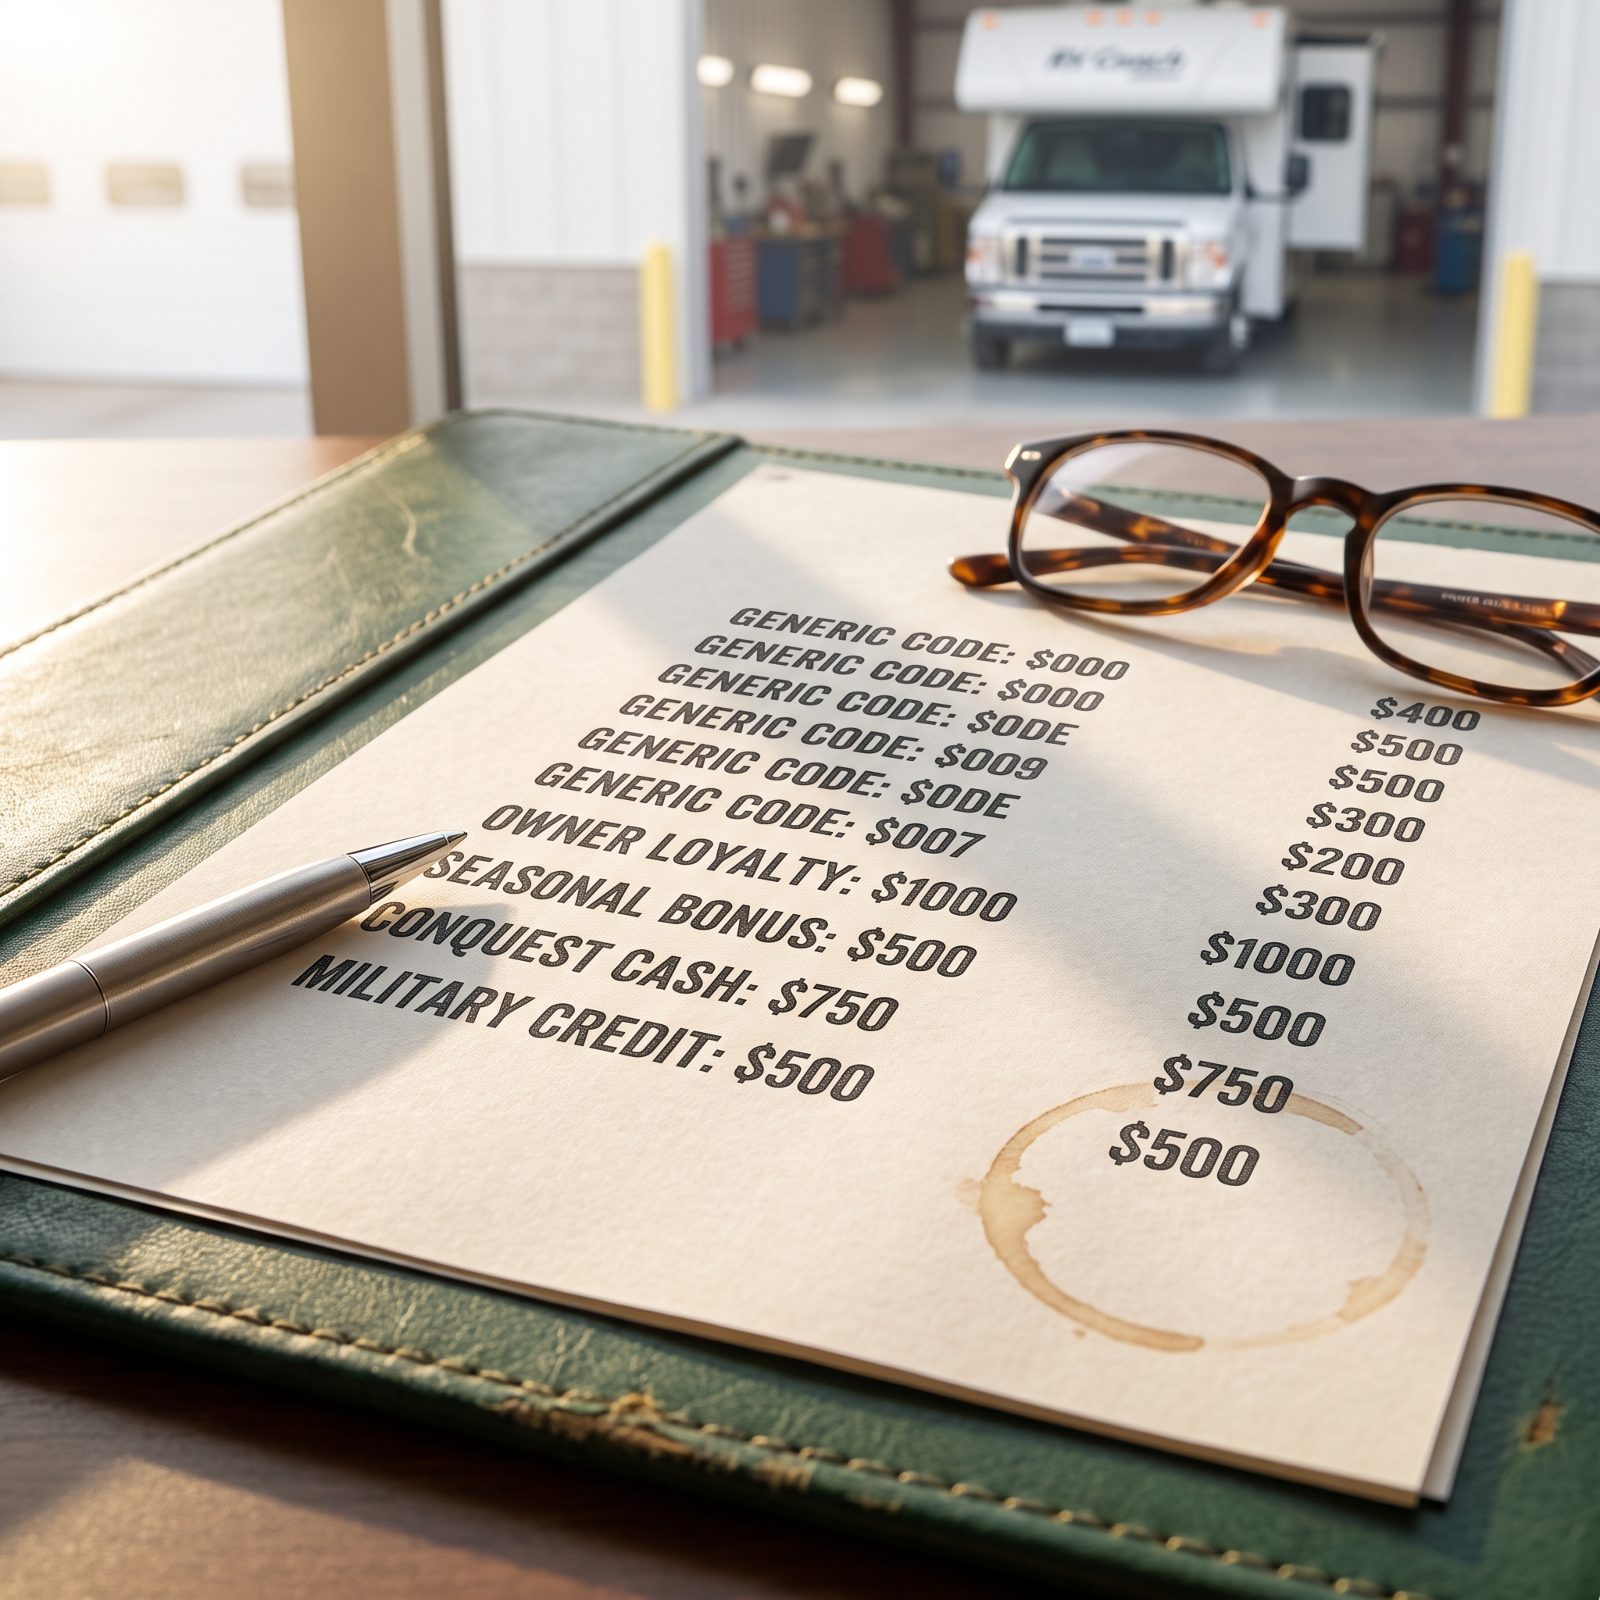
Dealers rarely volunteer the full stack of incentives, because stacking them cuts into their margin. There are usually several running at once: factory rebates, loyalty cash for returning owners, first-responder or military discounts, and end-of-model-year clearance money nobody mentions until you ask by name.
Pull up the manufacturer’s own website before you sit down, write the offers on paper, then make the salesperson confirm each one on the deal sheet. In writing. Not verbally. And here’s what most buyers miss: some incentives only apply if you finance through the captive lender — so take the rebate, then refinance later at your credit union.
8. Demand a Separate Trade-In Valuation
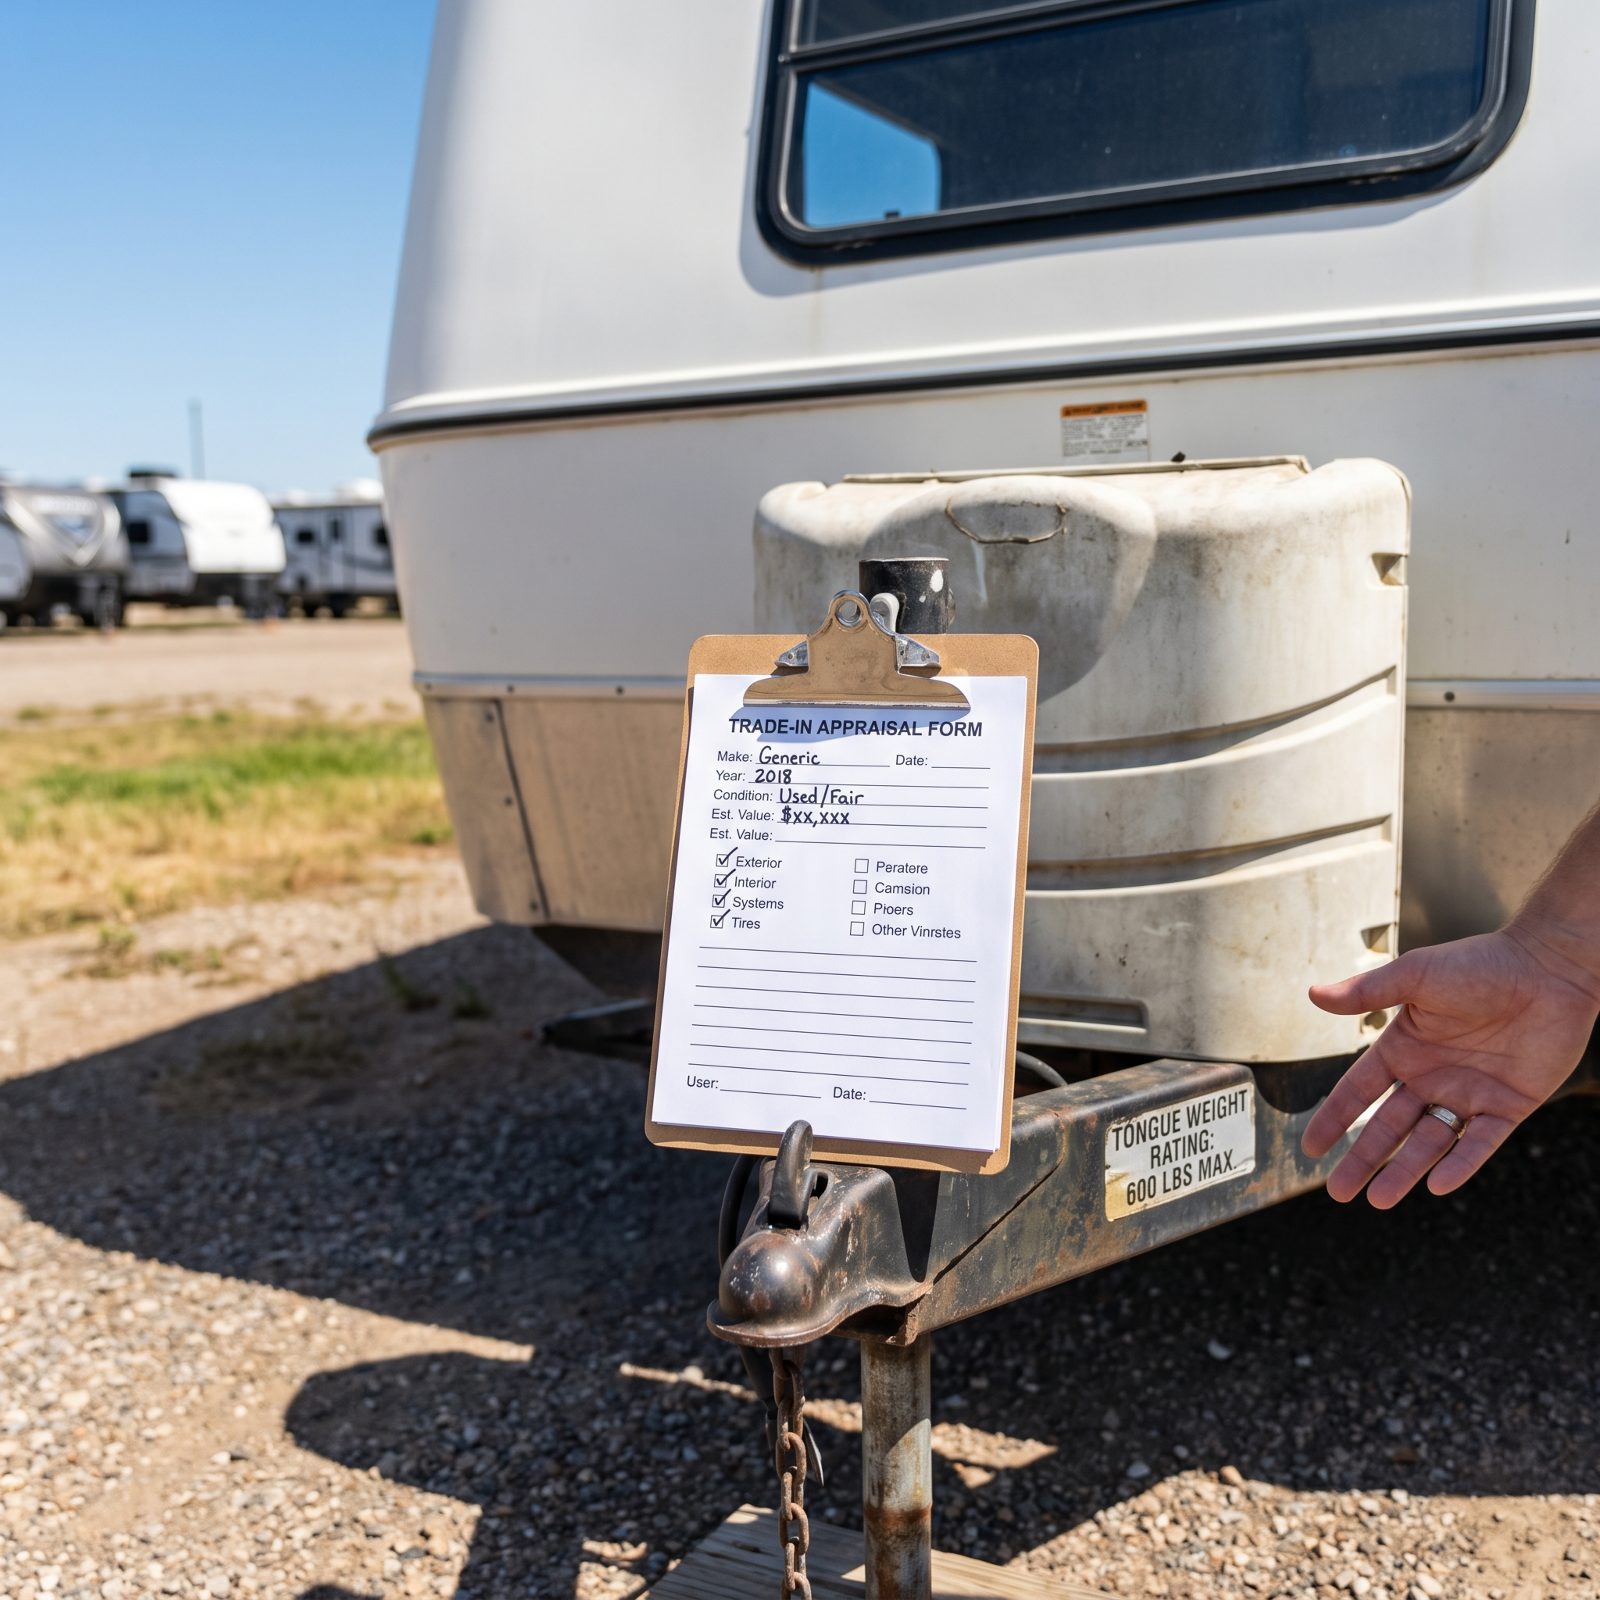
The oldest trick in the room is blending your trade value into the new price so you can’t tell what either number really is. A dealer gives you a great trade number, buries it in an inflated purchase price, and you walk out feeling like you won. You didn’t.
Insist the trade-in be appraised and quoted as its own line, in its own conversation, before anyone talks about the coach you’re buying. Check that figure against a couple of private-sale listings for the same floorplan and year. Then do the thing nobody does: get a written trade offer and shop it to one competing dealer. Ten minutes of texting can move the number more than an hour of haggling.
7. Identify the Service Contract Administrator

That extended warranty you’re being sold is almost never backed by the dealer. A third-party administrator runs it, and if that company folds or fights every claim, your contract is worth about as much as the paper it’s printed on.
Ask flat out: who administers this, and are they rated by a financial strength agency? Write the name down and search it for complaint patterns before you sign. Here’s the part most buyers skip entirely — confirm whether the contract is “direct” (the administrator pays repair shops) or “reimbursement” (you front the cash and wait for a check). One keeps money in your pocket. The other can leave you floating a four-figure repair for weeks.
6. Audit Service Contract Exclusions
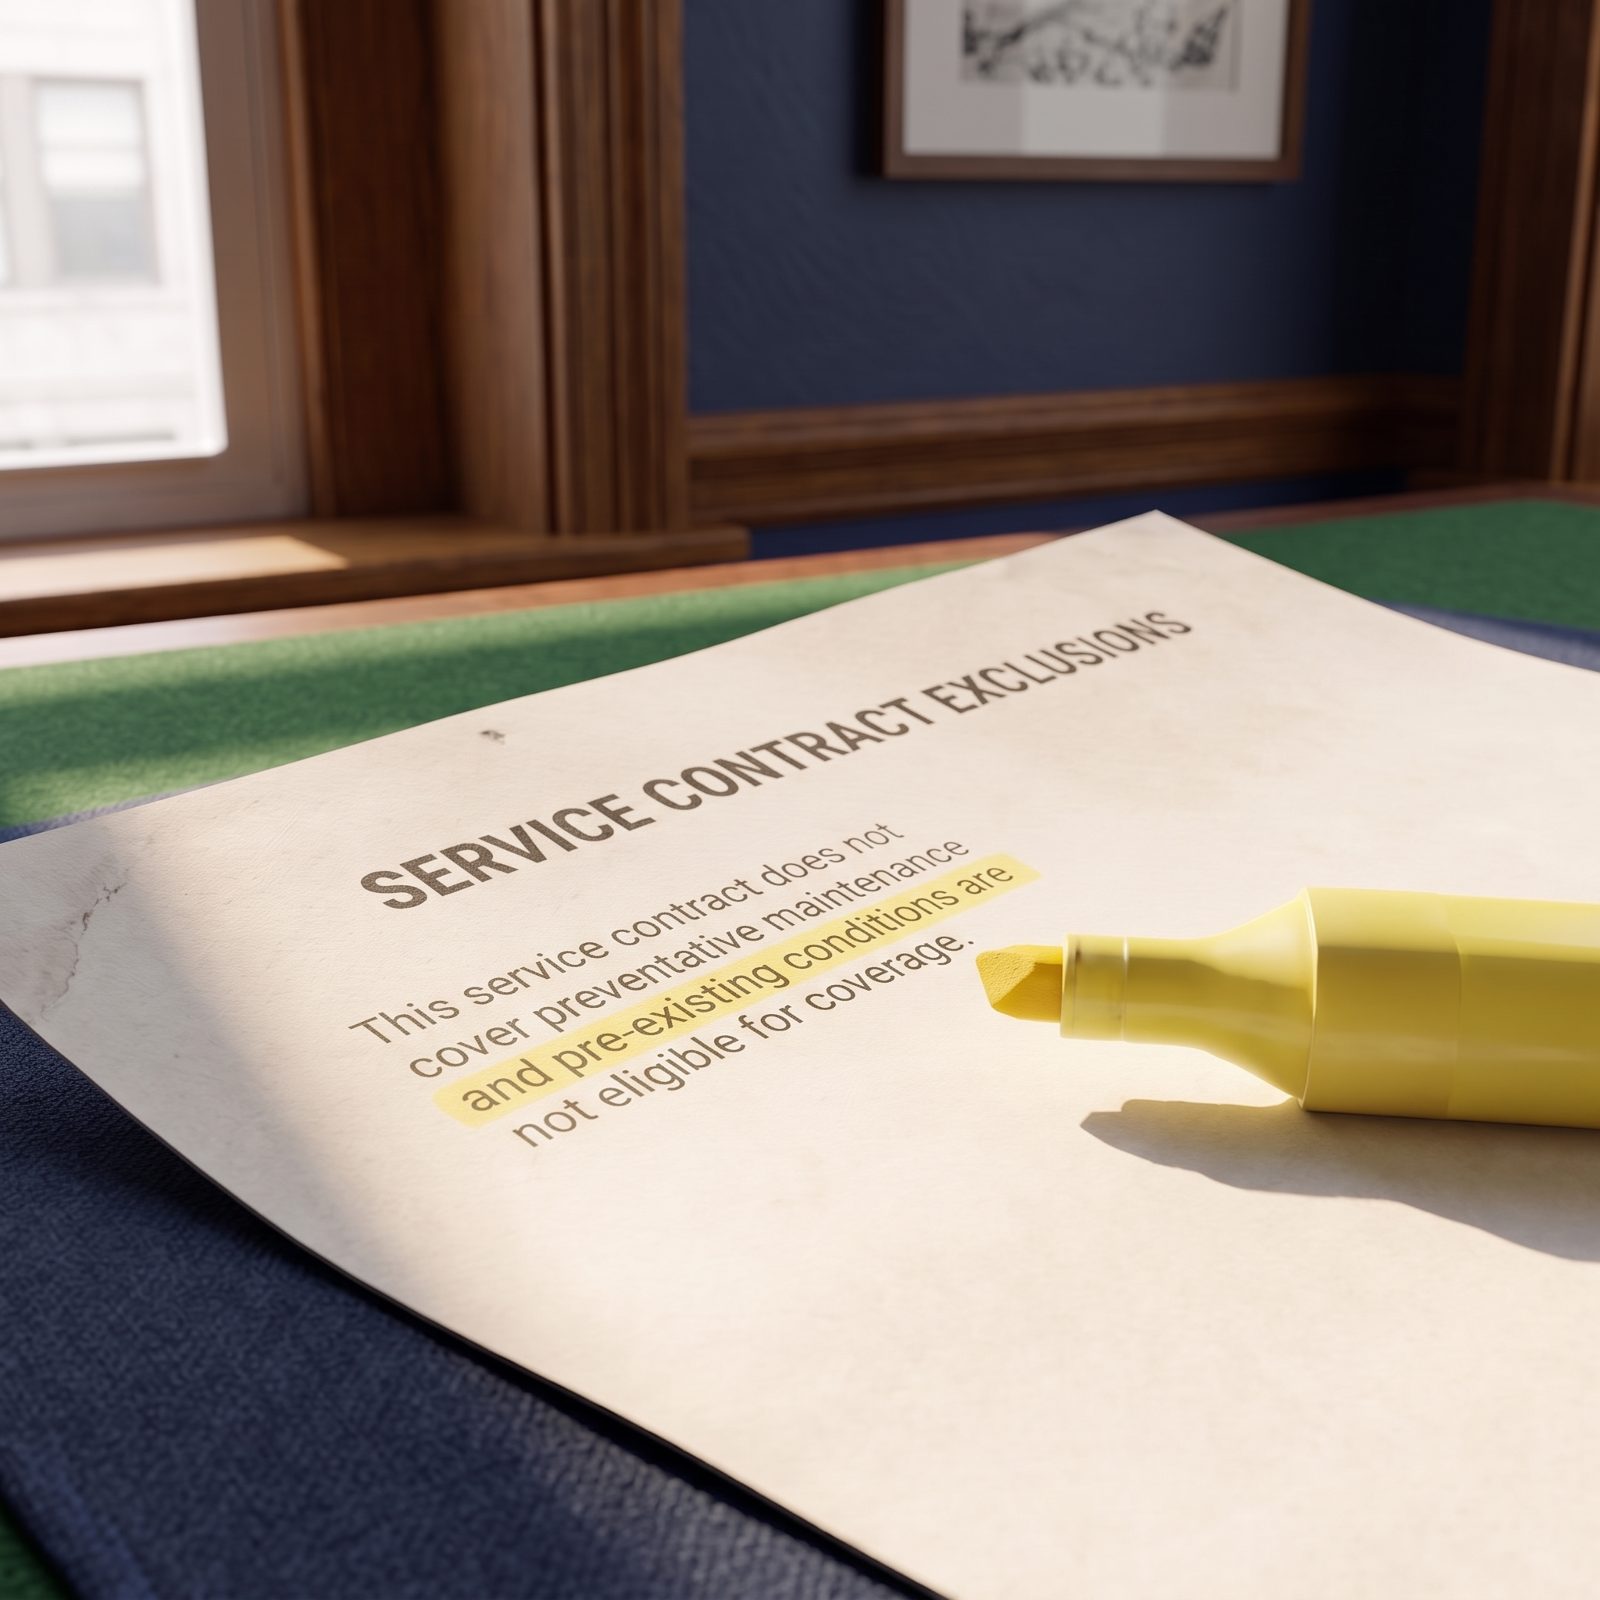
The exclusions page is where the real contract lives. A brochure lists what’s covered; the fine print lists everything that isn’t, and that second list is the one that matters when something breaks.
Read the exclusions line by line and hunt for the big-ticket RV gear — slide-out mechanisms, leveling jacks, the water heater, roof membrane, anything tagged a “wear item.” Plenty of contracts quietly exclude damage caused by a leak, which is maddening, because a leak is the single most common RV failure there is. Ask for a sample claim scenario in writing. If they can’t tell you how a cracked slide floor would be handled, you don’t have coverage. You have a brochure.
5. Verify Service Contract Cancellation Terms

You can cancel a service contract, usually for a prorated refund — but only if you know the clause exists and how long the full-refund window actually runs.
Find the cancellation section before you sign and note two things: the days you get for a 100 percent refund, and whether that refund comes from the administrator or the dealer. Now the detail people kick themselves over later. If the contract was financed into your loan, canceling it refunds money to the lender, not to you. Your balance drops; no cash lands in your hand. Build that in before you decide, because it changes whether buying the thing in the finance office even makes sense.
4. Confirm GAP Is Optional and Cancelable

GAP coverage pays the difference between what you owe and what your RV is worth if it’s totaled early in the loan. Genuinely useful. Also wildly overpriced in the finance office, and almost always optional no matter how it’s dressed up for you.
Ask two questions: is this required by the lender, and can I cancel it later for a prorated refund? If the answer to the first is no, you’re free to shop it — your own auto or RV insurer often sells the same protection for a fraction of what the desk quotes. And financing GAP means paying interest on it for the whole loan, so that two-hundred-dollar product quietly costs more than the sticker suggests.
3. Weigh the RV Before Delivery
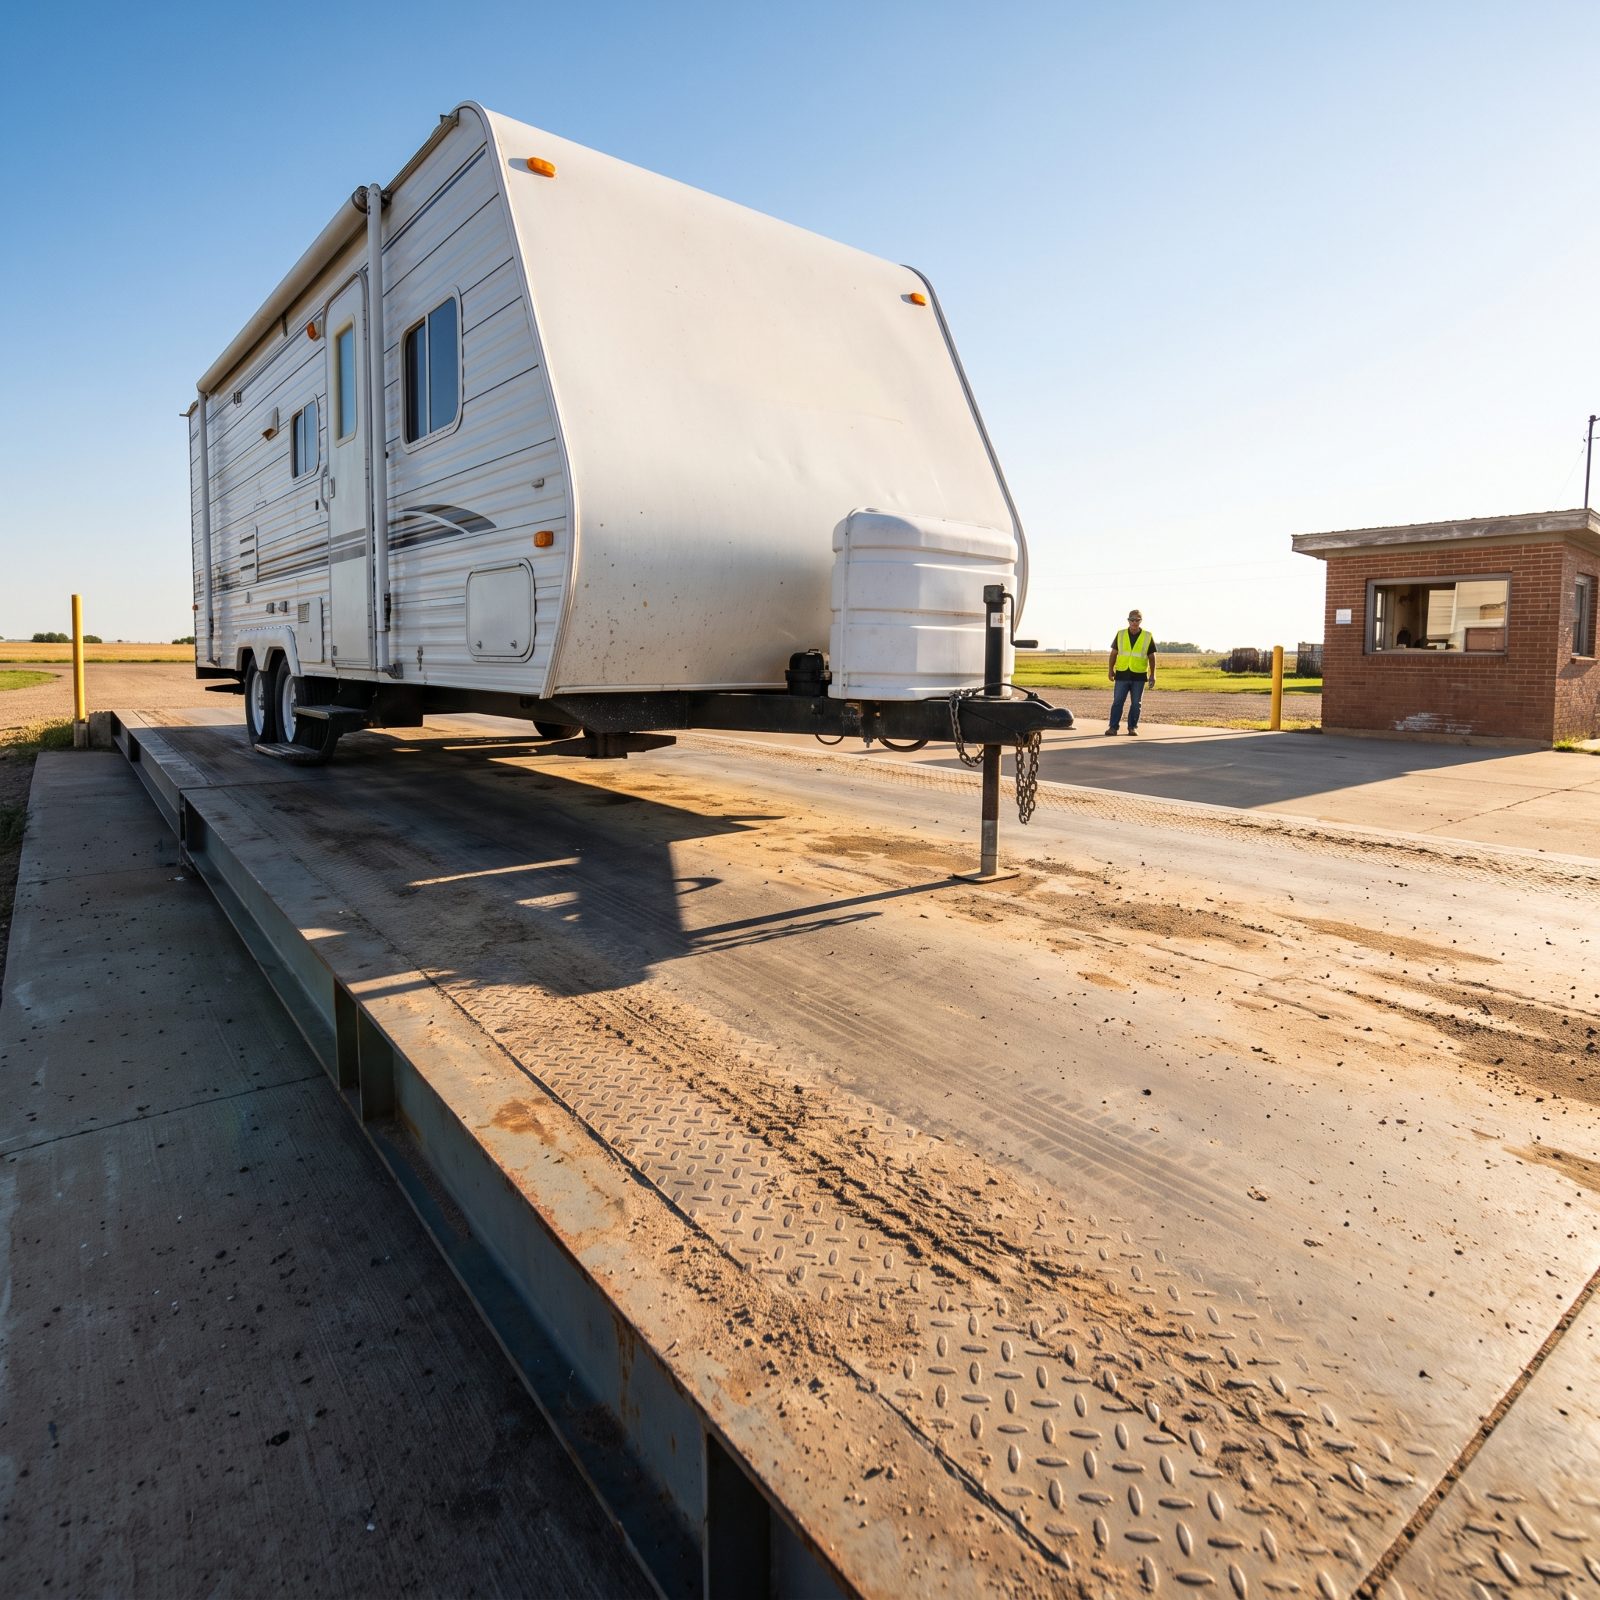
Numbers on paper lie more often than scales do. The only way to know what your RV weighs is to drive it across one.
Before you take delivery, ask the dealer to weigh the unit, or haul it yourself to a public CAT scale — most truck stops have one and a weigh runs a few bucks. Weigh it fueled, with the house batteries in, so you’re reading reality instead of optimism. And weigh each axle separately where you can, not just the total, because a rig can sit under its overall limit while one axle is overloaded. That’s the axle that blows a tire on a July interstate.
2. Measure Loaded Hitch or Pin Weight
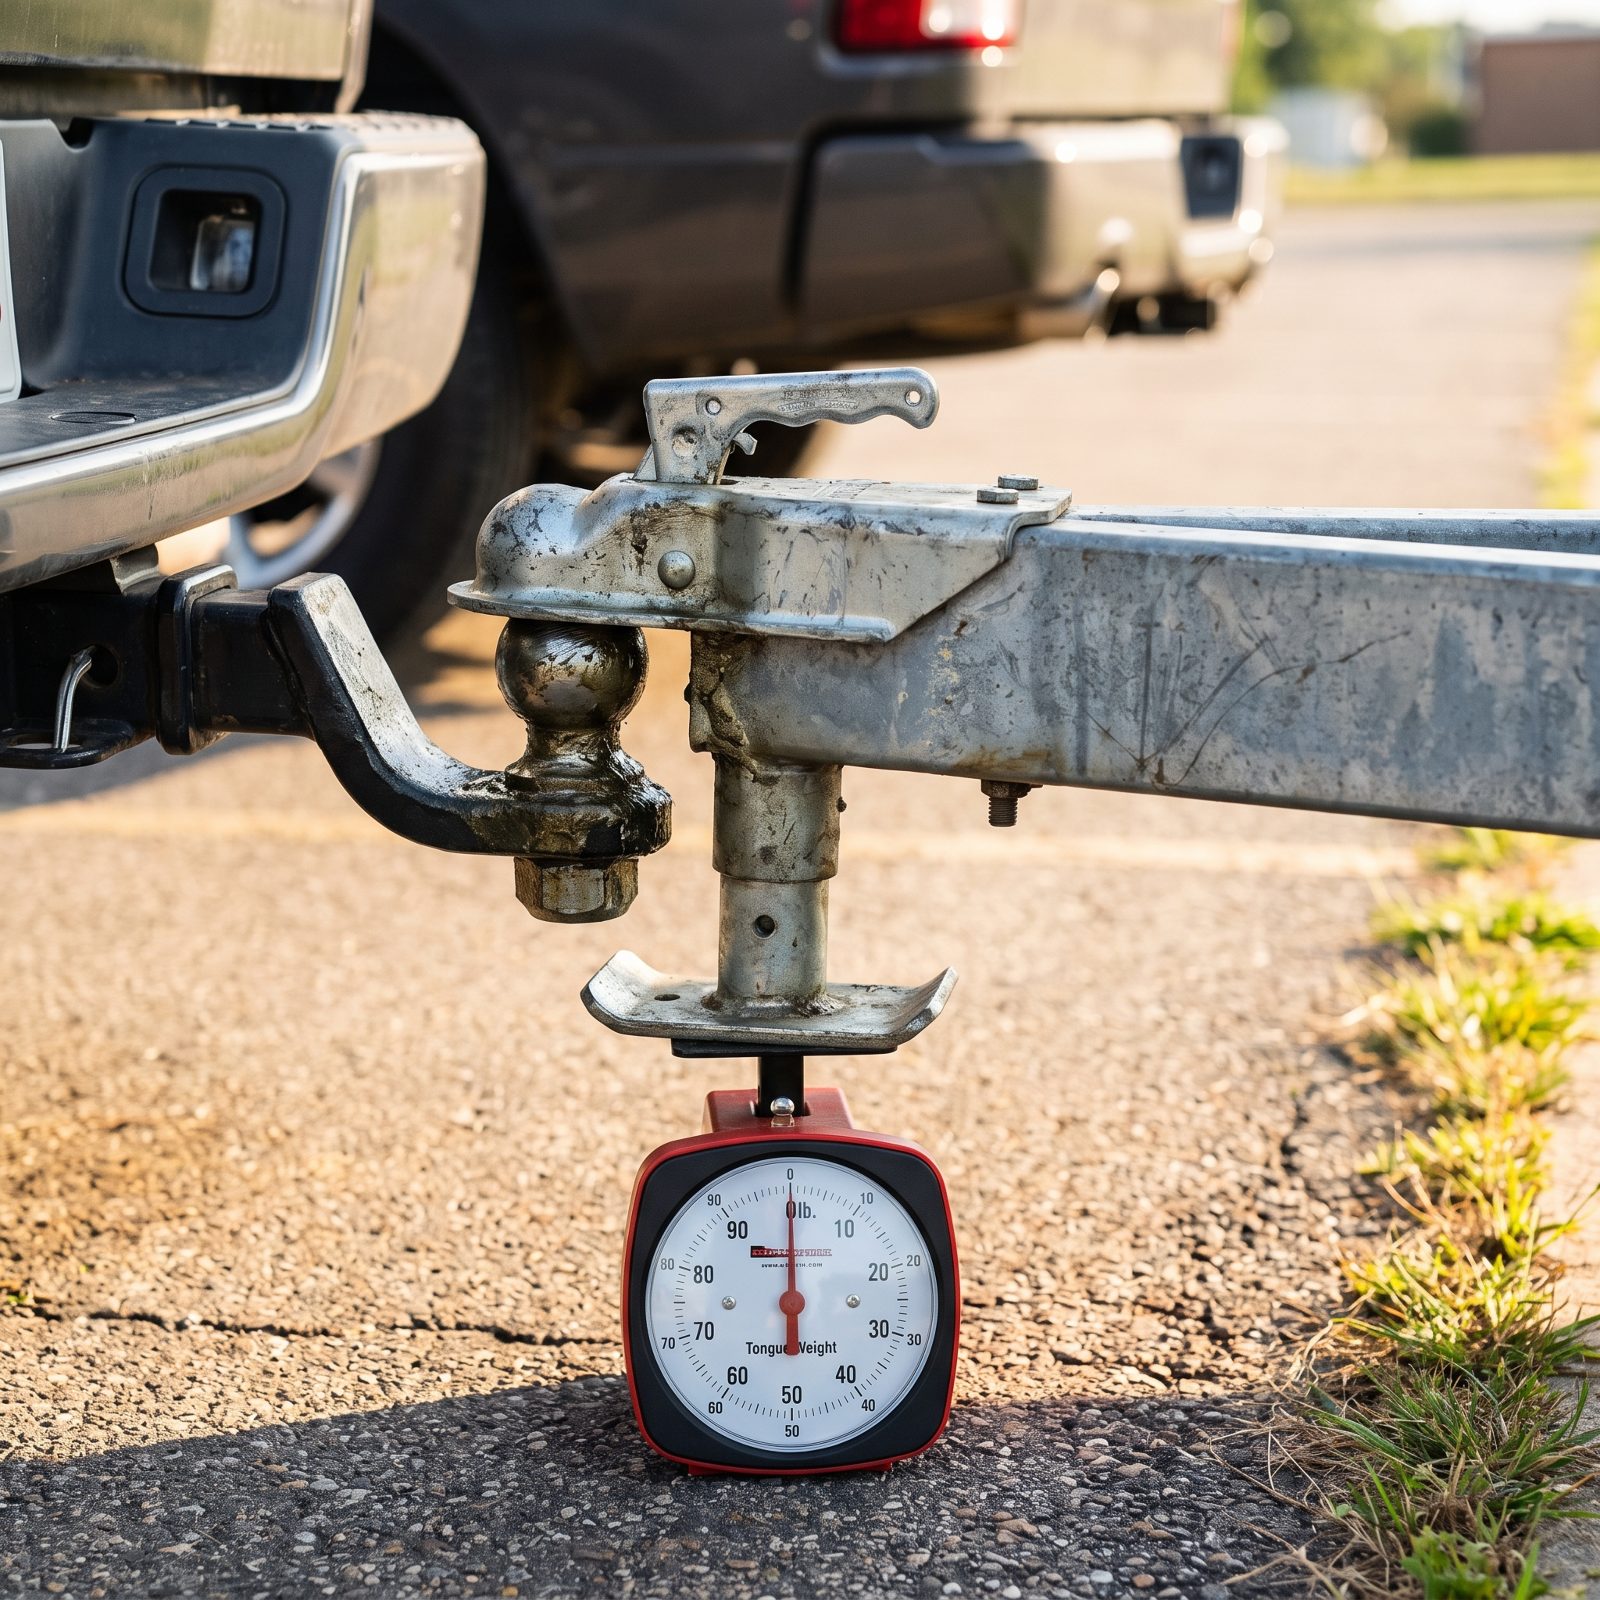
Hitch weight — pin weight on a fifth wheel — is the slice of the trailer’s load that presses down on your tow vehicle. Get it wrong and you’ll either sag the rear badly or lose steering feel at the front. Neither makes for a calm tow.
Don’t trust the dry number. Load the trailer the way you’d actually travel, then measure it. A tongue-weight scale set under the tongue jack handles bumper-pull trailers, but unlatch the coupler and crank it clear of the ball first; if it’s still sitting on the ball, the hitch carries part of the load and the dial reads low. A CAT scale handles bigger rigs. Aim for roughly 10 to 15 percent of the loaded trailer weight on a conventional hitch, closer to 15 to 25 percent on a fifth wheel. And here’s the habit most owners never pick up: this number shifts every single trip depending on where you stow the heavy gear.
1. Validate Tow-Vehicle Payload Capacity
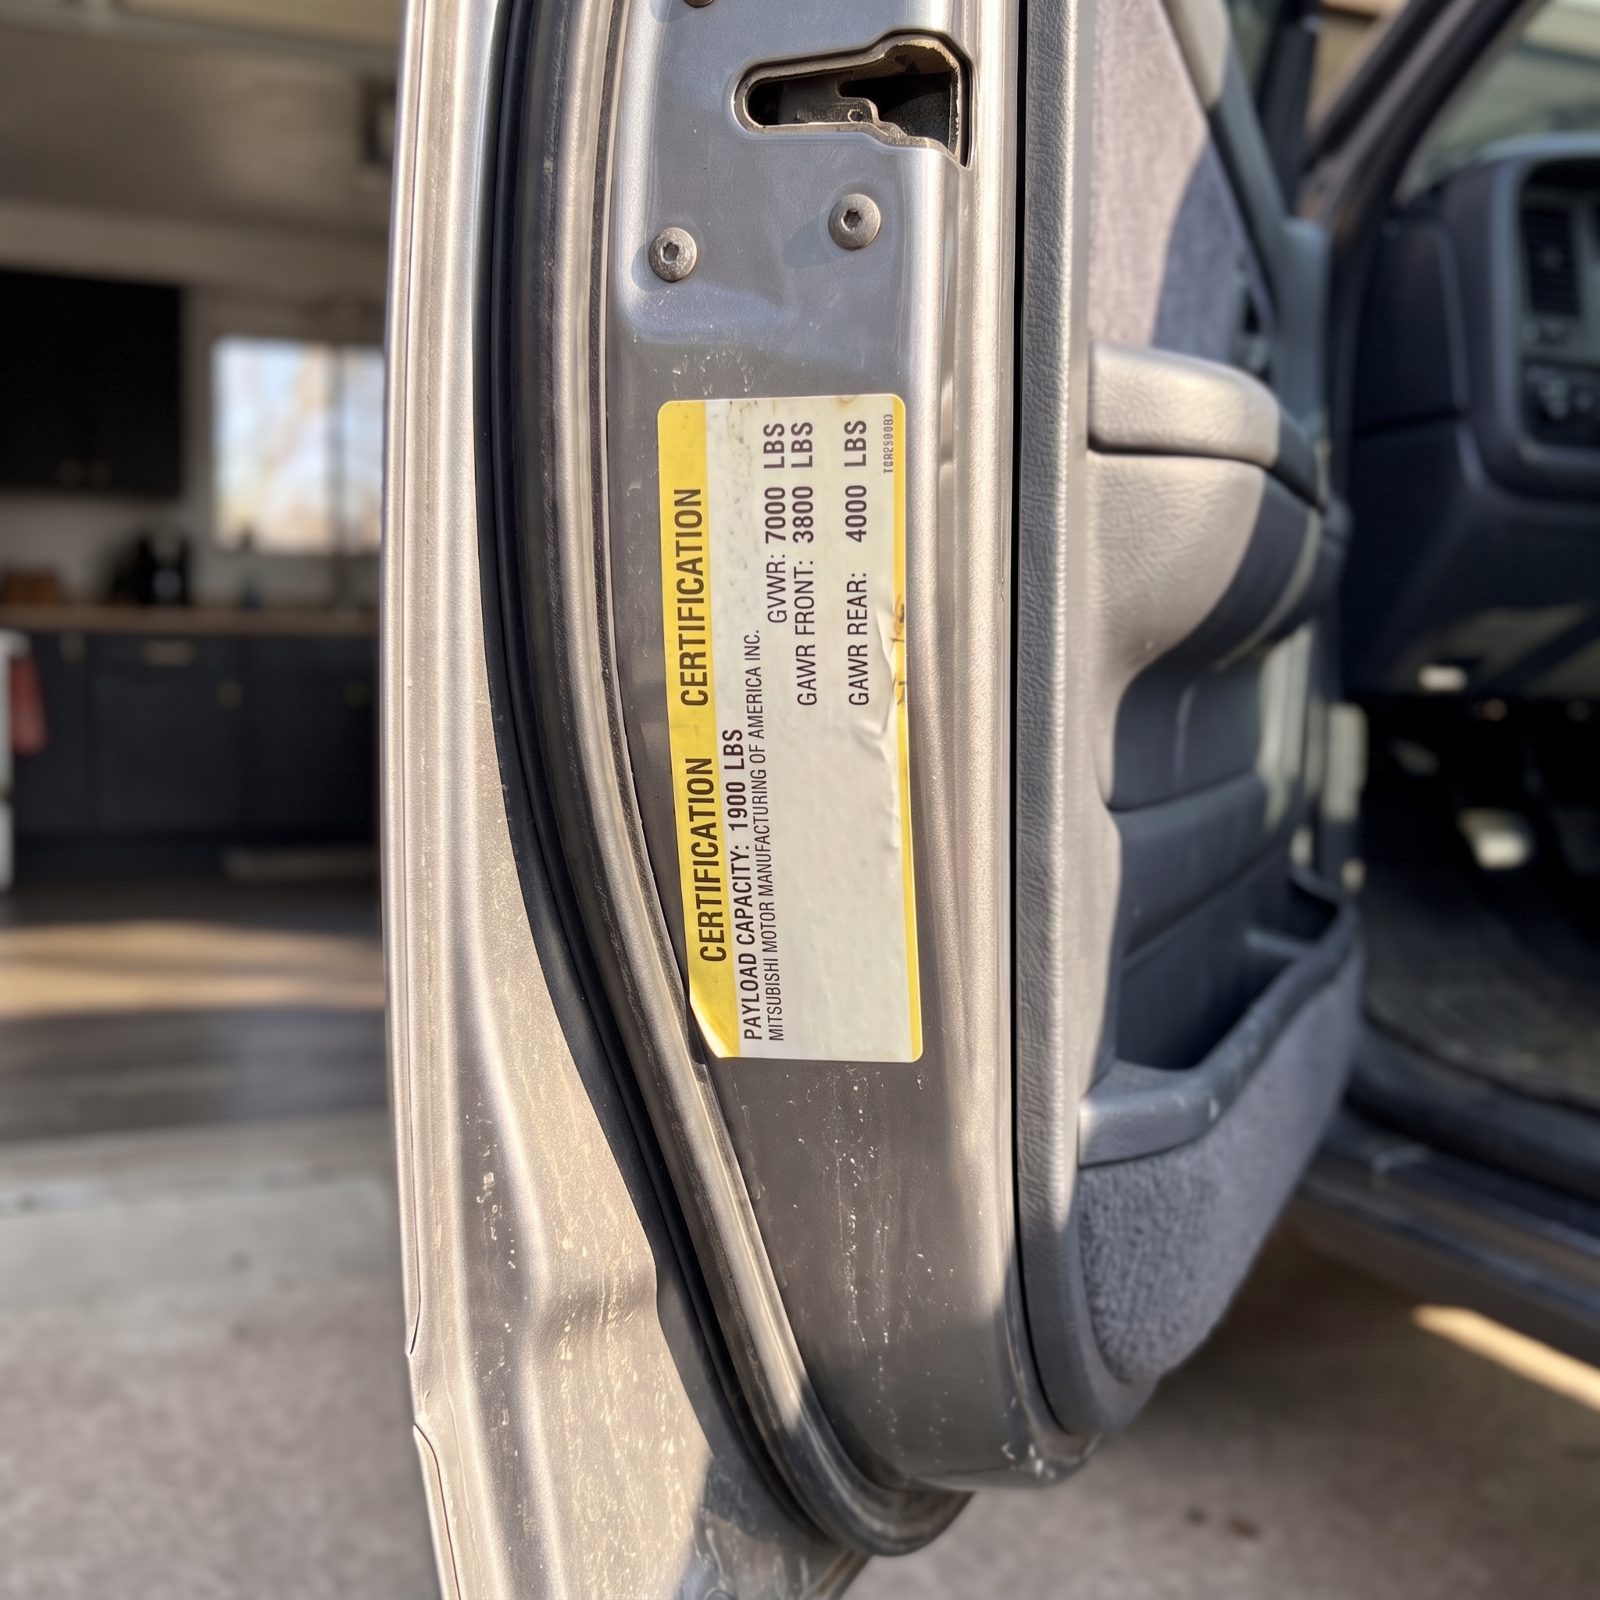
Here’s the question that trips up more buyers than anything else on this list. Everyone checks whether the truck can tow the trailer, and almost nobody checks whether the truck can carry the hitch weight. Payload runs out long before towing capacity does.
Open the driver’s door and read the payload number on the yellow door-jamb sticker — the real figure for your exact truck, not the marketing brochure. Now subtract passengers, fuel, your weight-distribution hitch, and the loaded hitch or pin weight. Pair a lot of half-ton trucks with a big fifth wheel and you’re over before the dog gets in. This is the one check most people skip, and it’s the one that decides whether your setup is actually safe or just legal on paper.
Your Printable Checklist
Save it to Pinterest or print it — every check from the list above on one page.