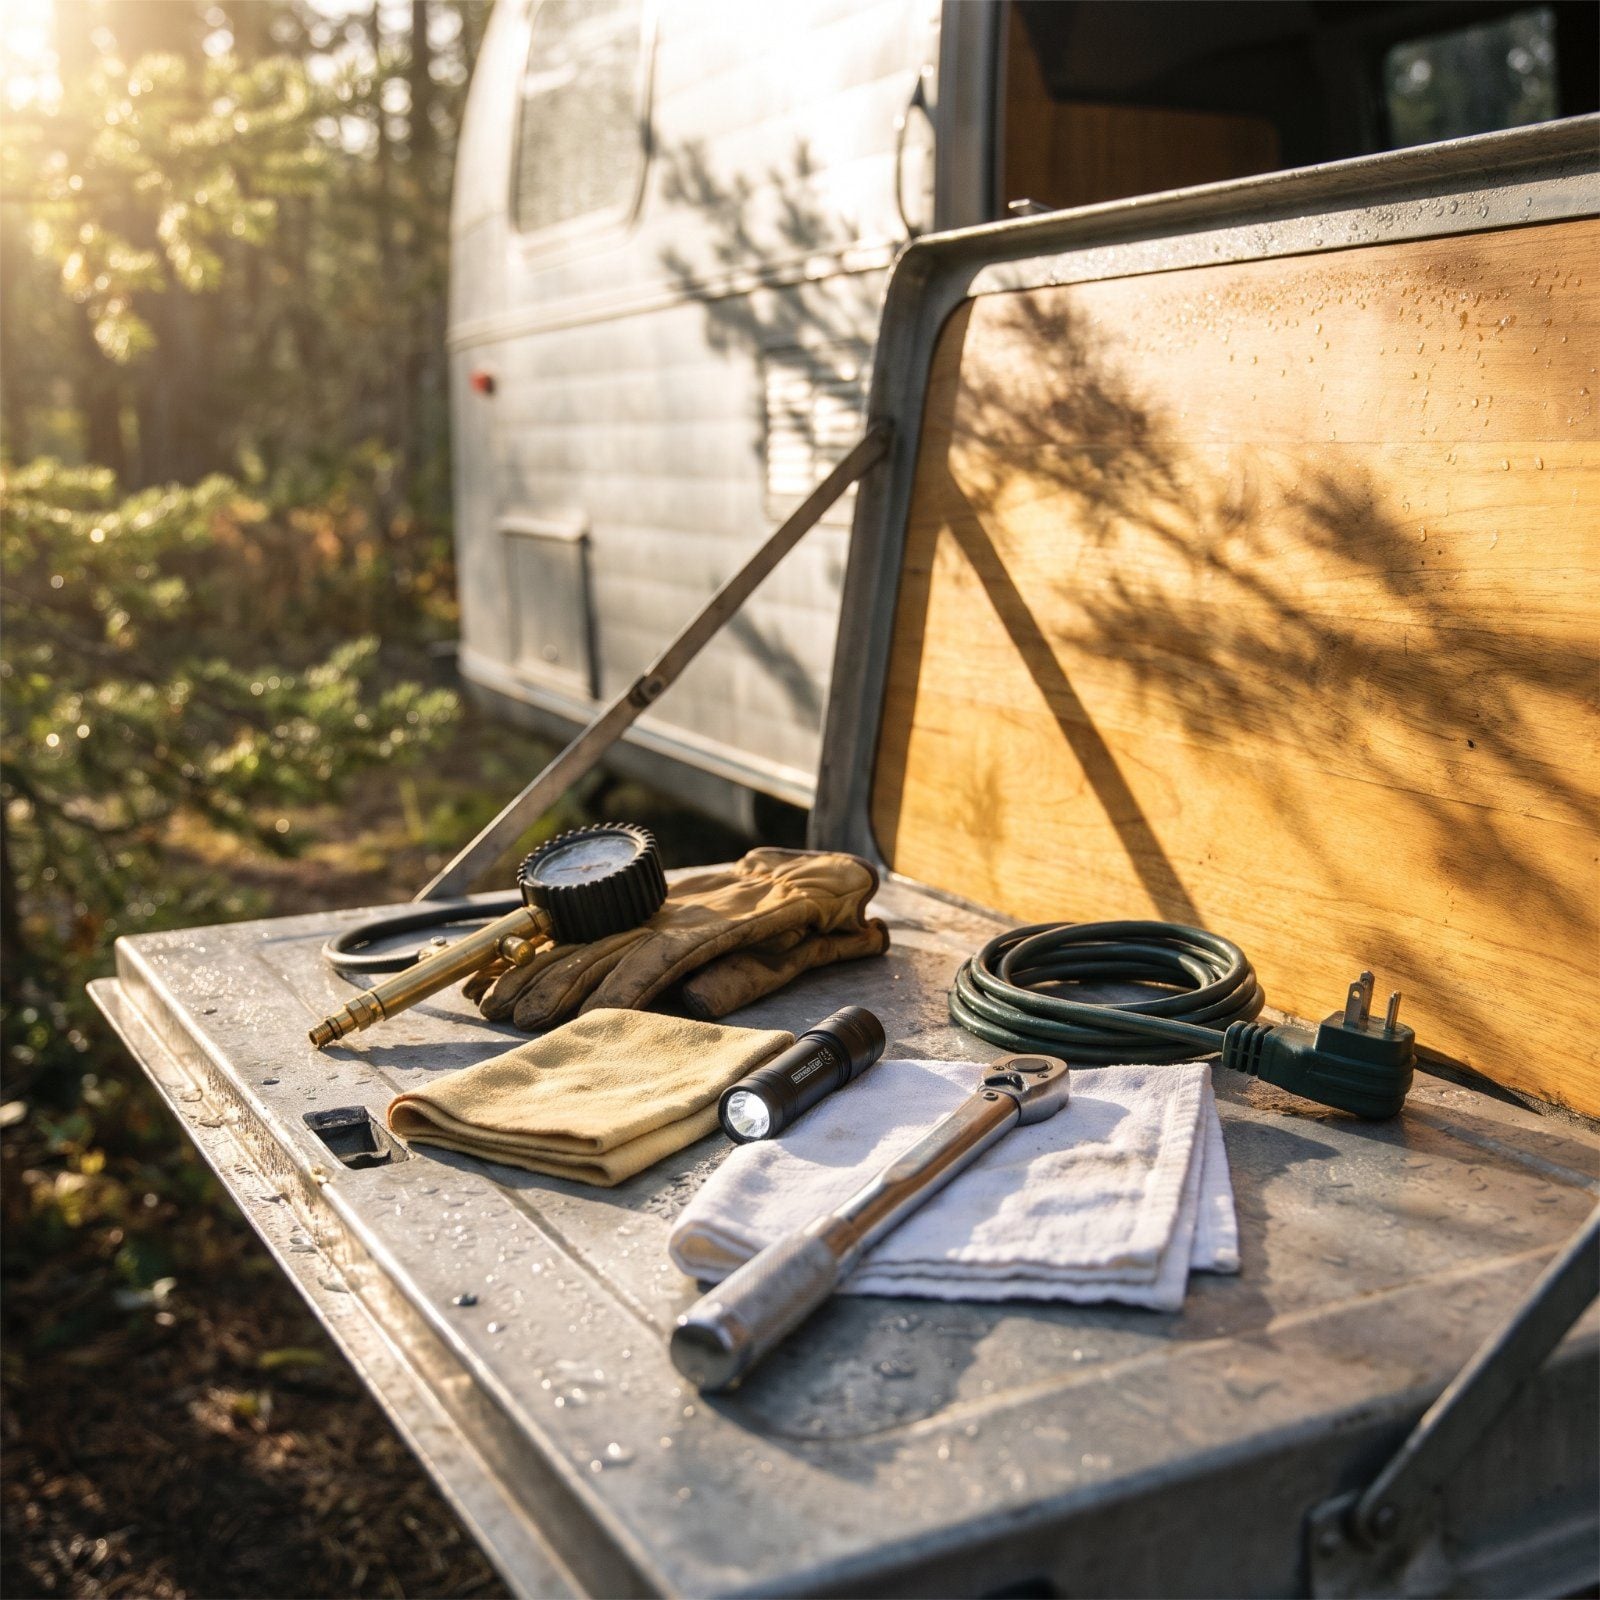
The worst breakdowns happen in the first ten miles. A tire that was fine last night. A slideout that didn’t fully seat. That tree limb you parked under three days ago and forgot about entirely. Departure morning is when mistakes get made, because everyone’s rushing to hit the road and nobody’s walking the rig slow. The checks below are the ones seasoned RVers do without thinking and newcomers skip entirely. Work through them once and they turn into muscle memory.
Please note that some of the images in this article were created with the assistance of AI.
49. Sweep Debris From Slideout Roofs
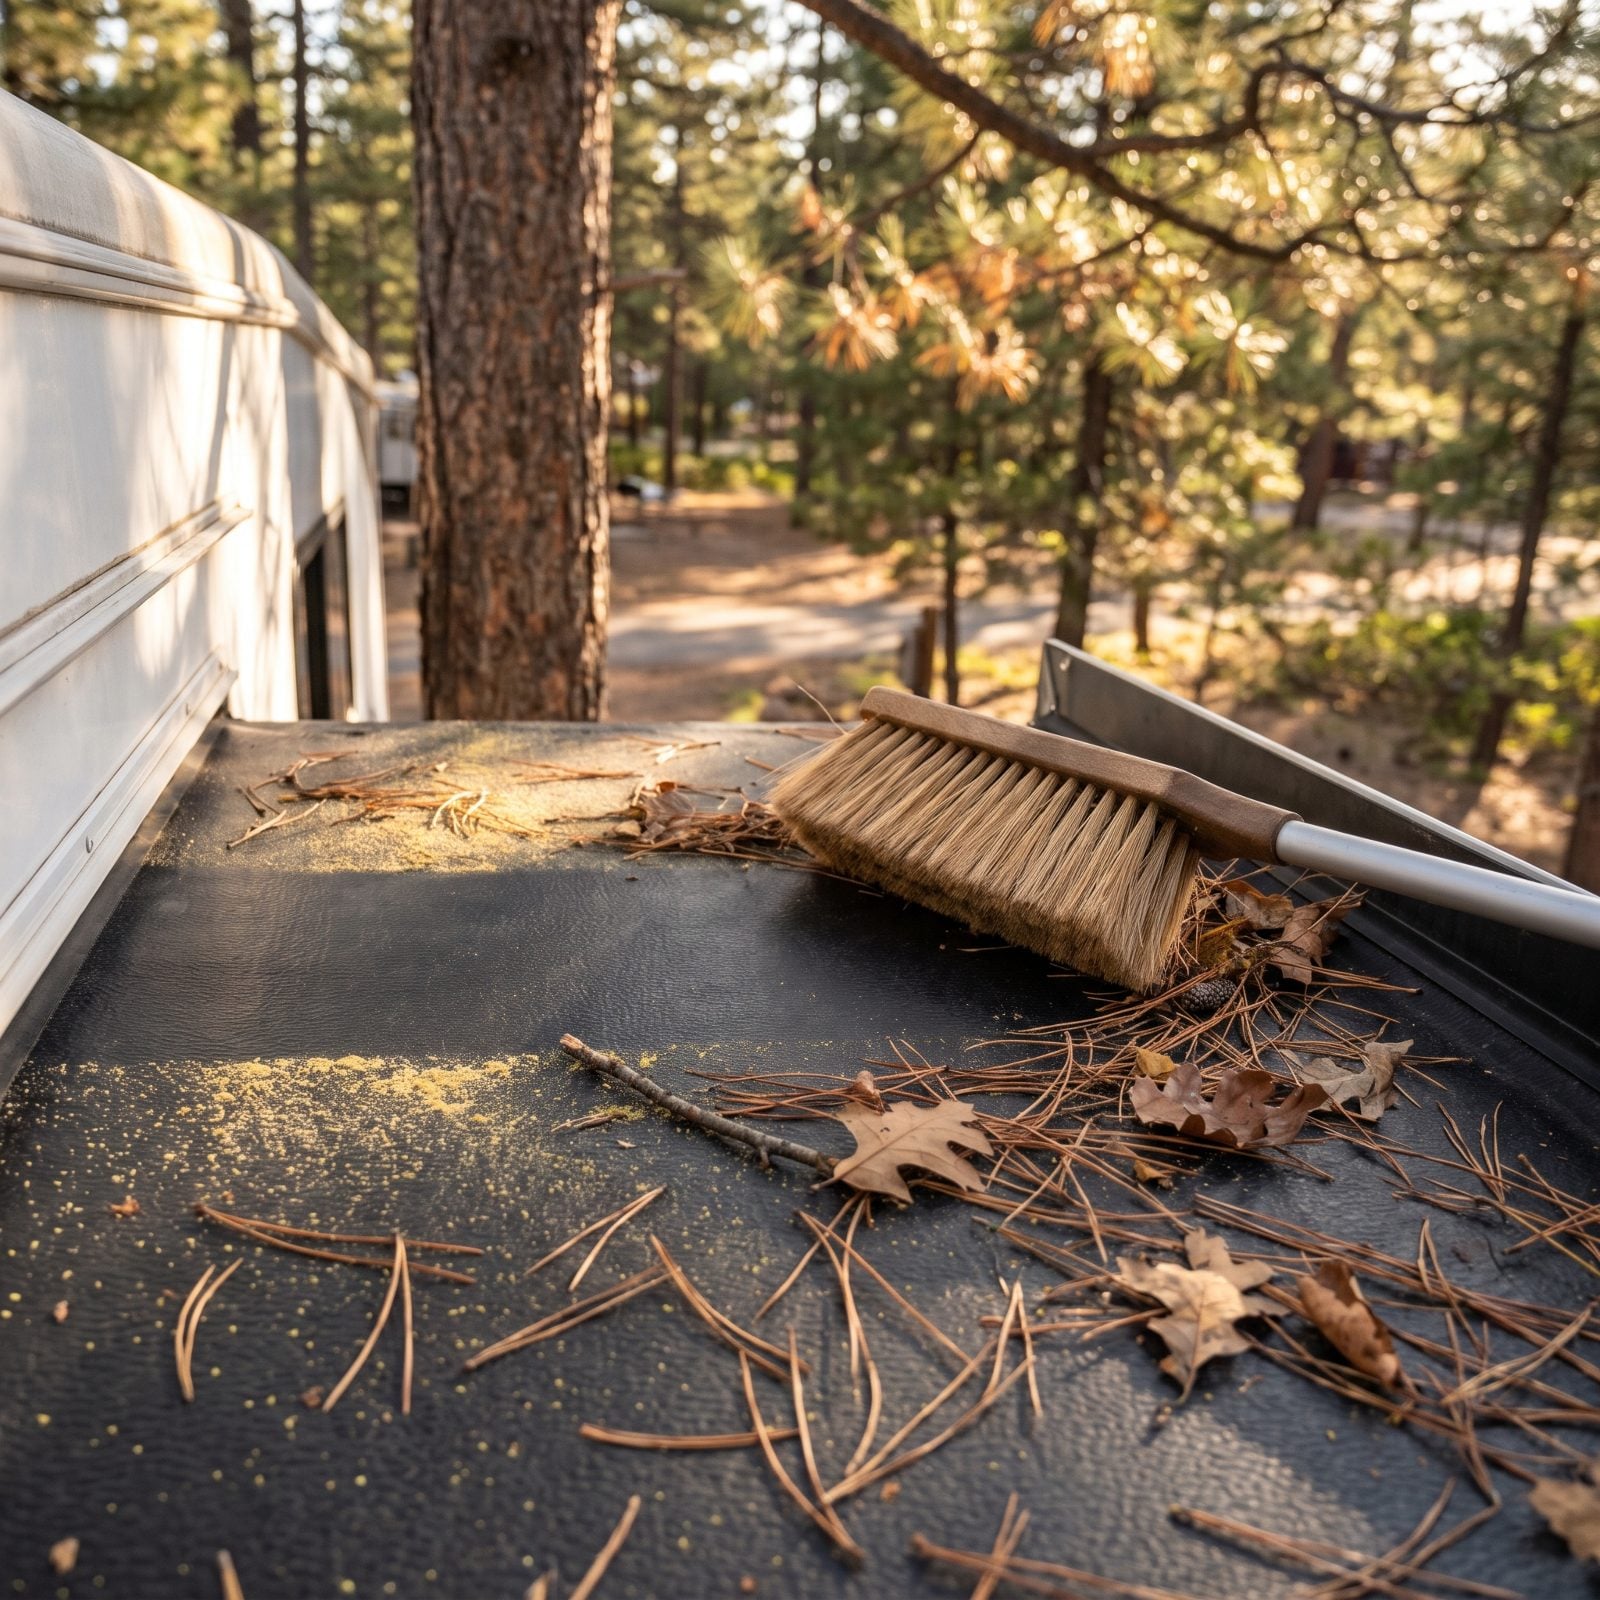
Every needle and leaf sitting on a slideout roof gets dragged inside the second you retract it. That’s how you end up with a trail of debris across your mattress, or worse, a twig jammed in the seal that leaks water for the rest of the trip. Before you touch the retract switch, climb up and look. A soft-bristle brush on an extension pole handles it in thirty seconds. Sweep everything off the outer edge, mind the back corners where leaves pile up, and run your hand along the wiper seal to feel for anything lodged.
Ignore this for a season under oak trees and the seal can tear. The repair isn’t cheap.
48. Review Exit Route for Low Clearances
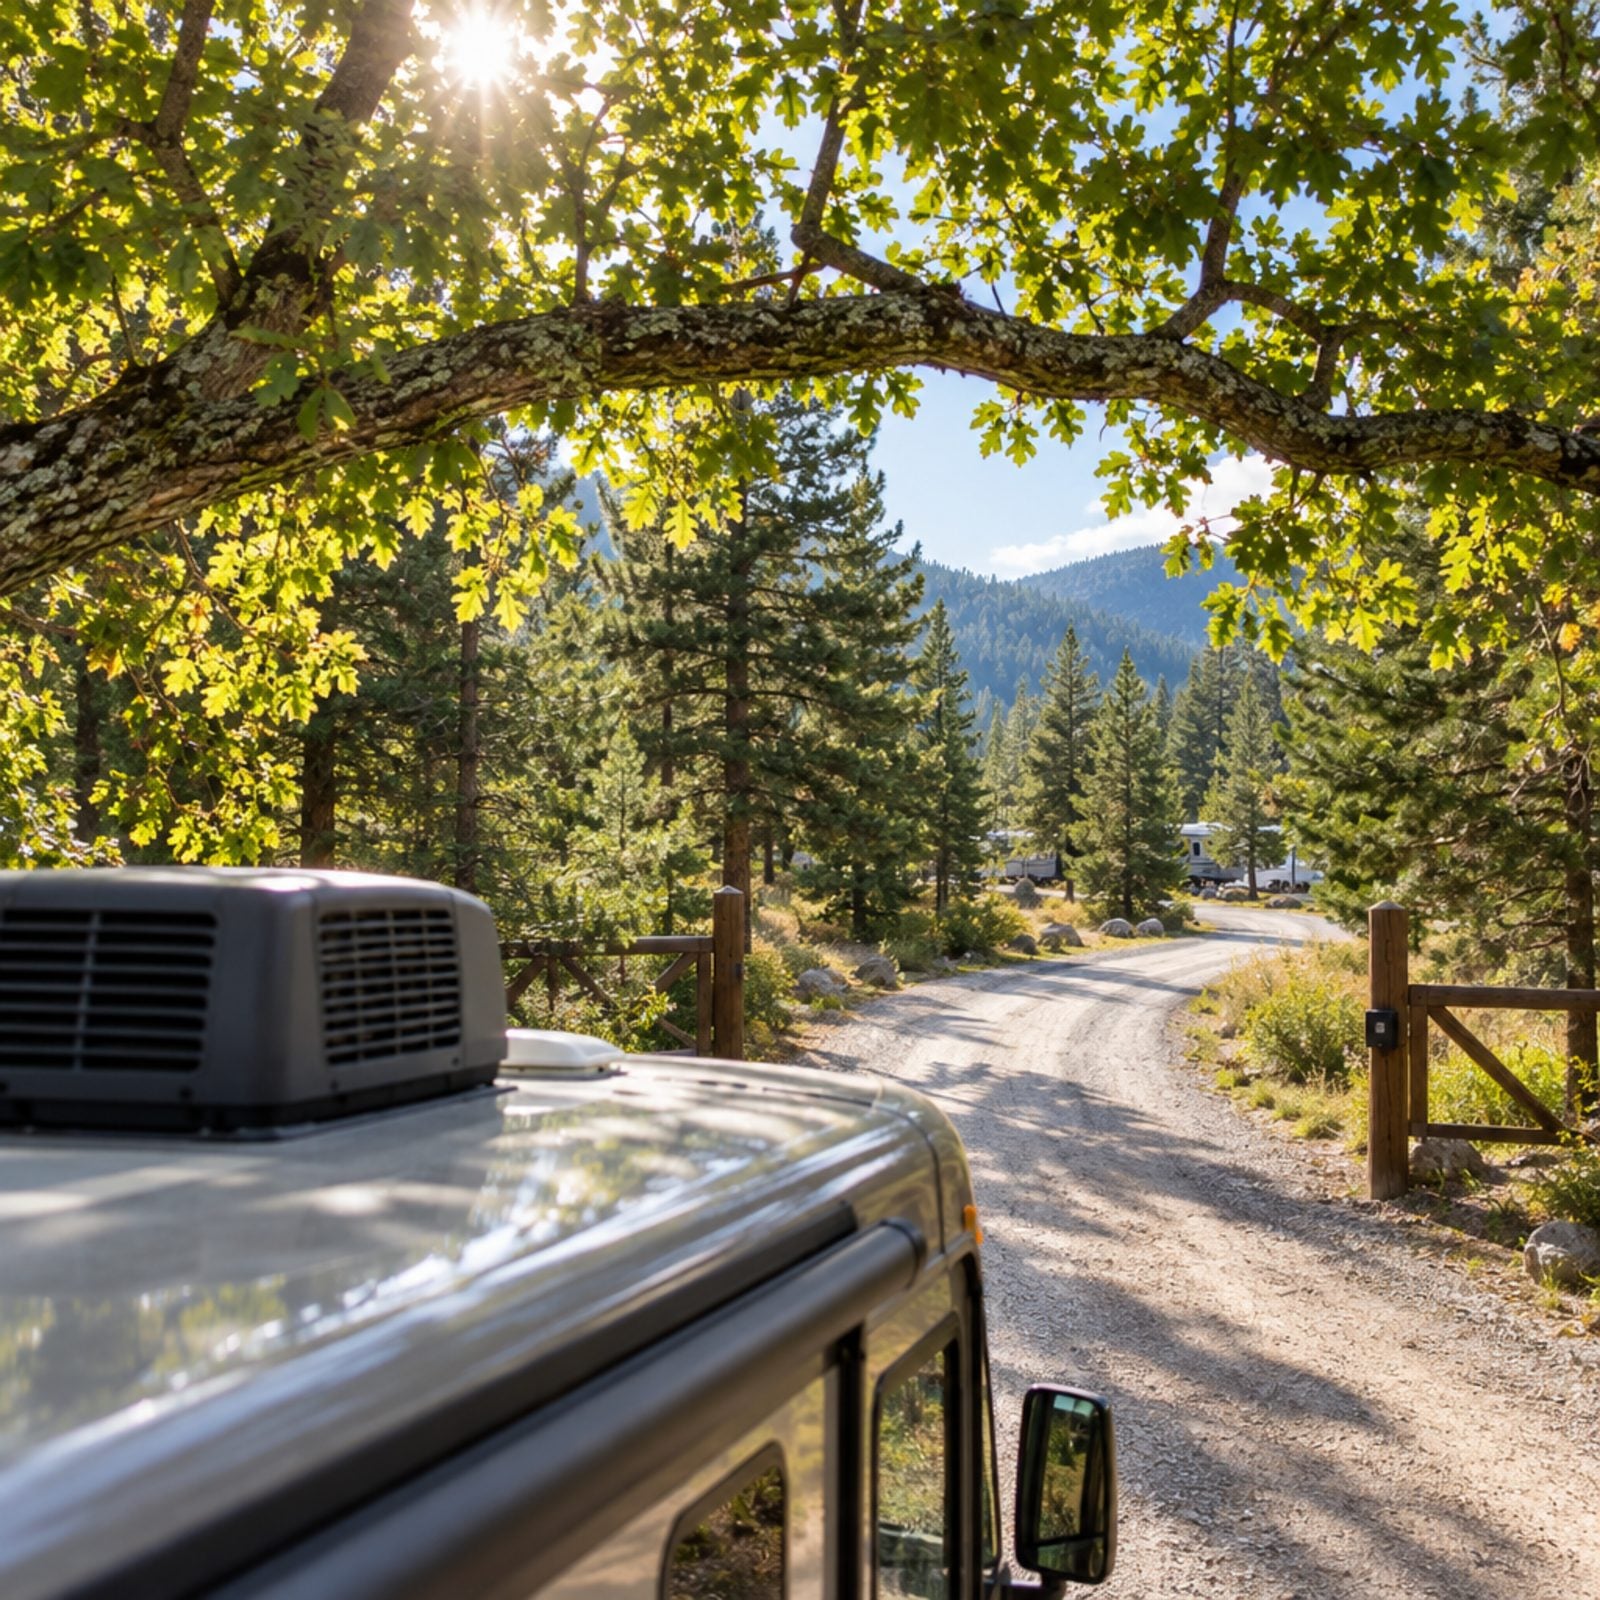
Your RV is taller than you think and wider than the road wants it to be. Low branches, a drive-through canopy at the campground office, a gas station awning down the road, a rail underpass on your planned route — any of them can peel back a roof vent or crack an AC shroud. Know your rig’s full height, AC units included, and write it on a card taped to the dash.
Before you roll, mentally drive the exit. Which way out of the loop, which turns, what hangs overhead. If your route uses a bridge or tunnel, check the posted clearance against your number and leave a foot of margin. Most apps now flag RV-unfriendly roads, but they miss campground tree limbs entirely. Your eyes catch those.
47. Walk Departure Path for Obstacles
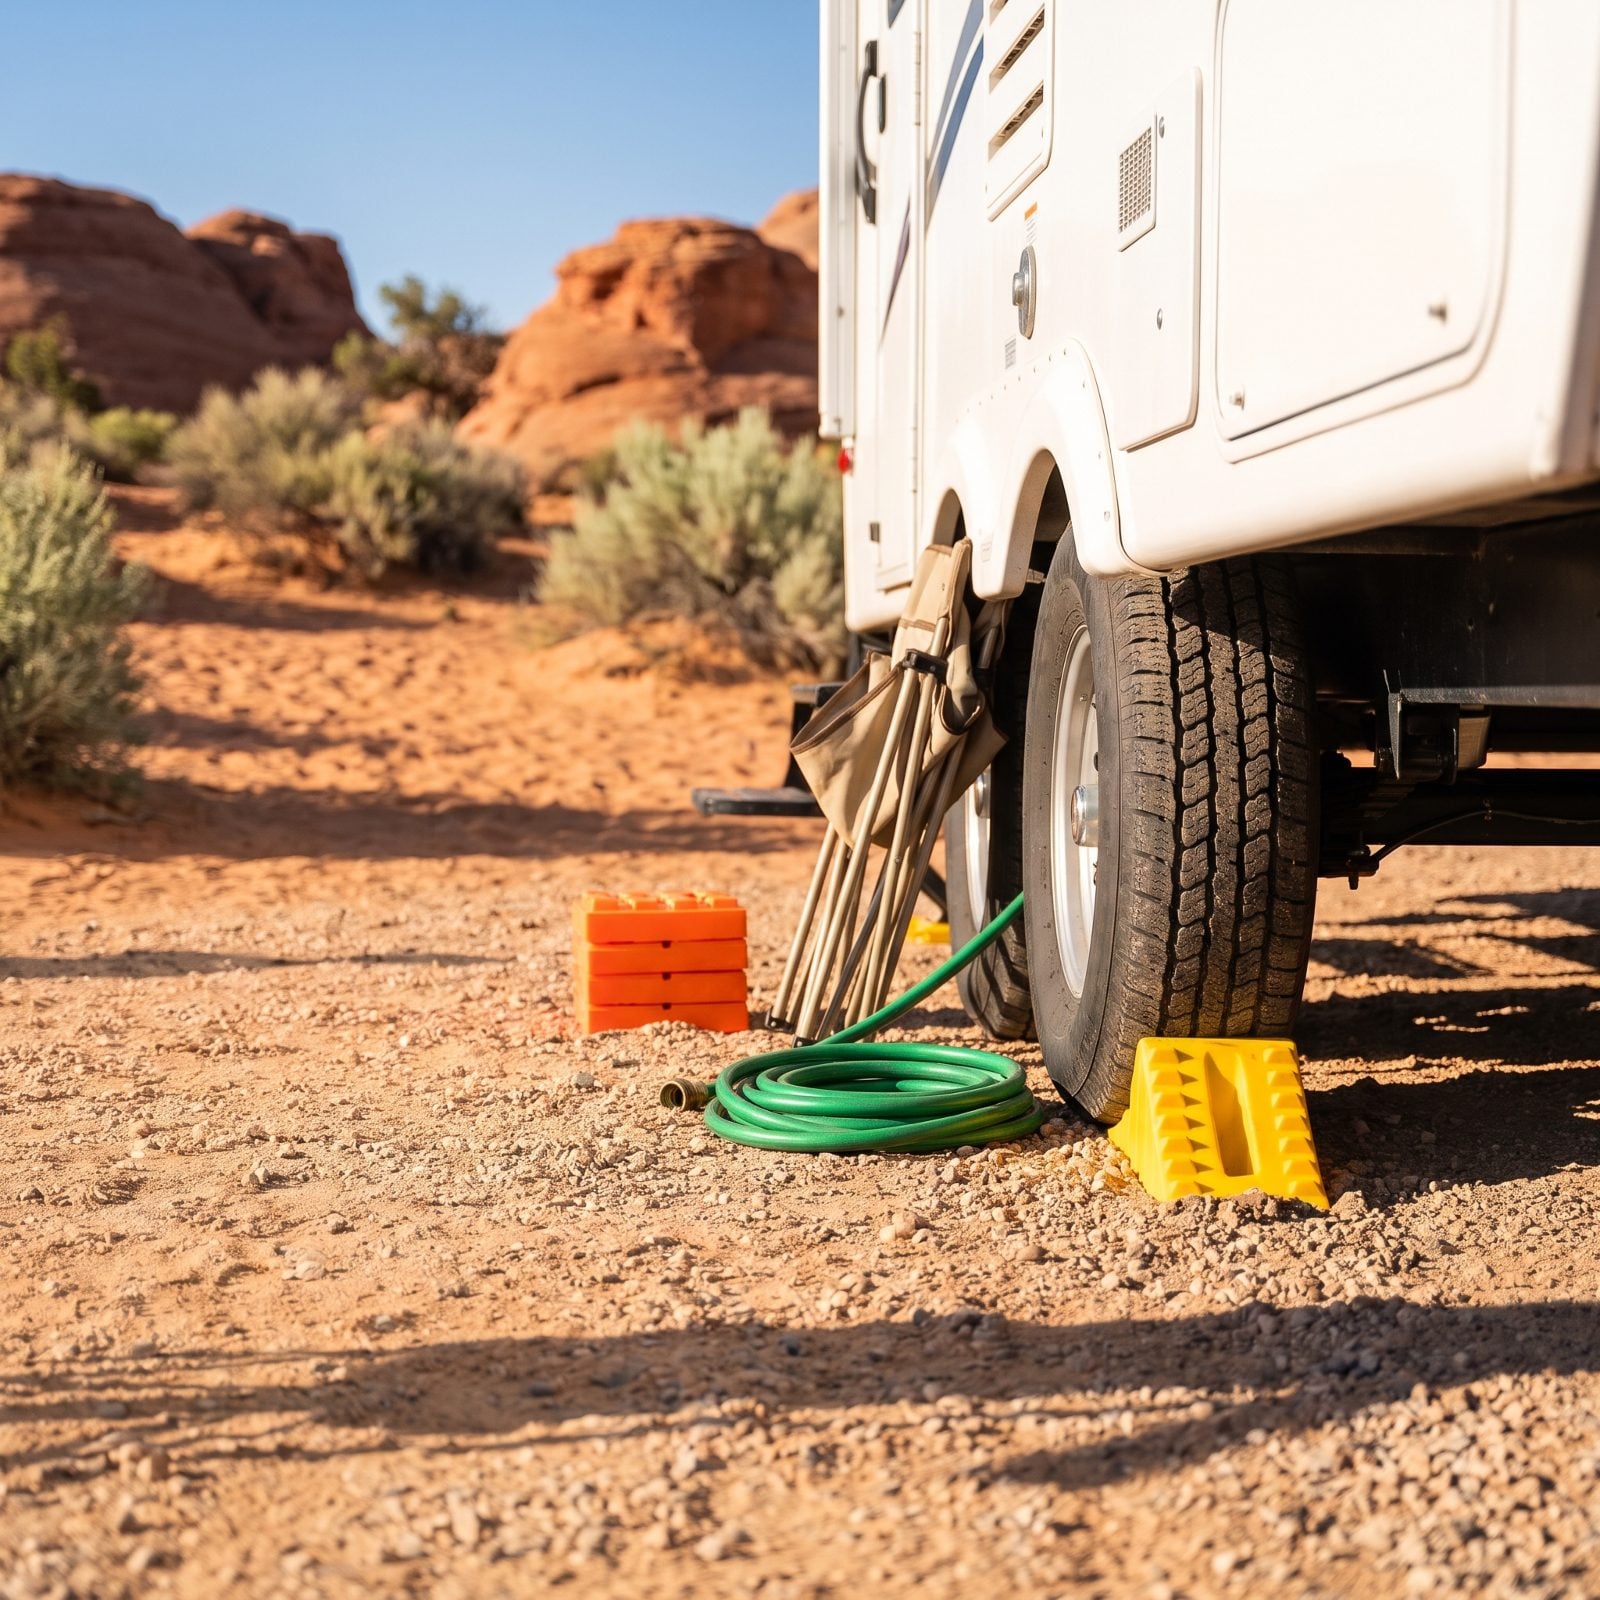
The chock you forgot. The sewer hose still screwed to the dump. The leveling blocks under the tires. People drive off and drag all of it, and the lucky ones only lose the blocks. Walk a full circle around the rig on foot before you climb into the cab. Slow. Look under the frame, behind every tire, at the hookup posts.
Count what you set out when you arrived and account for every piece of it now — chocks, blocks, hoses, the water pressure regulator, those little stabilizer pads. If you put it down three days ago, it’s easy to leave behind.
46. Check Cold Tire Pressures
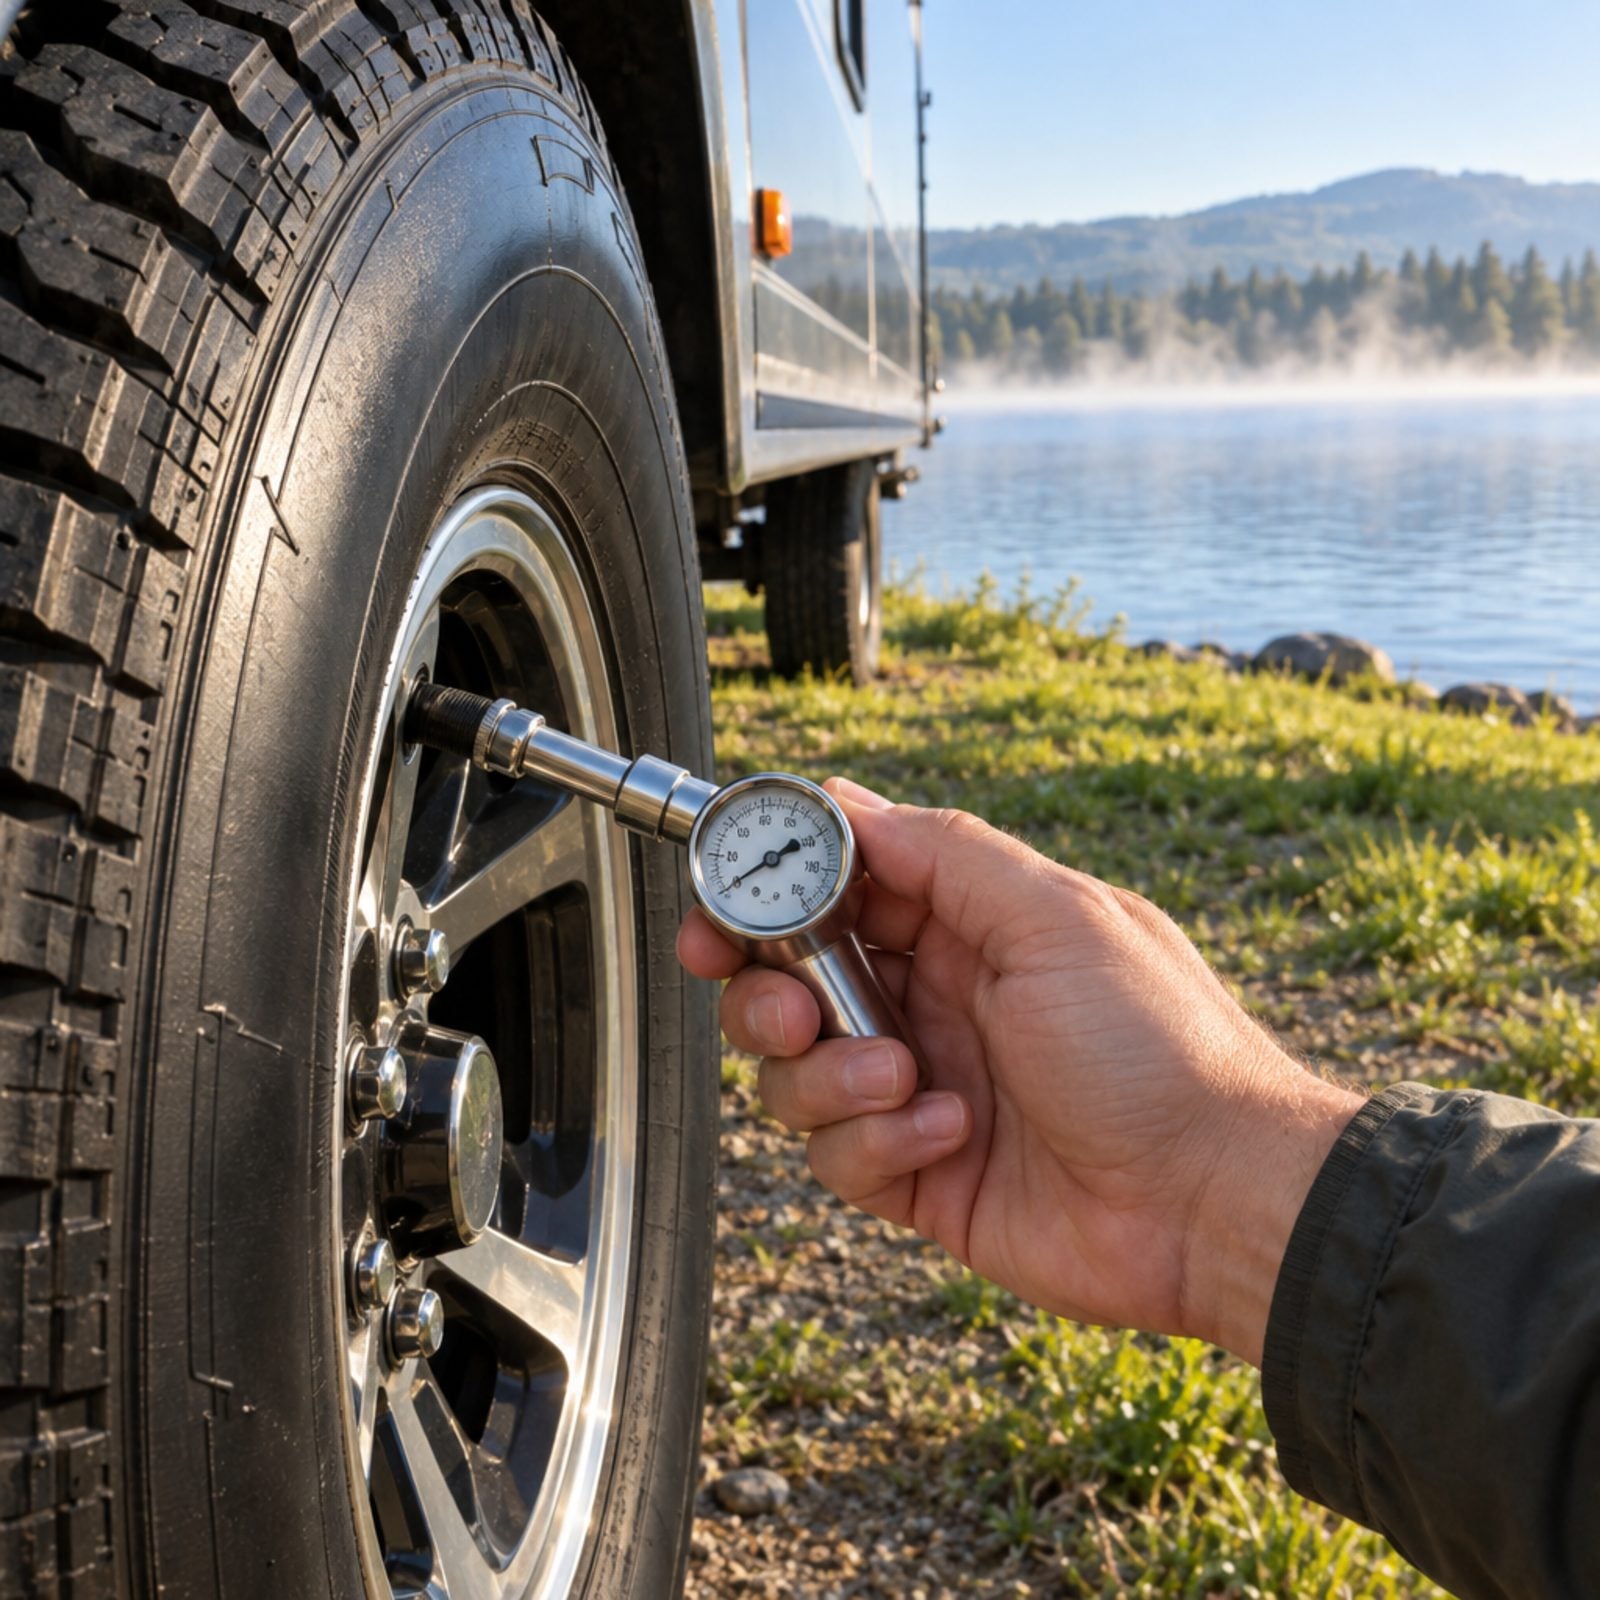
Tires lose pressure as the temperature drops, so a cold mountain morning can leave you running low without a single visible sign. Underinflated RV tires build heat as you drive, and heat is what blows them apart at highway speed. Check pressure cold, before you’ve driven even a mile — a warm tire reads high and lies to you.
Use a quality gauge, not the one built into a gas station air pump. Match each tire to the pressure on your RV’s weight sticker, not the max printed on the sidewall. Those are different numbers, and the sidewall figure is almost always too high for your actual load.
45. Inspect Tires for Cuts and Bulges
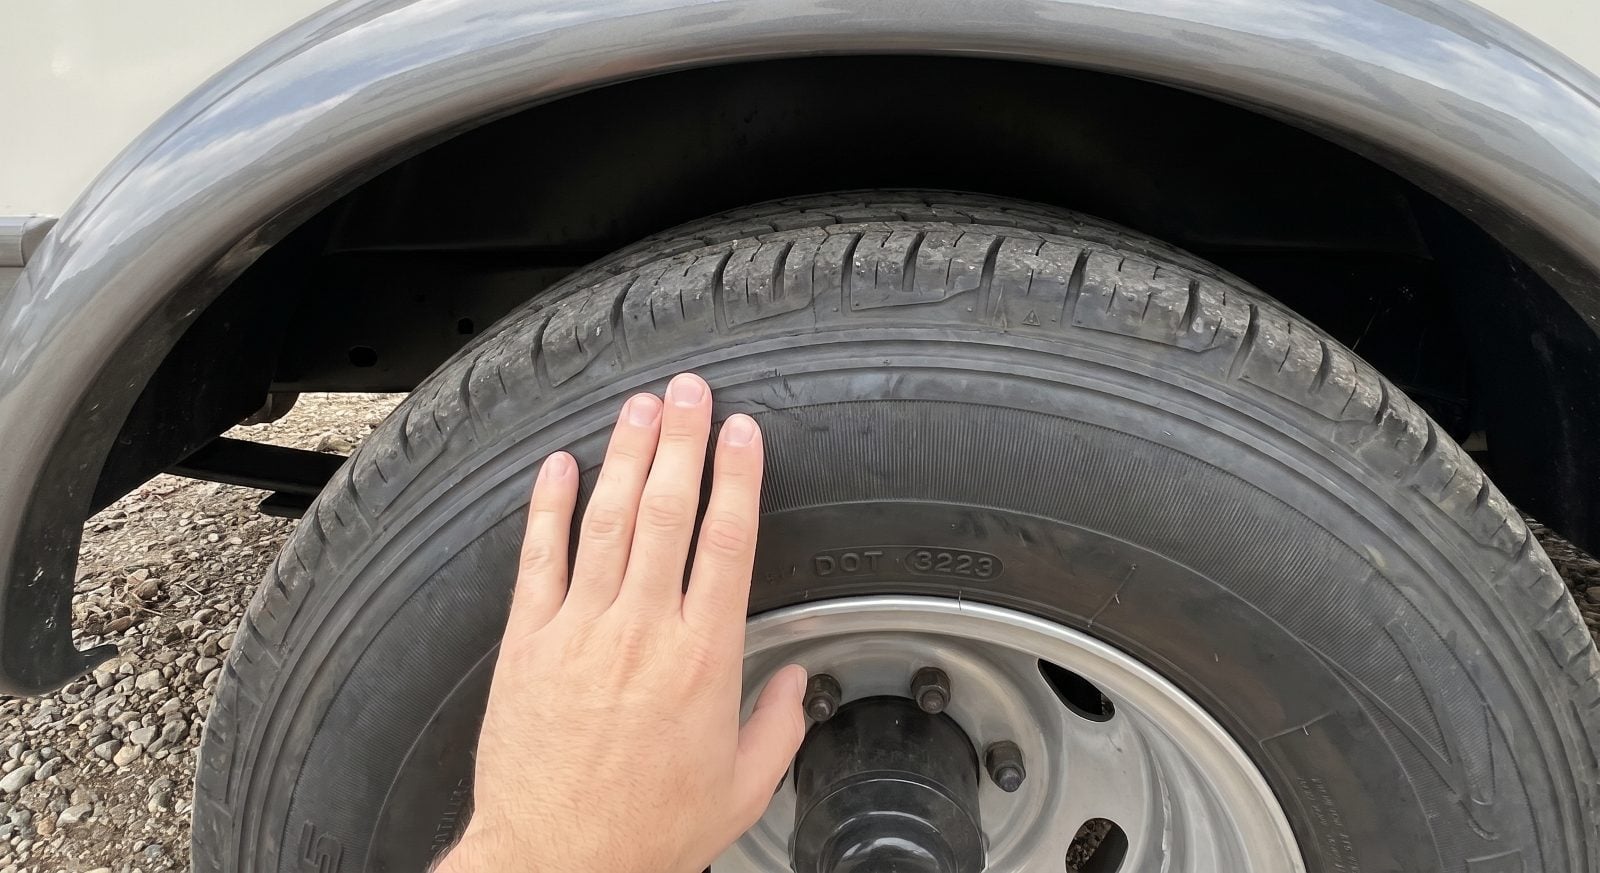
Pressure tells you nothing about the rubber itself. A tire can hold air perfectly and still be about to fail. Crouch down, look at each sidewall, then run your hand slowly around it. You’re feeling for a bulge — a soft spot where the belt has separated and the casing has given up. That bulge is a blowout waiting for a mile marker.
Look for cuts deep enough to show the cords, cracks in the sidewall from age and UV, and chunks missing from the tread. RV tires age out before they wear out. Check the DOT date code and retire anything over six or seven years regardless of how much tread is left. Old rubber is the quiet killer out here, and nobody wants to admit how old their tires really are.
44. Check Lug-Nut Indicators for Movement
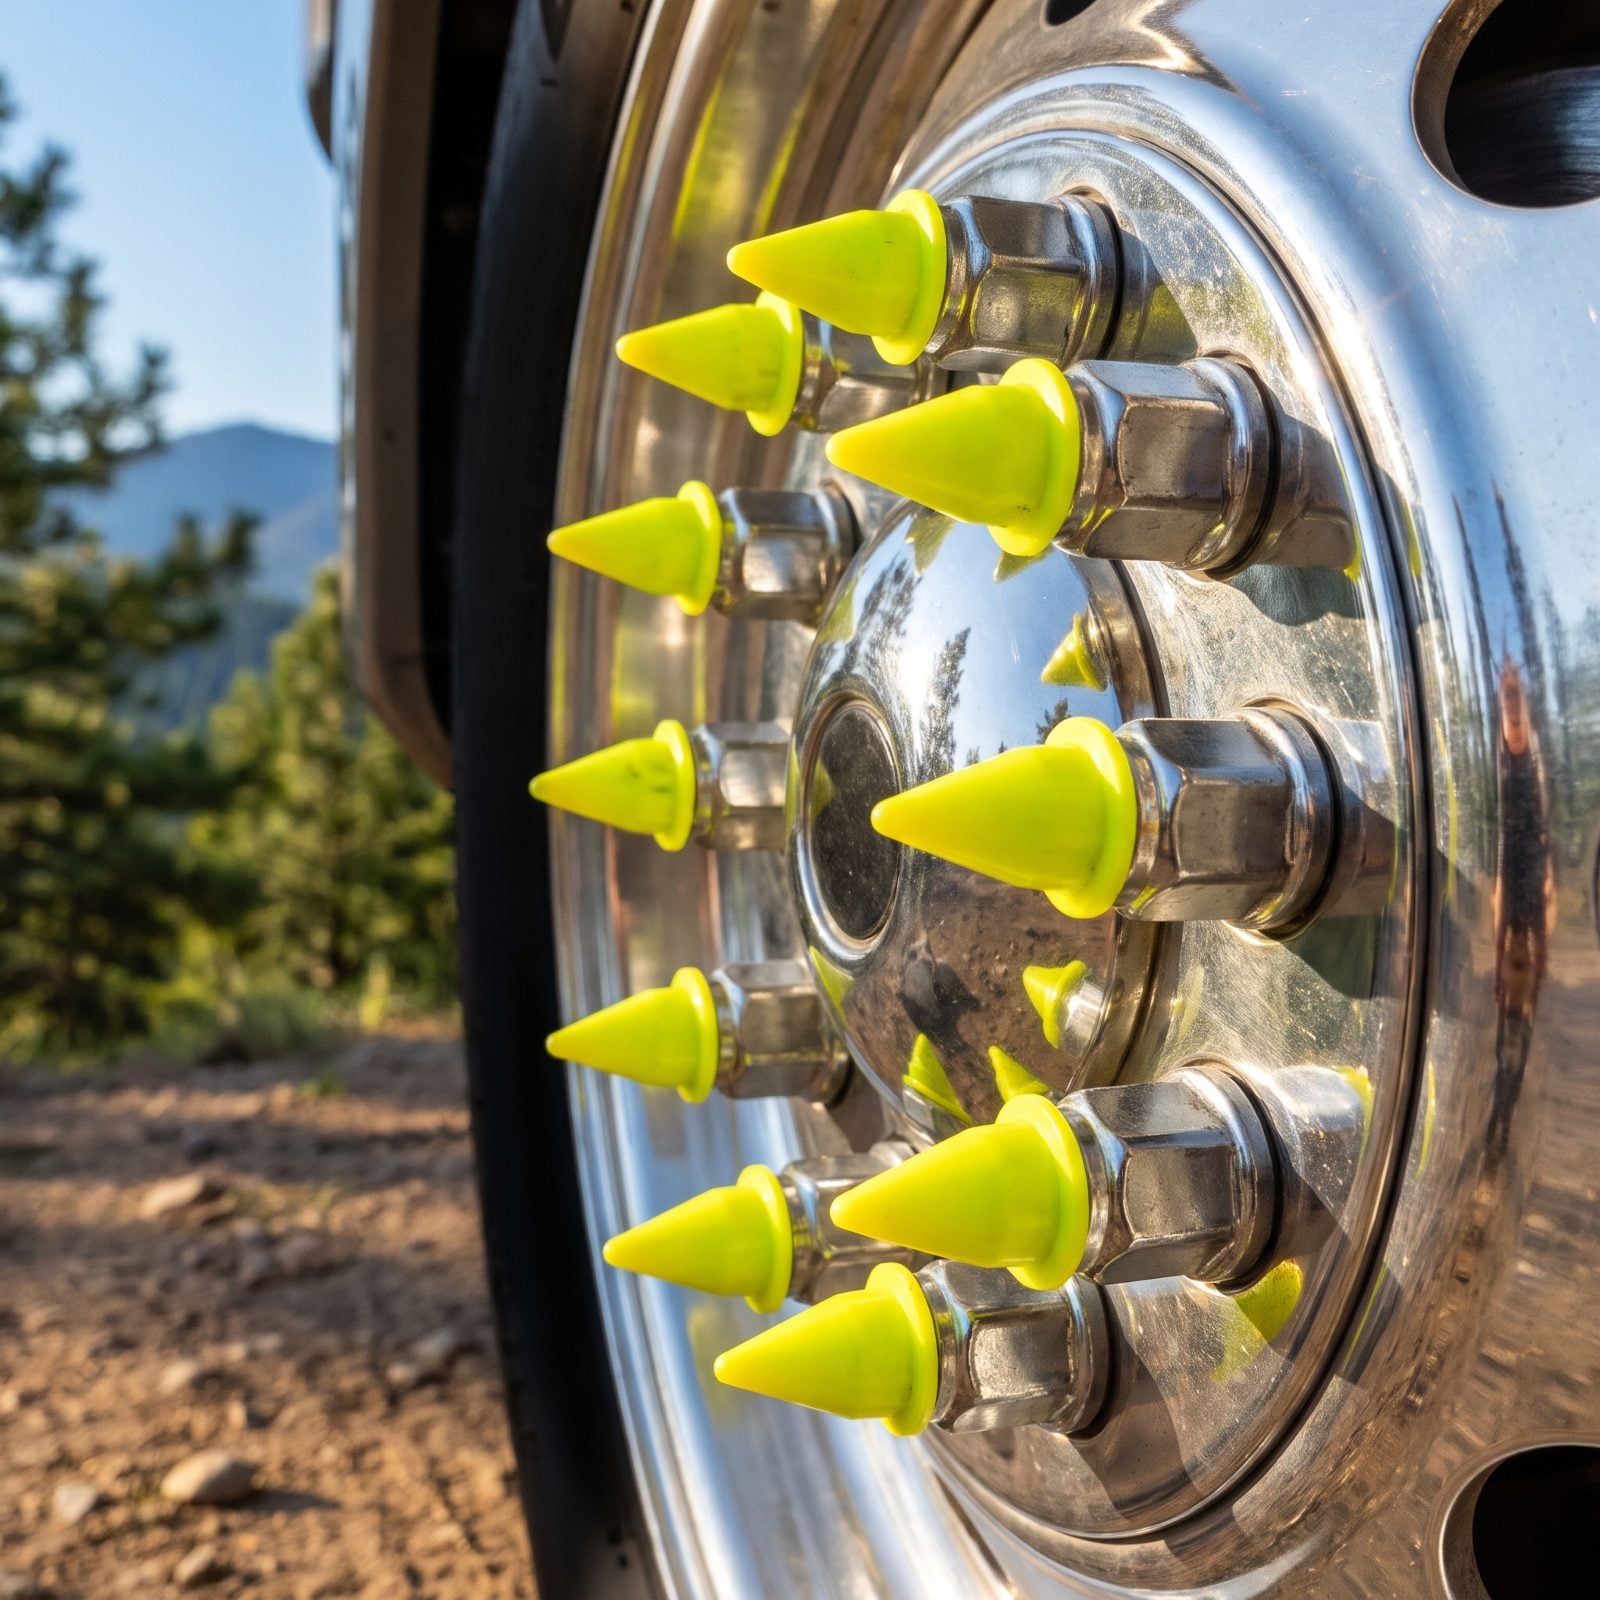
Wheels come loose more often than people think, especially after a recent tire service or on a trailer axle that takes a beating. A lug nut that backed off a quarter turn can let the whole wheel wobble free miles down the road. The cheap fix? A set of pointed indicator caps that line up in a pattern when snug and visibly shift when a nut moves.
Walk each wheel and glance at the ring. If one pointer has rotated out of line with the others, you’ve caught it before it caught you. No indicators? Keep a torque wrench in the rig and re-check lugs to spec, particularly within the first fifty miles after any wheel came off.
43. Look Underneath for Fresh Fluid Leaks
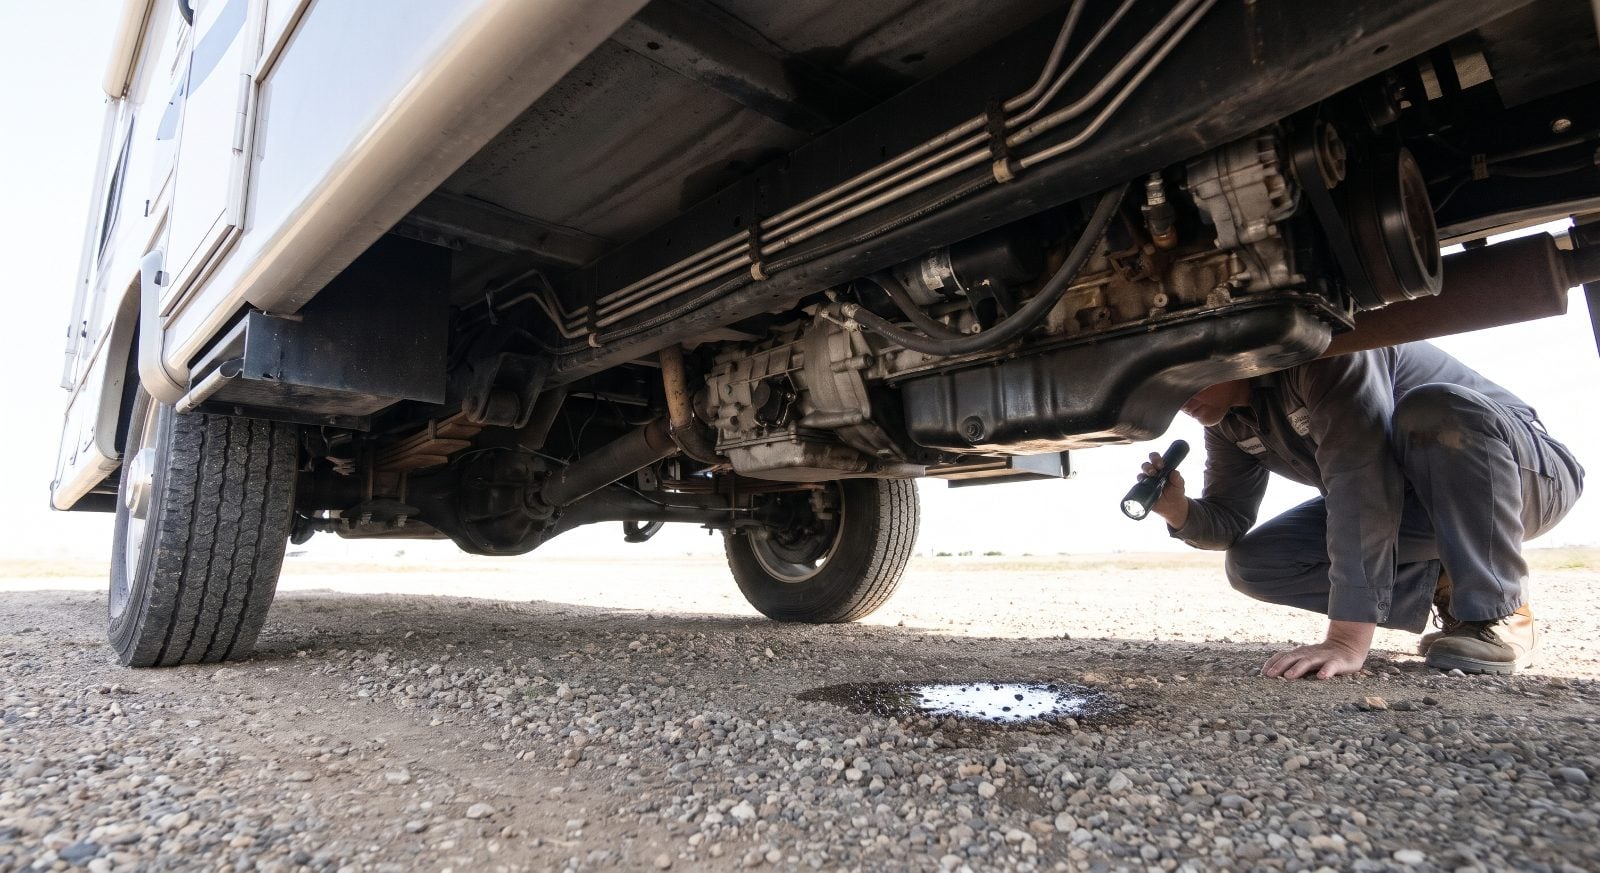
A fresh puddle under the rig is the engine trying to tell you something before the dash light does. Before you move an inch, crouch and look at the gravel or dirt under the engine, transmission, and axles. Clear water from the AC drain is normal and fine. Anything with color isn’t.
Red or pink means transmission or power steering. Brown or black is engine oil. Green or orange is coolant, and a sweet smell confirms it. A greasy spot near a wheel points to a leaking axle seal or brake fluid, which is the one that’ll scare you most. Catch a leak in the dirt here, in daylight, with help a phone call away. Catching it on a mountain pass is a different kind of day.
42. Inspect Suspension for Visible Damage

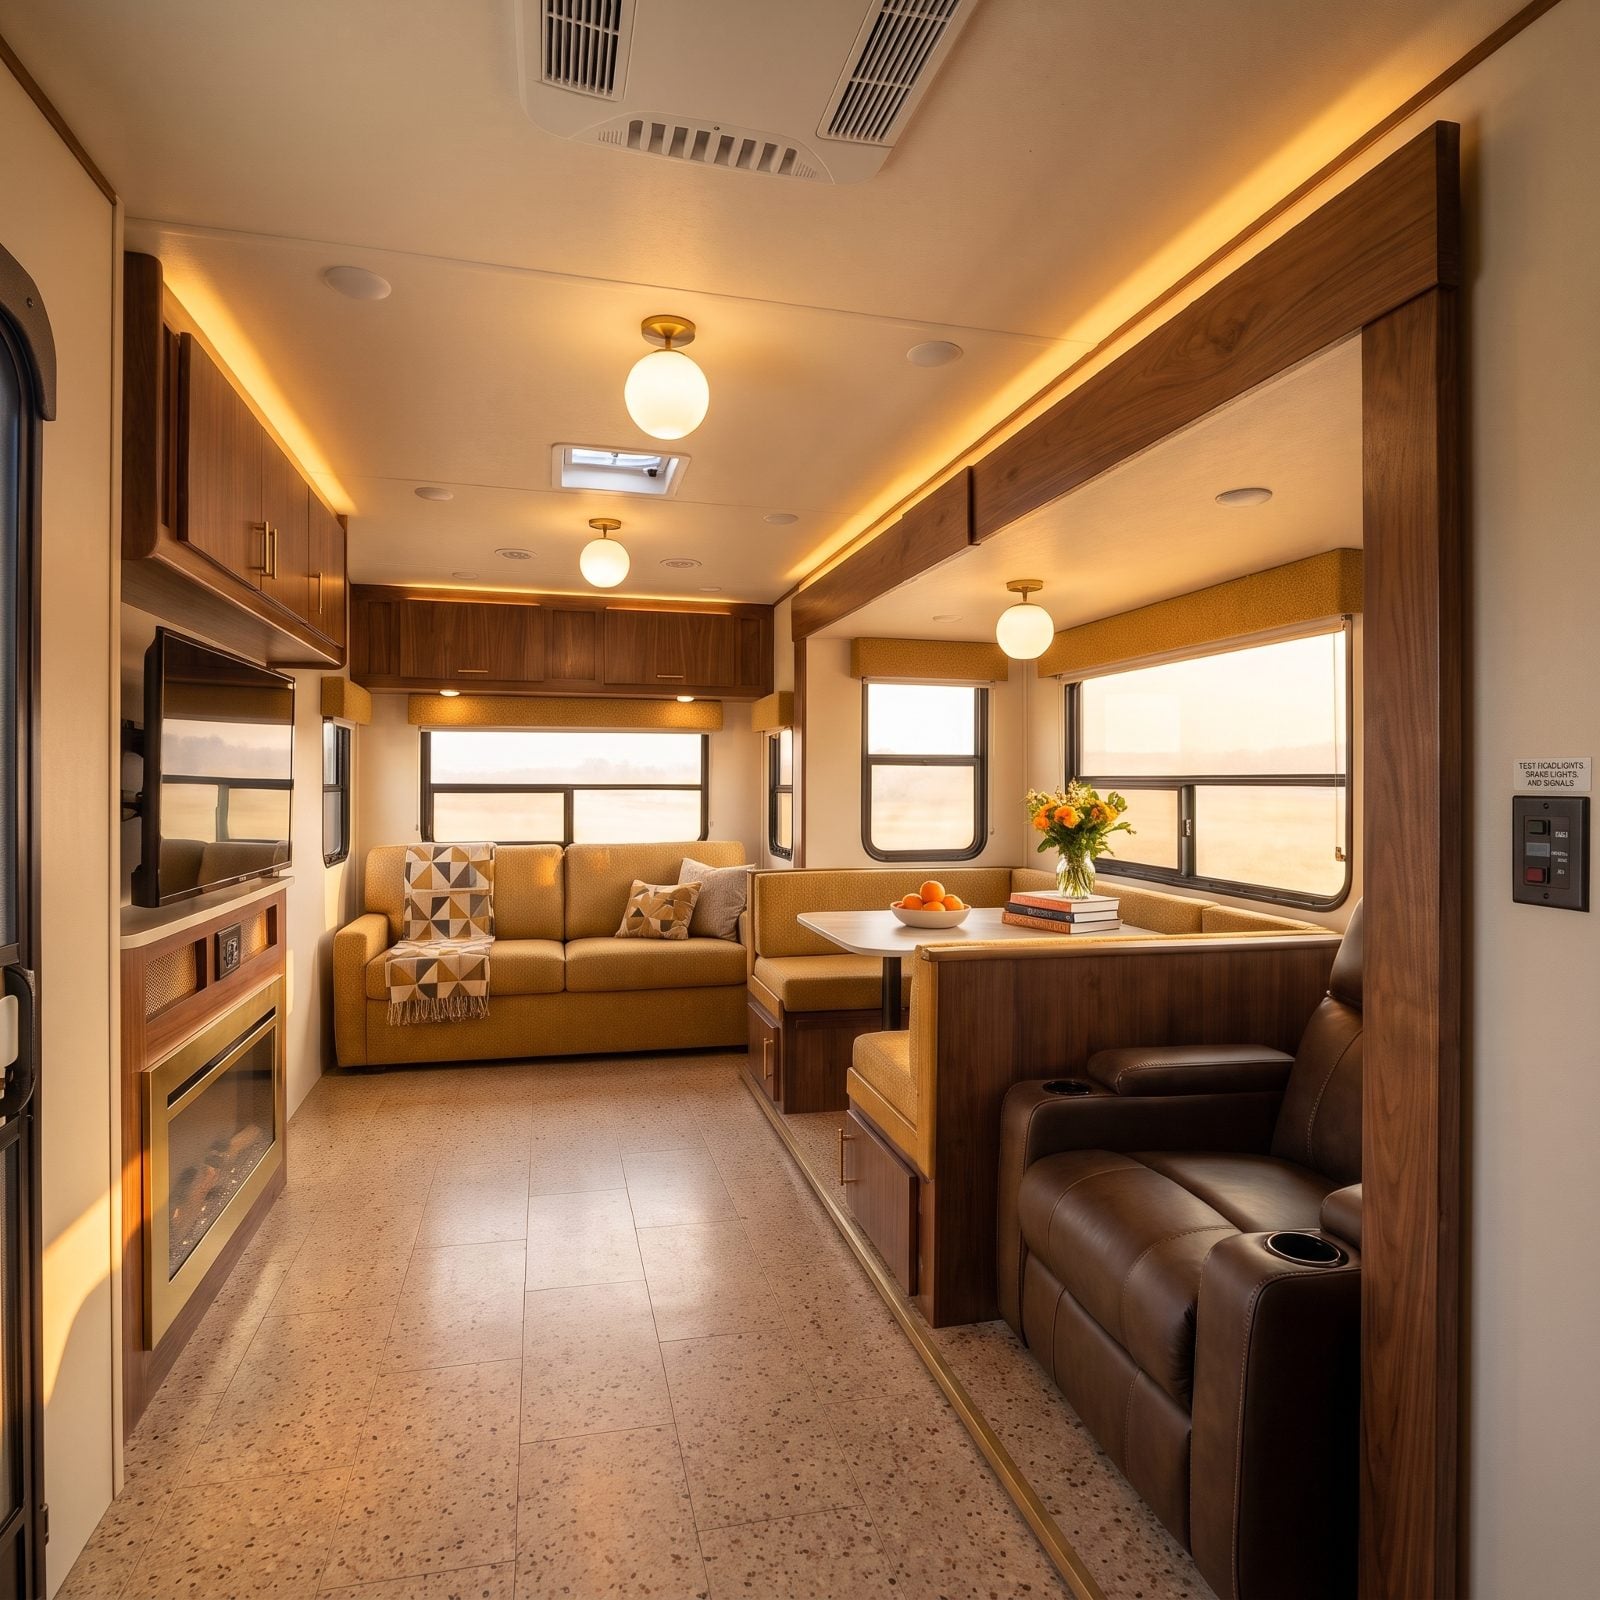
Trailer suspension lives a hard life, and most people never look at it until something breaks. Its effects often show up inside first, so walk the living area and look over the slide-out, the dinette, and the cabinets. You’re hunting for a slide-out that sits lower on one side, drawers and cabinet doors that won’t stay shut, a dinette table that has worked loose, and gaps opening up along the floor trim.
Give the slide-out’s wood trim a wiggle. Noticeable play means the rig is taking a beating on every bump and the whole thing is wearing itself out. Check the recliners and dinette seating for loose mounting hardware too, then head underneath for a closer look. A sixty-second look heads off a roadside failure where a snapped spring can tear into a tire or drop the frame onto the axle. Neither is a fun afternoon.
41. Clear Lodged Debris From Wheel Wells
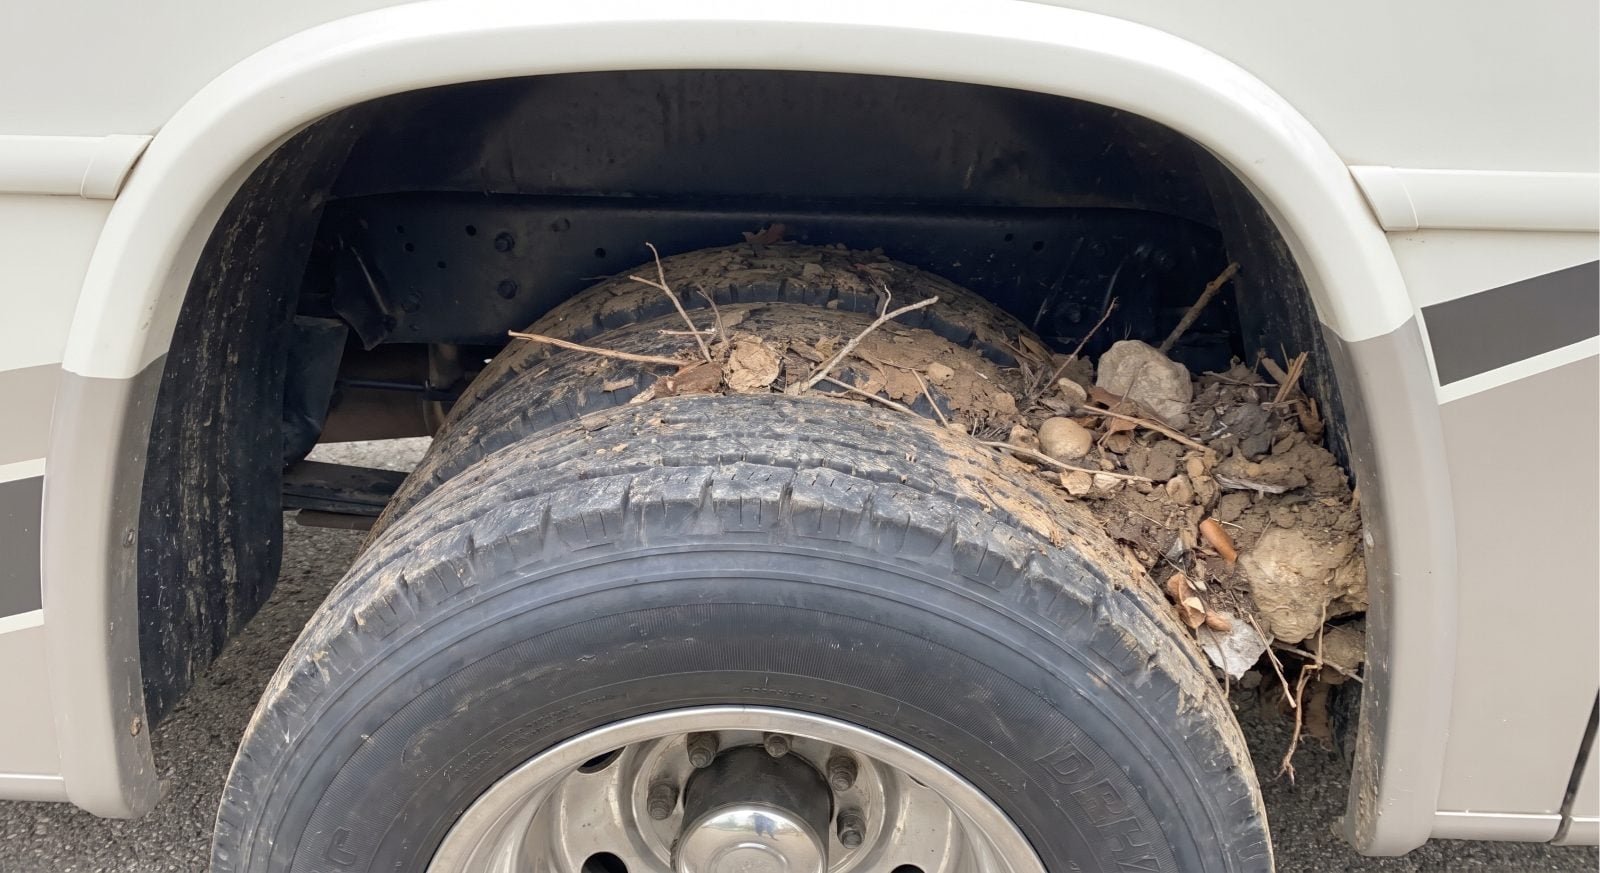
Park in the woods and the wheel wells collect things. A branch wedged against the tire, a wad of dry leaves packed up against a hot hub, a stick jammed between the tire and fender. Debris rubbing a spinning tire wears a groove in minutes, and dry leaves near a hot brake drum are a fire risk nobody plans for.
Reach up into each well, feel around the top and inner edge, and pull out anything that doesn’t belong. Dual-wheel setups on the rear of a motorhome are the worst offenders, since rocks and sticks love to lodge between the two tires. Flick those out with a screwdriver before they beat up the inner sidewall all day.
40. Retract Every Slideout Completely

A slideout that’s almost in is not in. This is the one that ends trips. People retract the slide, hear the motor stop, and assume it seated flush. Then they drive off with it hanging out an inch, catch it on a gate post, and tear the whole room off the side of the coach. It’s a five-figure mistake, and it happens every season.
Watch the slide travel all the way home and physically confirm the exterior sits flush with the wall. Check that the inner carpet or floor seal isn’t bunched up and blocking the last inch. Push any fridge or table that shifted back into place first so nothing jams the travel. Then walk outside and look at the seam with your own eyes. Don’t trust the motor sound. Trust the gap.
39. Inspect Slide Seals After Retraction
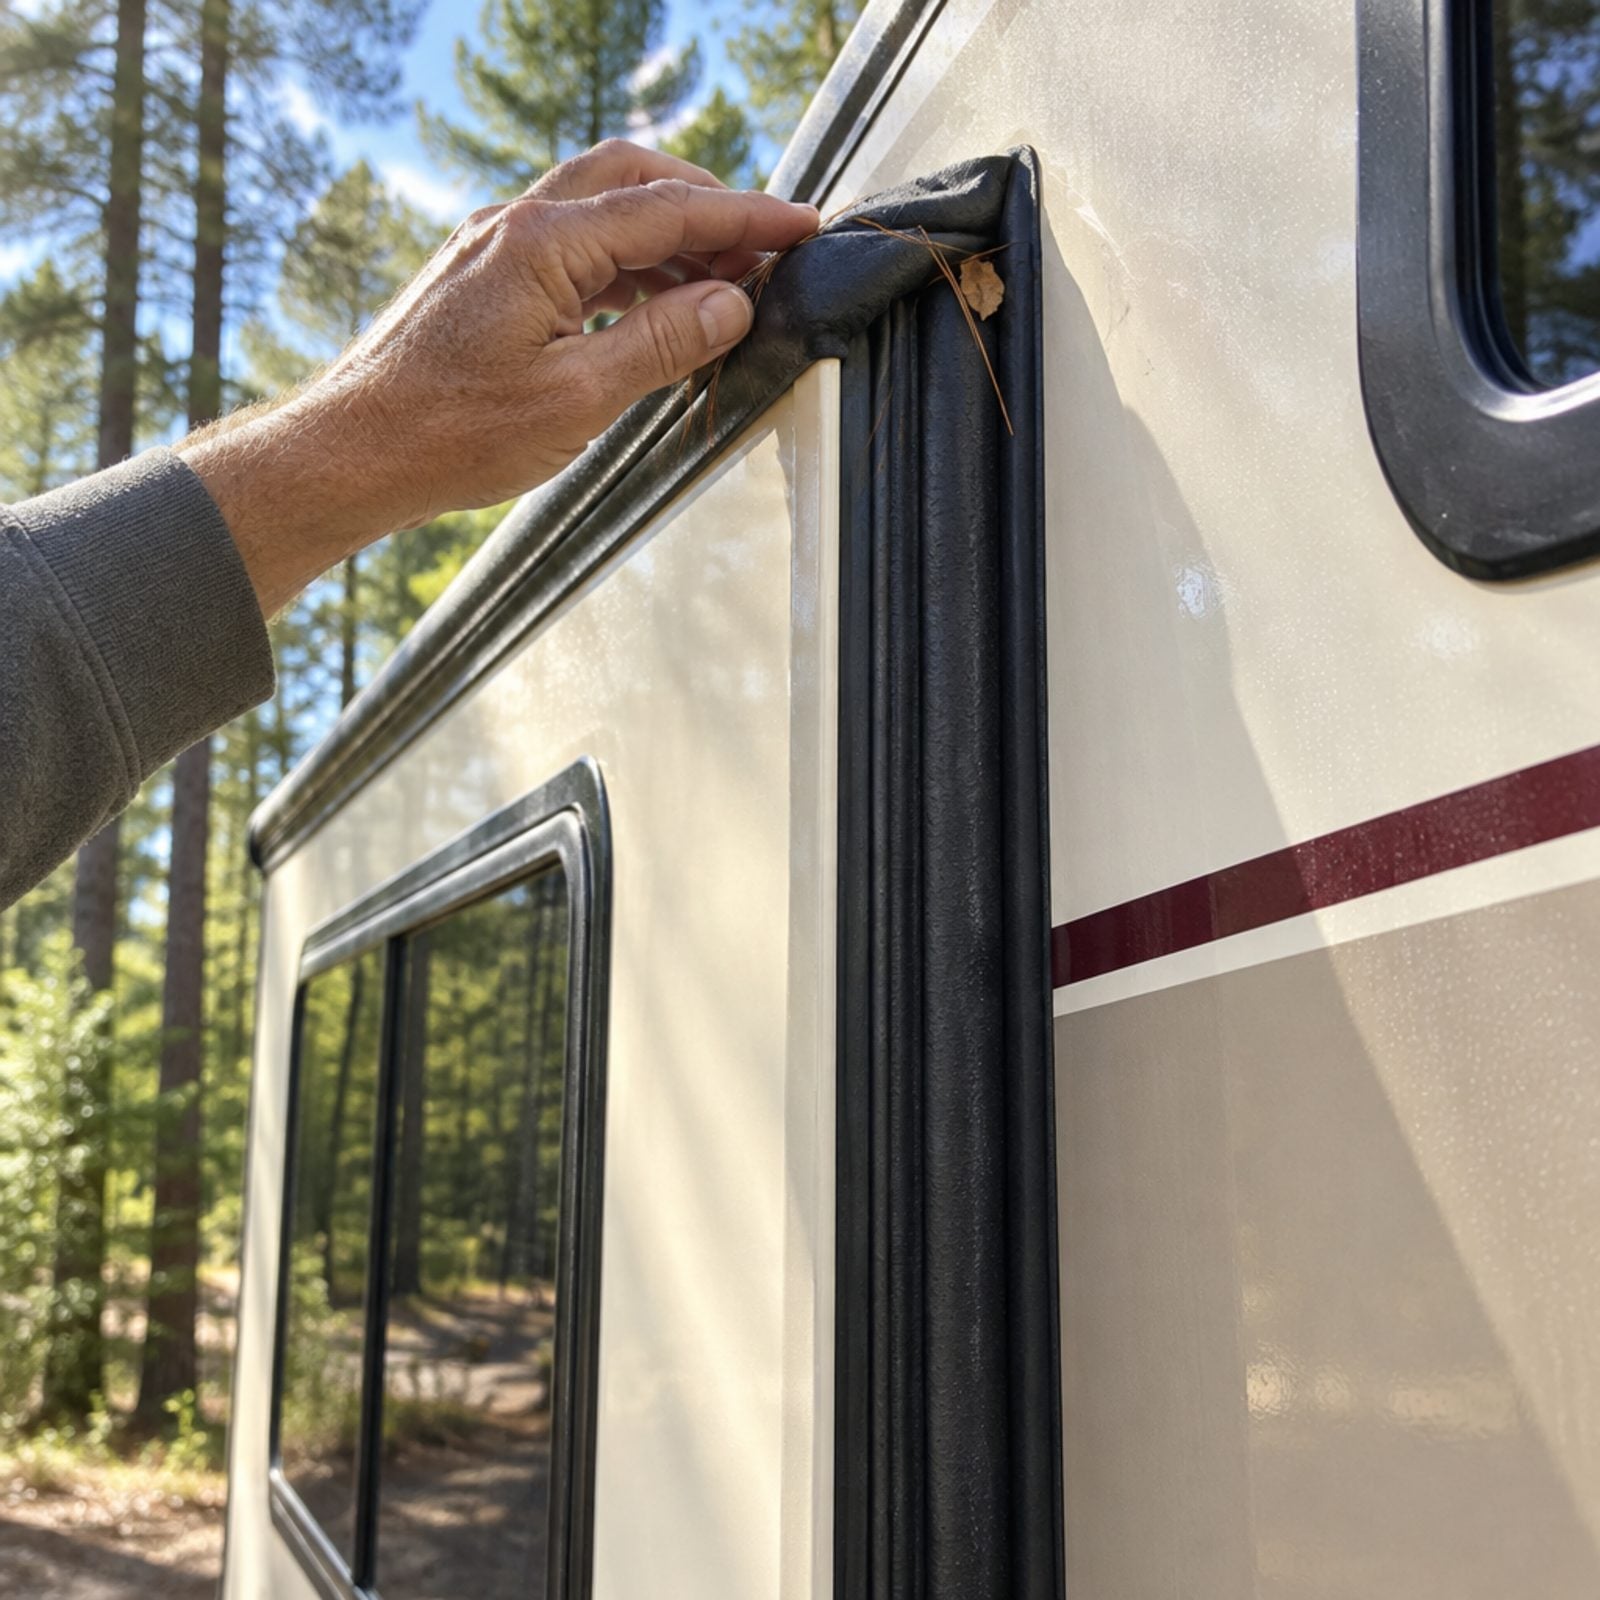
Nobody looks at slide seals until water is dripping on the dinette. With your slide fully in, stand outside, follow the seal along the top of the slide and run your eyes down both sides. You want the wiper seal sitting flat against the slide wall — not folded under, not pinched — and no crumbs, blanket fringe, or that one rogue pine needle trapped in the gap.
A seal that travels folded dries out crooked and starts leaking within a season. Brush out any debris and press a pinched spot back into place with your thumb before you pull out.
38. Retract Awnings and Lock Travel Arms
An awning that unrolls on the interstate is a tear you can’t un-tear. Roll it in fully, then physically check both travel locks — don’t just assume they caught. On manual arms, confirm the knob is snug and the arm is seated in its bracket. On powered awnings, give the fabric a firm tug to feel that the roller is tensioned and won’t creep open.
Here’s the miss most people make. The awning rolls in but one travel arm never latched to the wall, so it bounces loose on the first bump. Lay a hand on each arm and feel for play before you walk off.
37. Lower Antennas and Satellite Dishes

That crank-up antenna standing proud is the single most forgotten item in RVing, and the first low branch or garage overhang finds it fast. Inside, crank the batwing fully down until it won’t turn, then step out and confirm it’s lying flat against the roof. Don’t trust the handle — confirm with your eyes from the ground.
Got a tripod dish? Break it down and stow it in a bay, not loose on the floor. And if you have a powered dome that auto-stows, watch it finish parking before you cut the power, or it’ll ride up there half-raised and snap.
36. Close and Latch Roof Vents
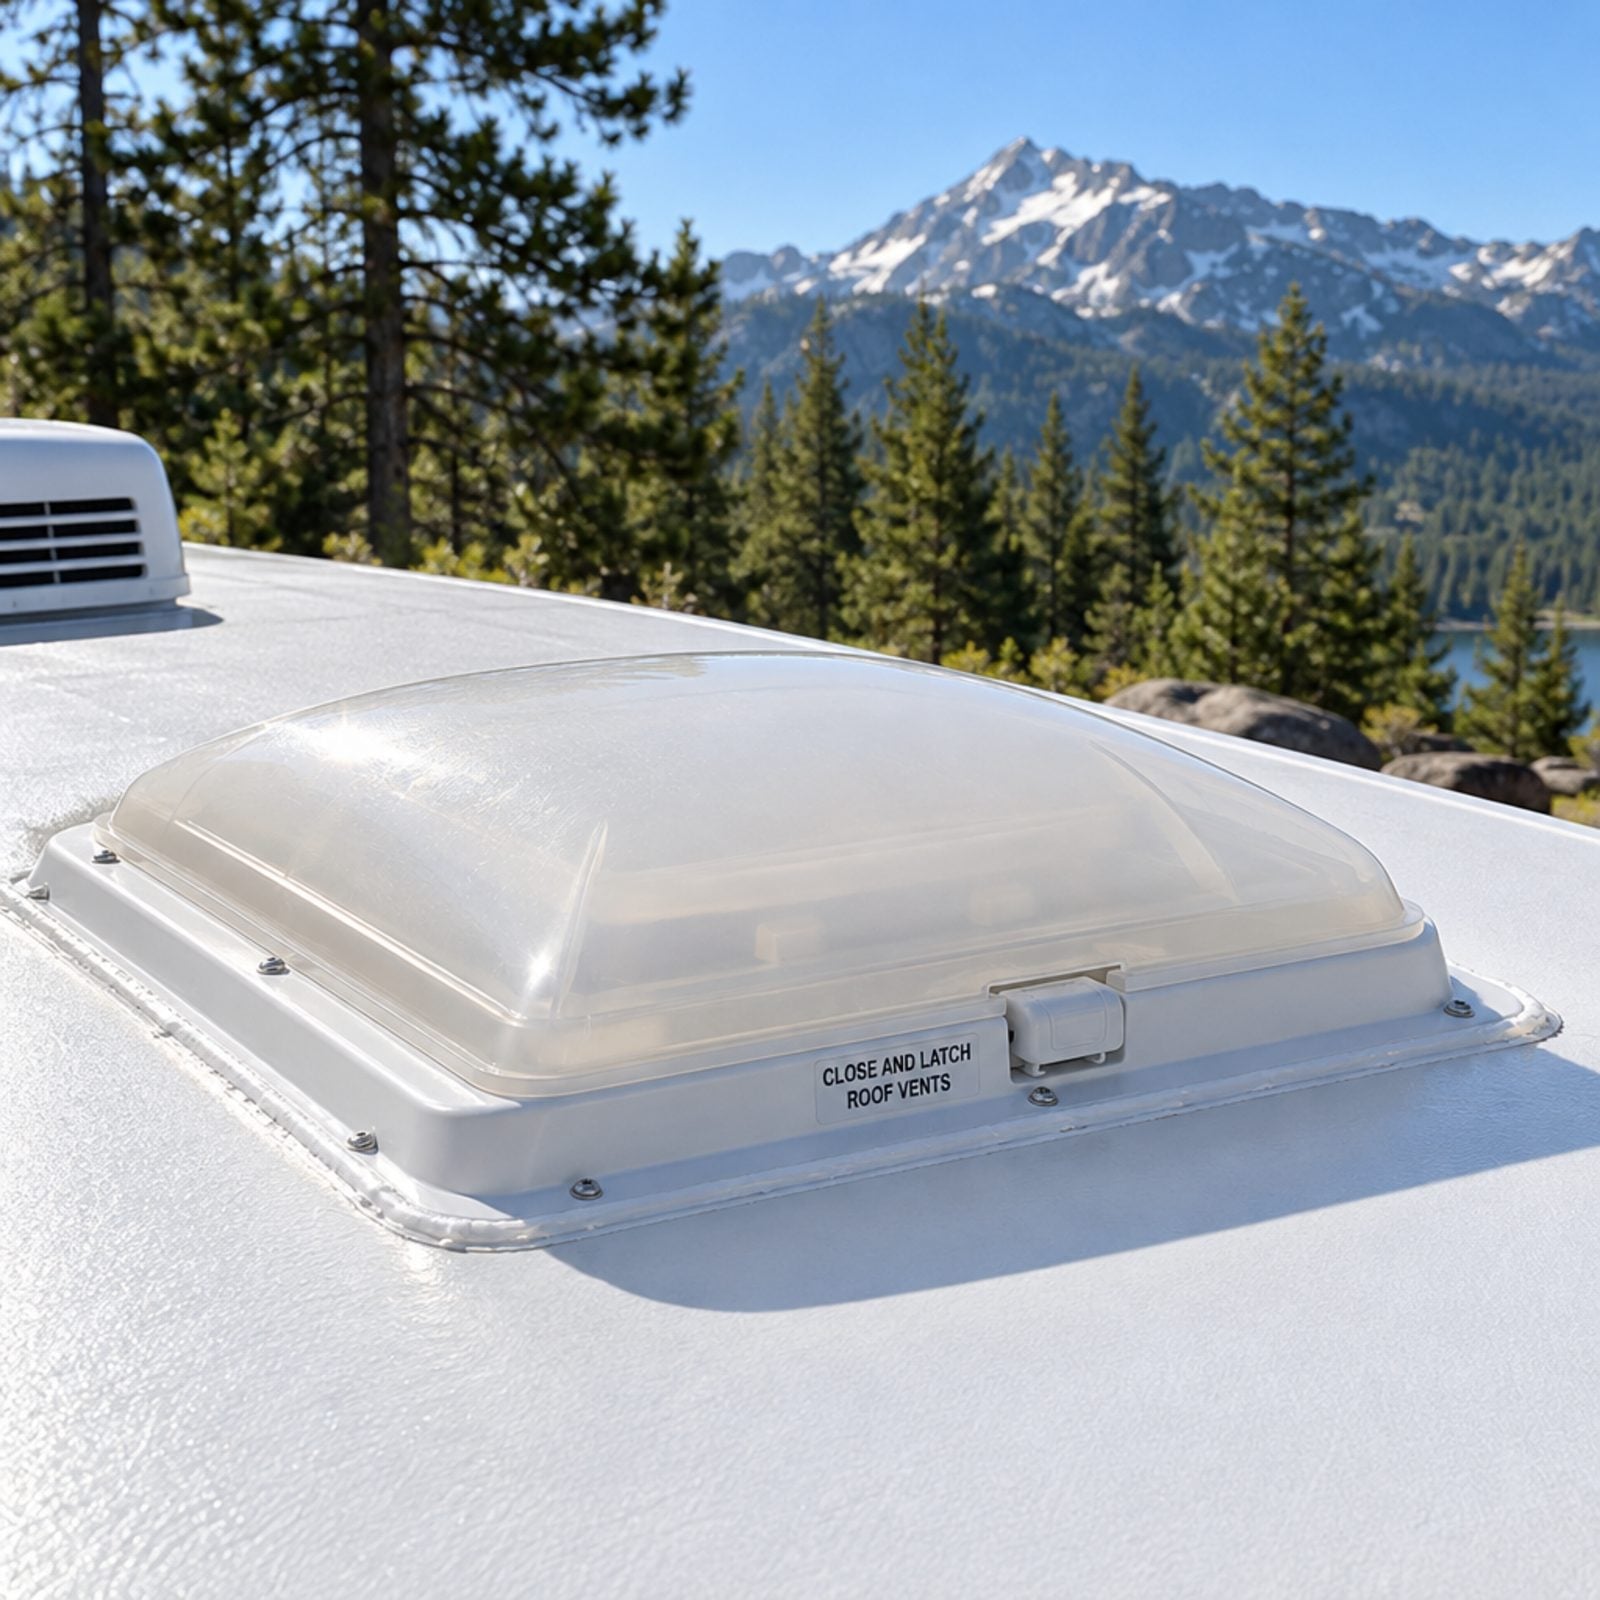
Here’s the quiet disaster. You leave a vent cracked for airflow, hit rain at 65 mph, and water scoops in through the open lid like a funnel. Crank every roof vent fully closed — bathroom fan and any power vent included — and look for the lid to sit flat and even all the way around.
Power vents are the sneaky ones. A “closed” setting that stops a hair shy still catches wind. Run it down until the motor stops and the lid is seated, then one push on the crank handle tells you it won’t rattle open on the road.
35. Retract Leveling and Stabilizer Jacks
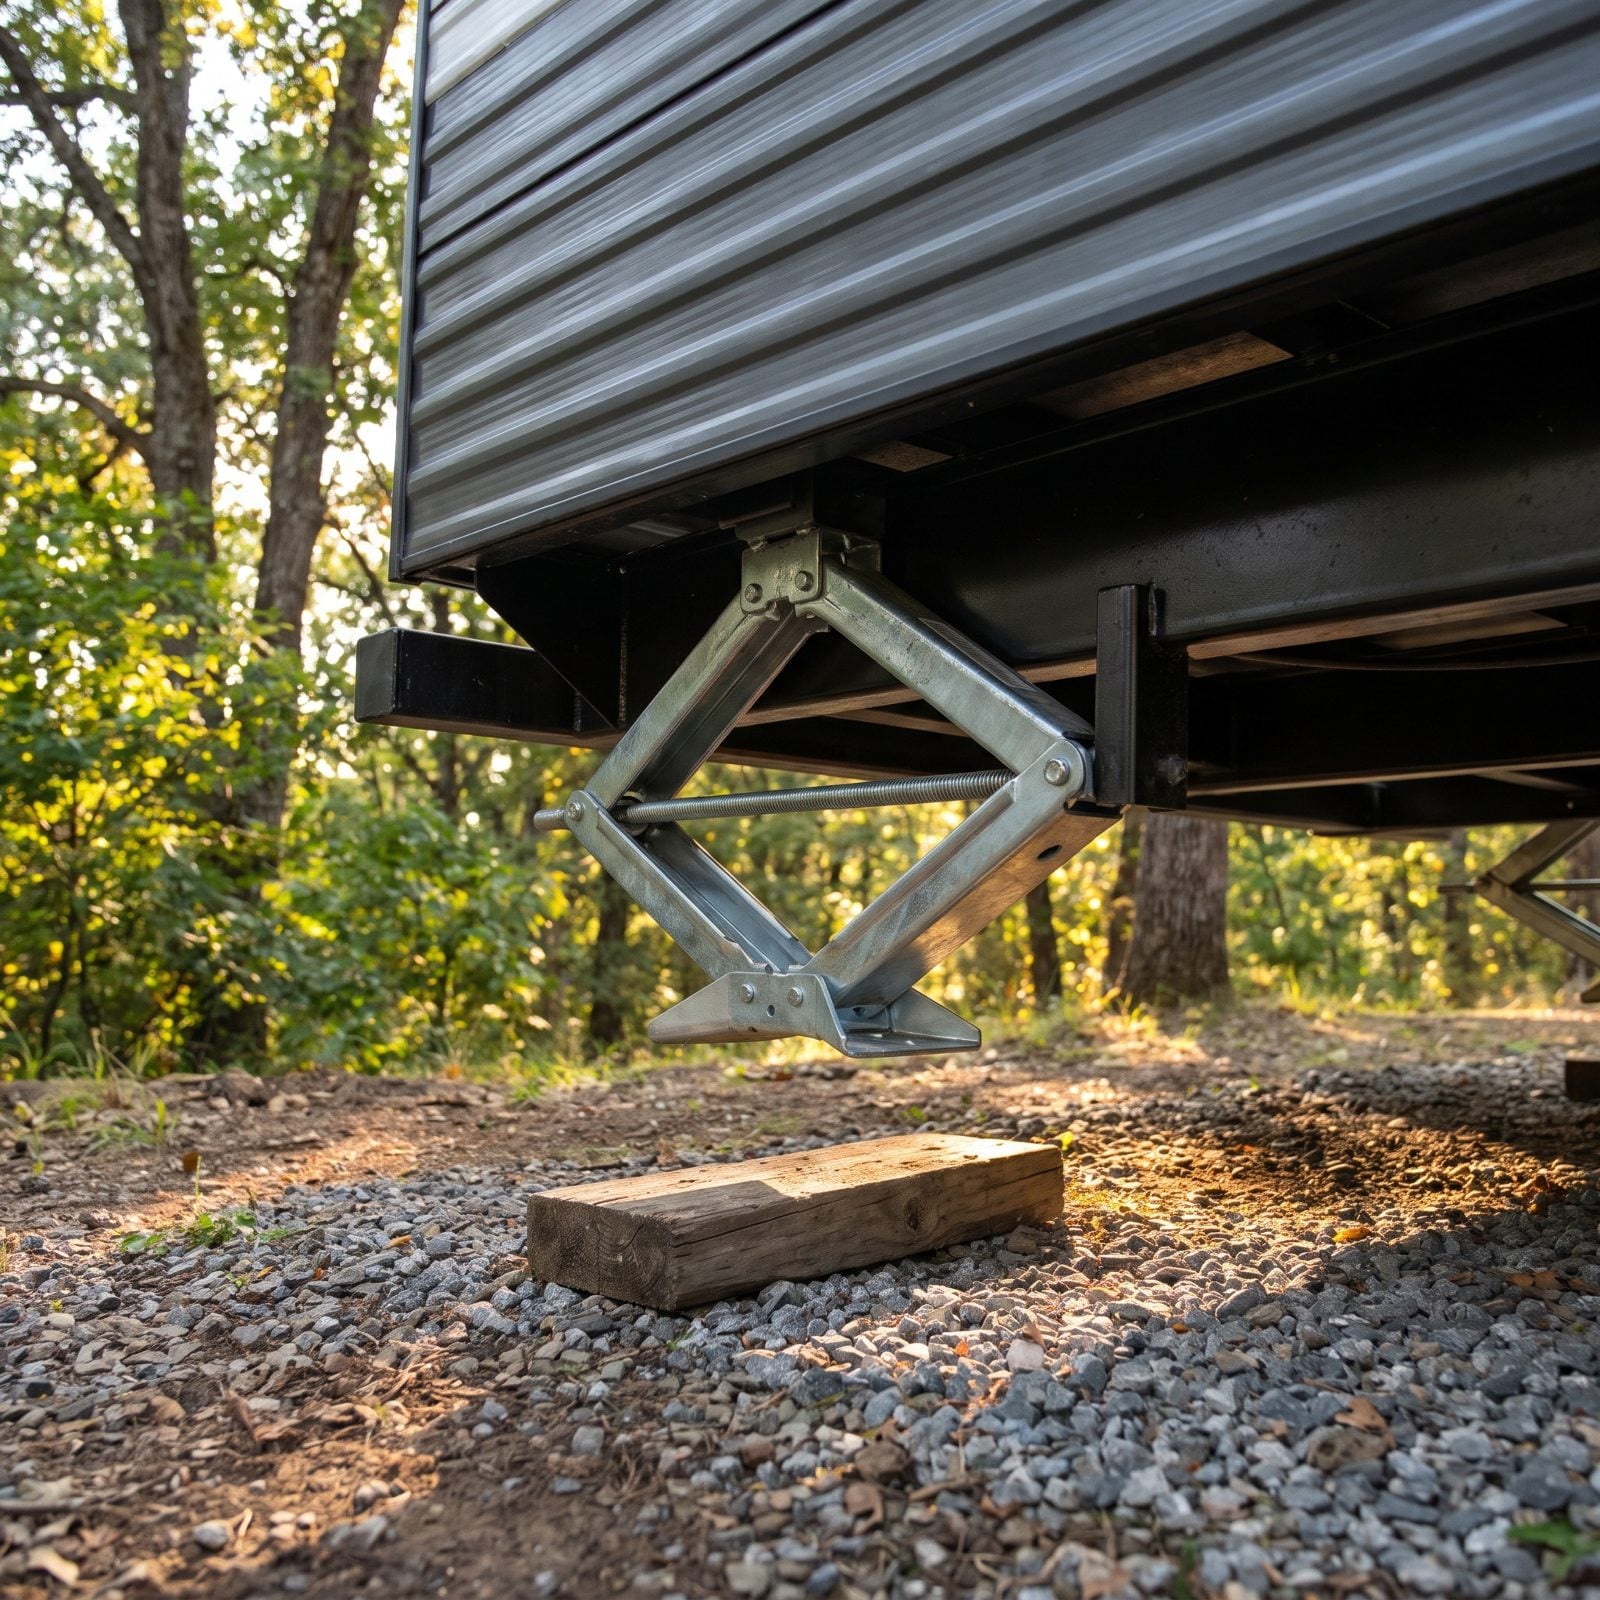
A jack left down drags, bends, or rips off when you pull forward — and sometimes takes a chunk of frame with it. Raise every leveling jack and stabilizer all the way to the travel stop. On electric systems, open the Leveling & Stabilizer Jacks screen on the wall-mounted control panel, hit auto-retract, and don’t move until the system shows every jack up. On manual scissor jacks, crank until the foot clears the ground with room to spare.
Then walk the whole rig and lay eyes on each foot. Front, rear, and any mid-ship or landing-gear jacks on a fifth wheel. The one left down is almost always the one you can’t see from the driver’s seat.
34. Collect Every Leveling Pad
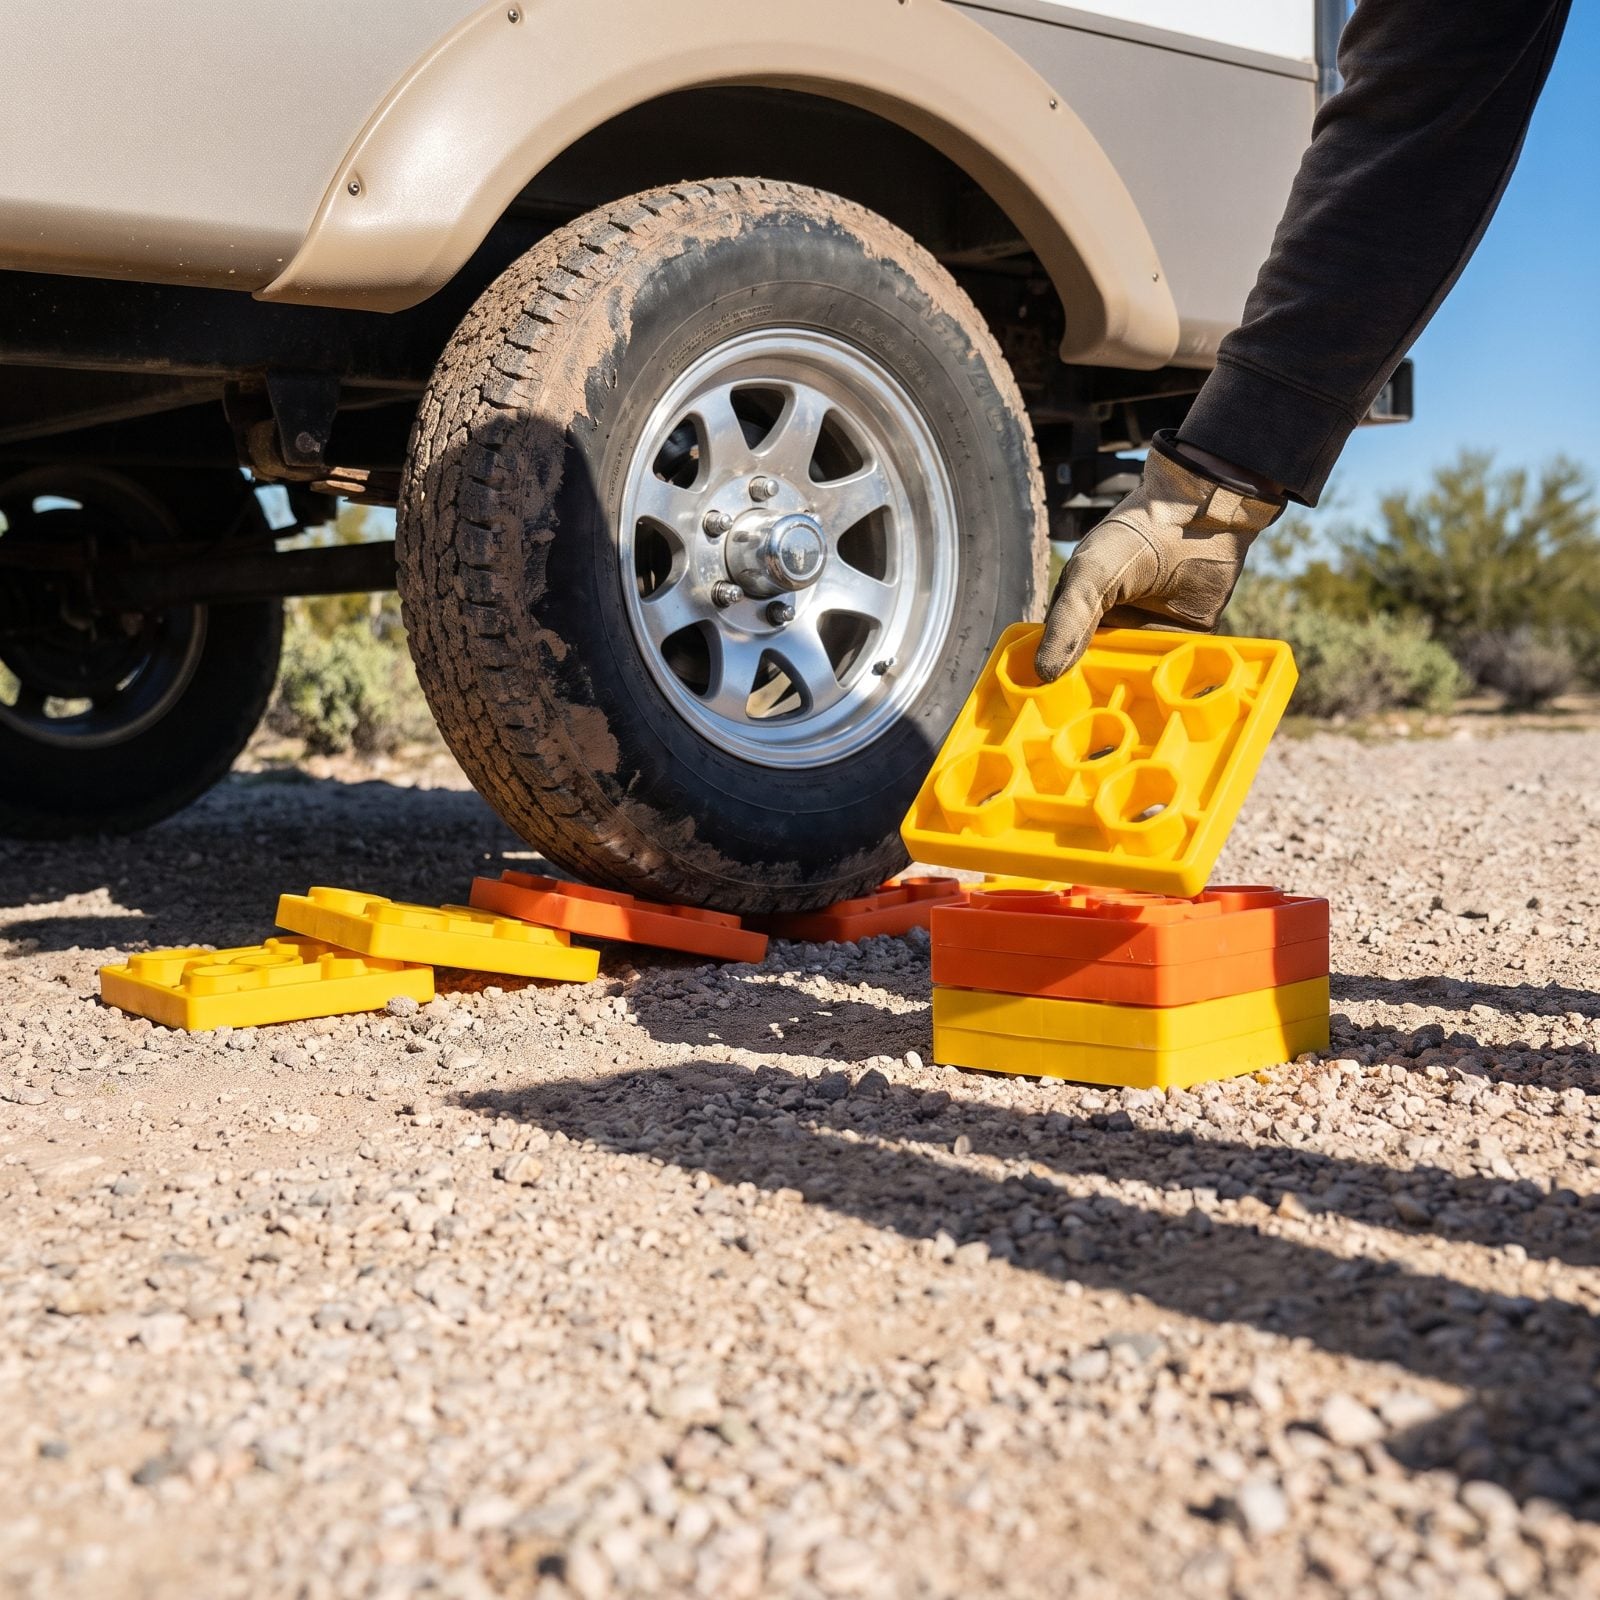
Leveling pads are small, cheap, and incredibly easy to drive right over and leave behind. Do a deliberate sweep of every tire position — the ones you climbed up on and the ones under the jack feet. They hide in gravel, slide into grass, and love to lodge against the backside of a dually.
Pull forward a foot and look back. A block pinned under a rolling tire won’t let go until you move. Count them against what you set out: carry ten, leave with ten. Miss one and you’re buying a fresh set at the next stop.
33. Remove and Count All Wheel Chocks
Towing with a chock still jammed between your duals is how you shred a sidewall and never figure out why. Pull every chock — the scissor type between tandem tires and the standard wedges front and behind. Then count them against the number you set out. Out loud, if that’s what it takes.
The one that gets left is almost always the far-side chock you couldn’t see from where you parked, so walk the full circle of the rig. A chock is the last thing holding your RV still. It’s got to be the thing you pull right before you hitch, not a minute before that.
32. Stow Exterior Steps for Travel
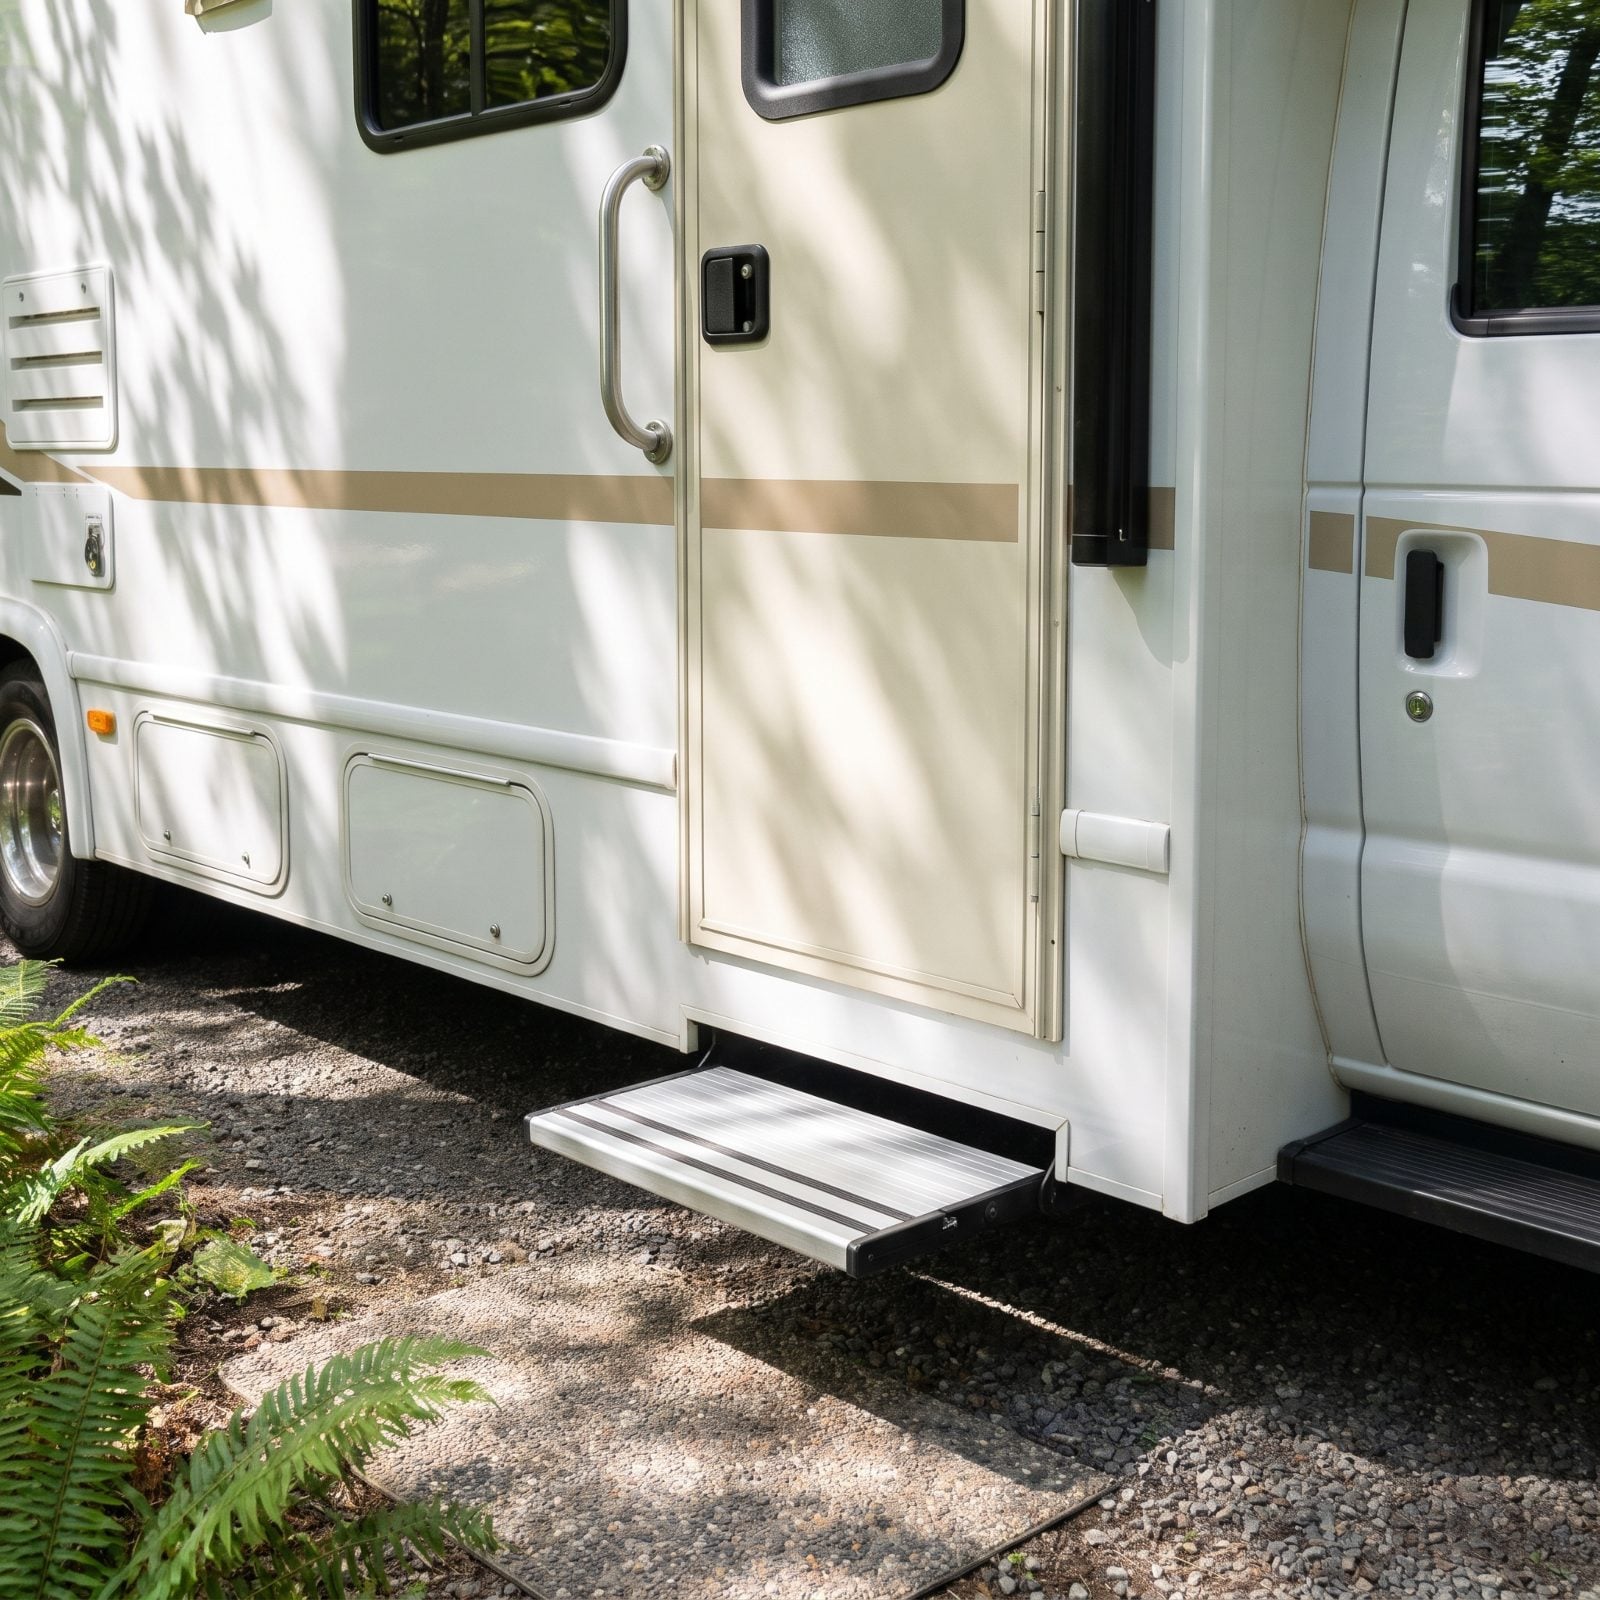
A step sticking out catches curbs, gas pumps, and that concrete post at the fuel island. Fold or retract every exterior step before you roll. On manual fold-out steps, lift and latch until it clicks into the stowed position. On powered steps, confirm it fully retracted, and if yours doesn’t auto-retract when the door shuts, do it by hand.
The detail people skip: a powered step that’s supposed to pull in with the ignition sometimes doesn’t, if a sensor is dirty or the door switch is flaky. Look down and confirm it’s tucked, every time, rather than trusting it did its job.
31. Lock All Exterior Storage Compartments
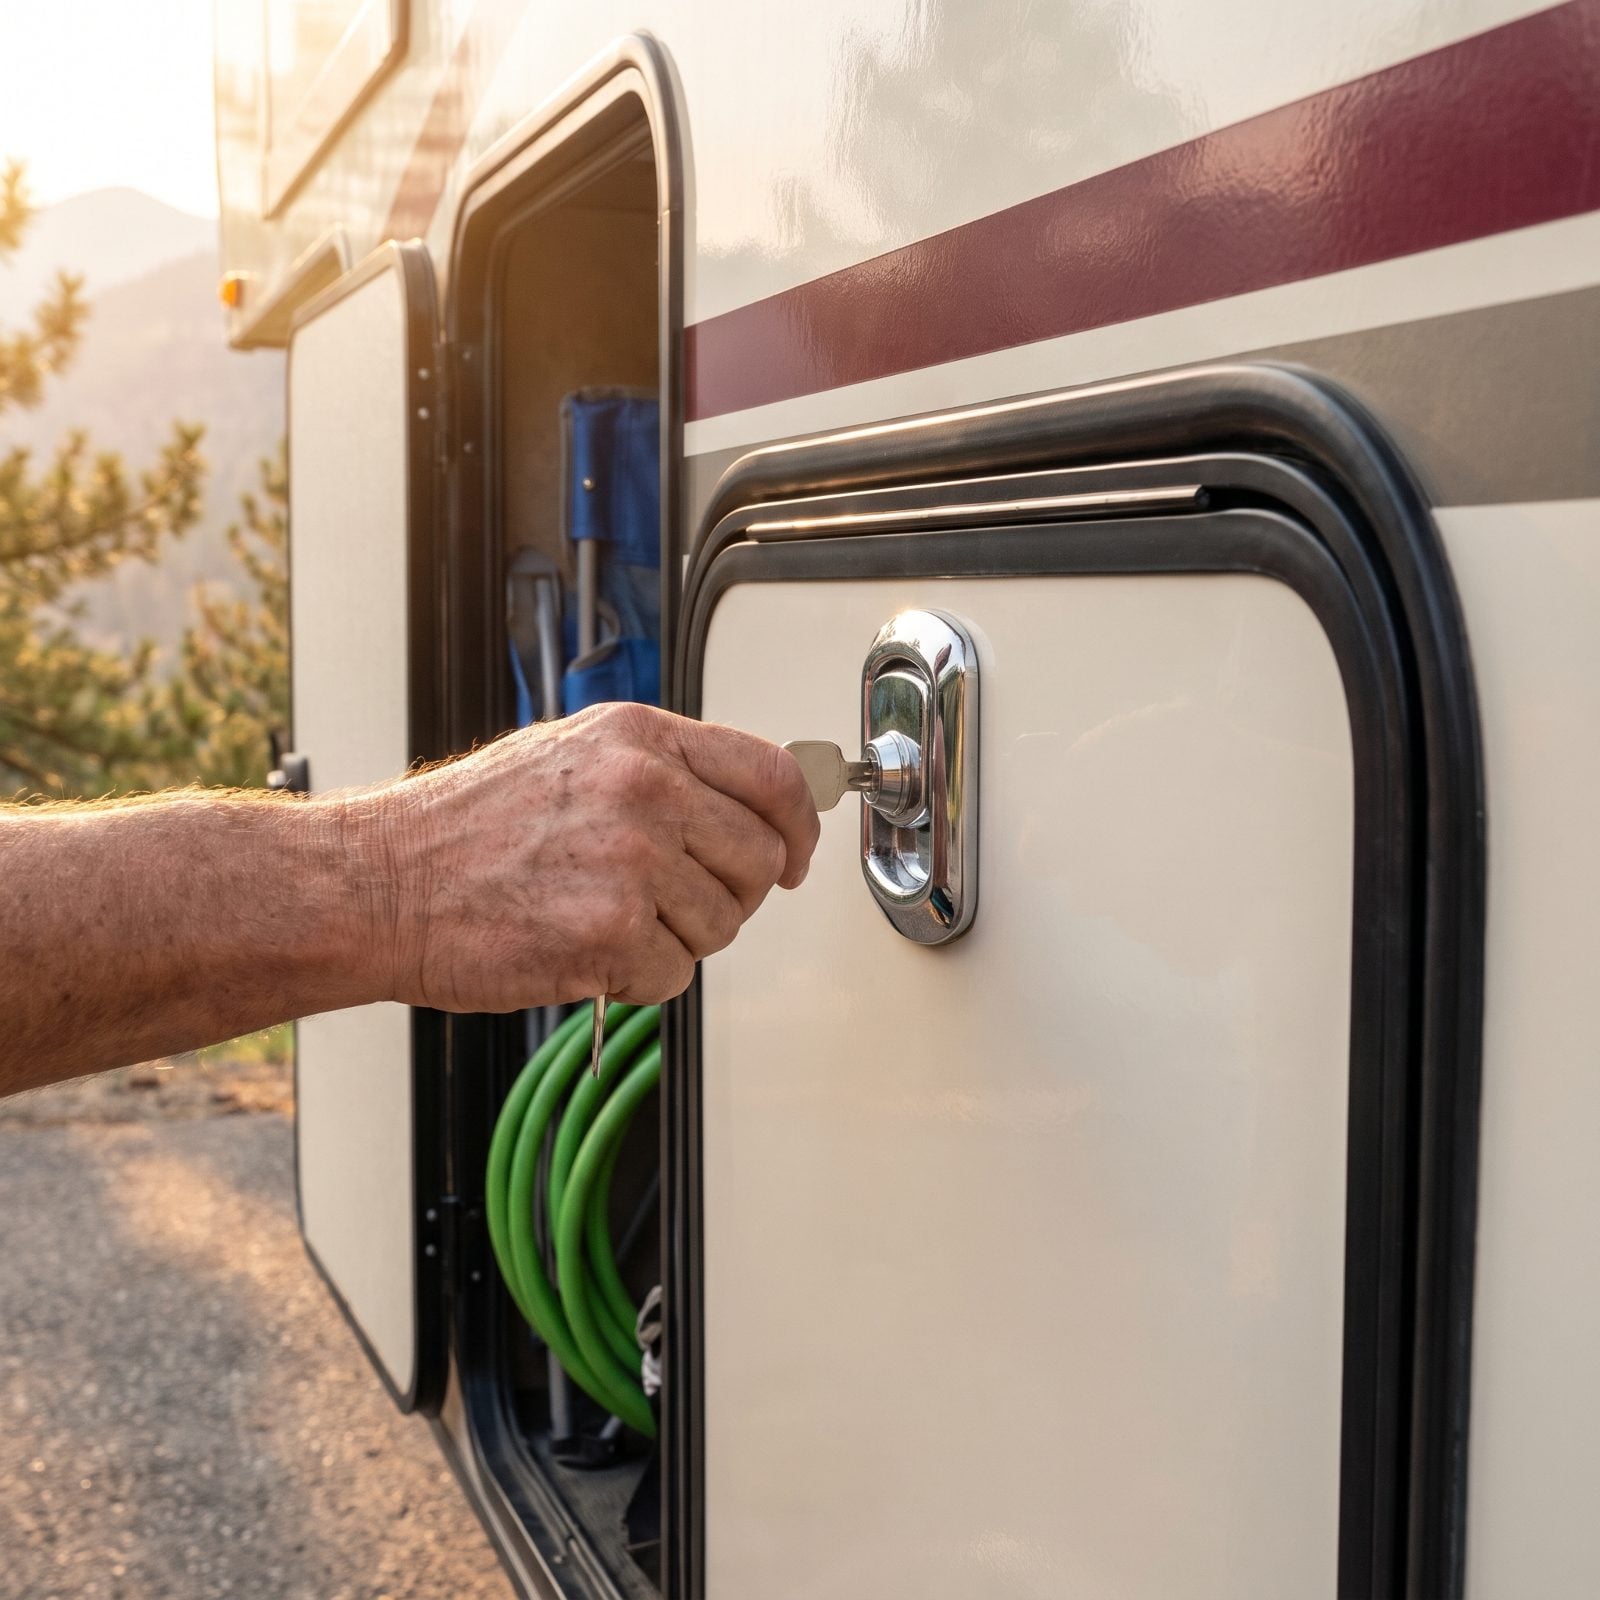
An unlatched basement door at 60 mph doesn’t just spill your gear across the shoulder. It can swing out and catch wind like a sail, or tear clean off its hinges. Walk every exterior bay — water bay, propane access, pass-through storage. Push each door firmly, listen for the latch to catch, then turn the key.
Locking matters beyond theft. A positive lock keeps the latch from bouncing open over washboard roads, where a door that’s merely “shut” can work itself loose. Give each handle a tug after you lock it. If it moves, it isn’t done.
30. Close and Latch Exterior Access Panels
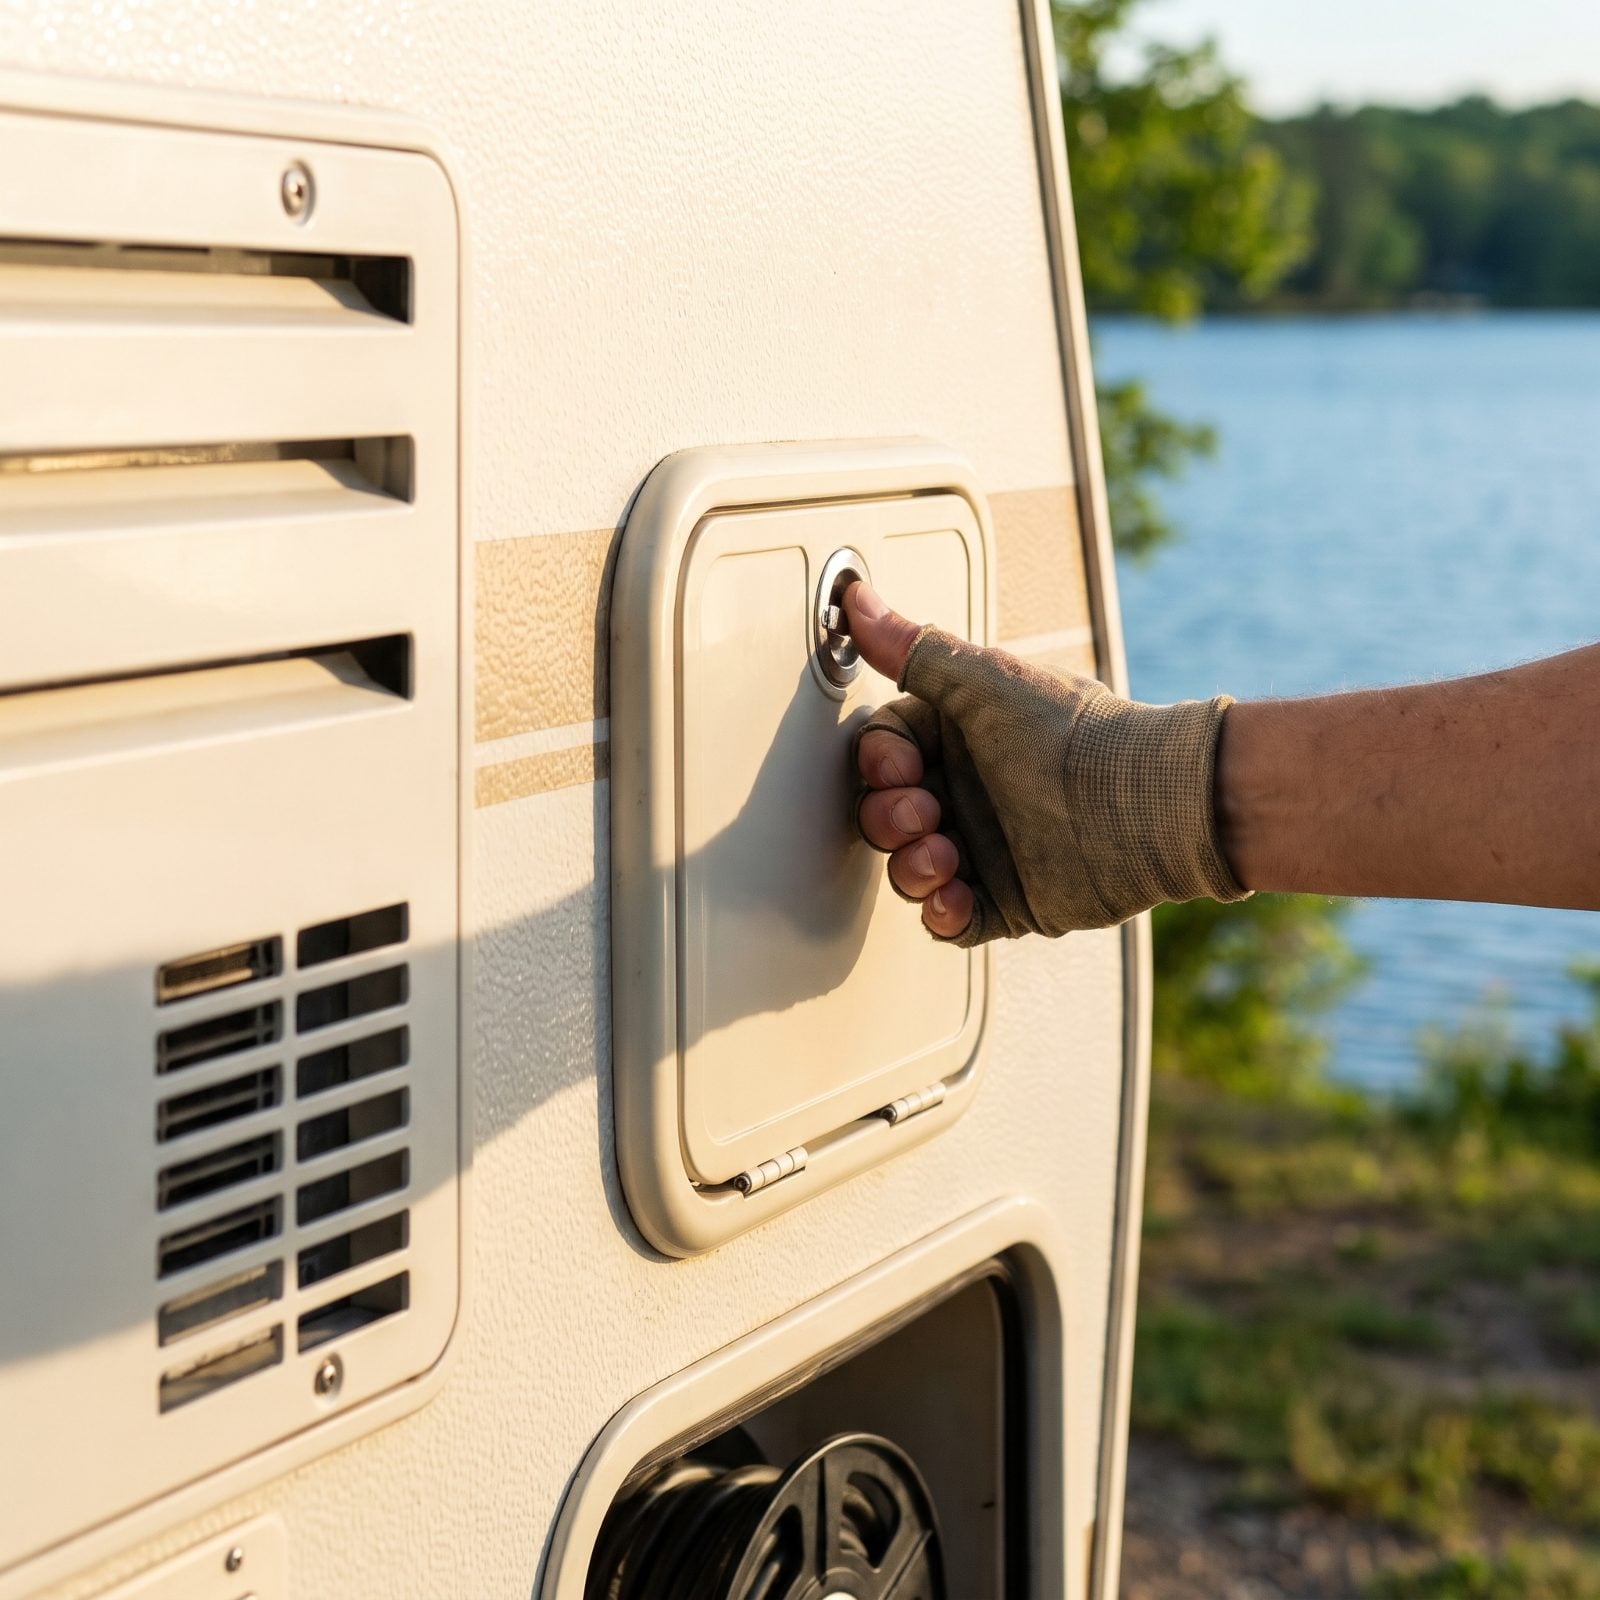
The small panels are the ones that get you, because they’re easy to overlook and nobody thinks of them as doors. Check the water heater access, the furnace panel, the power cord reel door, the city water inlet cover, the exterior shower box, and the battery compartment. Any one of these left flapping can crack off, fill with road spray, or let water into places you really don’t want wet.
Run your hand around the full perimeter of the rig, low and high. The exterior shower door is the usual culprit — popped open after a rinse and never shut. Press each one until it clicks, and finish your walk-around where you started so the loop closes clean.
29. Stow Chairs, Tables, and Campsite Gear
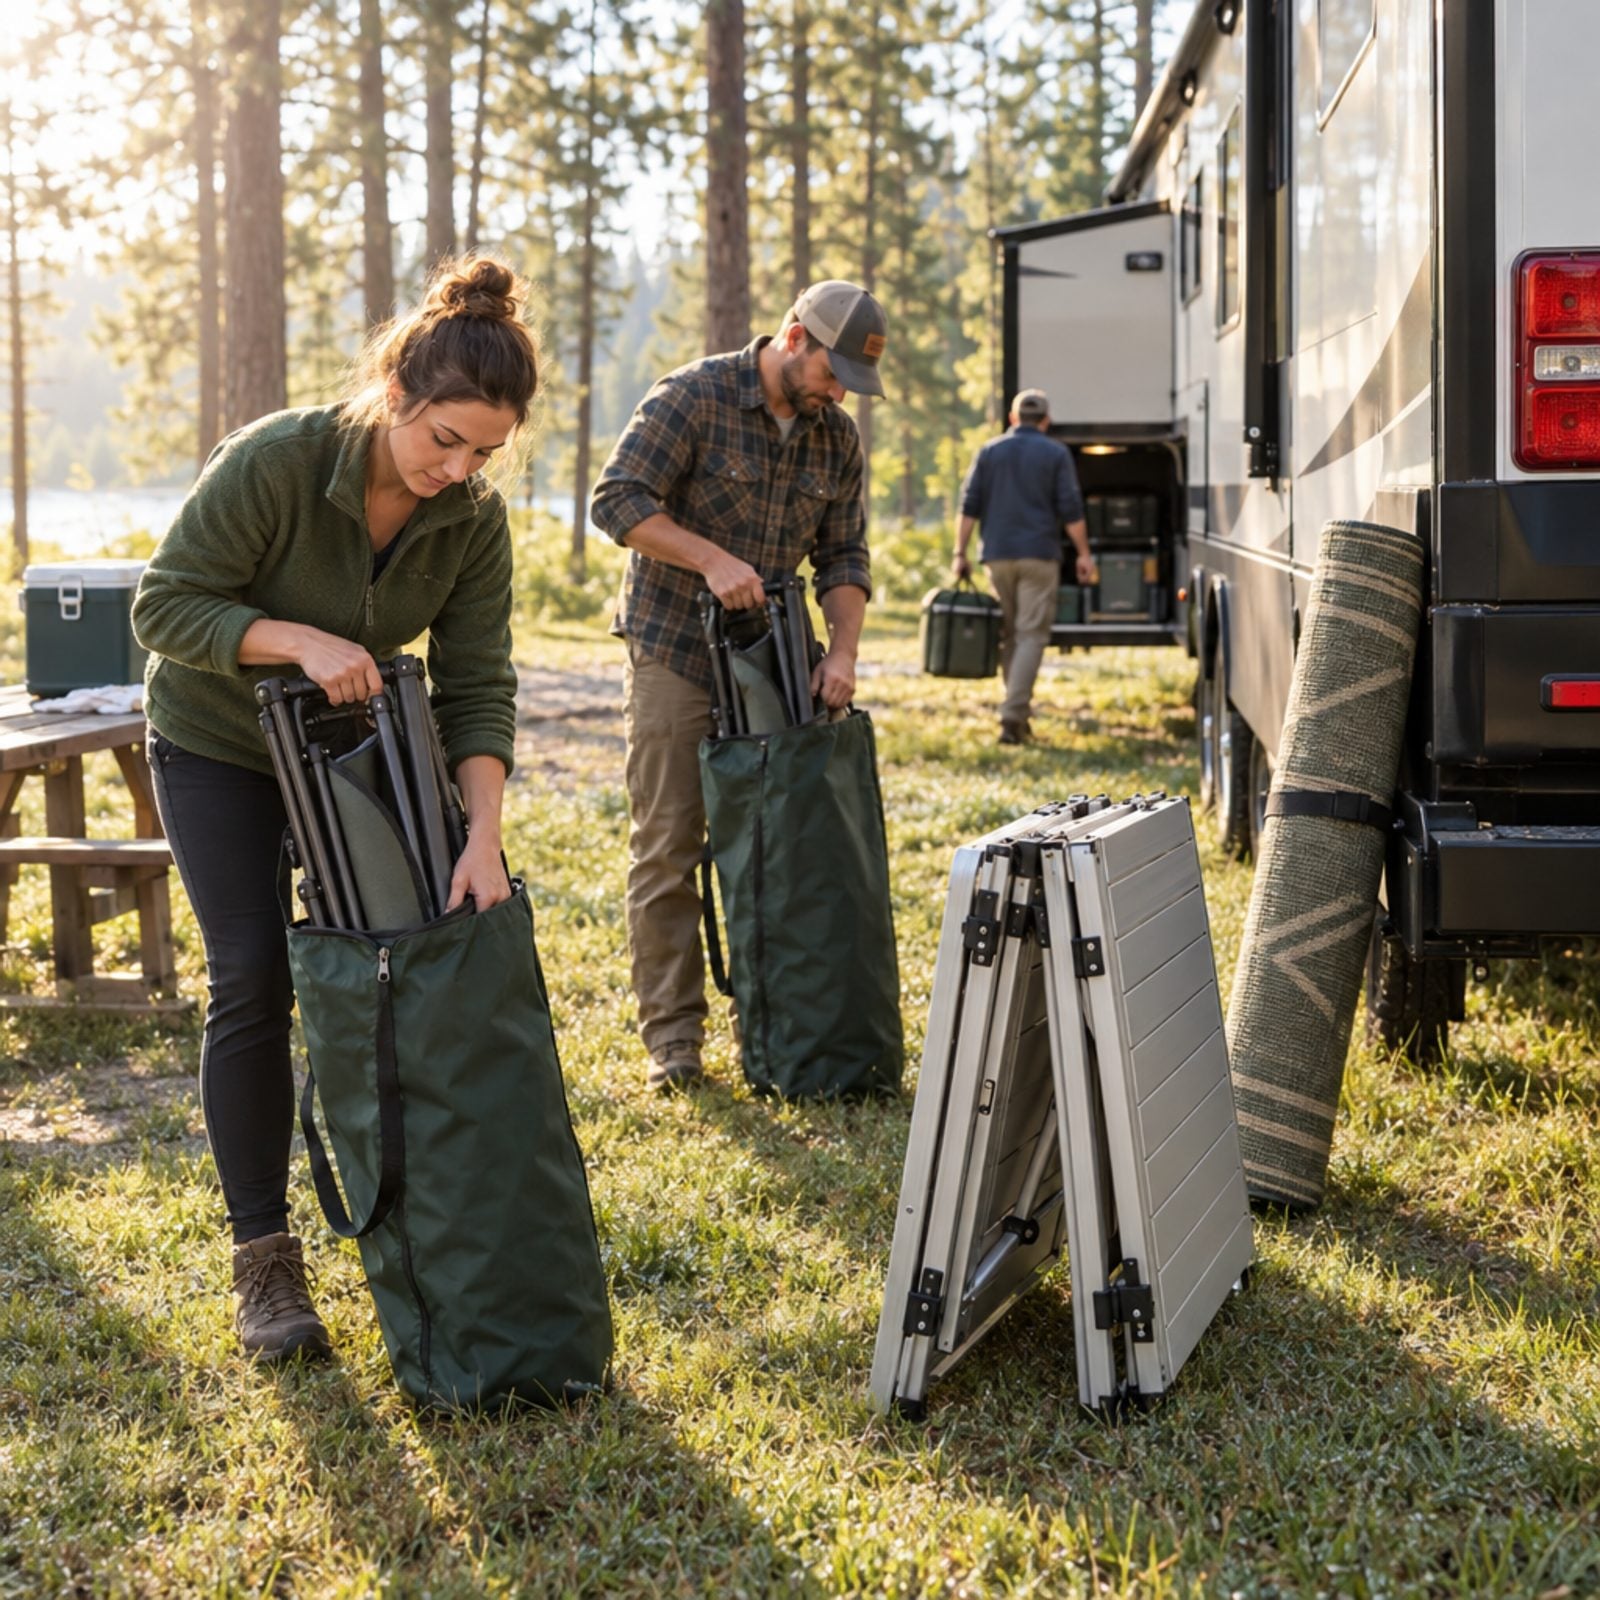
Half the stuff left behind at a campsite is the stuff you were sitting on five minutes earlier — chairs, the folding table, the rug, that clip-on light that wandered off the awning sometime overnight. Walk the site like you’re bussing a restaurant table. Everything that came out of a bay goes back in a bay.
Fold chairs into their bags, not loose in the truck bed where they slide around and chip the paint. And the rug is the one people forget, because it blends right into the ground. Roll it dirty-side-in so you’re not shaking pine duff all over your storage next time you open it.
28. Confirm Campfire Ashes Are Completely Cold
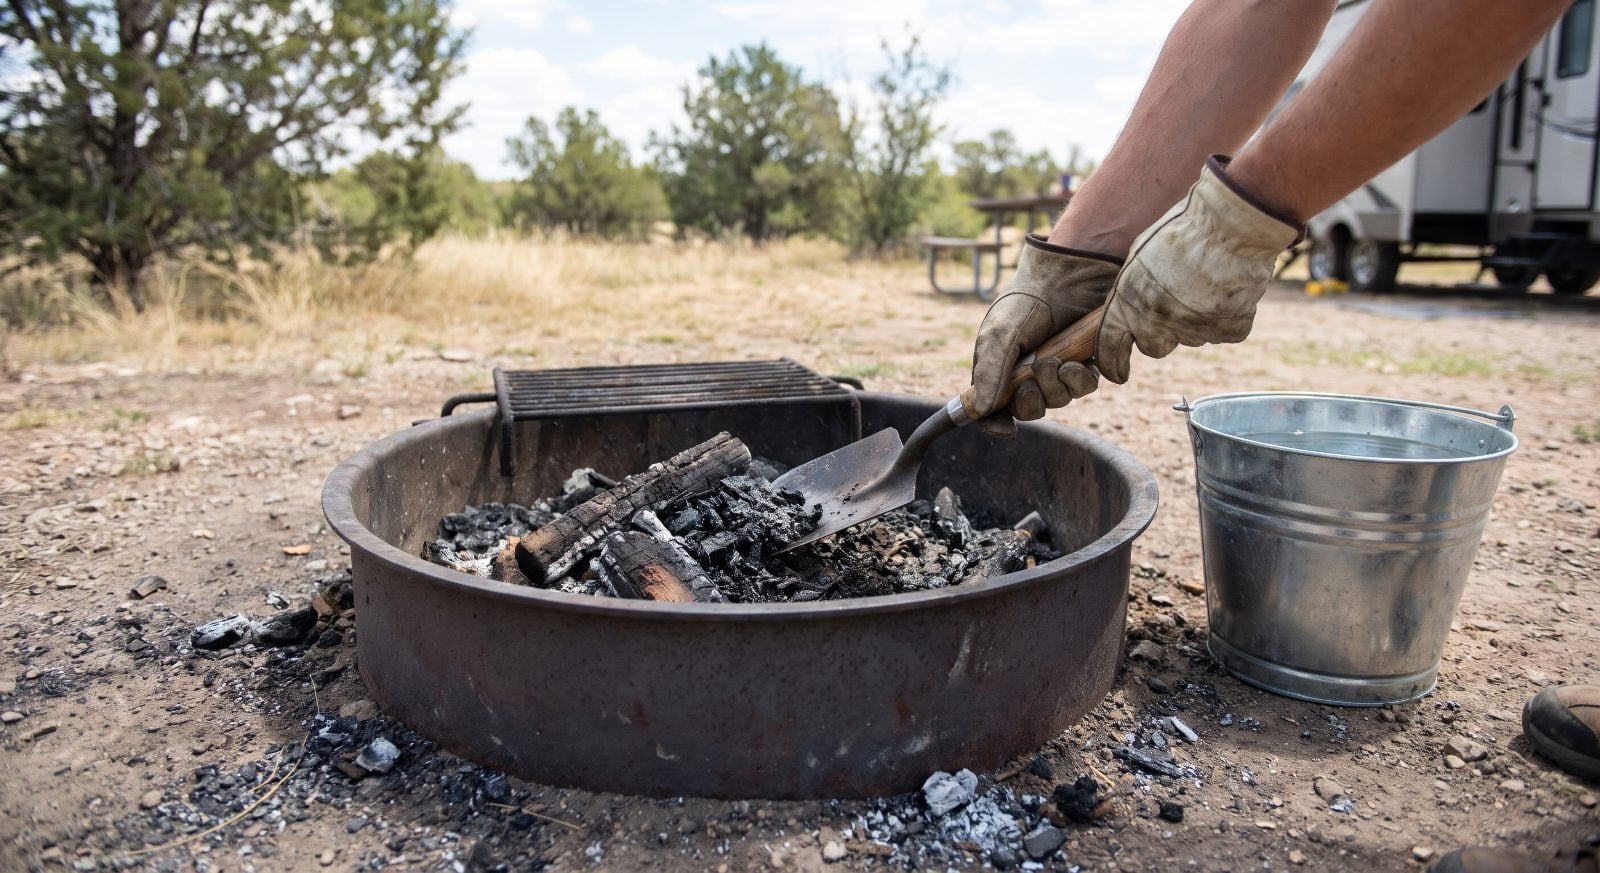
The glowing logs in your rig’s electric fireplace can flicker all evening with no embers to worry about, but a real campfire that looks stone dead at 7am can reignite by noon the second the wind picks up, because embers hide under the top ash far longer than you’d ever guess. Pouring water and stirring is the only way to know. Looking won’t tell you a thing.
Drown it, stir the slurry with a stick or shovel, then drown it again. Here’s the test nobody uses: hold the back of your hand a few inches above the ashes. If you feel any heat at all, it isn’t out. Keep going until it’s cold to a careful touch.
27. Search Site for Forgotten Belongings
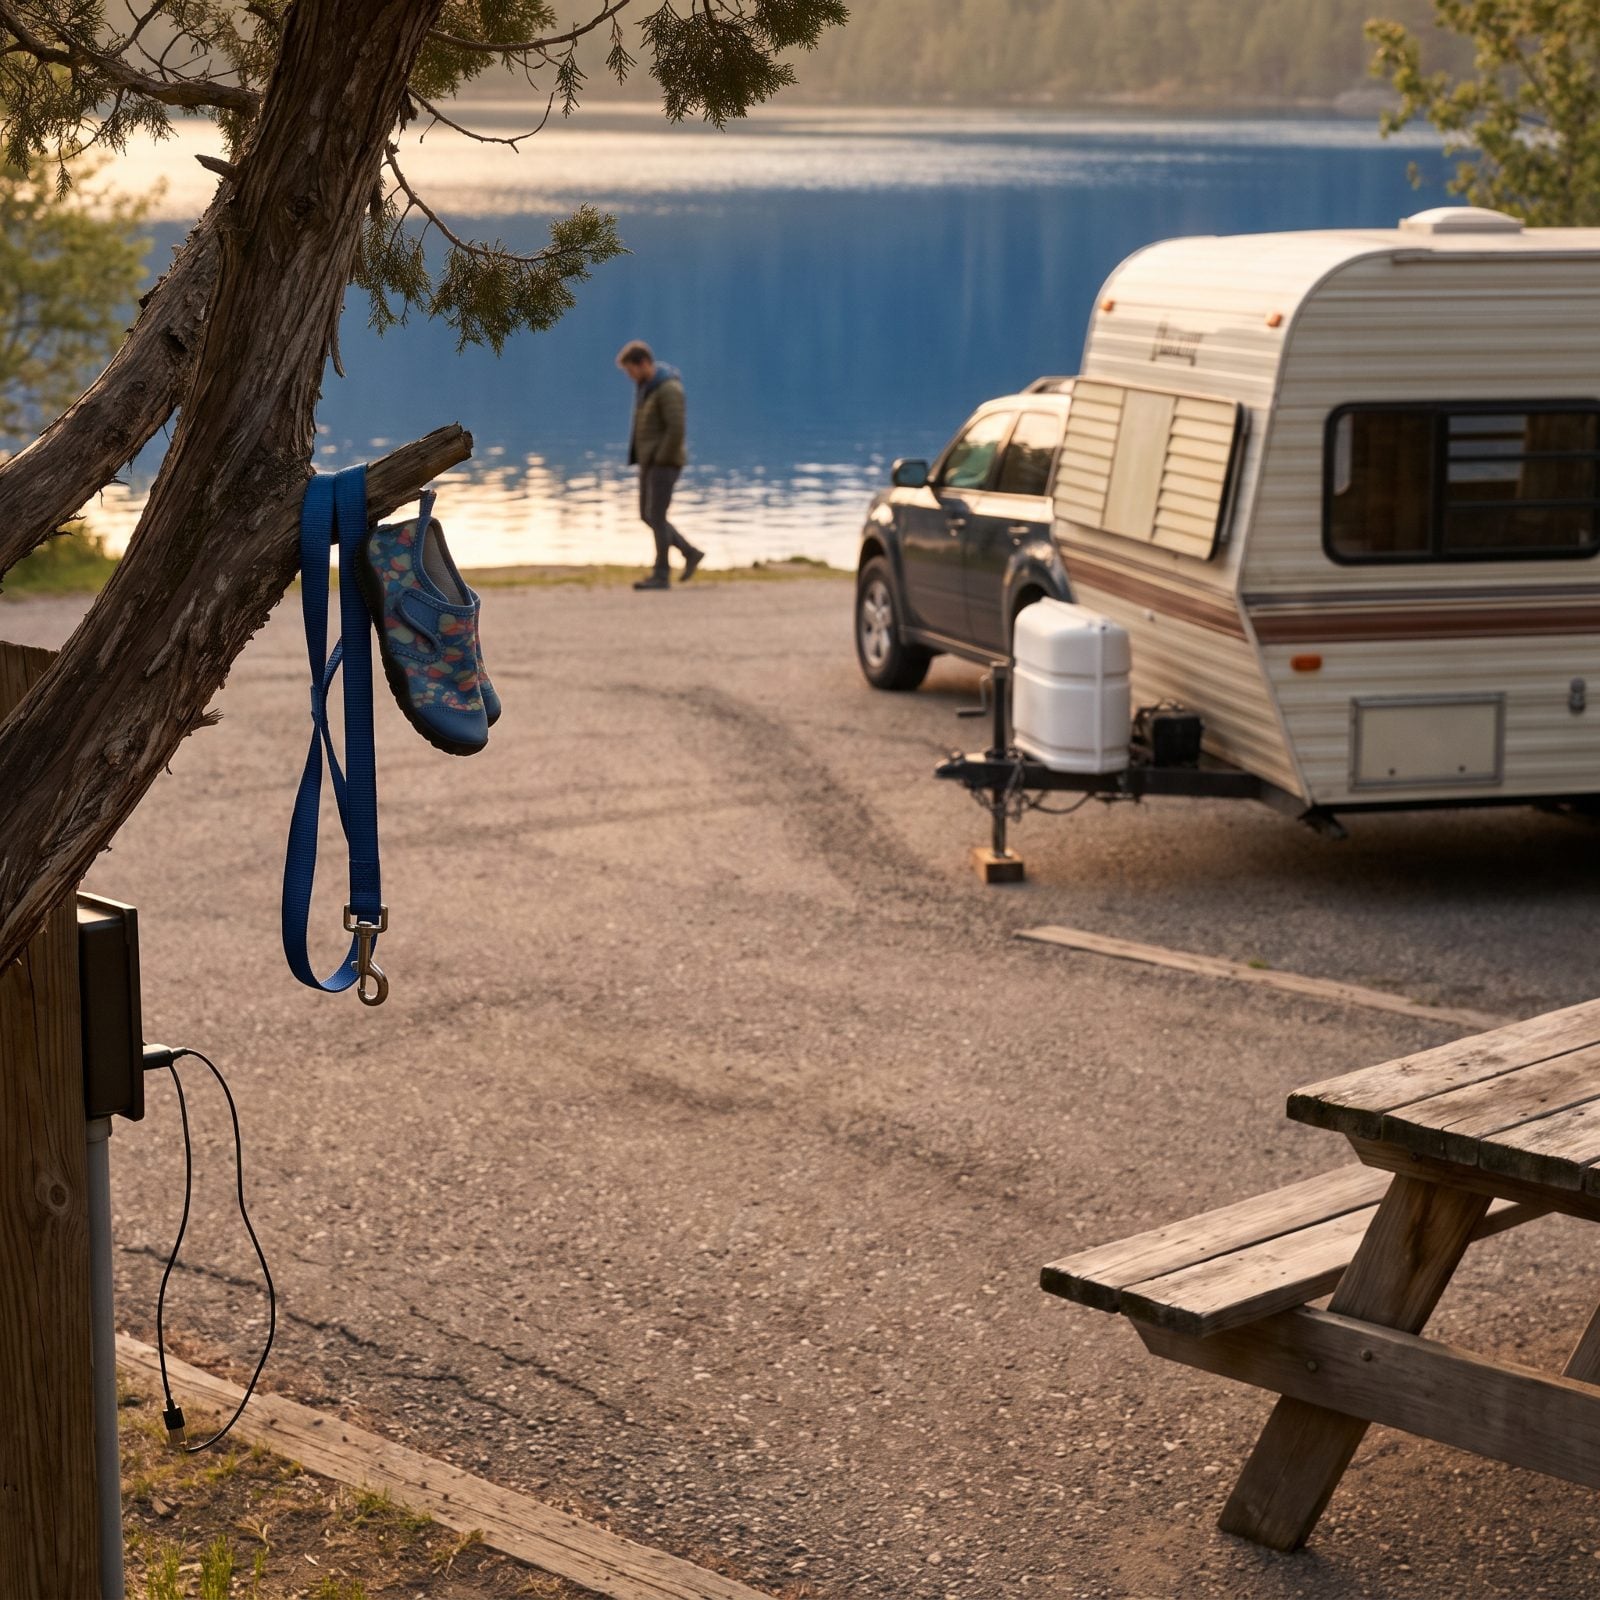
The things you lose are never in your eyeline. They hide on the ground behind a tire, hang off a branch, clip to a post, tuck under the picnic table bench. Phone chargers, dog leashes, a shoe, the bug spray, the lantern hook — gone.
Do a slow lap of the whole site before you touch the truck. Look up for anything hanging, down for anything dropped, then check the tree trunk and the table underside. Those three spots catch almost everything.
Then one more pass once the RV pulls forward. The ground under where it was parked is the single most forgotten zone on the planet.
26. Switch Off and Disconnect Shore Power

Pulling a live plug under load is how you get the pitting and scorch marks that eventually fail. Breaker off first. Always. Then you pull the plug with the breaker dead, so there’s no arc across the contacts.
Flip the pedestal breaker to off, give it a second, then grip the plug body and pull it straight out. Don’t yank it by the cord — that loosens the crimps inside the plug over time, and a loose crimp is a hot plug waiting to happen.
25. Inspect Shore Plug for Heat Damage
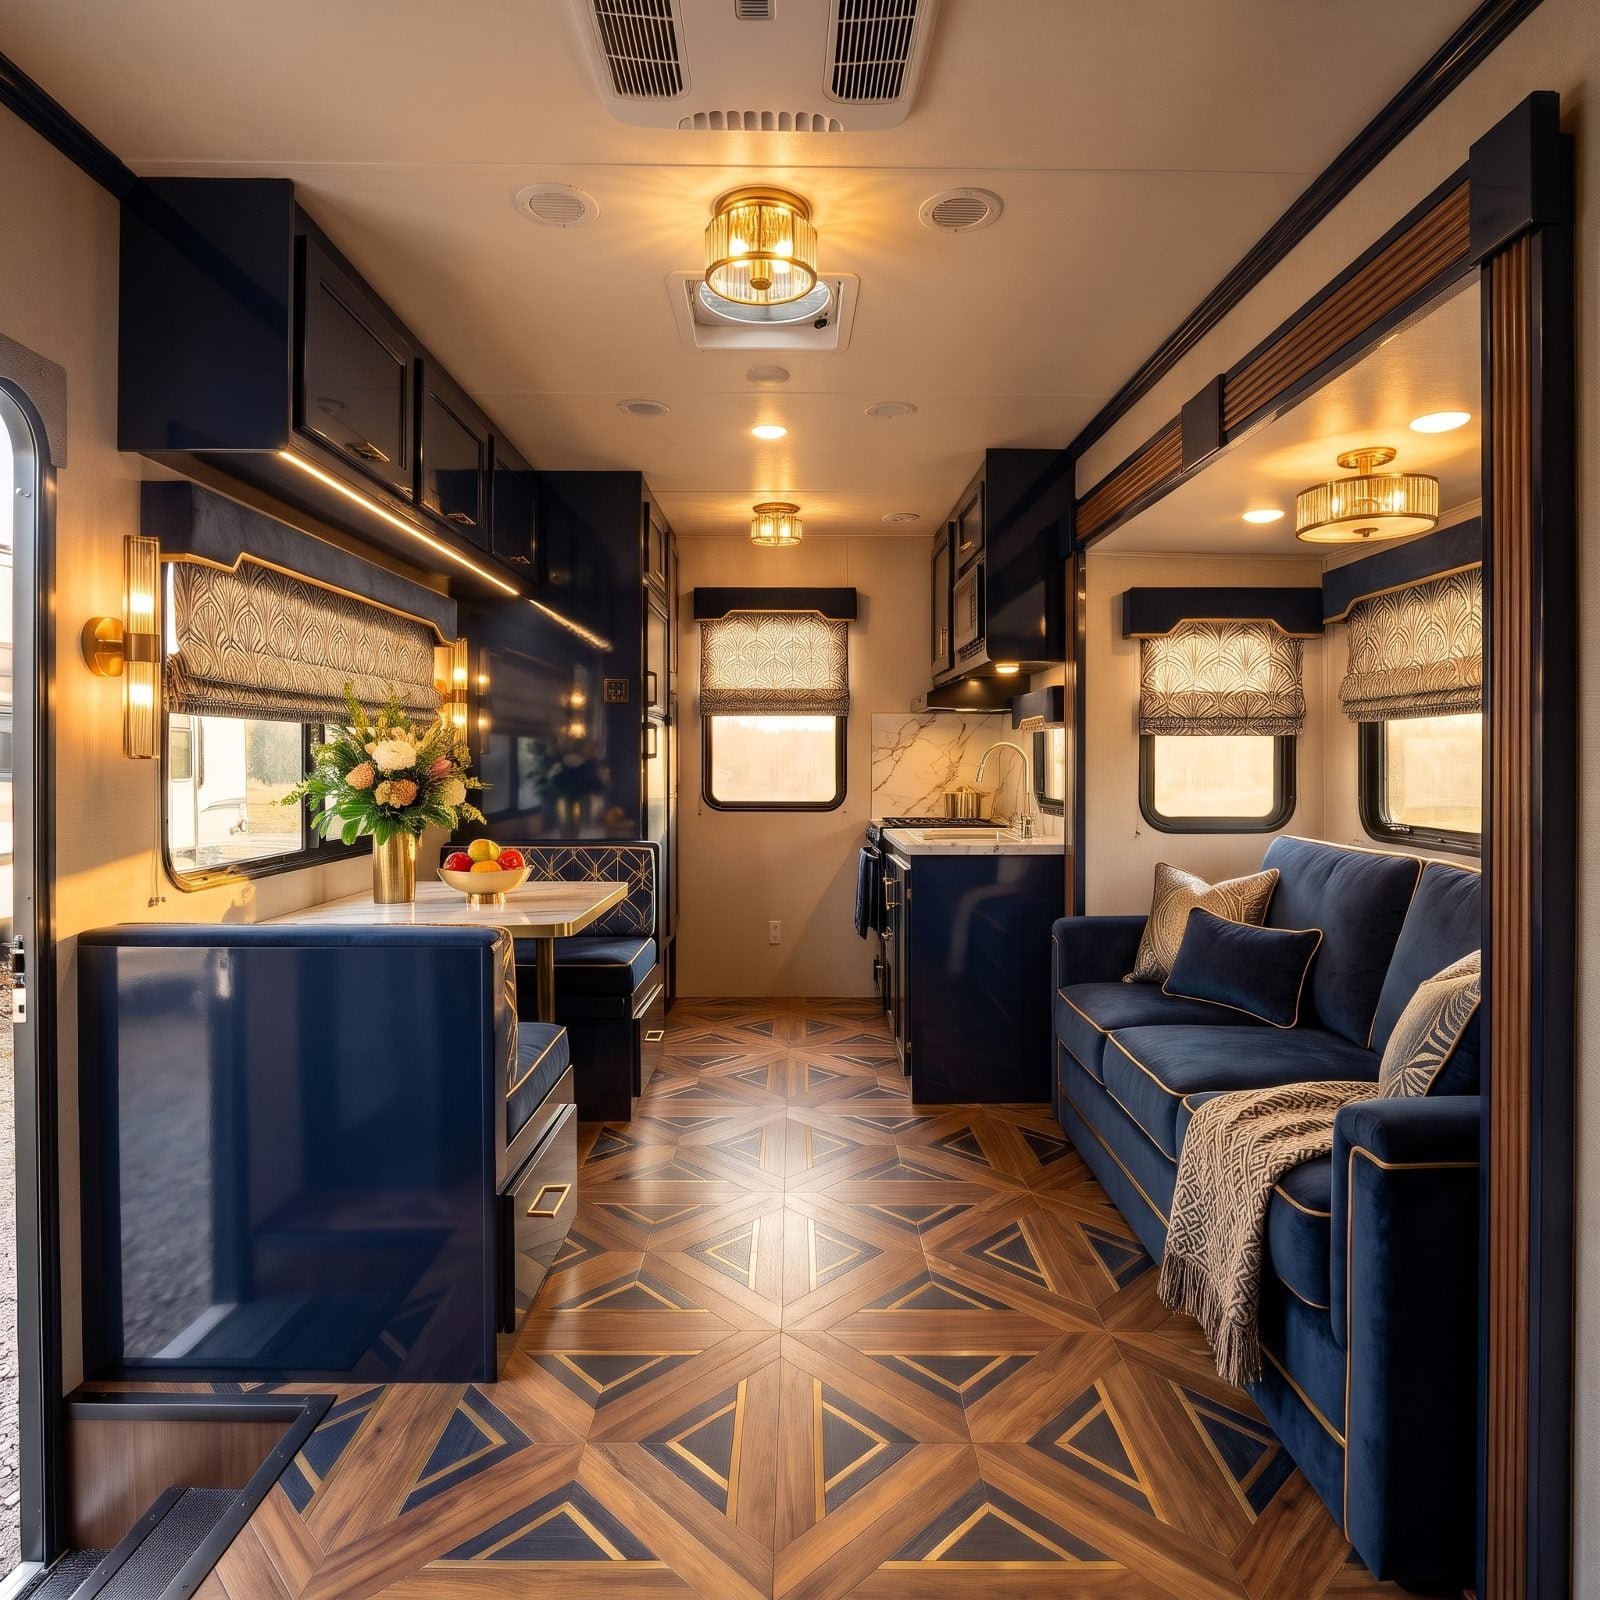
This is the check almost everyone skips, and it’s the one that catches a fire before it starts. A shore plug can look fine from a few feet away. Up close at the prongs, the story can be different.
Look at the plug prongs and the pedestal receptacle for brown or blackened discoloration. Check the plastic face for melting, bubbling, or a sooty smell. Then touch it, carefully. A receptacle that’s still warm minutes after you killed the power was running hot, and warm means a bad connection somewhere inside.
See any browning or catch that hot-plastic odor? Don’t plug into the next pedestal until you’ve sorted out why. Heat damage only gets worse.
24. Stow Power Cord and Surge Protector
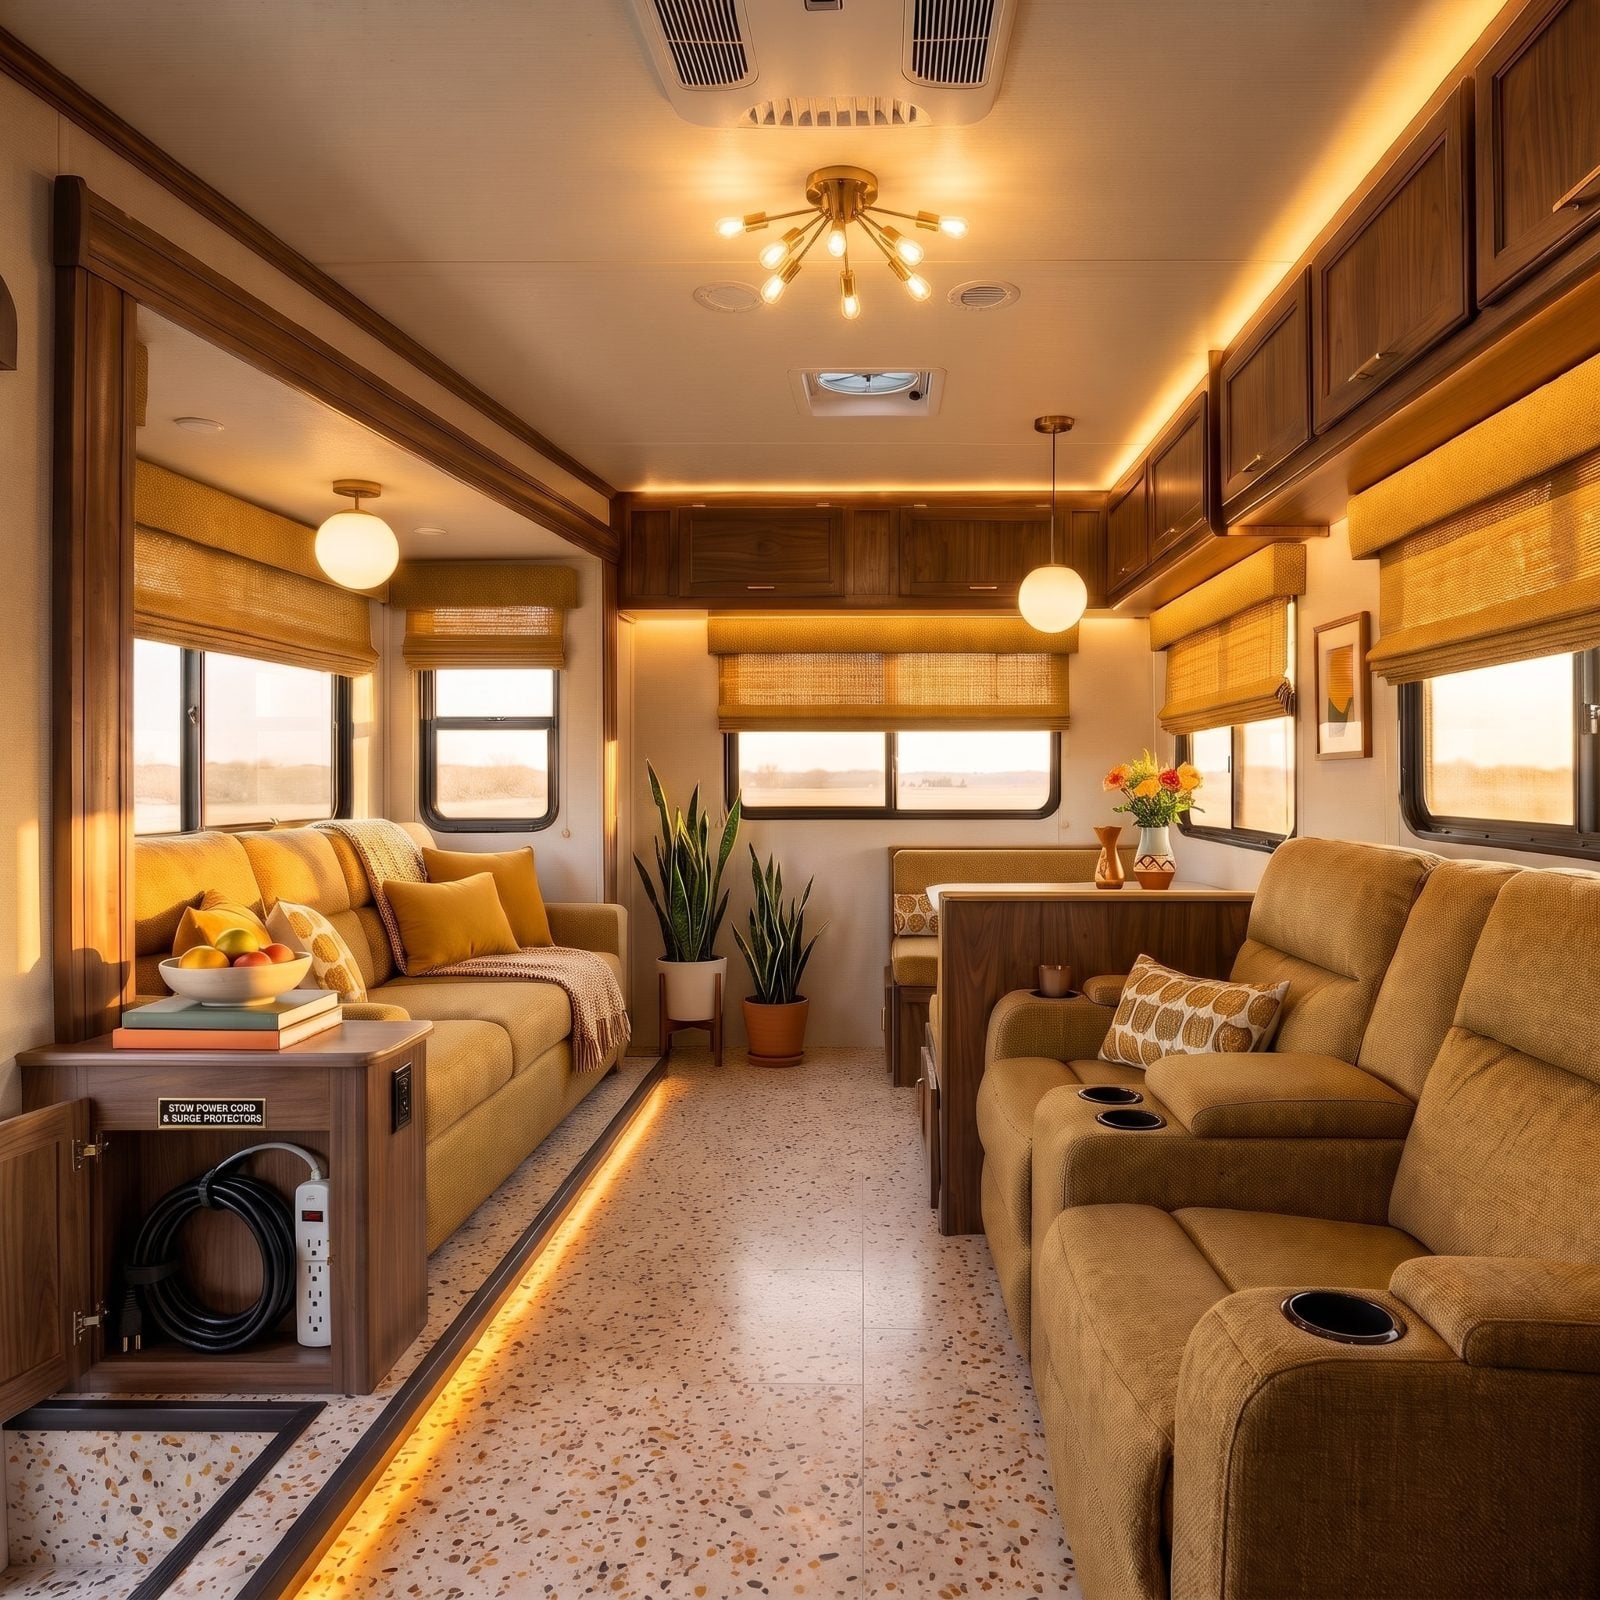
Jam a power cord into a cabinet as a tangled wad and you kink the copper inside, and kinked copper runs hot. Coil it loose and large instead, not in tight little loops. The over-under method keeps it from fighting you and holding onto memory twists.
Now, the surge protector. That’s the piece people leave plugged into the pedestal — expensive, the exact thing a thief grabs on the way out, and easy to forget because it lives outside your sightline down at the post.
The cord you coiled with care this morning is the cord that still works in five years.
Tuck the cord and the surge protector into their own dedicated spot in a cabinet, not loose where they can rattle around on the road.
23. Disconnect and Stow Freshwater Hose
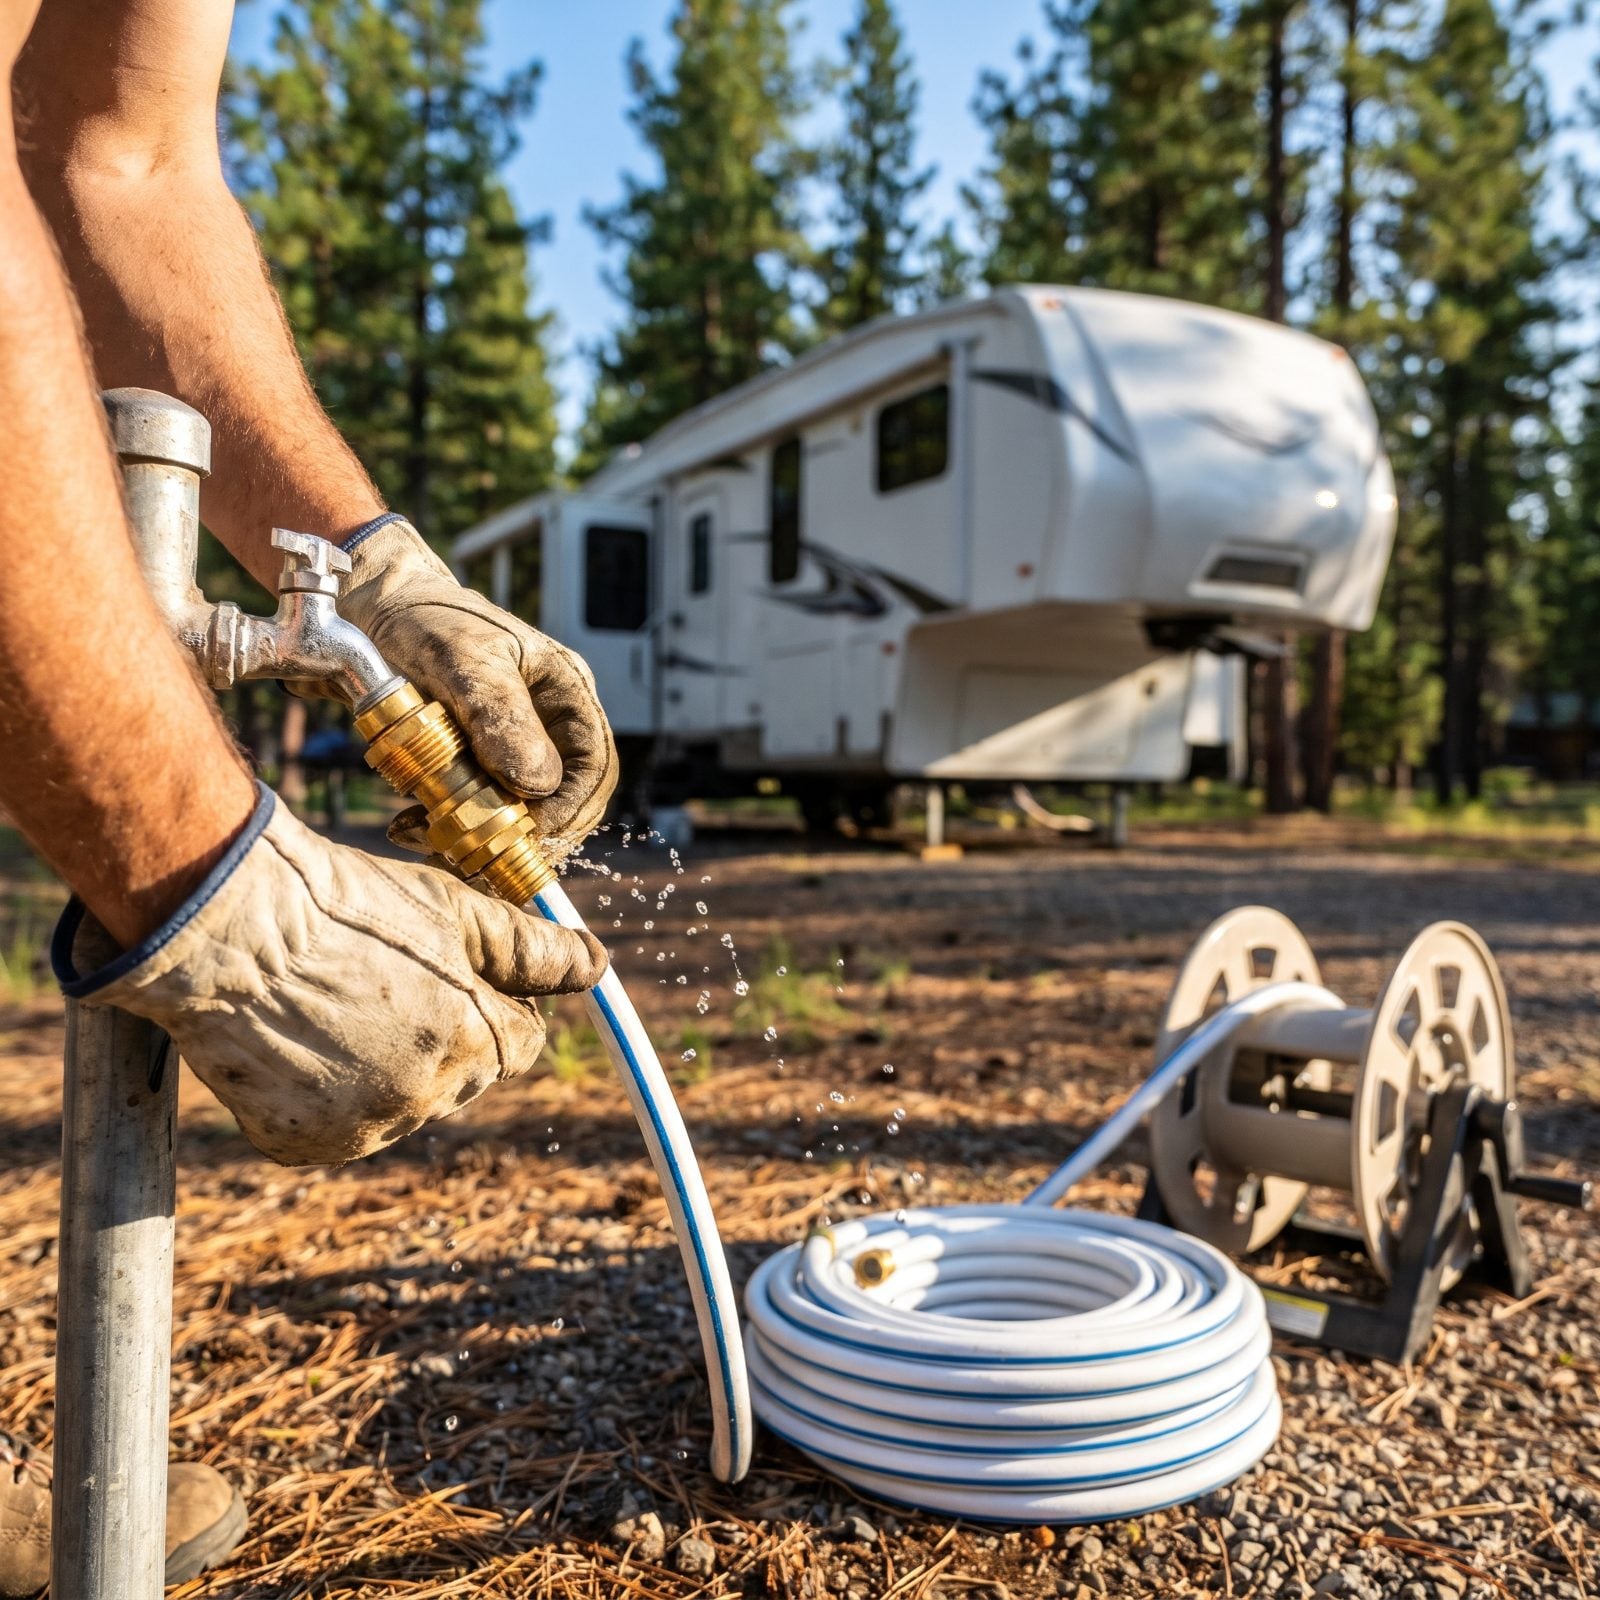
Your drinking water hose is the one piece of RV gear that should never touch the ground near the sewer or ride around in a filthy bay. It’s in your water. Keep it apart from everything dirty.
Shut the spigot first, then crack the hose at the RV end to release pressure before you unscrew it. Do it the other way and you soak your shoes and spray the whole storage bay. Drain the hose by walking it end to end, then coil it onto its reel or into its own dedicated clean bag.
22. Stow Water Regulator, Filter, and Splitter
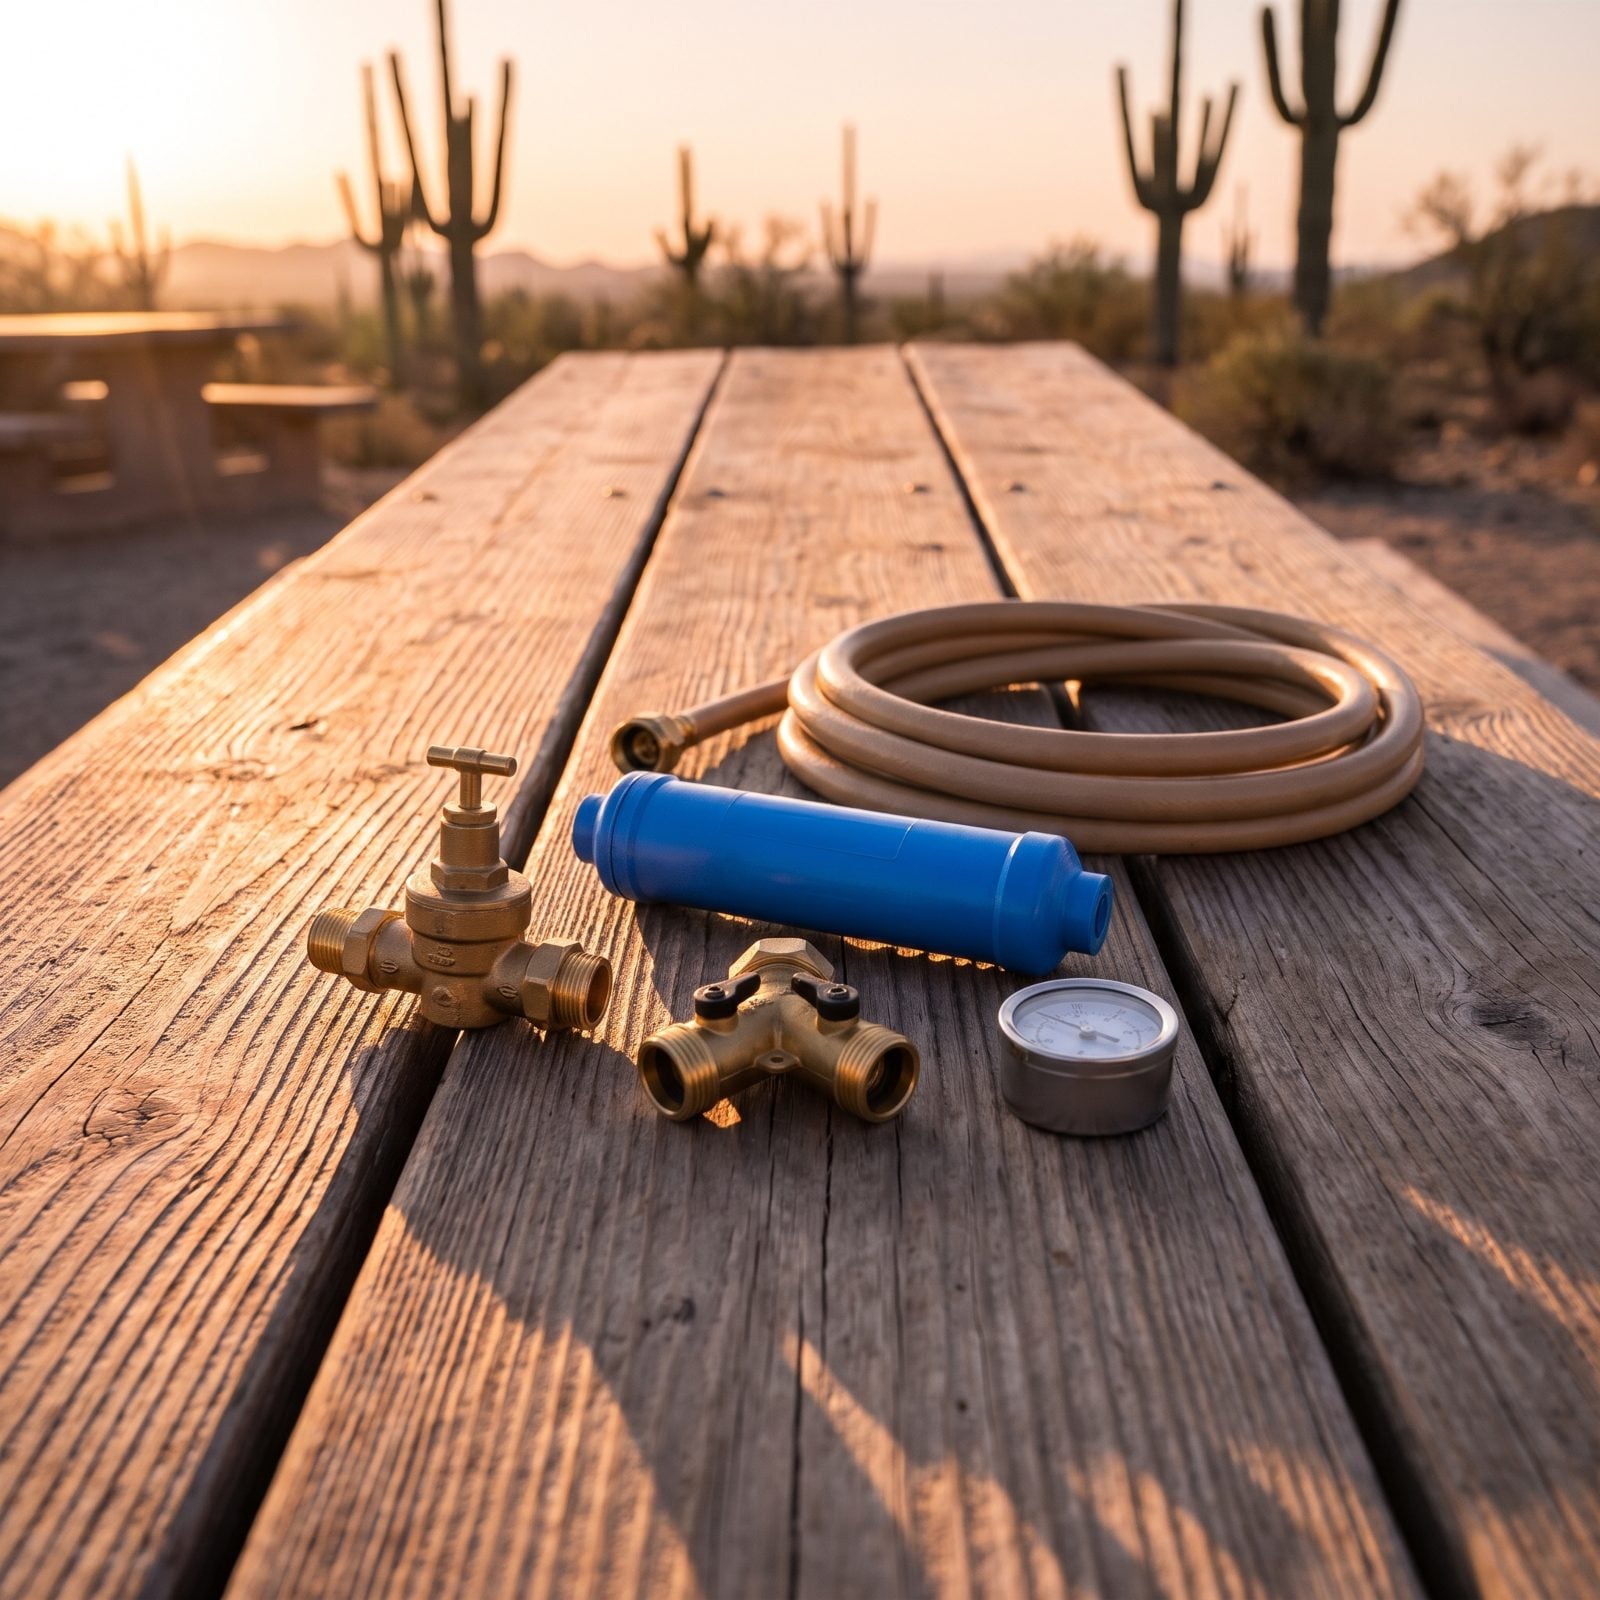
The little brass bits roll off the picnic table and vanish into the dirt. The pressure regulator, the inline filter, the Y-splitter, the gauge — each one is cheap on its own and an absolute pain to replace at 8pm in a strange town with one hardware store that closed an hour ago.
Gather them before you drive off. Drain the filter so it isn’t sloshing stagnant water around your bay, and let the brass fittings dry a minute so they’re not sitting wet in storage. Keep this cluster in one zippered pouch alongside your fresh hose, well away from anything that touches the sewer side.
21. Tighten City-Water Inlet Cap
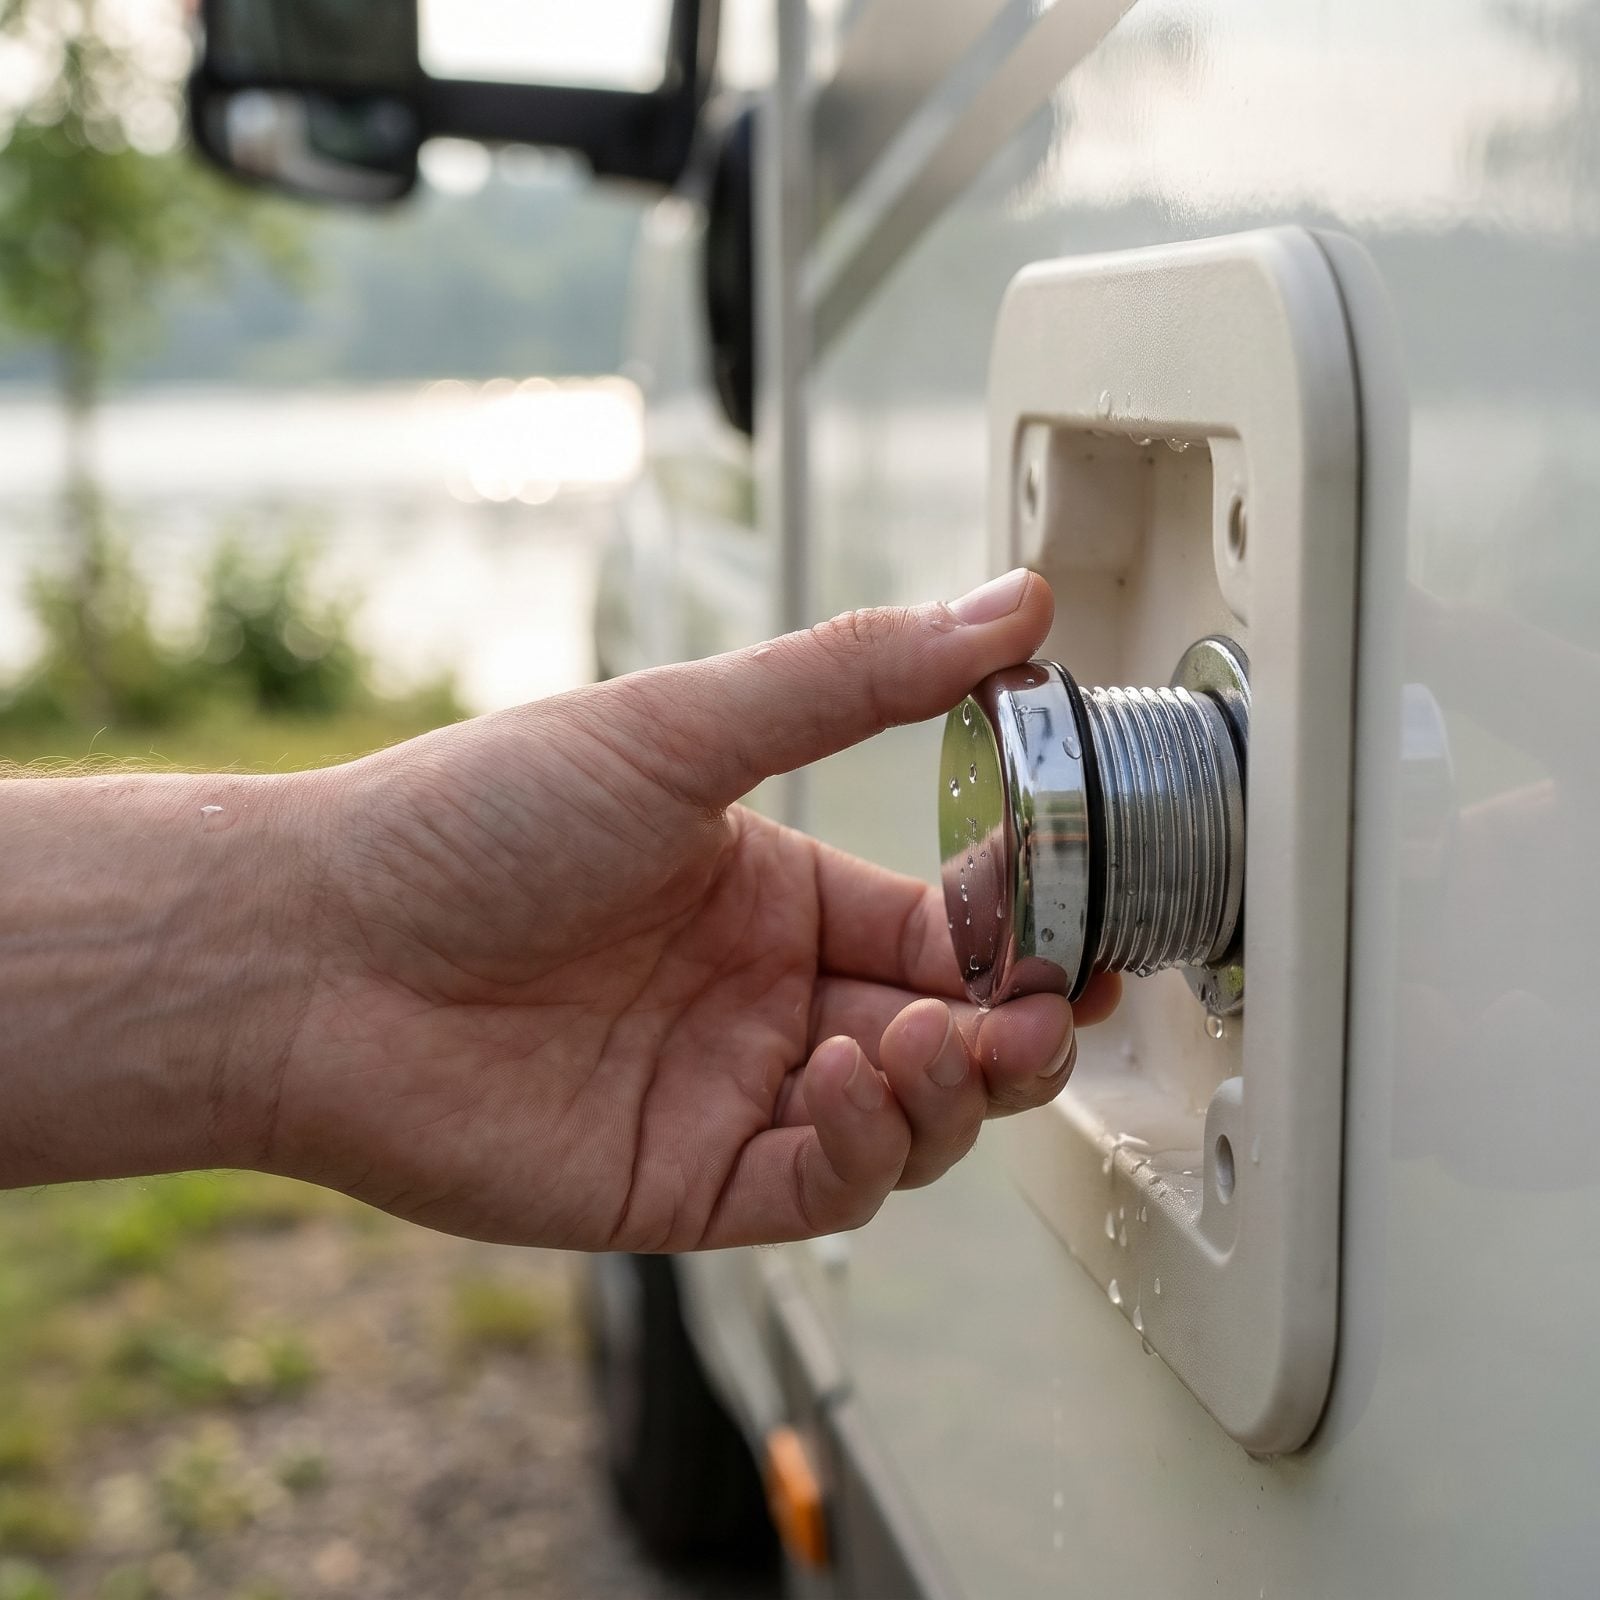
That chrome twist cap over your city-water inlet does exactly one job: it keeps dust, bugs, and splashes out of the fitting you drink through. People leave it dangling or forget it entirely after disconnecting.
Twist the cap closed until it seats snugly, then stop. Don’t crank it — the seal deforms, and a leaky cap is worse than no cap.
Same goes for the cap over your fresh tank gravity fill, if you used it. Open ports anywhere in a rig are a standing invitation for dust and critters to move in at 65 miles an hour.
20. Drain, Rinse, and Cap Sewer Hose
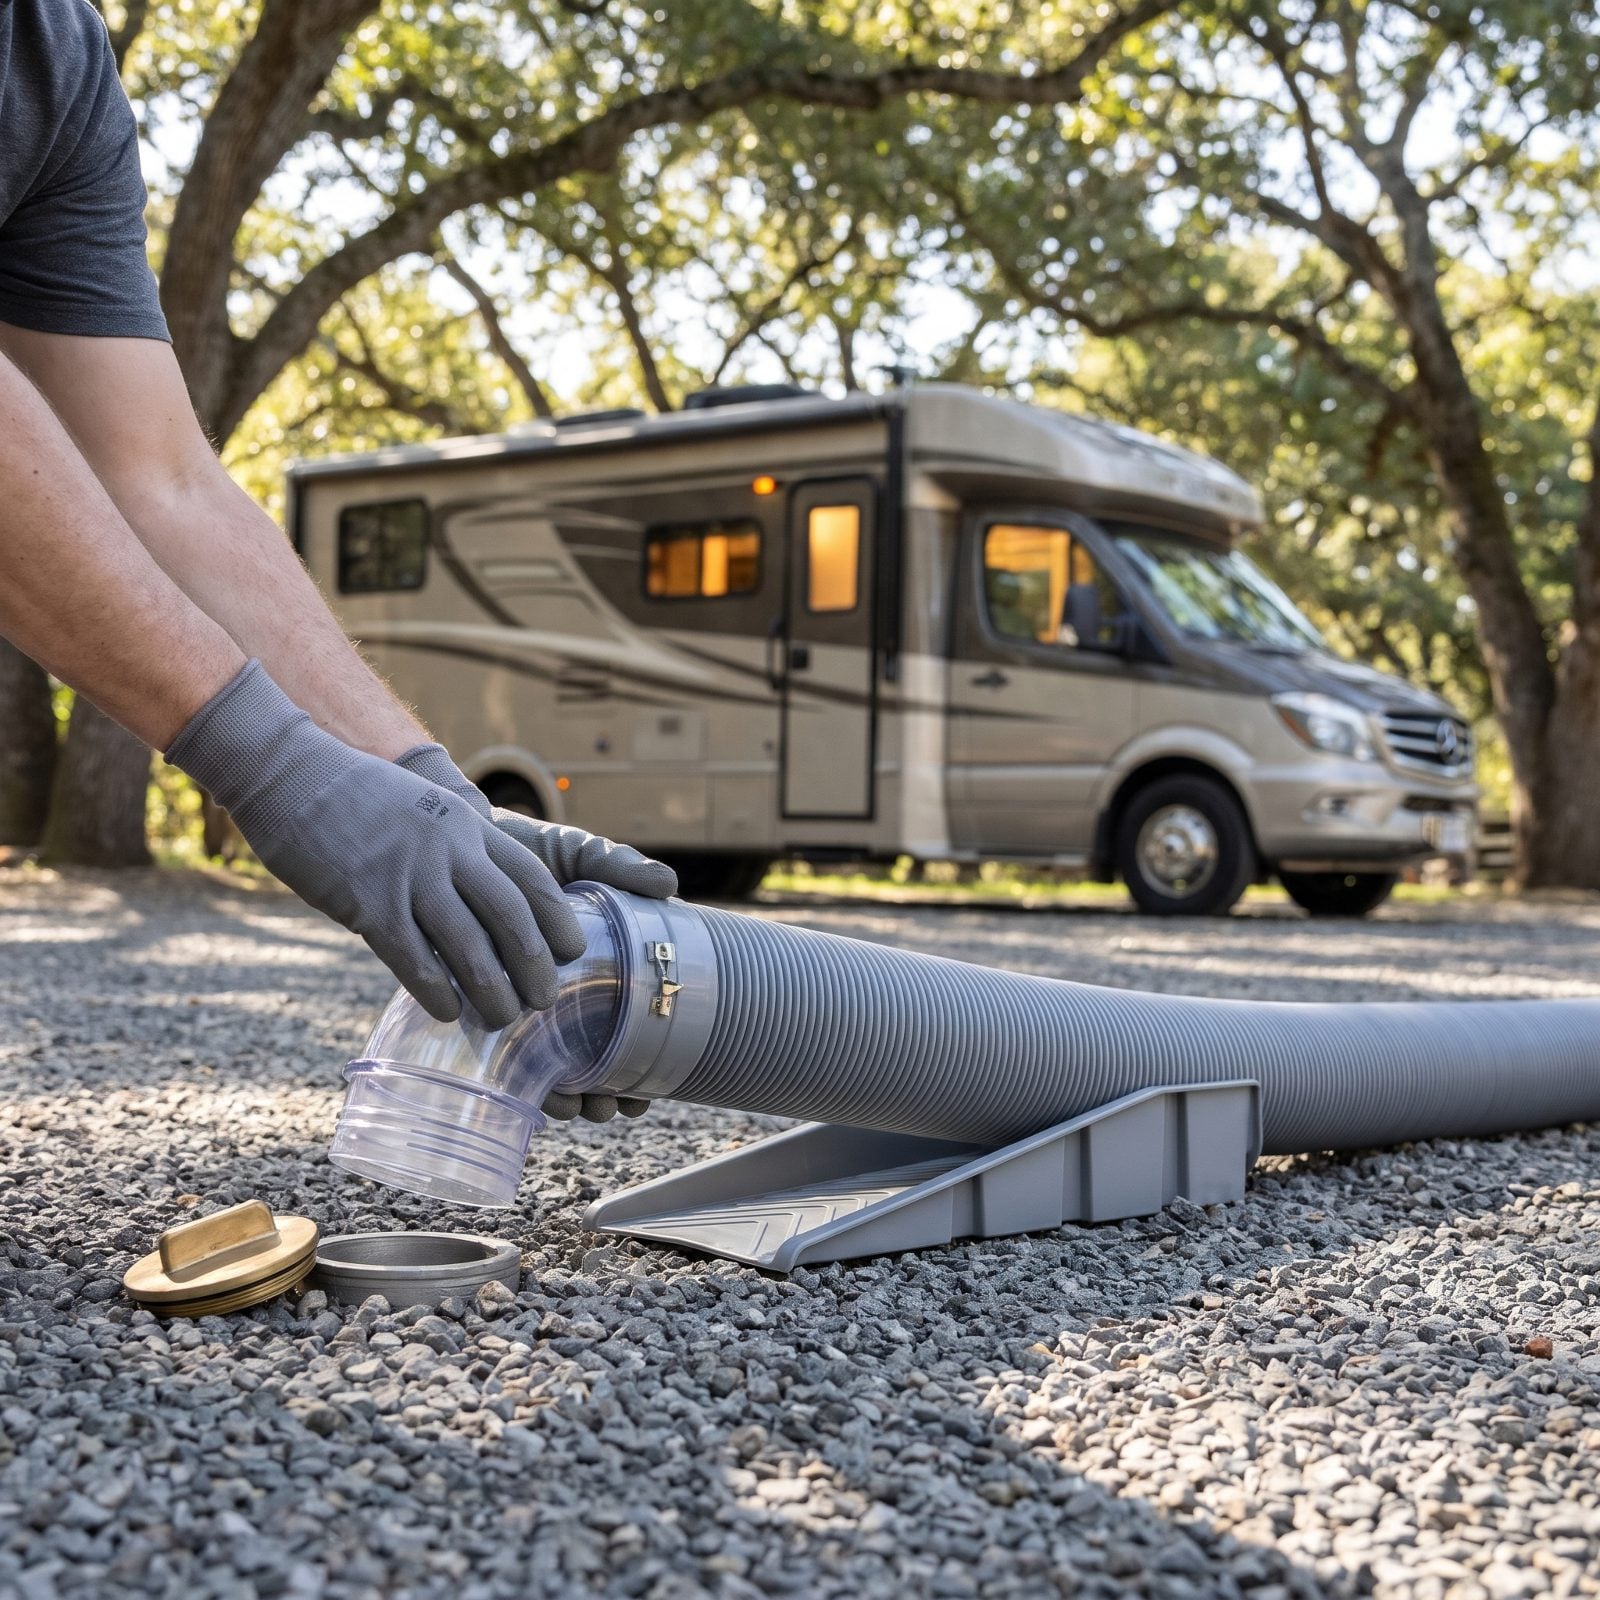
The sewer hose is the last thing you handle and the one most worth handling right. Dump the black tank first, then grey, so the grey water flushes the hose clean on its way out. That’s the whole reason for the order.
Lift the hose from the RV end and walk any leftover water downhill into the inlet, so you’re not storing a hose full of liquid for the drive. Rinse if a non-potable spigot is there — and only ever with the gloves and the rinse hose you keep for exactly this, nothing else.
Cap both ends — it’s easy to cap one and leave the other open, so don’t skip it. A sewer hose capped at both ends keeps the smell and the drips sealed inside the hose, so it can be coiled neatly into its own compartment.
19. Close Black and Gray Dump Valves

The classic rookie mistake isn’t forgetting to dump. It’s forgetting to close the valves before you stow the hose. You roll out, hit a bump, and whatever’s left in the lines finds the lowest point — usually your storage bay. Do it once and you’ll never do it again.
Push the black & gray lever all the way to its closed stop and turn the gray dump knob until it seats firmly, no wiggle. The black valve especially, because gravity has ideas. Give each a firm push or twist, then a gentle test to confirm it’s locked shut and not just resting closed.
18. Replace Sewer Outlet Cap
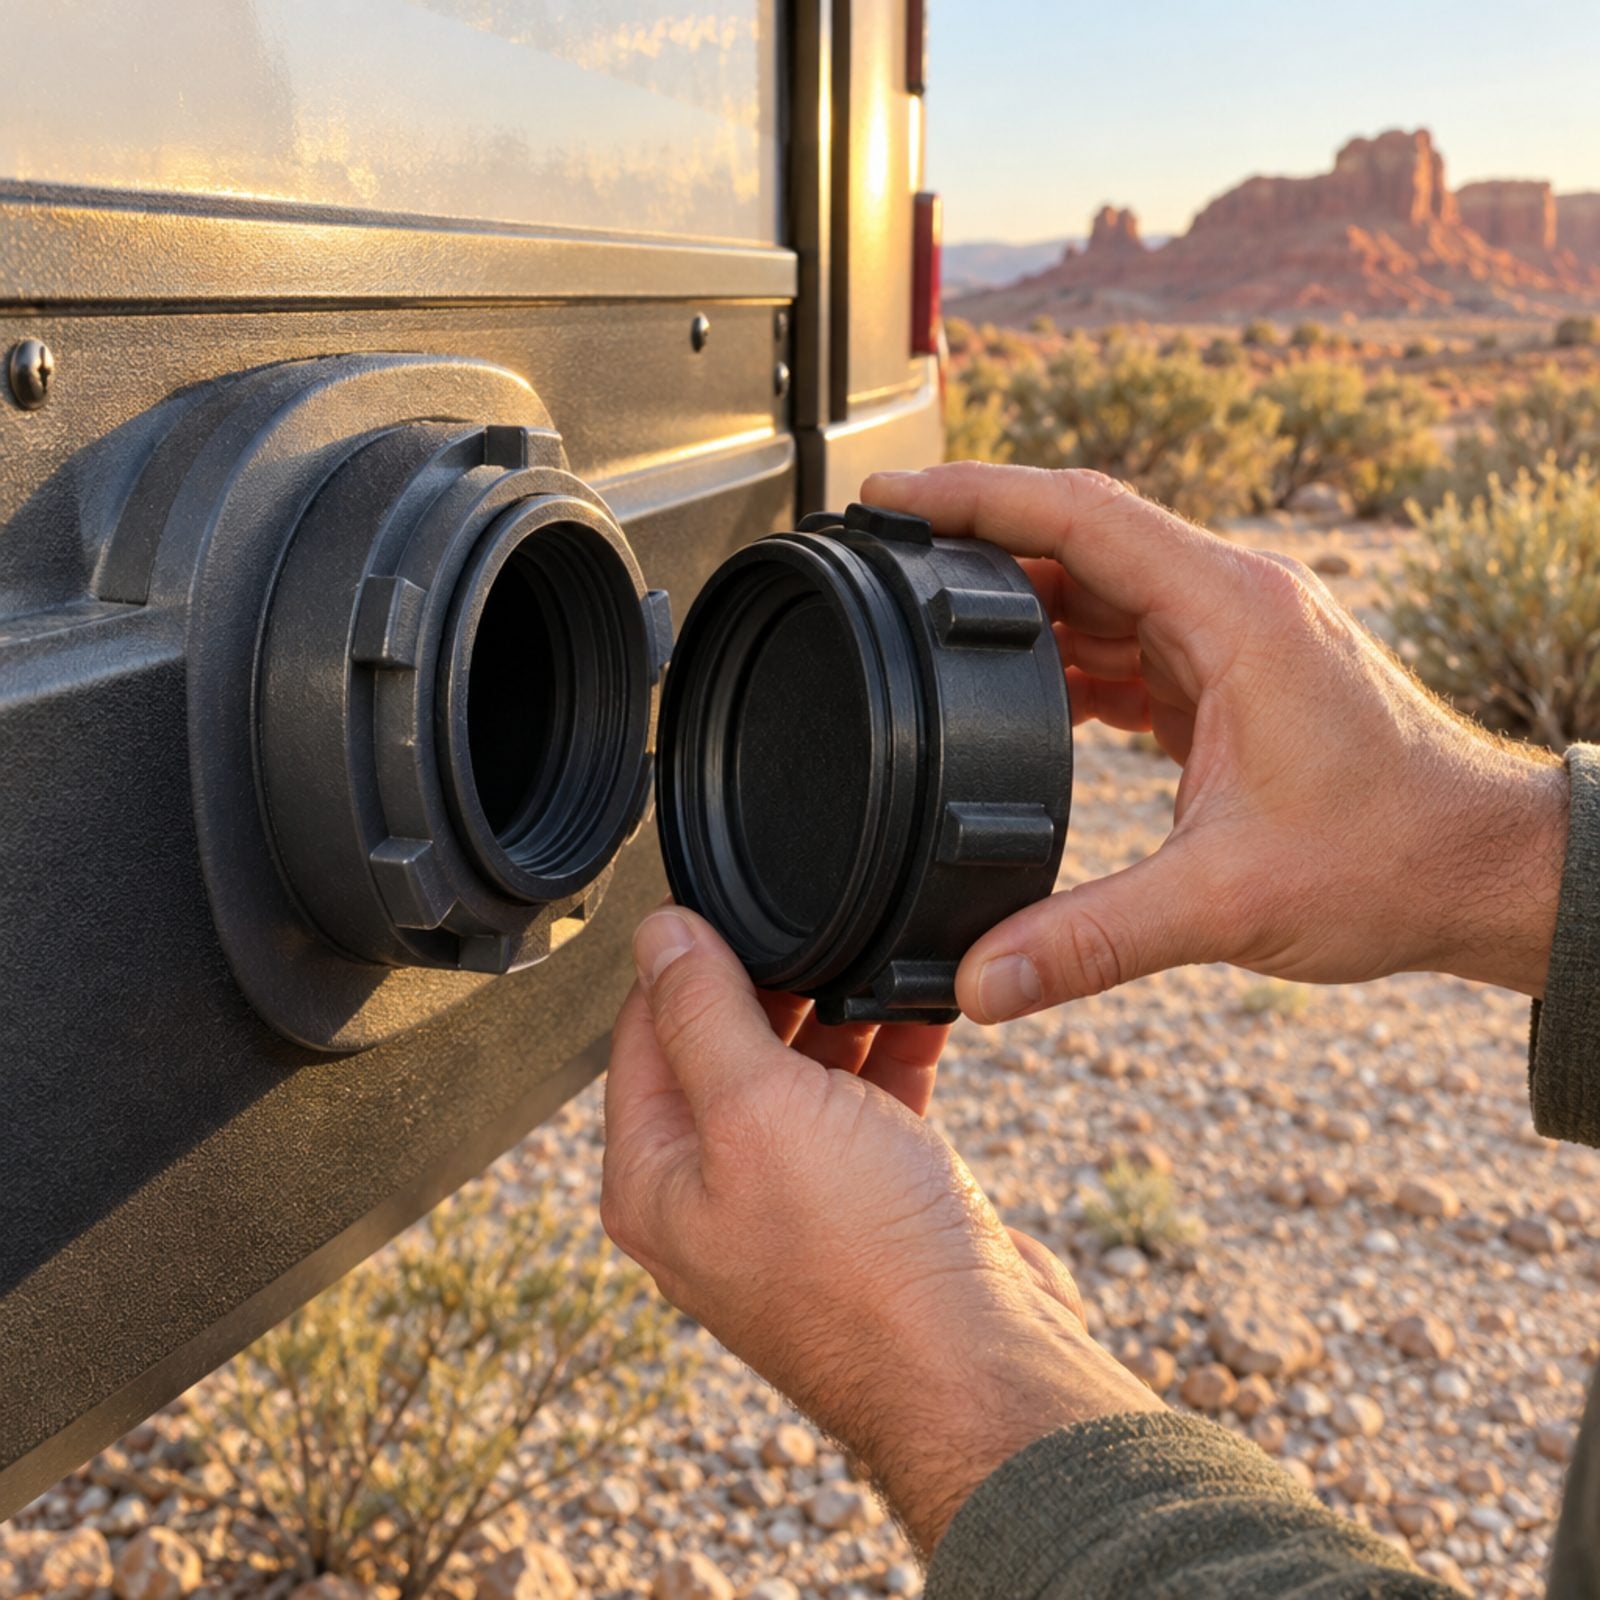
That cap isn’t decoration. It’s the thing standing between a smooth sewer outlet and a slow drip down your rear bumper every time you corner. Drive a hundred miles without it and you’ll smell the mistake before you see it.
Twist it on snug, running it down the threads until it seats, and feel for the rubber gasket catching. If it spins loose, the seal’s shot — a couple bucks at any RV shop. Keep a spare in the bay.
One thing most folks skip: give the outlet a quick wipe first. Grit on the threads wears the gasket out fast.
17. Verify Tank Levels Suit Today’s Route

Weight is water, and water runs about 8.3 pounds a gallon. A full 40-gallon fresh tank piles over 300 pounds onto whatever you’re dragging up the pass. If today’s route means mountain grades, or you’re chasing a dump station at the far end, think hard about what you’re hauling before you leave.
Tap the monitor and read all three — fresh, gray, black. Rolling into a dry-camp spot with no services? Keep fresh high, waste low. Heading to a full-hookup park two hours out? Travel light and dump when you arrive.
16. Turn Water Pump Off

Leave the pump on during travel and here’s the nightmare: a fitting works loose from road vibration, the pump senses the pressure drop, and it keeps pumping your fresh tank into the cabinets for three hundred miles. People have come back to soaked flooring and ruined subfloor from exactly this.
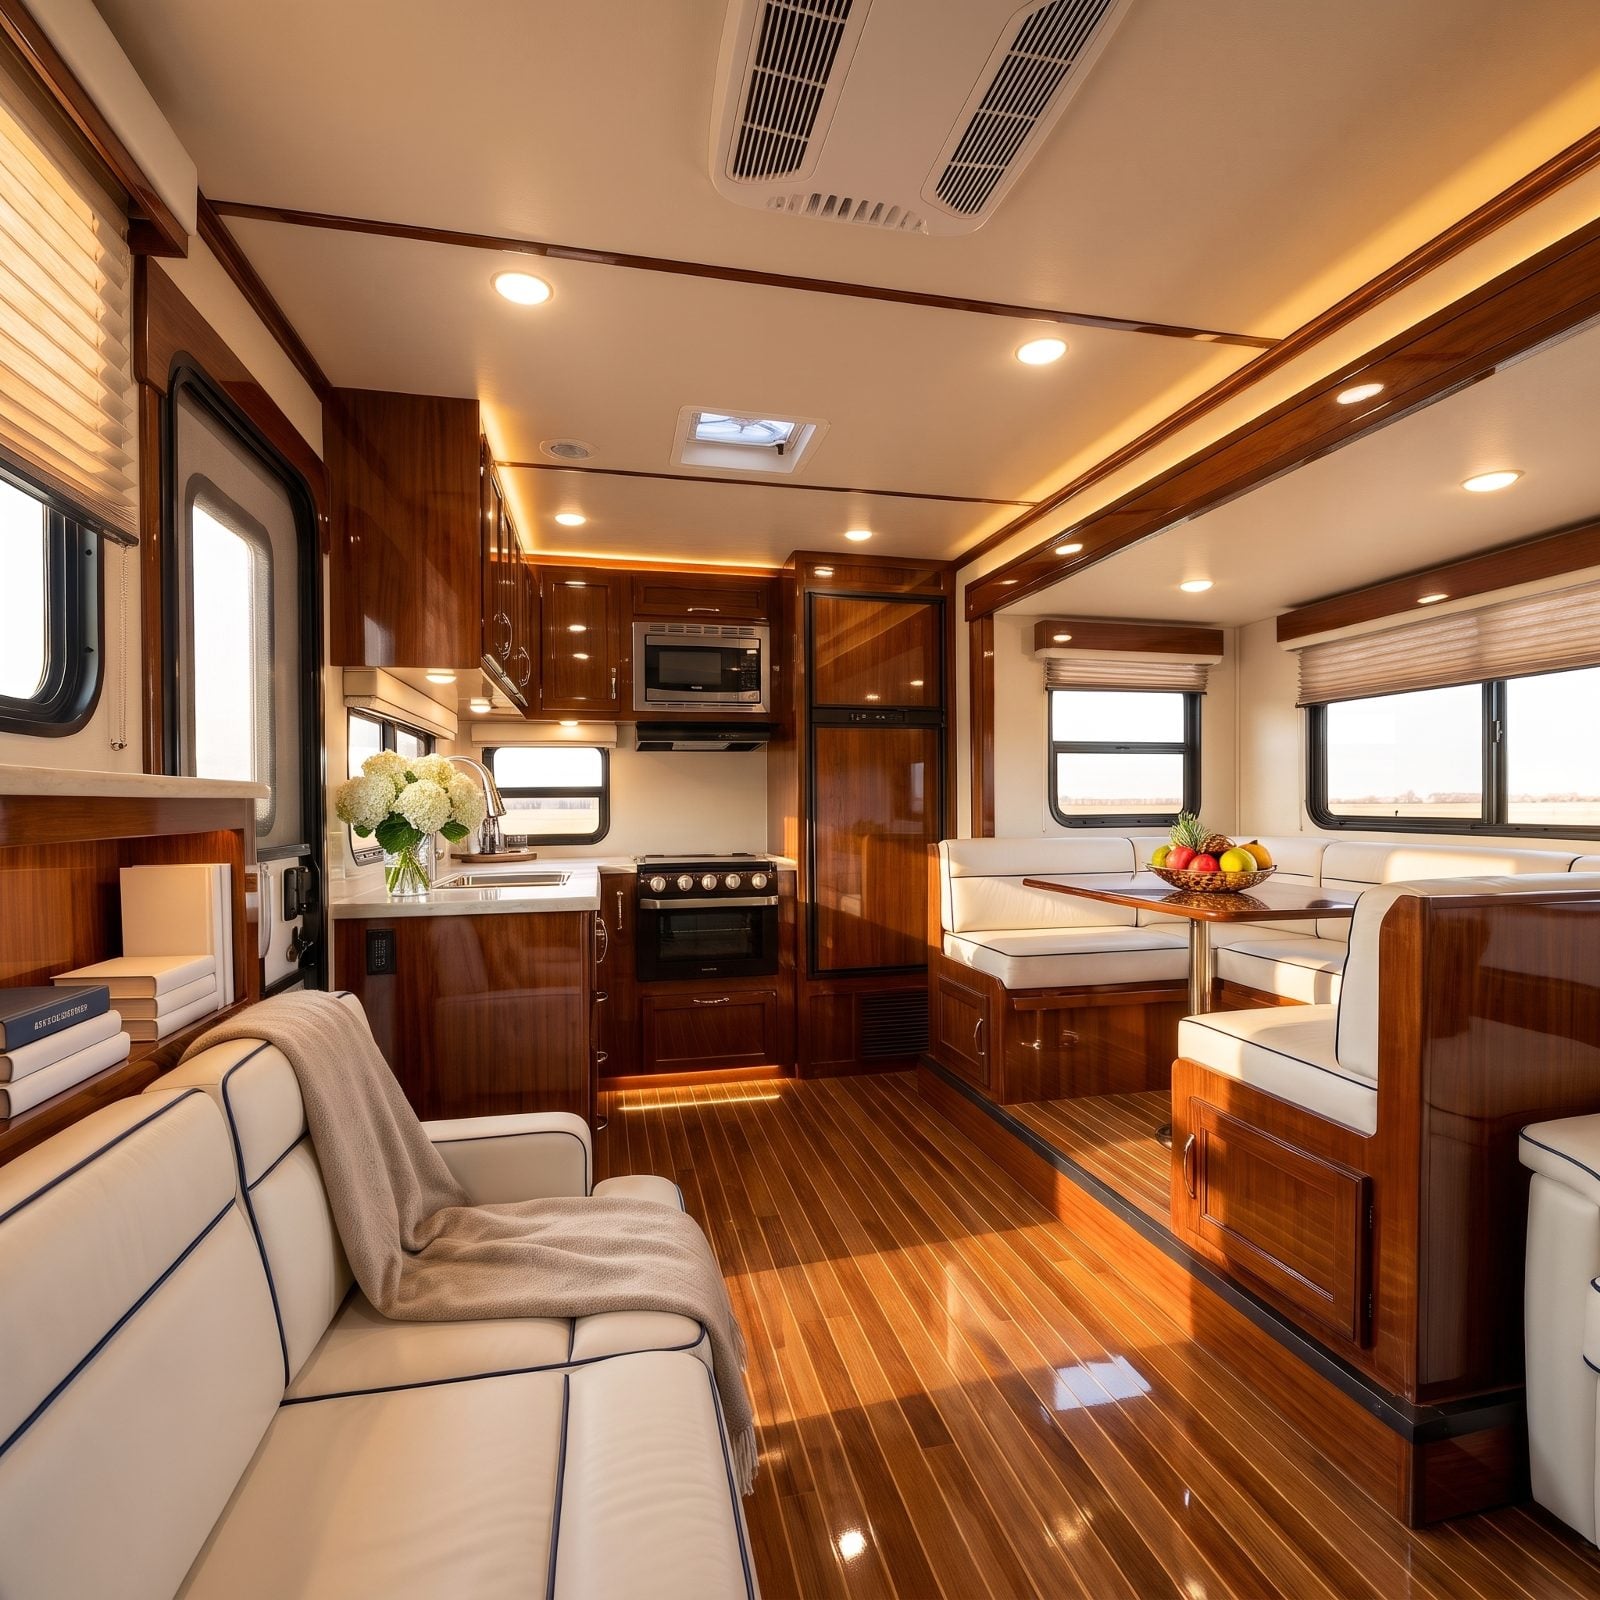
Flip it off. The control usually lives by the galley or the main panel; a reminder label like the “Water Pump Off” tag on this galley cabinet makes it hard to forget. The pump’s job is done the moment you stop using the taps.
Quick habit worth building: kill the pump, then crack a faucet for a second to bleed the pressure. Loud silence means it’s truly off.
15. Turn Water Heater Off
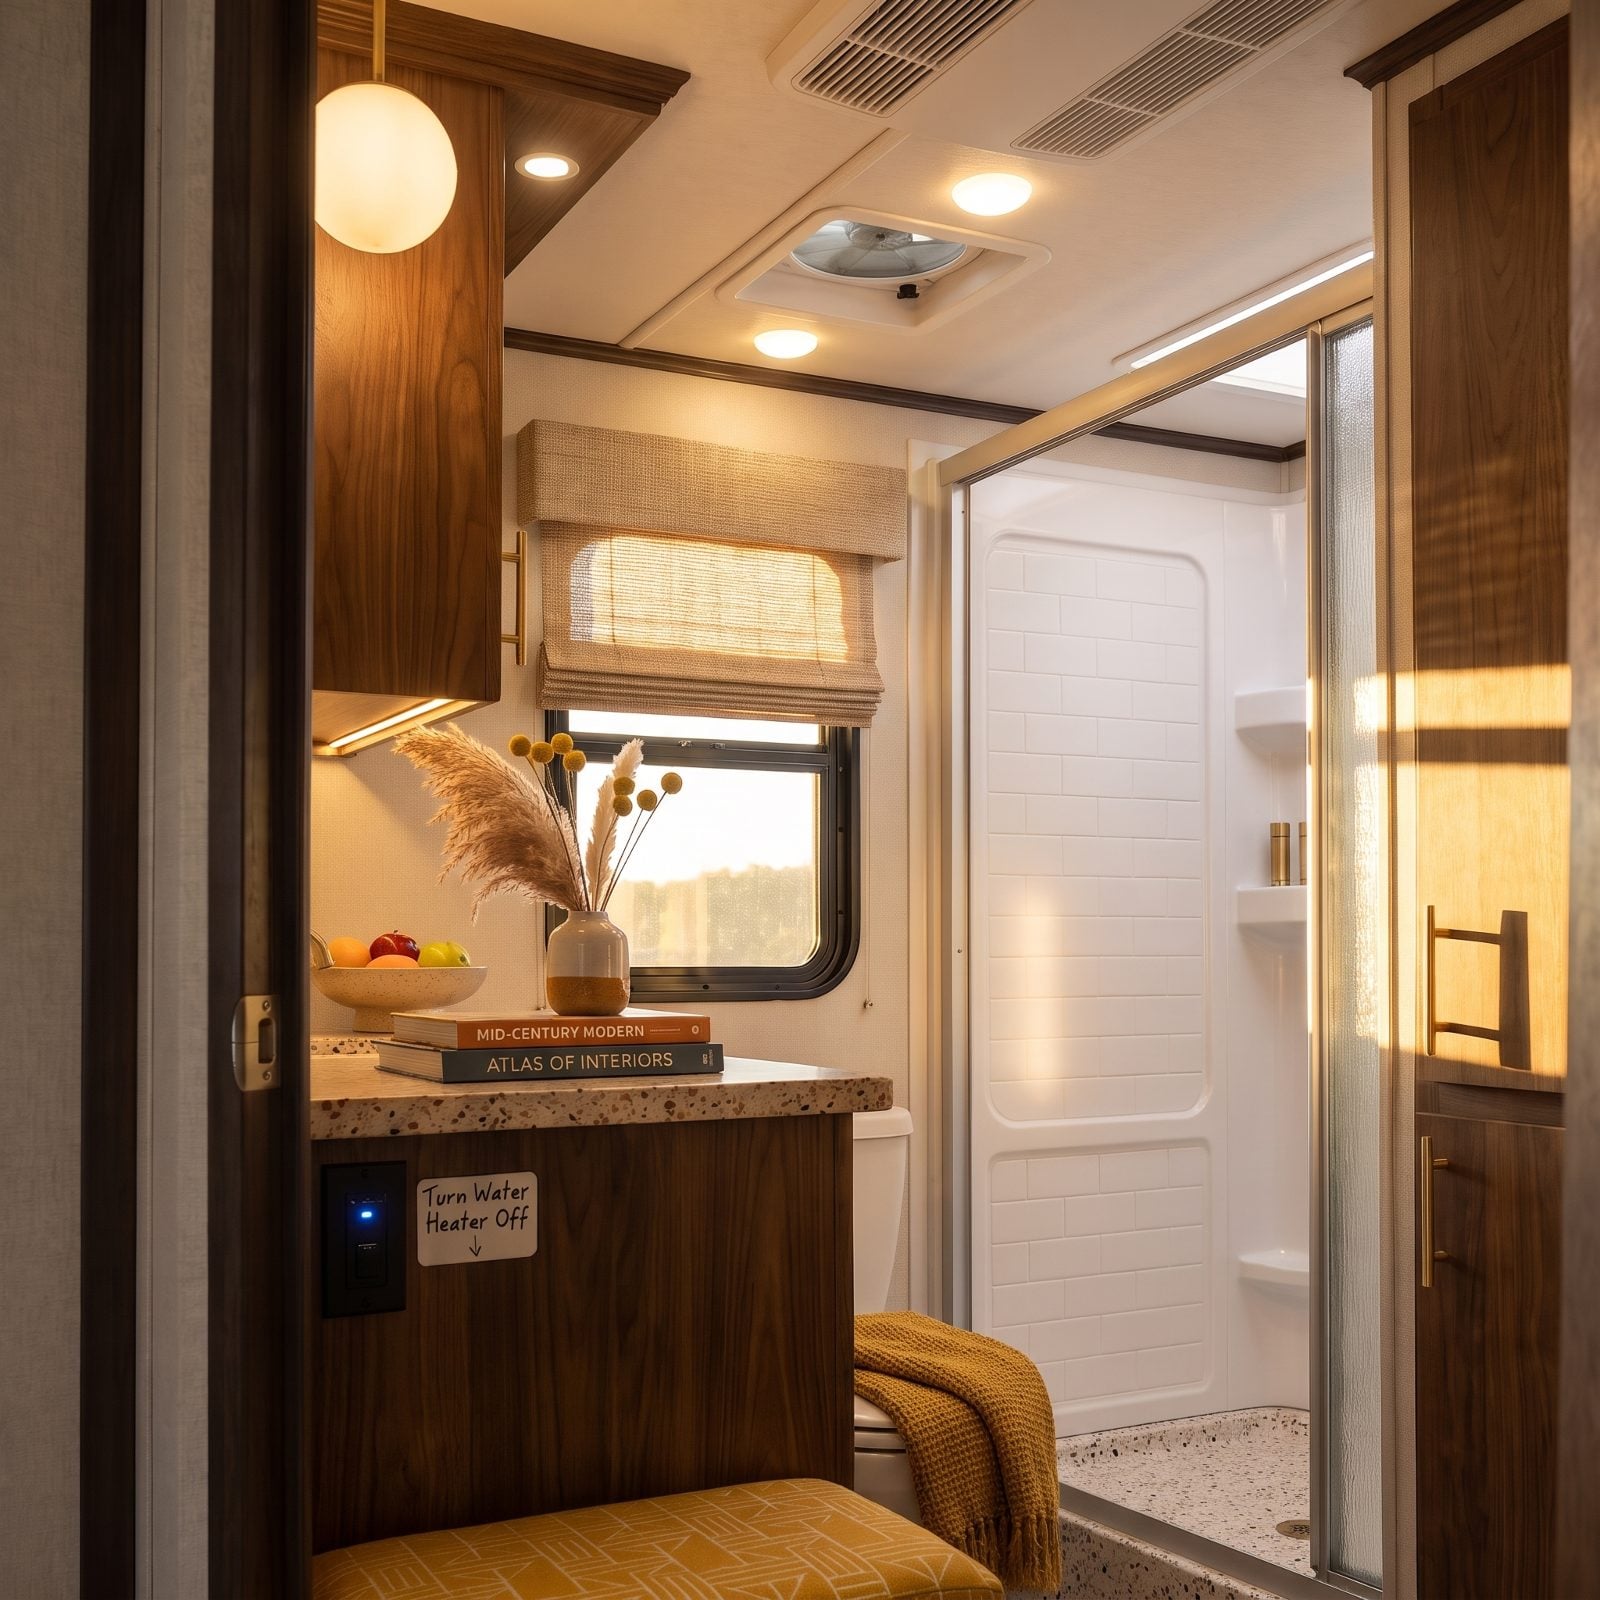
A water heater left on gas burns propane you don’t need to burn while you drive, and an electric element left on can scorch itself dry if the tank drains or airlocks. Neither is catastrophic. Both are pointless — and the gas one keeps an open flame lit while you’re rolling.
Switch it off. Could be a wall rocker, a control inside, or the exterior panel depending on your rig. Some units have separate gas and electric switches, so hit both.
Plenty of new RVers forget this their whole first year and wonder why their propane vanishes so fast. The water heater is quietly eating it the entire time.
14. Set Propane System for Legal Travel
This one has real consequences. Plenty of states, most tunnels, and the big ferries want propane shut off at the tank during travel, and a few states ban traveling with it on at all. A leak during a crash with an open valve is the exact scenario those rules exist for.
Close the main valve at the cylinder — firmly, clockwise. Run your fridge on propane while driving? Some do, some won’t. Either way, know your route, because the tunnel ahead may not allow it.
Then reseat the propane cover so it’s latched, not just balanced on top.
13. Test House-Battery Charge Level

Your house battery runs the fridge control board, the leveling system, the slide motors, and the emergency brakes on a trailer. Roll out with it sagging and you may find the slides won’t retract at the next stop — or worse, the breakaway brake won’t hold.
Check the monitor before you disconnect shore power. You want the bank reading full or near it, roughly 12.6 to 12.8 volts at rest on a lead-acid setup. Dip below 12.2 and something drained it overnight.
The detail people miss: your alternator or tow vehicle might charge it as you drive, or it might not, depending on how your rig is wired. Don’t assume. Start the day topped up.
12. Secure Portable Solar Panels and Cables
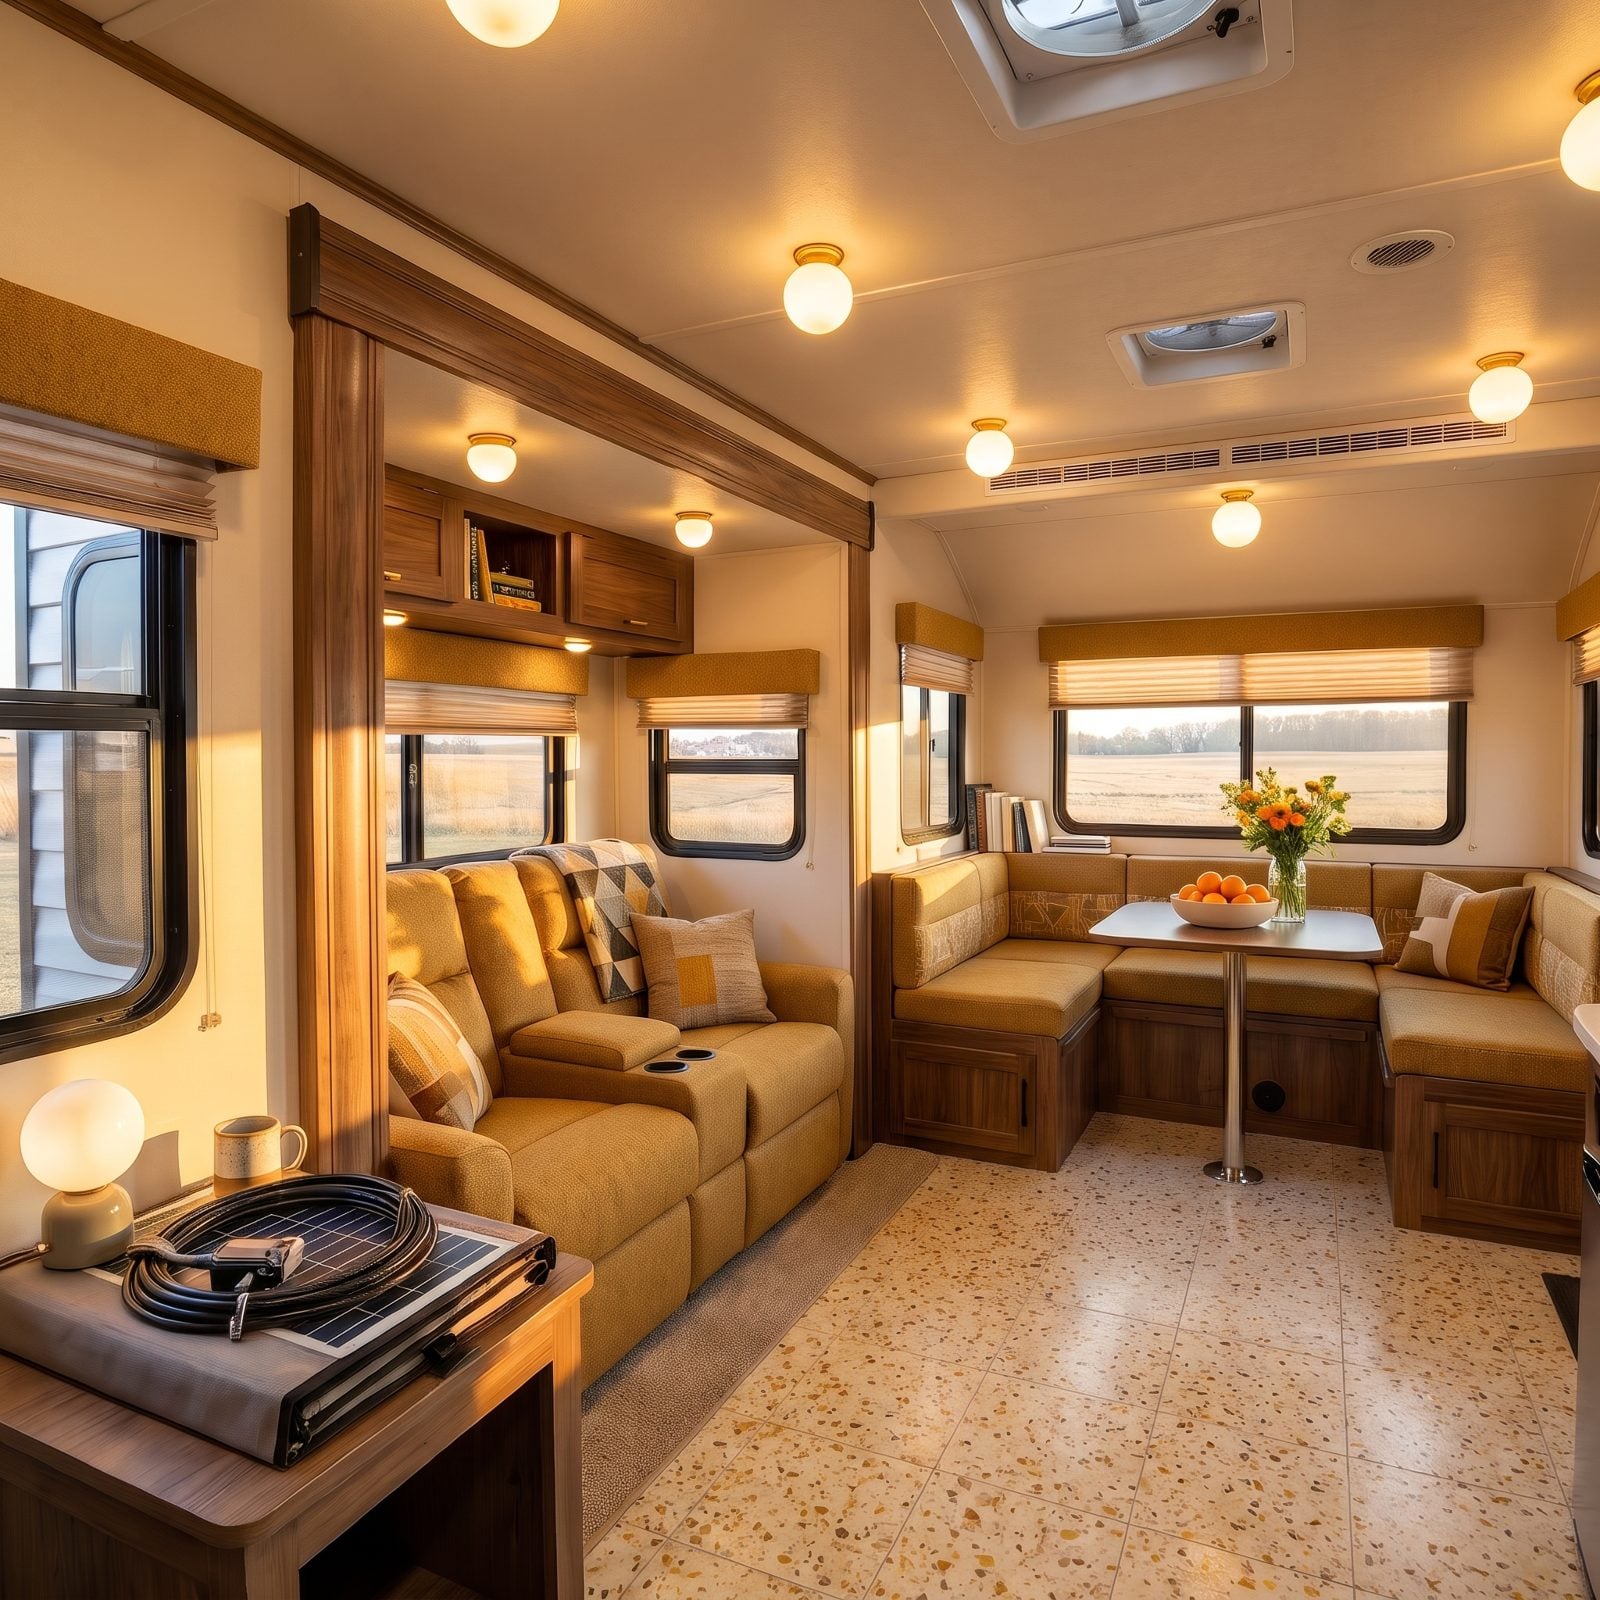
Portable panels are easy to forget. They’re sitting out in the sun doing their job quietly, twenty feet from the rig. Drive off and leave one behind and you’ve donated a few hundred dollars to the next camper. Worse, a cable left dangling will drag and shred on the first mile of pavement.
Fold the panels, unplug at the controller, and coil the cable loose — not kinked tight. Stow them somewhere they won’t slide and crack the glass in transit.
Walk the full perimeter before you close the bays. Panels, chairs, the mat, the leveling blocks. If it’s not bolted to the RV, it needs a home inside it.
11. Set Refrigerator for Safe Travel

An absorption fridge wants to be level to run right, and it doesn’t love running on propane in motion if your route bans it. Switch it to auto or to battery/DC mode if your model allows, so it holds temp off the house bank instead of an open flame.
Here’s what actually keeps food cold: don’t open it. A well-chilled RV fridge holds for hours if you just leave the door shut. Drop the temp a notch an hour before you leave so it’s extra cold heading out.
10. Latch Refrigerator and Freezer Doors

I’ll die on this hill: an unlatched fridge door is the single worst surprise to come home to. First hard brake or sharp turn and it swings wide, and now you’re scraping ketchup off the floor at a rest stop while the cold pours out.
Engage the travel latch — the little clip or slide built onto most RV fridges. No latch on yours? A tension rod or a bungee across the handles does the job fine. Give the door a tug to confirm it won’t budge.
Check each door separately. A tall four-door unit like this one has four chances to fly open, so latch or strap every pair of handles. Frozen peas scatter further than you’d believe.
9. Lock Cabinets and Drawers

Nothing wrecks a first mile like the sound of your entire plate collection learning to fly. A cabinet that pops open on a left turn redecorates the galley floor with broken stoneware, and you won’t hear it over the engine until you stop and find the mess.
Walk the rig, push every latch till it clicks, then tug each door back toward you. If it swings open, the catch is worn or sitting crooked. Those cheap magnetic catches give up after a couple of seasons, so swap them for positive-latch or push-button catches and the whole problem evaporates.
The one most folks forget? The drawer under the oven and the trash slide. They’re low, out of eyeline, and heavy enough to go sailing across the floor.
8. Secure Microwave Plate and Door
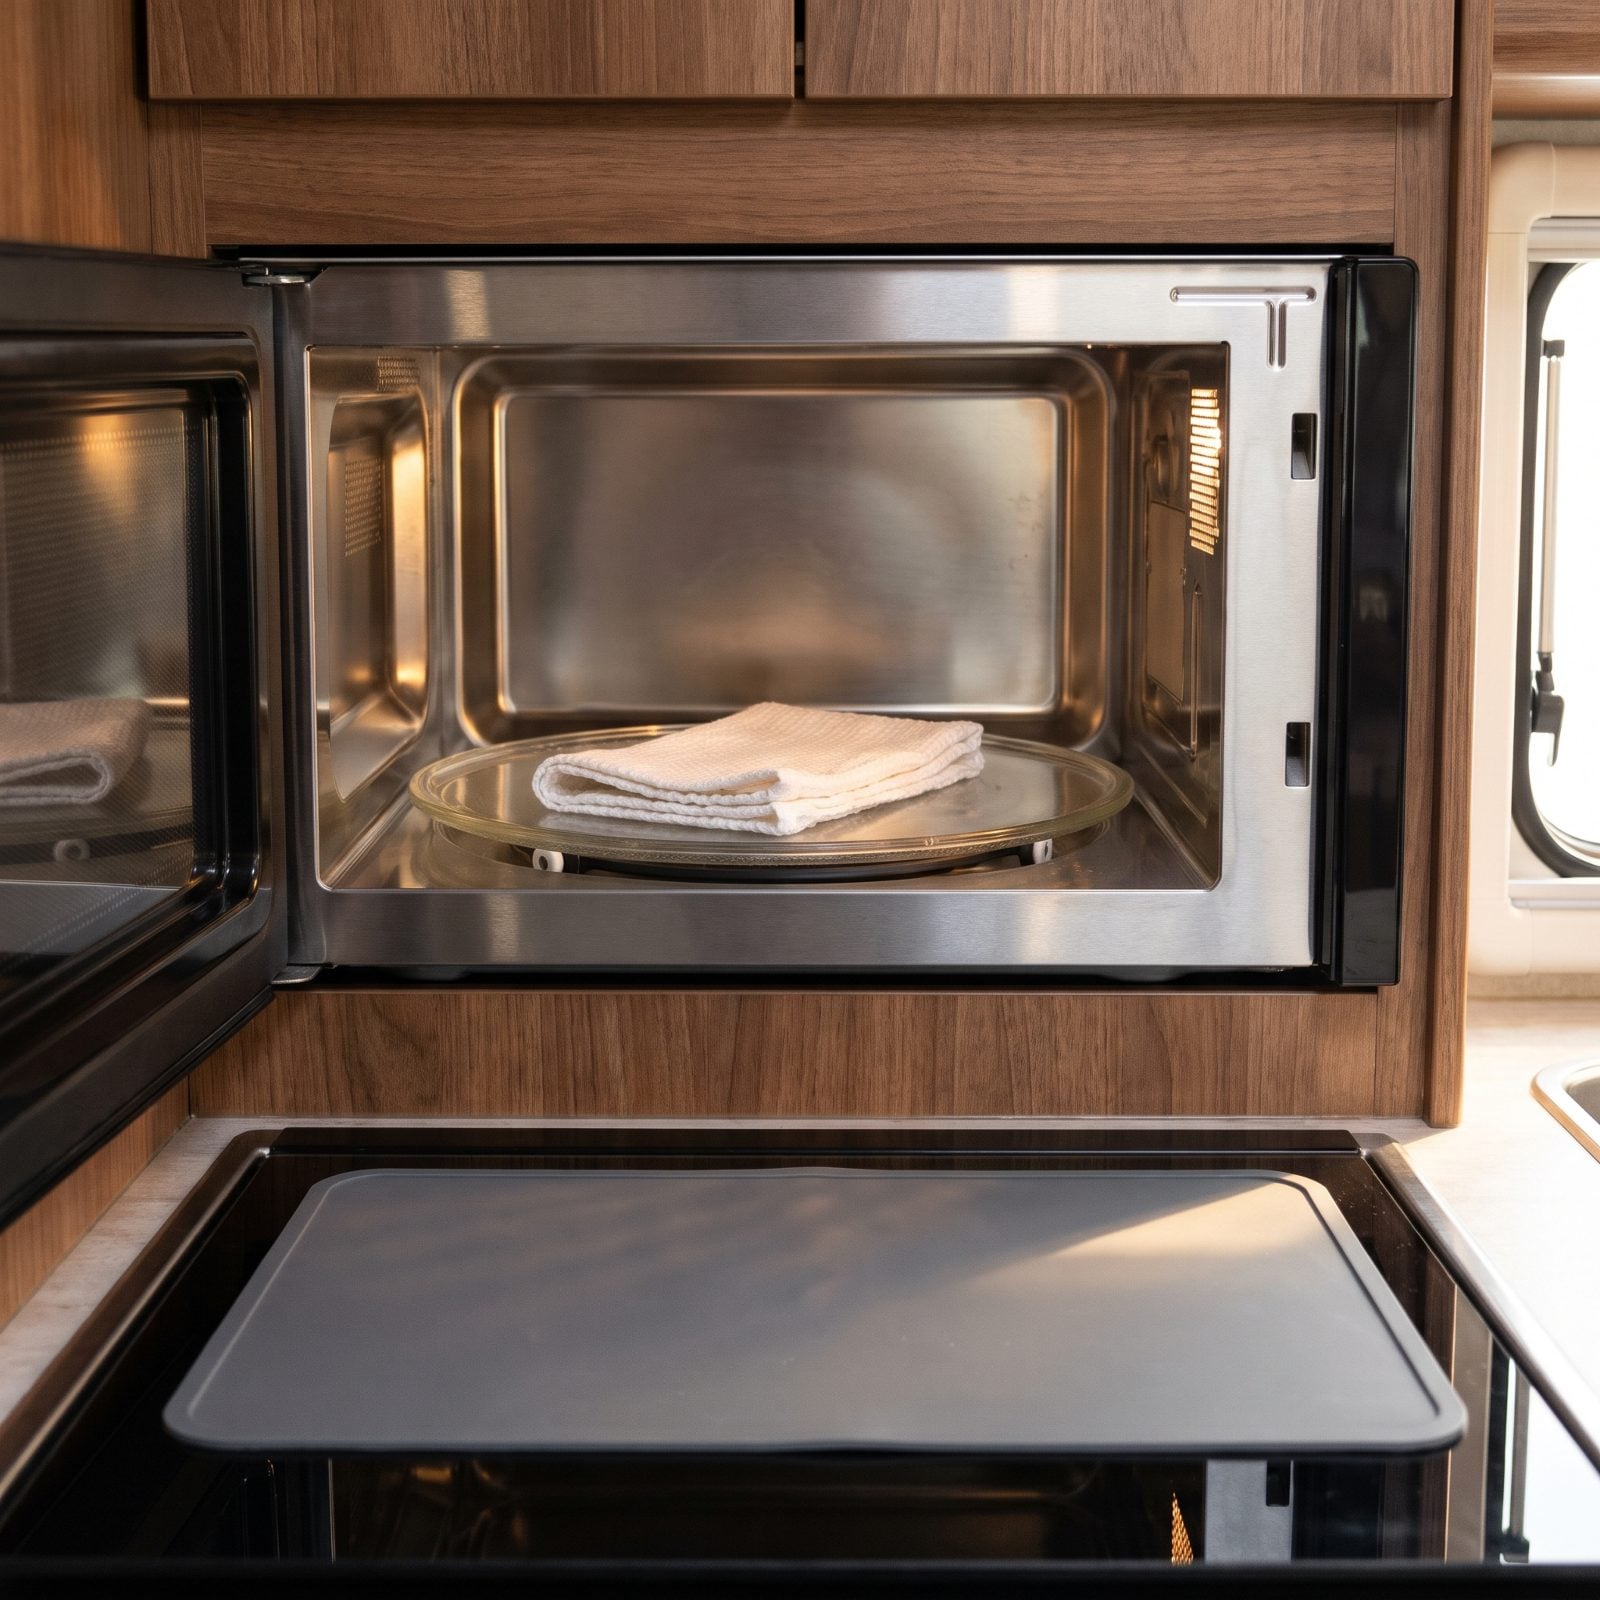
That glass turntable is a frisbee waiting for a rough crossing. On washboard forest-service roads it rattles loose, slides off the roller ring, and cracks against the microwave wall. Then you’re hunting down a replacement from a part number nobody on earth stocks.
Lift the plate out, wrap it in a dish towel, and tuck it in the sink or a padded drawer for the drive. Latch the microwave door firmly and give it a gentle pull to confirm it caught.
What people miss is the door itself. Leave it unlatched and it flaps open on every bump, and over a few thousand miles that hinge wears out and quits sealing. Five seconds now saves a rattle you’ll be chasing for a week.
7. Close and Latch Every Window

Leave one awning window cracked and you’ll learn about it the hard way. A surprise rain shower on the highway soaks the cushion directly below, and you won’t notice till you sit in it that night. Open windows at speed whistle, strain their hinges, and sling road grit all over the interior.
Crank each one fully shut and press the latch home. Don’t trust the crank alone — cheap operators back off on their own, so give the glass a light push to confirm the seal has grabbed.
The easy one to skip is the bathroom window, and don’t forget the roof vent fans. Close those too, or that low-pressure vortex over the roof at 60 mph will try to peel a lid clean off.
6. Test Headlights, Brake Lights, and Signals
Here’s the check most people skip, and it’s the one a state trooper clocks from half a mile back. A dead trailer brake light or a burnt turn signal is an invitation to get pulled over, and worse, it means the driver behind you has no idea you’re slowing down.
You’ll need two people, or a phone propped on a tripod. Run through headlights, both signals, brake lights, hazards, and running lights while someone watches the trailer end. Then tap the brakes and confirm the trailer lamps come alive with the truck.
The miss almost everyone makes: they check the truck and assume the trailer followed along. It didn’t. A corroded seven-pin connector or a frayed ground wire drops the trailer circuit while the truck looks perfect. Always walk back and look at the trailer itself.
5. Align Mirrors and Verify Camera Views
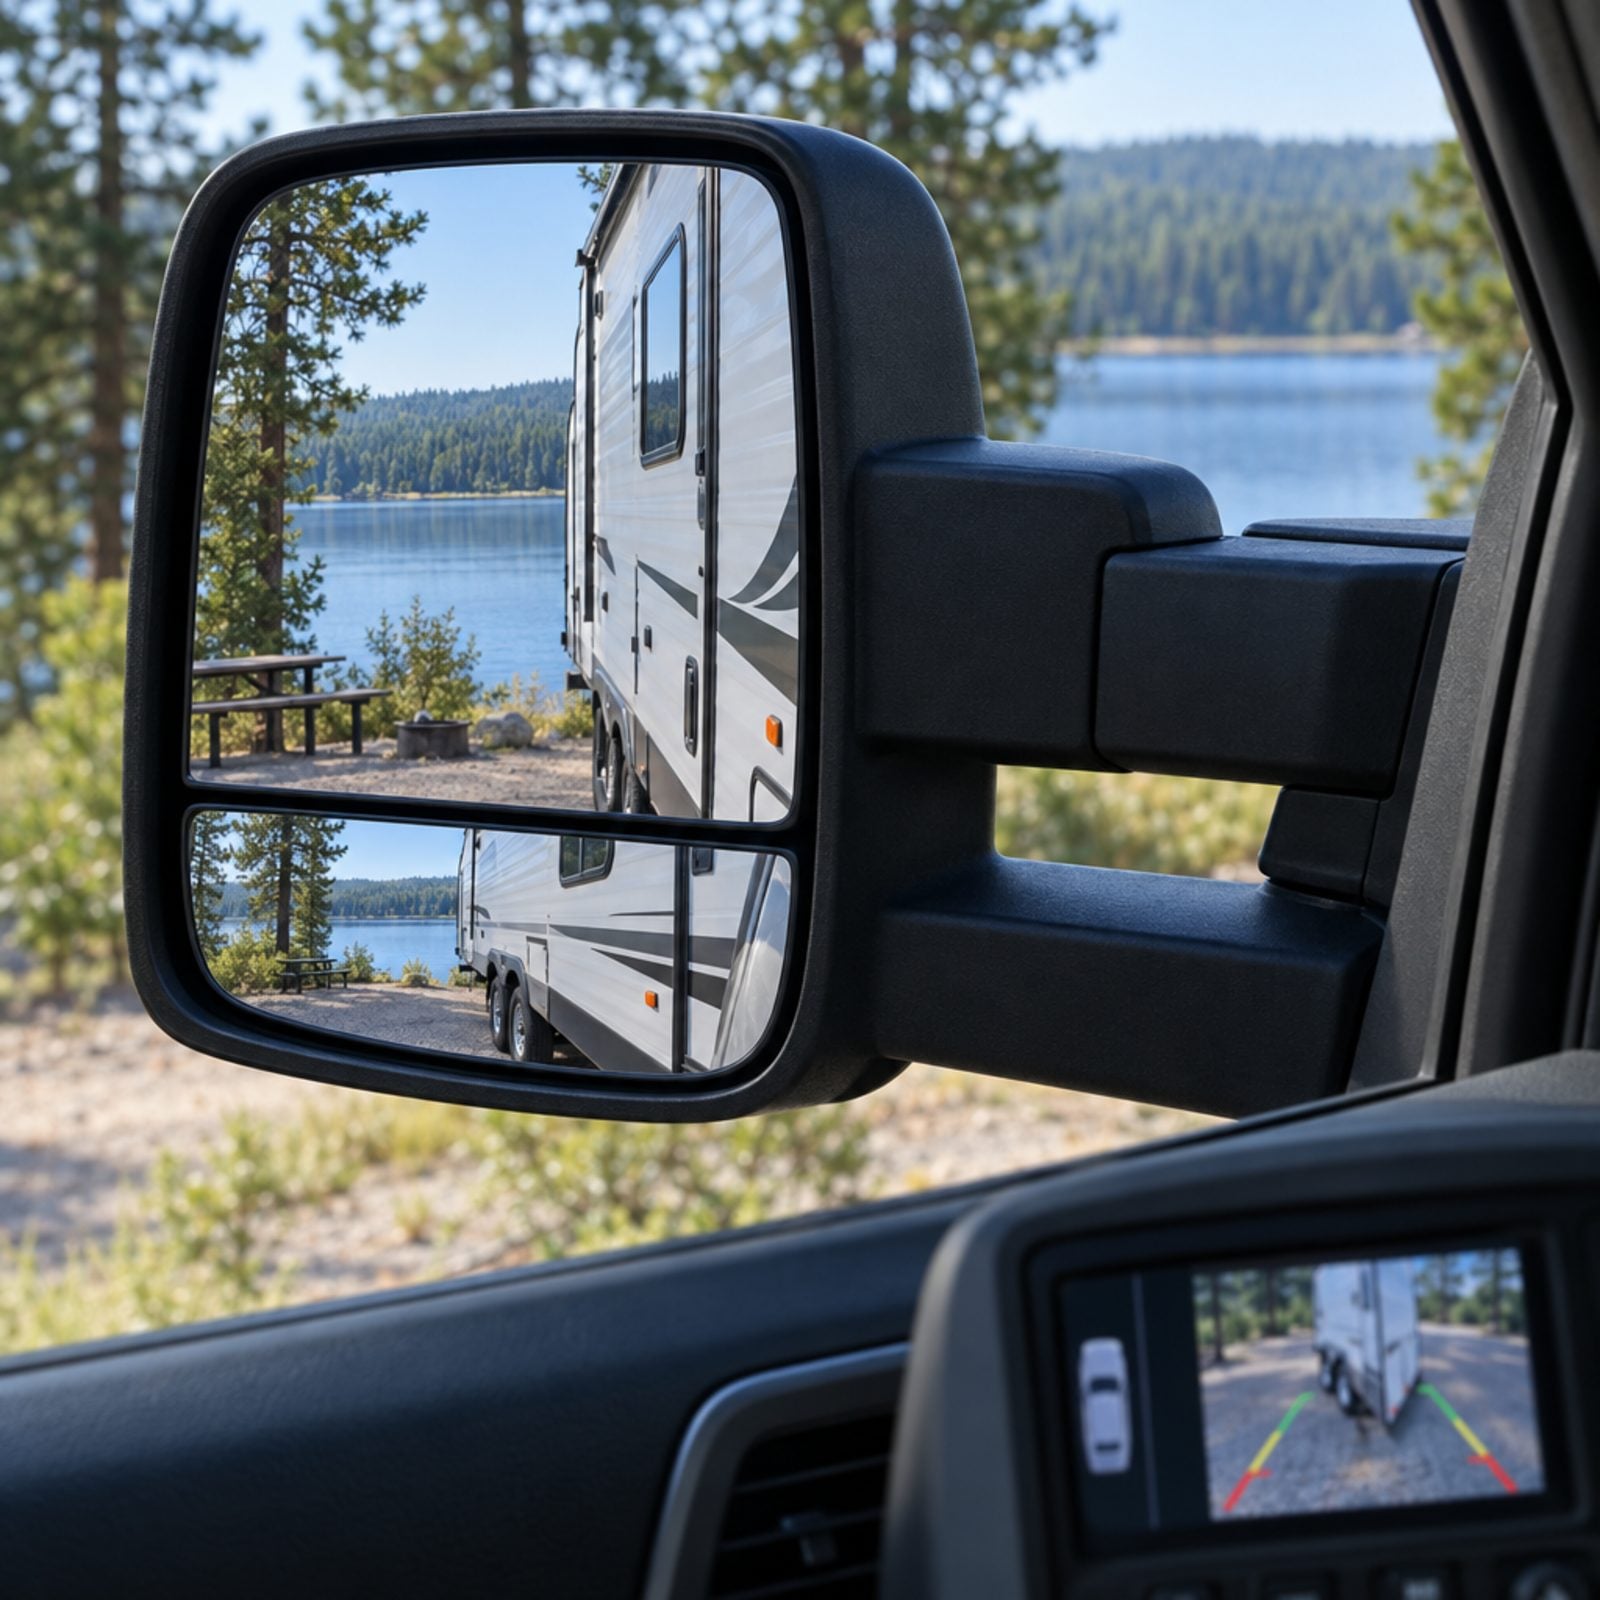
A mirror set for driving solo is useless the second a trailer is hanging off the back. You lose the whole blind spot down the passenger side, and that’s exactly where a car tucks in right before you change lanes.
Sit in the driver’s seat the way you actually sit — slouch and all. Adjust both mirrors so a sliver of the trailer shows on the inside edge and the lane beside it fills the rest, with the convex spotter catching the rear wheels.
Then fire up the backup and side cameras and confirm they’re clean and lined up. Bugs and dust from the drive in will blur them fast. Most people forget the cameras entirely until they’re already reversing into a tight spot with a cliff behind them.
4. Lock Hitch and Insert Safety Pin

A coupler that looks seated but isn’t fully latched is how trailers end up in ditches. It rides on the ball through every little bump at the campground, feels perfectly fine, then jumps off on the first real pothole at speed.
After you drop the coupler, confirm the latch is all the way down and the ball is captured, not just resting on top. Crank the tongue jack up a couple of inches. If the truck’s rear lifts with it, you’re locked. If the coupler pops free, you’re not.
Now the step that separates pros from weekenders: slide the safety pin through the latch hole so vibration can’t jiggle the handle open mid-drive. A padlock there doubles as theft protection while you’re parked.
The heave test takes three seconds and has saved more trailers than every brake controller ever made.
3. Attach Chains, Wiring, and Breakaway Cable
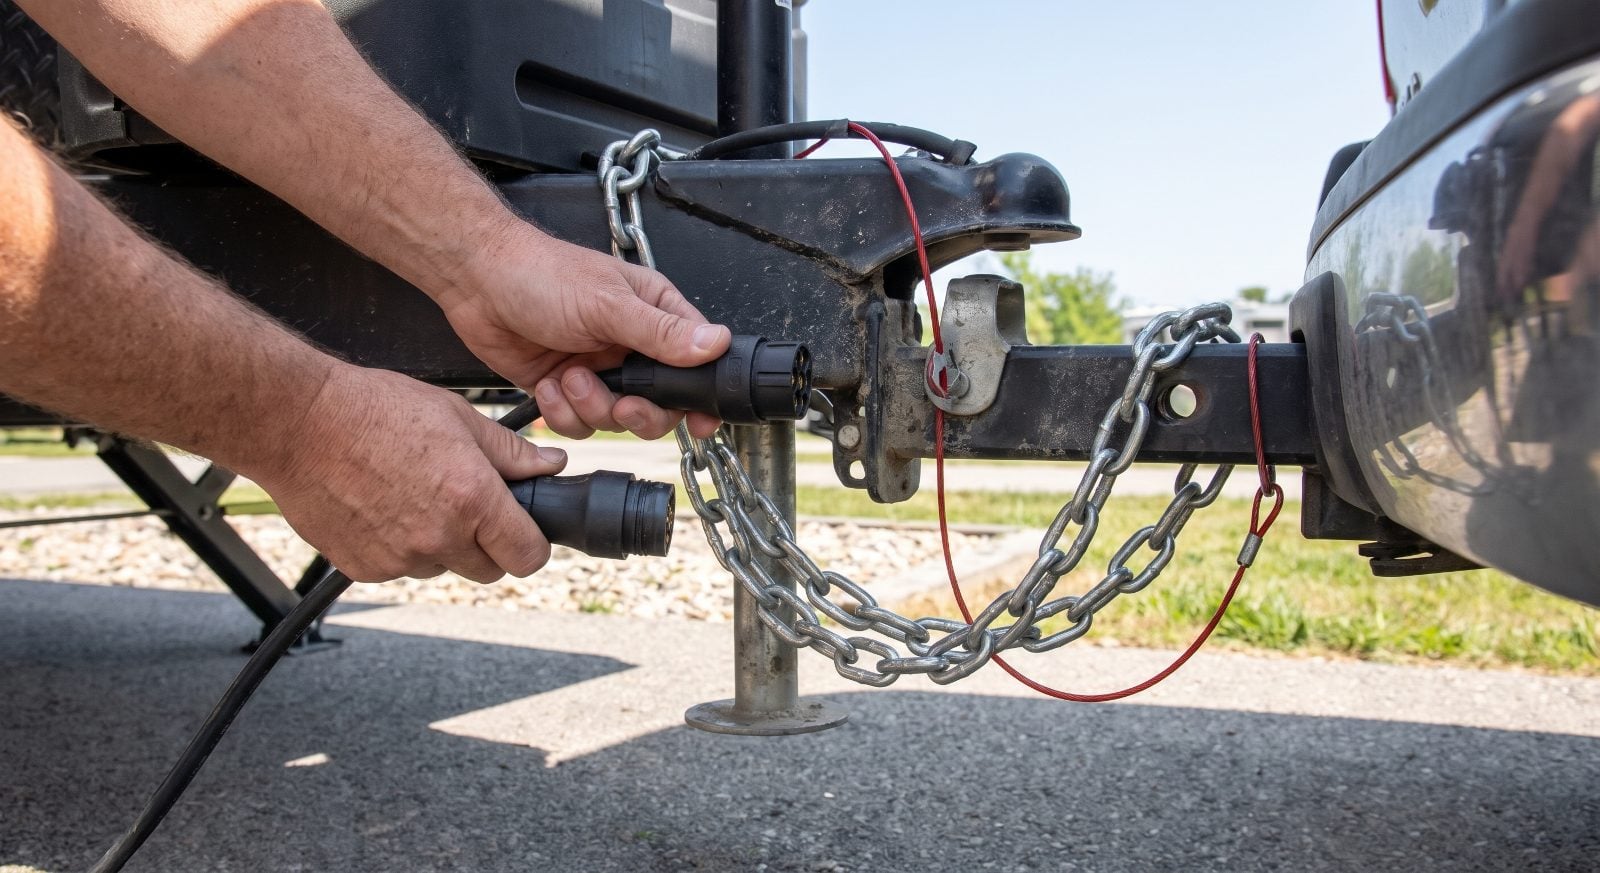
Chains aren’t decoration. They’re the thing that keeps a coupler failure from becoming a runaway trailer. Cross them in an X under the tongue so if the coupler ever drops, it lands in the cradle the chains make instead of digging a trench in the pavement.
Leave just enough slack to turn tight corners without binding, but not so much the links drag and spark. Plug the seven-pin in firmly and give it a tug.
Here’s the one that trips up nearly everyone: the breakaway cable. Clip it to a solid point on the truck, never to the safety chains or the ball mount. Think about it — if the trailer separates and takes the chains and mount with it, a cable clipped there goes along for the ride and never pulls the pin that applies the trailer brakes. The whole reason it exists, gone.
2. Test Trailer Brakes With Controller
Trailer brakes that didn’t survive the winter make for a nasty surprise on your first mountain descent. A controller set too low lets the truck do all the stopping, which cooks the truck brakes. Set it too high and the trailer wheels lock up and skid across gravel.
Before you roll, ease forward a few feet and apply the trailer brakes through the controller alone. You should feel the trailer grab and the rig tug back — no truck brake pedal involved. Feel nothing? Your trailer brakes aren’t working, and you’ve got no business towing.
Fine-tune the gain on a quiet stretch during the first mile. Aim for firm, even braking without a skid. Reset it every trip. Load changes everything.
1. Perform a Final Full-Rig Walkaround
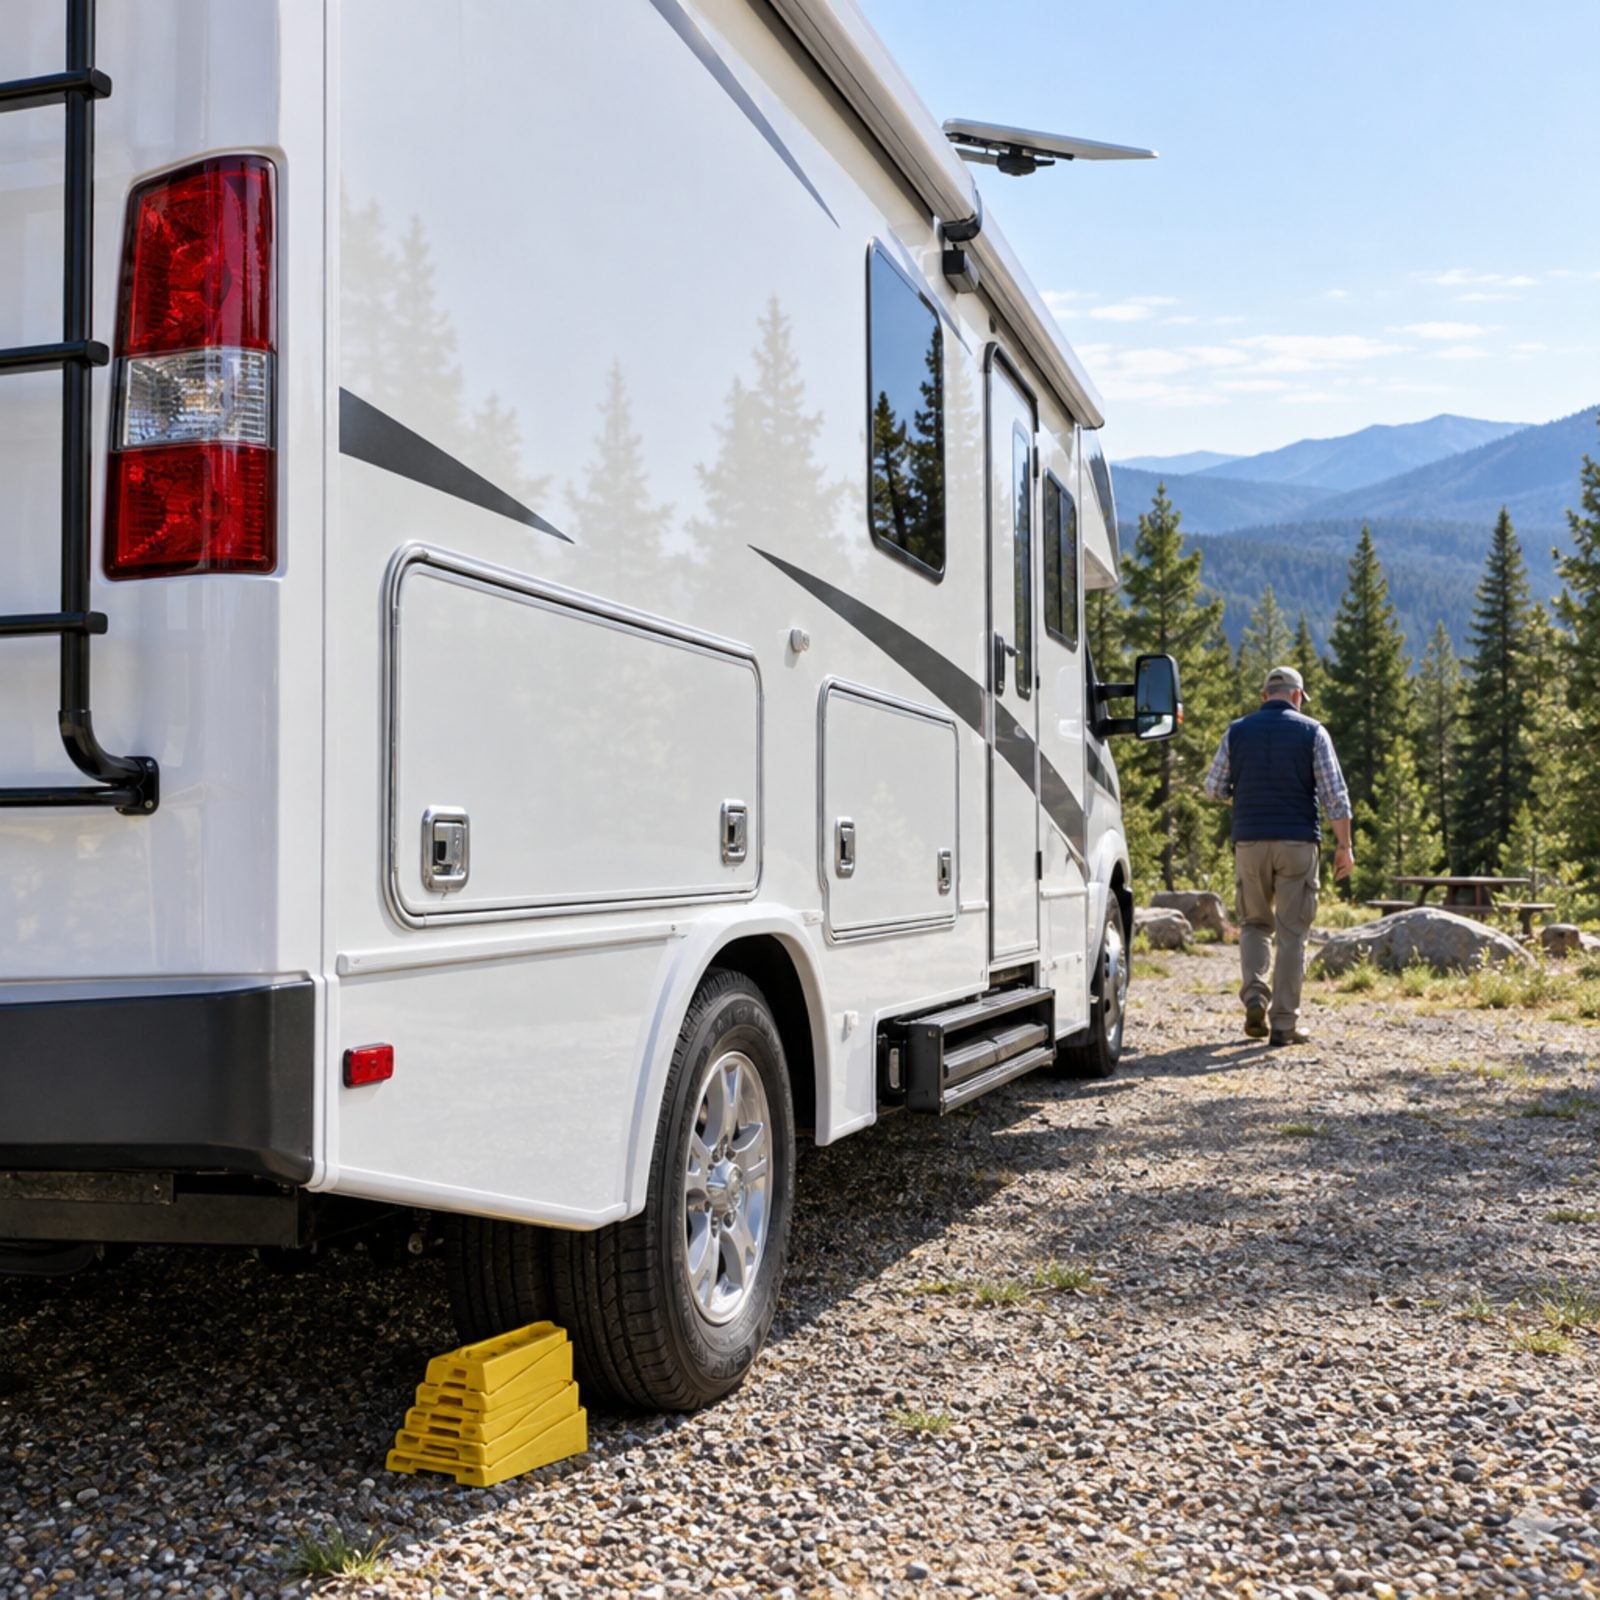
The walkaround is your catch-all against the dumb, expensive mistake. Everybody’s driven off at least once with the power cord still plugged in, the step down, or the TV antenna standing proud at twelve feet six. The antenna meets the next low bridge and your whole rig finds out at the same time.
Make one slow lap, touching each thing as you confirm it: antenna down, steps up, bay doors latched, chocks pulled and stowed, awning rolled and locked, nothing abandoned on the picnic table. Look up, look under, look at the roof line.
And here’s the part most people rush — look at the campsite itself, not just the rig. Leave it cleaner than you found it. Pack out every scrap, grab any tent stakes and dog tie-outs, and knock the fire ring down to cold ash. The next camper deserves what you’d want to pull into.
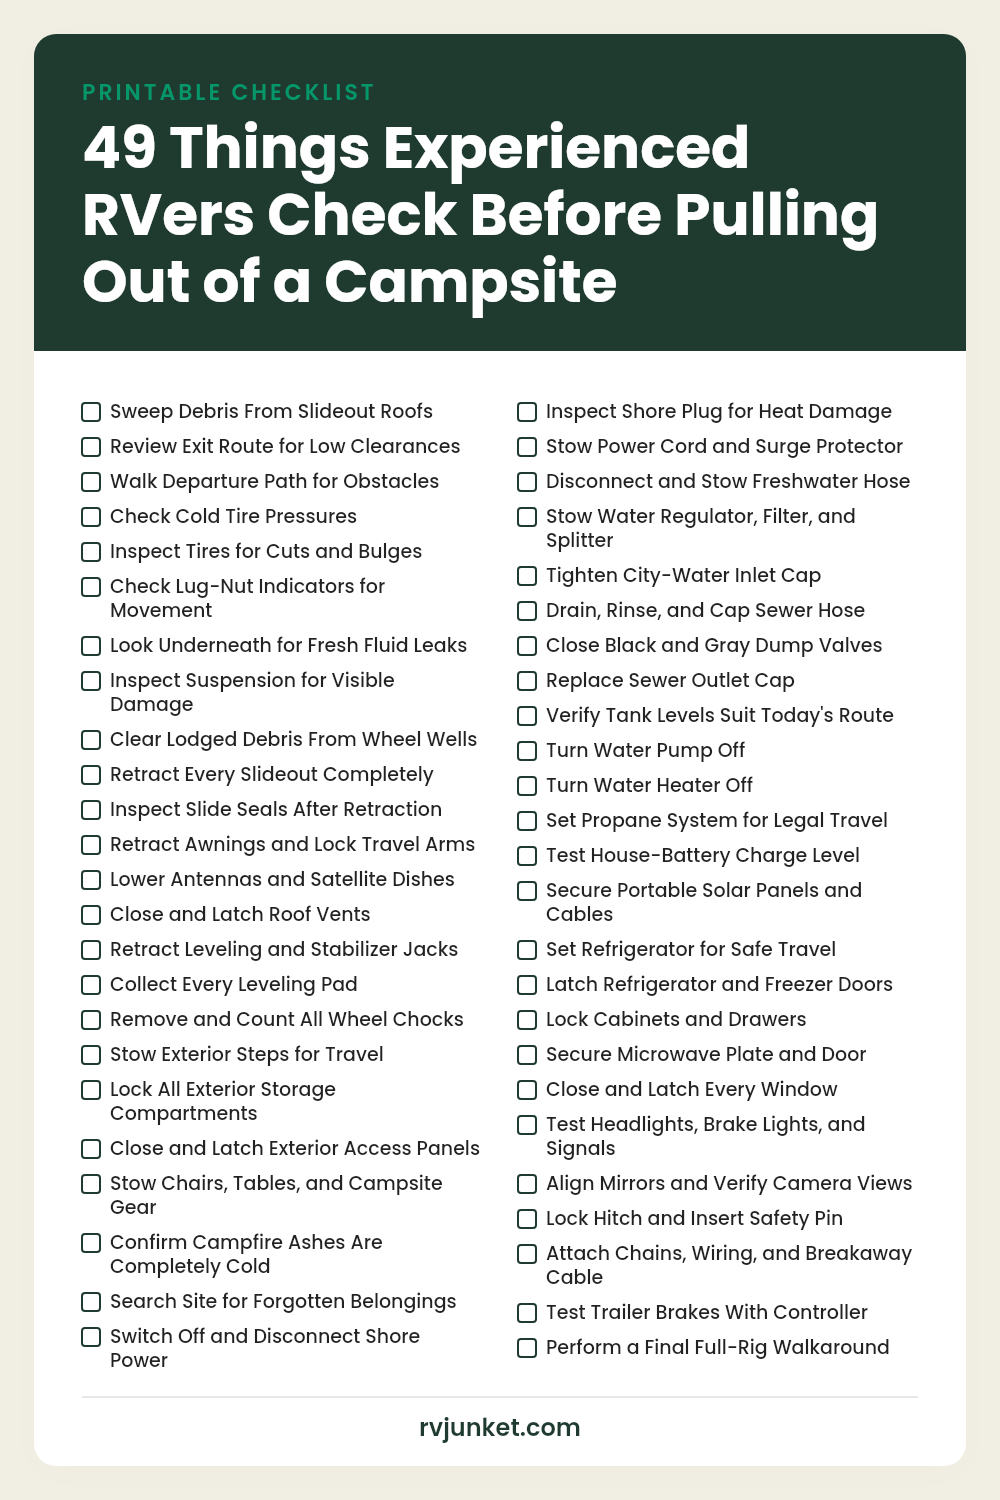
Your Printable Checklist
Save it to Pinterest or print it — every check from the list above on one page.